---
title: "Build an Admin Dashboard with Express and Vue: Creating the Frontend"
description: "Learn how to use the Auth0 Management API to build an admin dashboard with Express and Vue"
authors:
- name: "Holly Guevara"
url: "https://auth0.com/blog/authors/holly-guevara/"
date: "Nov 16, 2020"
category: "Developers,Product,Management API"
tags: ["vuejs", "express", "api", "nodejs", "auth0", "management-api", "authorization", "authentication", "client-credentials-grant", "m2m", "access-tokens", "scopes"]
url: "https://auth0.com/blog/build-an-admin-dashboard-with-express-and-vue-creating-the-frontend/"
---
# Build an Admin Dashboard with Express and Vue: Creating the Frontend
Starting from this chapter?
**Setting up**
Clone the application starter repo and check out the `creating-the-backend` branch:
``` bash
git clone git@github.com:auth0-blog/express-vue-management-api.git --branch creating-the-backend
```
Install the dependencies for both the client and server:
``` bash
cd server
npm install
cd ../client
npm install
```
**Configure Auth0**
Follow the Auth0 Configuration directions in the [project README of the starter Vue and Express application](https://github.com/auth0-blog/vue-express-auth#configuring-auth0).
**Configure Management API**
In the [Auth0 dashboard](https://manage.auth0.com/dashboard), click on "APIs" in the left menu and then select "Auth0 Management API". From there, select "Machine to Machine Applications" and find the "Vue Express API" you just created. Click the switch next to it so that it says "Authorized".
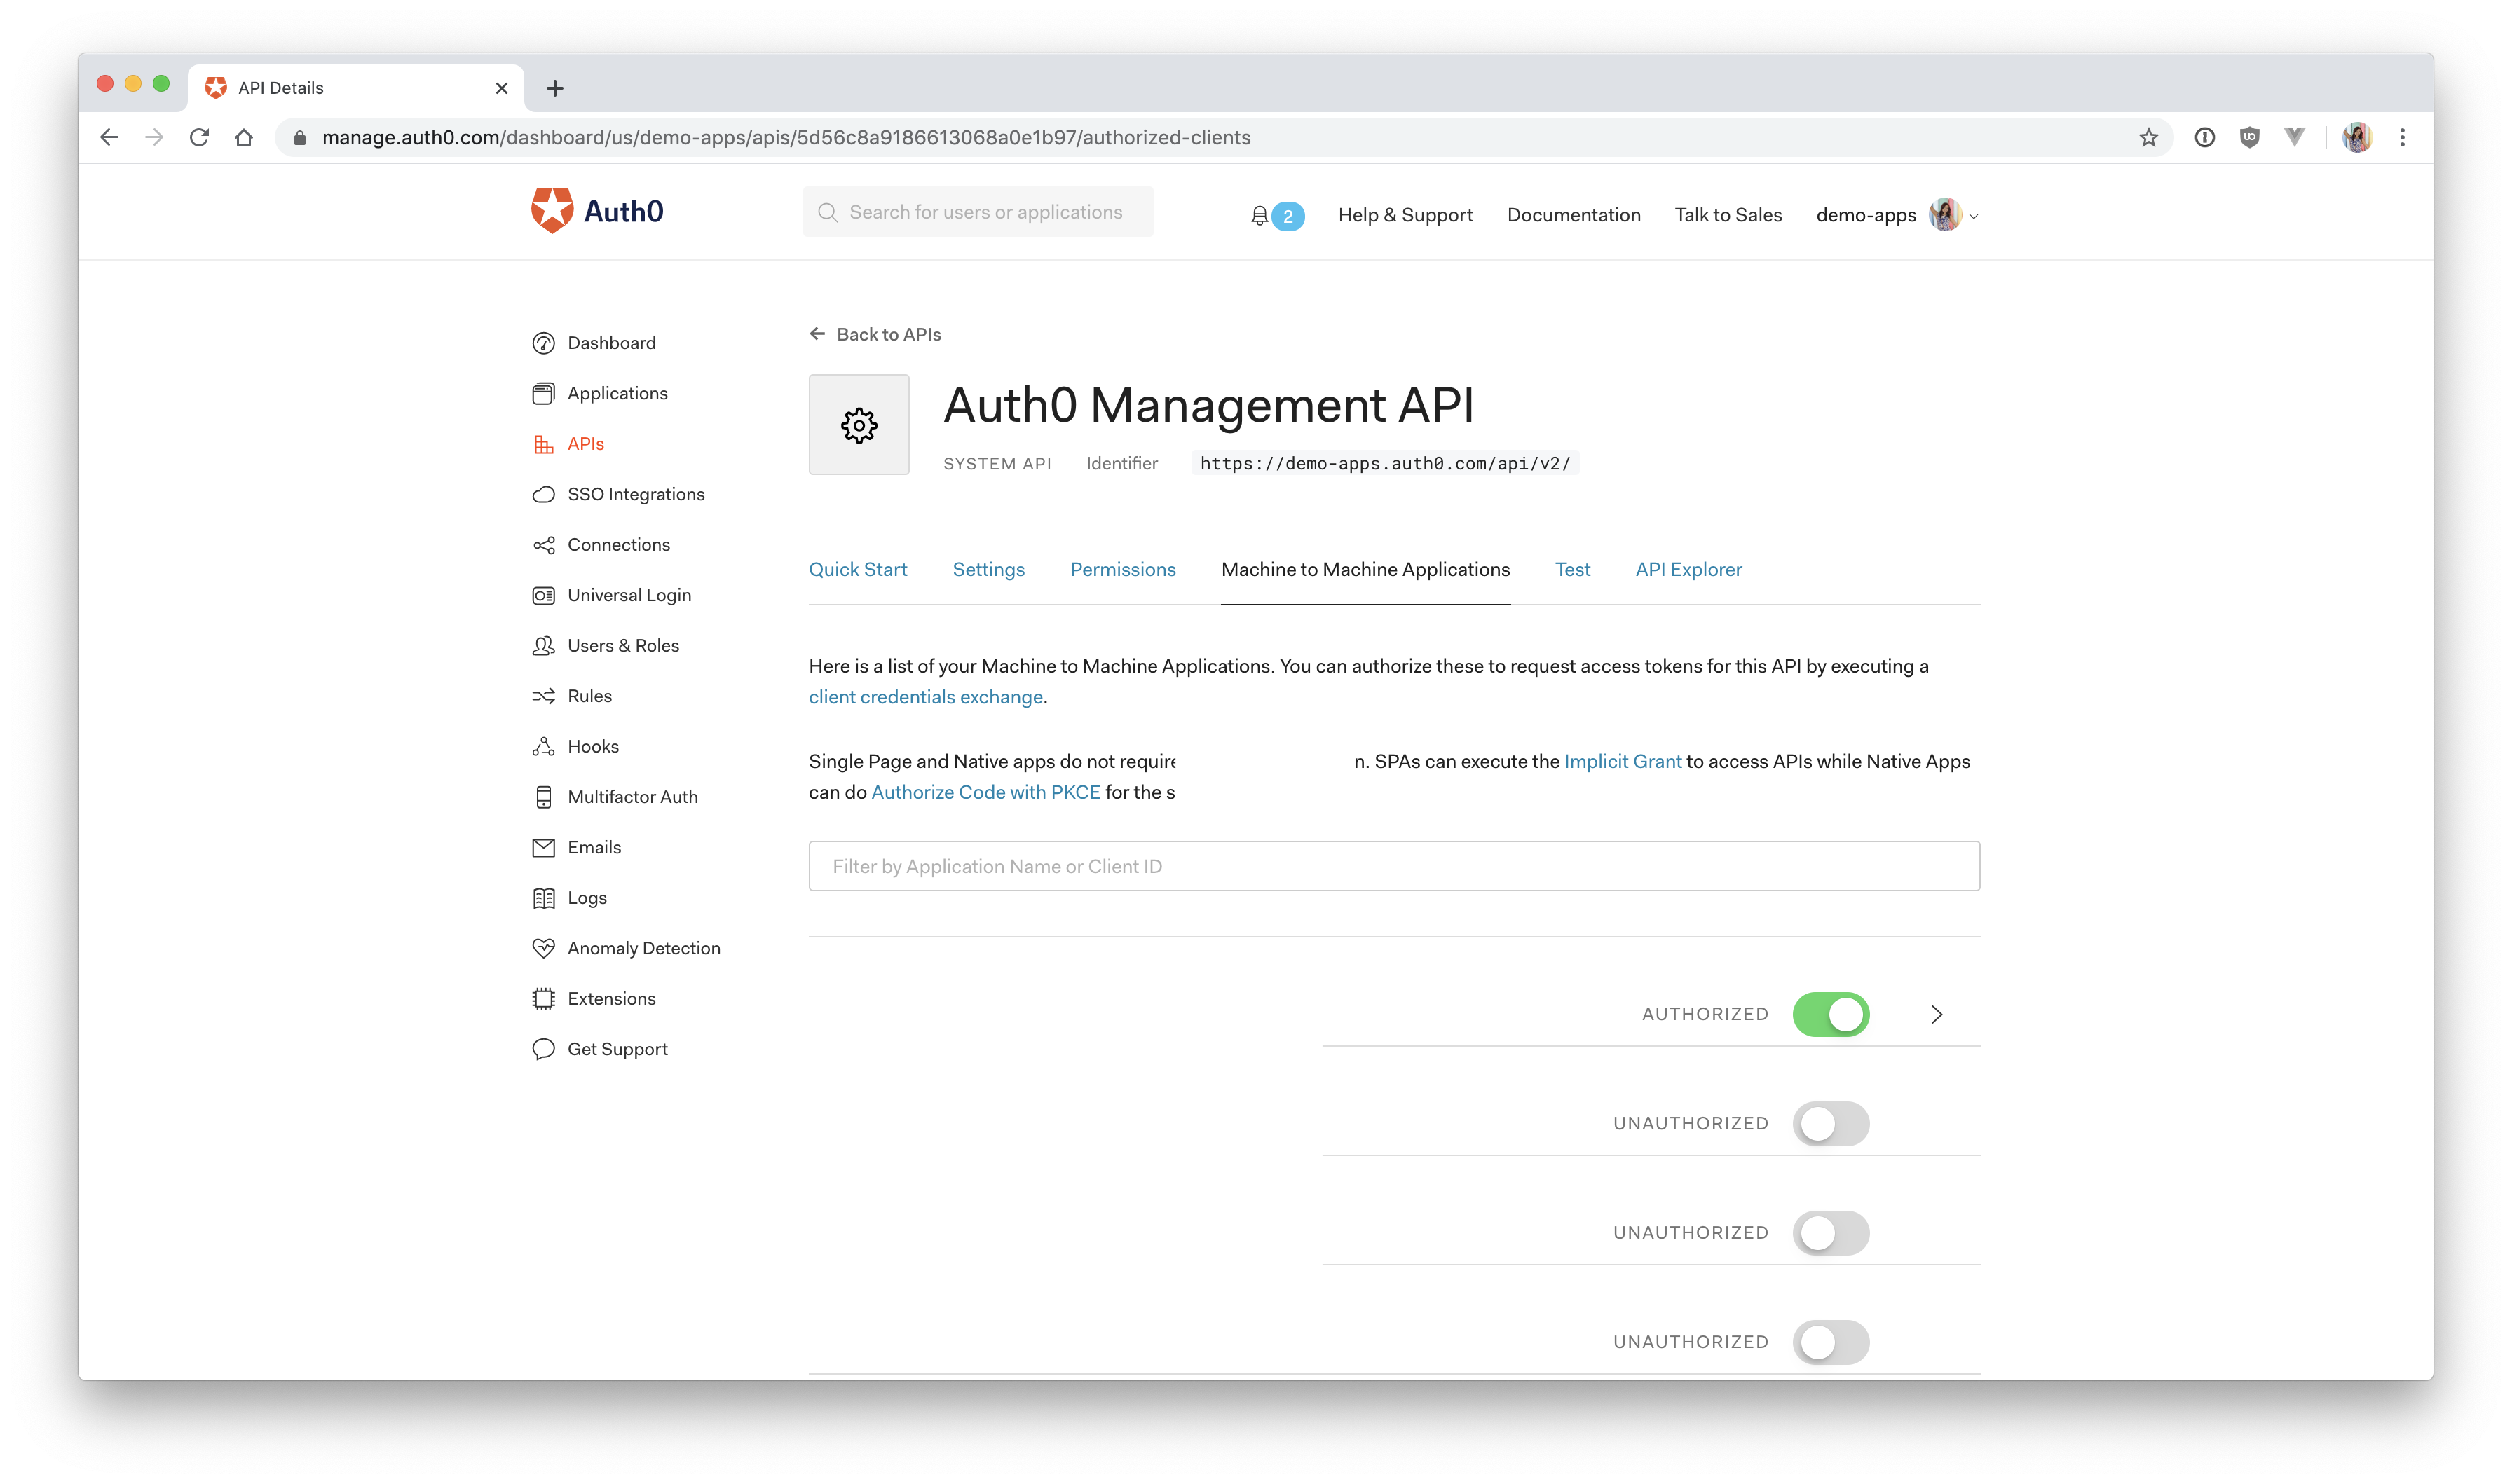
Next, add permissions to the application. Click on the down arrow V next to the authorized switch. Select `read:users`, `delete:users`, and `read:user_idp_tokens` and then click "Update".
Create the `.env` file in the root of the `server` directory:
``` js
AUTH0_DOMAIN = your-domain.auth0.com
AUTH0_AUDIENCE = https://your-api-audience.com
CLIENT_ID = yourclientid
CLIENT_SECRET = yourclientsecret
```
To find your values, go to the [Auth0 dashboard](https://manage.auth0.com/dashboard) and click:
"APIs" > "Auth0 Management API" > "Test"
Select the Express API from the dropdown then click "Node.JS". You'll find the values for `CLIENT_ID` AND `CLIENT_SECRET` in the resulting code.
`AUTH0_DOMAIN` and `AUTHO_AUDIENCE` can be found by clicking on "APIs" and then selecting the Vue Express API. Then click on "Quick Start" and select "Node.js". You'll see a value for audience, which you can paste directly into AUTH0_AUDIENCE and then another value for issuer. Copy this and paste it into AUTH0_DOMAIN, but leave off the `https://` and the trailing `/` at the end.
**Test it**
Start the Vue app:
``` bash
cd client
npm run serve
```
Start the Express app:
``` bash
cd server
npm start
```
Navigate to [http://localhost:8000/users](http://localhost:8000/users) to see an array all of your users from the Express `/users` endpoint.
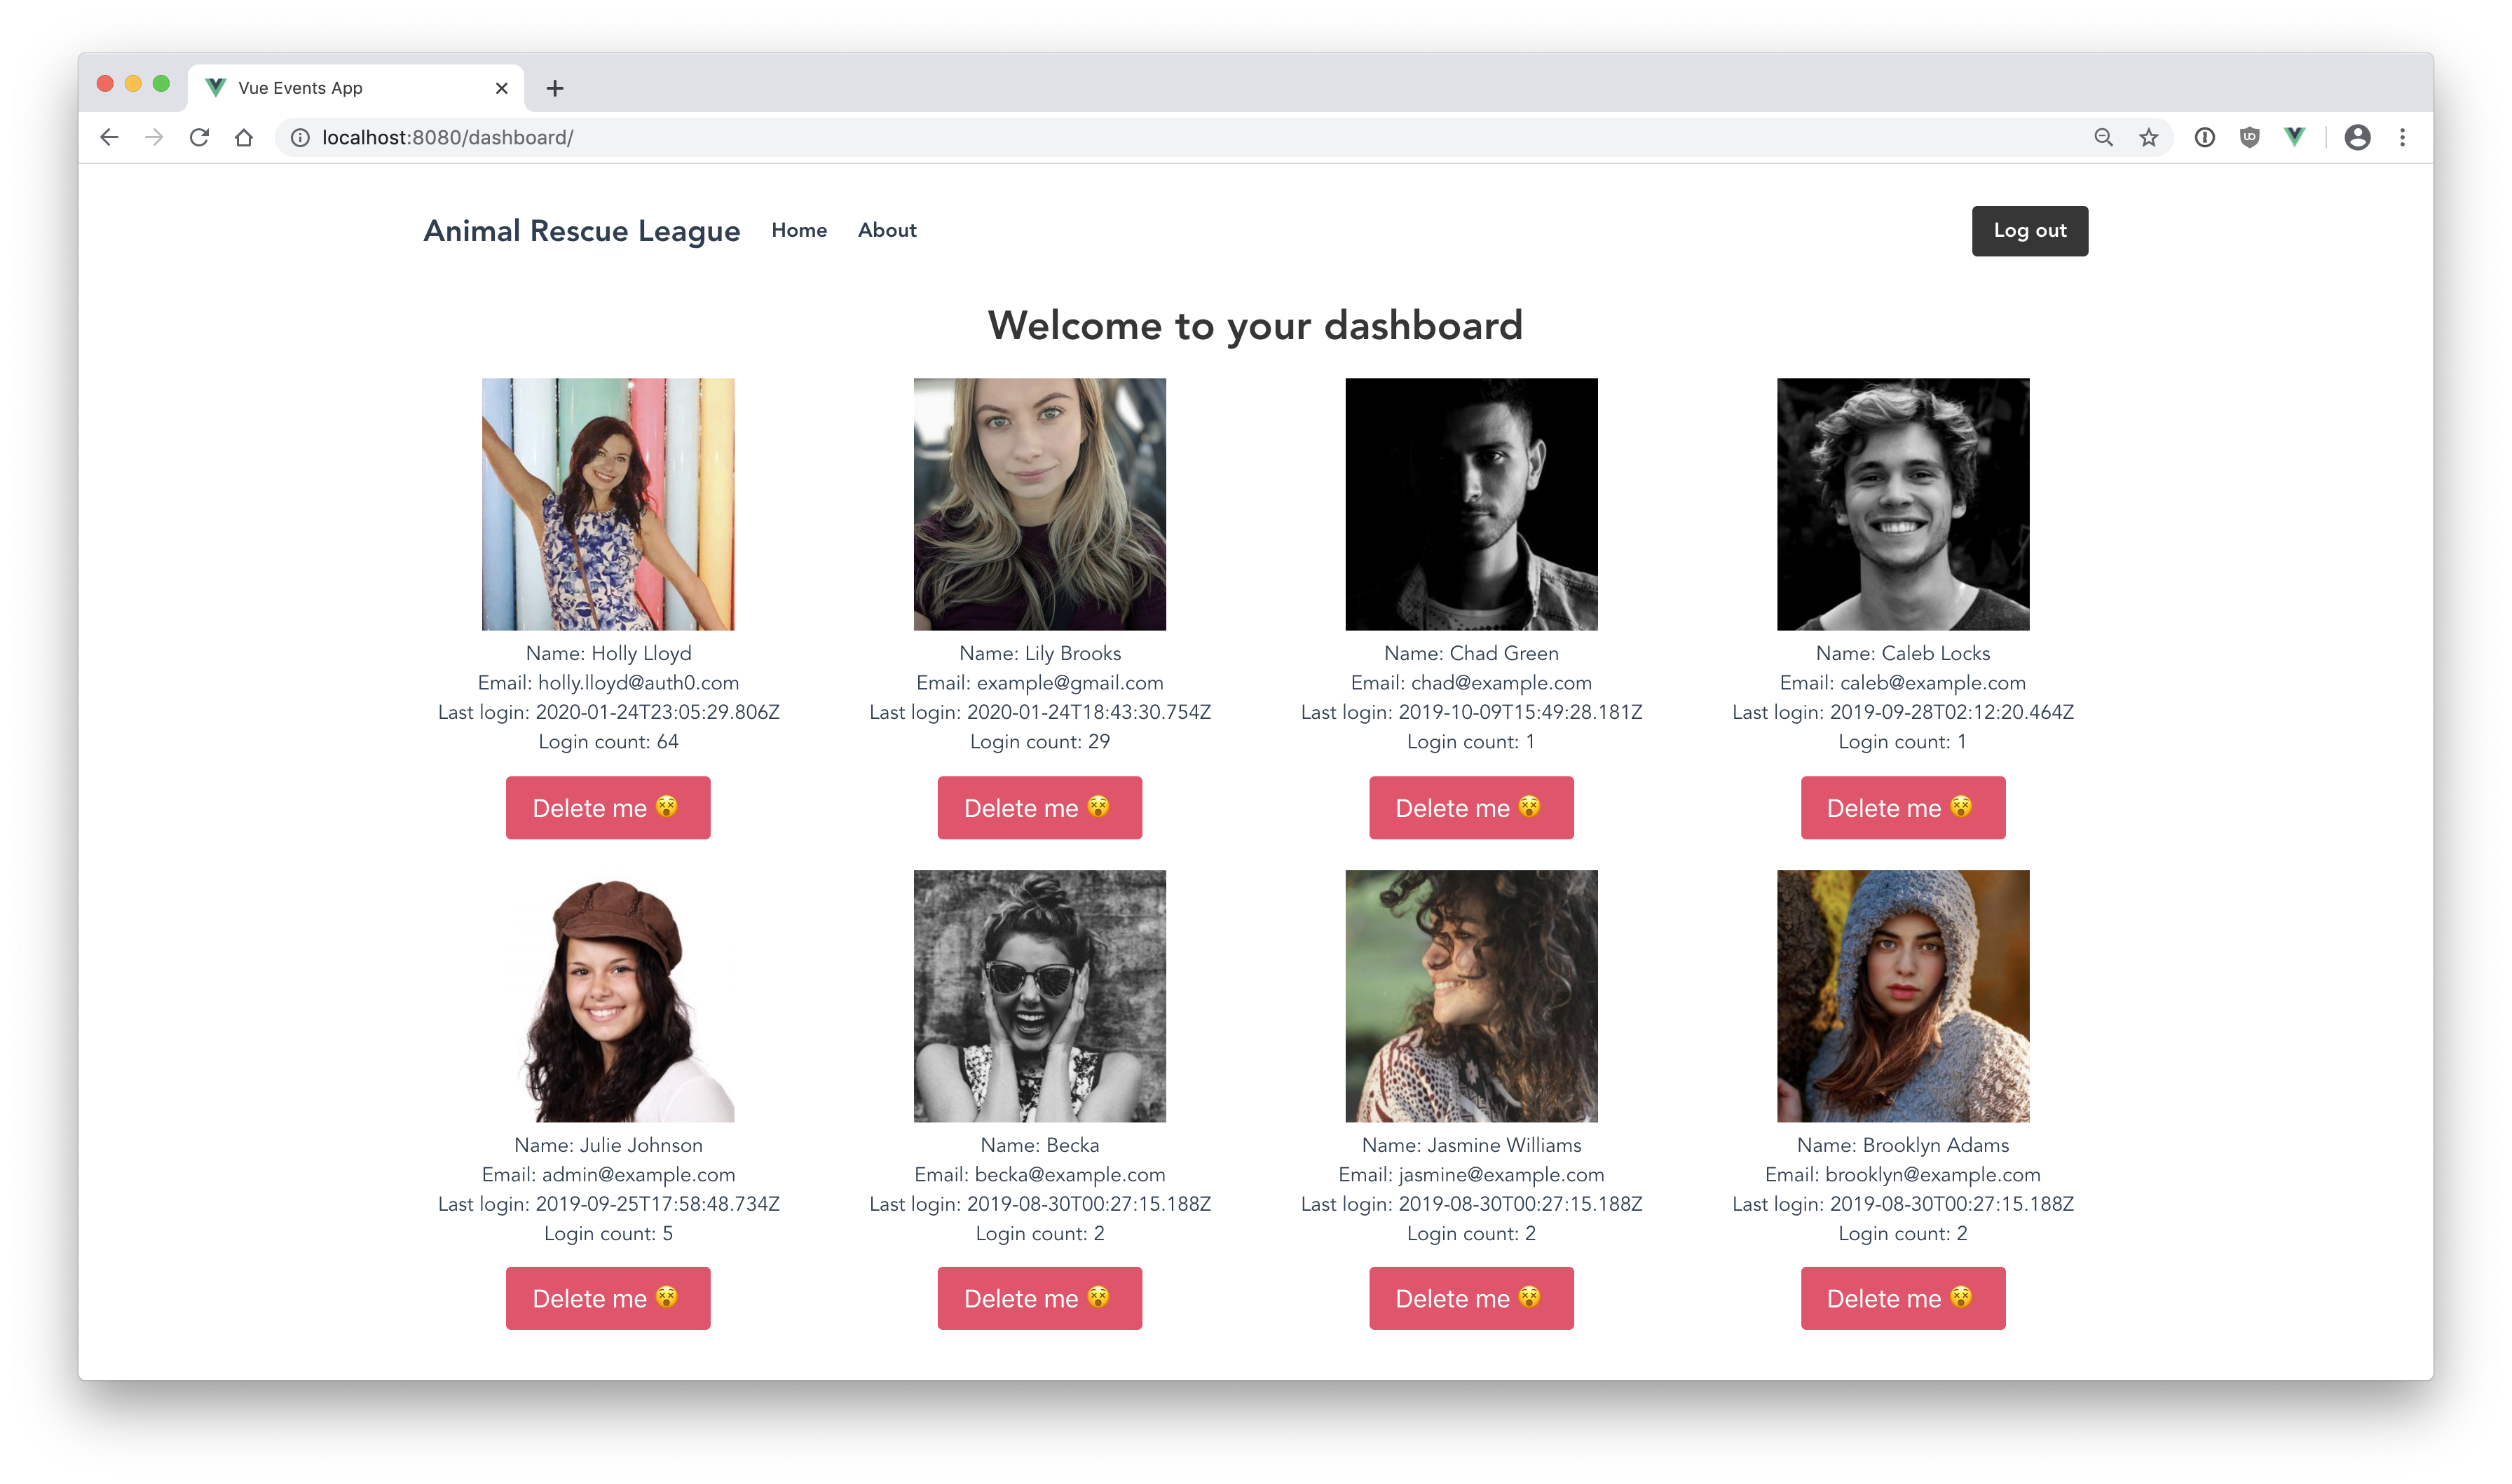
View the dashboard at: [http://localhost:8080/dashboard](http://localhost:8080/dashboard)
## Creating the Dashboard with Vue
Here's what needs to be done on the Vue side:
* Create a dashboard route
* Create a new dashboard component
* Create the user service to connect to the Express API
* Make a `GET` request to the Express API's `/users` route
* Loop over and display the users
* Create a delete button and delete method
* Add the delete method to the user service that makes a request to the Express API's `/users/:id/delete` route
* Pass the user's access token along with their Express API requests
* Restrict the route so that unauthenticated users will be kicked to the login screen
I'll go over each step here, but if you'd like a more in-depth explanation about making HTTP requests in Vue, I'd recommend going back and reading through the original article that this application is based on, [Making HTTP Requests with Vue and Express](https://auth0.com/blog/how-to-make-secure-http-requests-with-vue-and-express/).
If you haven't already, you can start the Vue application by navigating to the `client` directory in the terminal and running:
``` bash
npm run serve
```
You can view it at [http://localhost:8080](http://localhost:8080)
## Add the Dashboard Route
First, go ahead and create the `/dashboard` route, which is where the user list will be displayed.
Open up `client/src/router/index.js` and paste the following in as the last element in the `routes` array:
``` js
{
path: '/dashboard',
name: 'dashboard',
component: () => import('../views/Dashboard.vue')
}
```
## Create the Dashboard Component
You'll notice that the `/dashboard` route is using the `Dashboard.vue` component. This doesn't exist yet, so go ahead and create it now.
Under `client/src/views`, create a new file called `Dashboard.vue` and paste in the following:
``` js
Welcome to your dashboard
{{ message }}
Name: {{ user.name }}
Email: {{ user.email }}
Last login: {{ user.last_login }}
Login count: {{ user.logins_count }}
```
In the script section, you're first importing the `UserService`. This is what your Vue application will use to connect to the Express API defined in the `server` directory. The Express API is responsible for getting the data from the Management API.
> 🧠 Your Vue client cannot reach out to the Management API directly because it would need an access token to do that, and as you saw earlier, that would require the client (Vue) to pass the client secret on the frontend, which isn't secure.
So, instead, the **Express API handles the connection** with the Management API. The Vue application then makes a request to the Express API using the `UserService` and receives the user information that the Express API passes back to it.
Of course, you wouldn't want just *anybody* to be able to access this user information. This is why the **request to the Express API from the Vue client must be authorized**. With the current implementation, anyone will be able to access the Express API endpoints to obtain the list of users and delete a user. Sit tight for now, and you'll be addressing that in an upcoming section.
The next important thing to note here are the 2 methods: `getUserData()` and `deleteUser(deleteId)`. The first method is called when the Dashboard instance is created. It's going to call the `getUsers()` method on the `UserService` and then set the result to the `users` array (defined under `data`). The next method will be called when the user clicks on a "Delete me" button underneath a user. It will send the selected user's `user_id` through to the `UserService.deleteUser()` method as a parameter.
If you glance back up now at the template section, you'll see where that `users` array comes into play. You're looping over it to display each individual user's avatar, name, email, last login date, and login count.
Finally, there's a `message` variable that will let us know that a user has been deleted.
Now, the `UserService` doesn't exist, so none of this is going to work yet. Go ahead and create it now.
## Create the User Service
Create a new file called `UserService.js` under `client/src/services` and paste in the following:
``` js
import axios from "axios"
export default {
async getUsers() {
let res = await axios.get("http://localhost:8000/users");
console.log(res.data);
return res.data;
},
async deleteUser(id) {
let res = await axios.get(`http://localhost:8000/users/${id}/delete`);
return res.data;
}
}
```
This allows the Vue application to make a `GET` request to the Express API using [axios, a promise-based HTTP client](https://github.com/axios/axios).
You're calling the `/users` and `users/${id}/delete` routes that you built earlier in Express. The `/users` route is the one that returns the user information from the Management API.
So when the Vue application makes a `GET` request to the Express `/users` route, Express reaches out to the Management API and makes a request for the list of users. If the access token that the Express API presents is valid, then the Management API returns the users. Consequently, the Express API will then return that data to the requesting Vue application.
Again, it's important to verify that the Vue application is allowed to access this information. **Whether or not it's allowed to access it is between the Express API and the Vue application, not the Management API**. Currently, there's nothing in place to check that the Vue application is allowed to make this request to the Express API. You'll see how to implement this in the next section.
For now, make sure your Vue application and Express app are both still running in the terminal:
**Vue application:**
``` bash
npm run serve
```
**Express application:**
``` bash
npm start
```
Head to [`http://localhost:8080/dashboard`](http://localhost:8080/dashboard), and you should now see your shiny new dashboard with all of your user's avatars and information displayed.
> 🚨 Resist the urge to click the "Delete" button on the accounts you want to keep! I recommend creating test user accounts through the Auth0 dashboard when you want to try out the delete button.