---
title: "Building an app with Nette and adding authentication"
description: "Learn how to build your first Nette application and add authentication to it."
authors:
  - name: "Prosper Otemuyiwa"
    url: "https://auth0.com/blog/authors/prosper-otemuyiwa/"
date: "Sep 19, 2017"
category: "Developers,Tutorial,Nette"
tags: ["nette", "api", "jwts", "authentication", "web-app", "auth0"]
url: "https://auth0.com/blog/building-an-app-with-Nette-and-adding-authentication/"
---

# Building an app with Nette and adding authentication


---

**TL;DR:** In this tutorial, I'll show you how easy it is to build a web application with Nette and add authentication to it. Check out the [repo](https://github.com/auth0-blog/nette-auth0-got) to get the code.

---

**Nette** is a free, open-source PHP framework designed for building web applications. **Nette** is a set of decoupled and reusable PHP packages that will make your work easier. And **Nette** is also known as the quick and comfortable web development framework in PHP because it has the tools that allow you to bang out PHP applications rather quickly. **Nette** has a bundle of tools that makes it one of the popular PHP frameworks out there. These tools include, **Tracy**, **Latte** and **Tester**.

* **Tracy:** is a library that helps you log errors, dump variables, observe memory consumption and measure execution time of scripts and queries. After activating Tracy on your web application, a debugger bar shows up.

  ![Tracy debug bar](https://images.ctfassets.net/23aumh6u8s0i/4ZsZRPgunjcstQ3tEA8iDu/29ab62dbd93cf686da7a9e45645a095b/tracy-bar)
  _Tracy debug bar_

This tool also provides the `Debugger::dump()` function which dumps the content of a variable far better than `var_dump`. Logging with Tracy involves invoking the `Debugger::log()` function. In production mode, Tracy automatically captures all errors and exceptions into a text log.

Another useful development magic Tracy offers is the debugger stopwatch with a precision of microseconds. Just call the `Debugger::timer()` function. For multiple measurements, you can write code like this:

```php
Debugger::timer('pdf-making');
// some code

Debugger::timer('excel-making');
// some code

$excelMakingElapsed = Debugger::timer('excel-making');
$pdfMakingElapsed = Debugger::timer('pdf-making');
```

Tracy also has an integration with [Firelogger](https://addons.mozilla.org/cs/firefox/addon/firelogger/). Learn more about how tracy works by visiting the [documentation](https://tracy.nette.org/) for more information.

* **Latte:** is a template engine for PHP. It has intuitive syntax and compiles templates to plain optimized PHP code.

``` html  

<ul n:if="$items">
{foreach $items as $item}
    <li id="item-{$iterator->counter}">{$item|capitalize}</li>
{/foreach}
</ul>

```

The best way to install Latte is via composer.

```bash
composer require latte/latte
```

And activate it by invoking it like:

```php
$latte = new Latte\Engine;

$latte->setTempDirectory('/path/to/tempdir');

$parameters['items'] = ['one', 'two', 'three'];

// render to output
$latte->render('template.latte', $parameters);
// or render to string
$html = $latte->renderToString('template.latte', $parameters);
```

Latte has a set of standard filters. You can call a filter by using the pipe symbol. Check out the code below:

``` html  

<h1>{$heading|upper}</h1>
<h1>{$heading|lower|capitalize}</h1>
<h1>{$heading|truncate:20,''}</h1>

```

You can add a custom filter by calling the `addFilter` function on Latte:

```php
$latte = new Latte\Engine;

$latte->addFilter('clear', function ($str) {
    return trim($str, 'Sd'); // eliminates Sd from the string
});
```

Then we can use it in a template like this:

``` html  

<p>{$sentence|clear}</p>

```

Learn more about how Latte works by visiting the [documentation](https://latte.nette.org) for more information.

* **Tester:** is a productive and enjoyable unit testing framework developed by the Nette team. It is used by the Nette framework for testing. It offers lots of Assertion helpers and annotations for TestCase methods. Learn more about how Tester works by visiting the [documentation](https://tester.nette.org) for more information.

**Nette**  has a [collection of plugins and extensions](https://componette.com) for easy use in your application. It also has an [active community](https://forum.nette.org).

We'll be building a simple character listing app with **Nette**. Our app will simply list **10 Game of Thrones characters** and their real names. Once we add authentication to the app, all logged-in users will have the privilege of knowing their names. Non logged-in users won't have access to any data.

**Note:** Check out how we built this small secure app with [Laravel](https://auth0.com/blog/creating-your-first-laravel-app-and-adding-authentication/).

## Let's get started

Nette utilizes [Composer](http://getcomposer.org/) to manage its dependencies. So, before using Nette, make sure you have Composer installed on your machine. We can install Nette by issuing the Composer `create-project` command in your terminal like so: `composer create-project nette/web-project GOT`.

If you are developing on a Mac OS X or Linux, you need to configure write privileges to the web server by doing `cd GOT && chmod -R a+rw temp log`.

## Explore Directory Structure

The app directory is the **bulk** of your Nette application. It contains the following directories:

![Nette Directory Structure](https://images.ctfassets.net/23aumh6u8s0i/4qYaIjWgKAfhTKlJsk6FuO/bceae2ca6be74843bde0dac7f81cbc09/nettedirectorystructure)

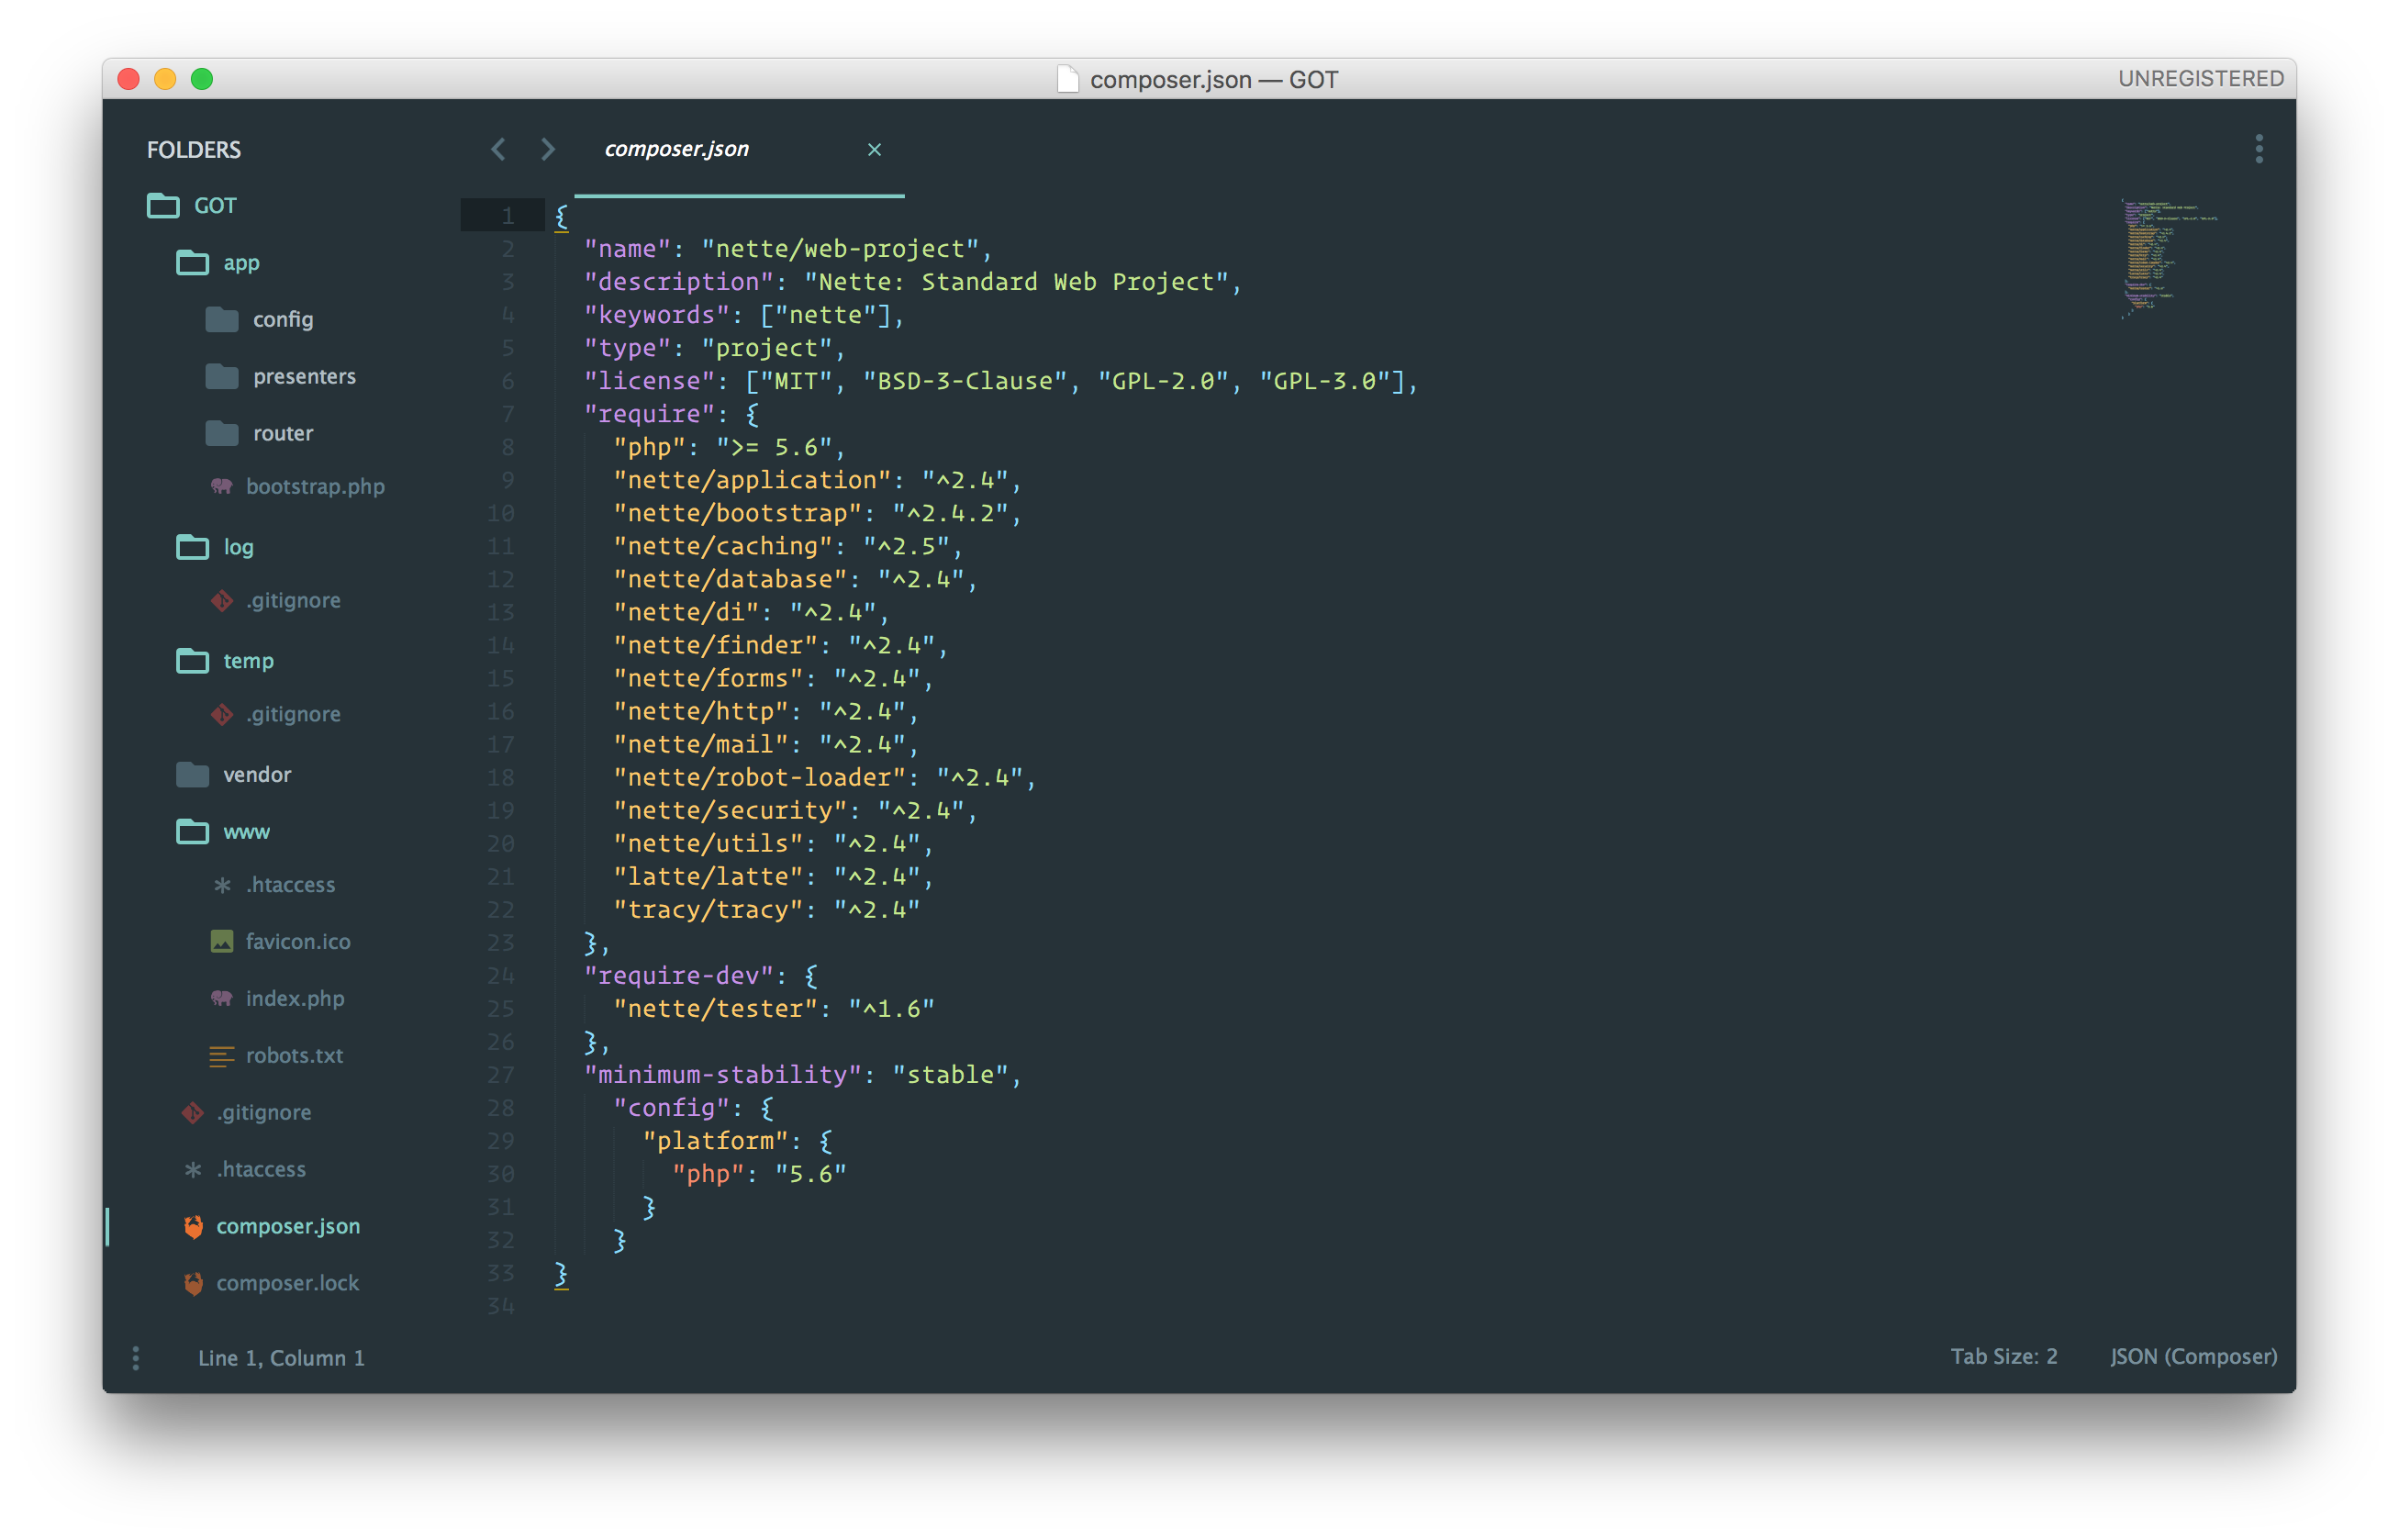
  * `config` - Contains all your configuration files such as database connection, session expiry time, etc.
  * `presenters` - Contains all your presenter classes and templates
  * `router` - Contains configuration for your app URLs.

The other directories namely:

  * `log` contains your app log files. You can get all the error message logs here.
  * `temp` contains your app's temporary files such as cache and session files.
  * `vendor` contains your app dependencies.
  * `www` is the only directory accessible from the web. It is supposed to store publicly available files such as images, javascript and css files.


## Setting Up The Controller

In Nette, the presenters are the controllers. They connect the models and the views. We already have the _HomePagePresenter_. Let's use it.

Open up `app/presents/HomepagePresenter.php` and configure it like so:

```php
<?php

namespace App\Presenters;

use Nette;

class HomepagePresenter extends Nette\Application\UI\Presenter
{

  public function renderDefault() {

    $characters = [
         'Daenerys Targaryen' => 'Emilia Clarke',
         'Jon Snow'           => 'Kit Harington',
         'Arya Stark'         => 'Maisie Williams',
         'Melisandre'         => 'Carice van Houten',
         'Khal Drogo'         => 'Jason Momoa',
         'Tyrion Lannister'   => 'Peter Dinklage',
         'Ramsay Bolton'      => 'Iwan Rheon',
         'Petyr Baelish'      => 'Aidan Gillen',
         'Brienne of Tarth'   => 'Gwendoline Christie',
         'Lord Varys'         => 'Conleth Hill'
    ];

    $this->template->characters = $characters;
  }
}
```

`renderDefault()` means we are going to render what we have defined in the function above in a view called `default.latte`.

`$this->template->characters = $characters` indicates that we are passing the `$characters` array variable to the `default.latte` view.

## Setting Up The View

Views are present in the `app/presenters/templates` directory. Our presenter is `HomepagePresenter`. This simply indicates that our default view is in the `app/presenters/templates/Homepage` directory.

Nette follows convention. Presenter templates can be found in `app/presenters/templates/{PresenterName}/{viewName}.latte`.

Open up `app/presenters/templates/Homepage/default.latte` and modify it to look like this:

```html

{block content}
    <h1 n:block="title"></h1>

    <div class="container">
      <div class="row">
          <div class="col-md-10 col-md-offset-1">
              <div class="panel panel-success">
                  <div class="panel-heading">List of Game of Thrones Characters</div>
                    <table class="table">
                        <tr>
                            <th>Character</th>
                            <th>Real Name</th>
                        </tr>
                        {foreach $characters as $key => $value}
                          <tr>
                            <td>{$key}</td><td>{$value}</td>
                          </tr>
                        {/foreach}
                    </table>
              </div>
          </div>
      </div>
    </div>
{/block}

```

By default, the layout template is located in `app/presenters/templates/@layout.latte`. It contains the format for presenting data in the templates.

```bash
{include content}
```

The code above inserts a block named `content` into the main template.

```bash
{block content}
```

You can then place items within the content block which is what we did in our default view.

Just before checking it out, head over to `app/presenters/templates/@layout.latte` and add the link to bootstrap within the head tag like this:

```bash
<link rel="stylesheet" href="https://cdnjs.cloudflare.com/ajax/libs/twitter-bootstrap/3.3.6/css/bootstrap.min.css" integrity="sha384-1q8mTJOASx8j1Au+a5WDVnPi2lkFfwwEAa8hDDdjZlpLegxhjVME1fgjWPGmkzs7" crossorigin="anonymous">
```

The `$characters` array variable passed from the presenter was injected into the default view. And we iterated through it to display the Game of thrones characters.

Head over to your terminal, make sure you are in the `GOT` root directory and ensure you configure write privileges to the web server if you are working on a Mac OS X or Linux system by running this command:

```bash
chmod -R a+rw temp log
```

Now, run the application:

```bash
php -S localhost:8000 -t www
```

Your application should look like this:

![Homepage](https://images.ctfassets.net/23aumh6u8s0i/2Bwf2lKEJWzkr3jIvBeV6S/56606e98a6010ec5cd089f1ef5a53686/homepage)
_Homepage_

![Tracy debug bar - Homepage](https://images.ctfassets.net/23aumh6u8s0i/6rBOyacFImxyFWIPAiLQGX/d38c9aa9e7ac1cb992ee316a61e7d87d/tracydisplay)
_Tracy in action_

![Tracy debug bar - System Info](https://images.ctfassets.net/23aumh6u8s0i/4JWn2p8zjVmnx5lWZnNSZg/e21ebdf7b5e9c998f90c32ea93b2c66d/displaysysteminfo)

Check out Tracy in action. Very easy to know the memory consumption stats and execution time.

## Setting Up Authentication With Auth0

**Auth0** issues [JSON Web Tokens](https://jwt.io/) on every login for your users. This means that you can have a solid [identity infrastructure](https://auth0.com/docs/identityproviders), including [single sign-on](https://auth0.com/docs/sso/single-sign-on), user management, support for social identity providers (Facebook, Github, Twitter, etc.), enterprise identity providers (Active Directory, LDAP, SAML, etc.) and your own database of users with just a few lines of code.

We can easily set up authentication in our Nette apps by using Auth0. If you don't already have an Auth0 account, <a href="https://auth0.com/signup" data-amp-replace="CLIENT_ID" data-amp-addparams="anonId=CLIENT_ID(cid-scope-cookie-fallback-name)">sign up</a> for one now.

> Auth0 provides the simplest and easiest to use [user interface tools to help administrators manage user identities](https://auth0.com/user-management) including password resets, creating and provisioning, blocking and deleting users. [A generous **free tier**](https://auth0.com/pricing) is offered so you can get started with modern authentication.

* Navigate to the Auth0 [management dashboard](https://manage.auth0.com/).
* Create a new client and select the type of app as `Regular Web Applications`.

    ![Create a new client](https://images.ctfassets.net/23aumh6u8s0i/EGuQhubUfSCJGsYDs55V8/6d2aadef7514f94943fd8cfde9165b72/createclient)

* Take note of the *client_id*, *domain*, and *secret*. You'll need it soon.

    ![Client details](https://images.ctfassets.net/23aumh6u8s0i/1EqdQLoj6eEabQ2EibLGVf/c5a82094b94881dc0cb556ae70cdda16/clientdetails)


### Step 1: Install and Configure Auth0 PHP package

Go ahead and install the [official Auth0 PHP Plugin](https://github.com/auth0/auth0-php) via composer.

```bash
 composer require auth0/auth0-php
```

### Step 2: Register Auth0 as a Nette Service

Head over to `app/config/config.neon` and add the following under `services:`:

```bash
auth0: Auth0\SDK\Auth0([
    'domain' : '{AUTH0_TENANT_DOMAIN}',
    'client_id' : '{AUTH0_REGULAR_WEBSITE_CLIENT_ID}',
    'client_secret' : '{AUTH0_REGULAR_WEBSITE_CLIENT_SECRET}',
    'redirect_uri' : 'http://localhost:8000/callback',
    'persist_user' : false,
    'store': false
    'debug' : true
  ])
```

We need to create a new presenter, `AuthenticationPresenter` to handle our authentication logic.

_app/presenters/AuthenticationPresenter.php_

```php
<?php

namespace App\Presenters;

use \Tracy\Debugger;
use \Nette\Http\IResponse;
use \Nette\Application\UI\Presenter;
use \Nette\Application\BadRequestException;
use \Nette\Security\AuthenticationException;

class AuthenticationPresenter extends Presenter {

  /** @var \Auth0\SDK\Auth0 @inject */
  public $auth0;

  public function actionLogin() {
    $this->auth0->login();
  }

  public function actionLogout() {
    $this->auth0->logout();
    $this->getUser()->logout();

    $this->redirect('Homepage:');
  }

  public function actionCallback($code) {
    try {
      $this->getUser()->login($code);

      $this->redirect('Homepage:');
    } catch (AuthenticationException $e) {
      Debugger::log($e, Debugger::ERROR);
      throw new ForbiddenRequestException('User not authenticated', IResponse::S403_FORBIDDEN, $e);
    }
  }

}
```

In the code above, you can see that the Auth0 service is being injected into the presenter using the `@inject` annotation. The `actionLogin` method is responsible for invoking the login function that will redirect the user to Auth0 hosted login page.

The `actionLogout` method is responsible for clearing the sessions and any Auth0 data stored in the app. It logs the user out and redirects back to the home page.

The `actionCallback` method is responsible for handling the authentication flow. When the authentication is successful from Auth0, it performs a client credential exchange and returns an authorization code.

### Step 3: Configure Auth0 Authenticator

Head over to `app/config/config.neon` and add the following under `services:`:

```bash
services:
  auth0Authenticator: App\Model\Auth0Authenticator
```

Now, create a `model/Auth0Authenticator.php` file inside the `app` directory.

Add code to the file like this:

```php
<?php

namespace App\Model;

use \Tracy\Debugger;
use \Auth0\SDK\Auth0;
use \Nette\Security\Identity;
use \Nette\Security\IIdentity;
use \Nette\Security\IAuthenticator;
use \Nette\Security\AuthenticationException;

class Auth0Authenticator implements IAuthenticator {

  /** @var \Auth0\SDK\Auth0 */
  private $auth0;

  public function __construct(Auth0 $auth0) {
    $this->auth0 = $auth0;
  }

  /**
   *  @param $args[0] Authorization Code
   *  @throws AuthenticationException
   */
  public function authenticate(array $args) : IIdentity {
    if (sizeof($args) > 0 && !empty($args[0])) {
      $code = $args[0];

      if ($this->auth0->exchange()) {
        return new Identity($this->auth0->getUser()['email'], NULL, $this->auth0->getUser());
      } else {
        throw new AuthenticationException('Auth0 code not exchanged successfully; user not authenticated.');
      }
    } else {
      throw new AuthenticationException('Auth0 code not provided; user not authenticated.');
    }
  }

}
```

This is where the credentials exchange happen, and the user info is gotten from Auth0 and injected into Nette via the Identity class.

### Step 4: Configure Routing

The default login and logout routes are `/authentication/login`, and `/authentication/logout` respectively. We'll change them to `/login` and `/logout` respectively.

Open up `app/router/RouterFactory.php` and add the following routes:

```php
...
$router[] = new Route('login', 'Authentication:login');
$router[] = new Route('logout', 'Authentication:logout');
$router[] = new Route('callback', 'Authentication:callback');
$router[] = new Route('<presenter>/<action>[/<id>]', 'Homepage:default');
```

We also added the `callback` route.

**Note:** Head over to your Auth0 client and configure the callback route in **Allowed Callback URLs**.

![Add Callback Route](https://images.ctfassets.net/23aumh6u8s0i/1gTpagCIQWaDpcG96PyBT6/2026f99416c0e2805383325354c18477/callback)
_Add Callback Route_

### Step 5: Configure The View

Head over to `app/presenters/templates/Homepage/default.latte` and replace everything with the code below:


```html

{block content}
    <h1 n:block="title"></h1>

    <div class="container">
      <div class="row">
          <div class="col-md-10 col-md-offset-1">
            {if $user->isLoggedIn()}
            <div class="panel panel-info">
              <div class="panel-heading">You are now logged in, {$user->getIdentity()->nickname} </div>
            </div>
            {/if}
            <div class="panel panel-success">
              <div class="panel-heading">List of Game of Thrones Characters</div>
              {if $user->isLoggedIn()}
                <table class="table">
                    <tr>
                        <th>Character</th>
                        <th>Real Name</th>
                    </tr>
                    {foreach $characters as $key => $value}
                      <tr>
                        <td>{$key}</td><td>{$value}</td>
                      </tr>
                    {/foreach}
                </table>
              {/if}
            </div>
            {if !$user->isLoggedIn()}
              <a href="{link Authentication:login}" class="btn btn-info"> You need to login to see the list 😜😜 >></a>
            {/if}
            {if $user->isLoggedIn()}
              <a href="{link Authentication:logout}" class="btn btn-info"> Logout >></a>
            {/if}
          </div>
      </div>
    </div>
{/block}

```

In the code above, we have some variables and function call:

* `$user->isLoggedIn()`: The `$user` variable is an [object](https://api.nette.org/2.4/Nette.Security.User.html) that is injected into the templates by default from Nette presenters and components. It represents the user. There are methods that can be called on it such as `isLoggedIn`, `login`, `logout`, etc. Here, we use to determine if the user is logged in or not.
* `$user->getIdentity()->nickname`: The `$user->getIdentity()` function call is used to get the identity of the user. Identity represents a set of user information, as returned by the authenticator in use. In our app, we used a custom authenticator, _auth0Authenticator_. And that gives us the full range of [user information](https://auth0.com/docs/user-profile) that Auth0 returns. Therefore, we can access every Auth0 user attribute like so:

```bash
$user->getIdentity()->nickname // returns user name
$user->getIdentity()->email // returns user email
```

**Note:** Check out [Nette's Access control](https://doc.nette.org/en/2.4/access-control) for a deeper understanding of how the user object works.

### Step 6: Run Your App

Now that everything is in place, go ahead and run your app.

![Homepage](https://images.ctfassets.net/23aumh6u8s0i/10SlRXpsOLBJ6BZ2sMtPzh/739978bdb07fef42020a72476877b368/start)
_Homepage_

![About to Login](https://images.ctfassets.net/23aumh6u8s0i/4r7VkEdMX5GdGQjCgIDBCo/a779cef99aee75022b3ec0b596a686e6/hostedlogin)
_Auth0 Hosted Login_

![LoggedIn](https://images.ctfassets.net/23aumh6u8s0i/9QZfCYYmTRwmnuK3UZWIg/0b3a5e15cf27ac924b822d28e448ec56/loggedin)
_User is logged in_

## Wrapping Up

Well done! You have just built your first app with Nette. It focuses on simplicity, clarity and getting work done. As we saw in this tutorial, you can easily add authentication to your Nette apps.

This tutorial is designed to help you get started on building and adding authentication to your own apps with the Nette framework. You can leverage the knowledge gained here to build bigger and better apps.

Please, let me know if you have any questions or observations in the comment section. 😊
