---
title: "Building and Securing MobX Apps with Auth0"
description: "Learn how to build React apps with MobX and secure them with Auth0."
authors:
- name: "Idorenyin Obong"
url: "https://auth0.com/blog/authors/idorenyin-obong/"
date: "Jan 21, 2020"
category: "Developers,Tutorial,MobX"
tags: ["mobx", "react", "store", "redux"]
url: "https://auth0.com/blog/building-and-securing-mobx-apps-with-auth0/"
---
# Building and Securing MobX Apps with Auth0
**TL;DR:** [MobX](https://mobx.js.org/) is one of the popular state management libraries out there. It is frequently used with JavaScript frameworks such as [React](https://reactjs.org/) and [VueJs](https://vuejs.org/). [Auth0](https://auth0.com/), on the other hand, is an identity management solution for both web and mobile apps. In this article, you will learn how to build and secure MobX apps with Auth0. The fully functional app can be found on this [GitHub Repository](https://github.com/auth0-blog/auth0-mobx-ga).
## Prerequisites
You are expected to have prior knowledge of building web apps with React and state management with MobX. If you still need to learn a thing or two about that, [here is a good resource](https://auth0.com/blog/managing-the-state-of-react-apps-with-mobx/) to get you started. Asides that, you need [Node.js](https://nodejs.org/en/) and [NPM](https://www.npmjs.com/) installed on your machine. If you don't have that, follow the links to set it up on your machine.
## Introduction
State management is one of the major talking points of software applications, and React apps are not exempt. It is one of the many functionalities that come packed with React by default. Little wonder React is even referred to as a _state management library_ by some. Because of how important state management is, a lot of solutions have sprung up in an attempt to make it easier. MobX is one of three popular options out there to help manage your state in React apps. Other options include [React Context API](https://reactjs.org/docs/context.html) and [Redux](https://redux.js.org/).
MobX uses a more reactive approach to state management. Some of the core concepts of MobX includes the following:
* Observable state: With this concept, you can make an object emit new changes when they are updated. They are usually represented with the `@observable` decorator.
* Observers: The observers are notified of changes made on the observable state. And so the observable state and observers work hand in hand.
* Computed values: Computed values are used to derive values from an observable state. Let's say you have a function that works with an object marked as `@observable`. Anytime the object changes, the function will be automatically computed and the value derived. Computed values are usually represented with the `@computed` decorator.
* Actions: These are functions that modify state. Typically, you will use actions for functions that modify observables. There are represented with the `@action` decorator.
* Reactions: MobX reactions are similar to computed values. But instead of producing a new value, a reaction simply triggers a side effect (side operation). There are three types of reaction functions - `when`, `autorun`, and `reaction`.
MobX is not just a React library; it is also compatible with other JavaScript libraries and frameworks that power the frontend of web apps. If you are a little short in the knowledge of MobX, you can make do with this [resource](https://auth0.com/blog/managing-the-state-of-react-apps-with-mobx/) and the official [docs](https://mobx.js.org/README.html).
## What You Will Build
In this tutorial, you will build a shopping cart. This is a common functionality you see in e-commerce apps where a user can add and subtract items to and from a cart. Implementing a cart involves keeping track of products a user wishes to buy, their respective quantities and prices. You will use MobX to store and manage the cart data in the app. The app will also need users to log in to access the shopping cart, and that's where Auth0 will come in. You will use Auth0 to handle authentication in the app. You can find the entire code used in this article on this [repo](https://github.com/auth0-blog/auth0-mobx-ga).
## Scaffolding Your React App
One of the fastest ways to bootstrap a React app is via the [create-react-app](https://github.com/facebookincubator/create-react-app) package. You will use this to bootstrap your project. If you are using an old version of `create-react-app` you would have to update it by following the instructions [here](https://create-react-app.dev/docs/getting-started/).
Open a terminal window, move into a directory of your choice and run this command:
```bash
npx create-react-app auth0-mobx-app
```
This will generate a new project named **auth0-mobx-app** in the directory where you ran the command. This process will take a few minutes.
Now that you have generated your project, the ideal thing to do next is to install dependencies that you need in the course of developing your app. If you are not in the directory of your MobX app yet, use this command to move into the directory:
```bash
cd auth0-mobx-app
```
After that, go ahead and install the dependencies by running this command:
```bash
npm install mobx mobx-react react-router react-router-dom @auth0/auth0-spa-js
```
This command will install the following dependencies:
- `mobx`: This is the main MobX library that powers state management.
- `mobx-react`: This library contains React specific functions available through MobX.
- `react-router-dom` and `react-router`: These libraries will be used to add page navigation to the app.
- `auth0-spa-js`: This is the Auth0 client-side library.
## Setting Up MobX
MobX uses decorators to handle its state management and React doesn't come with support for decorators by default. So you will install a babel plugin `@babel/plugin-proposal-decorators`. Still, on your terminal, run the following commands:
```bash
npm install @babel/plugin-proposal-decorators
```
After installation, you have to eject the React app to be able to configure the babel plugin you just installed. To eject the React app, run the following command on your terminal. Ensure that you commit your code to git before running the command below:
```bash
npm run eject
```
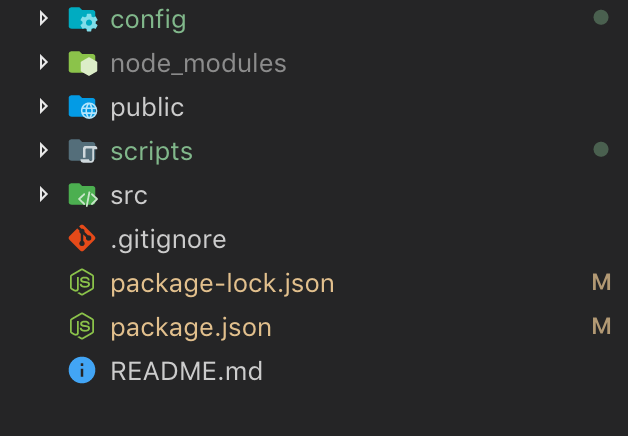
This command ejects some scripts and configs initially inside the `node_modules` to the project folder so you get a project structure as shown below:
After that, add the configuration for the babel plugin you just installed. Create a `.babelrc` file in the project directory and add the following configuration to the file as shown below:
```json
// .babelrc
{
"presets": ["react-app"],
"plugins": [
[
"@babel/plugin-proposal-decorators",
{
"legacy": true
}
]
]
}
```
To avoid conflict with the babel plugin configurations, you need to delete the existing babel configuration in `package.json`. Open the `package.json` file and remove this snippet from the file:
```json
"babel": {
"presets": [
"react-app"
]
}
```
Now, you need to create a store for your application. Stores are usually compulsory in MobX apps. One of the main points of having them is that they help you move logic and state out of your components into a standalone testable unit that can be used in both frontend and backend JavaScript. This is usually a good idea if you want to write maintainable and testable apps.
Go ahead and create a `Store.js` file in the `src` folder. After creating the file, paste this snippet inside it:
```javascript
// src/Store.js
class Store {
products = [
{
id: 1,
name: 'Tshirt sleeker',
description: 'Wonderfully fitted',
price: 50,
image: require('./img/image-1.jpg')
},
{
id: 2,
name: 'Tshirt sleeker',
description: 'Wonderfully fitted',
price: 350,
image: require('./img/image-2.jpg')
},
{
id: 3,
name: 'Tshirt sleeker',
description: 'Wonderfully fitted',
price: 250,
image: require('./img/image-3.jpg')
}
];
carts = [];
currentCart = [];
removeFromCart(id) {
this.carts = this.carts.filter(item => {
return item.product_id !== id;
});
this.getCart();
}
increaseQuantityInCart(id) {
this.carts.map(item => {
if (item.product_id === id) item.quantity += 1;
return item;
});
this.getCart();
}
decreaseQuantityInCart(id) {
this.carts.map(item => {
if (item.product_id === id && item.quantity > 1) item.quantity -= 1;
return item;
});
this.getCart();
}
addToCart(id) {
let found = false;
this.carts.map(item => {
if (item.product_id === id) {
item.quantity += 1;
found = true;
}
return item;
});
if (!found) {
this.carts.push({ product_id: id, quantity: 1 });
}
this.getCart();
}
getCart() {
let carts = this.carts;
carts.map(item => {
for (let i in this.products) {
if (item.product_id === this.products[i].id) {
item.image = this.products[i].image;
item.name = this.products[i].name;
item.description = this.products[i].description;
item.price = this.products[i].price * item.quantity;
}
}
return item;
});
this.currentCart = carts;
}
}
export default Store;
```
From the snippet above, you created a store that holds the state of the app. Here is a breakdown of what each state object does:
- `products` - This is an array that will store all the available products a user can add to the cart. Here, there are three hardcoded items in `products`.
- `carts` - This is an array that will store items added to the cart by the user.
- `currentCart` - This is also an empty array and it is similar to the `carts` array. But this holds the initial state of the cart when the user enters the system or logs on to the system.
- `removeFromCart` - This function will be used to remove an item from the `carts` array.
- `increaseQuantityInCart` - This function will be used to increase the quantity of a particular item in the `carts` array.
- `decreaseQuantityInCart` - This function will be used to decrease the quantity of a particular item in the `carts` array.
- `addToCart` - This function will be used to add a new item to the `carts` array.
- `getCart` - This function returns all the data in the `carts` array.
## Creating Your Components
In this section, you will build the various components for your app. Before you start building, you need to add Bootstrap and Font Awesome CDN links. You will use them both to style your app.
Open the `public/index.html` file and add these links in the `` tag:
``` html
```
Next, open the `App.css` file and replace its content with this snippet:
```css
/* src/App.css */
.formSection {
margin-top: 30px;
}
.formSection p {
font-weight: bold;
font-size: 20px;
}
.dashboardSection {
margin-top: 50px;
}
.reviewsWrapper {
margin-top: 50px;
}
.top-space {
margin-top: 30px;
}
.price {
padding: 7.5px;
border: 1.2px solid #ffc107;
color: #807e7b;
width: 100px;
font-size: 14px;
font-weight: bold;
padding-left: 15px;
padding-right: 15px;
border-radius: 3px;
}
.detail {
display: flex;
flex-direction: row;
justify-content: space-between;
}
.product-cart-name {
font-size: 12px;
}
.control > .btn {
padding: 0px 5px;
font-size: 11px;
margin-right: 5px;
height: 20px;
}
.quantity {
font-size: 14px;
}
.cart {
display: flex;
flex-direction: row;
justify-content: space-between;
align-items: center;
margin: 10px;
}
.cancel {
padding: 0px 3px;
font-size: 10px;
line-height: 10px;
height: 20px;
}
.login {
background-color: #353535;
padding: 40px;
margin-top: 100px;
text-align: center;
height: 350px;
display: flex;
align-items: center;
justify-content: center;
}
```
The above snippet is the custom styling applied throughout the app to make it look decent.
As mentioned earlier, this application is geared towards building a shopping cart, and so you need some mock data to play with. Here, you need to add some images to the project. Create a folder called `img` in the `src` folder and add three images, namely: `image-1.jpg`, `image-2.jpg`, and `image-3.jpg`. Better still, you can use the images in the [repository](https://github.com/auth0-blog/auth0-mobx-ga/tree/master/src/img).
After setting up the app CSS style and adding images to your project, you will now proceed to build your components.
### The Cart component
Here, you will create the Cart component. This component will be responsible for displaying data in the cart state variable, which you defined in the store. First, create a `components` folder in the `src` folder. Then create a new `Cart.js` file in the `src/components` directory and add the following snippet to it:
```javascript
// src/components/Cart.js
import React, { Component } from 'react';
import { observer, inject } from 'mobx-react';
@inject('store')
@observer
class Cart extends Component {
render() {
return (
);
}
}
export default observer(Cart);
```
In this snippet, you coded the Cart component that will display items a user adds to the cart. For each item in the cart, you will display the image, name, description, price, and quantity. These items can be increased, reduced, or removed entirely by calling specific actions defined in the store.
### The Product component
Next up, you will build the Product component. The Product component will be responsible for displaying all the items available for the user to add to cart and purchase. Typically, this will be populated by your backend API. But for the sake of this tutorial, they have been hardcoded for you in the store.
Create a new file `Product.js` in the `src/components` directory and add the following snippet to it:
```javascript
// src/components/Product.js
import React, { Component } from 'react';
import { observer, inject } from 'mobx-react';
import Cart from './Cart';
@inject('store')
class Product extends Component {
addToCart(id) {
this.props.store.addToCart(id);
}
list(data, index) {
return (
);
}
}
export default observer(Product);
```
Here, you have the Product component that displays all the products available in the store. The Product component is wrapped with a higher-order component (i.e., observer) which automatically subscribes the component to an observable(in this case, `products`) so that this component only re-renders when there is a change in the `products` array.
You also imported and rendered the Cart component defined above to give the user a visual representation of the items in the cart when the user adds or removes an item.
Next, open the `src/index.js` file and replace the default code with this snippet:
```javascript
// src/index.js
import React from 'react';
import ReactDOM from 'react-dom';
import App from './App';
import { BrowserRouter } from 'react-router-dom';
ReactDOM.render(
,
document.getElementById('root')
);
```
The difference between this snippet and the default one is that now you're wrapping your entire component tree with the `BrowserRouter` imported from the `react-router-dom` package.
Next, replace the code in your `src/App.js` file with this snippet:
```javascript
// src/App.js
import React, { Component } from 'react';
import Product from './components/Product';
import { Provider } from 'mobx-react';
import { withRouter } from 'react-router';
import { Route } from 'react-router-dom';
import Store from './Store';
import { decorate, observable, action } from 'mobx';
import './App.css';
decorate(Store, {
products: observable,
addToCart: action,
increaseQuantityInCart: action,
decreaseQuantityInCart: action,
removeFromCart: action,
currentCart: observable
});
const shoppingStore = new Store();
class App extends Component {
render() {
return (
} />
);
}
}
export default withRouter(App);
```
In this snippet, you imported the `Store` defined earlier. The decorate utility designates the `products` and `currentCart` as the entity that can be observed by components for changes. While the `addToCart`, `increaseQuantityInCart`, `decreaseQuantityInCart`, and `removeFromCart` functions are used to update the store by manipulating the cart.
Finally, you set the Product component to be the home(`/`) route of the application.
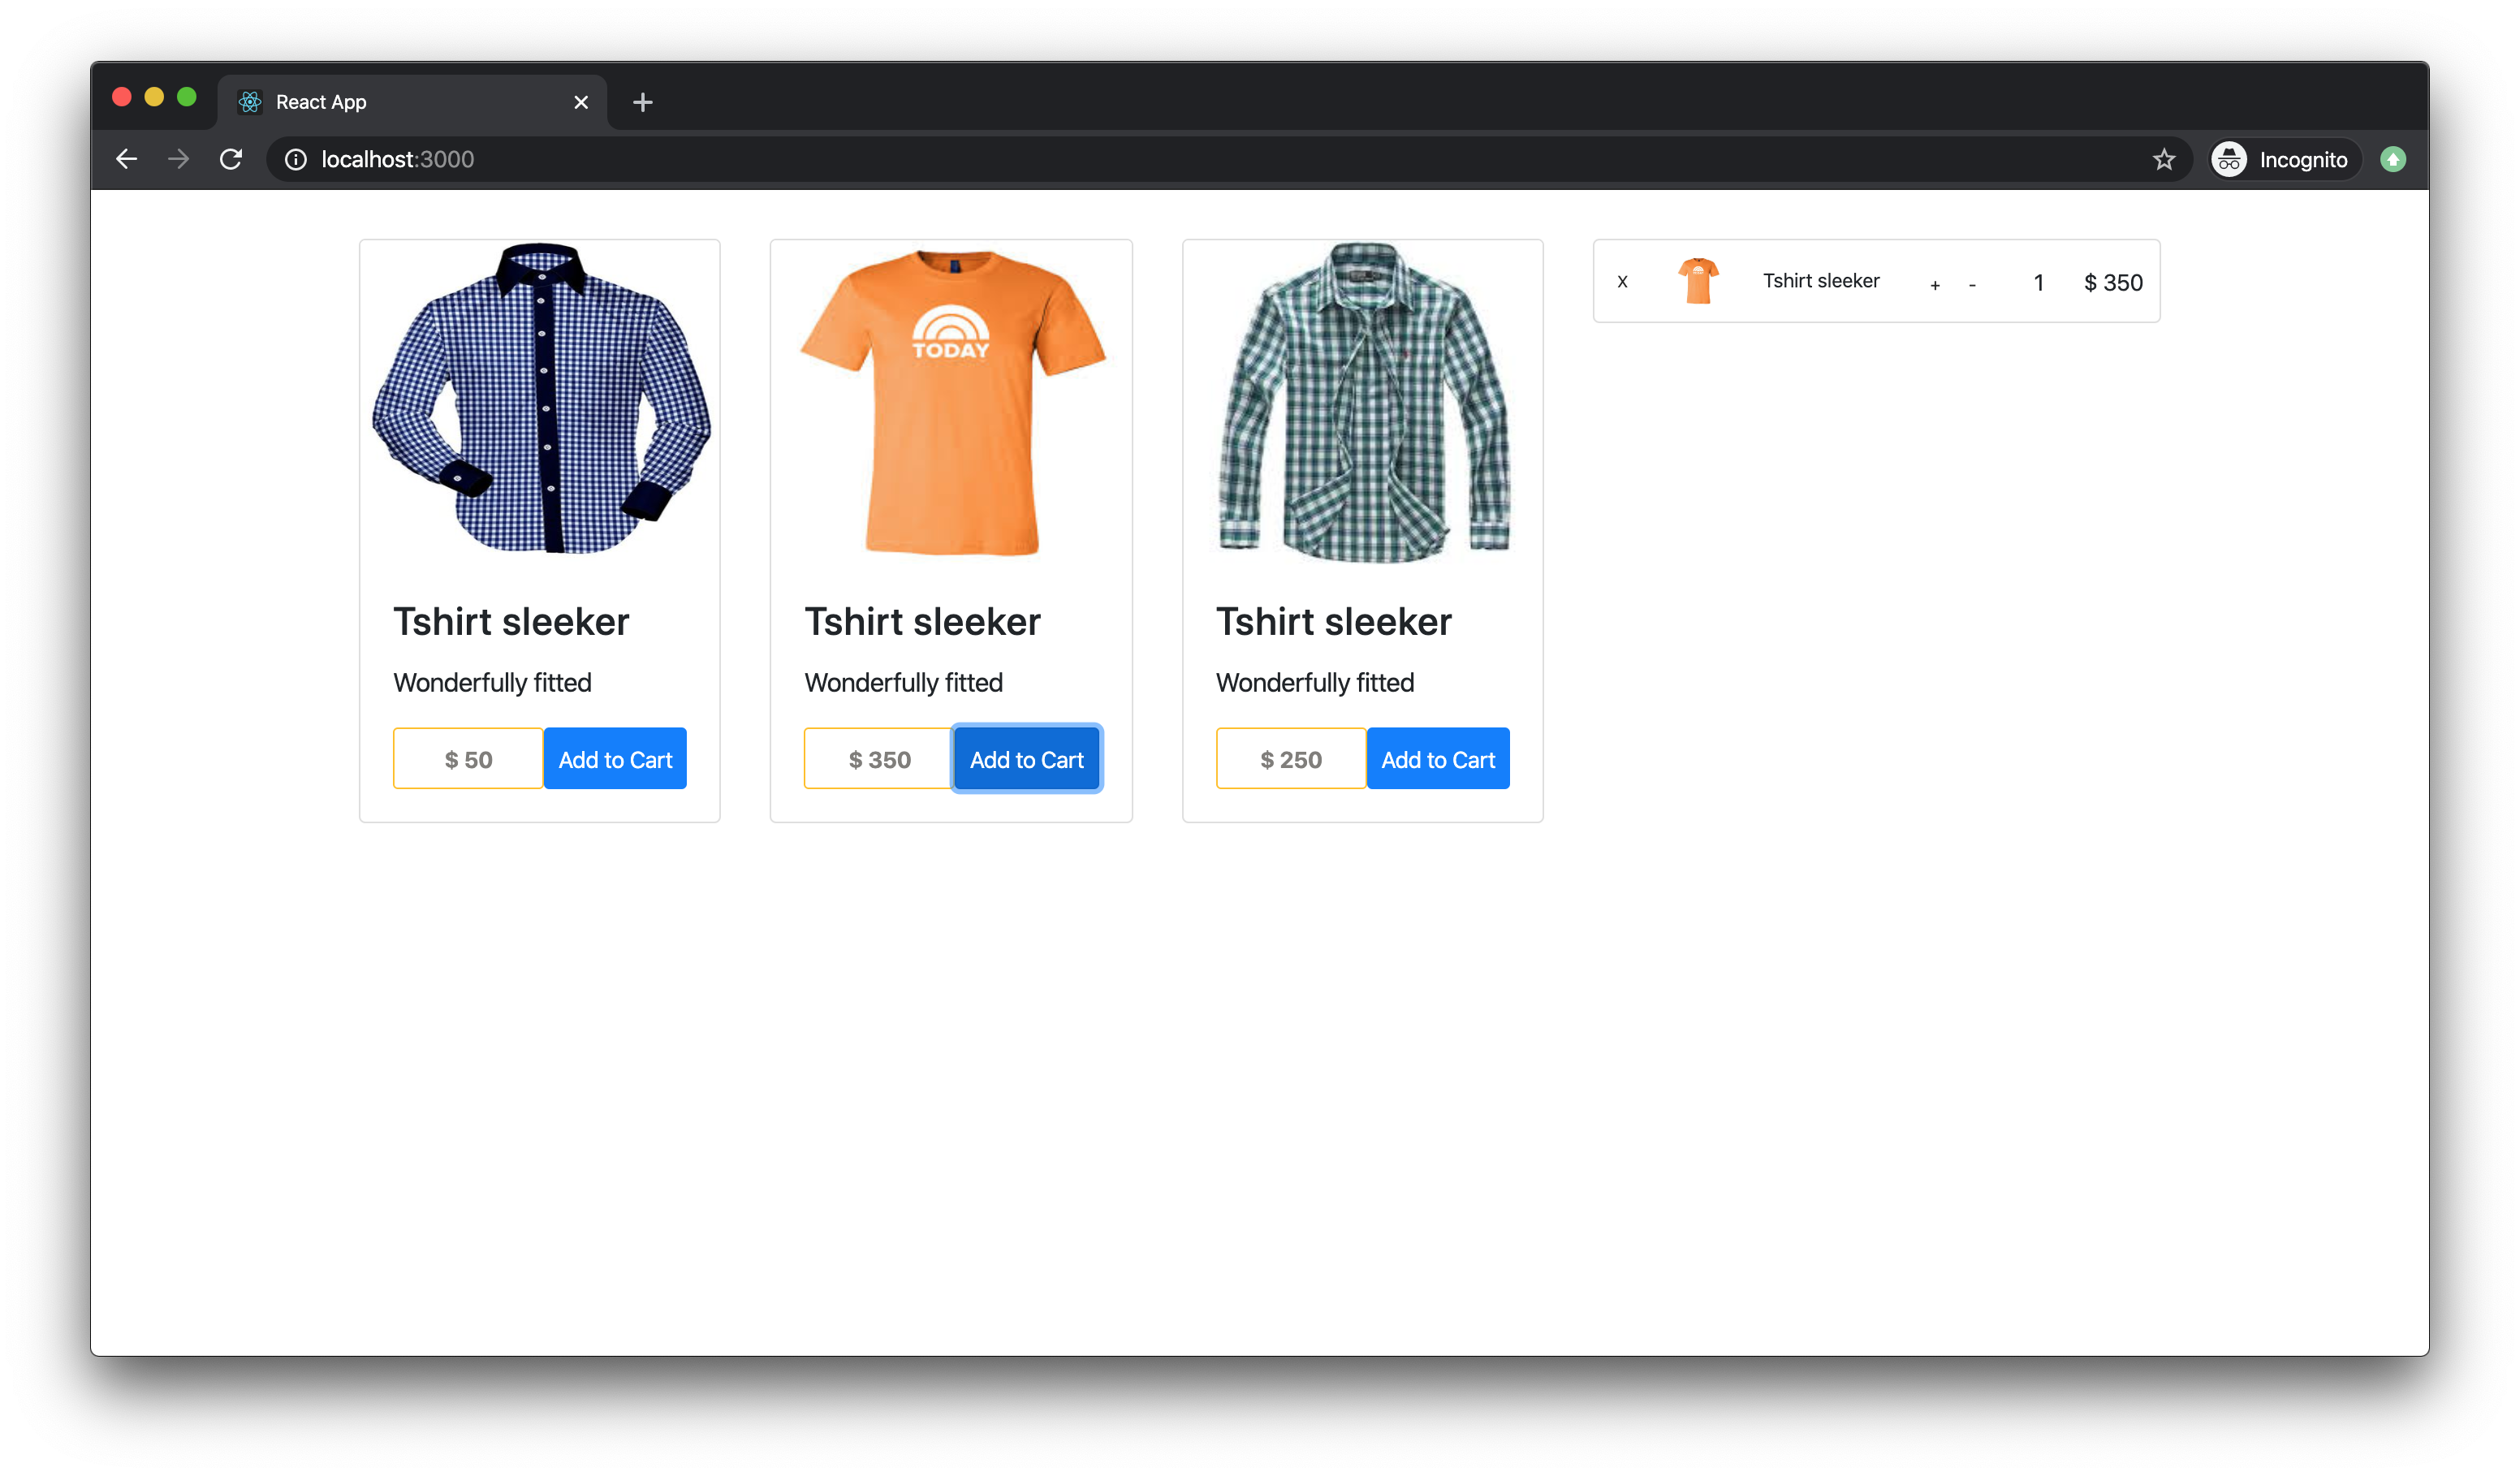
At this point, you can test your app by running this command in the project terminal:
```bash
npm run start
```
You should have something like this:

## Securing Your App With Auth0
Auth0 is a modern identity platform for rapidly integrating authentication and authorization for web, mobile, and legacy applications so you can focus on your core business.
To secure the app with Auth0, you need an Auth0 account. Create an account here or [login to your account](https://auth0.com/auth/login). When you get to your dashboard, click on the orange **Create Application** button.
You will be presented with a dialog like this:
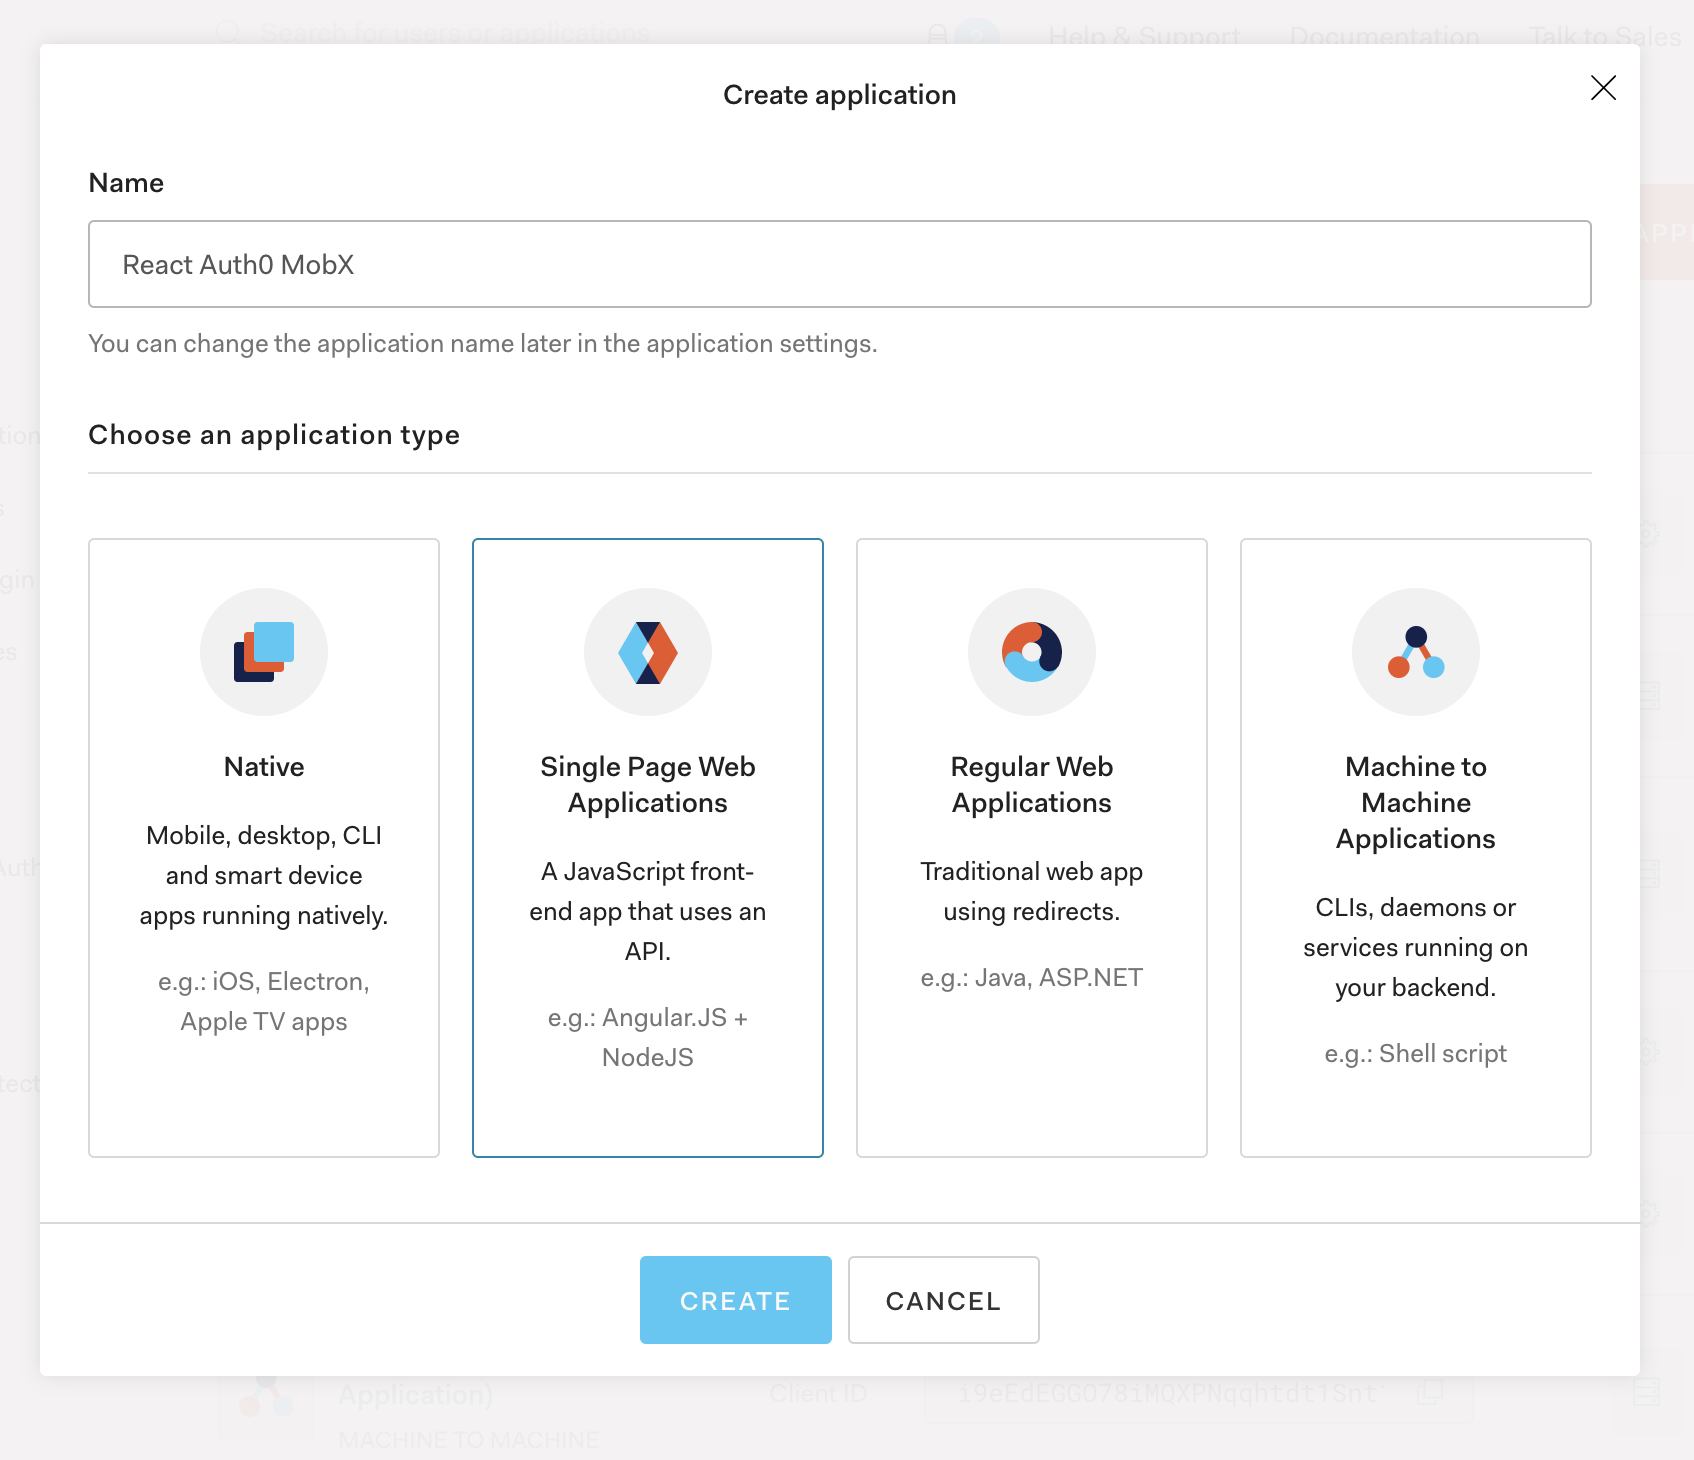
Enter a suitable name for your app and select **Single Page Web Applications** as the type. After that, click the **Create** button.
When your application has been created, you will see a page like this once you click the "Settings" tab:
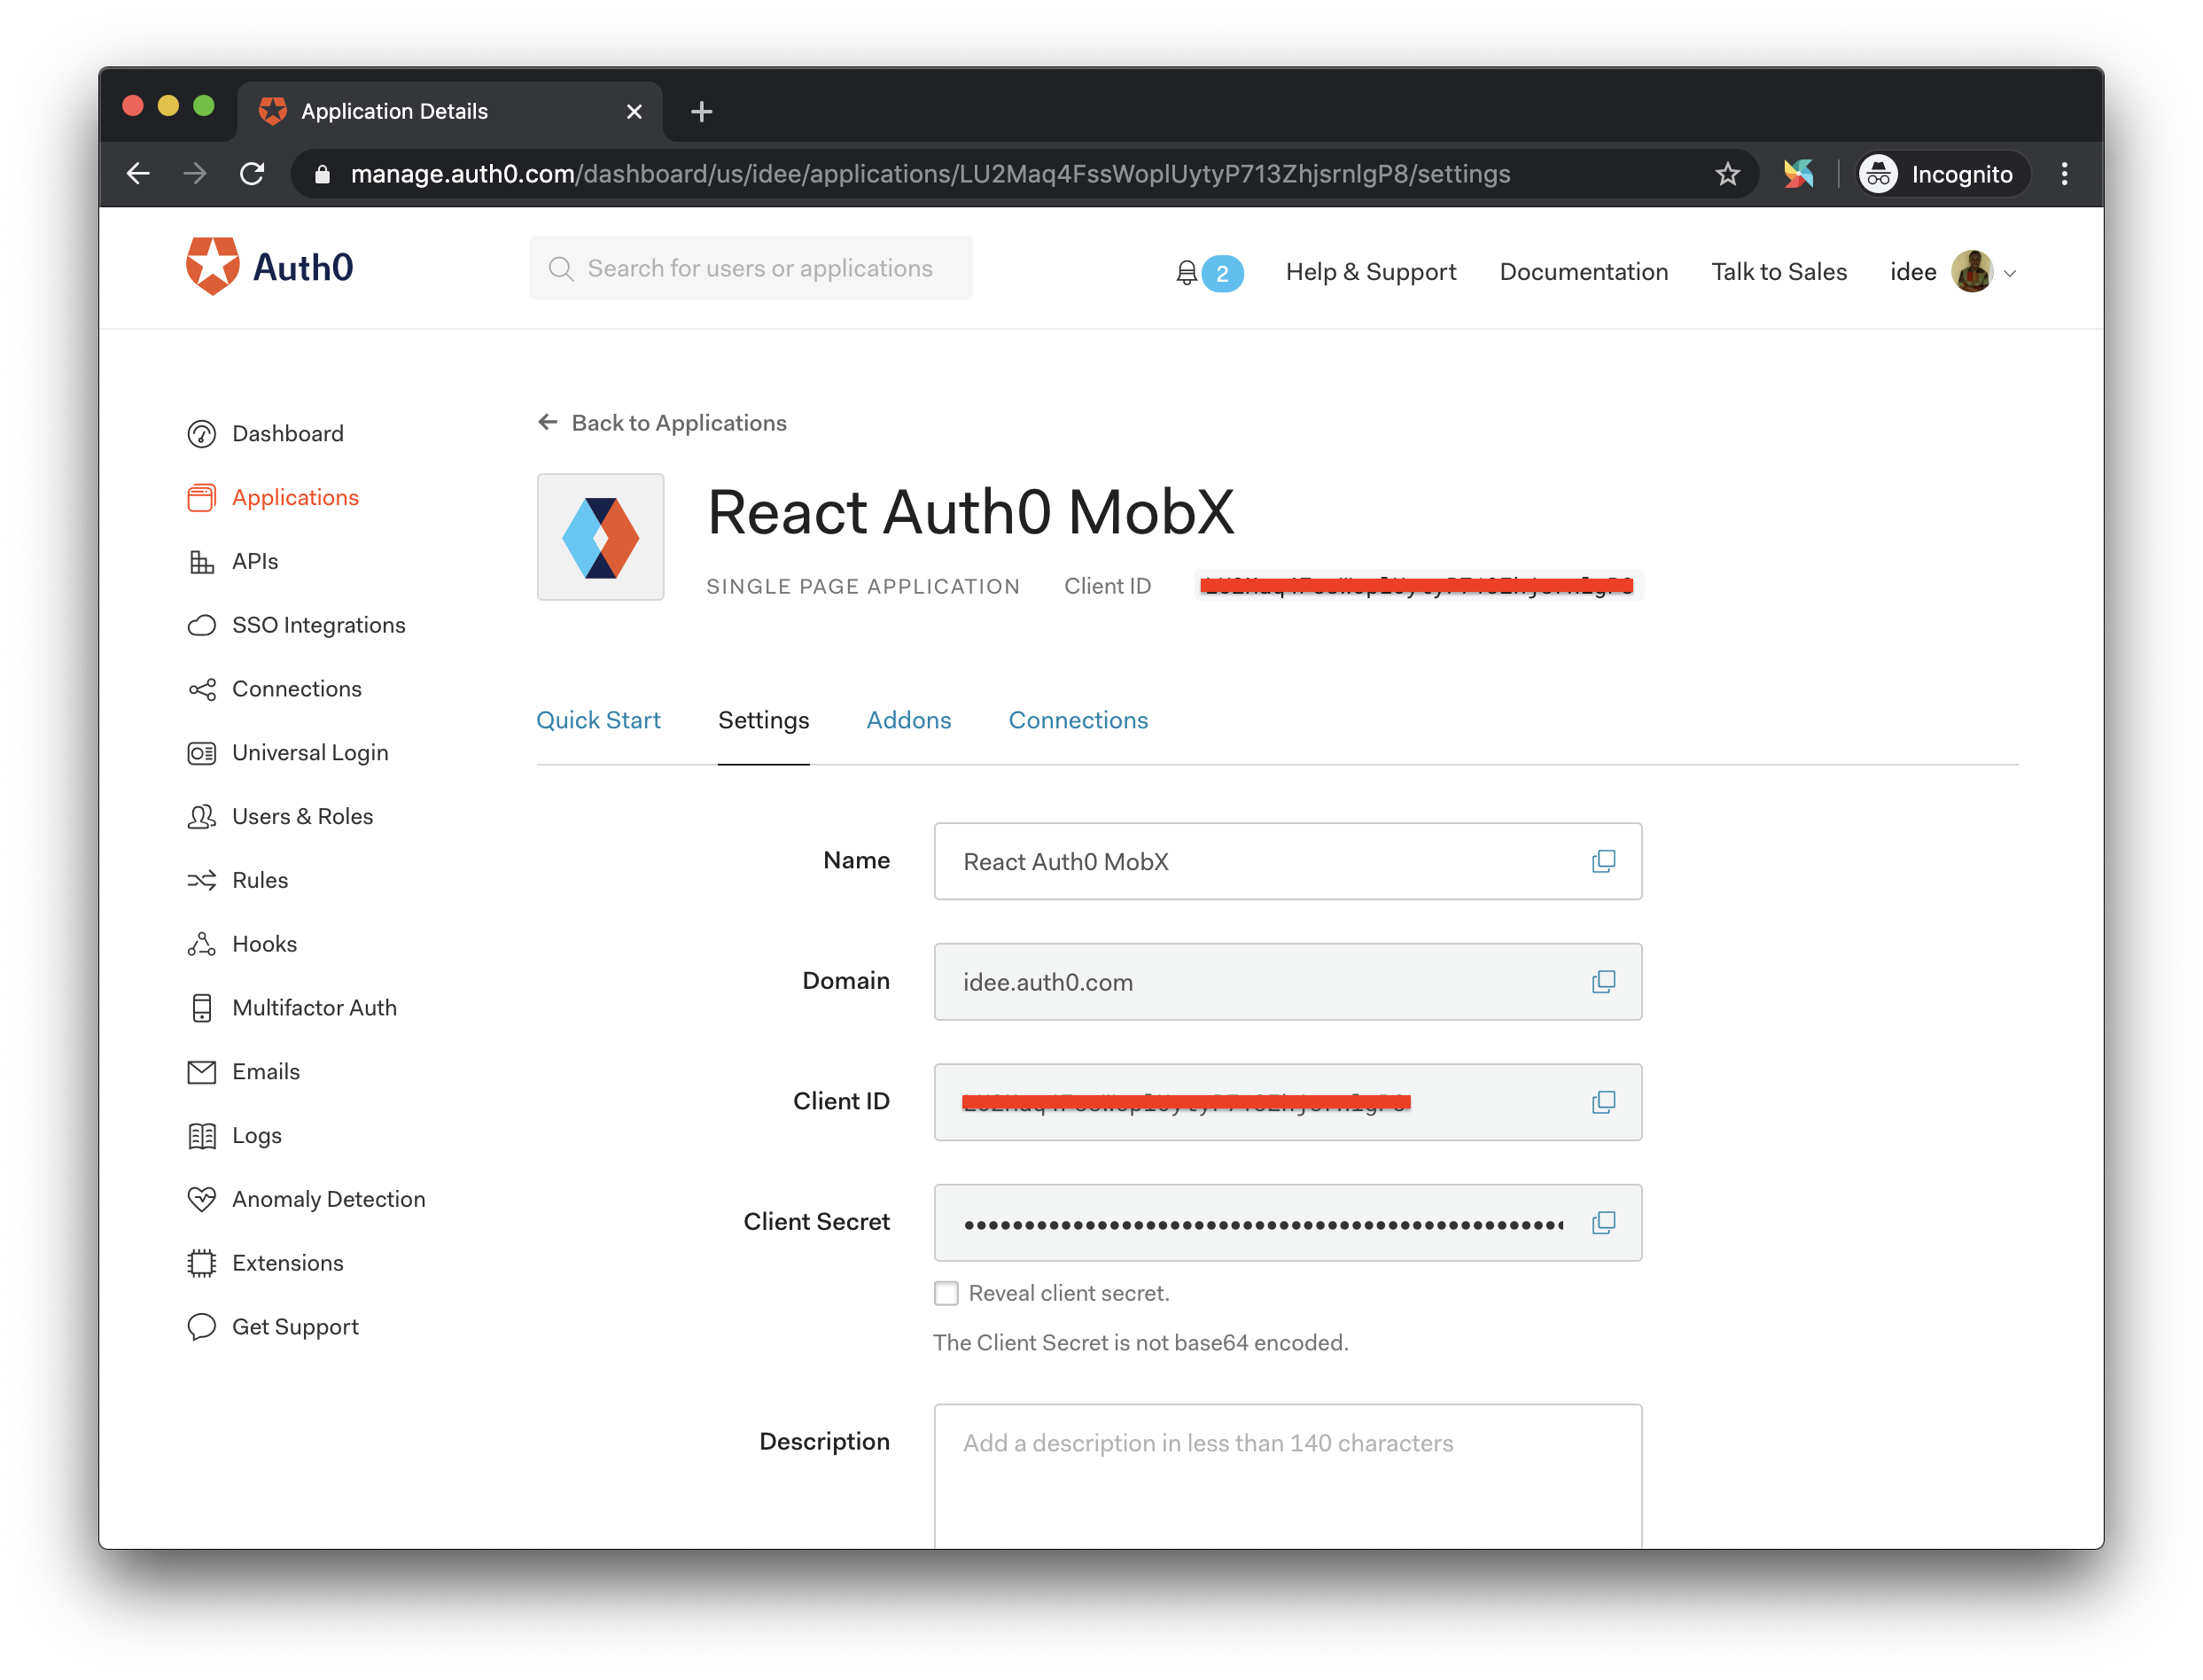
Go to the **Settings** tab, scroll to where you have Allowed Callback URLs, add this URL `http://localhost:3000/callback` and click **Save Changes** at the bottom of the page.
> Copy out your ClientID and Domain as you will need them soon.
Now that you have set up your Auth0 app, you will go ahead with the Auth0 implementation in your code. You will begin by adding some state objects in the store. Open the `Store.js` file and add these:
```javascript
// src/Store.js
class Store {
// ... Leave the other objects and functions untouched
loading = true;
auth0 = null;
authenticated = null;
setLoader(loading) {
this.loading = loading;
}
setAuth(token) {
this.authenticated = token;
}
initialize(auth0) {
this.auth0 = auth0;
}
}
```
Here is what the objects and functions you just added do:
- `loading` - This is used to control loaders which indicates whether a process has completed or not.
- `auth0` - This is the variable that will hold the instance of the initialized Auth0 client.
- `authenticated` - This is the variable that will hold the token generated after authenticating a user with `auth0`.
- `setLoader` - This function will be used to alter the state of the loading variable.
- `setAuth` - This function will be used to set the token generated for a user after authentication with `auth0`.
- `initialize` - This function will be used to update the initialized Auth0 client.
Next, create an `Auth` folder in the `src/components` directory. So, you'll have a directory like this `src/components/Auth`, create an `Auth.js` file there and paste this snippet:
```javascript
// src/components/Auth/Auth.js
import createAuth0Client from '@auth0/auth0-spa-js';
import {Component} from 'react';
import {inject } from 'mobx-react';
@inject('store')
class Auth extends Component{
async componentWillMount(){
let auth0 = await createAuth0Client({
domain: 'AUTH0_DOMAIN',
client_id: 'AUTH0_CLIENT_ID',
redirect_uri: 'http://localhost:3000/callback',
responseType: 'token id_token',
scope: 'openid profile'
});
this.props.store.initialize(auth0);
this.props.store.setLoader(false);
}
render(){
return(null);
}
}
export default Auth;
```
This class is responsible for bootstrapping Auth0 in the app. It initializes the `auth0` client with the credentials provided and updates it on the store.
> Remember to replace the placeholders with your Auth0 credentials from your dashboard. The Auth component will handle all of the logic concerned with authenticating the user.
### Building the Login component
Here, you will build a Login component. This component will be responsible for logging the user in. A user won't be allowed to view the Products component unless logged in.
Now create a new `Login.js` file in the `src/components/Auth` folder and paste this snippet in it:
```javascript
// src/component/Auth/Login.js
import React, { Component } from 'react';
import { observer, inject } from 'mobx-react';
@inject('store')
@observer
class Login extends Component {
render() {
return (
);
}
}
export default Login;
```
The Login component only displays a login button. Attached to the button is an `onClick` listener that calls the `loginWithRedirect()` method from the `auth0` client. The login button is disabled and shows a loading icon until `auth0` client initialization is complete.
Earlier in your Auth0 dashboard, you set a callback URL as `http://localhost:3000/callback`. So, now you have to create a component that matches the `/callback` path.
Create a new folder `callback` in the `src` folder. Then create a file `Callback.js` in the `src/callback` directory and paste this snippet:
``` js
// src/callback/Callback.js
import React, {Component} from 'react';
import { withRouter } from 'react-router';
import { observer, inject } from 'mobx-react';
@inject('store')
@observer
class Callback extends Component{
async componentWillUpdate(nextProps){
await this.props.store.auth0.handleRedirectCallback();
let token = await this.props.store.auth0.getTokenSilently();
this.props.store.setAuth(token);
this.props.history.push('/');
}
render(){
return
Loading user profile. {this.props.store.loading ?
: null}
;
}
}
export default withRouter(Callback);
```
In this snippet, you are using the `loading` object from the store to track when the `auth0` client has been initialized because of its asynchronous nature. Once the value of the`loading` object changes (signaling the completion of the `auth0` client initialization), the life cycle method `componentWillUpdate` runs. This function handles the callback redirection, stores the token in the store, and redirects the user to the products page.
Now, open your `src/App.js` file. First, add these to the import section:
```javascript
// src/App.js
import Login from './components/Auth/Login';
import Auth from './components/Auth/Auth';
import Callback from './callback/Callback';
```
Here, you imported the Login, Auth, and Callback components.
In your `App.js` file, add the `loading` object as an observable like so:
```javascript
// src/App.js
decorate(Store, {
// ... Other observables and actions
loading: observable
});
```
Then replace the main `App` component with this:
```javascript
// src/App.js
class App extends Component {
render() {
return (
}
/>
(
)}
/>
}
/>
);
}
}
```
In this snippet, you rendered these components as routes passing in the `auth` and `history` prop where necessary. You made an update to the Product component by also passing in the `auth` prop. Remember, the goal is to render the Product component only when the user is authenticated.
The Product component is not yet aware of the new prop you passed to it. To fix this open `src/components/Product.js` and add this snippet just before the `addToCart()` method:
```javascript
// src/components/Product.js
componentWillMount() {
if (!this.props.store.authenticated) {
this.props.history.push("/login")
}
}
```
This snippet tells the Product component to redirect to the Login component if the user is not logged in.
## Testing Your App
Now, run this command again to test your app:
```bash
npm run start
```
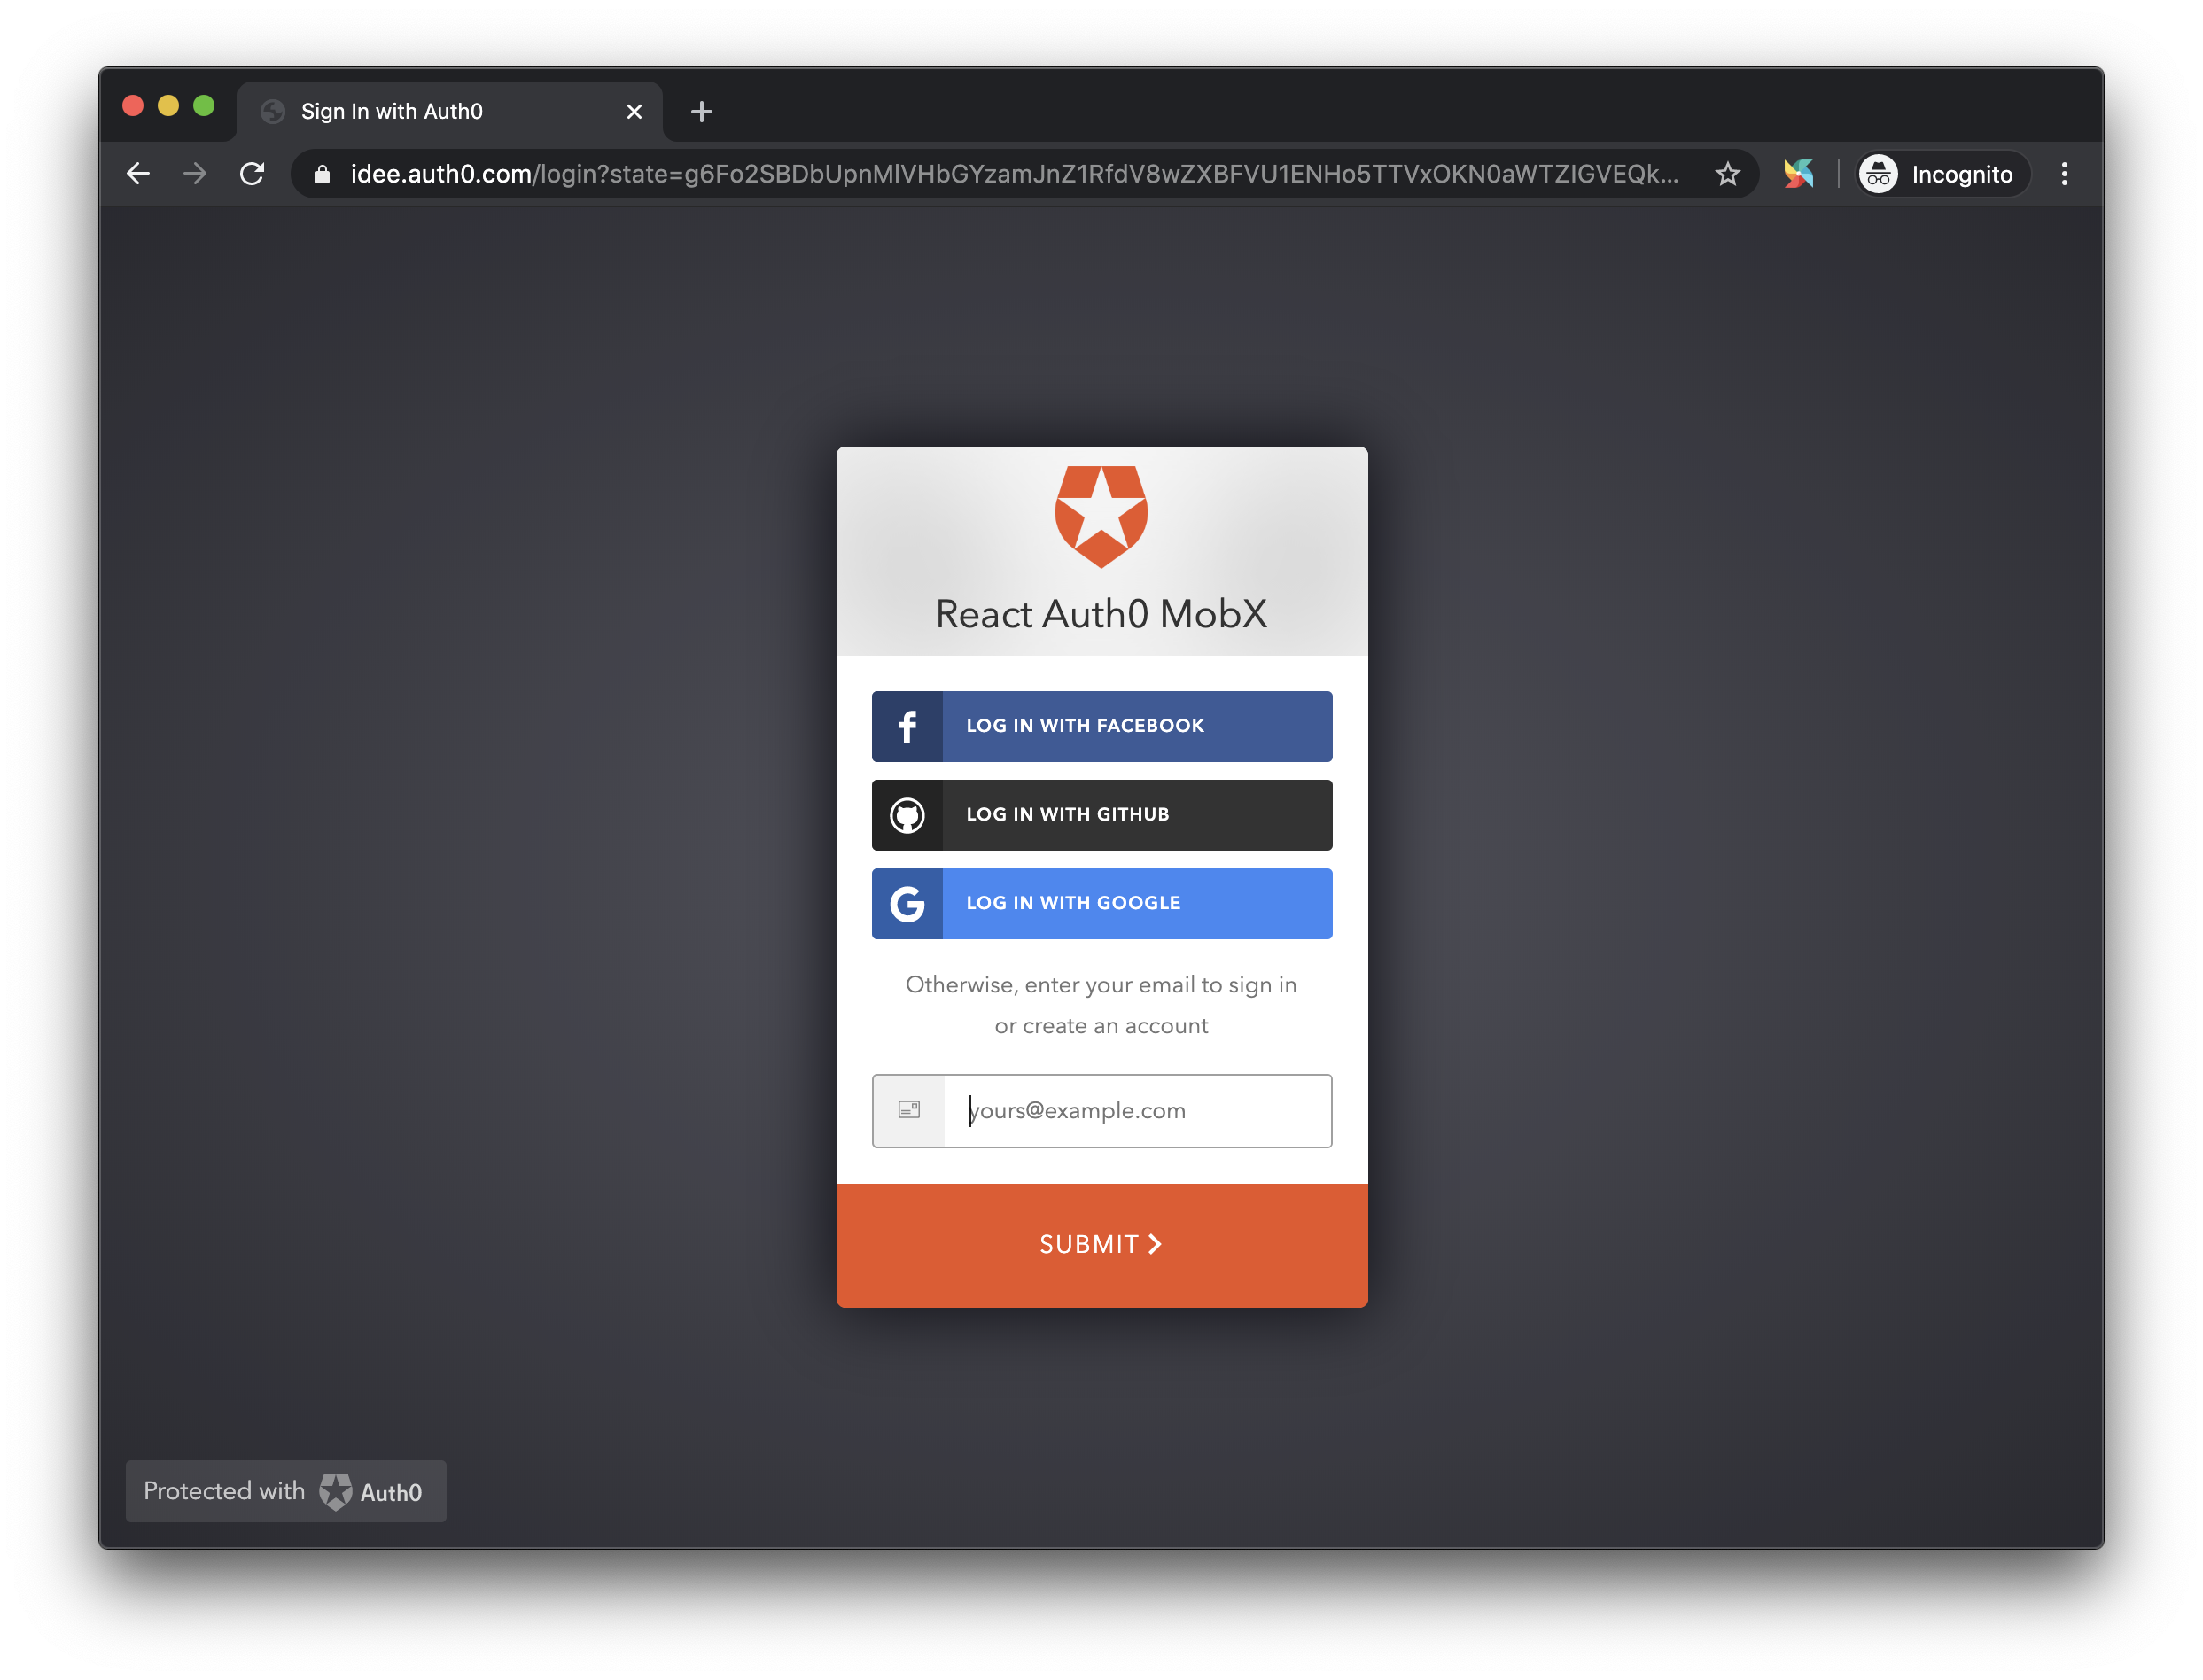
Then, this should open a browser tab with the URL - `http://localhost:3000`. If you did everything correctly, you should be redirected to the Login component and prompted to log in:
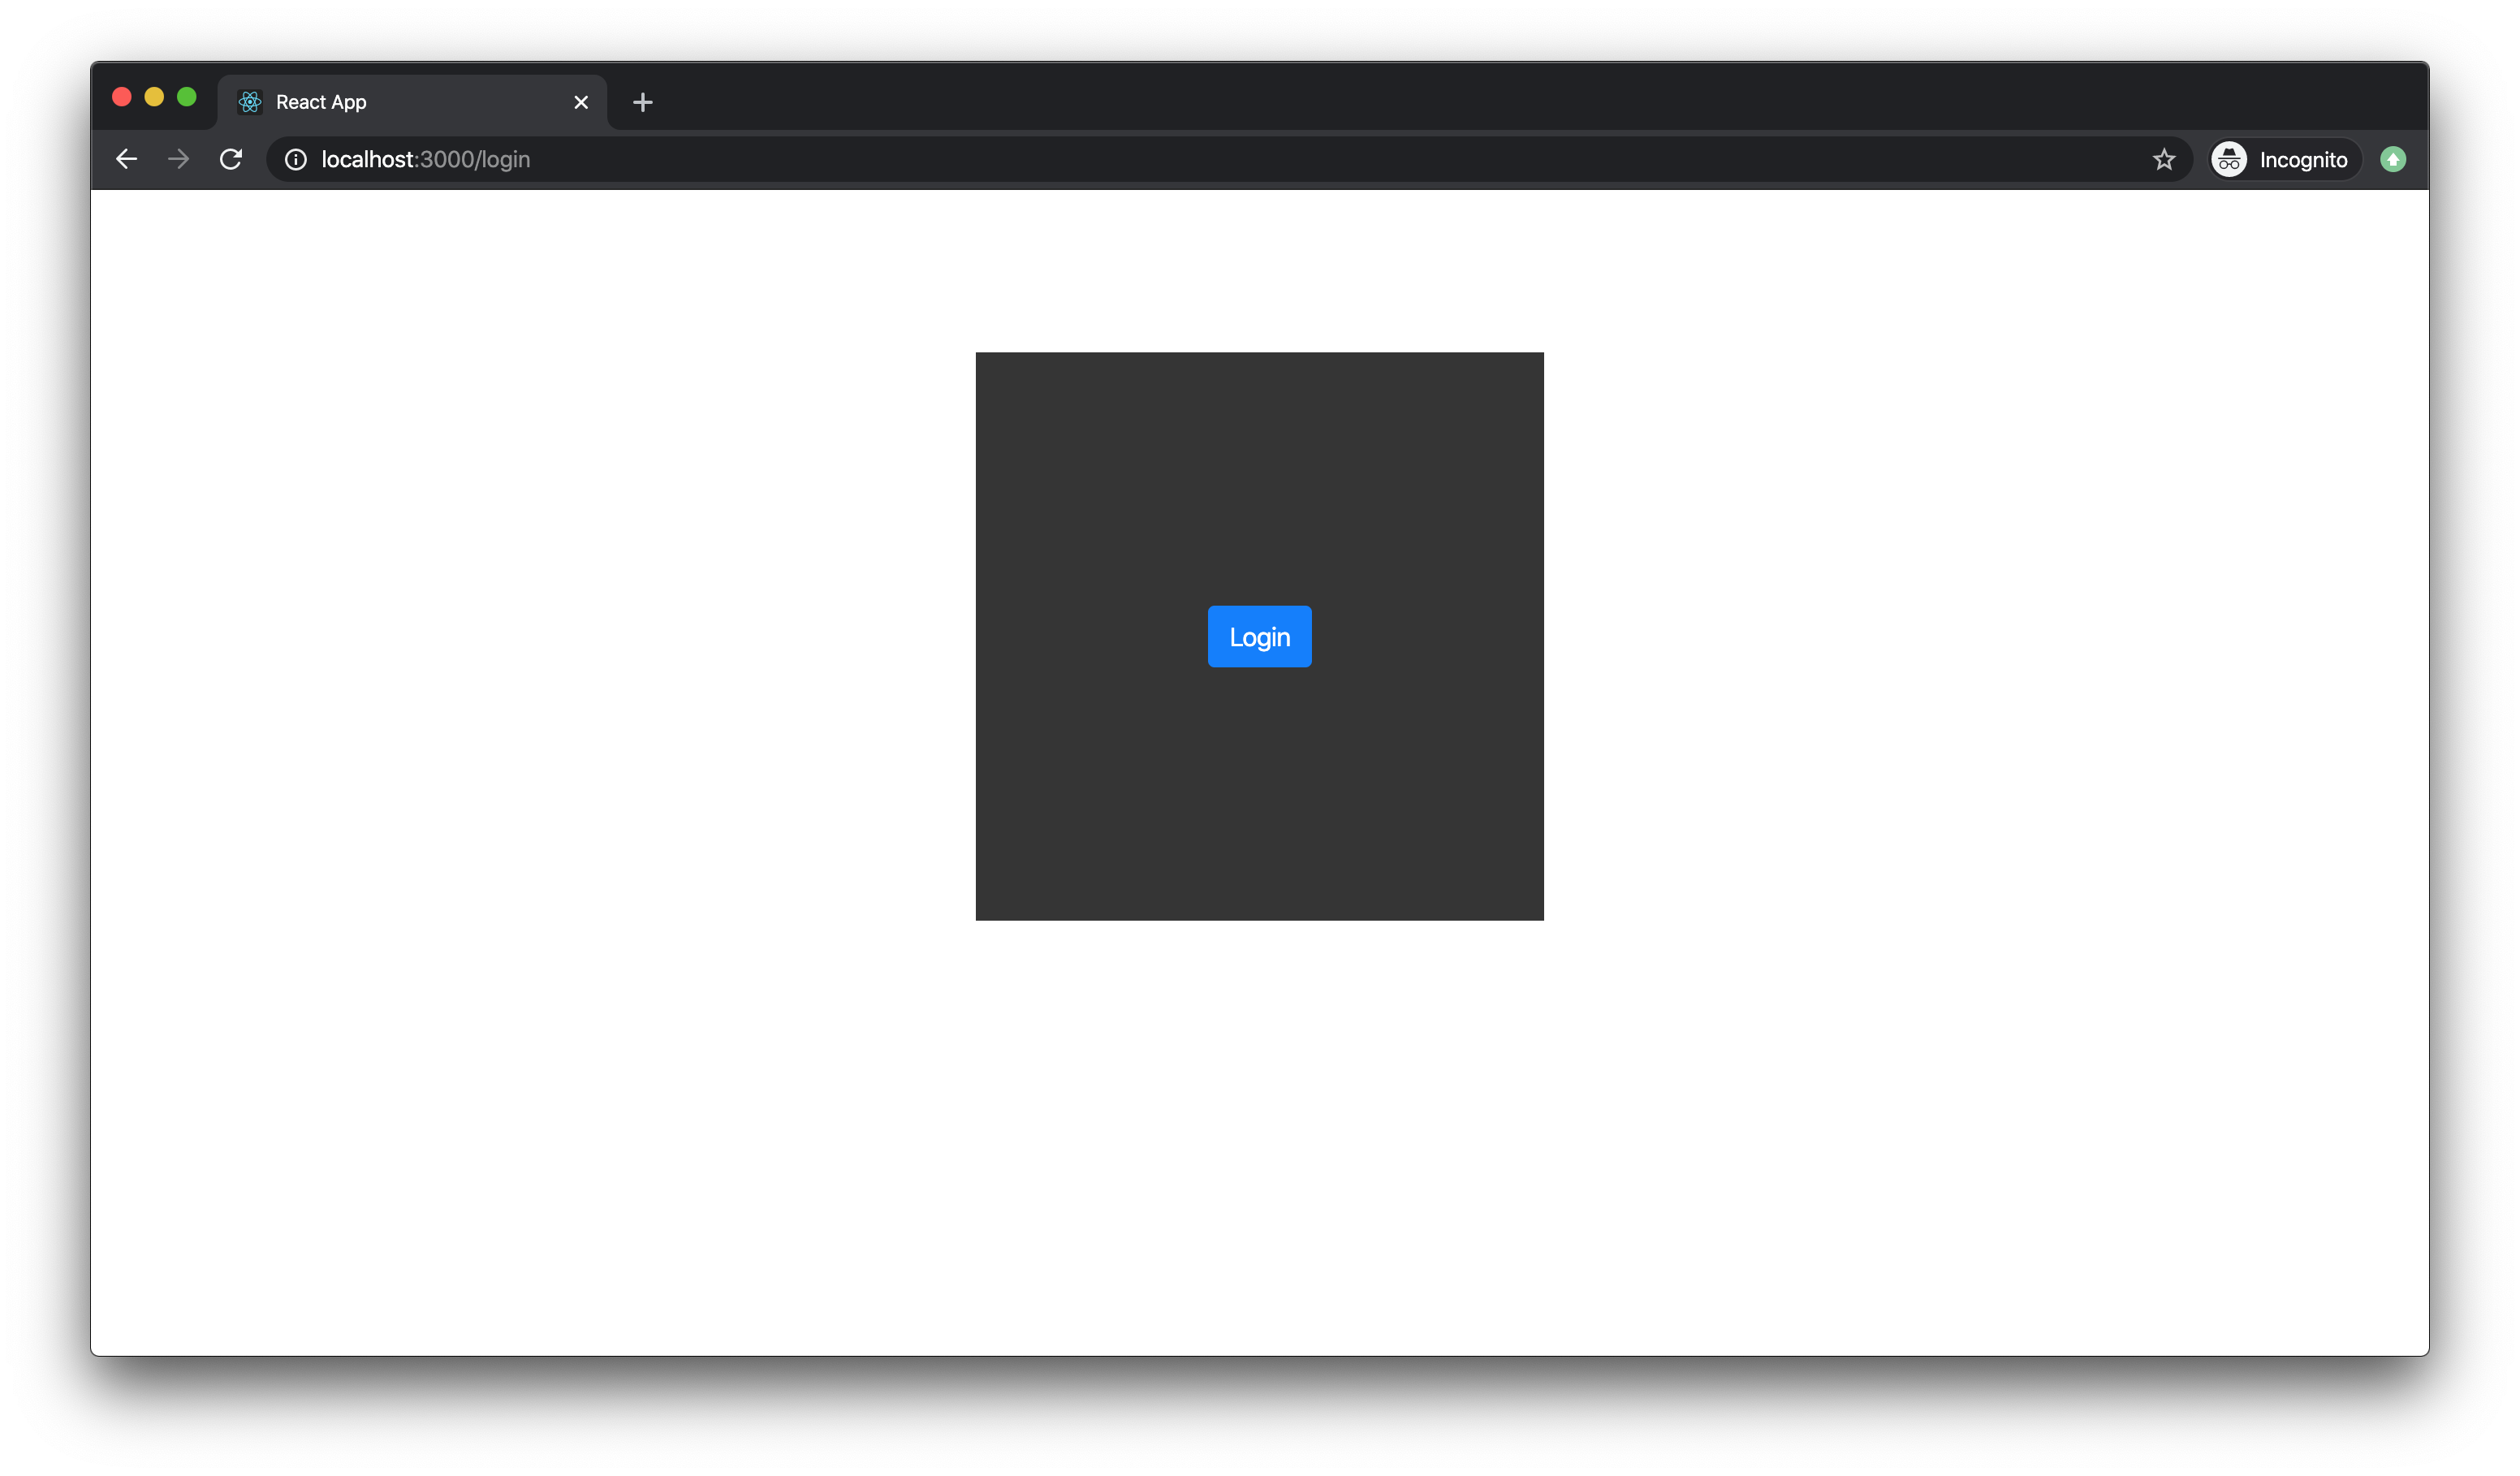
When the login button is clicked, you'll be redirected to the Auth0 authentication page, which requests you to either login or sign up.
After a successful login, you'll be redirected to the products page.
## Conclusion
In this article, you learned how to build a shopping cart with MobX for state management and securing the application with Auth0. MobX and Auth0 are very powerful and have a lot of features not covered in this article.
---