| MainActivity | HomeActivity |
|---|---|
|  | 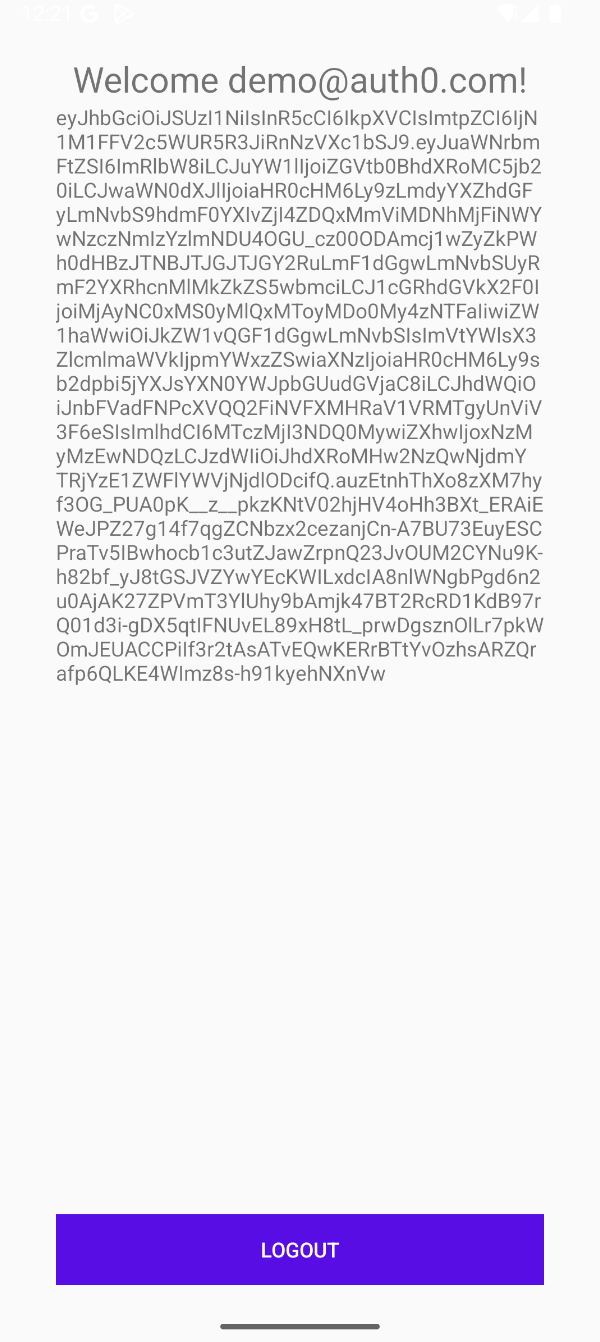 |