---
title: "How to Pick the Right Auth0 Customization for Your App"
description: "Learn how to balance control and security using the four stages of Auth0 customization, from standard Universal Login to embedded authentication."
authors:
- name: "Juan Cruz Martinez"
url: "https://auth0.com/blog/authors/juan-cruz-martinez/"
date: "Jul 8, 2026"
category: "Developers"
tags: ["universal login", "acul", "embedded login"]
url: "https://auth0.com/blog/picking-the-right-auth0-customization-for-apps/"
---
# How to Pick the Right Auth0 Customization for Your App
*TL;DR: Auth0 offers four stages of customization, each trading convenience for control: Universal Login with basic branding, page templates, ACUL, and embedded API-first auth. The decision rule is simple: pick the lowest stage that solves the first real constraint. Each step moves more operational responsibility into your codebase.*
The login box is the front door to your app. Get it right and users barely notice it. Get it wrong (slow flows, off-brand styling, friction at signup) and you are losing customers before they ever see your product.
But it is so much more. It is also security infrastructure, so engineering teams need it to handle edge cases that most users never see: MFA, password recovery, suspicious traffic, social providers, enterprise connections, redirects, browser behavior, localization, and support when something breaks.
Auth0 gives you a lot of options for shaping that experience. You can ship a hosted login page with your logo and brand colors in five minutes. You can also build the entire auth UI from scratch using your own stack and direct API calls. There are roughly four points along that spectrum, and each one trades convenience for control in a different way.
Here is how to think about which level you actually need, and when it is worth leveling up.
## How Much Security and Reliability Work Do You Want to Own?
Every authentication UX decision sits on the same axis: how much of the security and reliability work do you want to own?
At one end, you outsource almost everything to Auth0. You get tested flows, free updates, and a login page that already handles MFA, social connections, bot detection, and a dozen other things you would otherwise need to build. The cost is some constraints on how it looks and behaves.
At the other end, you own every pixel and every API call. You can build flows that do not exist anywhere else. The cost is that you also own the security review, the SDK upgrades, the edge cases, and the on-call burden when something breaks.
Most teams pick somewhere in the middle. The question is where.
## What are the Four Stages of Auth0 Customization?
Auth0 offers four roughly distinct stages of customization:
1. **Universal Login with basic branding.** Auth0's hosted page, configured.
2. **Universal Login with page templates.** Auth0's hosted page, with custom HTML/CSS.
3. **Advanced Customizations for Universal Login (ACUL):** your front-end code, Auth0's auth backend.
4. **Embedded, API-first auth:** you own the auth UI and call Auth0 APIs directly.
The stages are not a maturity ladder. Stage 4 is not more professional than Stage 1\. It is just more owned. Each step gives you more control and moves more operational responsibility into your codebase.
A useful mental model is this: Stage 1 changes the brand, Stage 2 changes the page, Stage 3 changes the prompt UI, and Stage 4 changes who owns the flow.
## Stage 1: Universal Login with basic branding
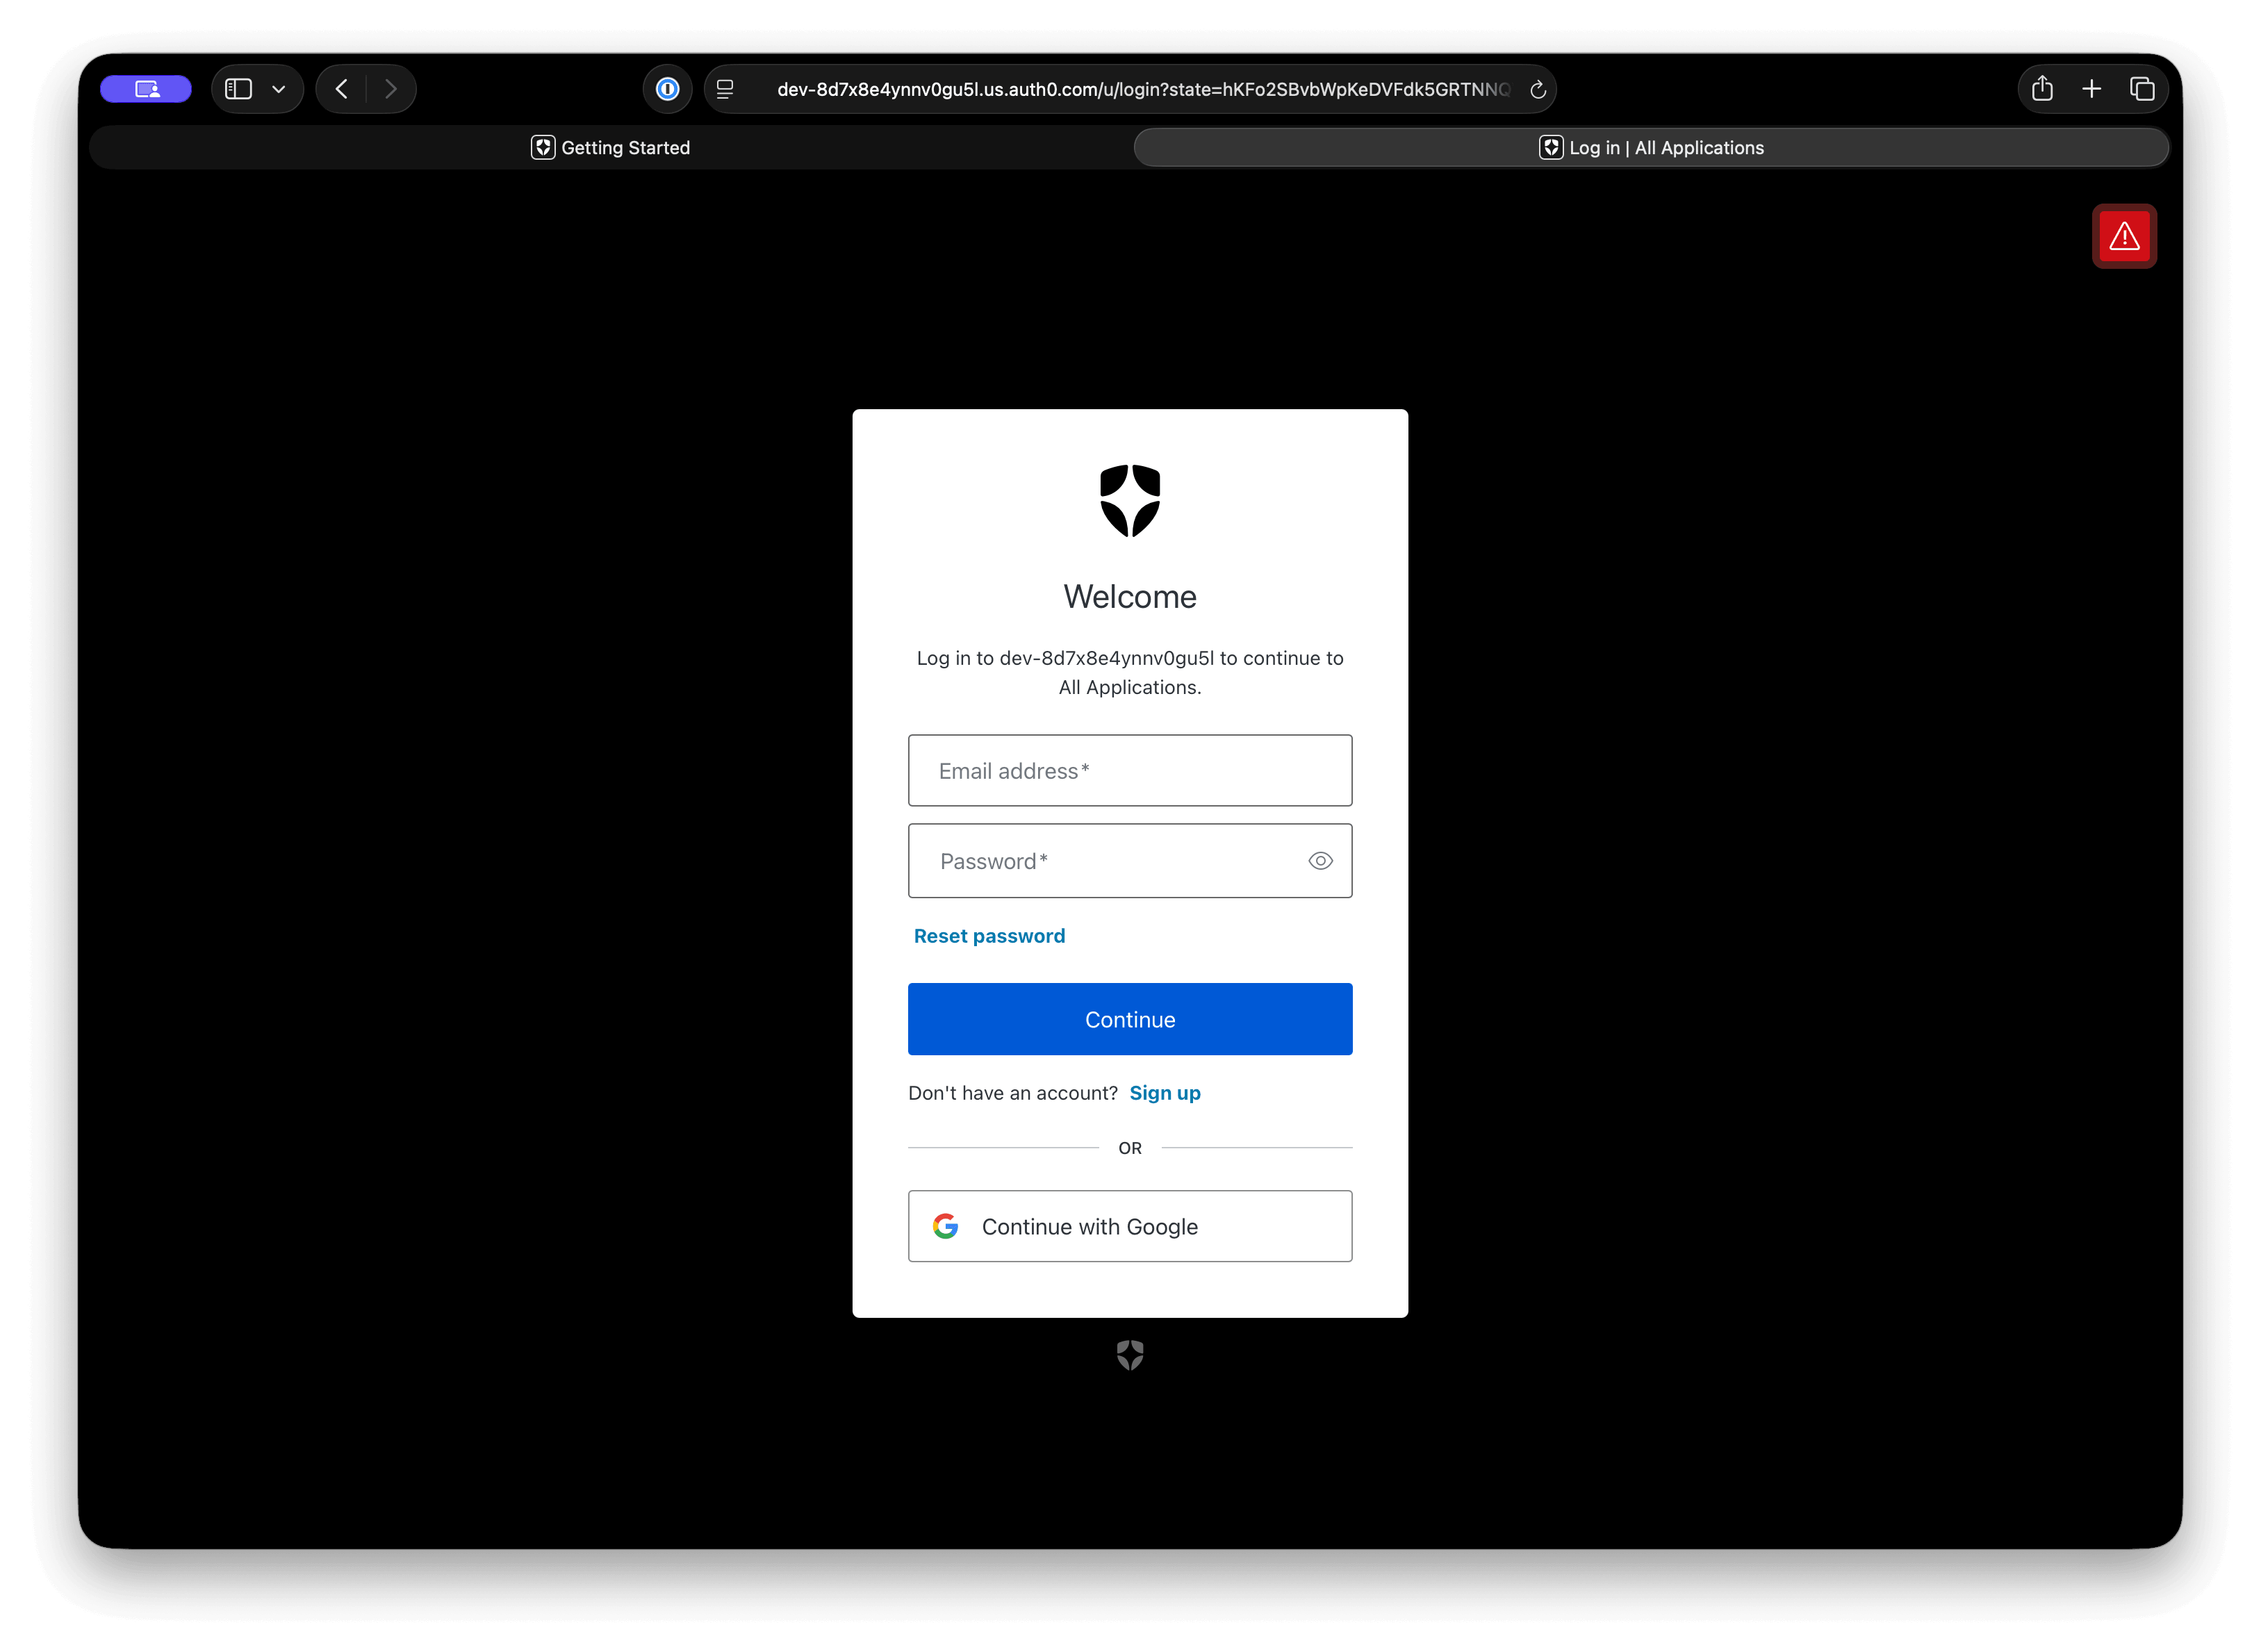
Stage 1 is the default for a reason. With [Universal Login](https://auth0.com/docs/customize/login-pages), your application redirects users to an Auth0-hosted login page on your Auth0 domain or a [custom domain](https://auth0.com/docs/customize/custom-domains). You configure the experience through the dashboard, the Management API, the Auth0 CLI, or infrastructure tooling.
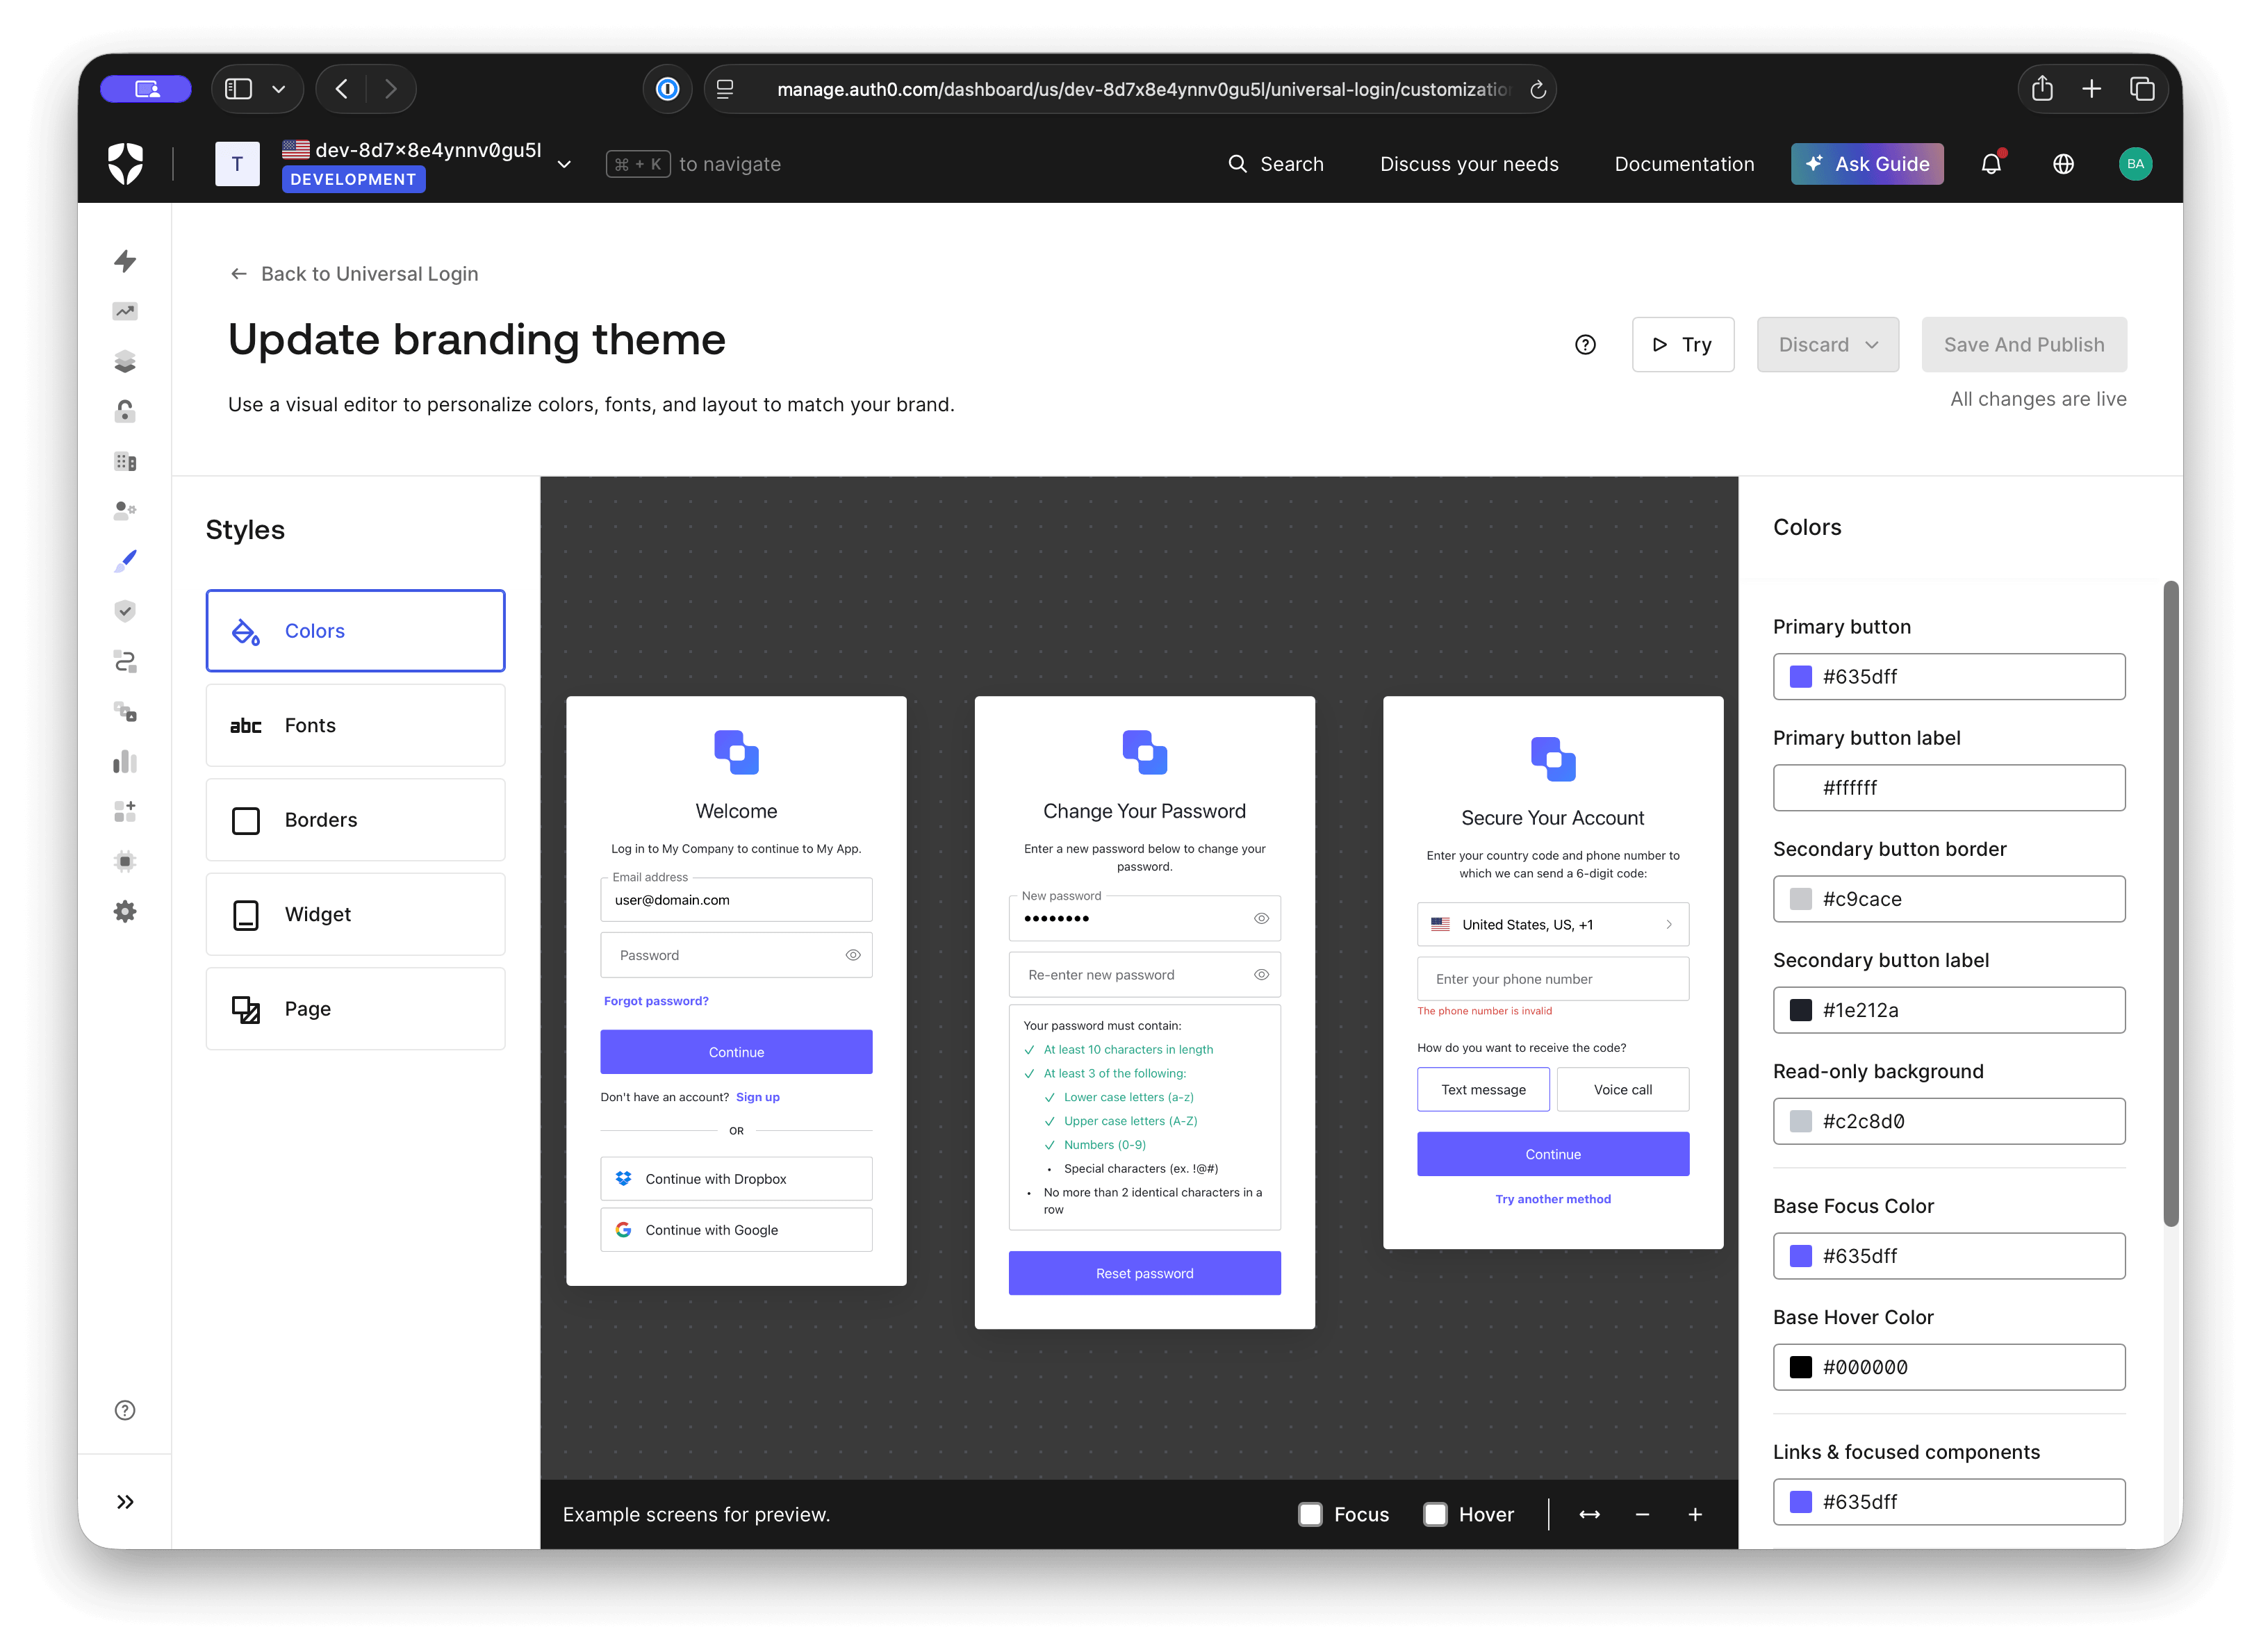
At this stage, the customization is mostly brand and policy configuration. You can set the logo, colors, fonts, background, custom domain, enabled connections, MFA rules, password policies, sign-up behavior, and attack-protection settings. You can make the login page feel like it belongs to your product without writing the login page yourself.
That distinction matters. In Stage 1, Auth0 still owns the authentication screens. Your team is not maintaining the HTML, the form logic, the MFA states, the password reset screens, or the social login edge cases. You are deciding how the hosted experience should be configured.
This is the right stage when the login page needs to be trustworthy and consistent, but not deeply custom. For an MVP, an internal product, a B2B SaaS app, or a team that wants identity to be a solved platform concern, Stage 1 is usually the best answer. A login page does not need to be fully custom to be good. It needs to be clear, recognizable, fast enough, and reliable.
The most common mistake at this stage is treating "basic branding" as if it were a compromise. Sometimes it is just the right boundary. If your users can recognize the product, understand the action, and complete the flow without confusion, more customization may not improve the experience enough to justify the ownership cost.
Move beyond Stage 1 when the dashboard cannot express a real product requirement. Examples include a required footer with legal links, a custom header, tenant-specific messaging, analytics that must load around the login experience, or a layout that needs to match the rest of the product shell.
## Stage 2: Universal Login with Page Templates
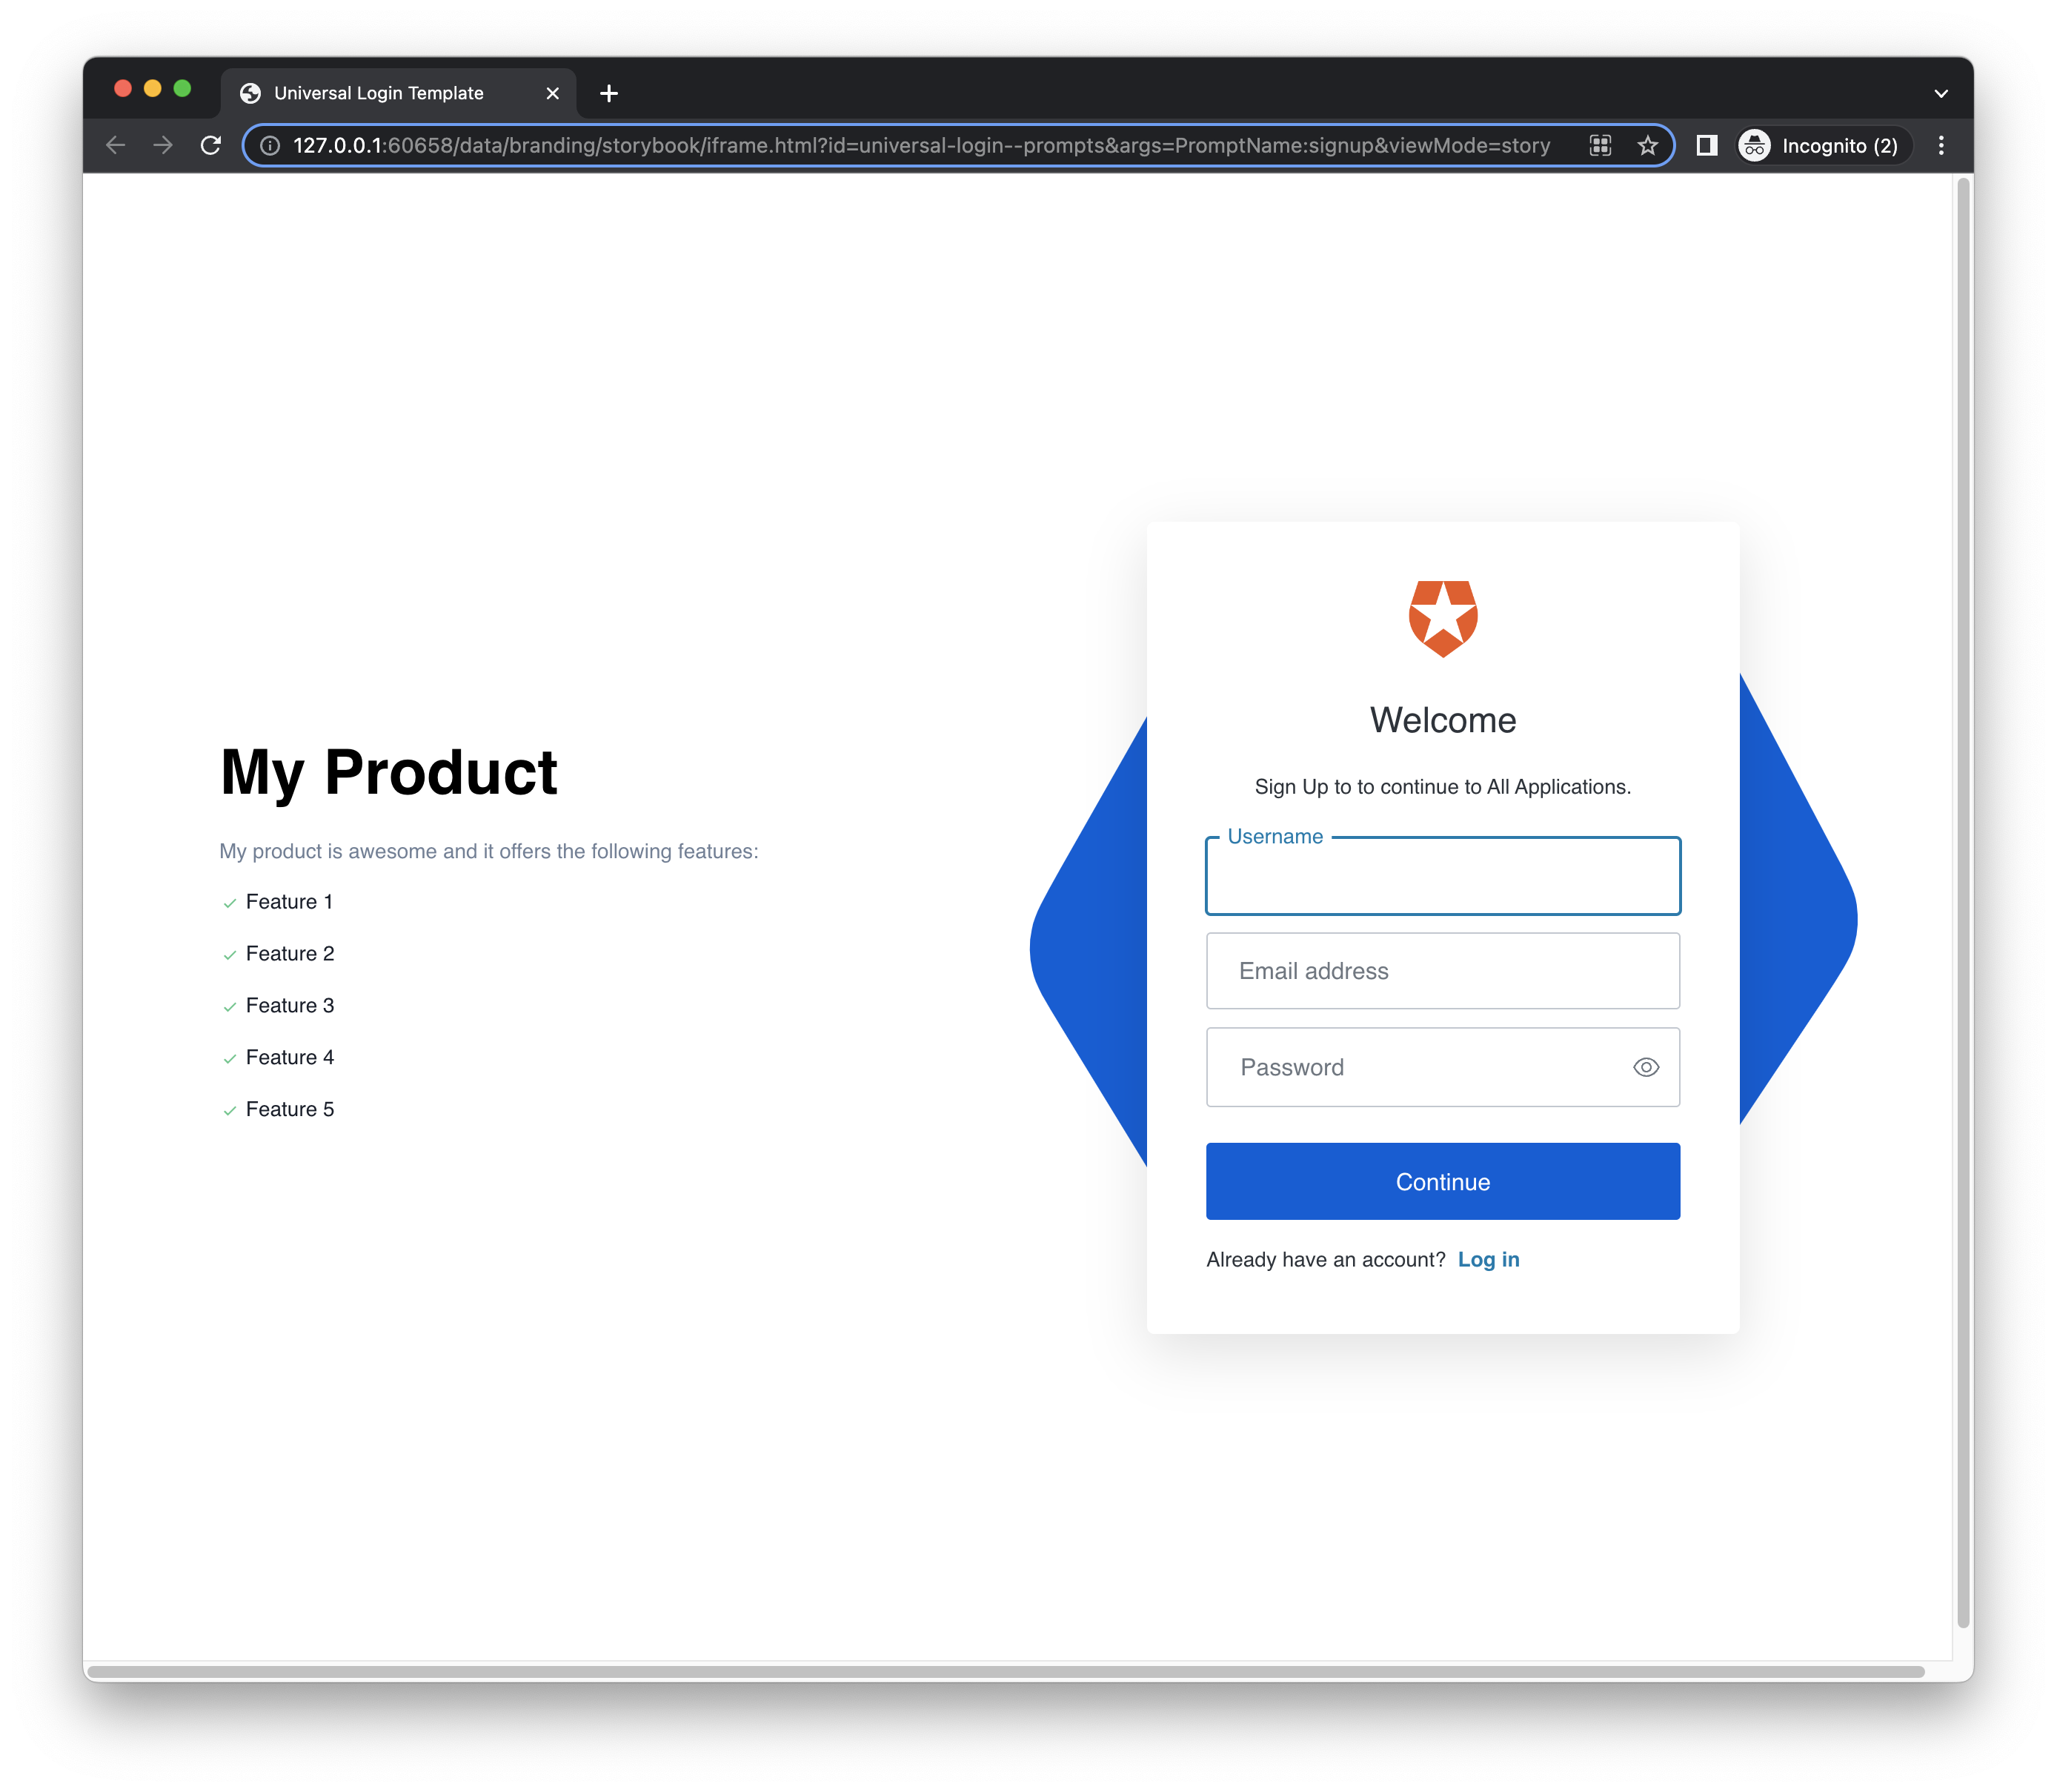
Stage 2 is for teams that need to control the page around the authentication form, but do not need to rebuild the form itself.
With [Universal Login page templates](https://auth0.com/docs/customize/login-pages/universal-login/customize-templates), Auth0 renders the current login, sign-up, MFA, password reset, or recovery prompt inside a [Liquid template](https://auth0.com/docs/customize/login-pages/universal-login/customize-templates). You write the surrounding HTML and CSS. Auth0 still provides the prompt content.
A simplified template looks like this:
```html
Back to YourApp
{{ prompt.content }}
```
The important line is `{{ prompt.content }}`. That is where Auth0 injects the current screen. You can frame it, position it, and style the surrounding page, but you are not responsible for rendering every state of the login form.
Templates also give you access to values such as the current client, organization, and locale. That lets you adapt the page shell without forking the whole auth flow.
```shell
{% if client.metadata.tenant_tier == "enterprise" %}
Welcome to your private workspace.
{% endif %}
```
This is the stage I would choose when the product needs a stronger sense of place around login. Maybe the user should see the same top navigation they just came from. Maybe legal requires specific links. Maybe an enterprise customer needs a branded message on the login page. Maybe analytics or consent tooling has to be present before sign-up.
The key is to keep the boundary clear: Stage 2 solves page composition. It does not solve form-level control.
That boundary creates a useful discipline. The template should stay boring. If the login page starts loading a large application bundle, depending on fragile client-side state, or recreating half of your marketing site, the team has probably turned a lightweight shell into another production surface. The more logic you put around the prompt, the more that page needs the same reliability thinking as the rest of your app.
Use Stage 2 when you need custom HTML and CSS around Universal Login, but you are still happy with Auth0 owning the prompt itself. If you want a deeper implementation walkthrough, I wrote a separate guide on [building beautiful login pages with Auth0](https://auth0.com/blog/building-beautiful-login-pages-with-auth0/) that covers the fundamentals and the Auth0 CLI workflow.
Move beyond Stage 2 when the Auth0 prompt is the part that no longer fits. If the issue is input layout, component behavior, validation states, multi-step onboarding, or matching your design system at the form level, page templates will not be enough.
## Stage 3: Advanced Customizations for Universal Login (ACUL)
Stage 3 is where the customization moves from the page shell to the prompt UI.
With [Advanced Customizations for Universal Login](https://auth0.com/docs/customize/login-pages/advanced-customizations), or ACUL, you build custom, client-rendered versions of Universal Login screens. You can use the front-end stack your product already uses: React, Vue, Svelte, vanilla JavaScript, or something else. Auth0 hosts the authentication experience, and your code renders the UI for specific screens.
A simplified React example looks like this:
```javascript
import { Login } from "@auth0/auth0-acul-js";
const screen = new Login();
export function LoginScreen() {
return (
);
}
```
The important shift is the ownership boundary. In Stage 3, your team owns the presentation of the prompt: components, layout, loading states, validation display, transitions, and the details that make the screen feel native to the product. Auth0 still owns the hosted authentication flow behind it.
That makes ACUL useful for teams that have outgrown template-level customization but do not want the burden of embedded auth. If your product has a mature design system, a multi-brand experience, a polished consumer onboarding flow, or regional requirements that need custom UI, ACUL can be the right middle ground.
It is also the stage where teams should slow down and plan the rollout. A login screen is not only the happy path. Before committing to ACUL, map the screens you need: login, sign-up, password reset, passkeys, MFA enrollment, MFA challenge, organization selection, invitation acceptance, logout, and error states. Then check which screens your tenant and plan support, how the SDK versioning works, and what fallback behavior you want while the rollout is incomplete.
Use Stage 3 when brand and product fit are hard requirements at the prompt level. Good examples include products where sign-up is part of the core onboarding experience, products with multiple brands in one tenant, or teams that need to reuse their design-system components directly in auth screens.
Move beyond Stage 3 only when the hosted model itself is the problem. If the complaint is "the form does not look like our app," ACUL is probably the answer. If the complaint is "we cannot redirect to a hosted authentication flow at all," you are now talking about Stage 4.
## Stage 4: Embedded, API-first authentication
Stage 4 is not another visual customization step. It is a different ownership model.
In an [embedded](https://auth0.com/blog/embedded-login-advancements/), API-first approach, your application builds the auth UI and talks directly to Auth0 APIs such as the [Authentication API](https://auth0.com/docs/api/authentication). A sign-up call might look like this:
```javascript
const response = await fetch(
"https://YOUR_TENANT.auth0.com/dbconnections/signup",
{
method: "POST",
headers: { "Content-Type": "application/json" },
body: JSON.stringify({
client_id: AUTH0_CLIENT_ID,
email: form.email,
password: form.password,
connection: "Username-Password-Authentication",
}),
},
);
```
At this stage, the product experience can be exactly what you want. The login and sign-up screens can live entirely inside your application. You can design every input, state, transition, and branch.
You also own the consequences. That includes the form, validation, error handling, password reset, email verification, MFA enrollment and challenge states, localization, accessibility, browser behavior, analytics, abuse protection, observability, and the internal process for reviewing changes to the authentication flow.
This is where teams often underestimate the work. The first login form is not the expensive part. The expensive part is everything around it: account recovery, edge cases, policy changes, support tickets, new authentication methods, security review, and the long tail of states that only show up after real users start failing in real ways.
Stage 4 can still be the right answer. Some products genuinely cannot use a hosted redirect. Native mobile or device flows may have constraints that make redirects awkward or impossible. Some B2B products need authentication to live inside another product's chrome. Some regulated environments have contractual or platform constraints that rule out the hosted model. Some teams have enough identity expertise that owning the full flow is a deliberate architectural choice.
Those are real reasons. "We want the login screen to look native" usually is not. That problem belongs in Stage 3.
Before choosing Stage 4, I would want clear answers to a few questions:
1. What exact requirement makes a hosted flow impossible?
2. Who owns a security review for auth changes?
3. How will the team test password reset, MFA, recovery, lockout, and error states?
4. What happens when Auth0 ships a new capability that Universal Login would have picked up automatically?
5. Who is on call when the embedded flow breaks?
If those answers are vague, the team is probably buying control without budgeting for ownership.
Use Stage 4 when you genuinely cannot use a hosted flow and you have the engineering and security capacity to maintain the authentication experience over time.
## How to Choose the Right Stage
The decision rule is simple, but it is not always easy: pick the lowest stage that solves the first real constraint.
Do not start by asking whether you want more control. Everyone wants more control in the abstract. Ask what kind of control you need.
If the issue is trust and brand recognition, start with Stage 1. Use the dashboard, configure the domain, make the page recognizable, and keep Auth0 responsible for the login experience.
If the issue is page context, use Stage 2. Add the header, footer, links, tenant messaging, and surrounding layout. Keep the actual prompt inside Auth0's boundary.
If the issue is component-level product fit, use Stage 3. Bring in your design system and build custom prompt screens while keeping the Universal Login model.
If the issue is that the hosted model cannot work, use Stage 4. But make that constraint explicit, because Stage 4 is not just a prettier login page. It is an auth product your team now has to operate.
Here is a quick recap of the four stages and the criteria to move up:
| Stage | What you own | Best fit | Move up when |
| :---- | :---- | :---- | :---- |
| **Stage 1: Universal Login with basic branding** | Brand and policy configuration | MVPs, internal tools, B2B SaaS apps, and teams that want auth to stay mostly managed | The dashboard cannot express required page structure, links, tenant messages, or analytics |
| **Stage 2: Universal Login with page templates** | The page shell around Auth0's prompt | Products that need custom headers, footers, legal links, tenant context, or surrounding layout | The Auth0 prompt itself no longer fits the design system or flow |
| **Stage 3: Advanced Customizations for Universal Login** | The client-rendered prompt UI | Mature design systems, polished onboarding, multi-brand products, and region-specific auth experiences | The hosted Universal Login model itself cannot satisfy the requirement |
| **Stage 4: Embedded, API-first authentication** | The auth UI and the application-owned flow against Auth0 APIs | Native/device constraints, strict embedded B2B flows, regulatory constraints, or teams with identity ownership | There usually is no next level; this is the ownership-heavy option |
Most teams should spend a long time at Stage 1 or Stage 2. Some should move to ACUL when the authentication experience becomes a meaningful part of onboarding, brand, or multi-tenant product design. Very few should begin with embedded auth.
That is the narrower way to think about the whole spectrum. Auth0 customization is not about climbing toward the most custom implementation. It is about choosing the ownership boundary that matches the product requirement in front of you.
The login screen is the front door to your app, but it is also part of your security system. Customize the parts that matter. Be careful about volunteering for the rest.