---
title: "How to Set Up a Flask App with Cursor and the Auth0 Plugin"
description: "Learn how to streamline Flask authentication using the Auth0 Cursor plugin. This guide walks you through setting up your Auth0 tenant without manual configuration.
"
authors:
- name: "Jessica Temporal"
url: "https://auth0.com/blog/authors/jessica-temporal/"
date: "Jul 22, 2026"
category: "AI"
tags: ["python", "flask", "cursor", "auth0-cli"]
url: "https://auth0.com/blog/set-up-flask-app-with-cursor-auth0-plugin/"
---
# How to Set Up a Flask App with Cursor and the Auth0 Plugin
Being more productive sometimes means not having to set up environment variables, tenant configuration, and callback URLs by hand when you are developing. This is the stuff you would normally spend anywhere from ten to twenty minutes setting up by hand.
This blog post walks you through using the Auth0 plugin for [Cursor](https://cursor.com/) to set up a Flask web app in Auth0 from scratch without having to do manual work. The Auth0 Cursor plugin does the work, edits the config, installs all dependencies locally, and runs the server, so you can mostly sit back and confirm when prompted.
If you prefer, you can follow along with the video below.
## Prerequisites
Before you start, make sure you have:
* **Cursor** installed on your machine.
* An **Auth0 account** and a tenant you can use. If you do not have an Auth0 account, [sign up for free](https://a0.to/blog_signup) now.
* The [**Auth0 CLI**](https://auth0.github.io/auth0-cli/) installed. The plugin falls back to the CLI, so this step saves you tokens and an installation detour later.
* A Flask project you want to use. This walkthrough uses [the `flask-webapp` sample from this flask-to-fastapi repo](https://github.com/jtemporal/flask-to-fastapi/tree/main/flask-webapp), but the same steps apply to a fresh app.
## Install the Auth0 Plugin in Cursor
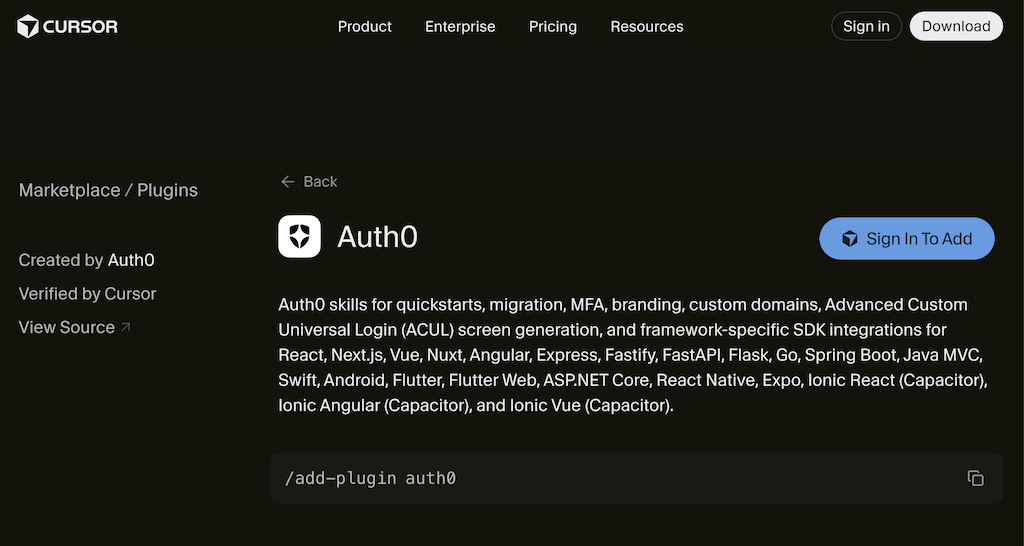
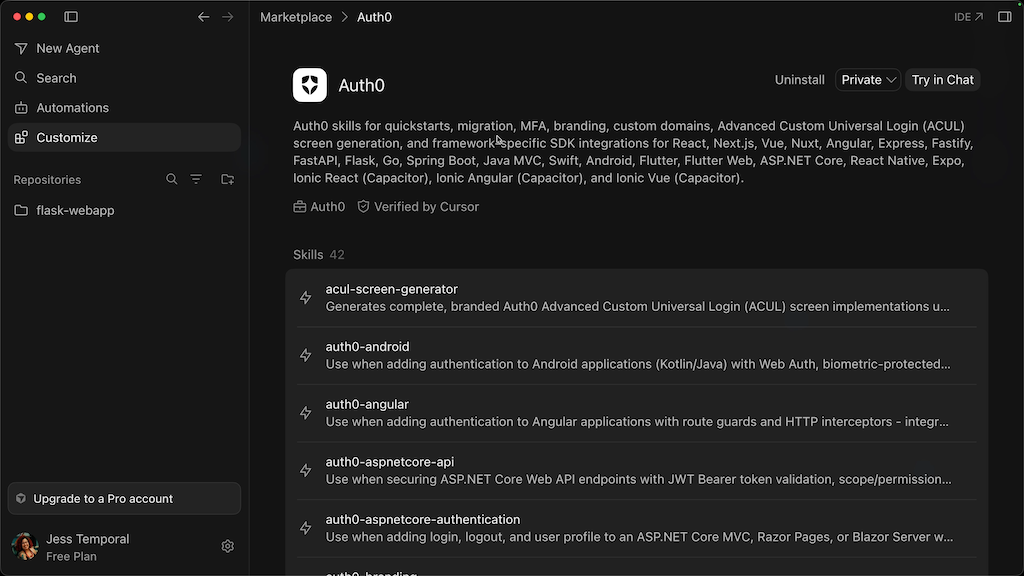
Open Cursor, go to **Customize**, and search plugins. Browse the Cursor marketplace and type "Auth0." Click **Add**, and the plugin is installed.
The plugin ships with over 40 skills. Some are framework-specific to Auth0 SDKs and integrations, and others cover Auth0 tools like the Auth0 CLI.
Even if your framework is not listed, we recommend you install this plugin anyway. It carries general knowledge about quick starts, migrations from other providers, MFA, branding, custom domains, [Advanced Customizations for Universal Login(ACUL)](https://auth0.com/docs/customize/login-pages/advanced-customizations), screen generation, and more. That is a lot of Auth0 context that Cursor can use to build more secure applications for you.
## Prompt Cursor to Set Up Auth0 for Your App
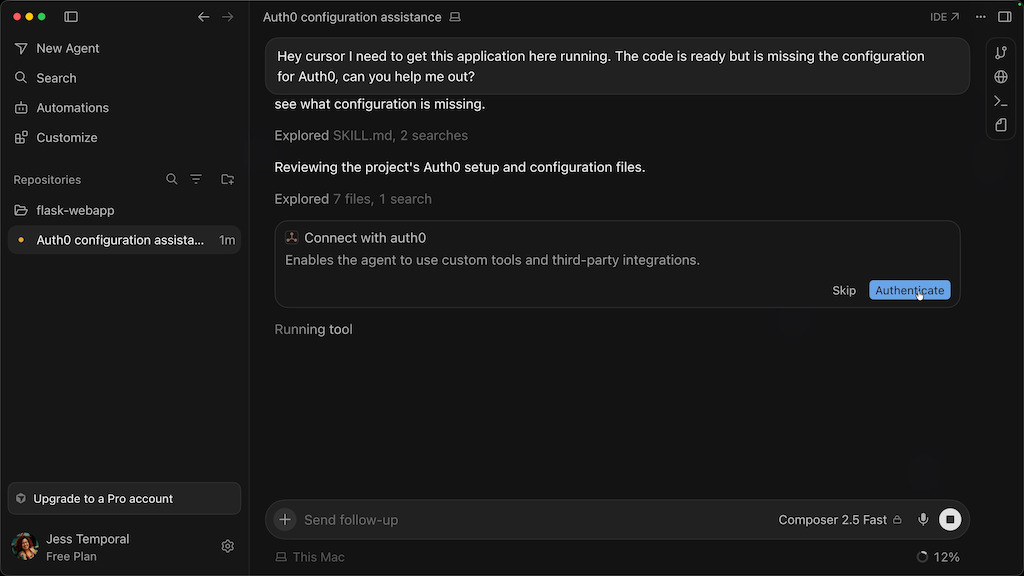
Open Cursor's chat inside your Flask project and write a prompt describing what you want. Something like:
Set up my Auth0 tenant for this Flask application, configure the environment variables locally, and run the app so I can log in from the browser.
Send it and let it work.
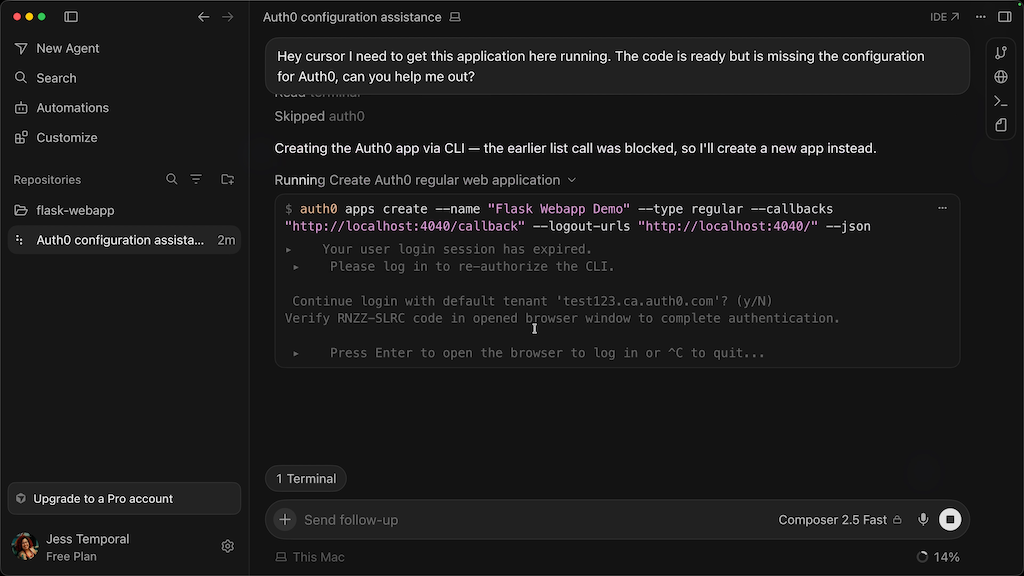
The first thing Cursor does is ask to authenticate with Auth0. It will try two paths: first the Auth0 MCP Server, and if that fails, it falls back to the Auth0 CLI. If your CLI session is still valid, the plugin picks up your tenant from there. Otherwise, it prompts you to log in through the [device authorization flow](https://auth0.com/docs/get-started/authentication-and-authorization-flow/device-authorization-flow).
## Approve the Device Authorization Flow for the Auth0 CLI
The Auth0 CLI uses [device authorization flow](https://auth0.com/docs/get-started/authentication-and-authorization-flow/device-authorization-flow) to facilitate the authentication process. Through this flow, you can review the consent and you pick your tenant. Cursor automatically opens a page in your browser so you can confirm the code, pick your tenant, and grant the Auth0 CLI access to your account.
Once you approve the code and select your tenant, control returns to Cursor.
**Note:** If you take too long, Cursor gives up waiting on the device flow. You can still finish the authentication process in the browser as long as the flow has not expired. Then tell Cursor "I have logged in, please try again" and it will pick up the active session. More on this in the gotchas section below.
## Cursor AI Configures the Auth0 App and Local Environment
With authentication done, watch what Cursor and the Auth0 plugin do on your behalf:
1. Generates a Flask secret key so cookies can be signed properly.
2. Runs `auth0 apps create` to register a new Flask web app in your tenant if no matching application exists.
3. Sets the callback URL and logout URL for the new application.
4. Writes those values into your `.env` file (or creates it if missing).
5. Creates a Python virtual environment.
6. Installs dependencies from your requirements file.
7. Runs the Flask server.
You no longer need to do the Auth0 configuration by hand: copy the client ID, paste it into the config, copy the domain, paste it in a `.env` file, generate a secret key on the side, remember which callback URL Flask expects. All of that is done for you.
## Log In to Your App
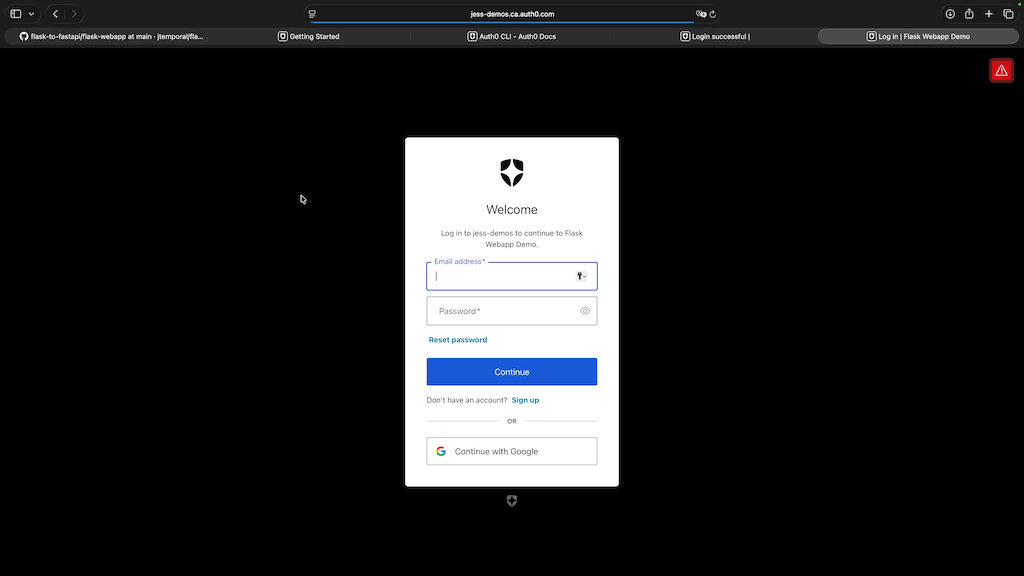
Once the config is in place and dependencies are installed, Cursor starts the Flask server for you. You can then open the local app at `http://localhost:3000/` on your favorite browser and click **Sign in**.
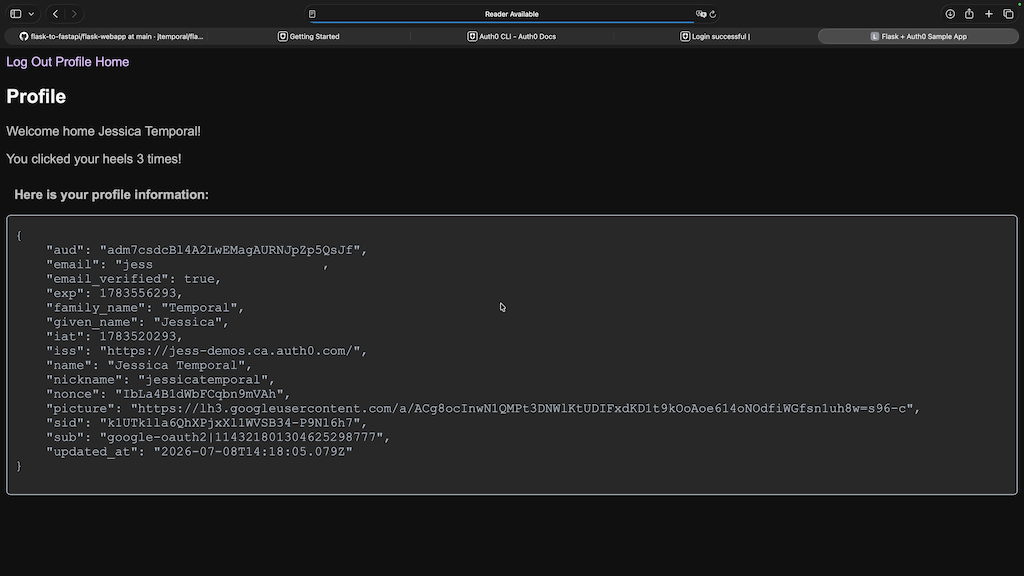
Proceed through the login flow, either signing in or signing up with a new account. When you land on the app's welcome page with your name on it, the setup works.
## Gotchas Worth Knowing When Using Cursor
If you watch the video, you will notice a few things that caught me during the walkthrough. Since they might happen to you too, keep them in mind so they do not slow you down:
* **Cursor does not like to wait.** During setup, you will need to approve the Auth0 CLI in your browser. Cursor kicks off the flow, but if you take too long confirming it, Cursor may give up and move on. Avoid context switching until the CLI has access. If Cursor does time out, finish the login in the browser and then tell it "I have logged in, please try again." It will continue with the active session.
* **Cursor is very proactive.** It will offer to run the next step for you, including restarting your server. Read the confirmation prompts. If you already have a process bound to a port, tell it to restart your instance rather than start a new one.
* **CLI login persists across sessions.** If you logged into the Auth0 CLI yesterday, the plugin will use that same identity today. If you are switching tenants, run `auth0 tenants use ` before you prompt Cursor, or tell Cursor you need to change the tenant before asking it to do anything else.
## Recap
Here is what you set up:
1. Installed the Auth0 plugin in Cursor.
2. Authenticated Cursor to Auth0 through the CLI's device flow.
3. Cursor created a new Auth0 application and configured its URLs.
4. Cursor generated a Flask secret key, wrote your config, and installed necessary dependencies.
5. Ran the Flask app and confirmed the login flow works end-to-end.
This process works just as well for reviving old projects as it does for brand new apps. In the meantime, if you want a from-scratch version, the [Auth0 Flask quickstart](https://auth0.com/docs/quickstart/webapp/python) walks you through the same setup manually. Give the [Auth0 Cursor Plugin](https://cursor.com/marketplace/auth0) a spin today.