---
title: "Use Refresh Tokens in ASP.NET Core Apps"
description: "Learn why and how to use refresh tokens in ASP.NET Core applications."
authors:
- name: "Andrea Chiarelli"
url: "https://auth0.com/blog/authors/andrea-chiarelli/"
date: "Aug 30, 2022"
category: "Developers,Tutorial,.NET"
tags: ["dotnet", "aspnet", "aspnet-core", "refresh-token", "access-token"]
url: "https://auth0.com/blog/use-refresh-tokens-in-aspnet-core-apps/"
---
# Use Refresh Tokens in ASP.NET Core Apps
Security and user experience are two fundamental aspects of application development. It is not always easy to combine them, but there are techniques that allow you to achieve a good balance between the two. One example is the use of refresh tokens: they provide security when your application calls an API without compromising the user experience.
Learn how refresh tokens help you achieve this balance by exploring how to manage them in an ASP.NET Core application that calls an API.
## The Need for Refresh Tokens
Access tokens authorize your application to call a protected API. You use them as bearer tokens in your HTTP requests, as shown in the following example:
```http
GET /resource HTTP/1.1
Host: server.example.com
Authorization: Bearer mF_9.B5f-4.1JqM
```
> Make sure to use access tokens to call APIs. Don't be tempted to use ID tokens for this purpose. Check out [this article to learn more about the difference between ID and access tokens](https://auth0.com/blog/id-token-access-token-what-is-the-difference/).
Being a bearer token means that whoever is in possession of the token can use it to demonstrate they are authorized to access a resource, such as calling an API, for example.
To prevent access tokens from falling into the wrong hands, you need to apply some strategies, such as using HTTPS to avoid the token being intercepted by attackers, [avoid storing it in easily accessible storage](https://auth0.com/blog/secure-browser-storage-the-facts/), and so on.
Creating access tokens with a short lifetime is one of the strategies that can contribute to reducing the risk of being compromised. With an access token expiring soon, the chances of an attacker being able to steal a still-valid token are reduced. Auth0 allows you to [set your access token's lifetime through the dashboard](https://auth0.com/docs/secure/tokens/access-tokens/update-access-token-lifetime).
That's awesome! But what happens when an access token expires while a user is using your application? Auth0 issues access tokens at login time. So, your user needs to authenticate again to get a new valid access token. Clearly, this is not a great user experience.
[Refresh tokens](https://auth0.com/docs/secure/tokens/refresh-tokens) enter the scene to remedy this situation. They are special tokens that let an application get new access tokens without having to ask the user to log in again. Here’s how they work at a high level:
1. At login time, your application requests a refresh token along with the ID and access tokens.
2. When your application needs to call an API and finds that the access token is expired, it requests Auth0 a new access token by sending the refresh token.
3. Auth0 sends your application a new access token and a new refresh token.
4. Your application uses the new access token to call the API and will use the new refresh token when this new access token expires. Providing a new refresh token helps mitigate the risk of [replay attacks](https://auth0.com/docs/secure/security-guidance/prevent-threats#replay-attacks).
> To learn more about [refresh tokens and how they work, check out this article](https://auth0.com/blog/refresh-tokens-what-are-they-and-when-to-use-them/).
Now you have a high-level understanding of refresh tokens and why you should use them. But how can you use them in practice in an ASP.NET Core application? Let's start our journey.
## Set up the Sample Application
To show you how to use refresh tokens in an ASP.NET Core application, you will use a sample project implementing a web application that allows users to redeem points for a reward. The project consists of two elements: an ASP.NET Core MVC application that acts as the user frontend and an API that performs the actual point redemption.
> If you want to learn the details of the sample application implementation, check out [this article](https://auth0.com/blog/call-protected-api-in-aspnet-core/). It also will show you [the correct way to call a protected API in an ASP.NET Core application](https://auth0.com/blog/call-protected-api-in-aspnet-core/).
Let's download the sample application from GitHub by running the following command in a terminal window:
```bash
git clone --branch starting-point --single-branch https://github.com/auth0-blog/refresh-token-aspnet-core.git
```
You will get a `refresh-token-aspnet-core` folder with two subfolders: `catalog` and `redemption-api`. The `catalog` folder contains the code of an ASP.NET Core MVC application that shows a reward catalog to authenticated users. The `redemption-api` folder contains the code of an ASP.NET Core Web API that allows users to redeem their points to get a reward.
> To run the sample app, you need the [.NET 6.0 SDK](https://dotnet.microsoft.com/en-us/download/dotnet/6.0) installed on your machine.
>
> Make sure to [trust the HTTPS development certificate](https://docs.microsoft.com/en-us/aspnet/core/security/enforcing-ssl?#trust-the-aspnet-core-https-development-certificate-on-windows-and-macos) if this is the first time you run an ASP.NET Core application on your machine.
>
> While the sample project uses an ASP.NET Core MVC application, all you learn in this article applies to other ASP.NET Core application frameworks, such as Razor Pages and Blazor Server.
### Configure the catalog application
Before proceeding with the needed changes, you must configure the two applications to work with Auth0. Let's start with the catalog application. You need an Auth0 account. If you don't have it yet, you can sign up for a free one.
In the Auth0 dashboard, move to the [Applications section](https://manage.auth0.com/#/applications) and follow these steps:
1. Click on *Create Application*.
2. Provide a friendly name for your application (for example, *Catalog Web App*) and choose *Regular Web Applications* as the application type.
3. Finally, click the *Create* button.
These steps make Auth0 aware of your ASP.NET Core MVC application and will allow you to control access.
After creating the application, you land on the *Quick Start* tab of the application page. Ignore it and move to the *Settings* tab. Take note of your Auth0 domain, client id, and client secret here. Then, in the same form, assign the value `https://localhost:7095/callback` to the *Allowed Callback URLs* field and the value `https://localhost:7095/` to the *Allowed Logout URLs* field.
The first value tells Auth0 which URL to call back after the user authentication. The second value tells Auth0 which URL the user should be redirected to after their logout.
Click the *Save Changes* button to apply them.
Now, go to the `catalog` folder and open the `appsettings.json` configuration file. Its content is as shown below:
```json
// catalog/appsettings.json
{
"Logging": {
"LogLevel": {
"Default": "Information",
"Microsoft.AspNetCore": "Warning"
}
},
"AllowedHosts": "*",
"Auth0": {
"Domain": "YOUR_AUTH0_DOMAIN",
"ClientId": "YOUR_CLIENT_ID",
"ClientSecret": "YOUR_CLIENT_SECRET",
"Audience": "YOUR_UNIQUE_IDENTIFIER"
},
"RedemptionApiBaseUrl": "https://localhost:7151"
}
```
Replace the placeholders `YOUR_AUTH0_DOMAIN`, `YOUR_CLIENT_ID`, and `YOUR_CLIENT_SECRET` with the respective values taken from the Application settings under the *Basic Information* section. Replace the `YOUR_UNIQUE_IDENTIFIER` placeholder with the value `https://redemption-api.com`. You will learn about it in a moment.
### Configure the API
Let's configure the redemption API now. Go to the [API section](https://manage.auth0.com/#/apis) of the Auth0 dashboard and click the *Create API* button. Then provide a friendly name for your API (for example, *Redemption API*) and a unique identifier in the URI format (for example, `https://redemption-api.com`). Make sure that the identifier you provide here is the same you provided as the `Audience` value in the catalog app configuration file. Keep RS256 as the signing algorithm and click the *Create* button.
To complete the API configuration, move to the `redemption-api` folder and open the `appsettings.json` configuration file. Its content should be as follows:
```json
//redemption-api/appsettings.json
{
"Logging": {
"LogLevel": {
"Default": "Information",
"Microsoft.AspNetCore": "Warning"
}
},
"AllowedHosts": "*",
"Auth0": {
"Domain": "YOUR_AUTH0_DOMAIN",
"Audience": "YOUR_UNIQUE_IDENTIFIER"
}
}
```
Replace the `YOUR_AUTH0_DOMAIN` placeholder with your Auth0 domain, the same domain you got for the catalog application, and the `YOUR_UNIQUE_IDENTIFIER` placeholder with the value you provided as a unique identifier of your API (`https://redemption-api.com`, if you kept the value suggested above). This is the same value you assigned to the `Audience` key in the catalog application.
### Run the applications
Now, let's run the applications to check if everything works as expected.
In the `redemption-api` folder, run the following command:
```bash
dotnet run
```
After a few seconds, the API application should be running and listening to the `https://localhost:7151` address. You can check that everything works as expected by running the following command in a terminal window:
```bash
curl https://localhost:7151/redeem -v
```
You should get a response similar to the following:
```bash
* Trying 127.0.0.1:7151...
* Connected to localhost (127.0.0.1) port 7151 (#0)
# ...other messages omitted...
> GET /redeem HTTP/1.1
> Host: localhost:7151
> User-Agent: curl/7.79.1
> Accept: */*
>
* Mark bundle as not supporting multiuse
< HTTP/1.1 401 Unauthorized
< Content-Length: 0
< Date: Wed, 17 Aug 2022 09:41:50 GMT
< Server: Kestrel
< WWW-Authenticate: Bearer
<
* Connection #0 to host localhost left intact
```
Notice the `401 Unauthorized` status code you receive since you don't provide an access token in your request.
Now, move to the `catalog` folder and launch the `dotnet run` command in a new terminal window. After a few seconds, you should get the catalog application listening to the `https://localhost:7095` address.
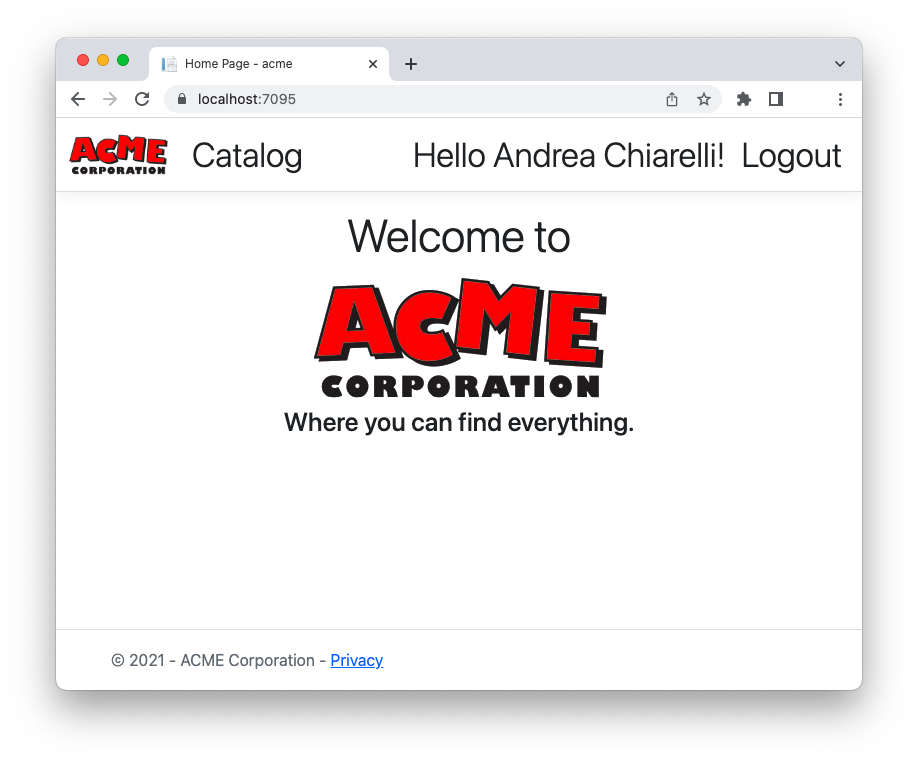
Pointing your browser to that address, you'll get the following page:
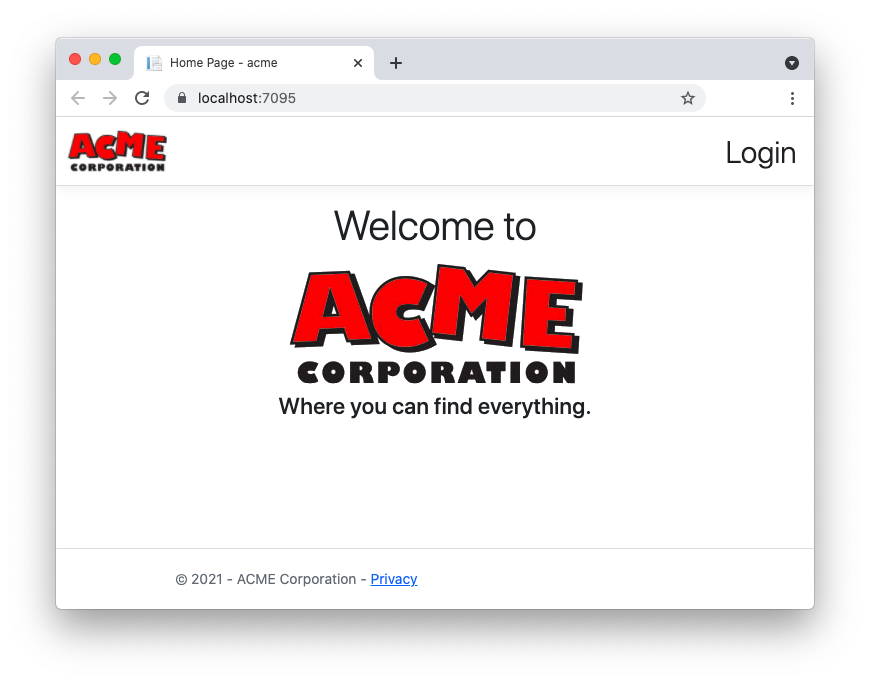
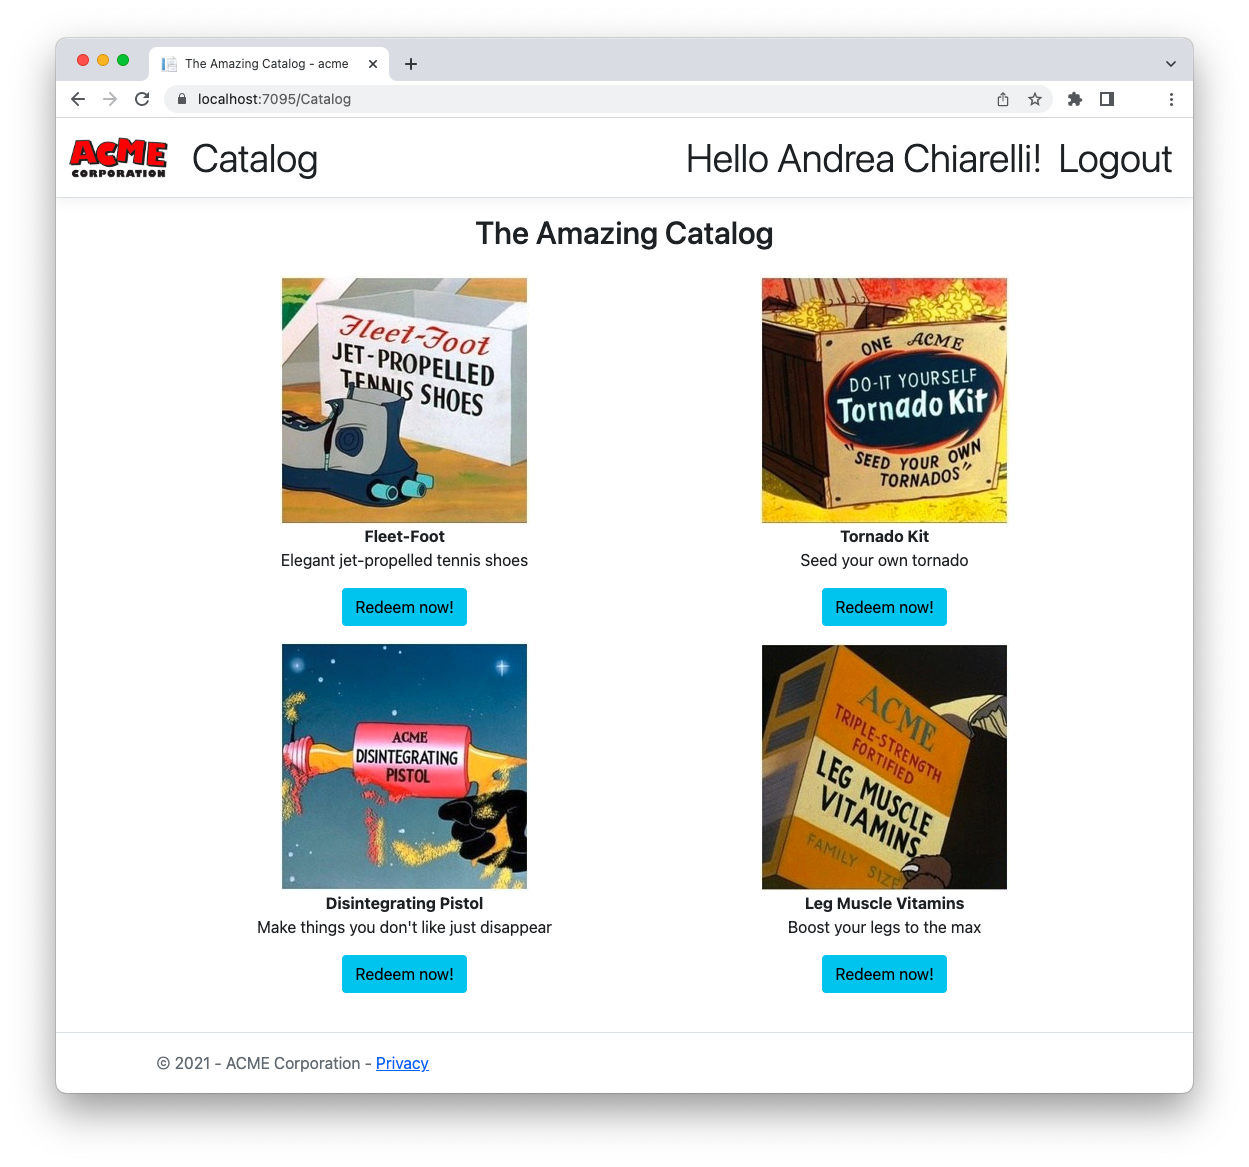
By clicking the *Login* link in the upper right corner of the page, you navigate to the [Auth0 Universal Login](https://auth0.com/docs/authenticate/login/auth0-universal-login) page, which allows you to sign up or sign in as a user. After authentication, you will be able to access the reward catalog and redeem your points, as shown in the following picture:
## Test Access Token Lifetime
Before diving into working with refresh tokens, let's do some experiments with the access tokens' lifetime.
### Configure the access token lifetime
Go to the [API section](https://manage.auth0.com/#/apis) of the Auth0 dashboard and select the API you configured earlier. Then click the *Settings* tab and scroll down to the *Token Settings* section of the form. Set the value for the *Token Expiration* and *Token Expiration For Browser Flows* fields to 60, as shown below:
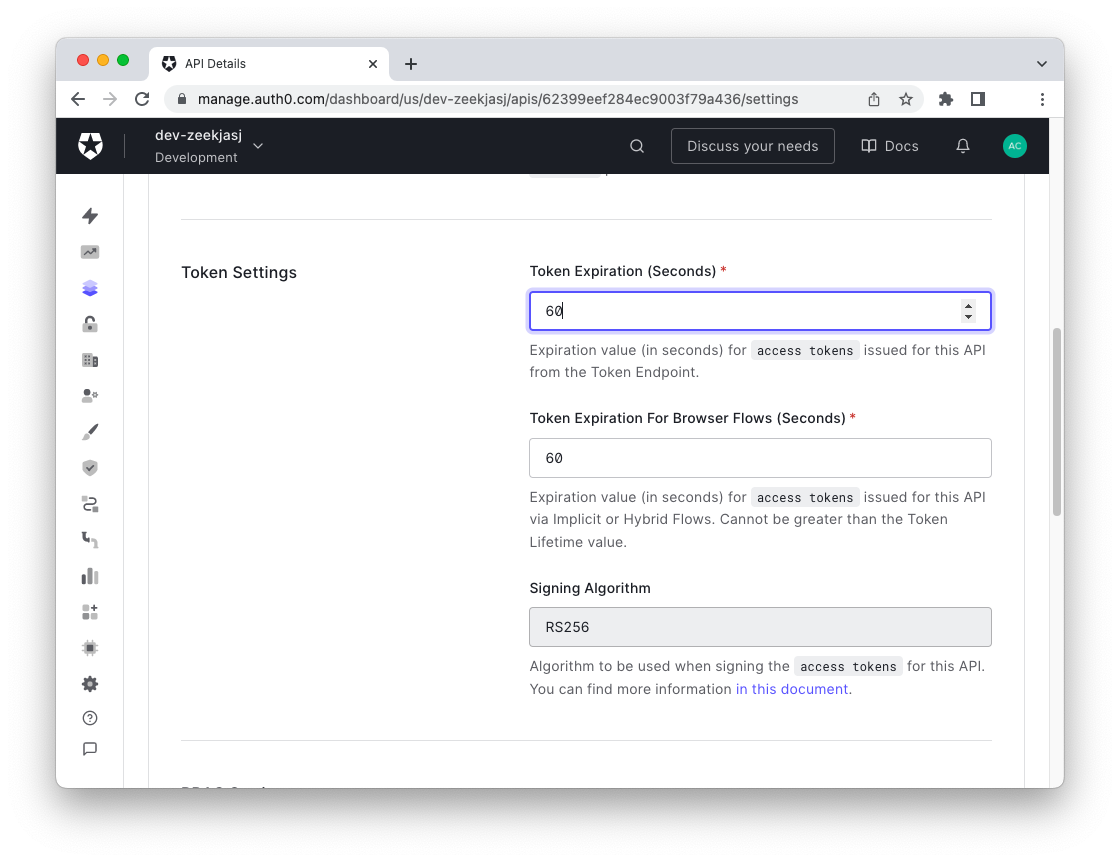
This value sets the access token's lifetime issued for this API to 60 seconds.
> While you will not use the browser flows for the sample application, you still need to change it since its value can't be lower than the *Token Expiration* value.
After setting these values, scroll down and click the *Save* button.
### Adjust the token expiration tolerance
Now, open the `Program.cs` file in the `redemption-api` folder and apply the changes highlighted in the following:
```csharp
using System; // 👈 new code
using Microsoft.AspNetCore.Authentication.JwtBearer;
var builder = WebApplication.CreateBuilder(args);
builder.Services.AddEndpointsApiExplorer();
builder.Services.AddSwaggerGen();
builder.Services.AddAuthentication(JwtBearerDefaults.AuthenticationScheme)
.AddJwtBearer(JwtBearerDefaults.AuthenticationScheme, options =>
{
options.Authority = $"https://{builder.Configuration["Auth0:Domain"]}";
options.TokenValidationParameters =
new Microsoft.IdentityModel.Tokens.TokenValidationParameters
{
ValidAudience = builder.Configuration["Auth0:Audience"],
ValidIssuer = $"{builder.Configuration["Auth0:Domain"]}",
ValidateLifetime = true,
ClockSkew = TimeSpan.Zero // 👈 new code
};
});
builder.Services.AddAuthorization();
// ...existing code...
```
You added a reference to the `System` namespace and assigned the zero value to the `ClockSkew` property.
This change may not be necessary in production, but you need it for this test to avoid waiting a long time for the token to be considered actually expired. In fact, by default, .NET has a five-minutes tolerance for token expiration. This means that you have to wait at least six minutes before your access token expires: one minute from the Auth0 settings plus five minutes tolerance. If you don't want to apply the default tolerance, you have to set the `ClockSkew` property to zero seconds.
> The need for a tolerance value is dictated by possible mismatches between server clocks around the world. To learn more about this issue in general terms, read [this document](https://en.wikipedia.org/wiki/Clock_skew). For more details on clock skew and tokens, take a look at [this](https://stackoverflow.com/questions/47153080/clock-skew-and-tokens).
After this change, restart your API through the `dotnet run` command.
### Test the token expiration
Now, make sure you have logged out of the catalog application and log in again. This time you should have got an access token that will be valid for just 60 seconds.
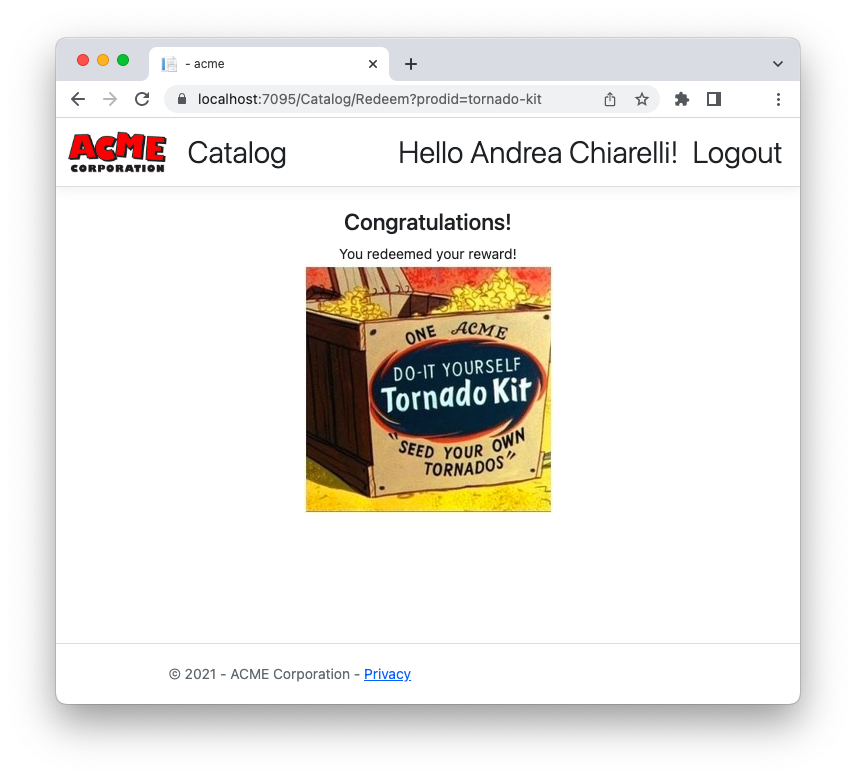
Go to the catalog and click one of the "Redeem now!" buttons. If you do this within one minute from your login, you should get a screen like the following or a message telling you have insufficient points (the API generates random responses):
Wait for one minute or more and then retry to click one of the "Redeem now!" buttons. This time, you are redirected to the Auth0 Universal Login page to authenticate again and get a new access token. Since your session on Auth0 is not expired, you probably won't be required to insert your credentials again, but you will land on the catalog application's home page:
Not a great user experience!
Let's see how you can remediate by using refresh tokens.
## Enable Refresh Token Support
The first step of working with refresh tokens is to enable your API to support them. Another step that strengthens their security is to enable refresh token rotation. Let's see how to do this.
### Enable refresh token support for your API
Once again, go to the [API section](https://manage.auth0.com/#/apis) of the Auth0 dashboard and select your API. Then click the *Settings* tab and scroll down to the *Access Settings* section. Here, enable the *Allow Offline Access* switch as shown below:
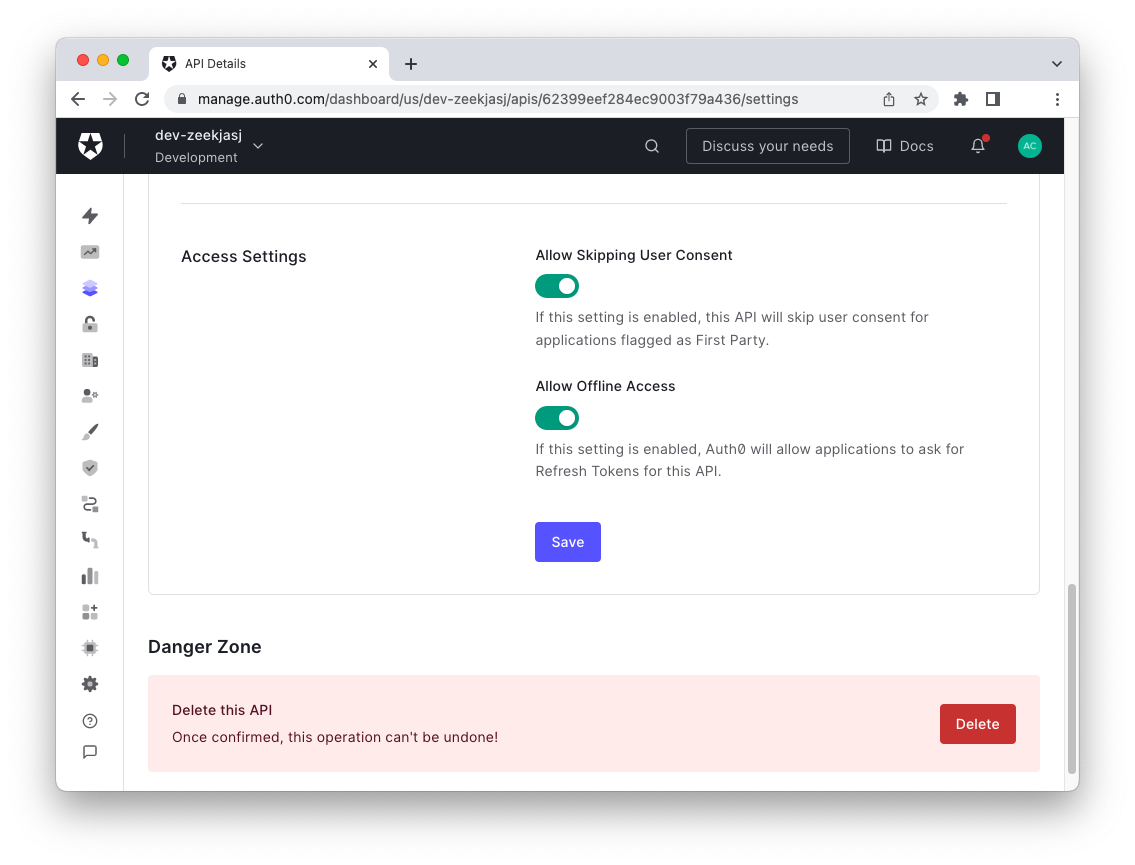
Don't forget to click the *Save* button.
### Enable refresh token rotation for your app
Now go to the [Applications section](https://manage.auth0.com/#/applications) of the Auth0 dashboard and select your web app. Then click the *Settings* tab and scroll down to the *Refresh Token Rotation* section. Toggle the *Rotation* switch to enable refresh token rotation as shown below:
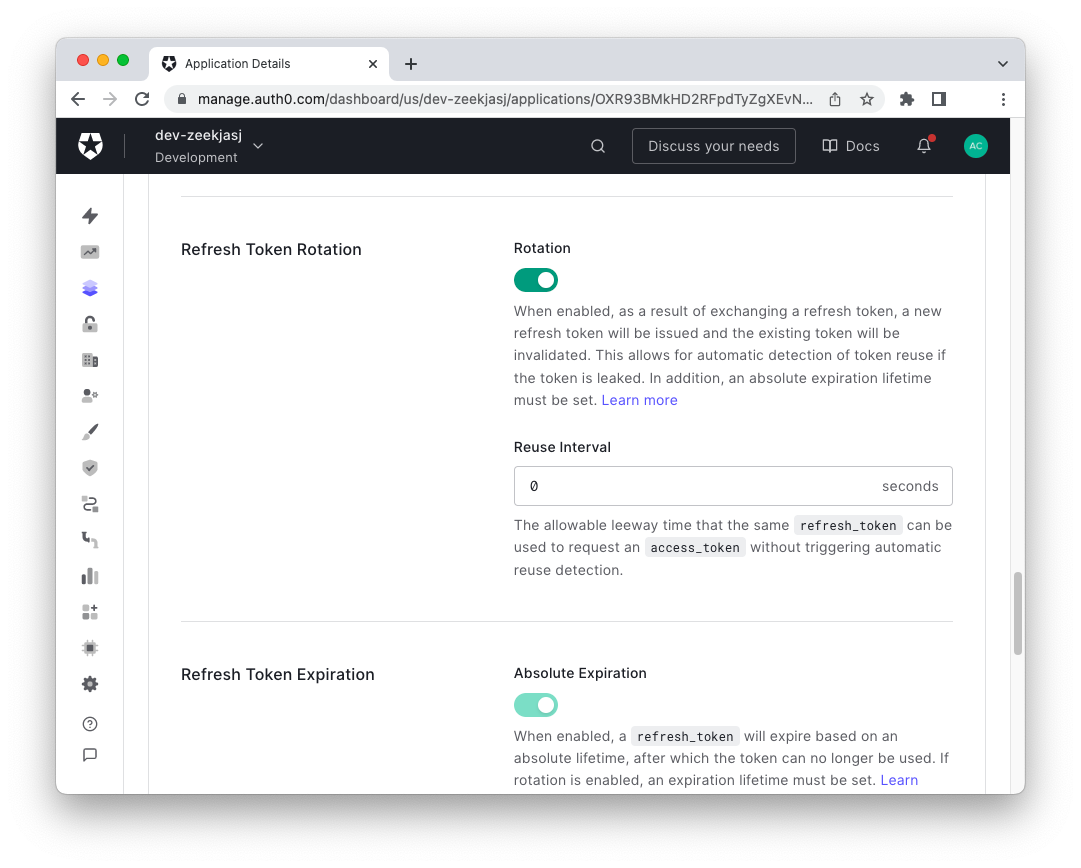
Scroll down and click the *Save Changes* button.
> Read [this document to learn more about how refresh token rotation improves refresh tokens' security](https://auth0.com/blog/refresh-tokens-what-are-they-and-when-to-use-them/#Refresh-Token-Rotation).
## Request Your Refresh Token
Once everything is configured on the Auth0 side, let's see what to do on the code side.
To work with refresh tokens, the catalog application needs to request one when the user logs in, along with an ID and access token.
The sample ASP.NET Core MVC application uses the [Auth0 ASP.NET Core Authentication SDK](https://github.com/auth0/auth0-aspnetcore-authentication) to interact with Auth0. This hides the underlying complexity of managing the [OpenID Connect](https://auth0.com/docs/authenticate/protocols/openid-connect-protocol)-based login transaction and makes requesting a refresh token extremely easy. Actually, all you need to do to request a refresh token at login time is to edit the `Program.cs` file in the `catalog` folder and apply the following simple change:
```csharp
// catalog/Program.cs
using Auth0.AspNetCore.Authentication;
var builder = WebApplication.CreateBuilder(args);
builder.Services
.AddAuth0WebAppAuthentication(options => {
options.Domain = builder.Configuration["Auth0:Domain"];
options.ClientId = builder.Configuration["Auth0:ClientId"];
options.ClientSecret = builder.Configuration["Auth0:ClientSecret"];
options.Scope = "openid profile email";
})
.WithAccessToken(options =>
{
options.Audience = builder.Configuration["Auth0:Audience"];
options.UseRefreshTokens = true; // 👈 new code
});
builder.Services.AddControllersWithViews();
// ...existing code...
```
You add just one line that assigns `true` to the `UseRefreshTokens` option for the access token. That's it!
Restart the catalog application and make sure you are logged out of it. Then log in again. You will get a [consent screen](https://auth0.com/docs/get-started/applications/confidential-and-public-applications/user-consent-and-third-party-applications) like the following:
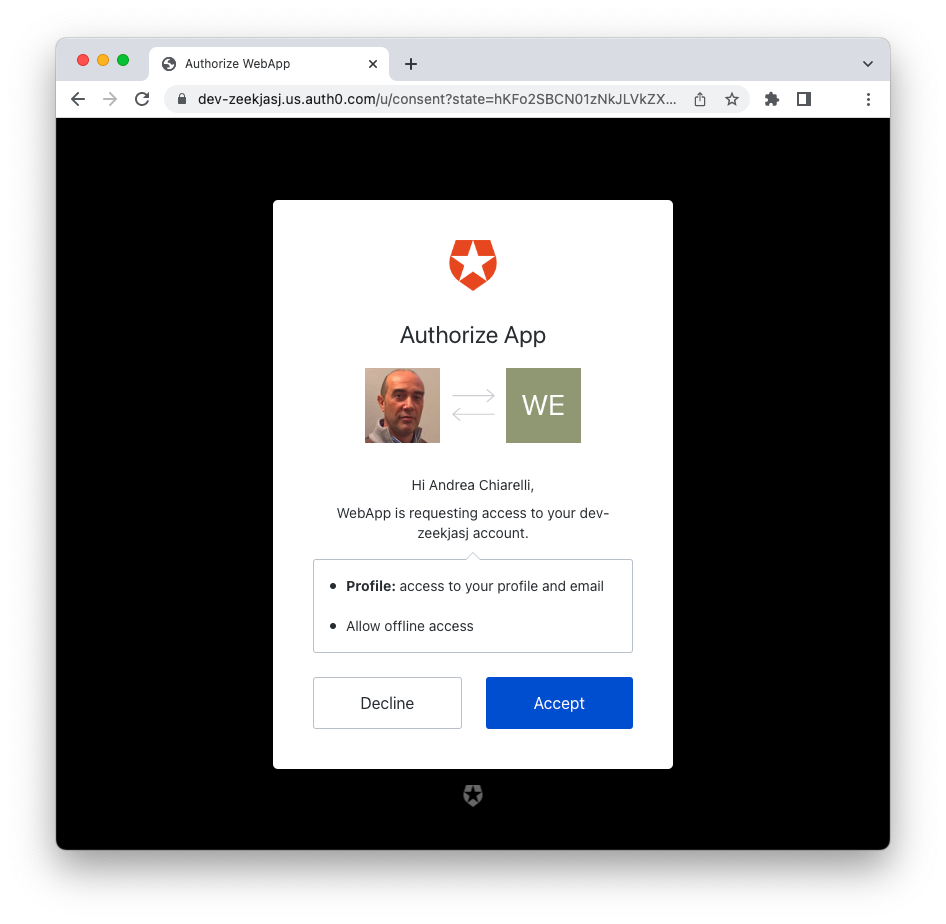
Notice that beyond informing you that the application wants to access your profile's data, this screen asks for the authorization to allow offline access. That basically means you're allowing the application to use refresh tokens.
Once you accept this screen, go to the catalog page and repeat the steps you did earlier to test the access token expiration. This time you shouldn't experience the same issue as before: you should be able to redeem a reward seamlessly, even after the access token is expired. In fact, the SDK handles the process of requesting a new access token when it finds that the current one is expired.
## Summary
This article has shown you in practice how to balance security needs with user experience needs by using refresh tokens.
You started by learning that refresh tokens provide greater security when calling an API protected with access tokens. After downloading the example application and configuring it to support authentication and authorization with Auth0, you did some experiments with the access token expiration value. You realized that reducing the lifetime of an access token to mitigate possible risks of compromise generates problems for your application's user experience.
So you enabled refresh token support through the Auth0 dashboard and made a very simple change to your existing code. Thanks to the [Auth0 ASP.NET Core Authentication SDK](https://github.com/auth0/auth0-aspnetcore-authentication), refresh token management happens behind the scenes and your application's user experience is safe along with its security.
You can download the full code of the project from [this GitHub repository](https://github.com/auth0-blog/refresh-token-aspnet-core).