- Sign up and log in using a username and password or a Google account.
- Authenticate and authorize users using OAuth 2.0 and OpenID Connect.
Pick your tech stack
 Next.js
 FastAPI
- Use sample app (recommended)
- Integrate into your app
Download sample app
Start by downloading and extracting the sample app. Then open in your preferred IDE.Install packages
Ensure you havenpm installed or follow the instructions to install npm in its documentation.
In the root directory of your project, install the required packages:Create your environment file
In the root directory of your project, create a new.env.local file and add the following content:.env.local
AUTH0_DOMAIN, AUTH0_CLIENT_ID, and AUTH0_CLIENT_SECRET, navigate to Applications > Applications in the Auth0 Dashboard and select your client application. You’ll find these values in the Basic Information section at the top.
Copy each value to the matching setting.Next, run this command to generate a random 32 byte value and copy it to the AUTH0_SECRET field:generate random 32 byte value
Run your application
Run this command to start your server:http://localhost:3000 in your browser.You will see: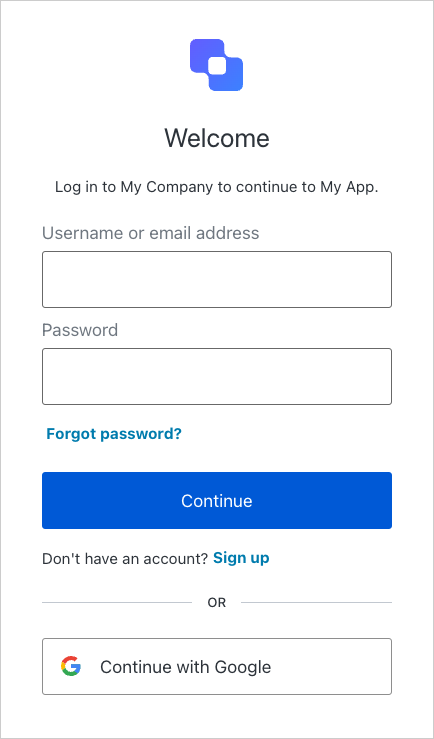
Next steps
- To set up first-party tool calling, complete the Call your APIs on user’s behalf quickstart.
- To set up third-party tool calling, complete the Call other’s APIs on user’s behalf quickstart.
- Learn more about User Authentication.