
Introduction
Today, you will learn how to scaffold a React Single-Page Application (SPA) with some sensible and opinionated defaults. Probably, you heard of create-react-app before and, probably, you are even using this tool to scaffold your React apps. So, you may be wondering: "Why would I need to read this article, and how does it help me?"
The answer to this question is simple: create-react-app is a great starting point but doesn't prepare the field to a real-world, production-ready SPA. As such, the goal of this article is to help you go through the steps needed to scaffold a React SPA that:
- has a consistent code style (with the help of Prettier, a JavaScript formatter),
- installs and configures some popular React libraries (like Redux and Redux Saga),
- uses
styled-componentsto help you manage the CSS of your React components, - configures React Bootstrap to give you a responsive, mobile-first application,
- and that uses Auth0 to handle authentication easily.
After going through the steps here, you will have a SPA that:
- is easy to extend,
- multiple developers can contribute to (without ending with a spaghetti code),
- has a nice user interface (based on one of the most popular React UI libraries out there),
- can handle state and asynchronous tasks (like timeouts and AJAX requests) easily,
- and that is secure.
If that sounds interesting, keep reading!
Prerequisites
To follow along with this article, you will need Node.js and npm or Yarn installed in your machine. If you don't have these tools, please, check this resource before continuing. On most installations, Node.js ships with npm.
Besides that, you will need some basic knowledge of React. You don't need years of experience with it to follow the article, but you do have to understand its basic principles (components, JSX, etc.).
If you are completely new to React, please, read React Tutorial: Building and Securing Your First App first. After reading that article, you will have the React knowledge needed to follow this one without struggling.
What You Will Build
In this article, you will build a very simple to-do list manager application. Your app will consume a to-do list from an external server and will allow users to add new to-do items to the local list. However, the app will not update this external server with any new items that users add.
The goal of this article is not to build the application, but to teach you how to put everything together so you can build awesome React apps that rely on a mature architecture.
Scaffolding the React SPA
The first thing you will do to scaffold your new React SPA is to use create-react-app. This tool is incredible as it lets you put together a React app by just issuing one command.
So, open a terminal, move into the directory where you want to save your project, and issue the following command:
npx create-react-app react-todo
If you have Yarn installed in your system, create-react-app uses it as the package manager for the project; otherwise, it uses npm. If you have Yarn installed but prefer to use npm, you can run the following command instead:
npx create-react-app react-todo --use-npm
npx is a tool available with npm v5.2+ that lets you execute one-off commands. If create-react-app isn't installed in your system, npx installs it automatically from the npm registry and invokes it. Once it’s done, the installed package won’t be anywhere in your globals, reducing package pollution in your system in the long-term.
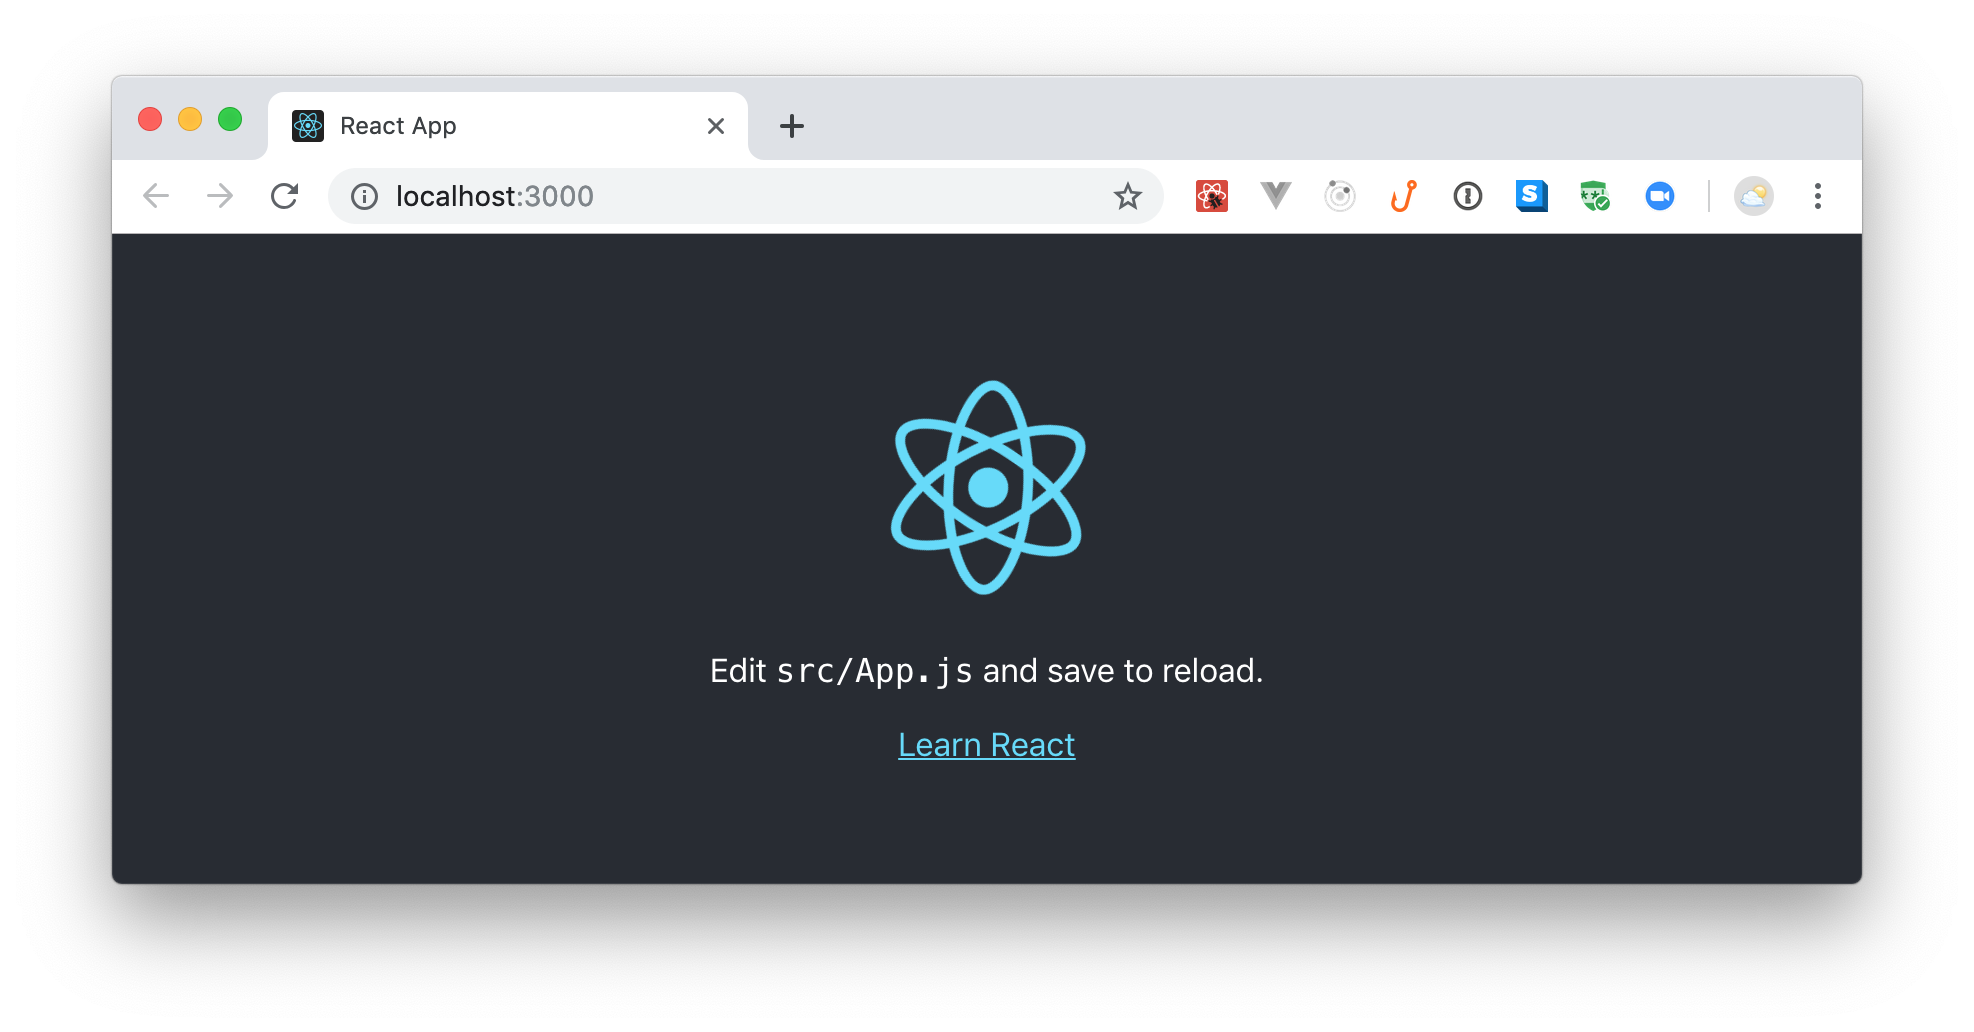
The output of executing create-react-app is a directory called react-todo. Move into the new directory (cd react-todo), and run yarn start or npm start to see your new app. If everything works as expected, a new page hosting http://localhost:3000 will open in your default browser.
Based on the package manager that you told
create-react-appto use, replace theyarncommand withnpmas needed.
Installing and Configuring Prettier
All software developers have their preferences when it comes to code style. Some prefer using semicolons, and some prefer leaving them out. Some prefer indenting code with tabs, and some prefer using two spaces. However, what is important is that they don't mix these different styles on a single code base.
To easily accomplish that, you will use Prettier, an opinionated code formatter that you can use to help you keep the code style of your project consistent. If you configure Prettier correctly, developers can jump right into your project and start coding without worrying about code format. Then, when they save their modifications (or when they commit them), Prettier will make sure the code is formatted correctly. Sounds cool, right?
Issue the following command to use this tool:
yarn add husky lint-staged prettier
These packages are large and will take some time to install.
Let's breakdown what these three libraries do:
huskyandlint-staged: Together, these libraries will allow you to register an npm script as a githook (this way Prettier will run right before developers commit new code).prettier: This is the JavaScript formatter you want to use.
After installing these libraries, add the following properties to the package.json file:
// ./package.json

"husky": {
  "hooks": {
    "pre-commit": "lint-staged"
  }
},
"lint-staged": {
  "src/**/*.{js,jsx,ts,tsx,json,css,scss,md}": [
    "prettier --single-quote --write",
    "git add"
  ]
},
"prettier": {
  "singleQuote": true
}
The first property, husky, will make lint-staged run on Git's pre-commit phase. The second property, lint-staged, indicates what exactly npm must run on this phase. The third property, prettier, changes the default configuration of Prettier to use singleQuote instead of double quotes.
With that in place, you can check the Prettier Editor Integration document to learn how to integrate Prettier into your IDE. In that document, you will find that the community has built Prettier plugins for the most popular text editors and IDEs out there (e.g., WebStorm and VSCode)
For example, if you are using WebStorm, you will have to install this plugin. Then, after installing it, you can use the Reformat with Prettier action (Alt + Shift + Cmd + P on macOS or Alt + Shift + Ctrl + P on Windows and Linux) to format the selected code, a file, or a whole directory. Also, you might be interested in adding a WebStorm File Watcher to executes the Reformat with Prettier action on file modifications. If you are interested in this, please, check this resource.
Installing and Configuring React Bootstrap
After configuring Prettier into your project, the next thing you can do is to install and configure React Bootstrap. This library is a specialization of the Bootstrap toolkit. As Bootstrap depends on jQuery to run some components, the React community decided that it would be a good idea to remove this dependency and rebuild Bootstrap to integrate with React tightly. That's how React Bootstrap was born.
So, to install this library, issue the following command from the terminal:
yarn add react-bootstrap bootstrap
After that, open the ./public/index.html file and, right after the title DOM element, import Bootstrap's CSS file:
<!-- ./public/index.html -->
<!DOCTYPE html>
<html lang="en">
  <head>
    <!-- ... title and other elements ... -->
    <link
      rel="stylesheet"
      href="https://maxcdn.bootstrapcdn.com/bootstrap/4.2.1/css/bootstrap.min.css"
      integrity="sha384-GJzZqFGwb1QTTN6wy59ffF1BuGJpLSa9DkKMp0DgiMDm4iYMj70gZWKYbI706tWS"
      crossorigin="anonymous"
    />
  </head>
  <!-- ... body ... -->
</html>
As explained on the official React Bootstrap documentation:
This library doesn't depend on a specific version of Bootstrap. As such, the library doesn't ship with any CSS file on it. However, some stylesheet is required to use these components. How and which Bootstrap styles you include is up to you, but the simplest way is to include the latest styles from the CDN. — React Bootstrap Introduction
Now, to check if the configuration is working, open the ./src/App.js file and replace its code with this:
// ./src/App.js

import React, { Component } from 'react';
import Container from 'react-bootstrap/Container';
import Button from 'react-bootstrap/Button';
import Col from 'react-bootstrap/Col';
import Row from 'react-bootstrap/Row';

class App extends Component {
  render() {
    return (
      <Container>
        <Row className="row">
          <Col xs={12}>
            <h1>My New React Bootstrap SPA</h1>
            <Button>Look, I'm a button!</Button>
          </Col>
        </Row>
      </Container>
    );
  }
}

export default App;
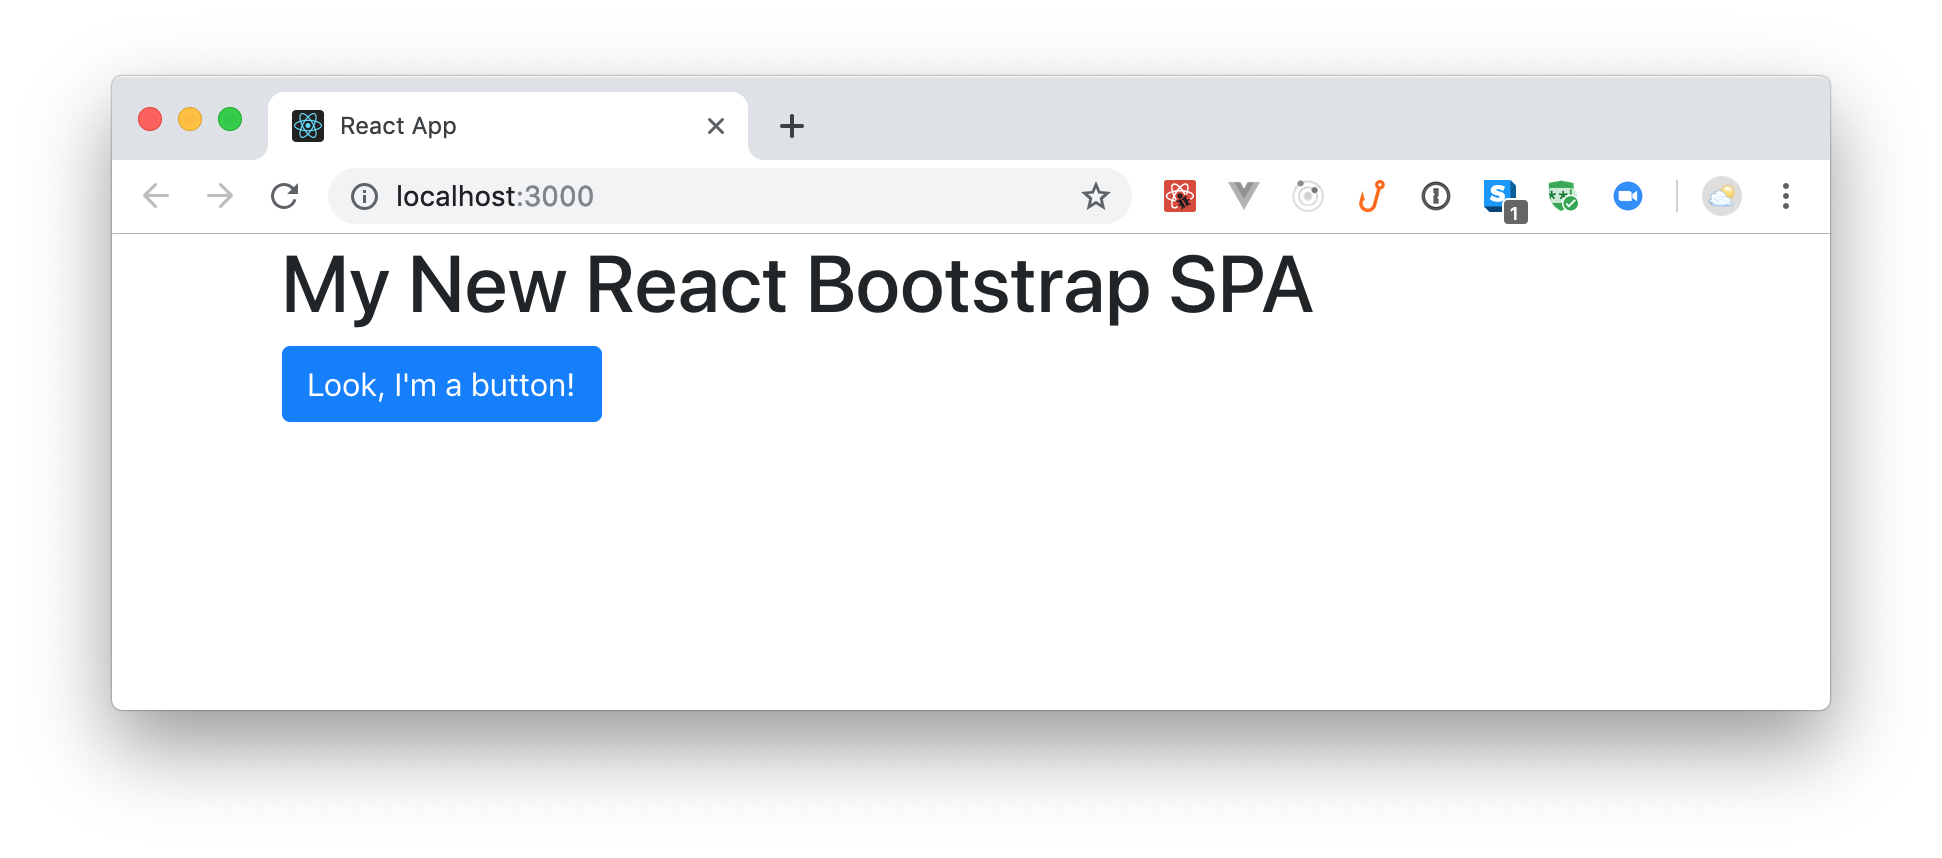
If everything works as expected, you will be able to see a page with an h1 header and a Button that uses Bootstrap CSS rules.
Note: You are not using two files anymore:
./src/App.cssand./src/logo.svg. As such, feel free to delete them.
Installing PropTypes
As a React developer, you probably already know what PropTypes is, but if you don't, here is the definition from the React documents:
PropTypes exports a range of validators that can be used to make sure the data you (your React components) receive is valid. — Typechecking With PropTypes
That is, PropTypes allows you to add some type checking capabilities to your project with ease. For example, if you have a component that outputs a required message, you can add type checking with PropTypes like so:
import React from 'react';
import PropTypes from 'prop-types';

const Header = ({ description }) => <h1>{description}</h1>;

Header.propTypes = {
  description: PropTypes.string.isRequired
};
After that, whenever you use the Header component without passing a description to it, PropTypes will show a warning message in the JavaScript console. Note that this tool is there to help you in the development process. Also, for performance reasons, React only checks PropTypes in development mode.
You can install PropTypes by running the following command:
yarn add prop-types
Installing Redux and Integrating It with React
Next, you will install and integrate Redux in your React app. Redux, for those who don't know, is the most popular state management library among React developers. Redux itself is not tied to React, but, most of the time, developers use them together.
If you don't know how Redux works, don't worry, you can still follow along with this article. In the end, you can read this practical tutorial on Redux to learn more about this library.
To integrate Redux with your React app, you will have to install two libraries:
yarn add redux react-redux
The first one, redux, is Redux itself and the second one, react-redux, is a library that offers React bindings for Redux.
As you will build a simple to-do application in this article, the next thing you can do is to define the Redux actions that your app will handle. To do this, under the src directory, create a new directory called actions and create a new file called index.js within it.
Add the following code to src/actions/index.js:
// ./src/actions/index.js

export const ADD_TODO = 'ADD_TODO';

export function addToDo(title) {
  return {
    type: ADD_TODO,
    toDoItem: {
      _id: (new Date().getTime()),
      title
    }
  };
}
Here you are defining that, for now, your app will handle a single type of action: ADD_TODO. Actions of this type, as you can see, will carry a toDoItem object with two properties: an id and a title.
After defining the action type your app will handle, you can create a Redux reducer to process actions. For this purpose, under the src directory, create a new directory called reducers and create a new file called index.js within it.
Add this code to src/reducers/index.js:
// ./src/reducers/index.js

import { ADD_TODO } from '../actions';

const initialState = {
  toDoList: []
};

export default function toDoApp(state = initialState, action) {
  switch (action.type) {
    case ADD_TODO:
      let newToDoList = [
        ...state.toDoList,
        {
          ...action.toDoItem
        }
      ];
      return {
        ...state,
        toDoList: newToDoList
      };
    default:
      return state;
  }
}
This file has two goals. The first one is to define the initialState state of your app (which is an empty toDoList). The second one is to define what the toDoApp will do when it receives an ADD_TODO action (which is to include the new to-do item to the toDoList).
With that in place, you can open the ./src/index.js file and replace its contents with this:
// ./src/index.js

import React from 'react';
import { render } from 'react-dom';
import { Provider } from 'react-redux';
import { createStore } from 'redux';
import toDoApp from './reducers';
import App from './App';

const store = createStore(toDoApp);

render(
  <Provider store={store}>
    <App />
  </Provider>,
  document.getElementById('root')
);
The new version of this file is using the createStore function (provided by redux) to create a single source of truth object about the state of the app (i.e., the store constant). Then, it uses this store to feed the app with state.
Integrating React Components with Redux
After defining these Redux elements (actions, reducers, and the store), the next thing you can do is to define the React components that will use these elements. First, under the src directory, create two new directories:
./src/components: This is where you will create your Presentational Components; that is, components that are not aware of Redux../src/containers: This is where you will create Container Components; that is, components that tightly integrate to Redux.
After that, you can create a file called AddToDo.js inside the ./src/containers directory. Add the following code to the file you just created:
// ./src/containers/AddToDo.js

import React from 'react';
import { connect } from 'react-redux';
import { addToDo } from '../actions';
import Button from 'react-bootstrap/Button';
import Form from 'react-bootstrap/Form';
import InputGroup from 'react-bootstrap/InputGroup';

let AddToDo = ({ dispatch }) => {
  let input;

  return (
    <Form
      onSubmit={e => {
        e.preventDefault();
        if (!input.value.trim()) {
          return;
        }
        dispatch(addToDo(input.value));
        input.value = '';
      }}
    >
      <Form.Group controlId="formBasicEmail">
        <InputGroup>
          <Form.Control
            type="text"
            placeholder="Enter an item"
            ref={node => {
              input = node;
            }}
          />
          <InputGroup.Append>
            <Button type="submit">Add To-Do</Button>
          </InputGroup.Append>
        </InputGroup>
      </Form.Group>
    </Form>
  );
};
AddToDo = connect()(AddToDo);

export default AddToDo;
This component will present a form to your users and will allow them to input (and submit) new to-do items. As you can see, when your users submit this form, the component will dispatch an action that the addToDo function creates. This is enough to feed your app with to-do items, but it is not enough to present the items to your users.
To be able to present the to-do items, you will create two Presentation Components: ToDo and ToDoList. As their names state, the first one will render a single to-do item, while the second one will render a list of to-do items.
To define the ToDo component, create a new file called ToDo.js inside ./src/components and add the following code to the file you just created:
// ./src/components/ToDo.js

import React from 'react';
import PropTypes from 'prop-types';
import ListGroup from 'react-bootstrap/ListGroup';

const ToDo = ({ title }) => <ListGroup.Item>{title}</ListGroup.Item>;

ToDo.propTypes = {
  title: PropTypes.string.isRequired
};

export default ToDo;
This component will receive the description of the to-do item in question and will use the ListGroup.Item Bootstrap component to render the item.
Now, to define the ToDoList component, create a new file called ToDoList.js inside ./src/components and add the following code to the file you just created:
// ./src/components/ToDoList.js

import React from 'react';
import PropTypes from 'prop-types';
import ListGroup from 'react-bootstrap/ListGroup';
import Jumbotron from 'react-bootstrap/Jumbotron';
import ToDo from './ToDo';

const ToDoList = ({ toDoList }) => (
  <Jumbotron>
    <ListGroup>
      {toDoList.map((toDo, index) => (
        <ToDo key={index} {...toDo} />
      ))}
    </ListGroup>
  </Jumbotron>
);

ToDoList.propTypes = {
  toDoList: PropTypes.arrayOf(
    PropTypes.shape({
      _id: PropTypes.number.isRequired,
      title: PropTypes.string.isRequired
    }).isRequired
  ).isRequired
};

export default ToDoList;
This component will receive the toDoList, iterate over it, and render (inside a Jumbotron Bootstrap component) a list of ToDo components.
After defining these two presentational components, you will have to map the state of the app to the props of the ToDoList component. To do this, create a file called ToDoListContainer.js inside the ./src/containers directory and add the following code to it:
// ./src/containers/ToDoListContainer.js

import { connect } from 'react-redux';
import ToDoList from '../components/ToDoList';

const mapStateToProps = state => {
  return {
    toDoList: state.toDoList
  };
};

const ToDoListContainer = connect(mapStateToProps)(ToDoList);

export default ToDoListContainer;
This will make sure Redux maps the toDoList object available on its store (the state object on the source code above) to the toDoList property that the ToDoList presentational component uses.
With that in place, the last thing you will have to do is to make the App component use both Redux containers. So, open the ./src/App.js file and replace its code with this:
// ./src/App.js

import React, { Component } from 'react';
import Container from 'react-bootstrap/Container';
import Col from 'react-bootstrap/Col';
import Row from 'react-bootstrap/Row';

import AddToDo from './containers/AddToDo';
import ToDoListContainer from './containers/ToDoListContainer';

class App extends Component {
  render() {
    return (
      <Container>
        <Row className="row">
          <Col xs={12}>
            <h1>To Do List</h1>
            <AddToDo />
            <ToDoListContainer />
          </Col>
        </Row>
      </Container>
    );
  }
}

export default App;
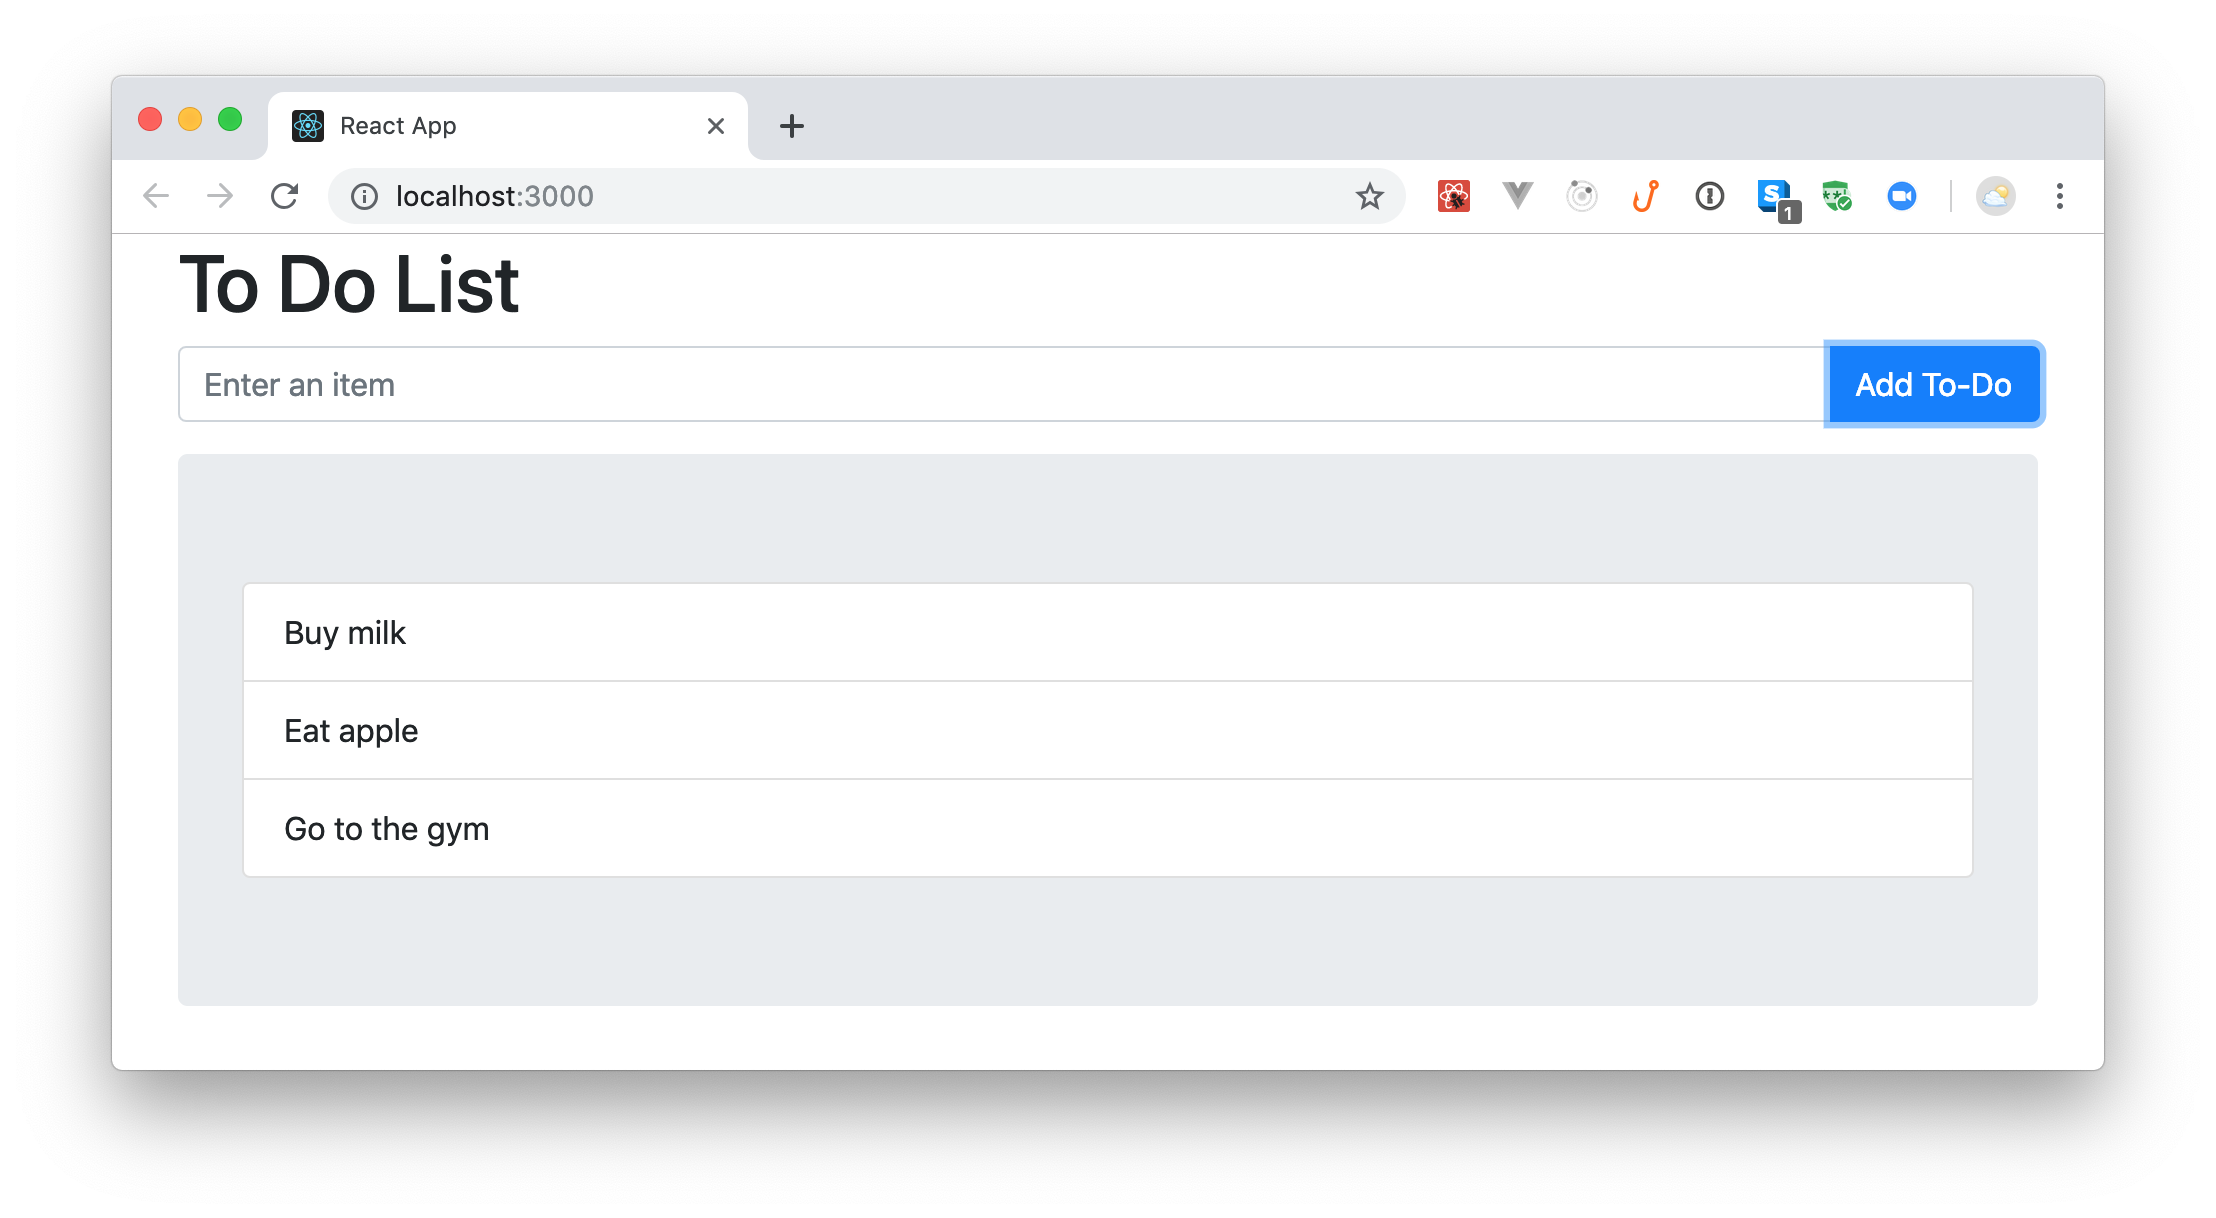
If everything works as expected, you will see your updated to-do app in your browser. There, you will be able to use the form to insert new to-do items.
Managing Side Effects on React with Redux Saga
Cool, you now have an application that can rely on a single source of truth when it comes to state management. However, one big gap of Redux is that this library does not handle well side effects (like those that AJAX requests provoke). To be able to handle this kind of side effect, you can use Redux Saga.
The goal of this article is not to teach everything about Redux Saga. For that, you can check the Introduction tutorial from the Redux Saga docs. However, even if you are not acquainted with this tool, you can still follow the instructions here to put the whole thing together. Then, when you finish reading this article, you can dive into this useful (and excellent) topic.
For starters, to install Redux Saga, issue the following command:
yarn add redux-saga
This will install the redux-saga dependency in your React project.
After installing it, you can open the ./src/actions/index.js file and update it as follows:
// ./src/actions/index.js

// ... ADD_TODO ...
export const LOAD_TODO_LIST = 'LOAD_TODO_LIST';
export const RENDER_TODO_LIST = 'RENDER_TODO_LIST';

// ... addToDo ...

export function loadToDoList() {
  return {
    type: LOAD_TODO_LIST
  };
}
The new version of this file is defining two new action types:
LOAD_TODO_LIST: This action type will make your React app load the to-do list from an external server.RENDER_TODO_LIST: This action type will make your React app render the to-do list it just loaded.
Besides that, you are defining a function called loadToDoList to create an action with the LOAD_TODO_LIST type. In a few moments, you will make your React app use this function to dispatch an action of this type.
After defining these new action types, you can open the ./src/reducers/index.js file and update it as follows:
// ./src/reducers/index.js

// ... other imports ...

import { RENDER_TODO_LIST } from '../actions';

// ... initialState ...

export default function toDoApp(state = initialState, action) {
  switch (action.type) {
    case RENDER_TODO_LIST:
      return {
        ...state,
        toDoList: action.toDoList
      };
    // ... case ADD_TODO, and default ... :
  }
}
Here, you are adding a new case statement to the switch command that will handle RENDER_TODO_LIST actions. When your reducer receives an action with this type, it will read the toDoList payload and update the state of the app with the new list.
After this change, the next thing you will do is to create your first sagas. To do so, under the src directory, create a new directory called sagas and create a file called index.js inside it.
Add the following code to rc/sagas/index.js:
// ./src/sagas/index.js

import { all, call, put, takeEvery } from 'redux-saga/effects';
import { LOAD_TODO_LIST, RENDER_TODO_LIST } from '../actions';

export function* fetchToDoList() {
  const endpoint = 'https://gist.githubusercontent.com/brunokrebs/f1cacbacd53be83940e1e85860b6c65b/raw/to-do-items.json';
  const response = yield call(fetch, endpoint);
  const data = yield response.json();
  yield put({ type: RENDER_TODO_LIST, toDoList: data });
}

export function* loadToDoList() {
  yield takeEvery(LOAD_TODO_LIST, fetchToDoList);
}

export default function* rootSaga() {
  yield all([loadToDoList()]);
}
Note: Sagas are implemented as Generator functions (
function*) thatyieldobjects to theredux-sagamiddleware. The yielded objects are a kind of instruction to be interpreted by the middleware. When a Promise is yielded to the middleware, the middleware will suspend the Saga until the Promise completes. — Redux Saga Beginner Tutorial
Here you can see that you are creating two sagas:
fetchToDoList: A saga that issues a request to a backend API (a static JSON file in this case) to fetch atoDoList.loadToDoList: A saga that listens toLOAD_TODO_LISTactions to trigger thefetchToDoListsaga.
When the fetchToDoList saga finishes loading the data from the API, it dispatches (through the put function) a RENDER_TODO_LIST action with the new list of to-do items. Then, the new version of your reducer captures this action and updates the state of the app accordingly.
After creating your sagas, the last thing you will have to do is to make your app dispatch a LOAD_TODO_LIST action right after loading on users' browsers. To achieve this, open the ./src/index.js file and replace its code with this:
// ./src/index.js

import React from 'react';
import { render } from 'react-dom';
import { Provider } from 'react-redux';
import { createStore, applyMiddleware } from 'redux';
import createSagaMiddleware from 'redux-saga';

import App from './App';
import { loadToDoList } from './actions';
import toDoApp from './reducers';
import rootSaga from './sagas';

const sagaMiddleware = createSagaMiddleware();

const store = createStore(toDoApp, applyMiddleware(sagaMiddleware));

sagaMiddleware.run(rootSaga);

store.dispatch(loadToDoList());

render(
  <Provider store={store}>
    <App />
  </Provider>,
  document.getElementById('root')
);
Here, you are creating a sagaMiddleware to add to your app's store, and you are making your app use the loadToDoList action creator to dispatch an action.
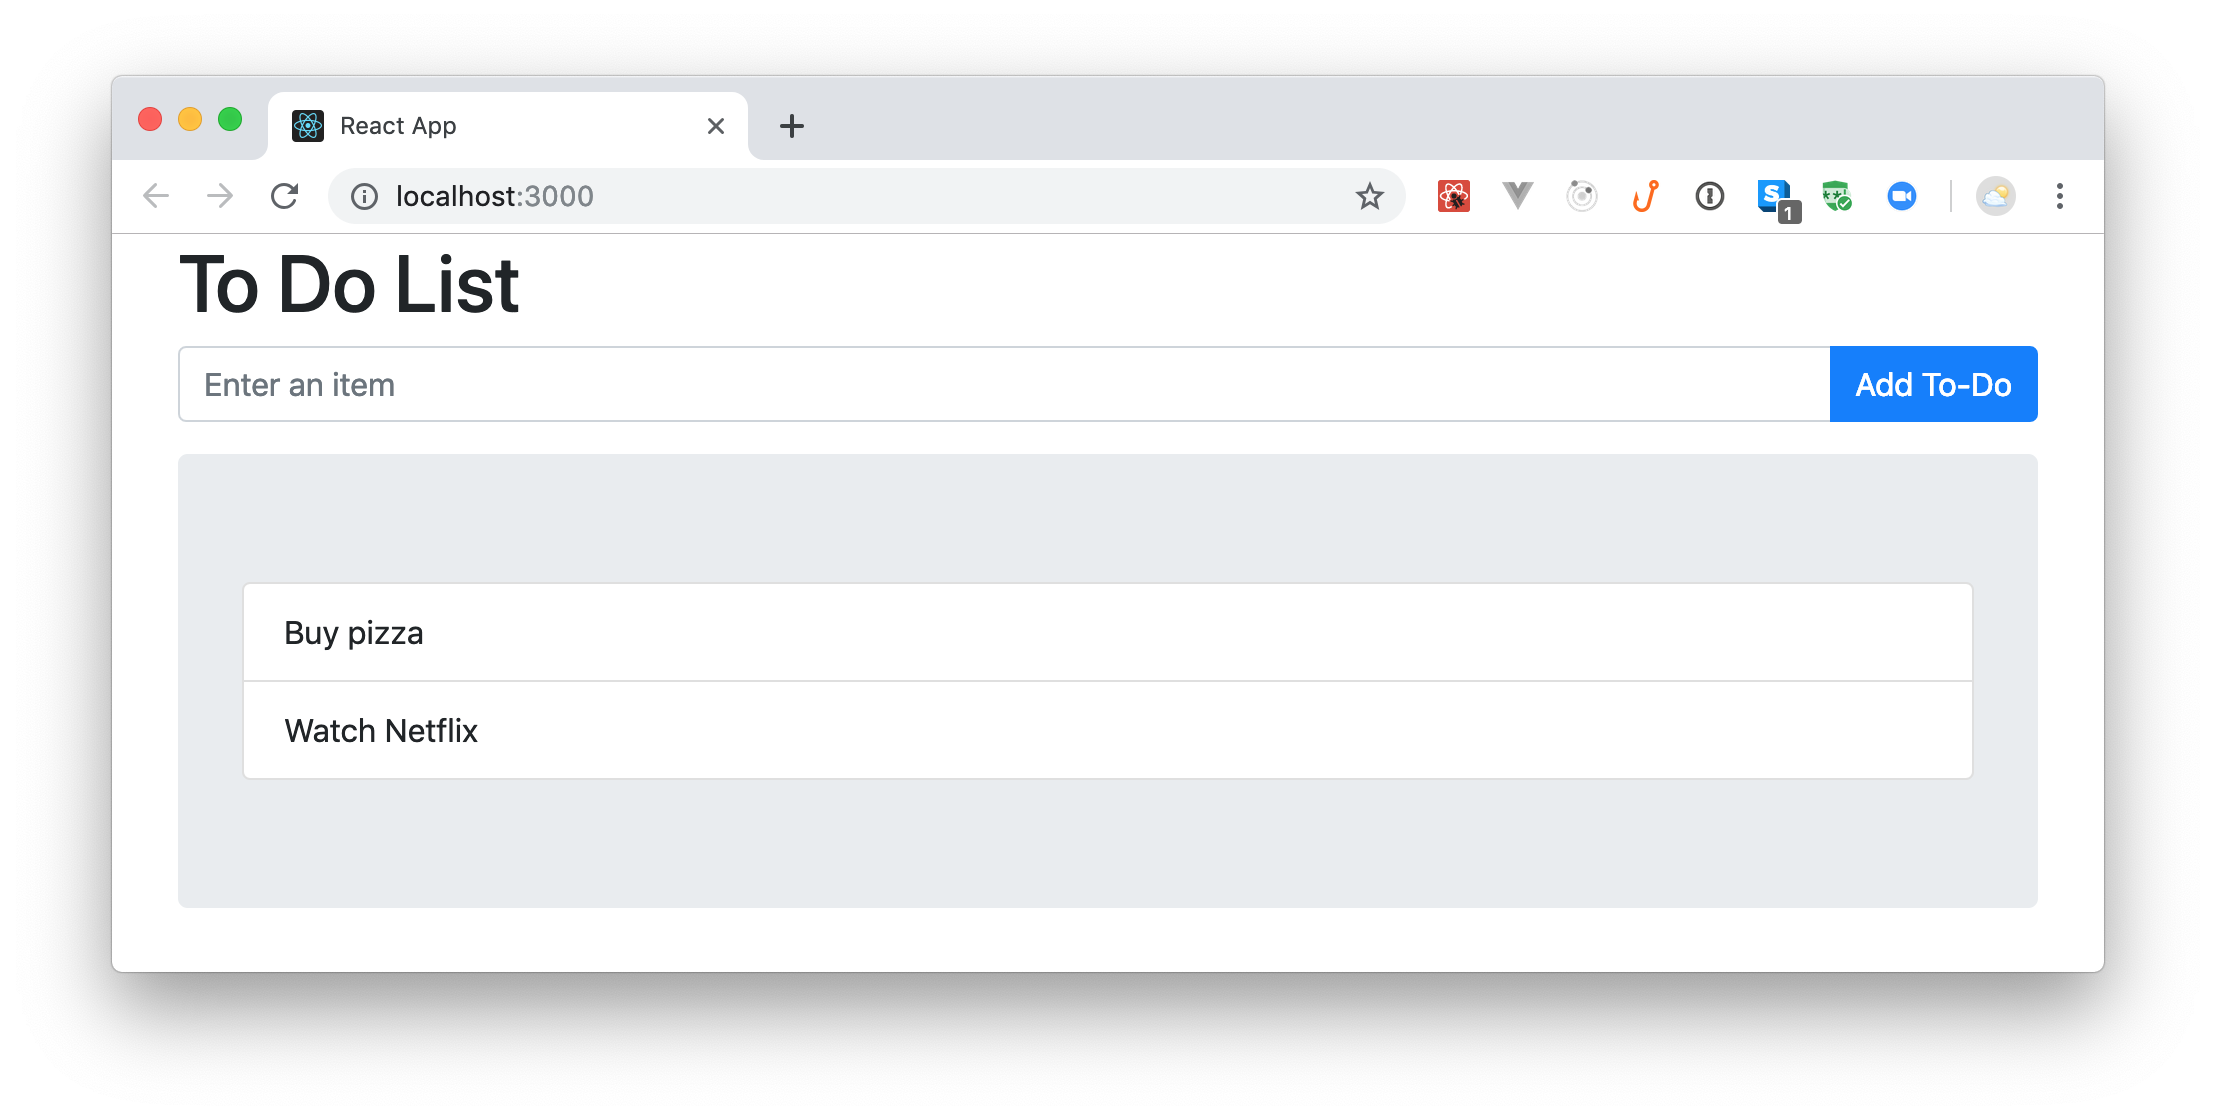
If you get everything right, you will see that your React app now loads two to-do items from the remote server: one to remind you to "buy pizza" and another one to remind you to "watch Netflix".
“Redux Saga makes it easy to manage side effects caused by async processes, such as making HTTP calls.”
Tweet This
Handling Multiple Routes With React Router
Right now, your app is capable of:
- rendering a nice user interface (with the help of React Bootstrap);
- managing a single source of truth for its state (with the help of Redux);
- and managing side effects that things like async HTTP requests cause (with the help of Redux Saga).
What you need now is to prepare your app to handle multiple routes. For that, you can use React Router, a declarative routing library for React.
To install this library, run the following command:
yarn add react-router-dom
After that, you have to import the BrowserRouter component and nest your App inside it. So, open the ./src/index.js file and update it as follows:
// ./src/index.js

// ... other imports ...
import { BrowserRouter } from 'react-router-dom';

// ... saga and redux config ...

render(
  <Provider store={store}>
    <BrowserRouter>
      <App />
    </BrowserRouter>
  </Provider>,
  document.getElementById('root')
);
Then, before adding any routes to your app, you will create a Navigation component that will allow users to navigate between different routes. So, create a file called Navigation.js inside ./src/components and add the following code to it:
// ./src/components/Navigation.js

import React from 'react';
import { Link } from 'react-router-dom';

export default () => (
  <div>
    <Link className="btn btn-primary" to="/">
      To-Do List
    </Link>
    <Link className="btn btn-secondary" to="/new-item">
      + Add New
    </Link>
  </div>
);
As you can see, this component creates two instances of Link: one that allows users to navigate to your home page (i.e., /) and one that allows them to navigate to a route where they will add new to-do items (/new-item). For demonstration purposes, you will split the form from the to-do list.
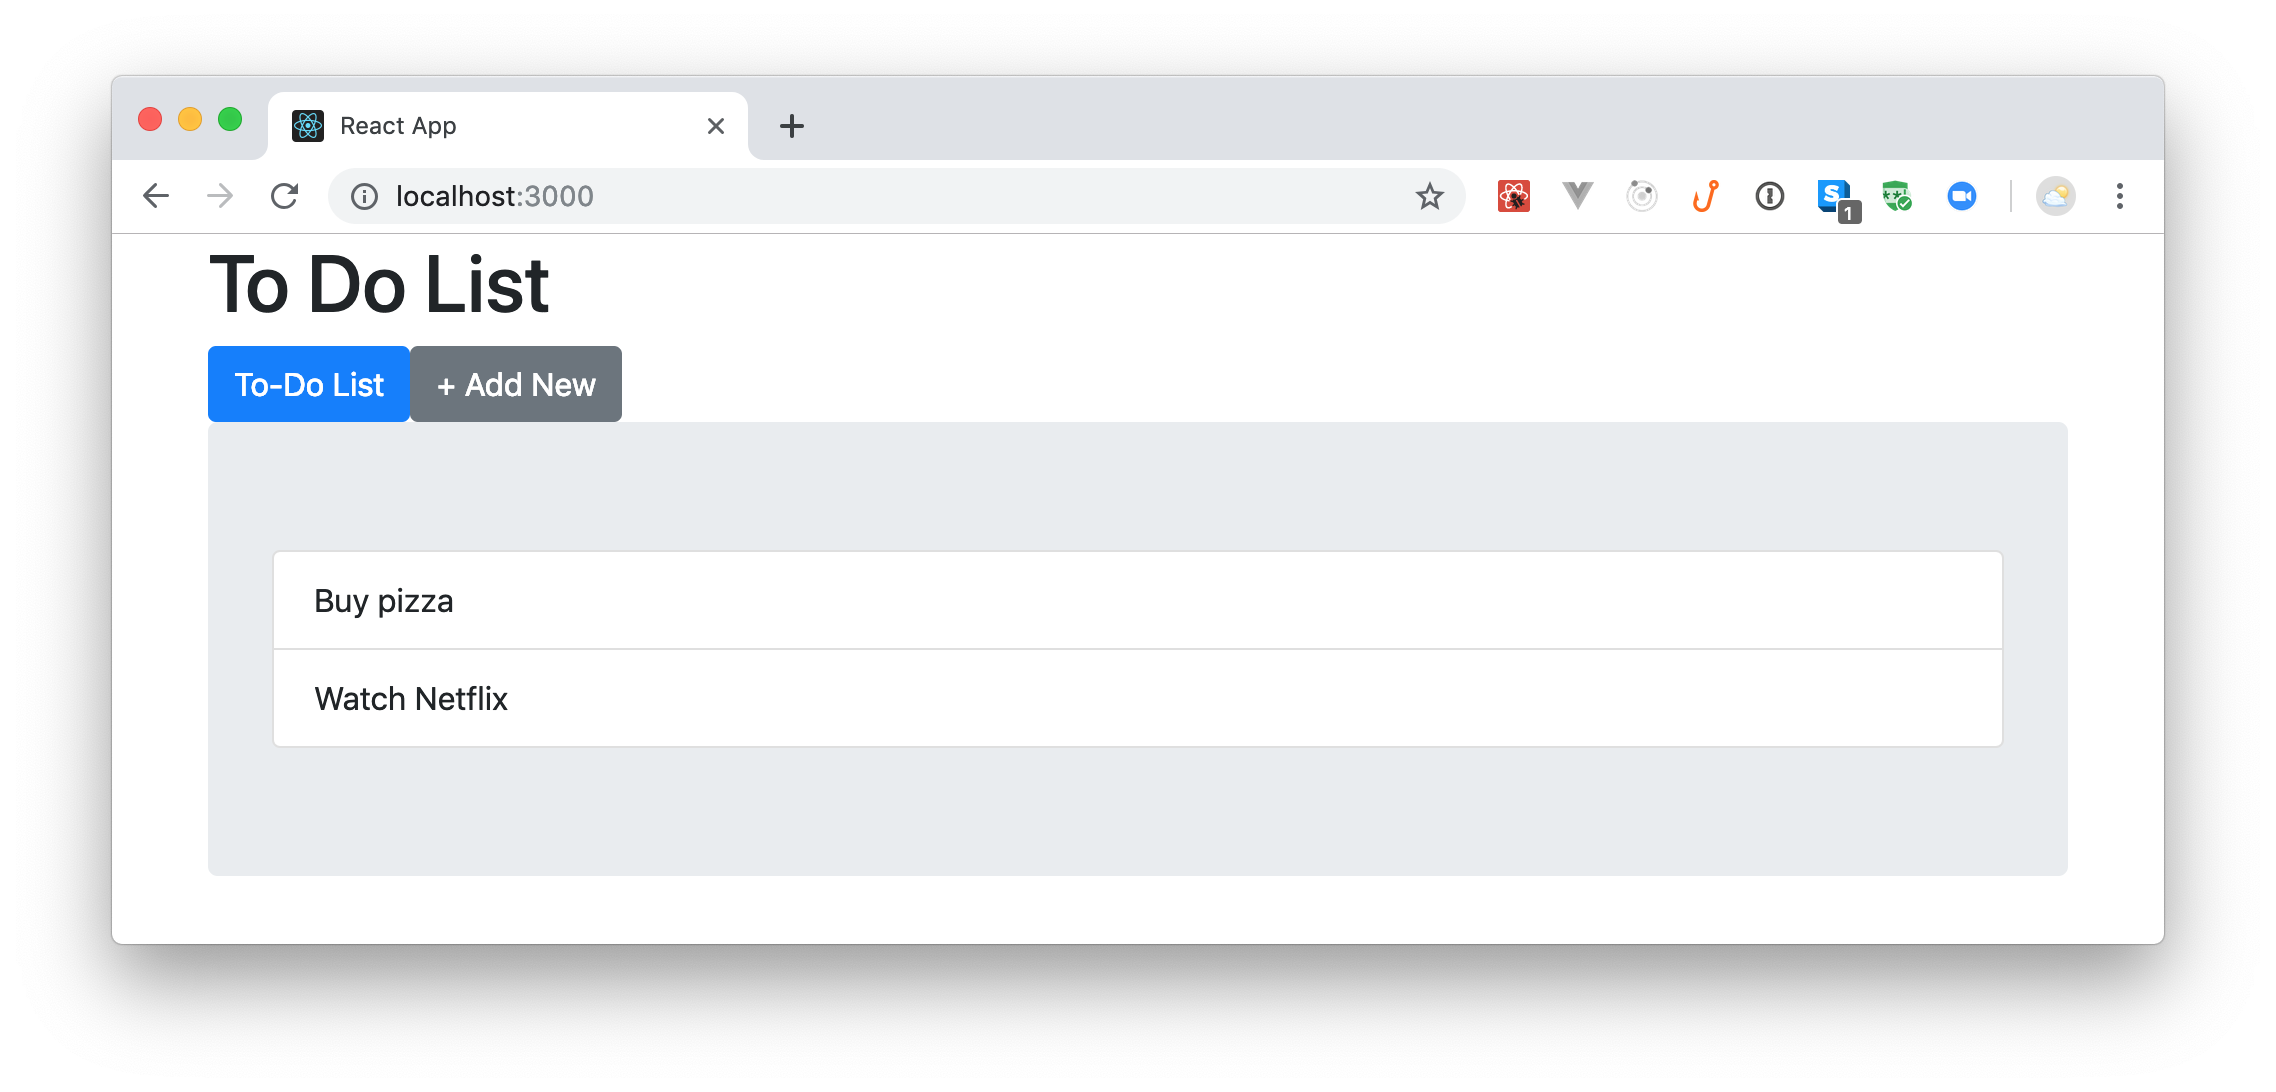
Now, you need to use the Navigation component in your App to define the two routes. For that, open the ./src/App.js file and update it as follows:
// ./src/App.js

// ... other imports ...
import { Route } from 'react-router-dom';
import Navigation from './components/Navigation';

class App extends Component {
  render() {
    return (
      <Container>
        <Row className="row">
          <Col xs={12}>
            <h1>To Do List</h1>
            <Navigation />
            <Route exact path="/" component={ToDoListContainer} />
            <Route exact path="/new-item" component={AddToDo} />
          </Col>
        </Row>
      </Container>
    );
  }
}
export default App;
Here, you are using the Route component to configure your app to render the ToDoListContainer component when users navigate to your home page, and to render the AddToDo component when they navigate to /new-item.
Installing and Using Styled-Components
Your architecture is almost complete now. You have installed and configured some useful libraries that help you handle navigation, state, and the user interface. However, you haven't done anything related to facilitating the enhancement of this user interface.
For example, what if you wanted to change the style of your buttons? Or, if you want to add some margin between your Navigation component and the list of to-do items? You could, of course, write a simple CSS file and import it in your React app. But this is old school.
Instead, you are going to use styled-components, a library that, among other benefits, allows you to adapt the styling of a component based on its props. To install this library, issue the following command:
yarn add styled-components
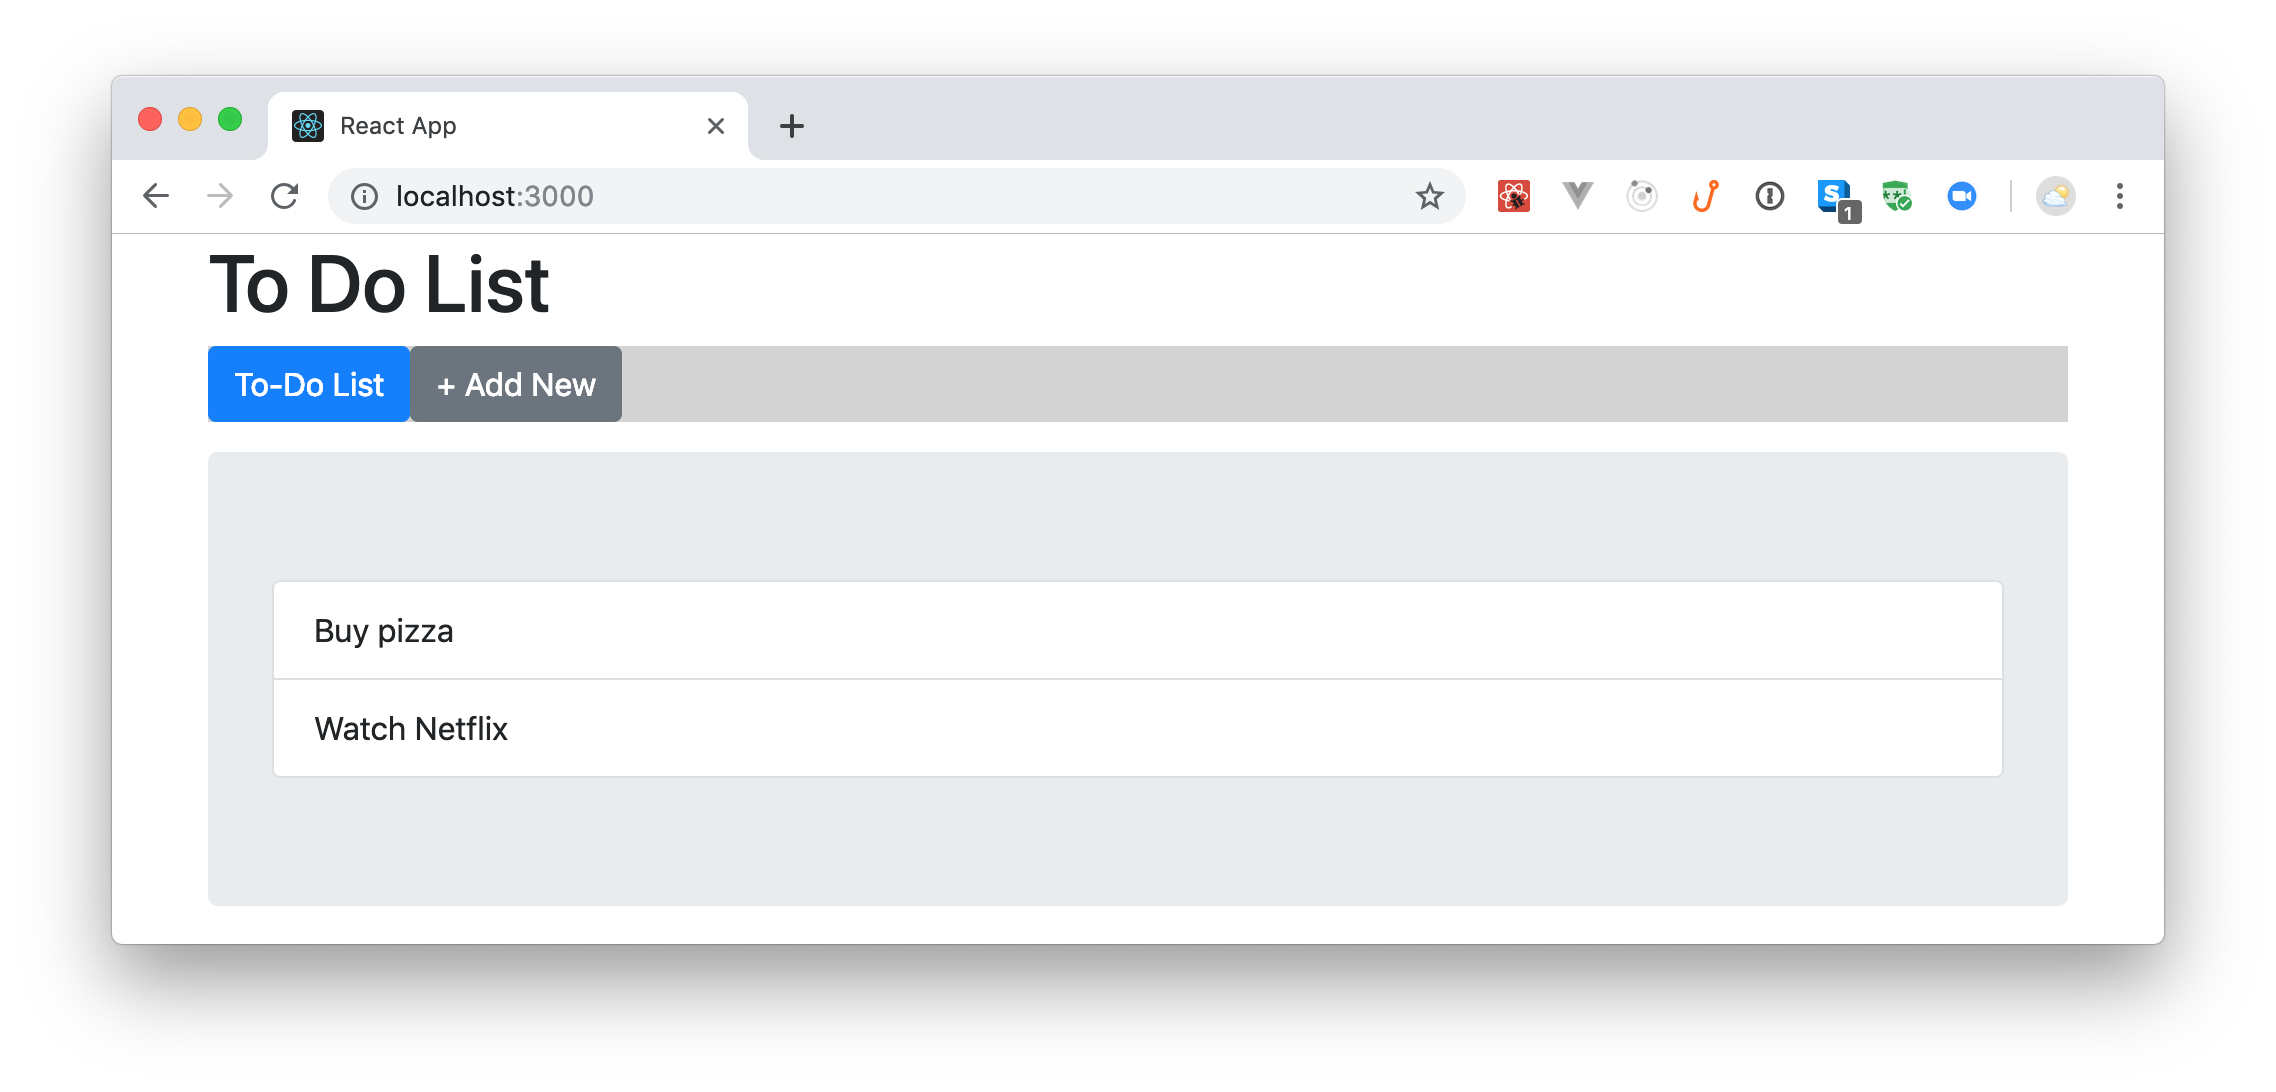
Now, you can import styled-components in a file, and use it to change the style of any component or DOM element. For example, open the ./src/components/Navigation.js and replace its code with this:
// ./src/components/Navigation.js

import React from 'react';
import { Link } from 'react-router-dom';
import styled from 'styled-components';

const NavigationBar = styled.div`
  margin-bottom: 15px;
  background-color: lightgray;
`;

export default () => (
  <NavigationBar>
    <Link className="btn btn-primary" to="/">
      To-Do List
    </Link>
    <Link className="btn btn-secondary" to="/new-item">
      + Add New
    </Link>
  </NavigationBar>
);
In the new version of this file, you are using styled-components to create a component called NavigationBar that is a div with some CSS styles. More specifically, you are defining that this div will have 15px of margin on its bottom and that it will have a lightgray background. As you can see, you use the new NavigationBar component, just like other components (or DOM elements).
That's it! With that in place, you can rerun your app (npm start), and check the new layout in your browser.
Securing Your React Application
Lastly, you will have to think about securing your application. For that, you will use Auth0. You can't go too far without a good identity management system backing you up.
Auth0, a global leader in Identity-as-a-Service (IDaaS), provides thousands of customers in every market sector with the only identity solution they need for their web, mobile, IoT, and internal applications. Its extensible platform seamlessly authenticates and secures more than 2.5 billion logins per month, making it loved by developers and trusted by global enterprises.
If you don't have one yet, you will have to create a free Auth0 account now. After creating it, go to the Applications section of your Auth0 dashboard and click on the Create Application button. Then, fill the form as follows:
- Application Name: "React App"
- Application Type: "Single Page Web App"
When you click on the Create button, Auth0 will redirect you to the Quick Start tab of your new application. From there, head to the Settings tab and make two changes:
- Add
http://localhost:3000/callbackto the Allowed Callback URLs field. - Add
http://localhost:3000/to the Allowed Logout URLs.
For security reasons, after the login and logout processes, Auth0 will only redirect users to the URLs you register in these two fields.
After updating the configuration, scroll to the bottom of the page, and click Save Changes. For now, leave this page open.
Back in the terminal, issue the following command:
yarn add auth0-js
This will install Auth0's headless browser SDK in your app. After installing it, create a new file called Auth.js within the src directory and add the following code to it:
// ./src/Auth.js

import auth0 from 'auth0-js';

const auth0Client = new auth0.WebAuth({
  // the following three lines MUST be updated
  domain: '<YOUR_AUTH0_DOMAIN>',
  audience: 'https://<YOUR_AUTH0_DOMAIN>/userinfo',
  clientID: '<YOUR_AUTH0_CLIENT_ID>',
  redirectUri: 'http://localhost:3000/callback',
  responseType: 'id_token',
  scope: 'openid profile email'
});

export function handleAuthentication() {
  return new Promise((resolve, reject) => {
    auth0Client.parseHash((err, authResult) => {
      if (err) return reject(err);
      if (!authResult || !authResult.idToken) {
        return reject(err);
      }
      const idToken = authResult.idToken;
      const profile = authResult.idTokenPayload;
      // set the time that the id token will expire at
      const expiresAt = authResult.idTokenPayload.exp * 1000;
      resolve({
        authenticated: true,
        idToken,
        profile,
        expiresAt
      });
    });
  });
}

export function signIn() {
  auth0Client.authorize();
}

export function signOut() {
  auth0Client.logout({
    returnTo: 'http://localhost:3000',
    clientID: '<YOUR_AUTH0_CLIENT_ID>'
  });
}
Note: In the code above, you will have to replace
<YOUR_AUTH0_DOMAIN>and<YOUR_AUTH0_CLIENT_ID>(they both appear twice in the code) with the Domain and Client ID properties of your new Auth0 Application. You can get these properties from the page that you left open.
This file creates an auth0Client object with your Auth0 configuration and uses it to expose three functions:
handleAuthentication: You will call this function right after Auth0 redirects your users back to your app. At this moment, the function will fetch theiridTokenandprofile(a.k.a.,idTokenPayload) and send this information to whatever is listening to the promise that it returns.signInandsignOut: These functions, as their names state, will initiate the login and logout processes.
After defining them, you will create two Redux actions that your app will need to interact with these functions. For that, open the ./src/actions/index.js file and update it as follows:
// ./src/actions/index.js

// ... other constants ...
export const USER_PROFILE_LOADED = 'USER_PROFILE_LOADED';
export const HANDLE_AUTHENTICATION_CALLBACK = 'HANDLE_AUTHENTICATION_CALLBACK';

// ... addToDo and loadToDoList ...

export function handleAuthenticationCallback() {
  return {
    type: HANDLE_AUTHENTICATION_CALLBACK
  };
}
Next, you will create a component that handles the authentication callback. So, create a file called Callback.js inside src/containers/ and add the following code to it:
// ./src/containers/Callback.js

import React from 'react';
import { connect } from 'react-redux';
import { Redirect } from 'react-router';
import { handleAuthenticationCallback } from '../actions';

const mapStateToProps = state => {
  return {
    user: state.user
  };
};

let Callback = ({ dispatch, user }) => {
  if (user) return <Redirect to="/" />;
  dispatch(handleAuthenticationCallback());

  return <div className="text-center">Loading user profile.</div>;
};
Callback = connect(mapStateToProps)(Callback);

export default Callback;
As you can see, when your app renders this component, it will check whether there is a user object available in the store or not (the component connects to Redux). If there is no user, it will use the handleAuthenticationCallback action creator to dispatch the HANDLE_AUTHENTICATION_CALLBACK action. If there is a user, it will redirect them to your home page.
At this moment, you have the Redux actions, the code (that Auth.js provides), and the Callback component necessary to handle the callback process. What you need now is to open the ./src/sagas/index.js file and update it as follows:
// ./src/sagas/index.js

// ... other imports ...
import { takeLatest } from 'redux-saga/effects';
import { HANDLE_AUTHENTICATION_CALLBACK, USER_PROFILE_LOADED } from '../actions';
import { handleAuthentication } from '../Auth';

// ... fetchToDoList and loadToDoList ...

export function* parseHash() {
  const user = yield call(handleAuthentication);
  yield put({ type: USER_PROFILE_LOADED, user });
}

export function* handleAuthenticationCallback() {
  yield takeLatest(HANDLE_AUTHENTICATION_CALLBACK, parseHash);
}

// replace the current rootSaga generator
export default function* rootSaga() {
  yield all([loadToDoList(), handleAuthenticationCallback()]);
}
Here you are defining two new sagas. The first one, parseHash, will call and wait for the result of the handleAuthentication function. Then it will put a USER_PROFILE_LOADED action to let Redux know about the user who just signed in. The second one, handleAuthenticationCallback, is there to "listen" to HANDLE_AUTHENTICATION_CALLBACK actions so it can trigger the first saga. Lastly, you are updating the rootSaga to make the handleAuthenticationCallback saga run when the app starts.
After creating your new sagas, you can open the ./src/reducers/index.js file and update it as follows:
// ./src/reducers/index.js

// ... other imports ...
import { USER_PROFILE_LOADED } from '../actions';

// ... initialState ...

export default function toDoApp(state = initialState, action) {
  switch (action.type) {

    // ... RENDER_TODO_LIST and ADD_TODO ...

    case USER_PROFILE_LOADED:
      return {
        ...state,
        user: action.user
      };
    default:
      return state;
  }
}
This new version is adding a case statement to handle USER_PROFILE_LOADED actions. That is, when your saga informs Redux that the user logged in, the code in this statement will add the user object to your app's state.
These changes would suffice to integrate your app with Auth0. However, you are not consuming the user profile yet. To see the whole thing in action, you will make your Navigation component render information about the logged-in user. So, open the ./src/components/Navigation.js file and update it as follows:
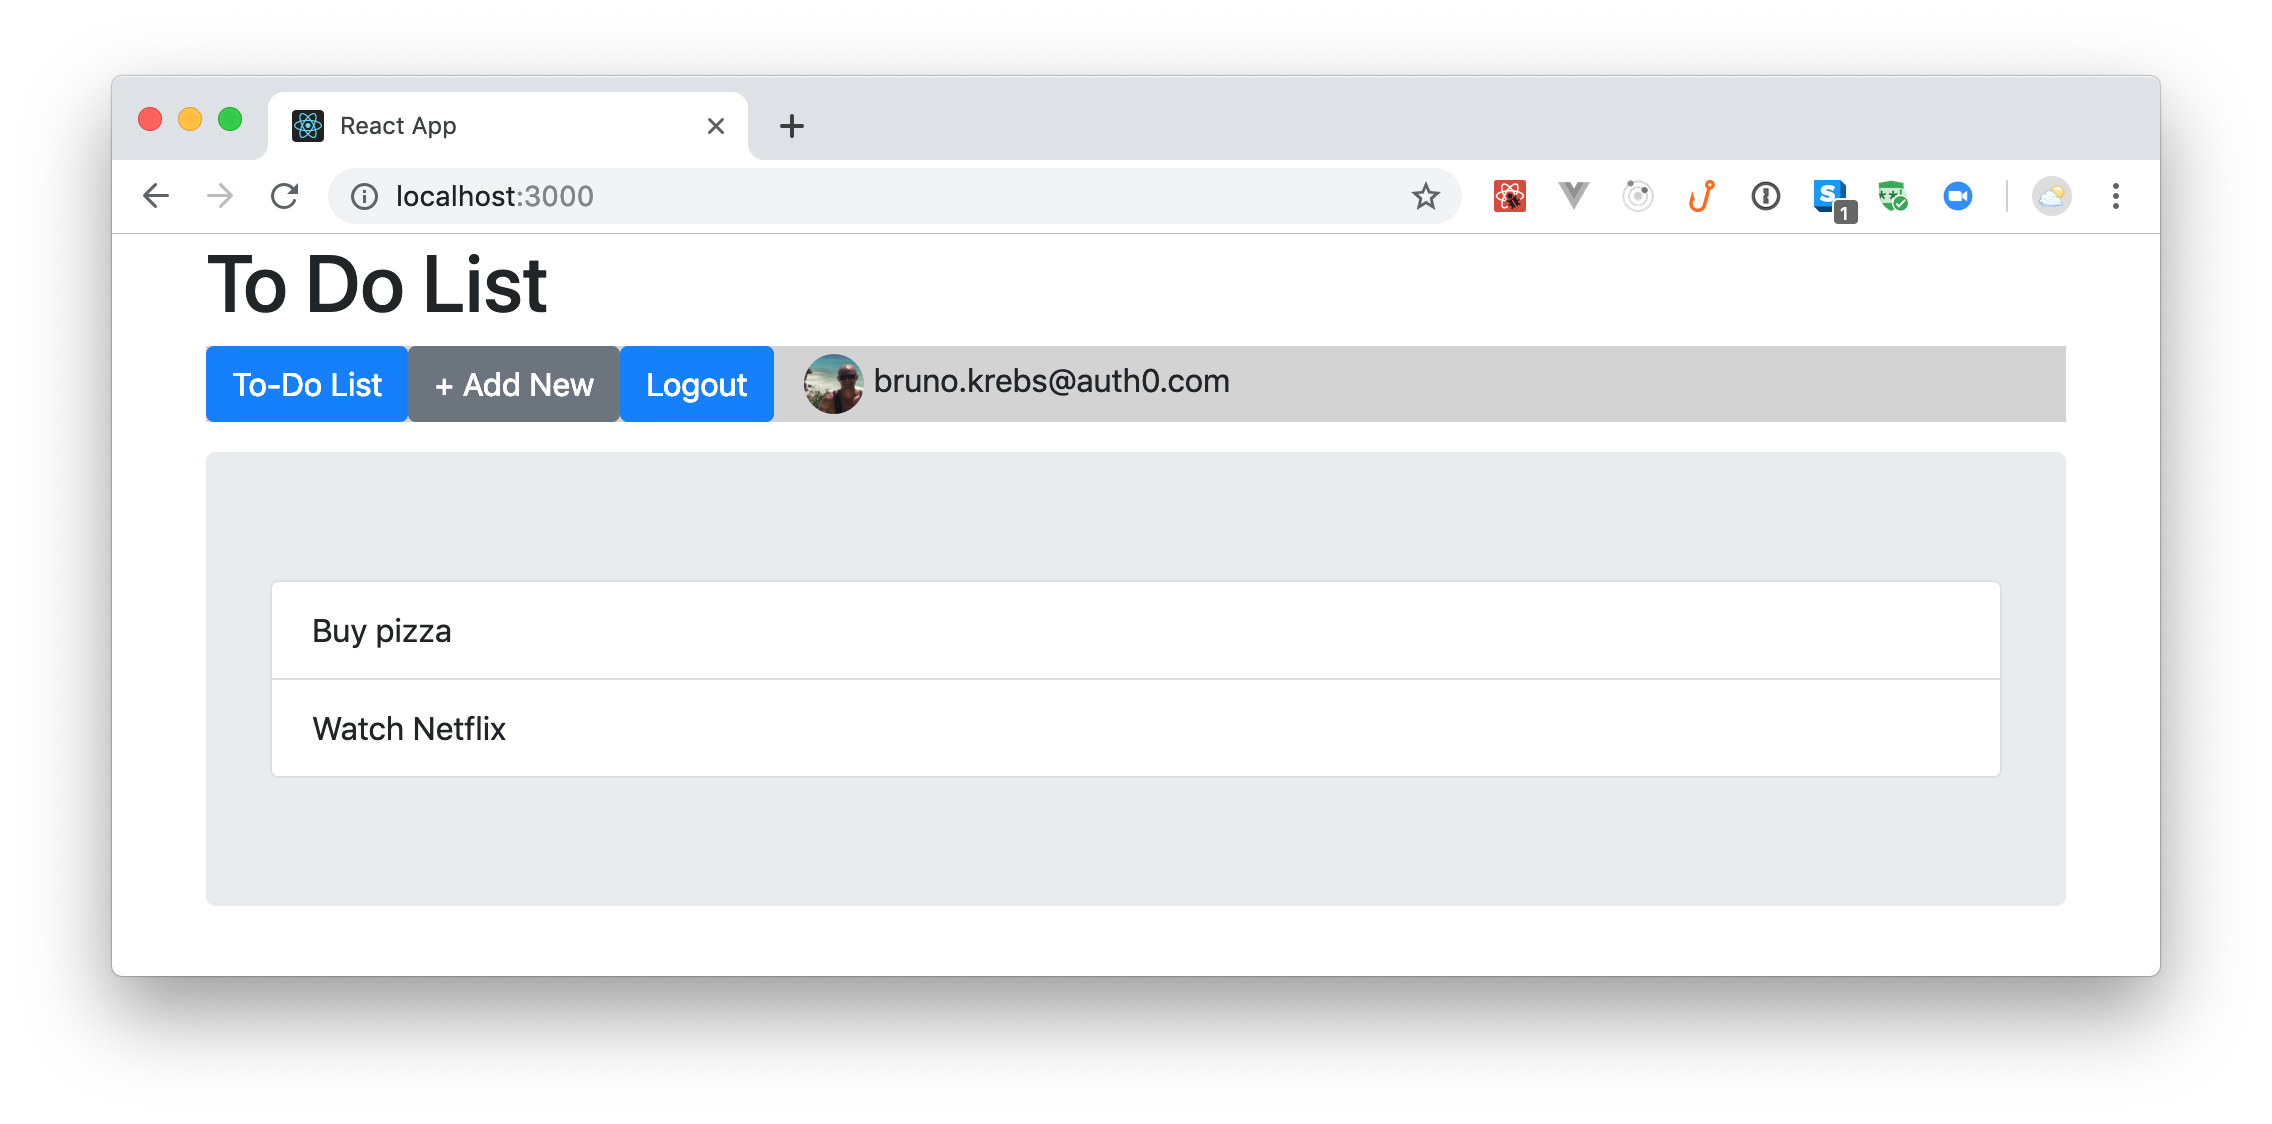
// ./src/components/Navigation.js

// ... other imports ...
import { Fragment } from 'react';
import Button from 'react-bootstrap/Button';
import { signIn, signOut } from '../Auth';

// ... NavigationBar ...

const Profile = styled.span`
  margin-left: 15px;
`;

const ProfilePicture = styled.img`
  border-radius: 50%;
  max-width: 30px;
  margin-right: 5px;
`;

export default ({ user }) => (
  <NavigationBar>
    <Link className="btn btn-primary" to="/">
      To-Do List
    </Link>
    <Link className="btn btn-secondary" to="/new-item">
      + Add New
    </Link>
    {!user && <Button onClick={signIn}>Login</Button>}
    {user && (
      <Fragment>
        <Button onClick={signOut}>Logout</Button>
        <Profile>
          <ProfilePicture src={user.profile.picture} />
          {user.profile.email}
        </Profile>
      </Fragment>
    )}
  </NavigationBar>
);
With this change, you are making the navigation bar aware of the state of the user. If there is a logged-in user, then the app will show a logout button, the user profile picture, and their email address. If the user is not logged in, the app will show a login button.
Before wrapping things up, you still need to feed the new version of your Navigation component with the user. To do this, create a new file called NavigationContainer.js inside ./src/containers and add the following code to it:
// ./src/containers/NavigationContainer.js

import { connect } from 'react-redux';
import Navigation from '../components/Navigation';

const mapStateToProps = state => {
  return {
    user: state.user
  };
};

const NavigationContainer = connect(mapStateToProps)(Navigation);

export default NavigationContainer;
Lastly, you will need to update the App component to replace Navigation with NavigationContainer and to add a callback route (/callback). So, open the ./src/App.js file and update it as follows:
// ./src/App.js

// ... other imports ...
import Callback from './containers/Callback';
import NavigationContainer from './containers/NavigationContainer';

class App extends Component {
  render() {
    return (
      <Container>
        <Row className="row">
          <Col xs={12}>
            <h1>To Do List</h1>
            <NavigationContainer />
            <Route exact path="/" component={ToDoListContainer} />
            <Route exact path="/new-item" component={AddToDo} />
            <Route exact path="/callback" component={Callback} />
          </Col>
        </Row>
      </Container>
    );
  }
}

export default App;
After this last change, you will be able to log in and log out from it with the help of Auth0. Easy, right?
“Scaffolding a React SPA with React Router, Redux, Redux Saga, and React Bootstrap is easy.”
Tweet This
Recap
In this article, you learned how to create a robust architecture that will help you scale your next React application. You started by using create-react-app to generate a simple app, then you went through a few different steps to install and configure libraries that will help you:
- make your code style consistent (Prettier);
- make your UI look good (React Bootstrap);
- perform some type checkings (PropTypes);
- manage the state of the application (Redux);
- manage side effects (Redux Saga);
- handle CSS with ease (Styled-Components);
- and handle authentication (Auth0).
“Learn how to integrate Redux Saga, React Bootstrap, React Router, and more in your next React app.”
Tweet This
After configuring these libraries, you can rest assured that your next React application will rely on a mature and battle-tested architecture that can grow indefinitely.
About the author

Bruno Krebs
R&D Content Architect (Auth0 Alumni)