
Your login screen is the very first thing people see before they enter their personal information on your website. You want to give the best impression possible. Securing their data with Auth0 is a great first step. It also leads to a login page branded with the colors and the logo of Auth0. Don't get me wrong, the branding looks excellent, but the inconsistent branding can startle some users.
Today you'll learn how to use the Auth0 CLI to customize your login page without leaving your terminal.
What You'll Need
You need a couple of things in place to follow along with this tutorial:
Auth0 Account. If you do not have one, you can sign up for a free Auth0 account.
Application in your Auth0 tenant. If you don't have an application in your Auth0 dashboard, don't worry; I will show you how to download one of Auth0's quickstarts.
What Is the Auth0 CLI
Auth0 wants to create tools that make developers' work more manageable since we are a developer-first company. With the CLI, we're reducing the number of steps and clicking around you have to do on the Auth0 Dashboard and keeping your workflow in the terminal.
This allows you to set up your applications faster, test logging in, get error log information, and more within the terminal. I'm blown away by how many features are packed in this tool. Today, I'll show how to update an application's login page in your Auth0 Dashboard.
Get an introduction to the Auth0 CLI by reading this blog post.
Install the Auth0 CLI
You can install the Auth0 CLI on macOS, Windows, and Linux. Here are the commands for each:
macOS with Homebrew
brew tap auth0/auth0-cli && brew install auth0
Windows manual installation
- Download the Windows binary from the latest release: https://github.com/auth0/auth0-cli/releases/latest/
- Extract
- Run
auth0.exe
Linux with Homebrew
brew tap auth0/auth0-cli && brew install auth0
I always like to double-check after I install new tools. With the newly available auth0 command, type auth0 -v to check the version and confirm the installation. The next thing you need is to sign to your Auth0 account and authenticate the CLI.
Connect CLI and login to Auth0 account
Sign in to your Auth0 account from the CLI by typing:
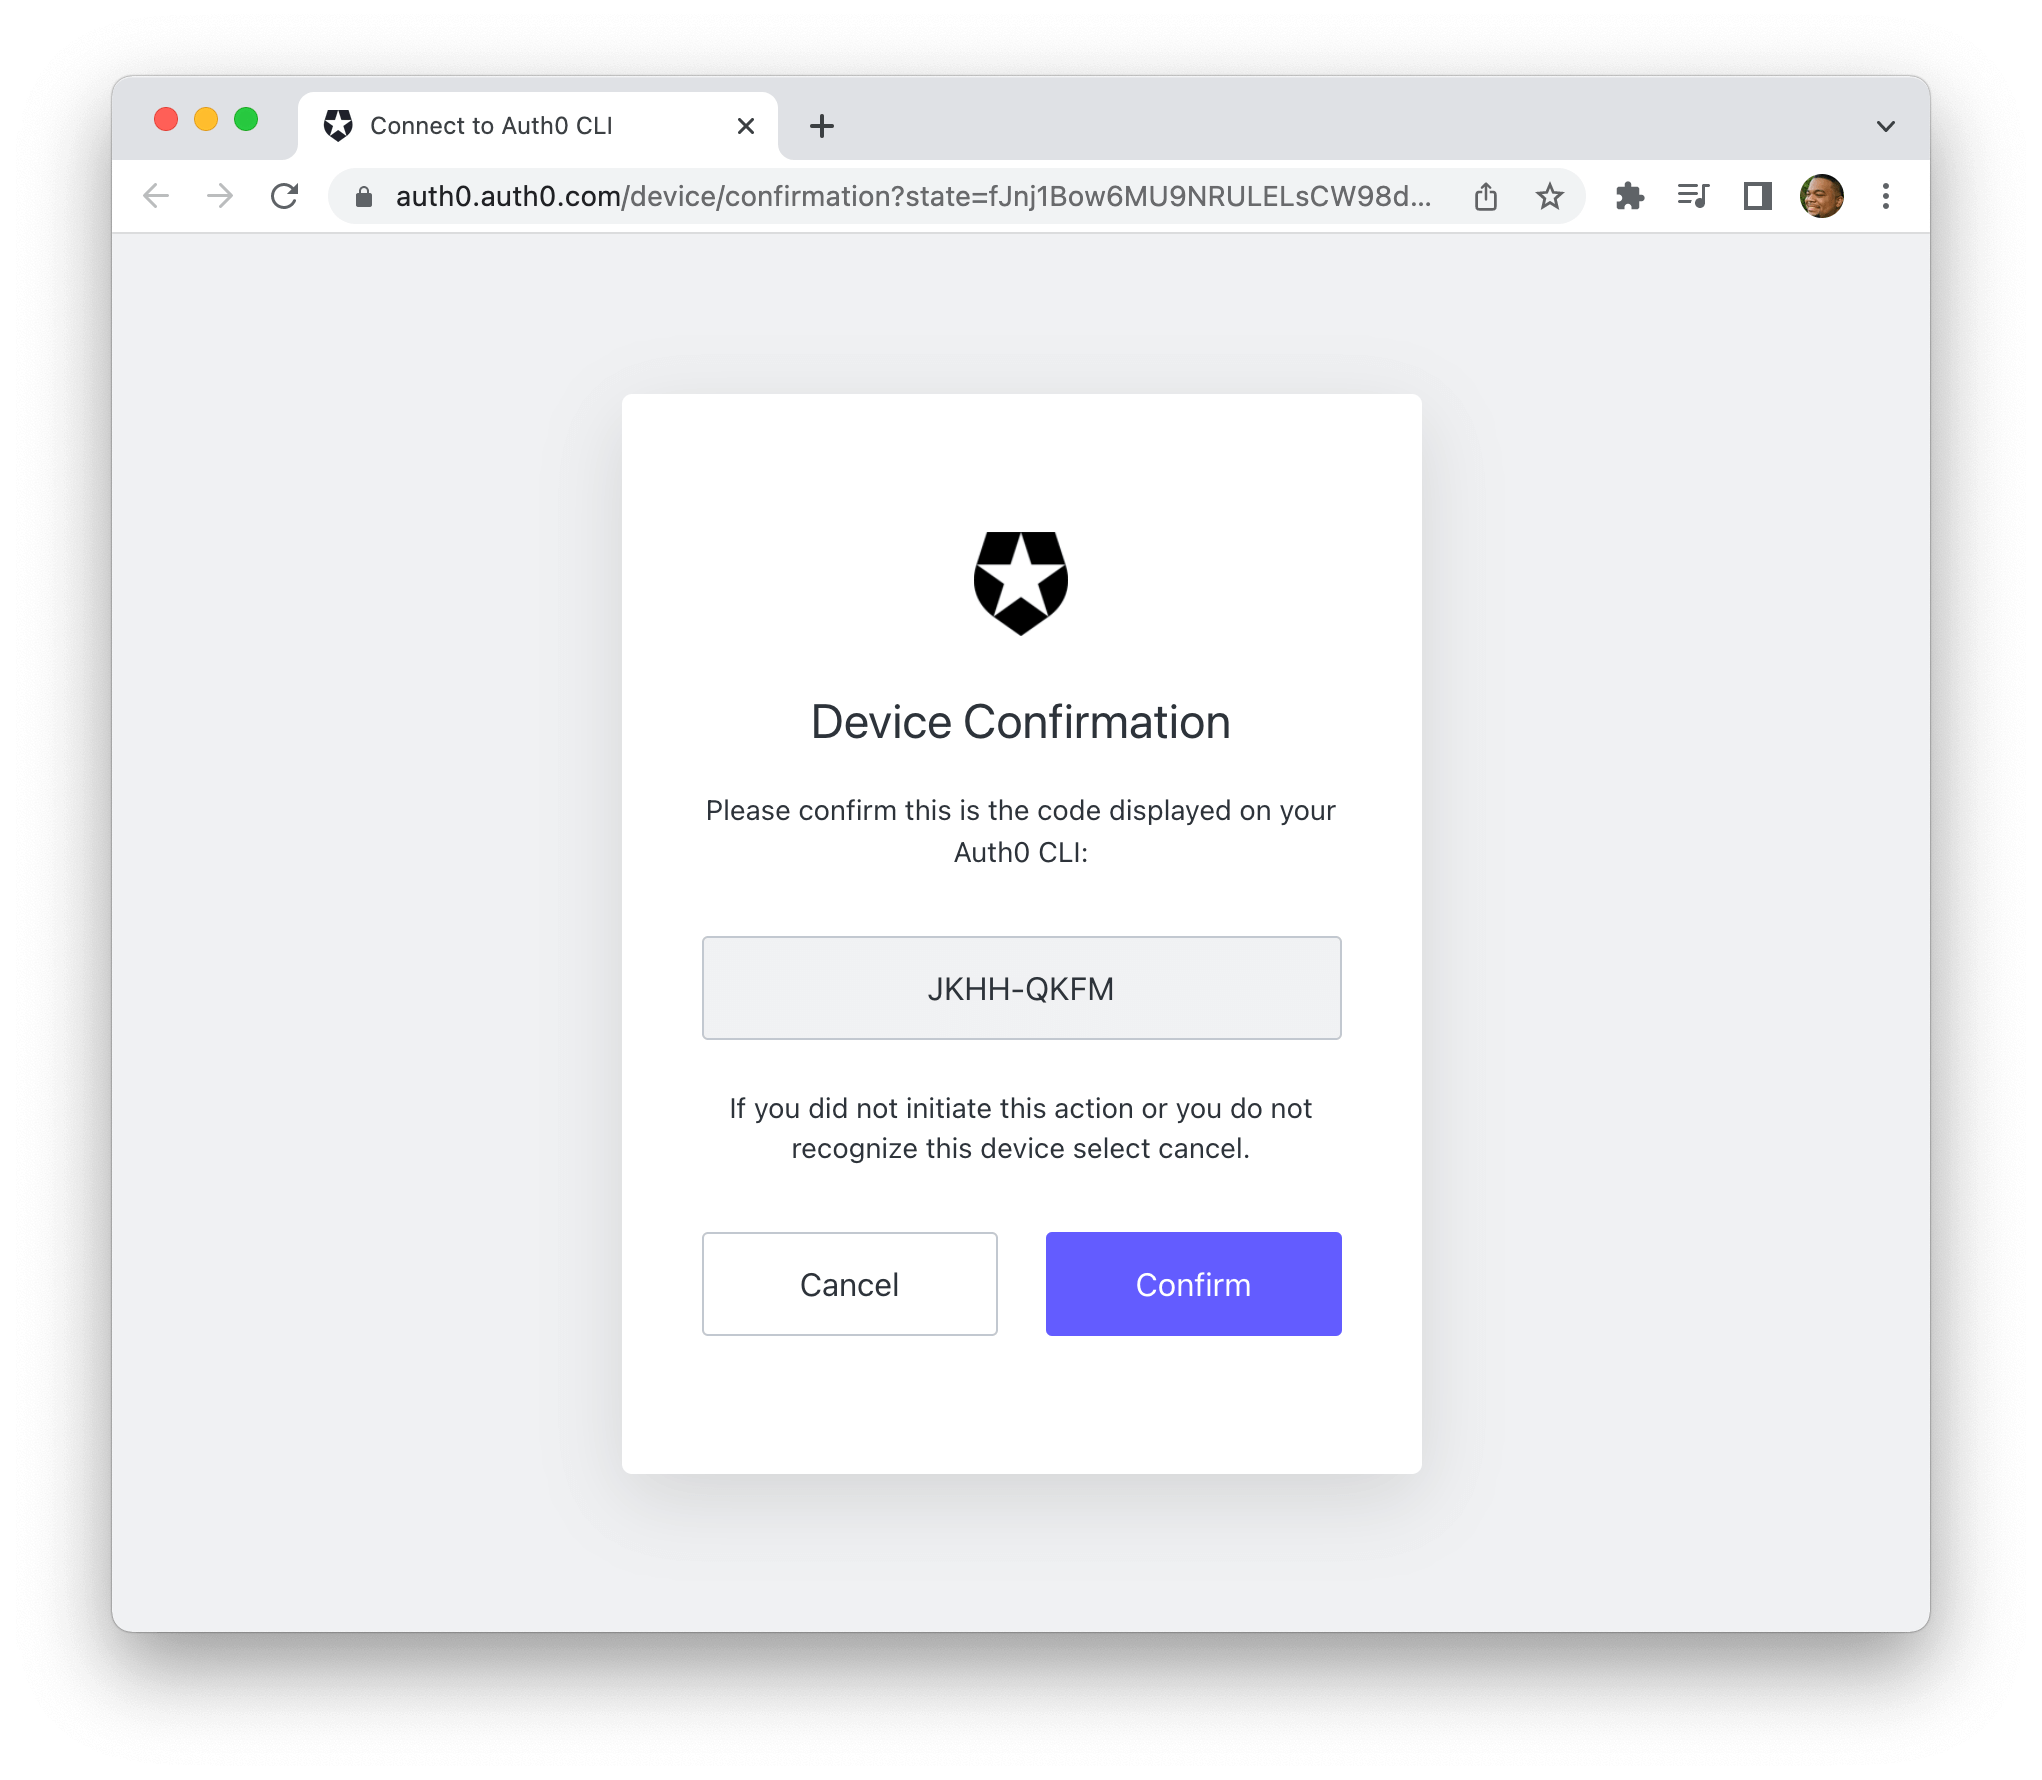
auth0 login
✪ Welcome to the Auth0 CLI 🎊

If you don't have an account, please go to https://auth0.com/signup

Your Device Confirmation code is: JKHH-QKFM

 ▸ Press Enter to open the browser to log in or ^C to quit...
You'll get welcomed to the Auth0 CLI, and you'll get a confirmation code. Press Enter on your keyboard. This will open a page in your browser asking you to verify the code on this page matches the one on the CLI. Click Confirm.
Next, you meet the Authorize App page. You can choose which Auth0 tenant you want to log in to if you have more than one. You'll see a long list of permissions that the Auth0 CLI wants to have on your account. Scroll down and click Accept

Back in your terminal, you'll see a message that you're logged in successfully.
Waiting for login to complete in browser... done

 ▸    Successfully logged in.
 ▸    Tenant: YOUR_AUTH0_DOMAIN.us.auth0.com
If you already have an application in your Auth0 tenant, you can skip to Edit the Universal Login Page.
Create a new application with Auth0 quickstart
If you don't have an application registered in the Auth0 Dashboard, you can create one from the CLI. Run the following command:
auth0 app create
The CLI will ask you to name your application and write a description for it. Then, you'll be asked to choose a type in this example, I'll a React application, so select Single Page Application. After that, you'll be asked to enter Allowed Callback URL then Configure Logout URLs enter http://localhost:3000 to follow along with this example. You'll get a message confirming you created your new application successfully.
 Name: New CLI app
 Description: testing this out
 Type: Regular Web Application
 Allowed Logout URLs: http://localhost:3000
Now that you're logged and have an application created, you can edit the login page.
Edit the Universal Login Page
There are two ways to edit the login page. One way requires a custom domain on your Auth0 account because it sets up a custom page template with custom HTML and JavaScript.
The second option lets you only update the colors and logos. This post will show you the latter.
Custom domains is an Auth0 paid feature that lets you use your own domain name on the login page. Learn more about them by checking out the Custom Domain docs
Run the branding update command to customize the colors and logo.
auth0 branding update
The first prompt that you'll get will ask for the accent color. It will take hex color code. I'm going to use this lovely shade of purple #664EAE
The following prompt is for the background color. This changes the color of the Login button. The default is black; I will use #FFF for white.
Accent Color: [? for help] #664EAE
Background Color: [? for help] #FFF
After that, you'll get a message in the terminal saying your tenants' branding is updated.
Below that, you'll see some other options you can update as well. Like the favicon and the logo:
 ACCENT COLOR #664EAE
 BACKGROUND COLOR #FFF
 LOGO URL
 FAVICON URL
 CUSTOM FONT URL
Let's replace the Auth0 logo with yours. Make sure that the logo URL uses the https scheme.
To update the logo, run the auth0 branding update command, but this time add the --logo flag with the URL for the logo:
auth0 branding update --logo "https://URL_OF_LOGO"
You'll then see another message confirming that the branding for this Auth0 domain has been updated.
=== YOUR_AUTH0_DOMAIN.auth0.com branding updated
You'll probably want to see the beautiful login page. Right? You can do that right from the command line without running your whole app.
Test the New Login Screen
Testing out logins on the Auth0 dashboard is a fast process. With just two clicks on the mouse, you could have a login screen for your account up and running.
It's even faster with the CLI. First, enter the auth0 test command with the login option. Next, you're asked to select which application you want to test. Then, you are asked to choose a domain. Finally, you're asked, Do you wish to proceed?. Type Y for yes:
> auth0 test login
 Client ID: Testing CLI (Eo2zq27soy4CzgCugBGGLGub3kkWvf3c)
 Custom Domain: none (use dev-training-test.us.auth0.com)
 ▸ A browser window will open to begin this client's login flow.
 ▸ Once login is complete, you can return to the CLI to view user profile information and tokens.

 Do you wish to proceed? Yes
After that, a browser window will open, and you'll see your new custom login page!

Summary
The Auth0 CLI takes several features from the Auth0 dashboard and puts them right at your fingertips.
It can handle logging in and connecting to your Auth0 account. You can create and configure new applications. You can even update the colors and preview the login page!
You can use all these features and more without leaving your terminal.
The Auth0 CLI has even more features to explore that will improve your workflow! You can find out other commands and features by reading the Auth CLI docs.
Let me know in the comments what you find out!
About the author

Will Johnson
Developer Advocate
Will Johnson is a Developer Advocate at Auth0. He loves teaching topics in a digestible way to empower more developers. He writes blog posts, records screencasts, and writes eBooks to help developers. He's also an instructor on egghead.io.
View profile