
We're very excited to announce a new way to enable businesses and teams to access your applications: Auth0 Organizations!
Auth0 is a software-as-a-service product. Like many SaaS platforms, Auth0 can be used by individuals, but more often than not, it is used by teams. When building SaaS, or any B2B application, developers need a way to represent and manage those teams.
Often, SaaS products will have dashboards that allow each of their customers’ administrators to manage their organizations:
- Manage membership and access levels of their team members
- Invite new members with predefined roles
- Connect their identity provider for single sign-on
- Define authentication factors and security policies
We’re forced to build this all from scratch each time we create an application, which cuts into the time we have to build the app itself. We’ve struggled with this at Auth0 when building our applications, like our Dashboard, and when we speak with engineers and architects that work at our customers’ companies, we’ve heard similar stories.
These problems are common enough to deserve a purpose-built solution, and that is why we built Organizations.
How Does it Work?
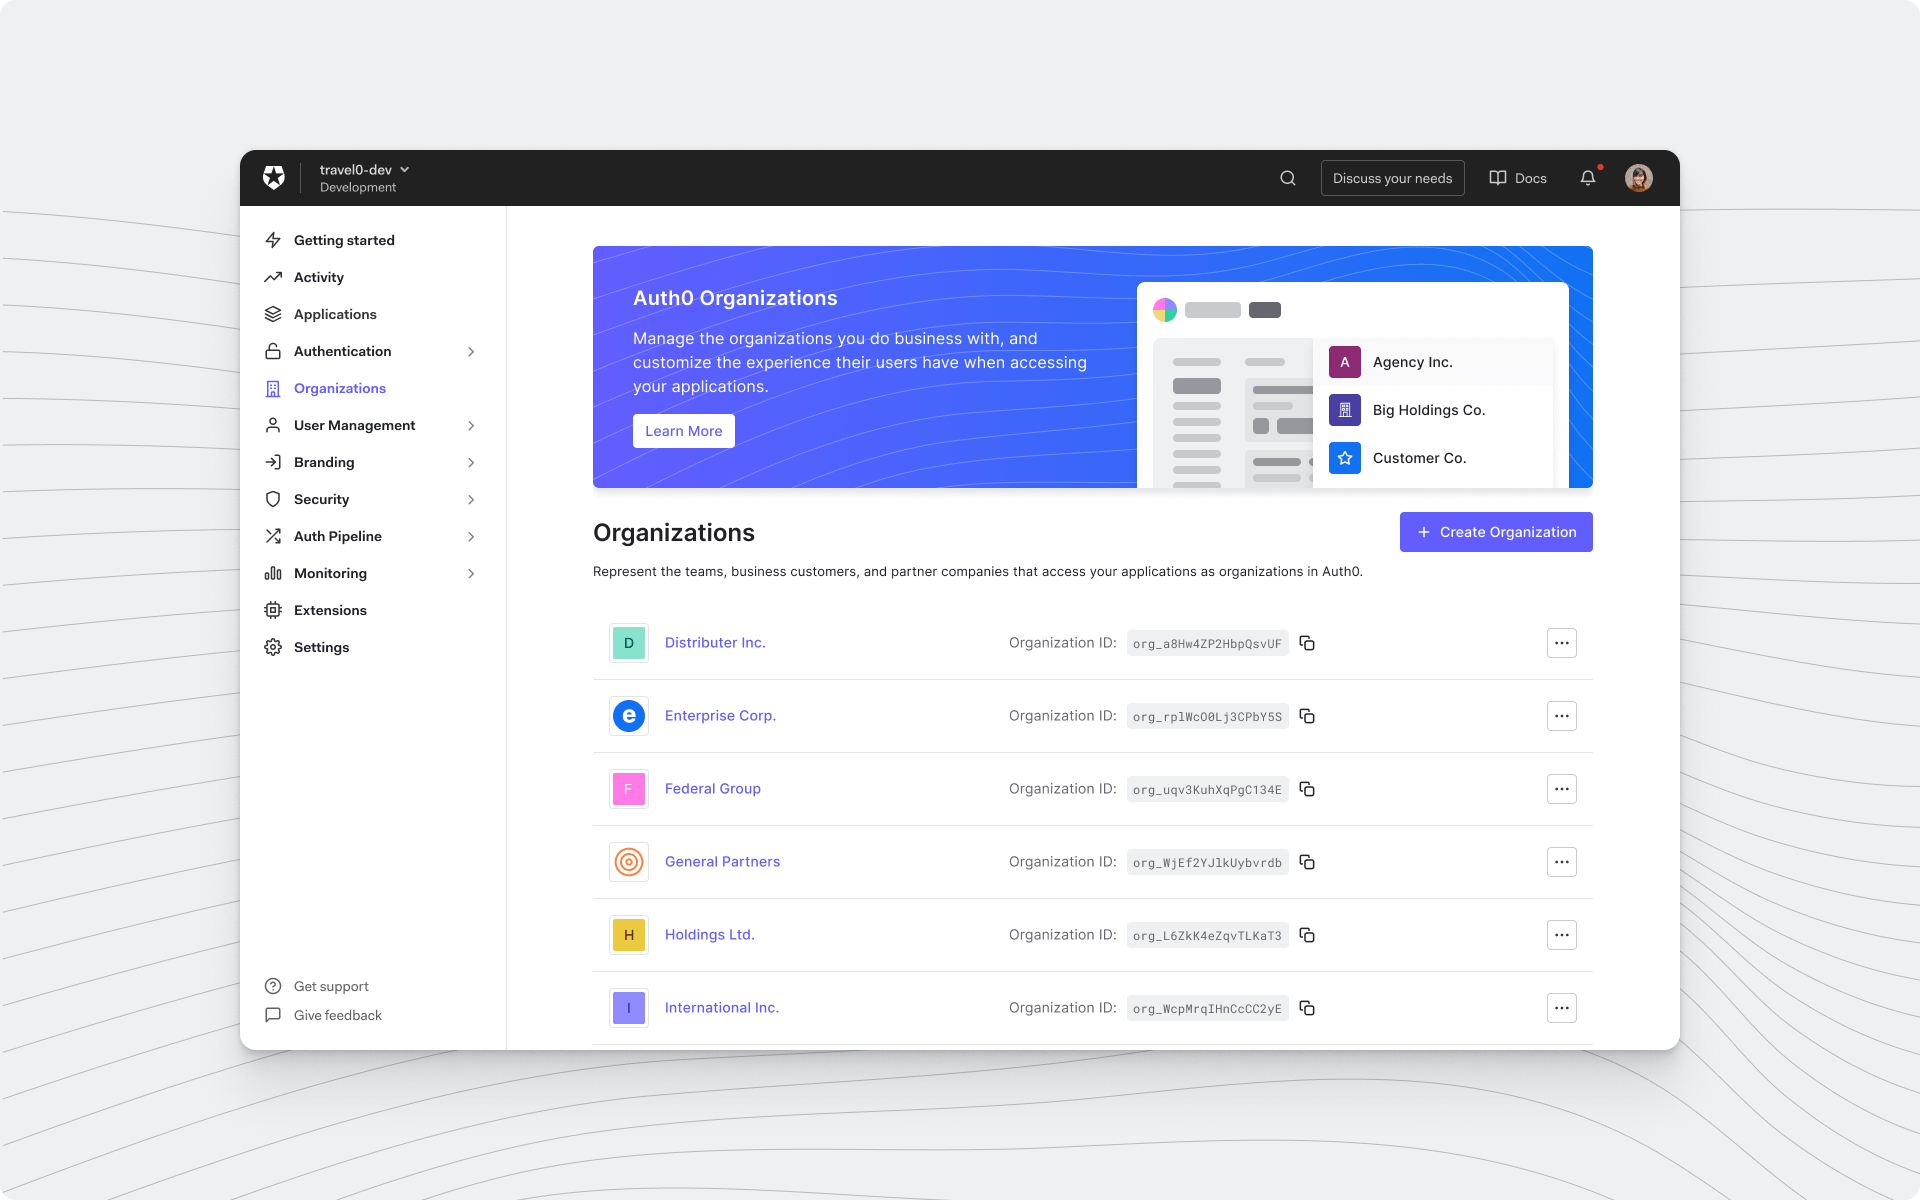
We’re introducing a new “organization” entity that will live in your Auth0 tenant. You can create organizations representing teams, business customers, partner companies, or any logical grouping of users who should have different access to your applications.
Using Organizations and New Universal Login, you can configure and customize the log-in experience that end users in these organizations have when accessing your product. You can mix and match your branding with your customers in the login experience and email communications and easily configure federation for your larger customers and partners that need it.

You can choose from various methods for membership and access management of the different organizations that access your product:
- Define roles for your applications, then invite users to organizations with those roles predefined. Also, the same user can have different roles in different organizations, so you can model user isolation or cross-organizational access as needed for your app.
- Turn on just-in-time membership so that anyone logging in from a specific federated connection becomes a member of the organization.
- Add members via the Manage Dashboard or API, or expose all of this functionality in your application so that your customers can manage their membership!
Let’s Build a SaaS App with Organizations!
Before we walk through a demo application utilizing organizations, let’s chat briefly about who the target audience is again. As the title suggests, SaaS (Software as a service) companies provide cloud-based applications that typically charge on a subscription model. Their platforms help other businesses focus on their core product by relieving stress on other business needs. Think about products like Slack or DataDog. When you log in to these platforms, they need to know what company or workspace you belong to before getting you to the correct login flow and, ultimately, the appropriate tenant in their platform.
With businesses as the target customer for SaaS and B2B companies, handling authentication of users within these businesses can be complicated. How are users organized within a specific target business? What about separate branding, access control, and SSO for each business?
Let’s answer these questions with a demo application and Auth0 Organizations!
Chat0
Introducing our demo app: Chat0, the demo SaaS company that provides state-of-the-art communication services 😀!

You can try Chat0 yourself by cloning and installing the repo found here.
Once you have this repo cloned to your local machine, navigate into its directory and then run the following commands:
npm install
And then
npm start
After running this last command, open Chat0 on your browser of choice at http://localhost:3000/.
Chat0 is a React single-page web application for this demo, which means that it doesn’t have a back end. With our artificial SaaS company, we invite businesses to sign up for our communication services.
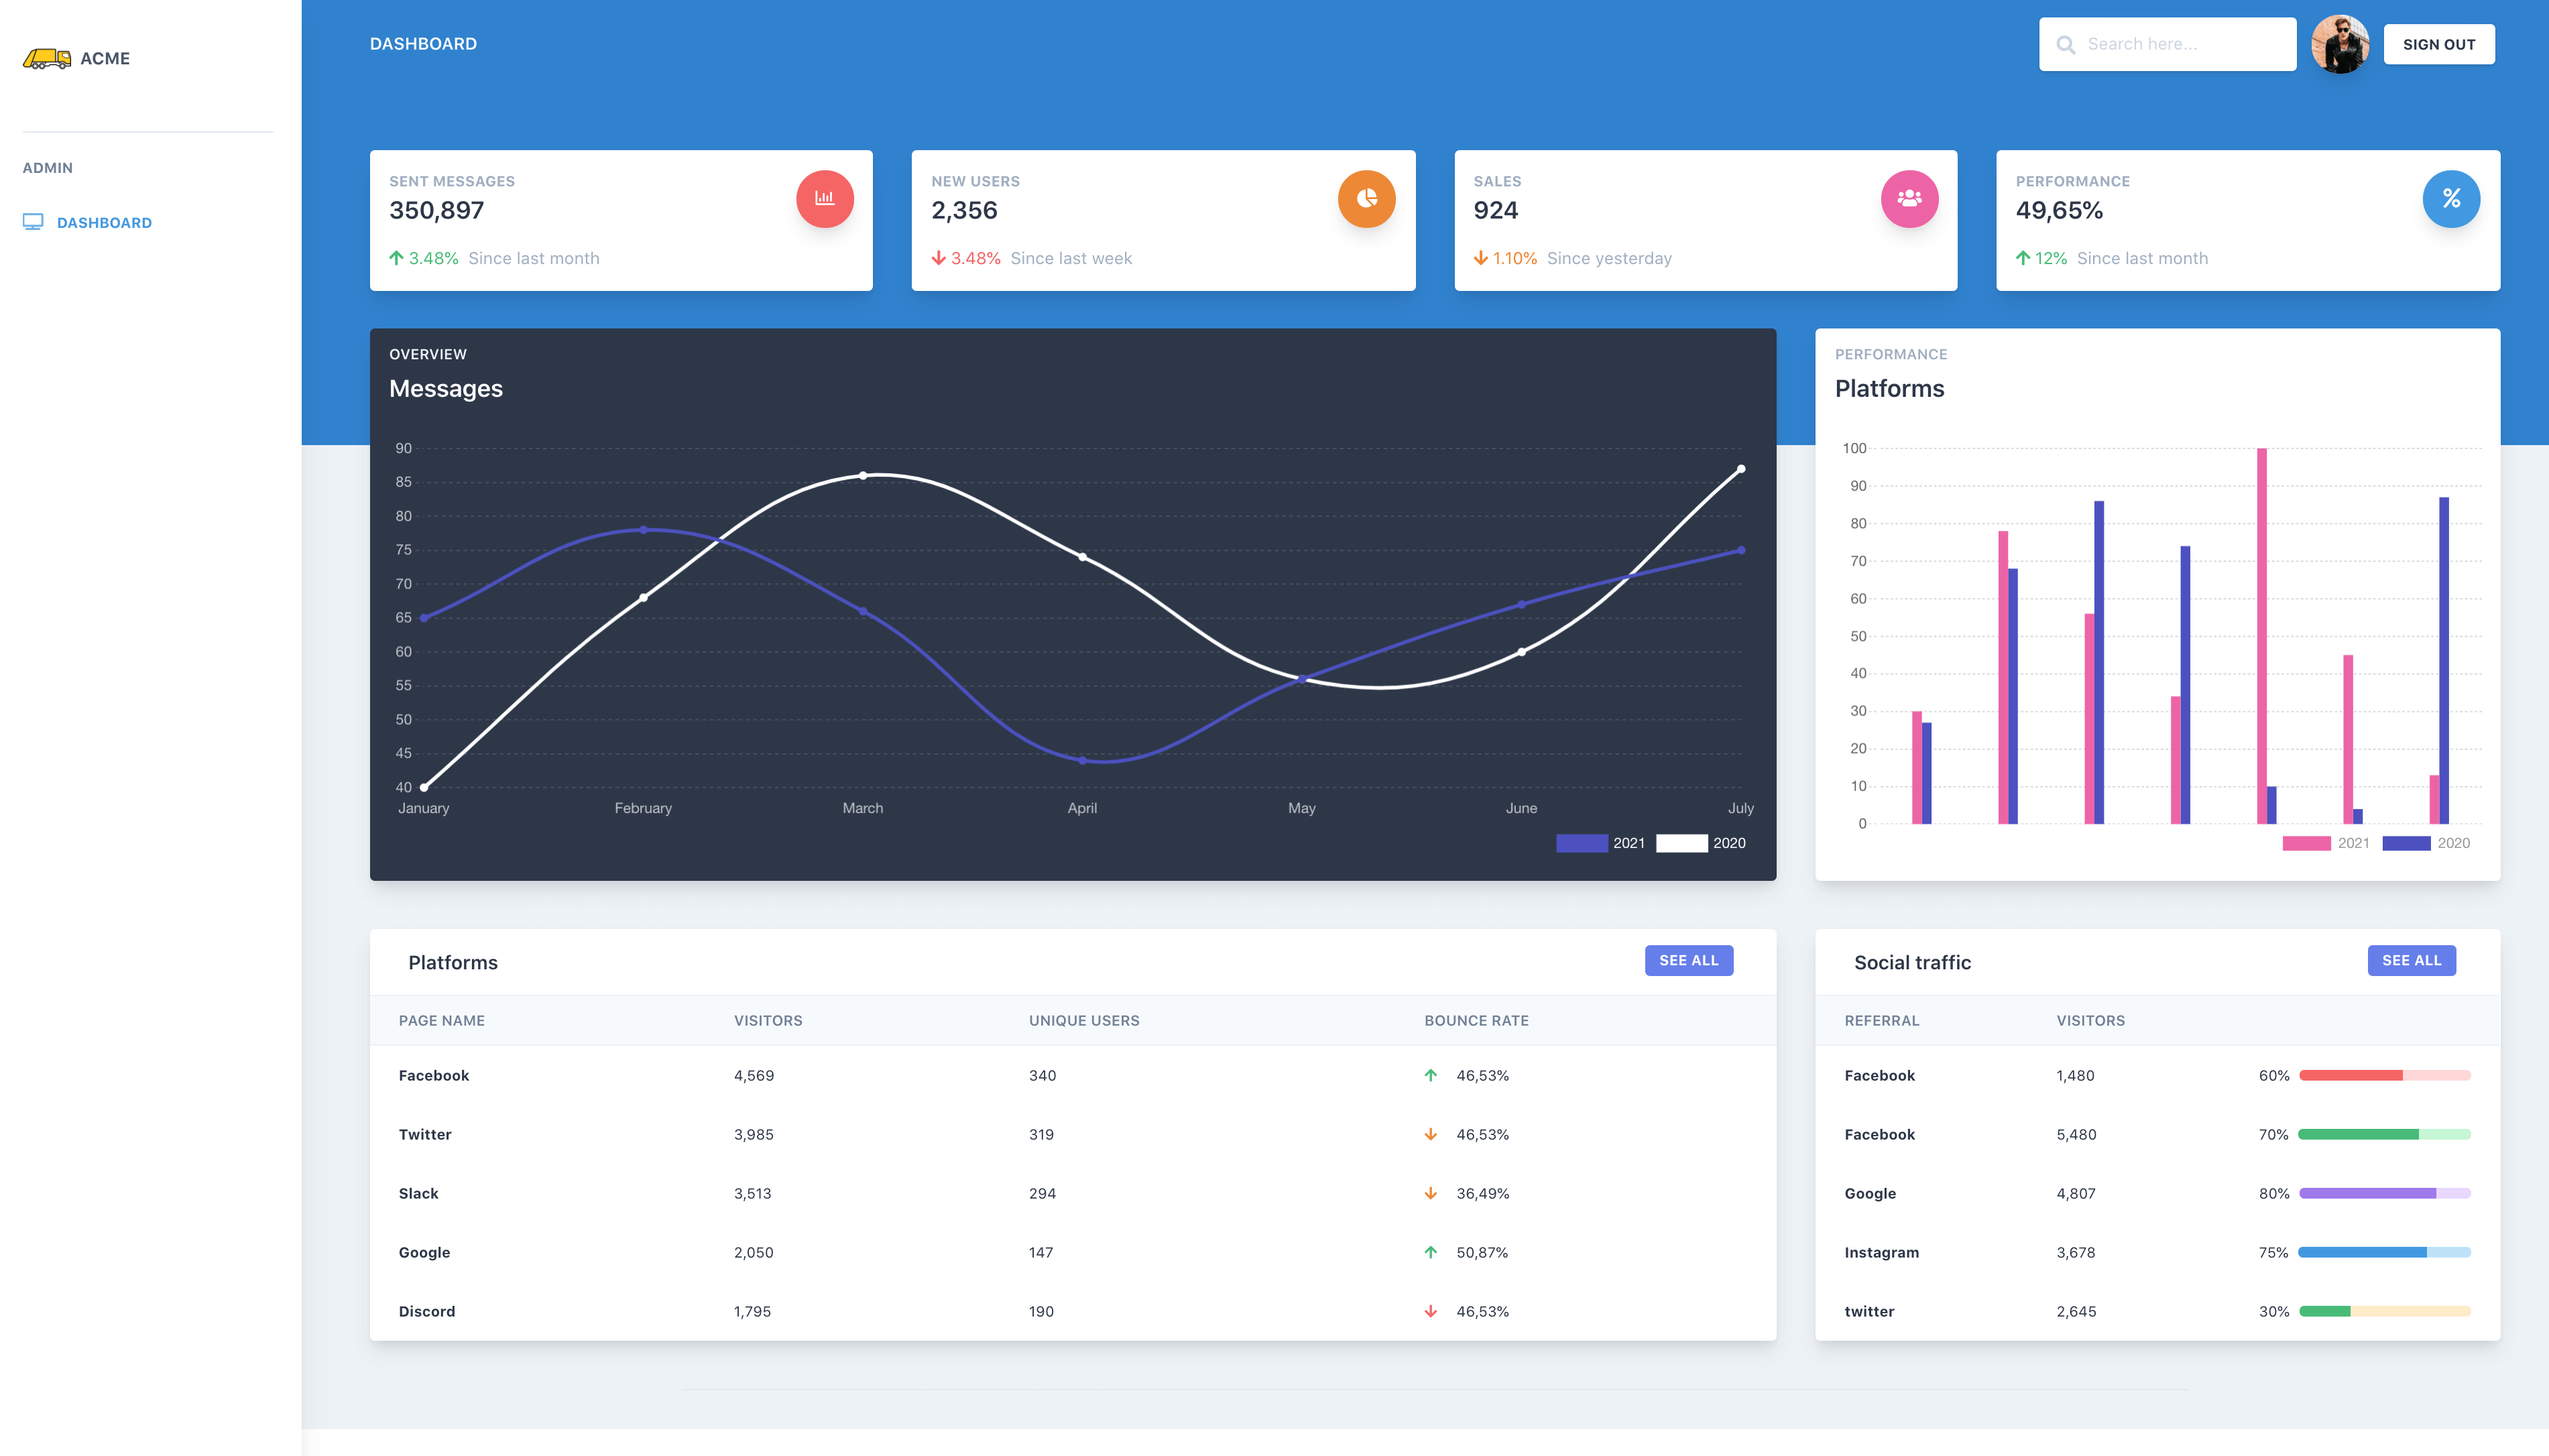
Once businesses have created an account with Chat0, they can send messages (not included in the demo app code) and view stats of their company’s communications.
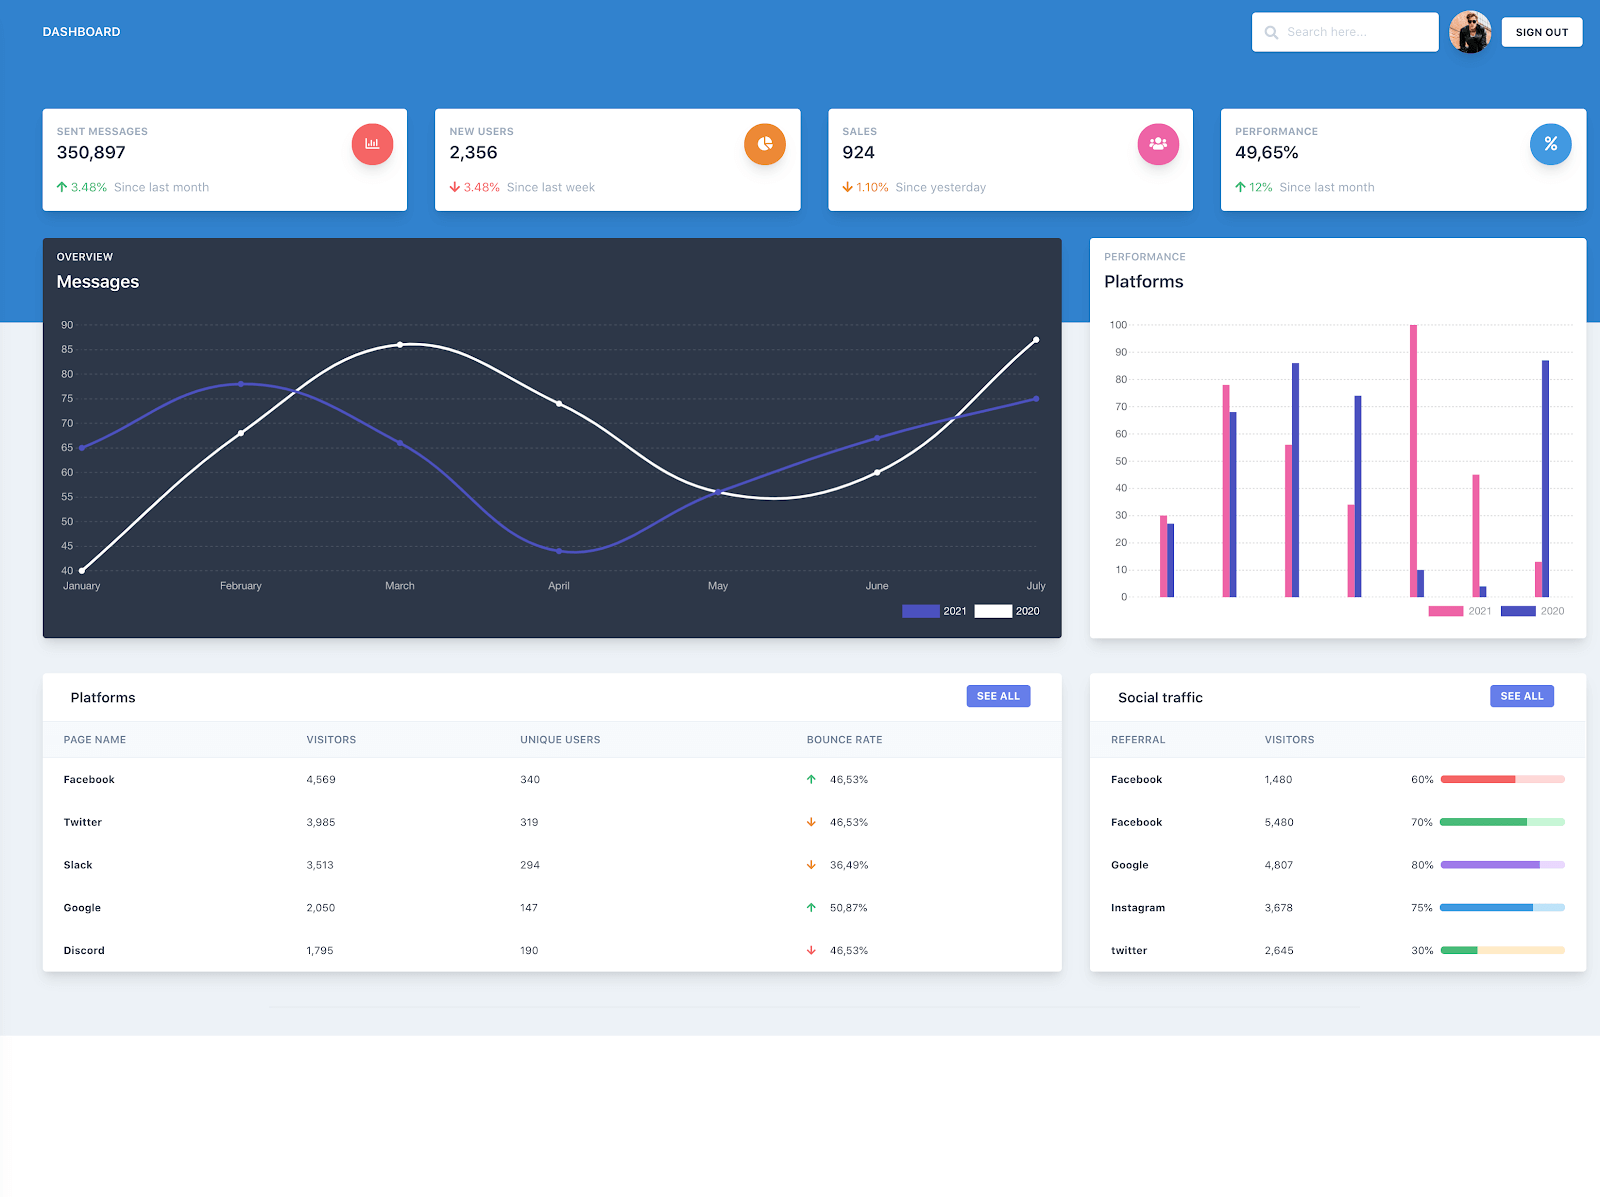
As you can see above, we want users of a business to see the data after authenticating. However, we want this page to be branded and have data specific to the user’s business/organization. Again, this is similar to the flow you see when you try logging into Slack and DataDog. The result is your company’s or workspace’s brand and data.
So let’s work with a SaaS company (Chat0), add authentication with organization capabilities, brand those two Universal Login experiences, set up individual connections, and invite new users to an organization.
Set up Auth0 and Configure the React SDK
You will first need to sign up for an Auth0 account if you do not already have one.
Once you’ve signed up for or logged into your account, you’ll land on the dashboard.
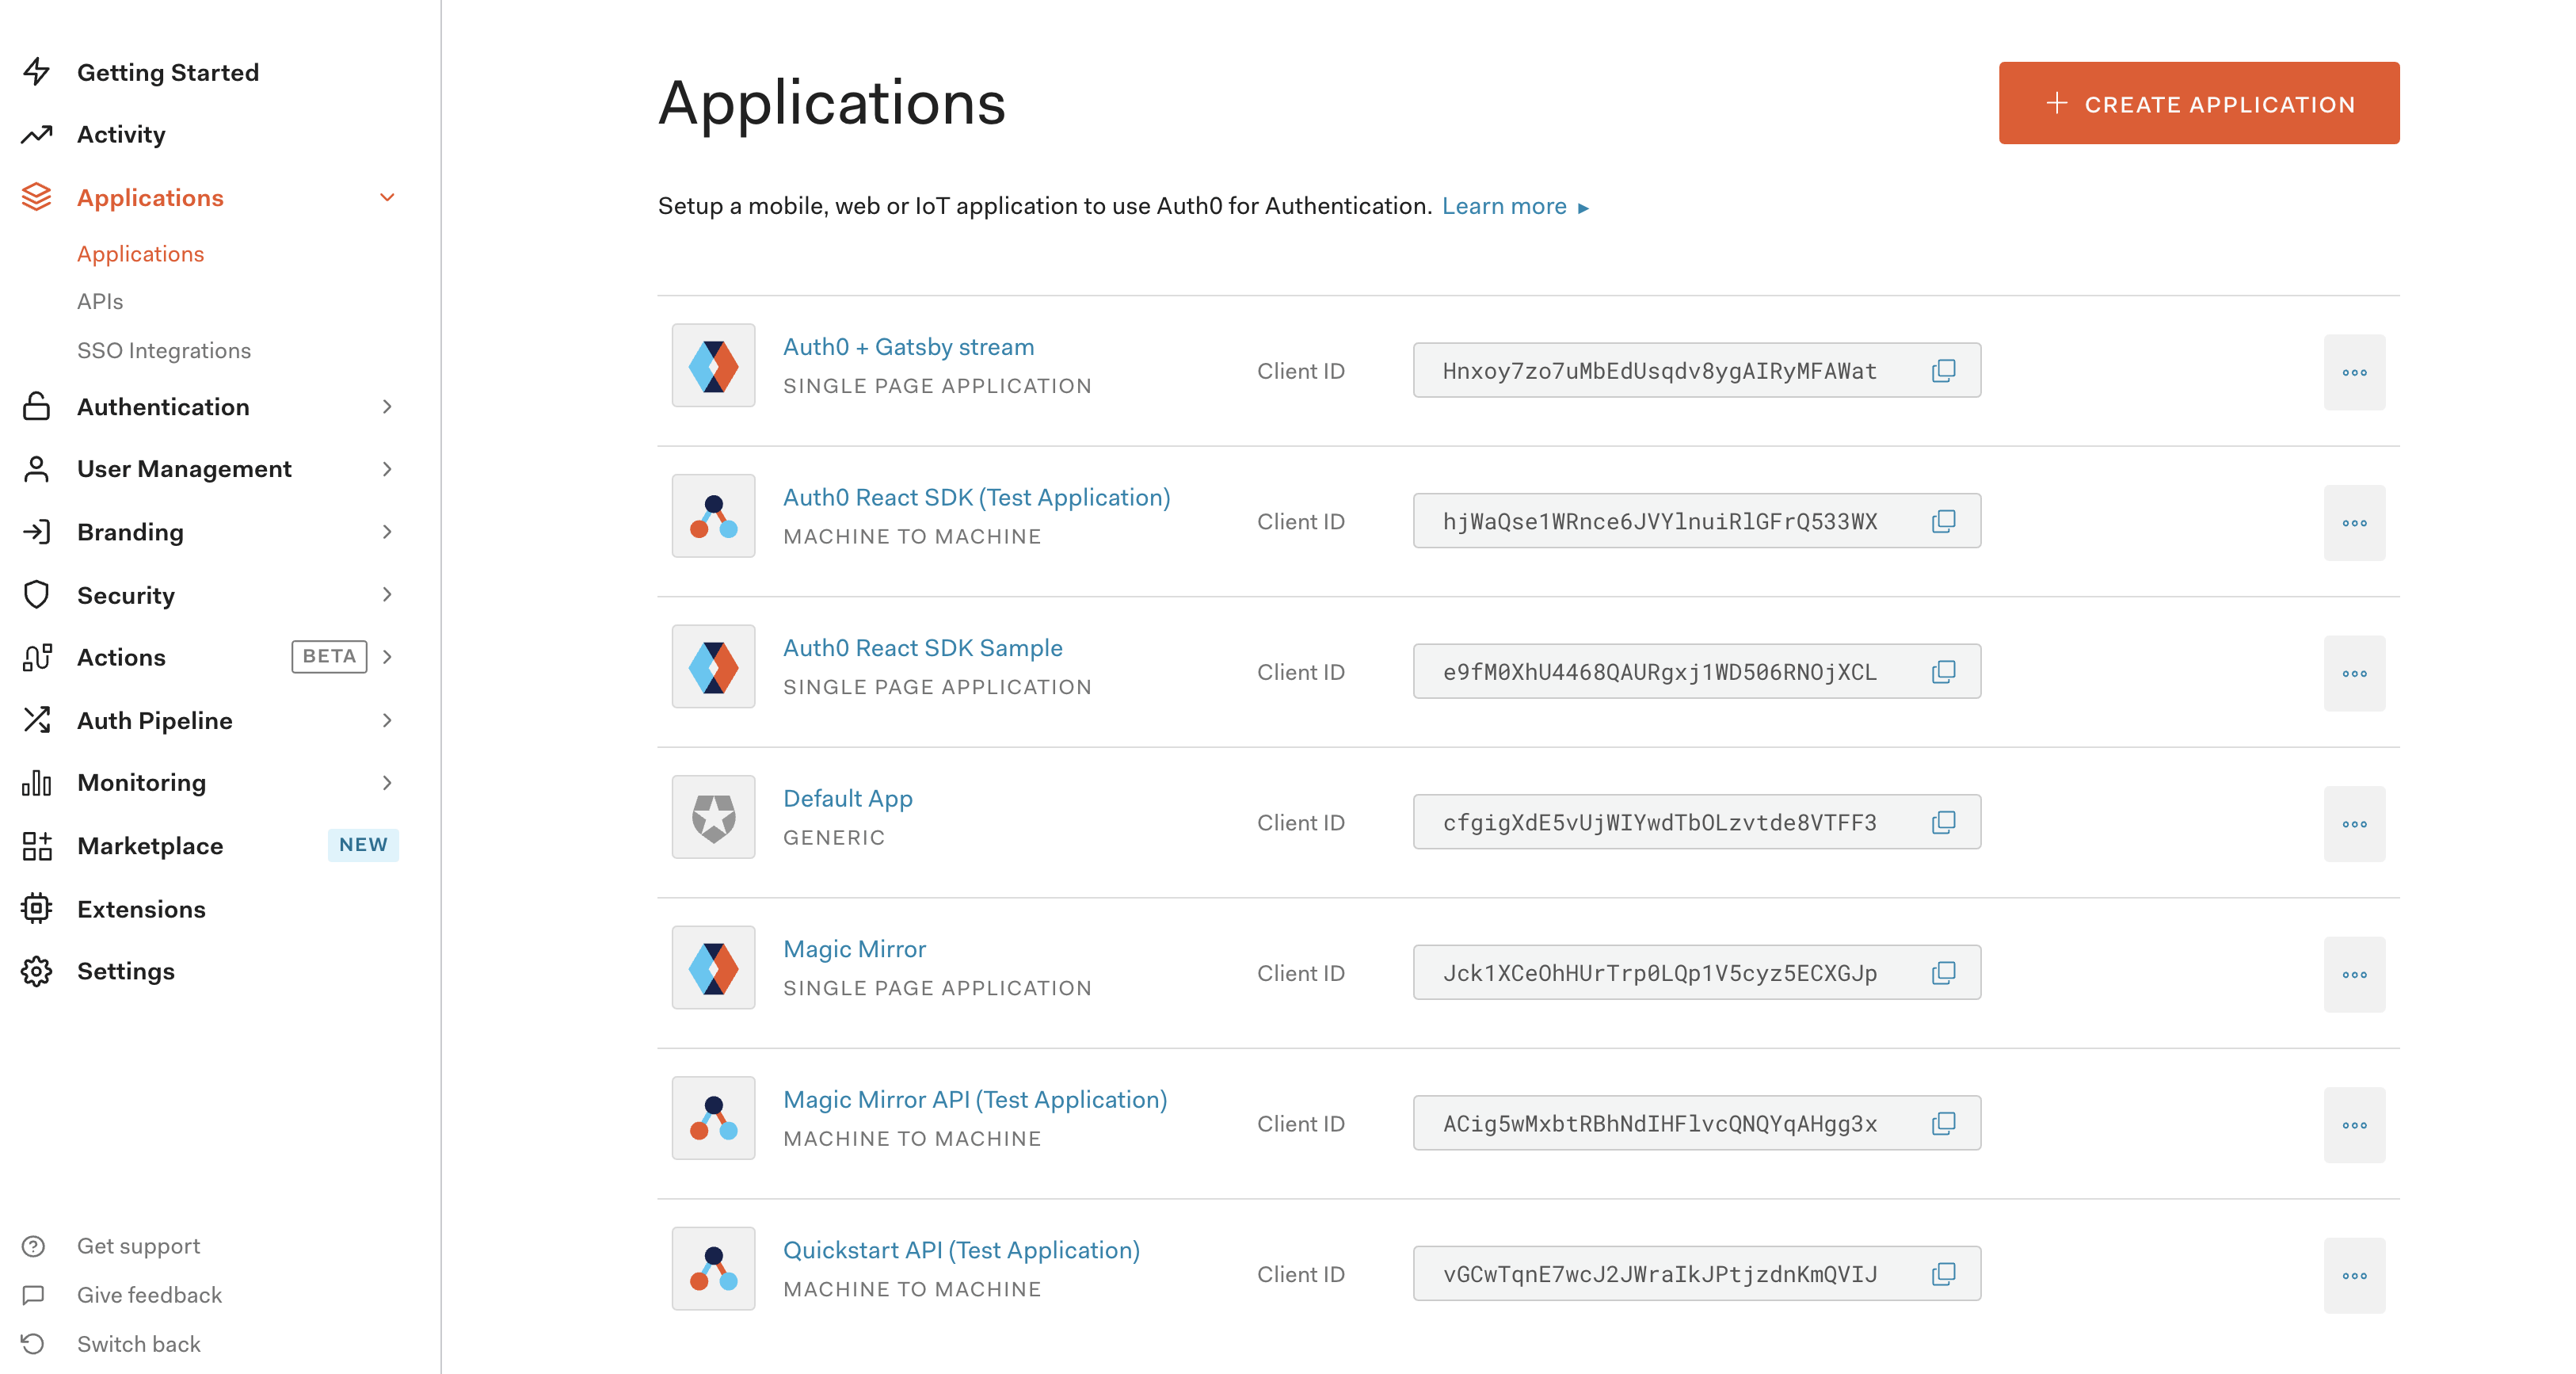
Within the left navbar, click on Applications and then Applications again. Press the Create Application button in the top right corner. Choose the Single Page Web Applications option and give it a good name.
After the application is created, the only configuration you need to do is to update three text boxes:
- Allowed Callback URLs
- Allowed Logout URLs
- Allowed Web Origins
We will update these text boxes with localhost for local development.
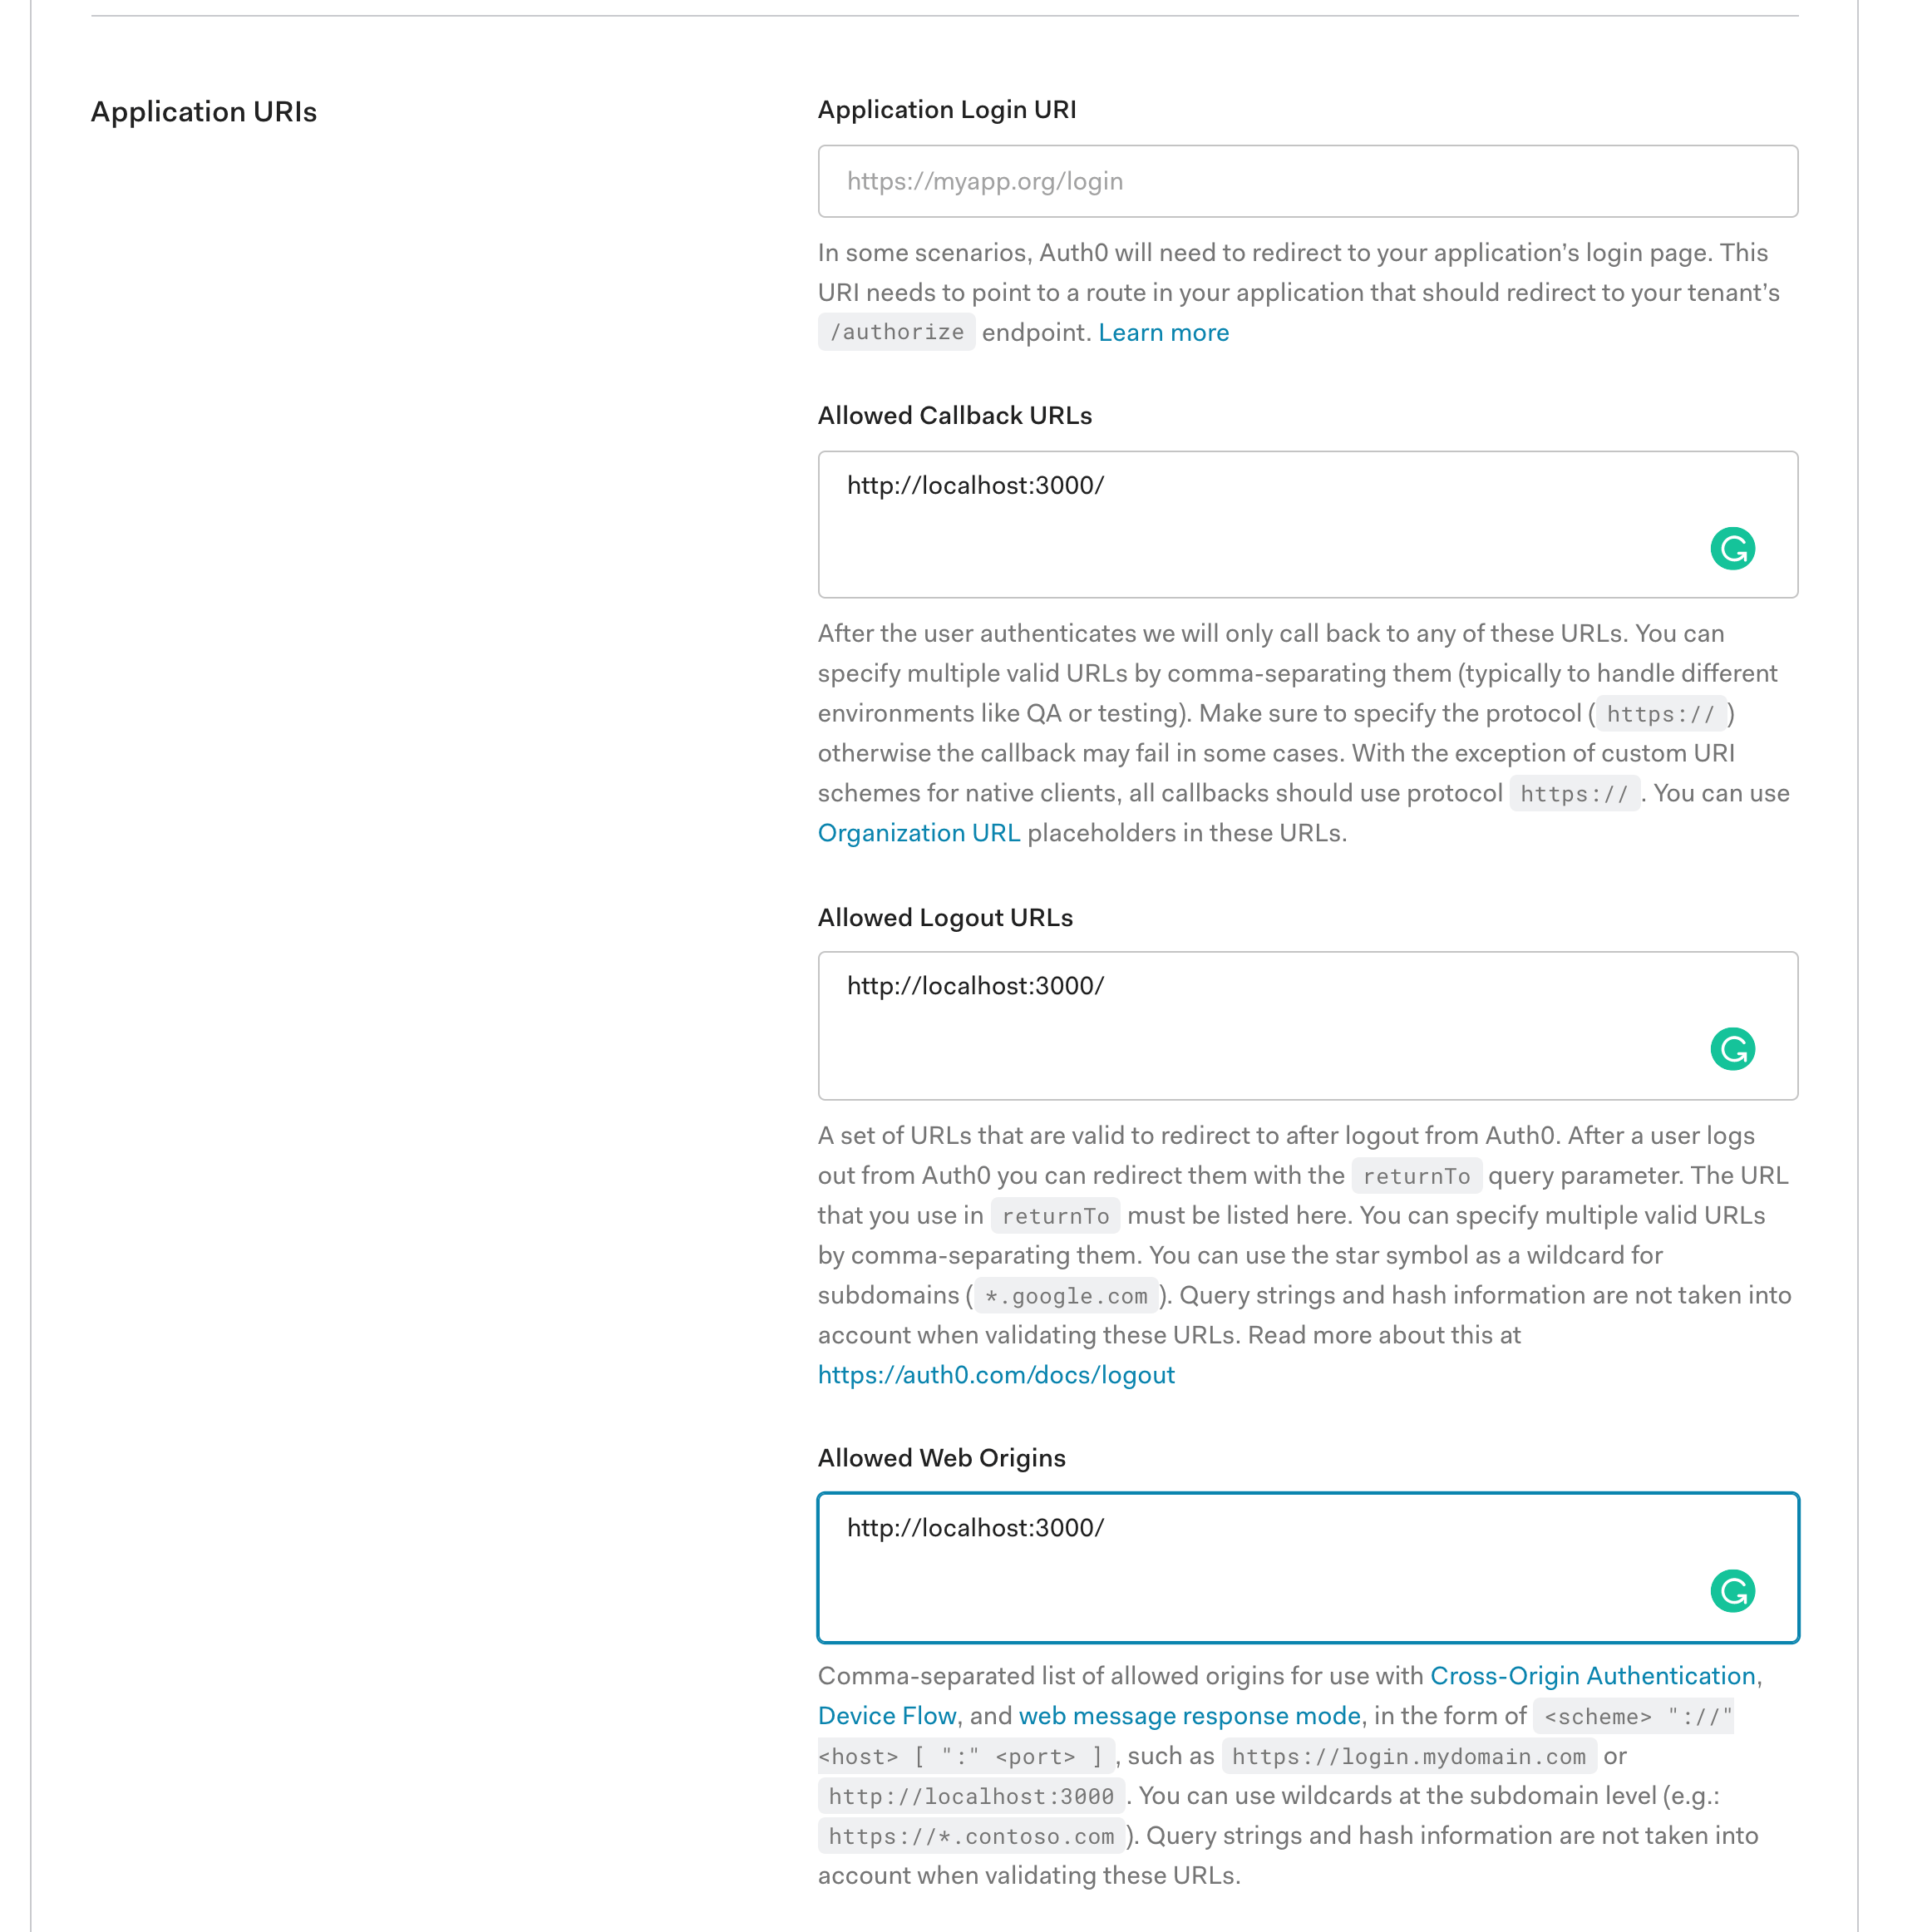
I filled out those text boxes as follows:
Allowed Callback URLs
http://localhost:3000/
The above value is the URL that Auth0 can use to redirect your users after they successfully log in.
Allowed Logout URLs
http://localhost:3000/
The above value is the URL that Auth0 can use to redirect your users after they log out.
Allowed Web Origins
http://localhost:3000/
Now inside Chat0’s code, we need to update the React SDK provider values with the ones created when we created the new application within Auth0.
On the AuthWrapper.js page, we need to update the props provided to the Auth0Provider component. We need to update the domain and the clientId with the domain and clientId shown within the Auth0 Application page we just created.
export const AuthWrapper = ({ children }) => {
const currentOrganization = localStorage.getItem("organization_id");
const options = {
domain: "dev-rm3u1yq4.auth0.com",
clientId: "OgdvG5snvJGpeIrW9FKXbB5D9UmSQufP",
redirectUri: window.location.origin,
...(currentOrganization ? { organization: currentOrganization } : null)
};
return <Auth0Provider {...options}>{children}</Auth0Provider>;
};
The redirectUri value is where you want your application to redirect to when logging out.
The organization prop is being conditionally passed depending on if we've stored an organization id within the browser yet. We'll talk more about this after we configure Organizations within this application. So hang tight!
If you want to learn more about the Auth0 React SDK, check out this video!
Brand Your Auth0 Application
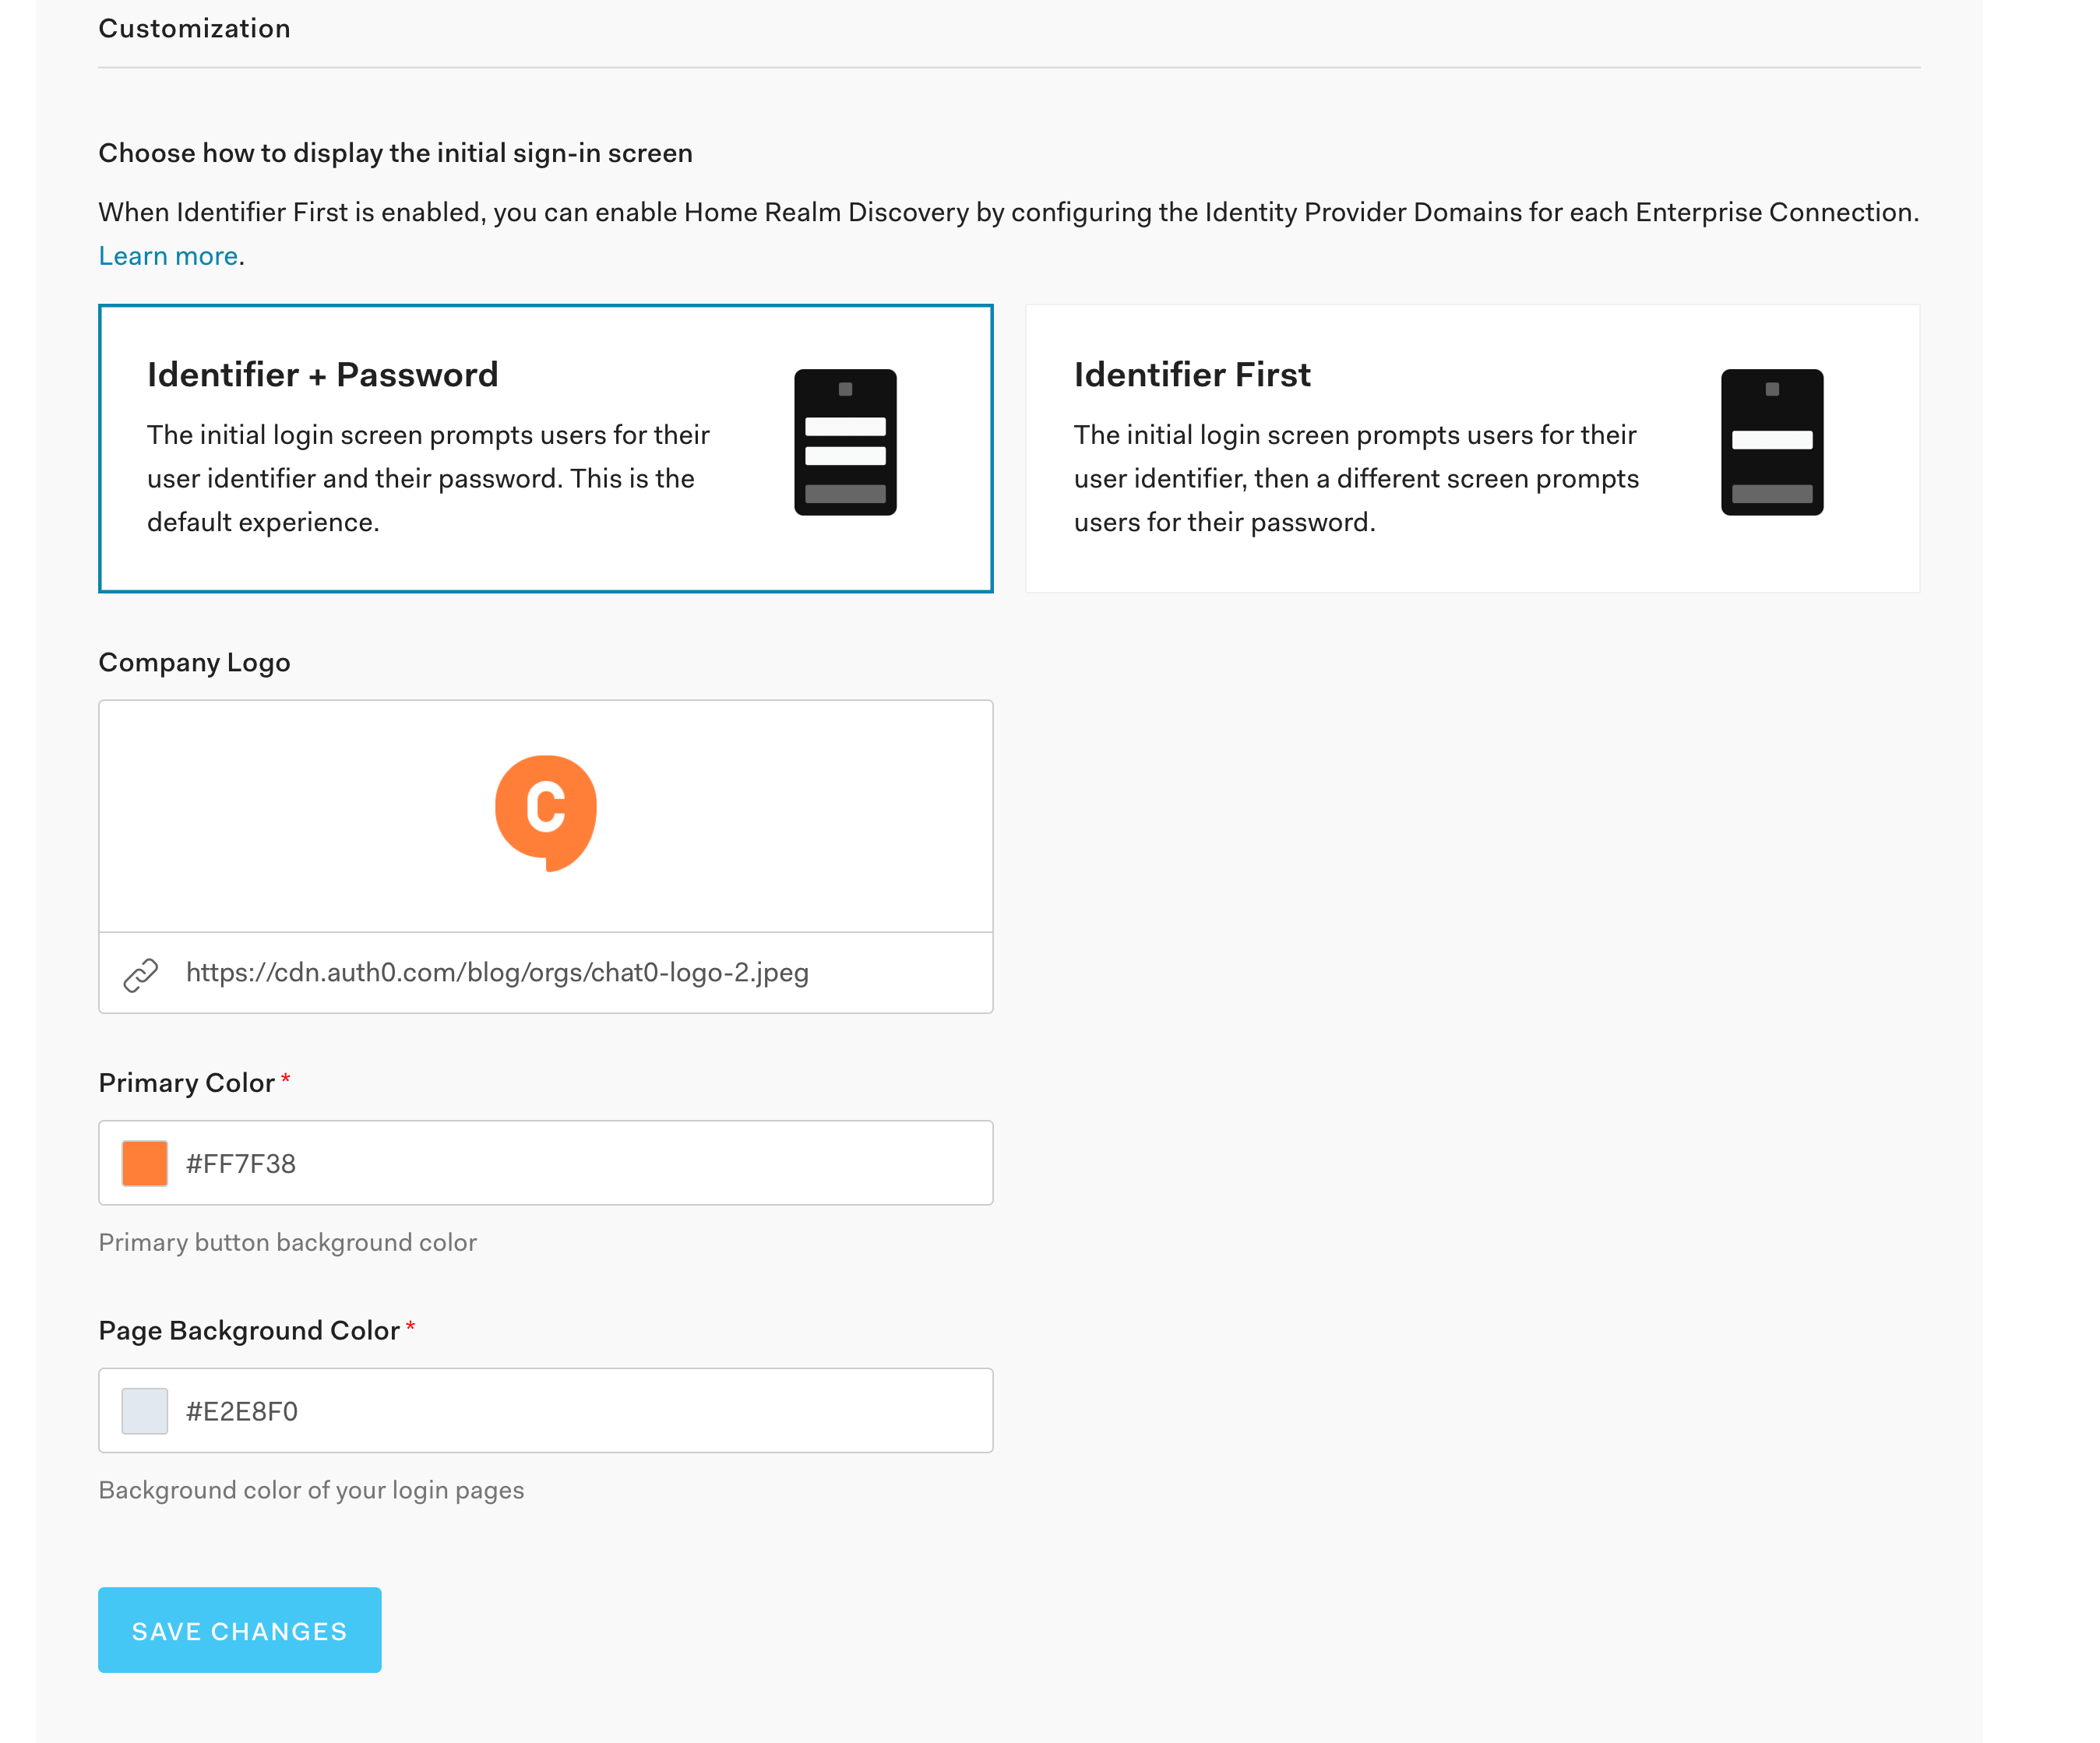
Auth0 provides easy customization of your Universal Login. Back within your Auth0 account dashboard, click on Branding and then Universal Login. This is the login page that Chat0’s business customers will see when they want to authenticate.
If you scroll down to the bottom of the page, you can provide a link to your SaaS company’s logo and colors. As you can see, these are the values I provided for Chat0.
Configure and Set Up Organizations
At this point, we have a functioning application, complete with simple Auth0 powered authentication. Now, let’s enable organization support and add an organization to our Auth0 application.
Back within our Auth0 dashboard and Chat0 application, notice there is a tab called Organizations. Go ahead and click on that tab.
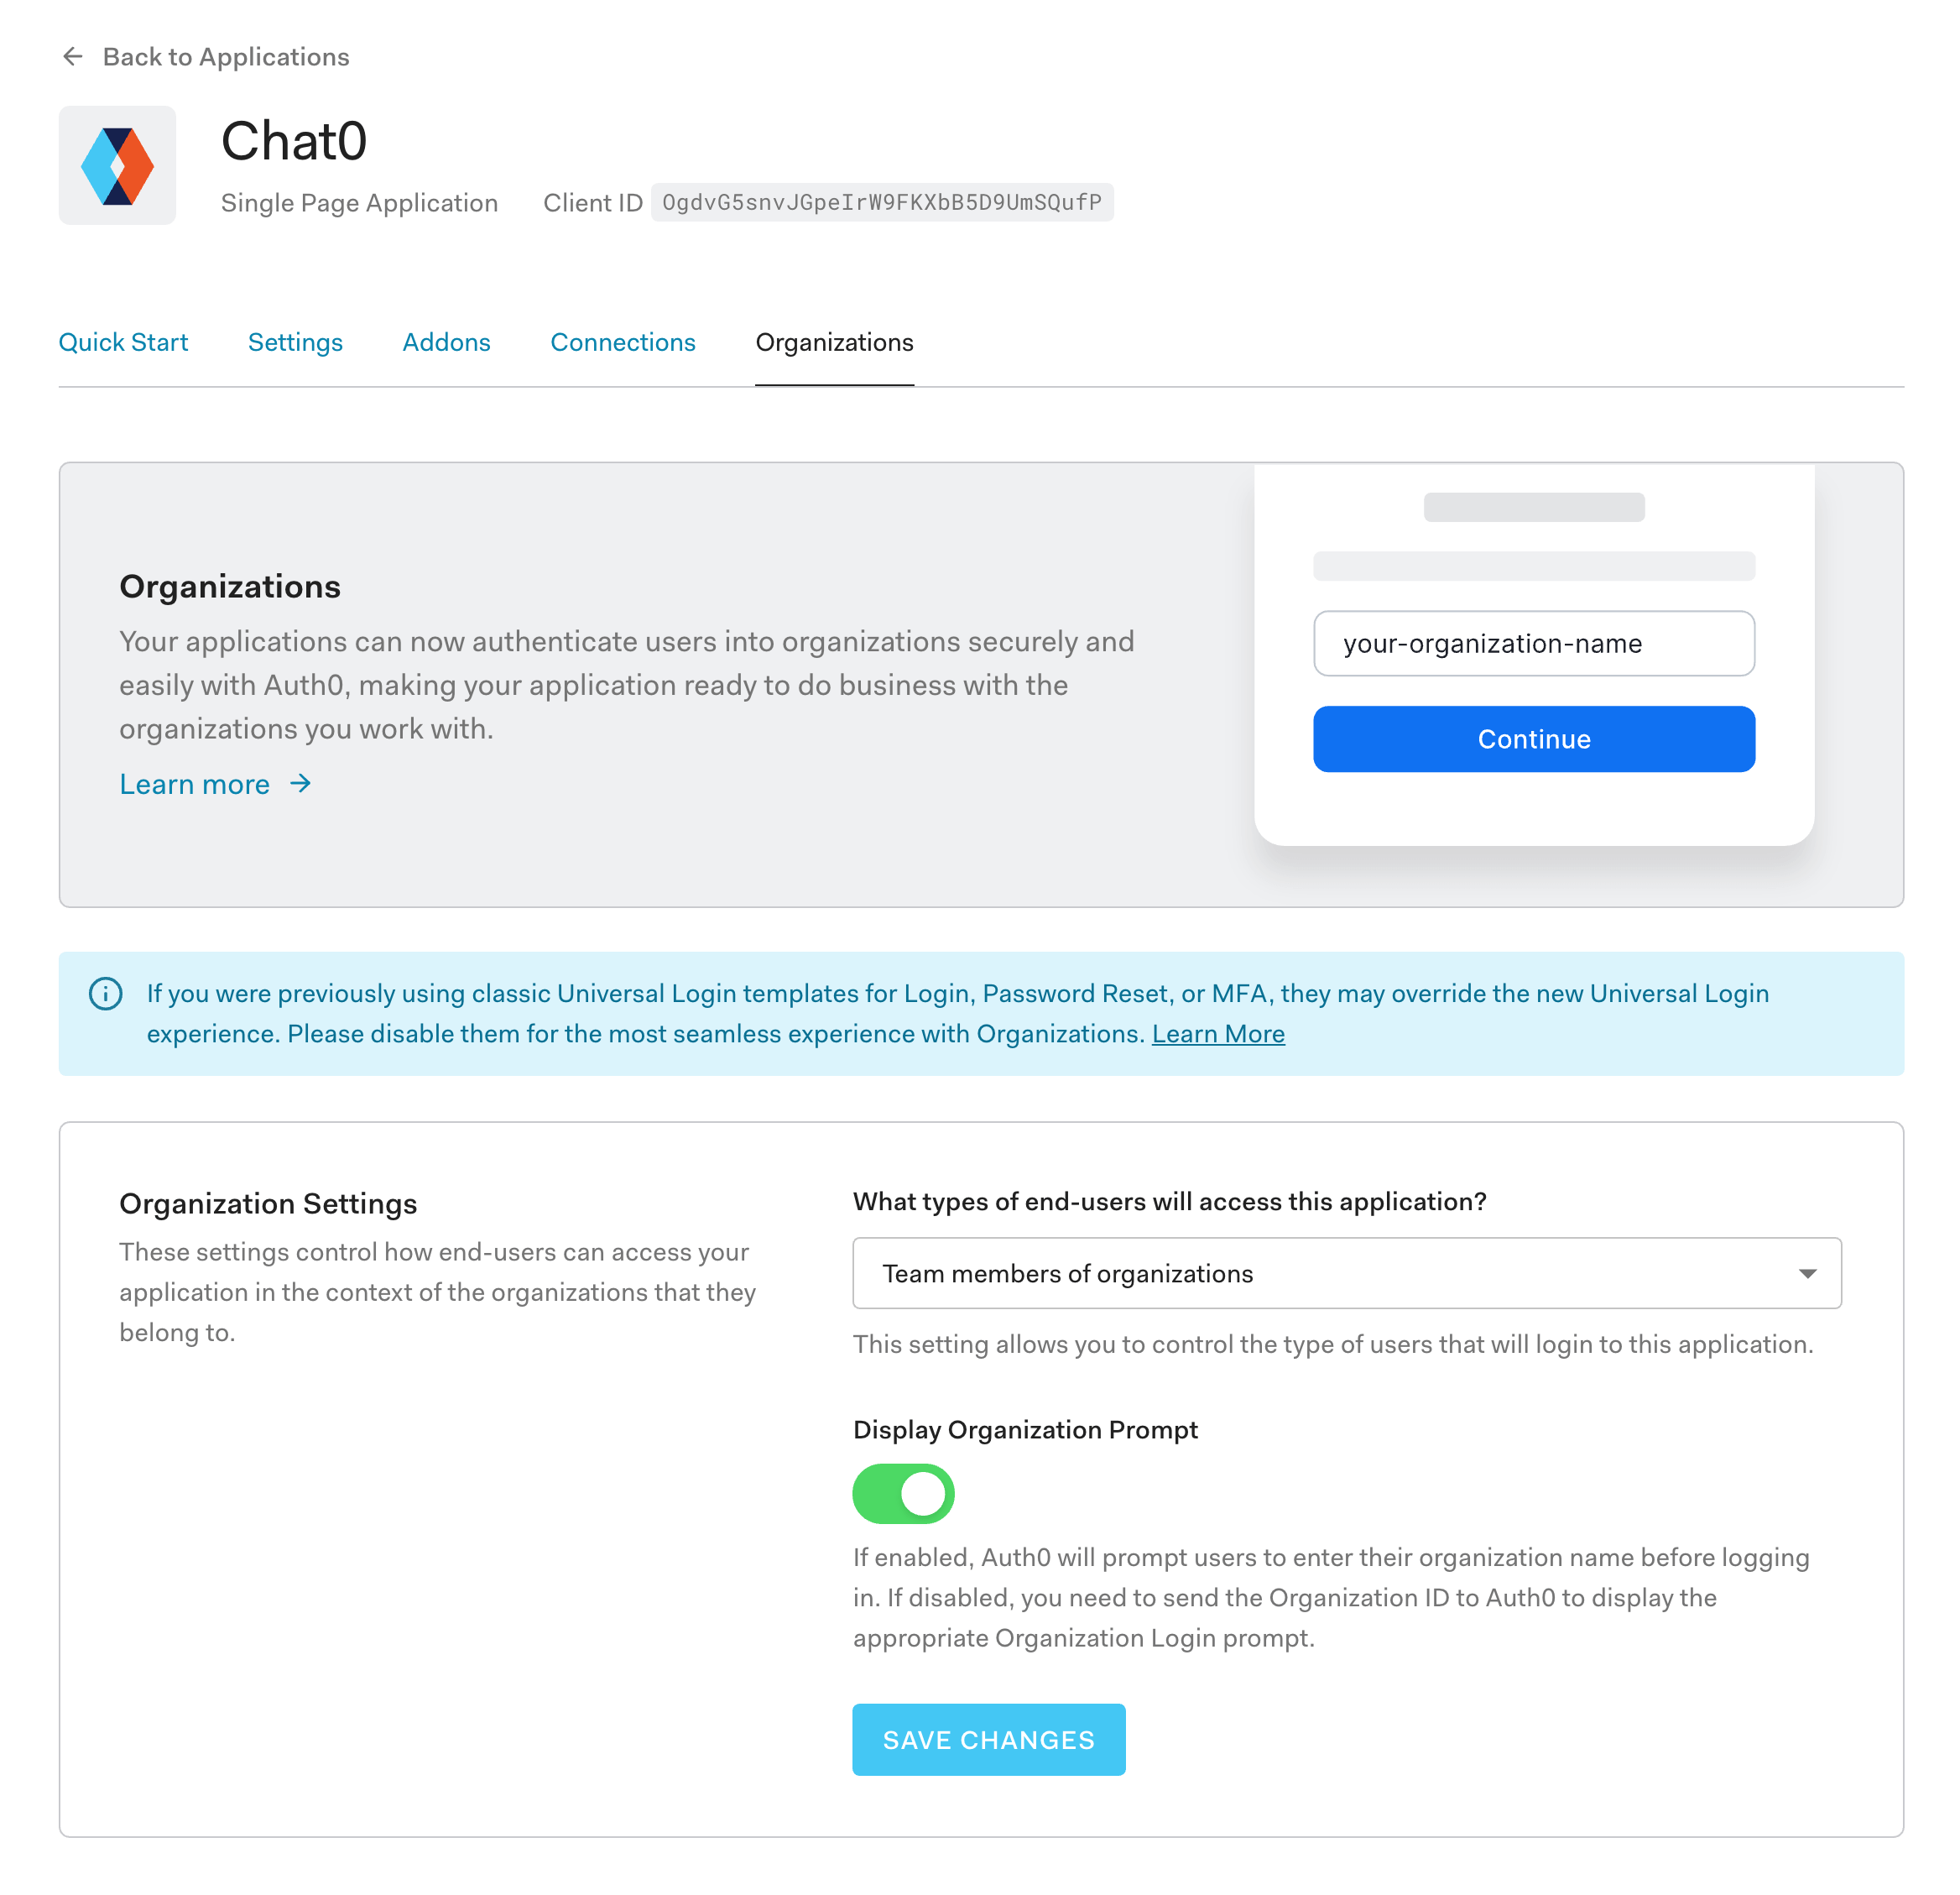
Go ahead and toggle the green Display Organization Prompt button. As it states below, this will prompt users to enter their organization name before logging in.
With the Universal Login ready to accept a user’s input for their organization, let’s now create an organization within our tenant.
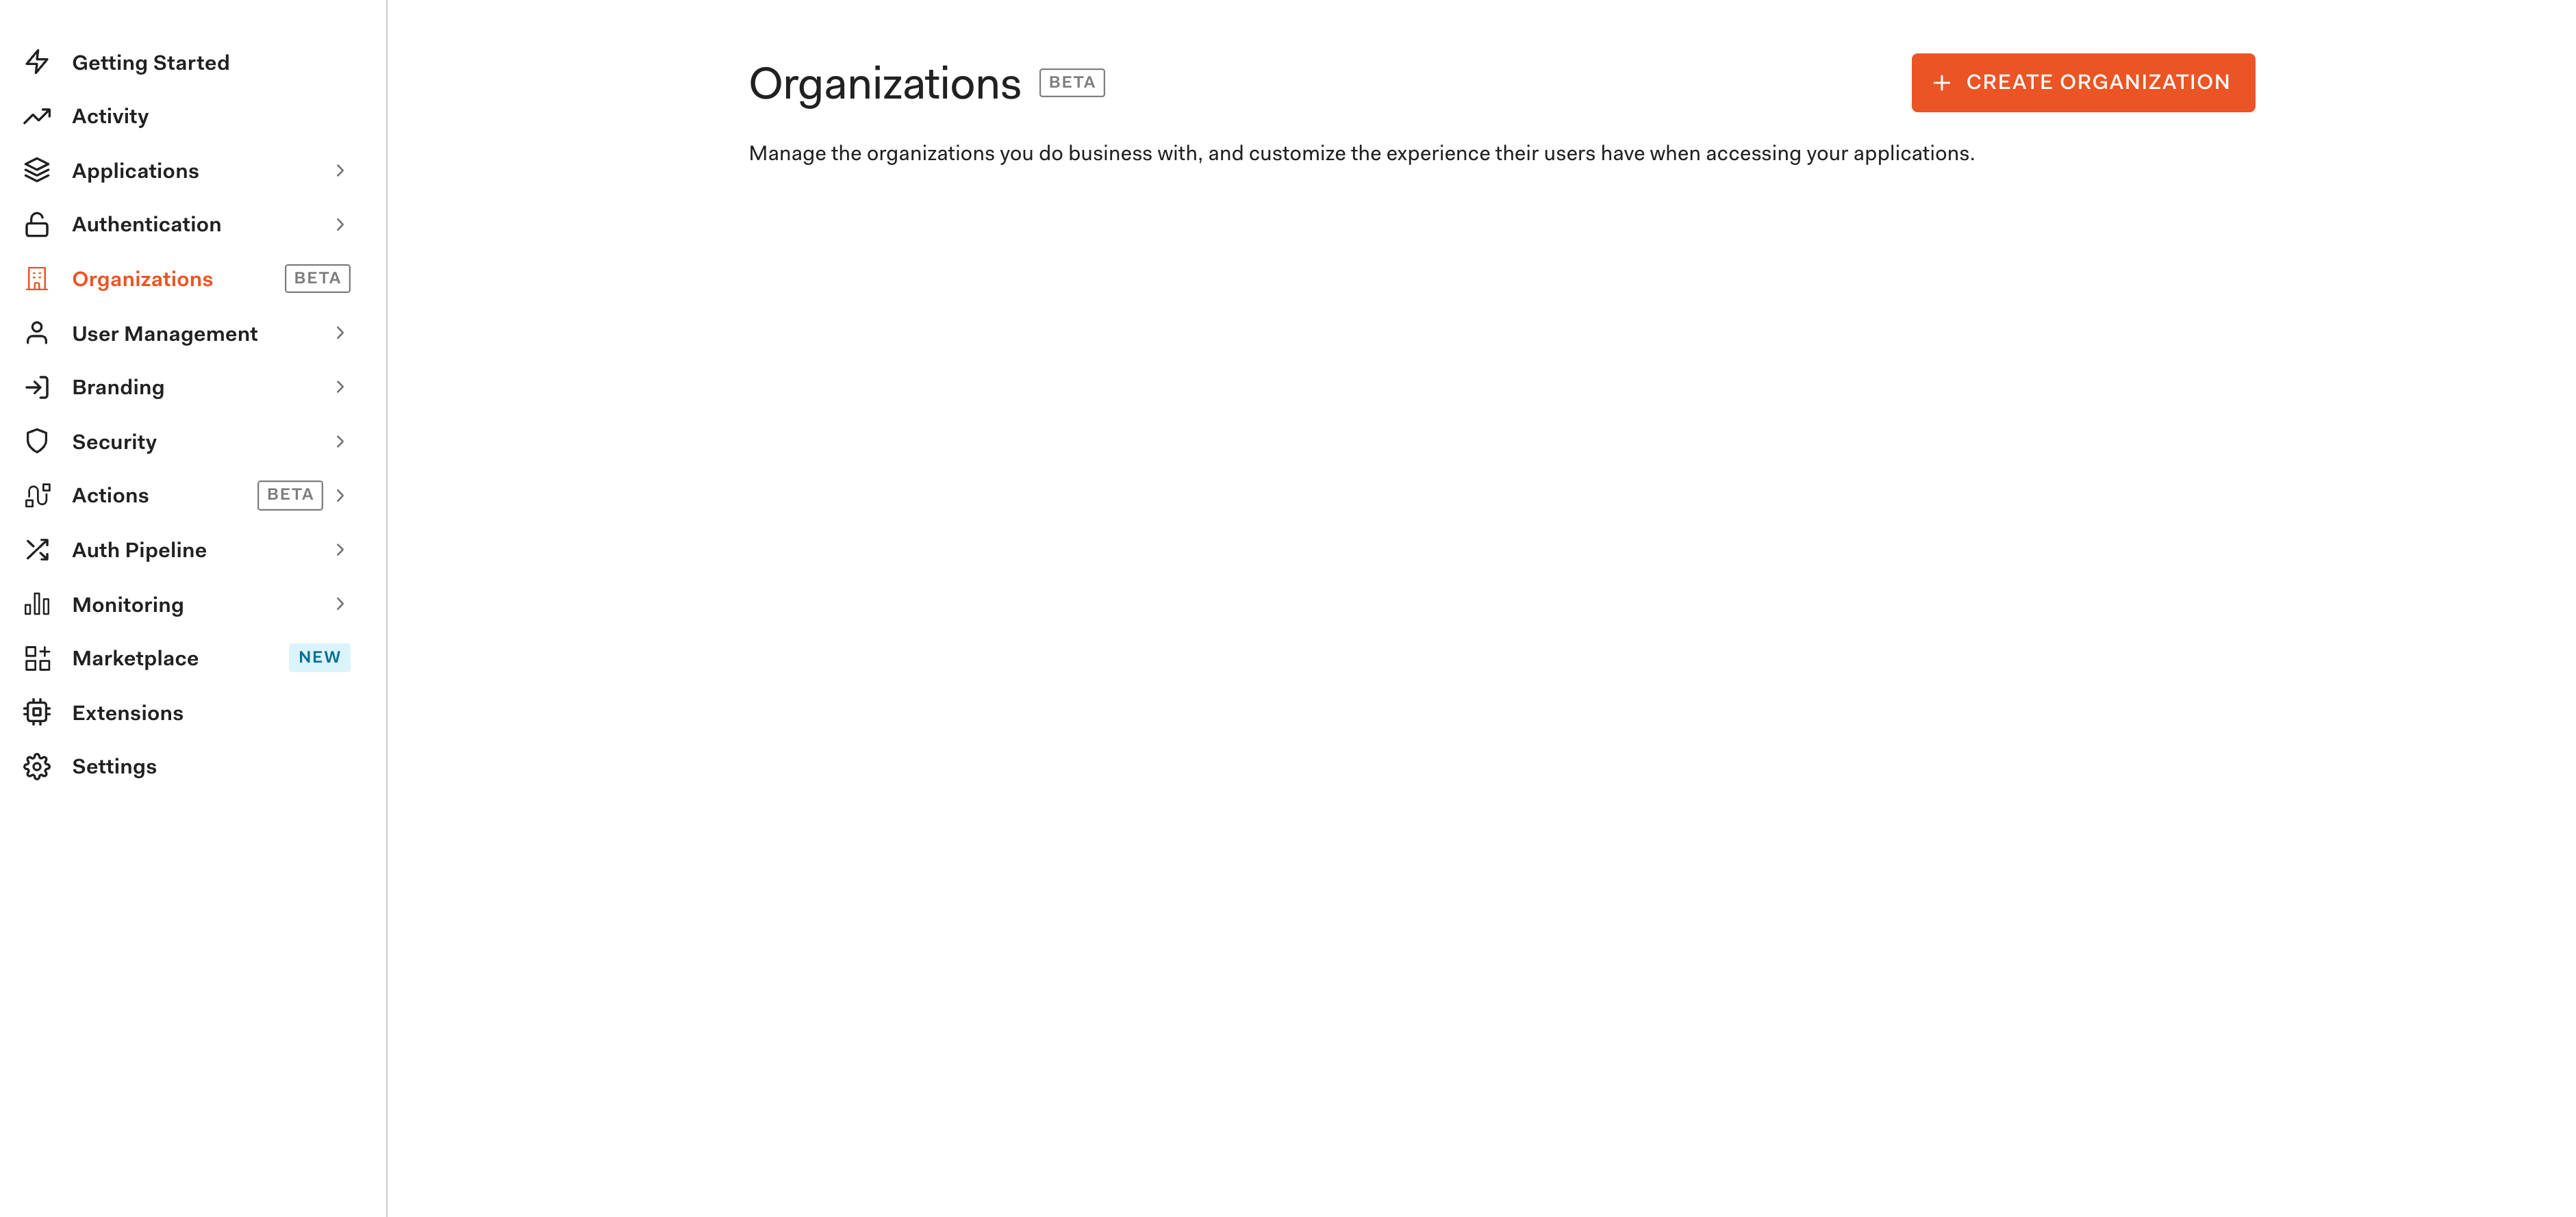
On the left-hand sidebar, click on Organizations. Then on this page, click on the button that says CREATE ORGANIZATION.
After clicking on the CREATE ORGANIZATION button, we are directed to this page to add basic information about our new organization.
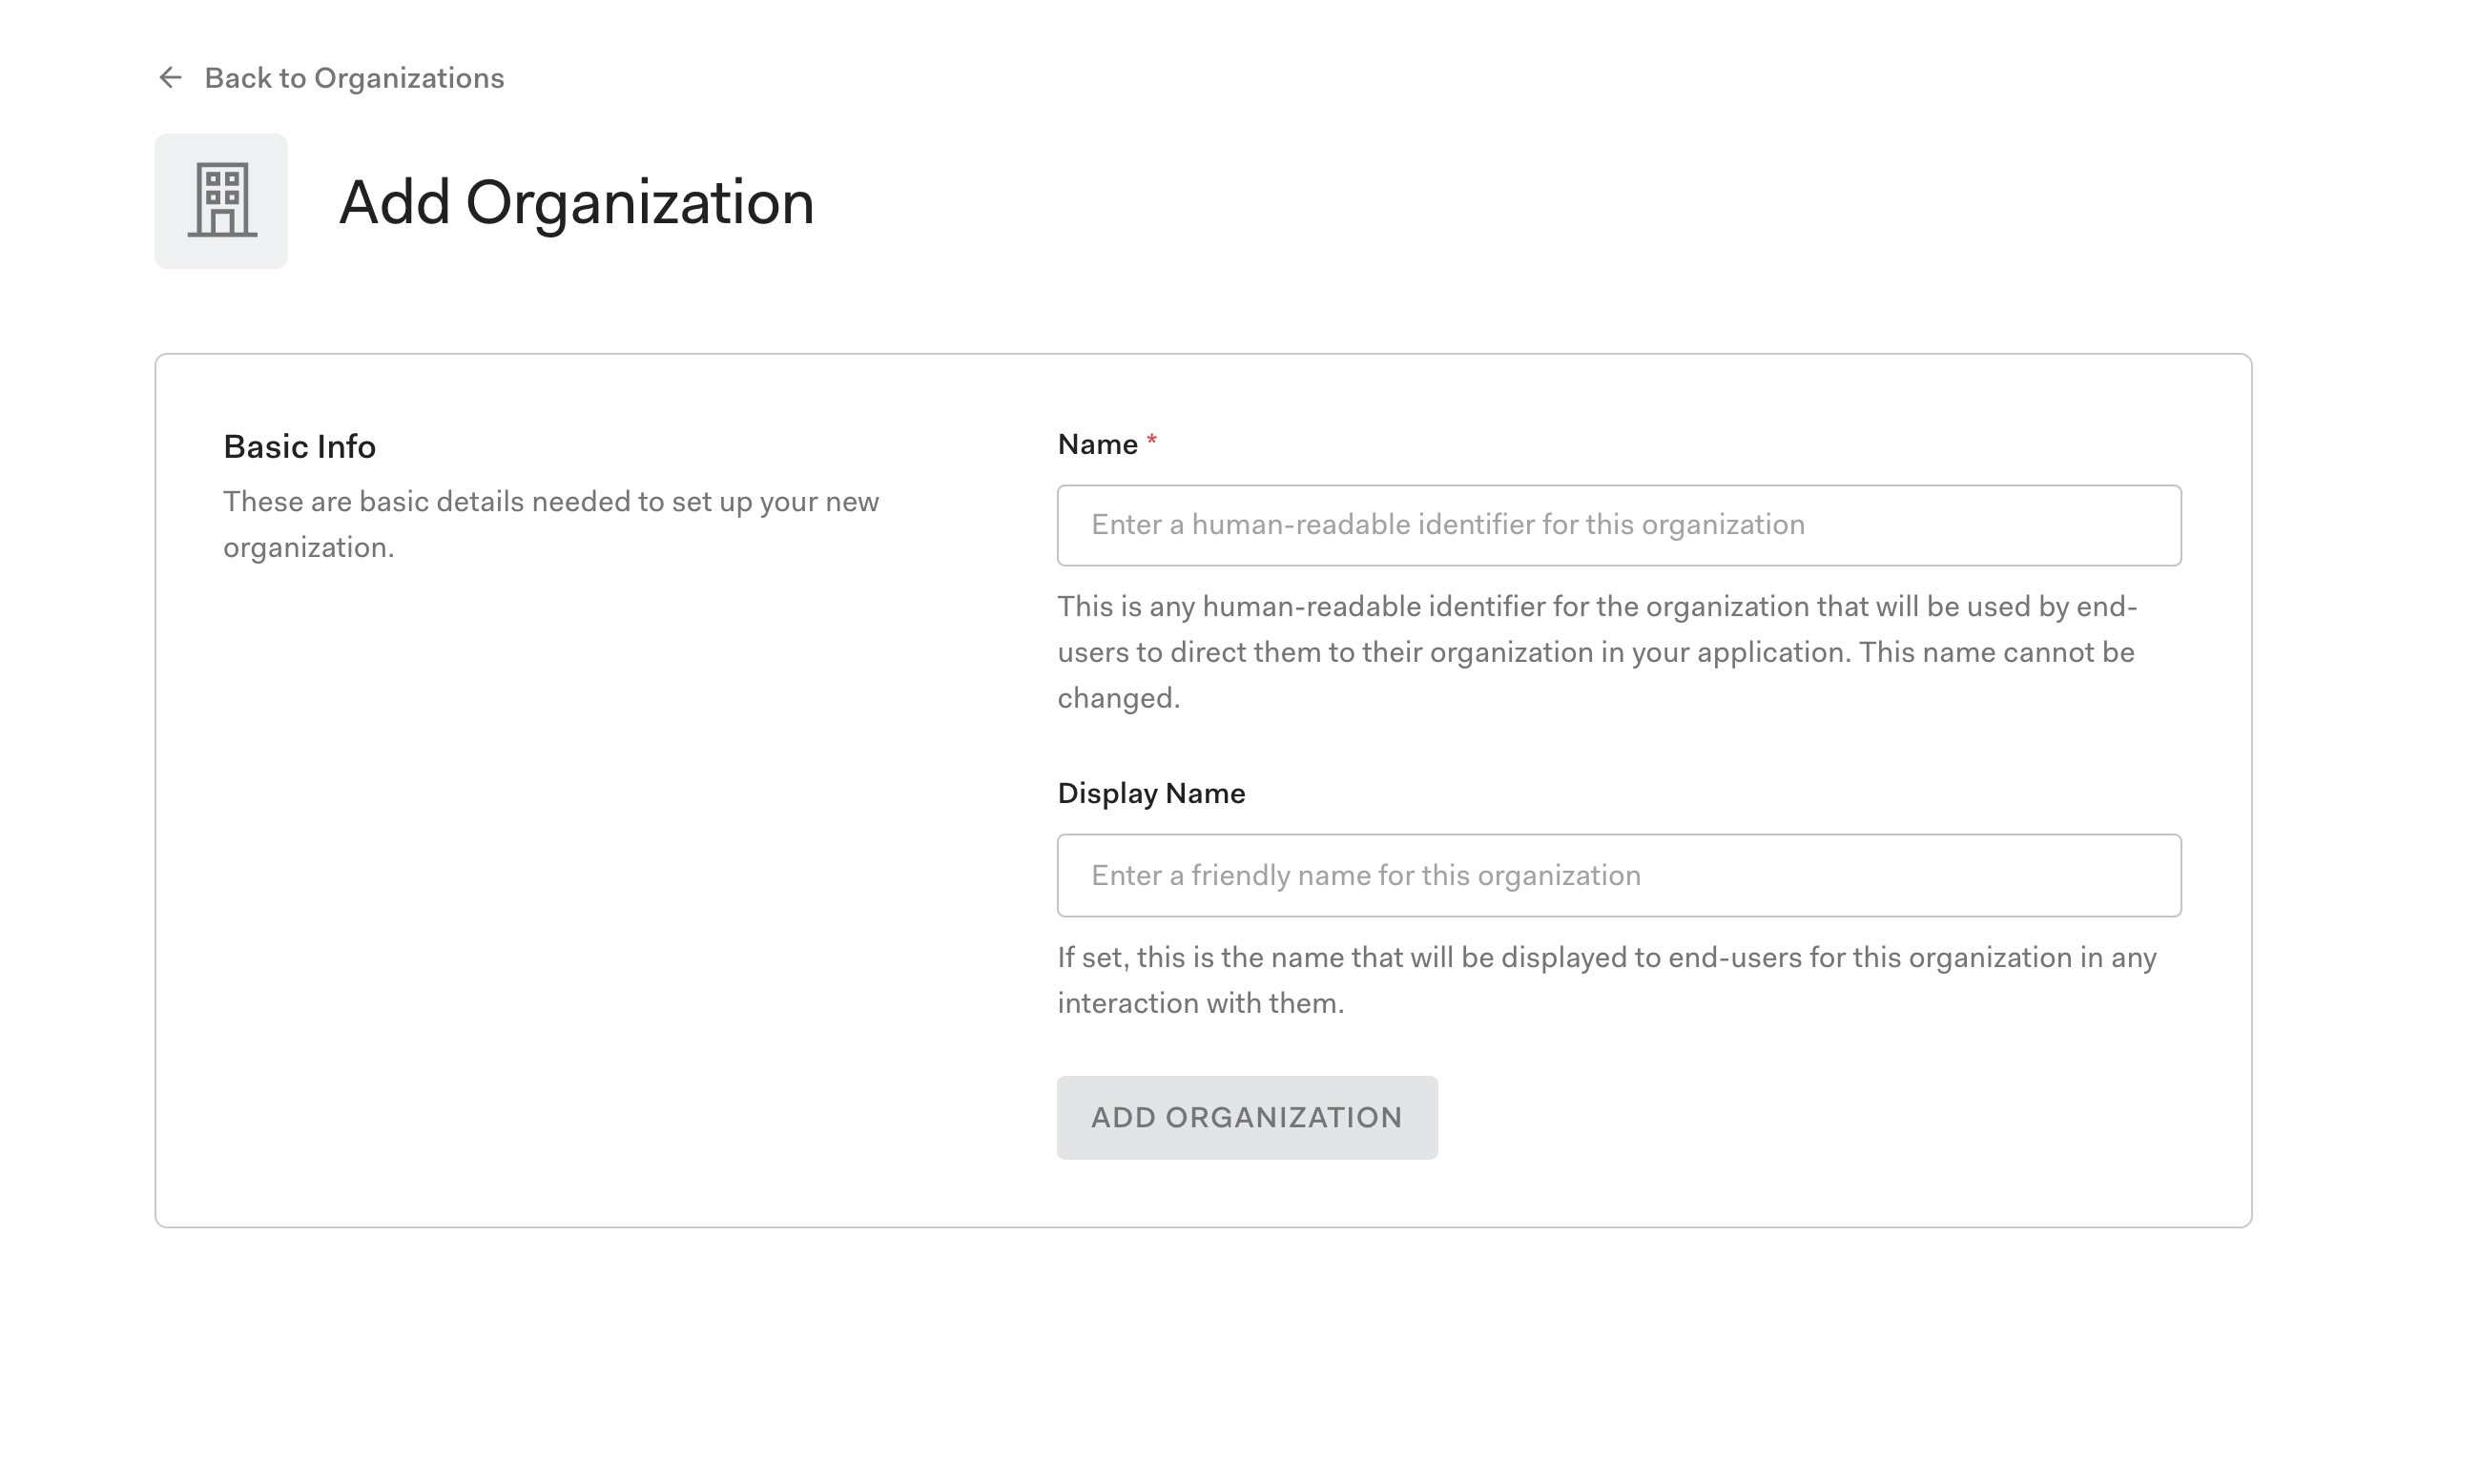
As the text on this page states, the name is a human-readable identifier for the organization. Also, the display name is a friendly name for the organization. For example, I choose acme for the name and then Acme for the display name.
Once you are satisfied with the new organization, click on ADD ORGANIZATION.
You will then see your newly created organization.
Within this screen, you have the power to do a lot of customization. As you can see in the picture below, I have branded my new organization with some colors and a logo.

At the bottom of this page, you can add custom metadata about your organization for extensibility purposes.
The Members tab shows all of the current members within the organization. The ADD MEMBERS button allows you to add a member to this specific organization.
Let’s create a new user and add them to this organization. So on the left-hand side of the page, click on User Management and then Users. Here we can click on the CREATE USER button and enter information about a new user. Once this is saved, back in our organization, we can click on the ADD MEMBERS and add this new user to the organization.
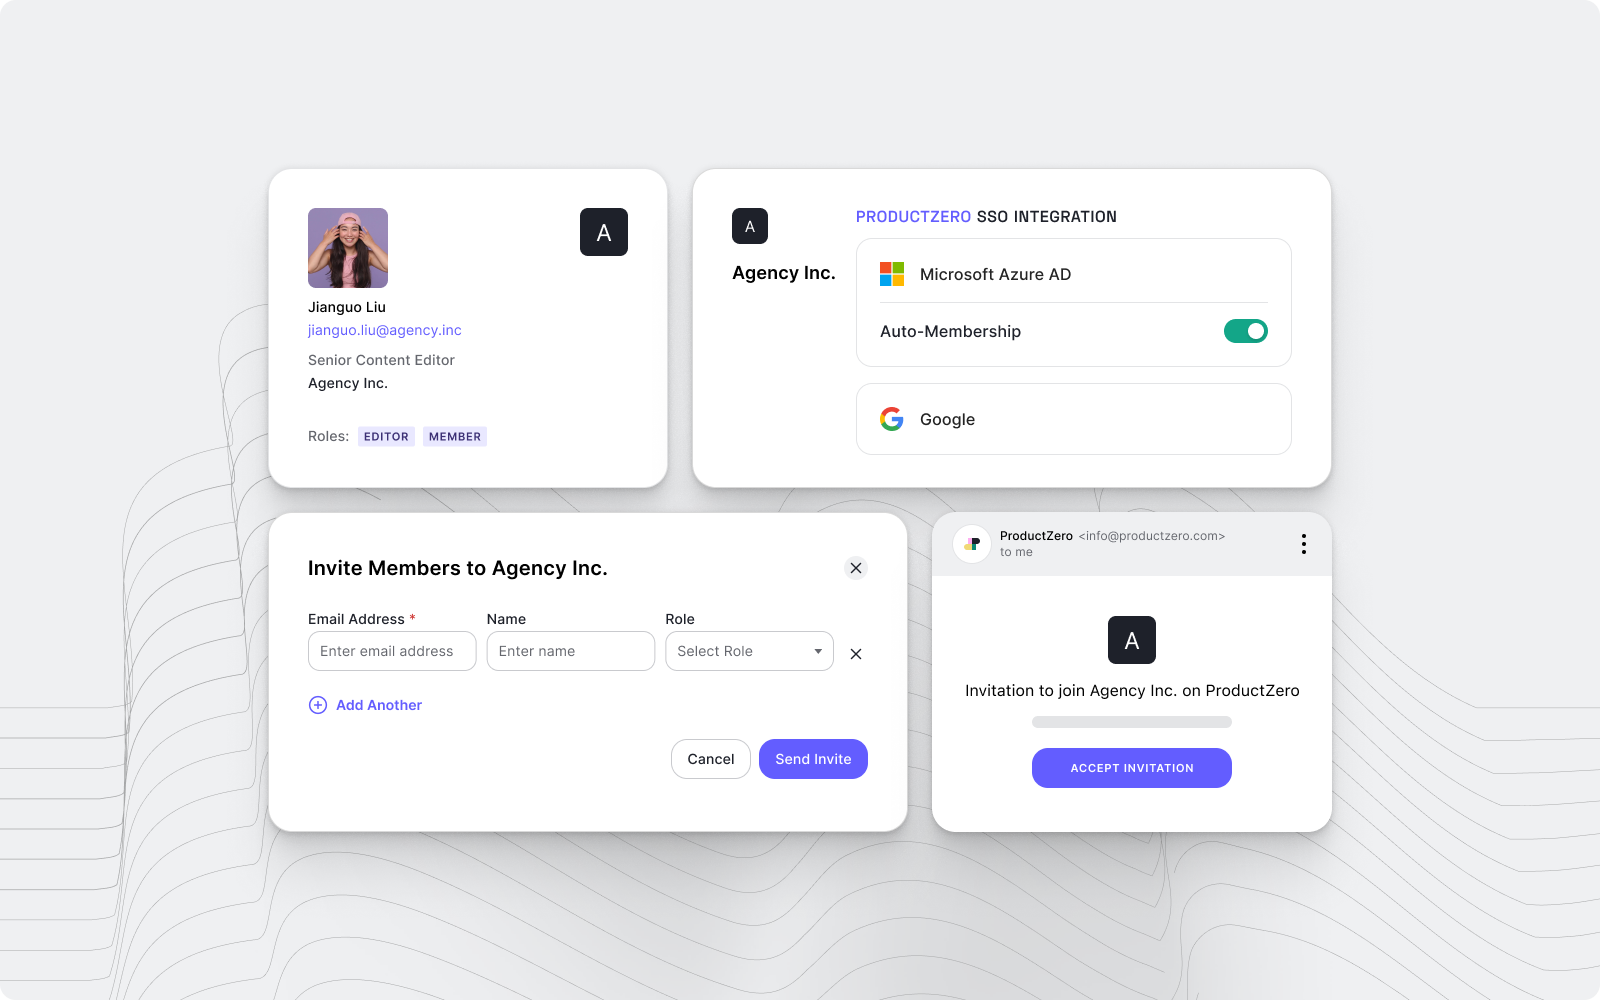
The Invitations tab provides the functionality to invite users to this specific organization.
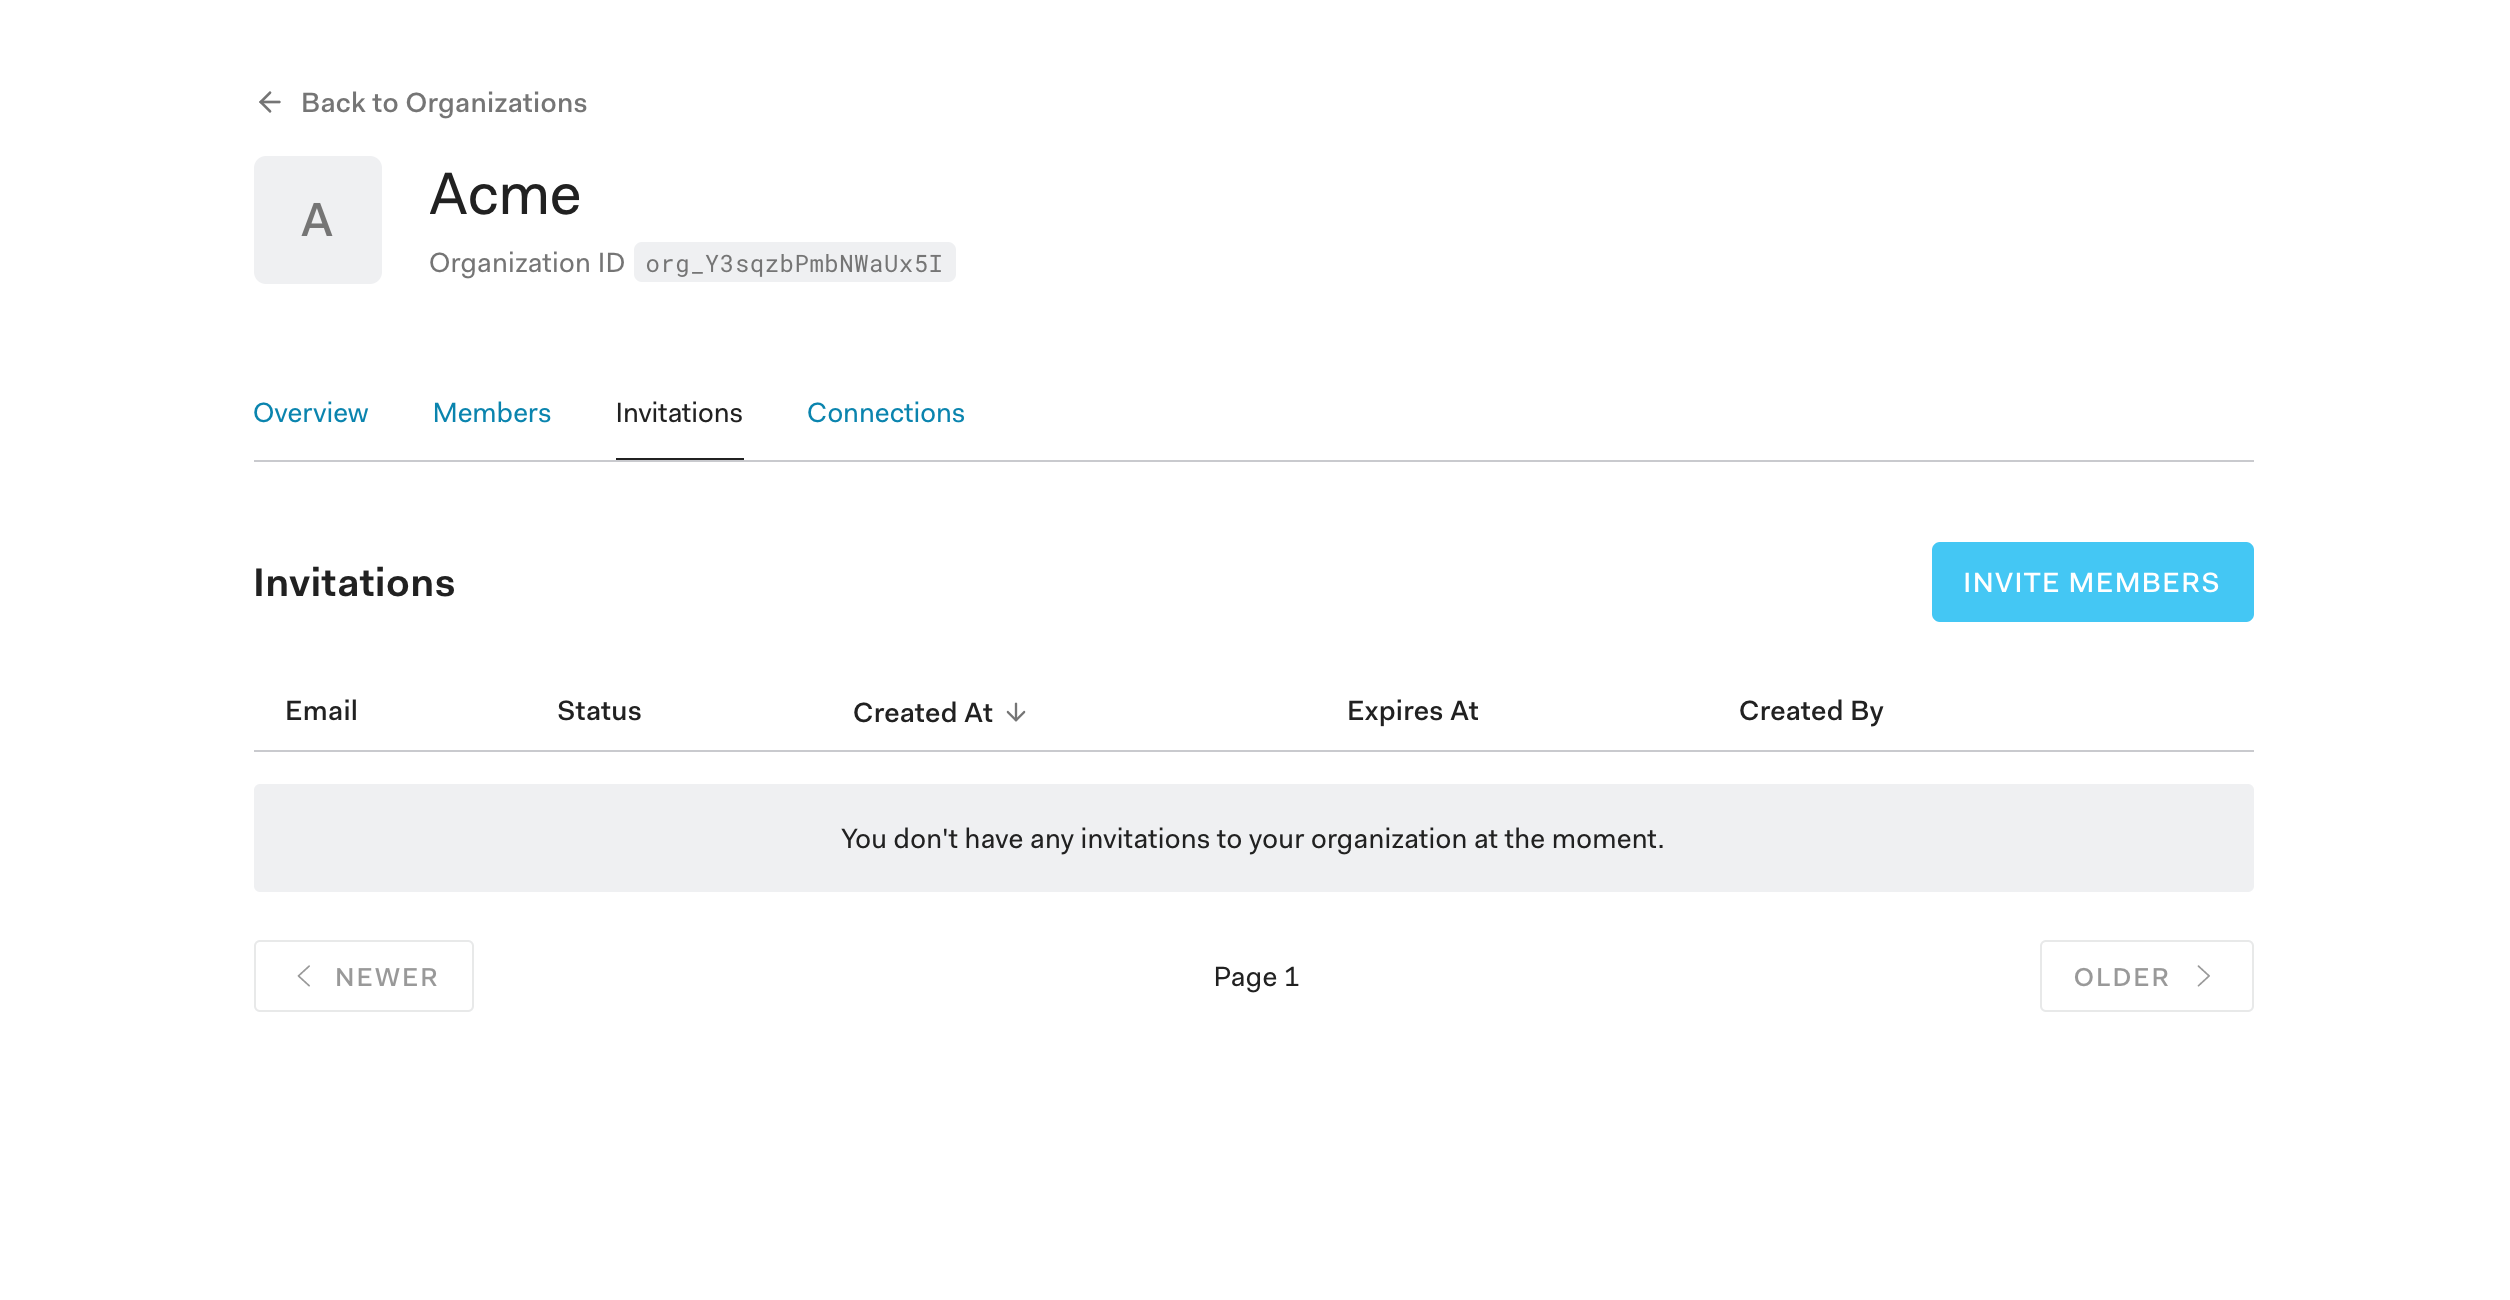
After clicking on the INVITE MEMBERS button, you can choose your application from the initial dropdown (only ones with organizations enabled will show in the list).
Then you can add email addresses, determine which connections can be used and what role to assign them as a member of that organization (if there are any roles defined within your tenant).
Finally, on the Connections tab, you can choose which connections you want to enable for this specific organization. Instead of enforcing the same connections to all applications within your tenant, you can control how each organization’s members can log in.
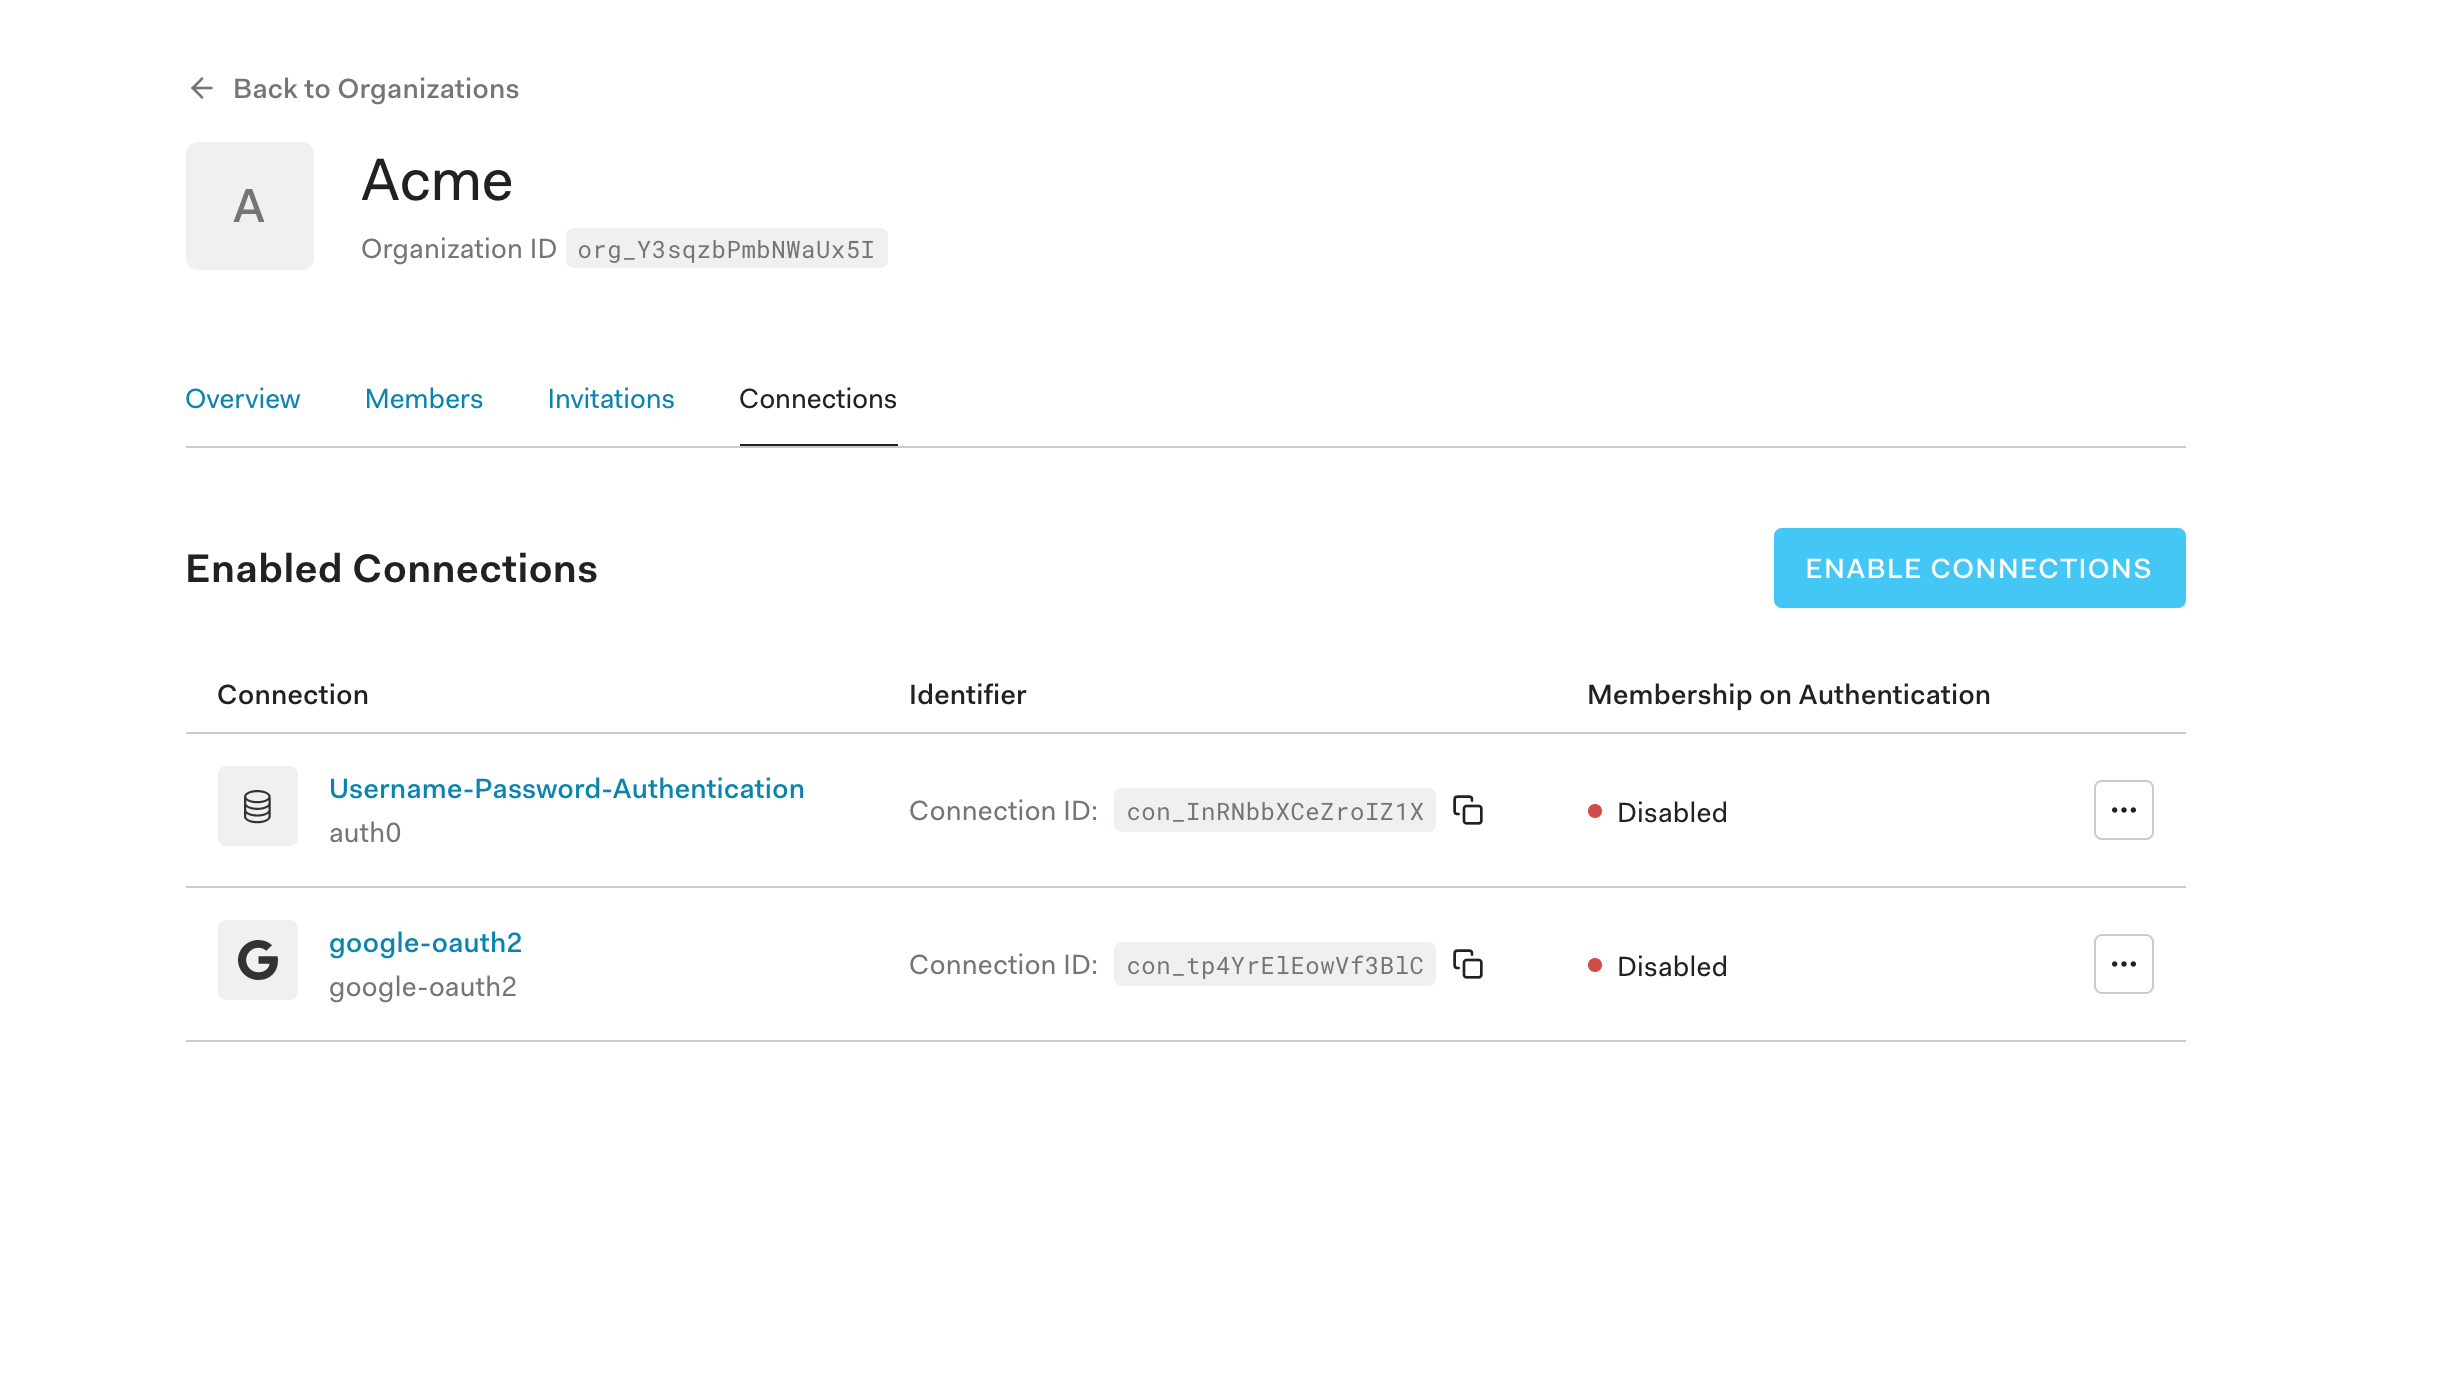
And that’s it!
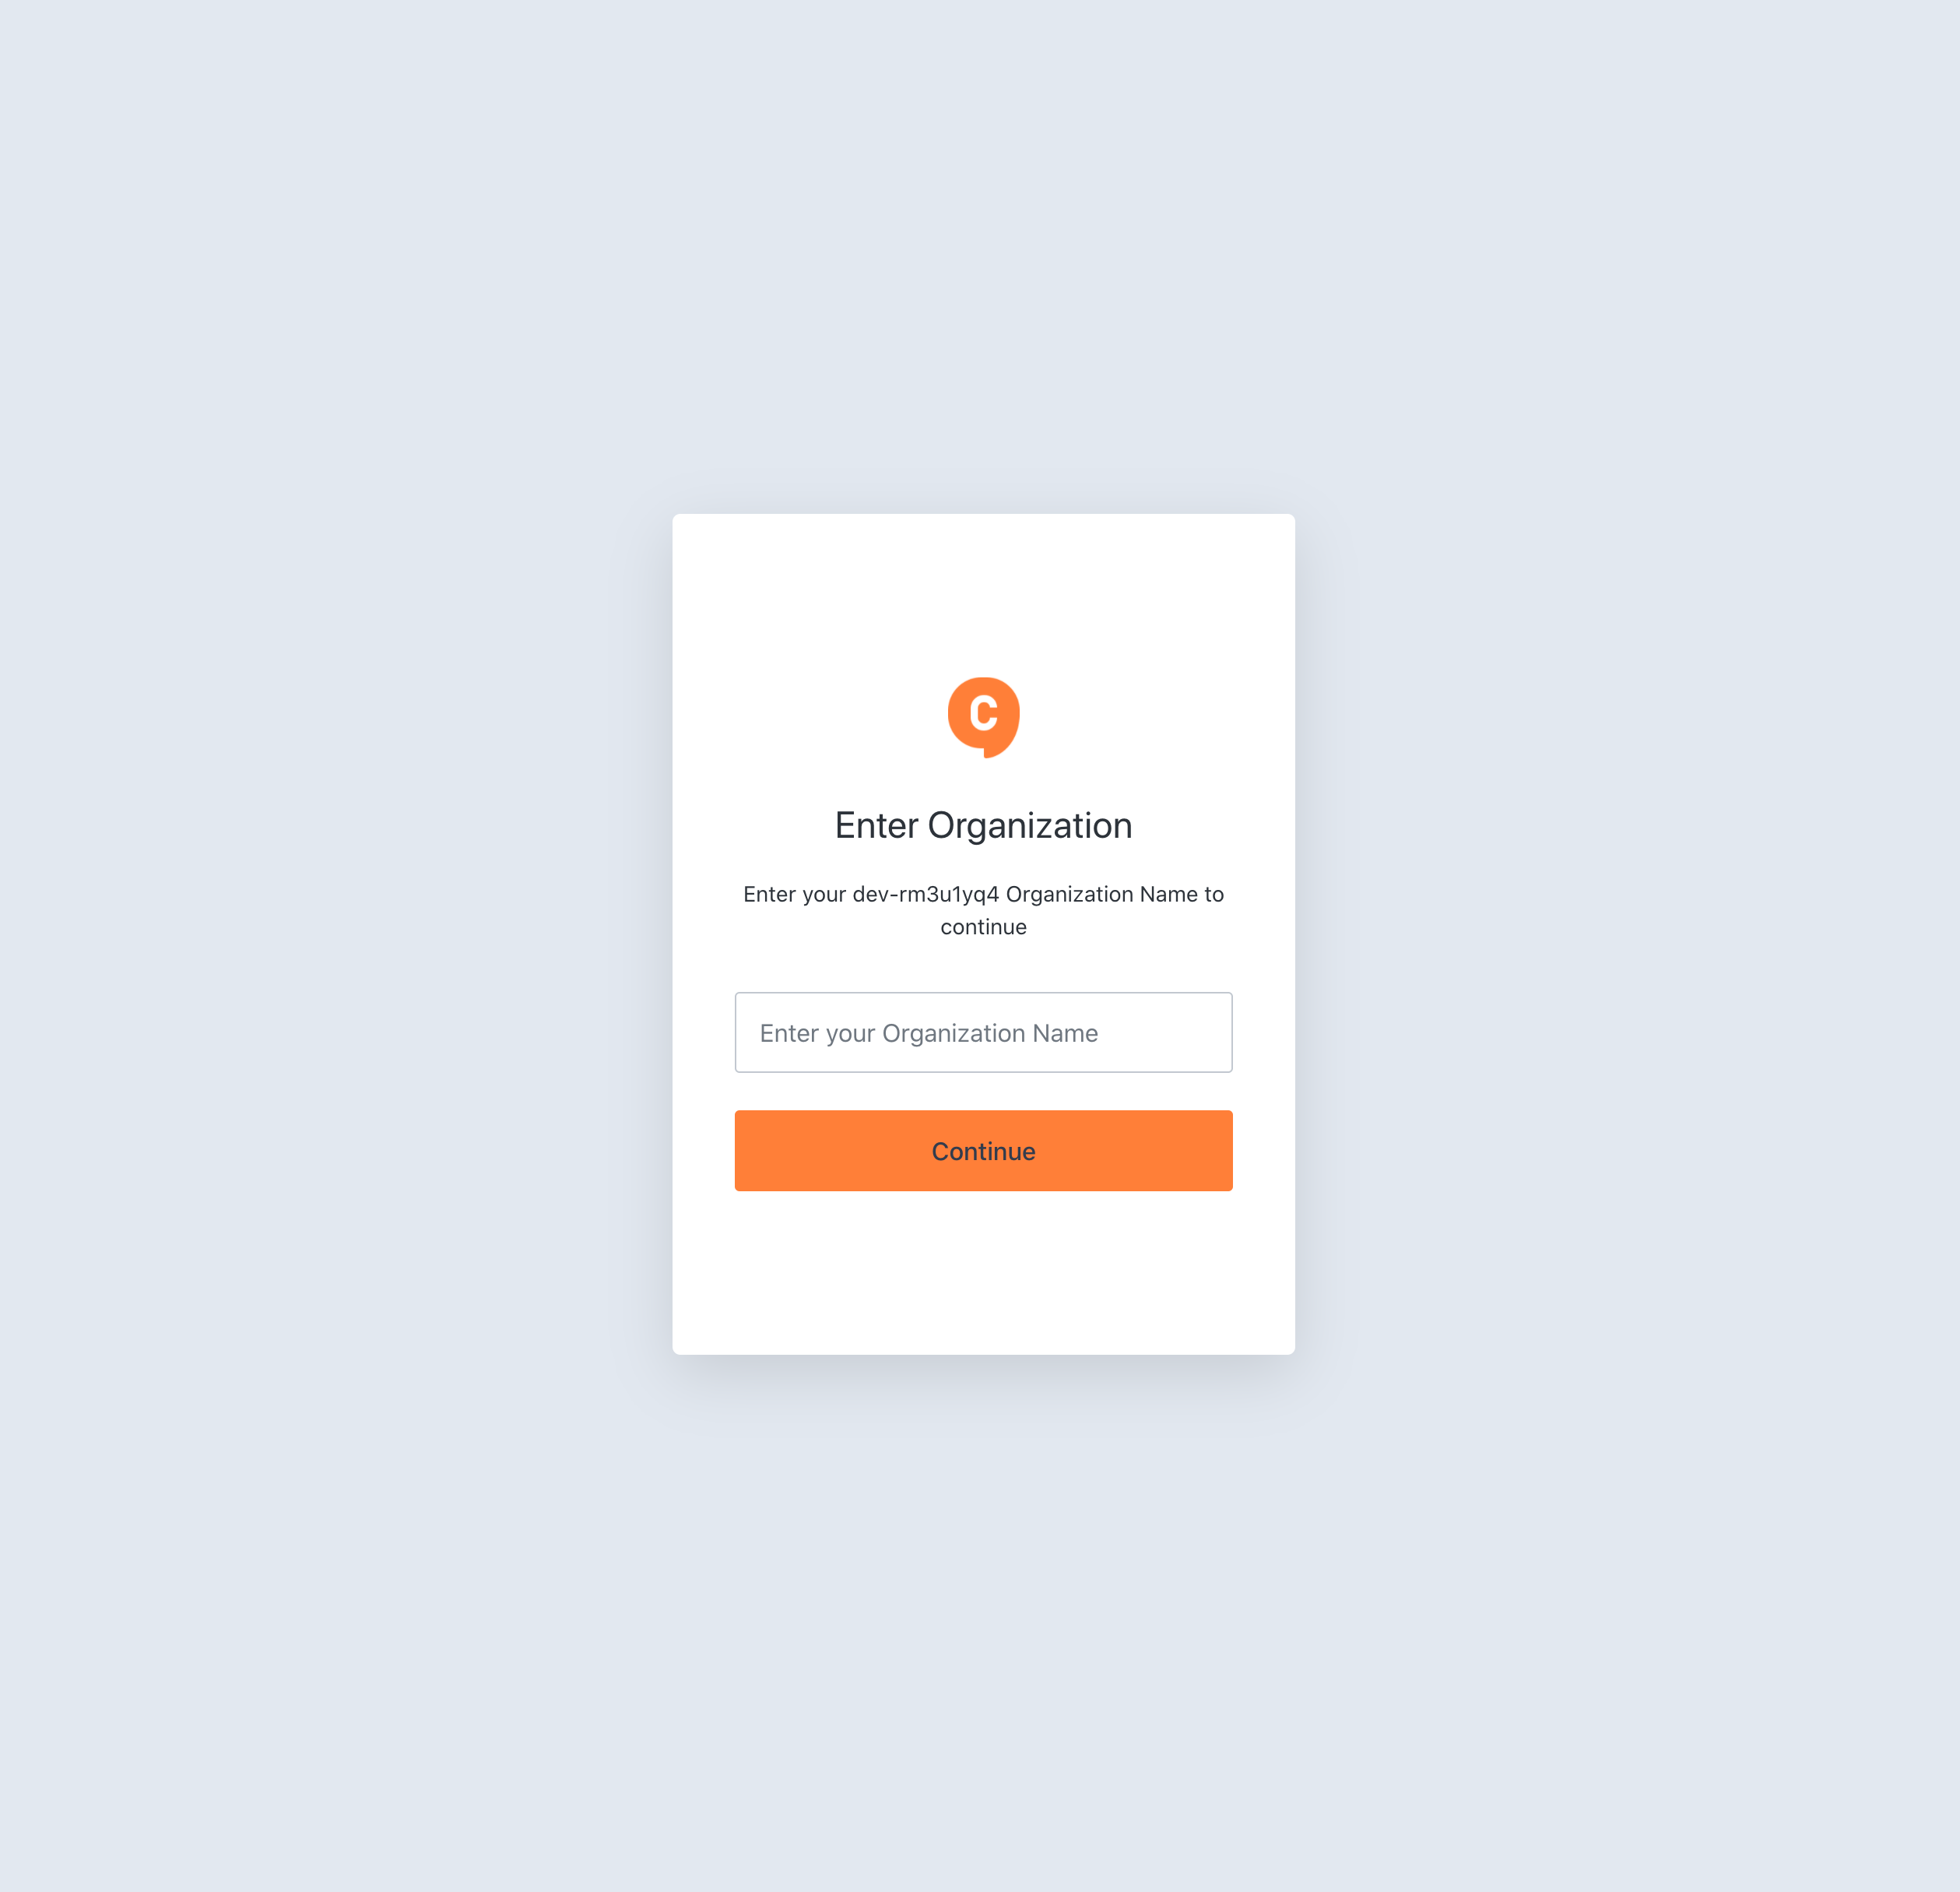
When you go back to Chat0, which is running locally, click on the login button in the header. It will show you the Chat0 Universal Login prompt asking for an organization.

After entering acme (the name of the newly created organization), it’ll open up the Acme-specific login.

Login with the user you created earlier, and then you will be redirected to the Chat0 dashboard for Acme users.
Remember when we discussed conditionally setting the organization prop on the Auth0Provider component above? Within the Sidebar.js component, we set this id within localStorage when we get it.
const { user } = useAuth0();
useEffect(() => {
if (user.org_id) {
localStorage.setItem("organization_id", String(user.org_id));
}
}, [user.org_id]);
The Auth0 React SDK provides the user object. This includes basic information about the user after successful authentication.
Setting and retrieving the authenticated organization id is what keeps the user authenticated when refreshing the page.
Taking It Further
This article barely scratches the surface of the full functionality of Organizations. Using these new features, you can:
- Represent the teams, business customers, and partners that use your applications as organizations in Auth0.
- Set up branded, federated login flows for each organization.
- Manage organization members in a variety of ways, including just-in-time membership and email invitations.
- Define roles to represent what end users can do in your applications and assign those roles to organization members to have different roles in different organizations.
- Build administration capabilities into your products so that administrators in those organizations can manage their membership and access levels.
What’s Next
As of today, Organizations is available for Auth0 subscribers on our Enterprise and Startup plans. You can find technical documentation here. We’ll be introducing new capabilities to improve organizations. We’d love to hear your thoughts about what we should focus on next; just comment below or send us questions in the community forum.
About the author

Tyler Clark
Senior Developer Advocate Engineer