


Auth0 Actions offer many advantages over Rules. If you are using Rules to customize your Auth0 integration experience, you should consider migrating to Actions. Learn how to plan and implement this migration.
Comparing Auth0 Rules and Actions
One of Auth0's strengths is its focus on extensibility, i.e., the ability for the user to customize the standard behavior of Auth0's identity solutions. Auth0 Rules was the first tool that enabled users to run custom code to extend Auth0 authentication. Rules are serverless code blocks executed right after successful authentication but before tokens are issued.
To satisfy the widest range of extensibility needs, Auth0 has constantly worked on improving this tool. Recently, it consolidated the acquired experience on customization and provided developers with Auth0 Actions, a solid environment for most code-based customization needs.
Auth0 Actions offer a lot of benefits over Rules. So, if you are about to start your customization, Actions are the recommended tool. On the other hand, if you have already implemented your customization through Rules, you are strongly encouraged to migrate to Actions. Let's look at a few advantages you can get by switching to Actions:
- Rules let you handle just the authentication flow. Auth0 Actions let you handle multiple flows: authentication, pre and post user registration, password change, client credential exchange, phone message sending.
- Rules don't have an integrated version control system. Actions do. You can modify an Action without affecting the one in production, create multiple versions, and restore a previous one.
- Unlike Rules, the Actions editor supports code hints, all npm packages, and isolated secrets management. The developer experience is significantly improved.
Read this blog post for a quick introduction to Auth0 Actions.
While Auth0 Actions bring you an improved customization environment, Rules and Hooks are still available, and they all can live together. Just remember that Rules and Hooks are executed before Actions.
You can use Actions to replace your Rules, but be aware of some limitations:
- In Rules, you can share data with other Rules in the pipeline by adding properties to the
userandcontextobjects. These properties are accessible in subsequent Rules. In Actions, you can't do this, although changes to the user's metadata can be accessed by subsequent Actions. - Rules can modify SAML assertions or attributes. Actions can't.
- Rules have limited access to the Auth0 Management API and the
globalandauth0objects. Actions can't, but have an alternative approach for doing similar tasks, as you will learn in the following.
Take a look at the full list of limitations of the current implementation.
With these caveats in mind, let's take a look at how you can convert your Rule into an Auth0 Action.
Code Conversion Guidelines
Auth0 Rules allow you to customize the authentication flow. That means you can convert a Rule into an Auth0 Action handling the Post Login trigger of the Login Flow.
This article will not guide you step-by-step through creating an action or migrating a rule. It assumes that you have a basic understanding of how to create a Rule and how to create an Action. If not, please refer to Auth0 documentation about Rules creation and Actions writing. In both cases, you need an Auth0 account. If you don't have it, you can get one for free.
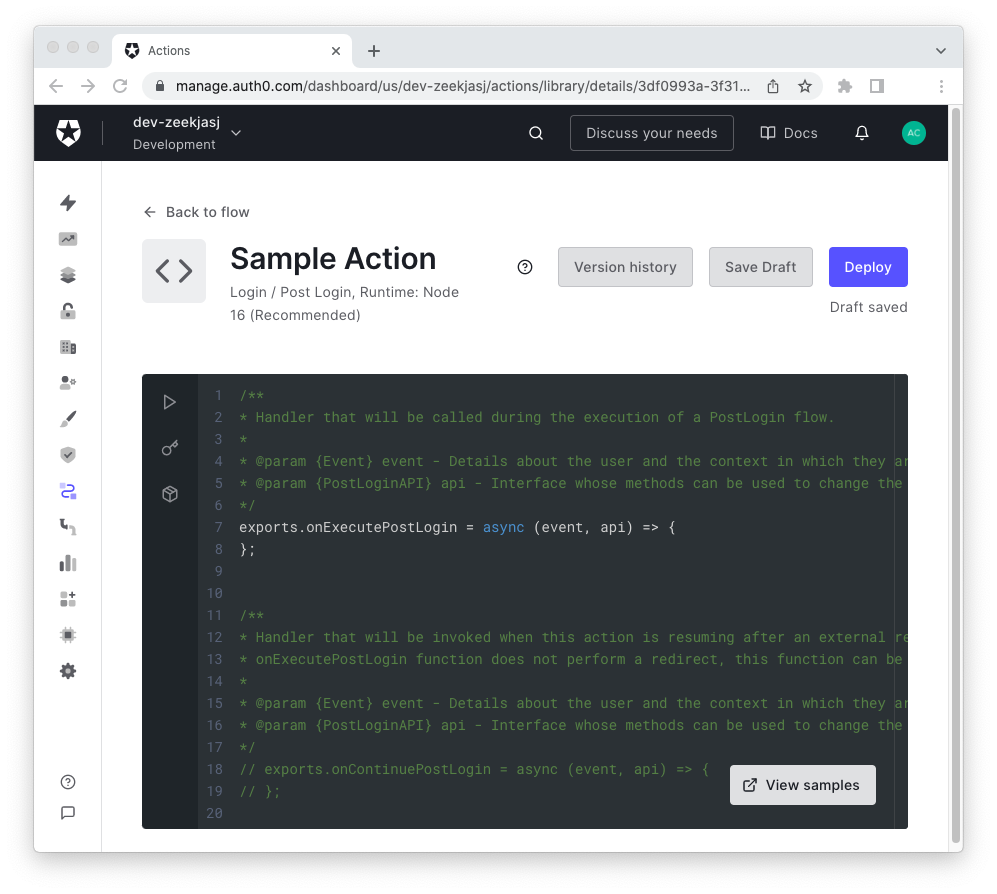
The Actions editor for the Post Login trigger looks like the following:
Conceptually, to migrate your Rule, you need to move the body of the function that implements it into the body of the following function:
exports.onExecutePostLogin = async (event, api) => {
};
This is not just a matter of copy and paste. You need to apply some changes to make the conversion effective. So, let's focus on the specific changes you should apply to your Rule's code.
You can have multiple Rules handling your authentication flow. You can map these Rules to as many Actions by keeping the same order. This will ensure you keep the same functionality.
Mapping parameters
An Auth0 Rule is a JavaScript function with three parameters: user, context, and callback. The onExecutePostLogin() function implementing the Action has two parameters: event and api. Besides the different names, how can you map those parameters? How can your Action retrieve the same data from the parameters as your Rule?
Actually, the design of Actions brought you consolidation of the data passed by the running environment to the Action function. As a general rule, all read-only properties of the user and context objects in Rules have been moved to the event object in Actions. Any interaction with the running environment, like failing a login or updating user metadata, is implemented through methods of the api object.
Please refer to the documentation to learn more details about the event object and the api object.
Accessing user data
In Rules, you get data about the current user by accessing the user object parameter. In Actions, you need to access the event.user object. Here you can find the same data as the user object except the attributes added by an external identity provider or custom database script.
To give you an example, if you have the following Rule implementation:
function myRule(user, context, callback) {
    const userEmail = user.email;
    const userId = user.user_id;

    // ... additional code
}
You can convert it into an Action implementation as follows:
exports.onExecutePostLogin = async (event, api) => {
    const userEmail = event.user.email;
    const userId = event.user.user_id;

    // ... additional code
};
Notice that while the
user.app_metadataobject could be undefined in Rules, the counterpartevent.user.app_metadatawill always be defined in Actions.
Accessing context data
In Rules, the context object stores data about the current login session. In Actions, you can find the same data in the event object.
Consider the following Rule function:
function myRule(user, context, callback) {
    const clientId = context.clientID;
    const clientMetadata = context.clientMetadata || {};

    const connectionId = context.connectionID;
    const connectionMetadata = context.connectionMetadata || {};

    const protocol = context.protocol;

    const tenant = context.tenant;

    // ... additional code
}
In an Action, it will become as shown below:
exports.onExecutePostLogin = async (event, api) => {
    const clientId = event.client.client_id;
    const clientMetadata = event.client.metadata;

    const connectionId = event.connection.id;
    const connectionMetadata = event.connection.metadata;

    const protocol = event.transaction.protocol;

    const tenant = event.tenant.id;

    // ... additional code
};
As you can see, some properties of the context object have become properties of a few objects attached to the event object. For example, you have the client object, the connection object, and so on. In other words, the login session data has been refactored to be more clearly organized.
Be aware that some property names have different spellings. For example, clientID becomes client_id, connectionMetadata becomes connection.metadata, etc.
Please compare the documentation of the context object in Rules and the event object in Actions to learn more about the differences.
Dealing with dependencies
Auth0 Rules allow you to include dependencies to power up your code. You can leverage thousands of npm packages, but not all the packages available in the npm registry. If you need a package that is not available for Rules (or even just a specific version of an npm package), you need to request it to Auth0.
In Actions, you can add dependencies for all the available packages in the npm registry, which means over one million.
Also, unlike Rules, in Actions you don't need to specify the package version in the code. That means, for example, that in Rules you have to declare a dependency this way:
function myRule(user, context, callback) {
    const axios = require("axios@0.22.0");

    // ... additional code
}
In Actions, you specify the package version just in the editor's module manager and your code looks like the following:
const axios = require("axios");

exports.onExecutePostLogin = async (event, api) => {
    // ... additional code
};
Notice that you import the dependency outside the function's body, more in the style of a Node.js module.
Converting Rules' callbacks
In Rules, you use the callback parameter to pass back the result of your processing. For example, in order to pass the control to the Auth0 authentication process, which will possibly run the next Rule, you should invoke the callback() function by passing the current user and context objects. In case you want to stop the current login process, you need to call the callback() function with an error instance.
With Actions, everything is more straightforward. To pass control, simply use return. To stop the login process, call the api.access.deny() method.
Consider the following Rule function:
function myRule(user, context, callback) {
    const userAppMetadata = user.app_metadata || {};

    if (userAppMetadata.condition === "success") {
        // This Rule succeeded, proceed with next Rule.
        return callback(null, user, context);
    }

    if (userAppMetadata.condition === "failure") {
        // This Rule failed, stop the login with an error response.
        return callback(new Error("Failure message"));
    }

    // ... additional code
}
This code succeeds or fails based on the value of the condition property of the app_metadata object. You can convert this code into the following Action function:
exports.onExecutePostLogin = async (event, api) => {
    if (event.user.app_metadata.condition === "success") {
        // This Action succeeded, proceed with next Action.
        return;
    }

    if (event.user.app_metadata.condition === "failure") {
        // This Action failed, stop the login with an error response.
        return api.access.deny("Failure message");
    }

    // ... additional code
};
In summary, you should replace any instance of callback() in your Rule with a call to api.access.deny(), in case of failure, or with return, in case of success. You can also omit the return statement if your code runs to the end of the function's body.
Conversion Examples
Now that you have some general guidelines to convert the code of your Rules into Actions, let's take a look at some examples.
Adding custom claims to a token
One of the most common use cases for Rules is the ability to add custom claims to a token, either an ID token or an access token. For example, the following code snippet shows a Rule adding two custom claims to the ID token:
function myRule(user, context, callback) {
  const namespace = 'https://myapp.example.com/';

  context.idToken[namespace + 'favorite_color'] = user.user_metadata.favorite_color;
  context.idToken[namespace + 'preferred_contact'] = user.user_metadata.preferred_contact;
  callback(null, user, context);
}
This Rule can be converted into an Action as follows:
exports.onExecutePostLogin = async (event, api) => {
  const namespace = 'https://myapp.example.com/';

  api.idToken.setCustomClaim(
    `${namespace}/favorite_color`,
    event.user.user_metadata.favorite_color
  );

  api.idToken.setCustomClaim(
    `${namespace}/preferred_contact`,
    event.user.user_metadata.preferred_contact
  );
};
While the Rule assigns the values directly to the context.idToken object, in the Action you have to use the api.idToken.setCustomClaim() method. Notice how the invocation of callback() disappears in the Action.
Updating metadata
You can manage users' and applications' metadata using Rules. The following example shows how to store the font size preference in the user's metadata:
function myRule(user, context, callback){
  user.user_metadata = user.user_metadata || {};
  user.user_metadata.preferences = user.user_metadata.preferences || {};
  user.user_metadata.preferences.fontSize = 12;

  // persist the user_metadata update
  auth0.users.updateUserMetadata(user.user_id, user.user_metadata)
    .then(function(){
      callback(null, user, context);
    })
    .catch(function(err){
      callback(err);
    });
}
The corresponding Action's code looks like the following:
exports.onExecutePostLogin = async (event, api) => {
  const userPreferences = event.user.user_metadata.preferences || {};

  userPreferences.fontSize = 12;

  // persist the user_metadata update
  api.user.setUserMetadata("preferences", userPreferences);
};
While the Rule's code needs to access the auth0.users.updateUserMetadata() method, which returns a promise, the Action's code just assigns the metadata value by using the api.user.setUserMetadata() method. Notice how simplified the Action's code is compared to the Rule's one.
In Rules, each invocation of
auth0.users.updateUserMetadata()makes an HTTP request to the Auth0 Management API. Instead, all the invocations ofapi.user.setUserMetadata()occurring in one or more Actions will result in a single API call at the end of the Actions execution. This contributes to mitigating the risk of rate limit errors.
Redirecting users
When you need to redirect the user to a different page to complete the login process and then resume authentication, your Rule may look as shown below:
function myRule(user, context, callback) {
  if (context.protocol === "redirect-callback") {
    // User was redirected to the /continue endpoint
    user.app_metadata.wasRedirected = true;
    return callback(null, user, context);
  } else if (
    context.protocol === "oauth2-password" ||
    context.protocol === "oauth2-refresh-token" ||
    context.protocol === "oauth2-resource-owner"
  ) {
    // User cannot be redirected
    return callback(null, user, context);
  }

  // User is logging in directly
  if (!user.app_metadata.wasRedirected) {
    context.redirect = {
        url: "https://example.com",
    };
    callback(null, user, context);
  }
}
This Rule and any other previous Rule will run twice: before the redirection and on the response. Typically, you need to put the logic for handling the redirection and the response in the same Rule. Also, you need to manually check if the current protocol is eligible for a user redirect.
The conversion of this Rule into an Action becomes as follows:
exports.onExecutePostLogin = async (event, api) => {
    if (!event.user.app_metadata.wasRedirected && api.redirect.canRedirect()) {
        api.redirect.sendUserTo("https://example.com");
    }
};

exports.onContinuePostLogin = async (event, api) => {
    api.user.setAppMetadata("wasRedirected", true);
};
You have different functions handling the redirection (onExecutePostLogin()) and the response (onContinuePostLogin()). Also, the burden to check if the current protocol is eligible for a user redirect is assigned to the api.redirect.canRedirect() method. Also, notice that Actions use the api.redirect.sendUserTo() method to redirect users instead of the context.redirect object.
To learn more about user redirect with Actions, check out the documentation.
Plan Your Migration Strategy
At this point, you should have a clearer understanding of the main differences between the code used in Rules and Actions. However, knowing how to translate a Rule into an Action is not the only thing you should care about. You also need to plan a strategy to migrate your code from Rules to Actions in order to avoid issues in the production environment.
Check out the documentation for guidelines to define your Rules to Actions migration strategy.
Summary
This article gave you the foundations to set up your migration process from Auth0 Rules to Actions. You learned the main reasons to migrate and the basic differences between coding for Rules and coding for Actions.
A few conversion examples showed you how Actions generally simplify the code. You can find more conversion examples and additional information in the Auth0 Rules to Actions migration guide.