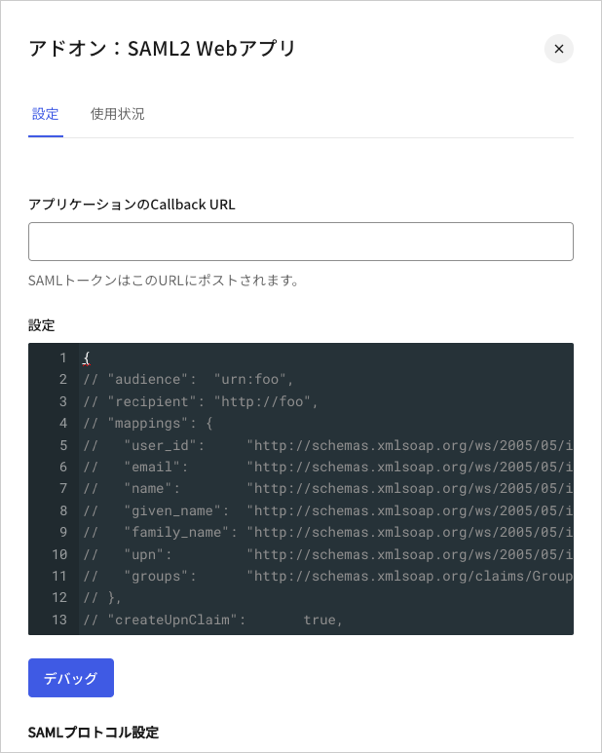
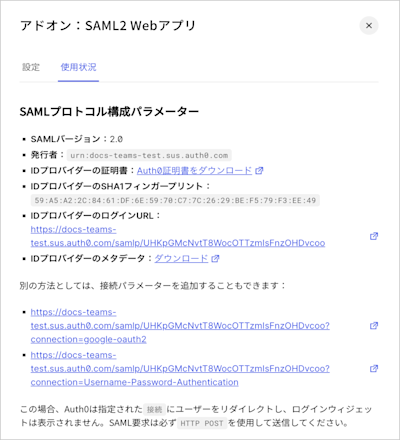
- [Dashboard]>[Applications(アプリケーション)]>[Applications(アプリケーション)]の順に移動し、新しいアプリケーションを作成するか、更新するアプリケーションの名前をクリックします。
- [Addons(アドオン)] タブに移動し、 [SAML2 Web App(SAML2 Webアプリ)] トグルを有効にします。
-
[Settings(設定)] タブで、 [Application CallbackURL(アプリケーションのコールバックURL)] を
https://{FDドメイン}.freshdesk.com/login/samlに設定します。
- 確認は、 [Freshworks Dashboard] > [Security(セキュリティ)] > [SAML SSO] > [Assertion Consumer Service(ACS) URL(アサーションカスタマーサービスURL)] で行えます。
- オーディエンスは、 [Freshworks Dashboard] > [Security(セキュリティ)] > [SAML SSO] > [Service Provider(SP) Entity ID(サービスプロバイダーエンティティID)] URL で確認できます。
-
以下のコードを [Settings(設定)] テキストボックスに貼り付け、 [Debug(デバッグ)] をクリックします。
- ページの最後までスクロールし、 [Enable(有効)] をクリックします。
-
[Usage(使用状況)] タブで [Identity Provider Metadata(IDプロバイダーのメタデータ)] を見つけ、 [Download(ダウンロード)] をクリックしてメタデータファイルをダウンロードします。これは、Auth0をIDプロバイダーとして構成する際に必要になります。

FreshdeskをSAMLサービスプロバイダーとして構成する
Freshdesk用のSAML2 Webアプリアドオンを使用して、Auth0をIDプロバイダーとして構成する方法を説明します。
以下のFreshdesk用構成を使用します。

