
TL;DR: On Tuesday, October 25 2016, a small JavaScript framework, Next.js was released to the public. It's a minimal framework for building server-rendered universal JavaScript web apps. Within a few months of its existence, it gathered a lot of attention from the JavaScript community. The React community was set ablaze with joy for finally having a tool that can help build server-side rendering apps without hassle and in-depth technical know-how. In fact, we covered how to build a universal JavaScript web app with it. In this article, I'll highlight the notable additions to Next.js's new release, Next.js 3.0.
Primer: What is a Universal JavaScript Application?
First, I'll provide a little context for the individuals that find Universal JavaScript to be a new term.
The term Universal simply means the ability to run the same code on the server, browsers, mobile devices and any other platform. Universal Javascript is a term people are leaning towards these days. A lot of developers also call it Isomorphic JavaScript. In short, there is a debate on the React repo about this term. Michael Jackson, a popular ReactJS developer, wrote a blog post on Universal JavaScript. It's indeed true that naming things is one of the most difficult aspects of Computer Science.
What's new in Next.js 3.0 ?
1. Dynamic Import Support
Next.js now ships with Dynamic Import. The import function in all its glory allows a codebase to be split into a set of chunks that can be dynamically loaded later.
In Next.js, you can now use dynamic import as seen below:
const lodash = import('lodash');
...
button.addEventListener('click', event => {
    import('./dialogBox.js')
    .then(dialogBox => {
        dialogBox.open();
    })
    .catch(error => {
        /* Error handling */
    })
});
This helps to load functionality on demand. Next.js supports server side rendering for dynamic imports which makes it incredibly awesome for you to avoid displaying the clients blank pages, flickering, or loading spinners.
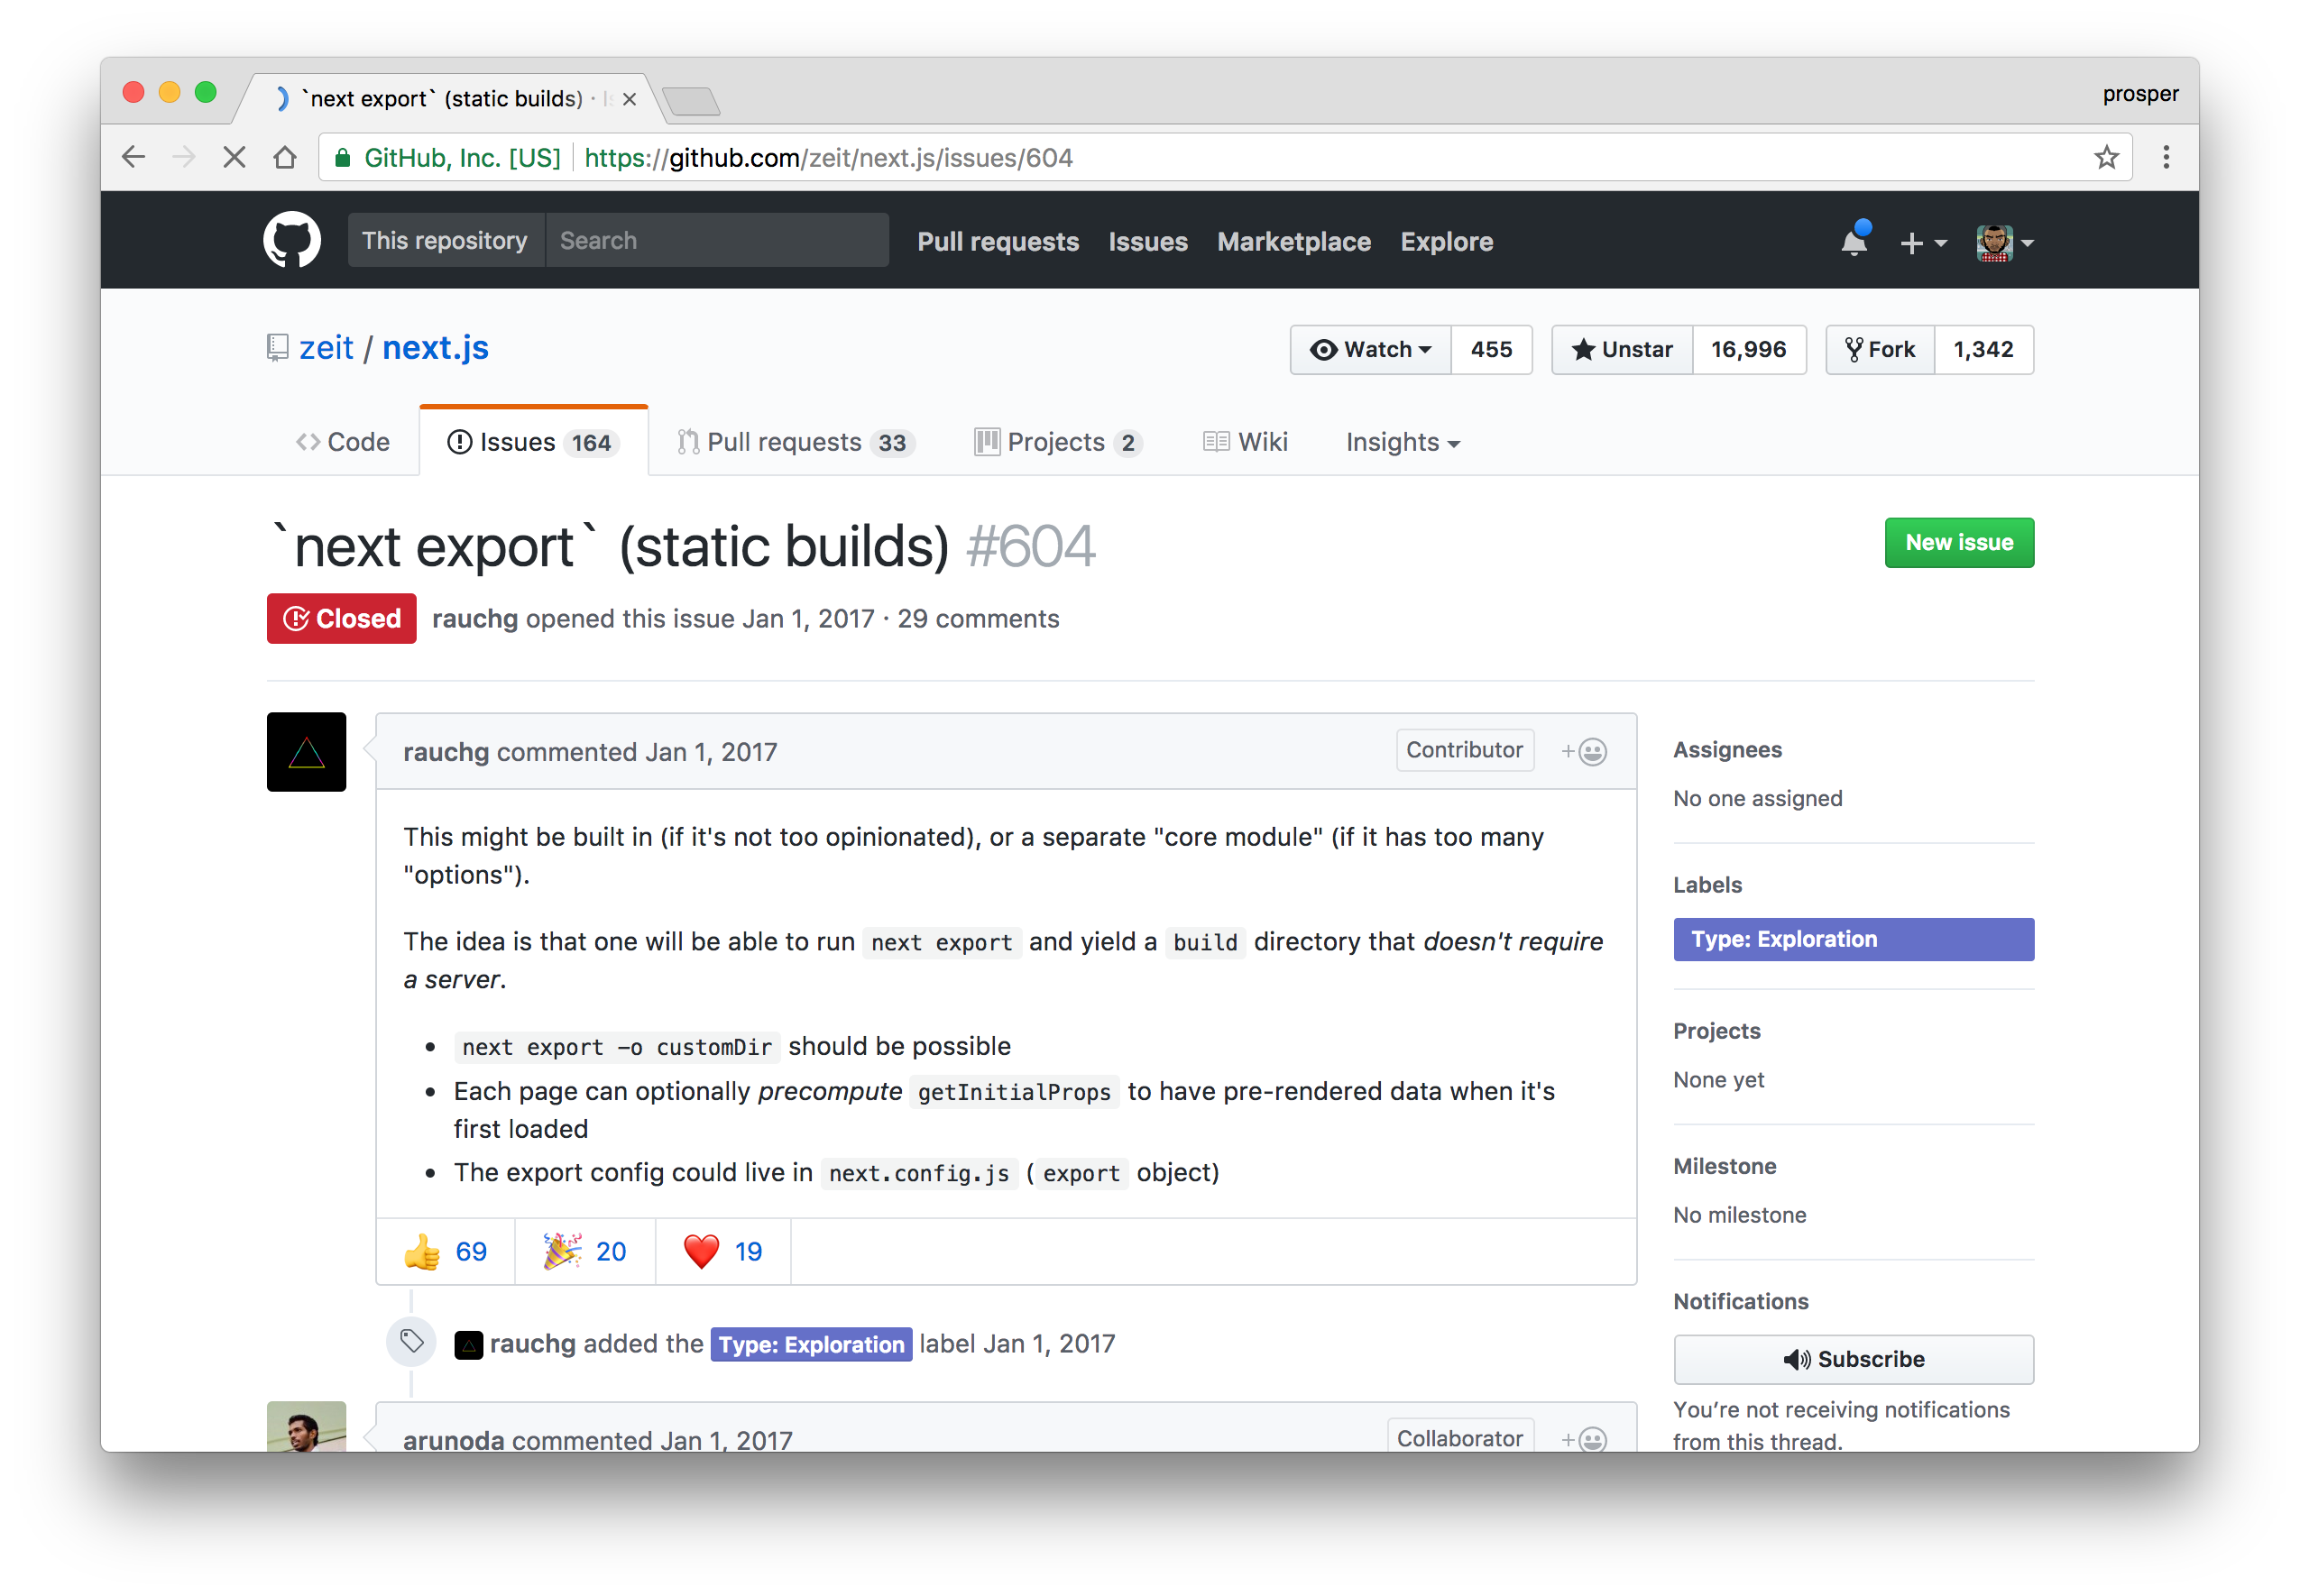
2. Static Export Support
Next.js now allows you to generate a truly static site by exporting your project to an out directory with .html and .css files. The good thing about this feature is that it was community-driven.
You need to do the following:
Create a custom next.config.js file like so:
  exports.exportPathMap = () => ({
    "/": { page: "/" },
    "/about": { page: "/about" }
  });
Now run the command like so:
next build && next export
Note: It's advisable you configure the command in your package.json file like so:
"scripts": {
    "export": "next build && next export",
}
So you can just run npm run export and it will build your Next.js app as a static website. This simply means you don't need any server to deploy it. Whoop! Whoop!
Change directory into the new out directory and deploy your app to a cloud platform, e.g [now](https://vercel.com/home).
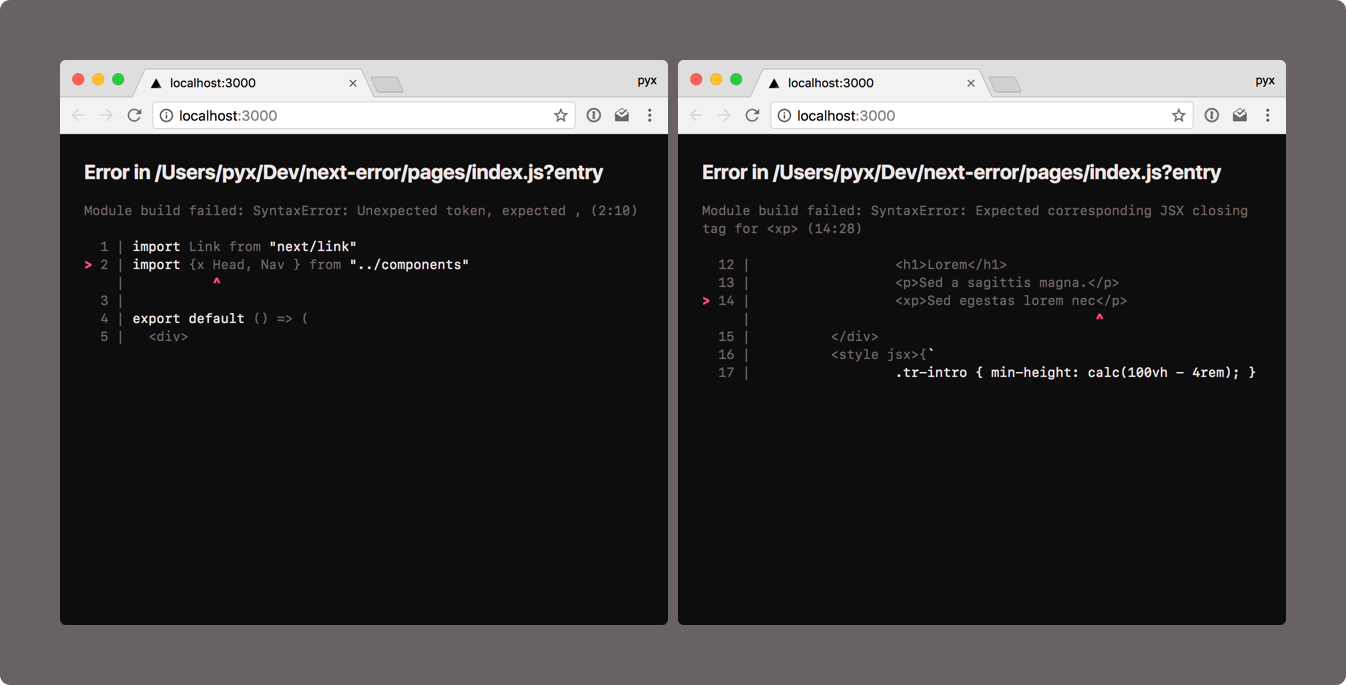
3. Better Error Handling
The error color theme has been updated to be more accessible and easier on the eyes.
4. Improved Startup Time
Startup time for a Next.js app is now 5 times faster. The bootup time for a typical Next.js 3 app was cut down from 1000ms to about 200ms.
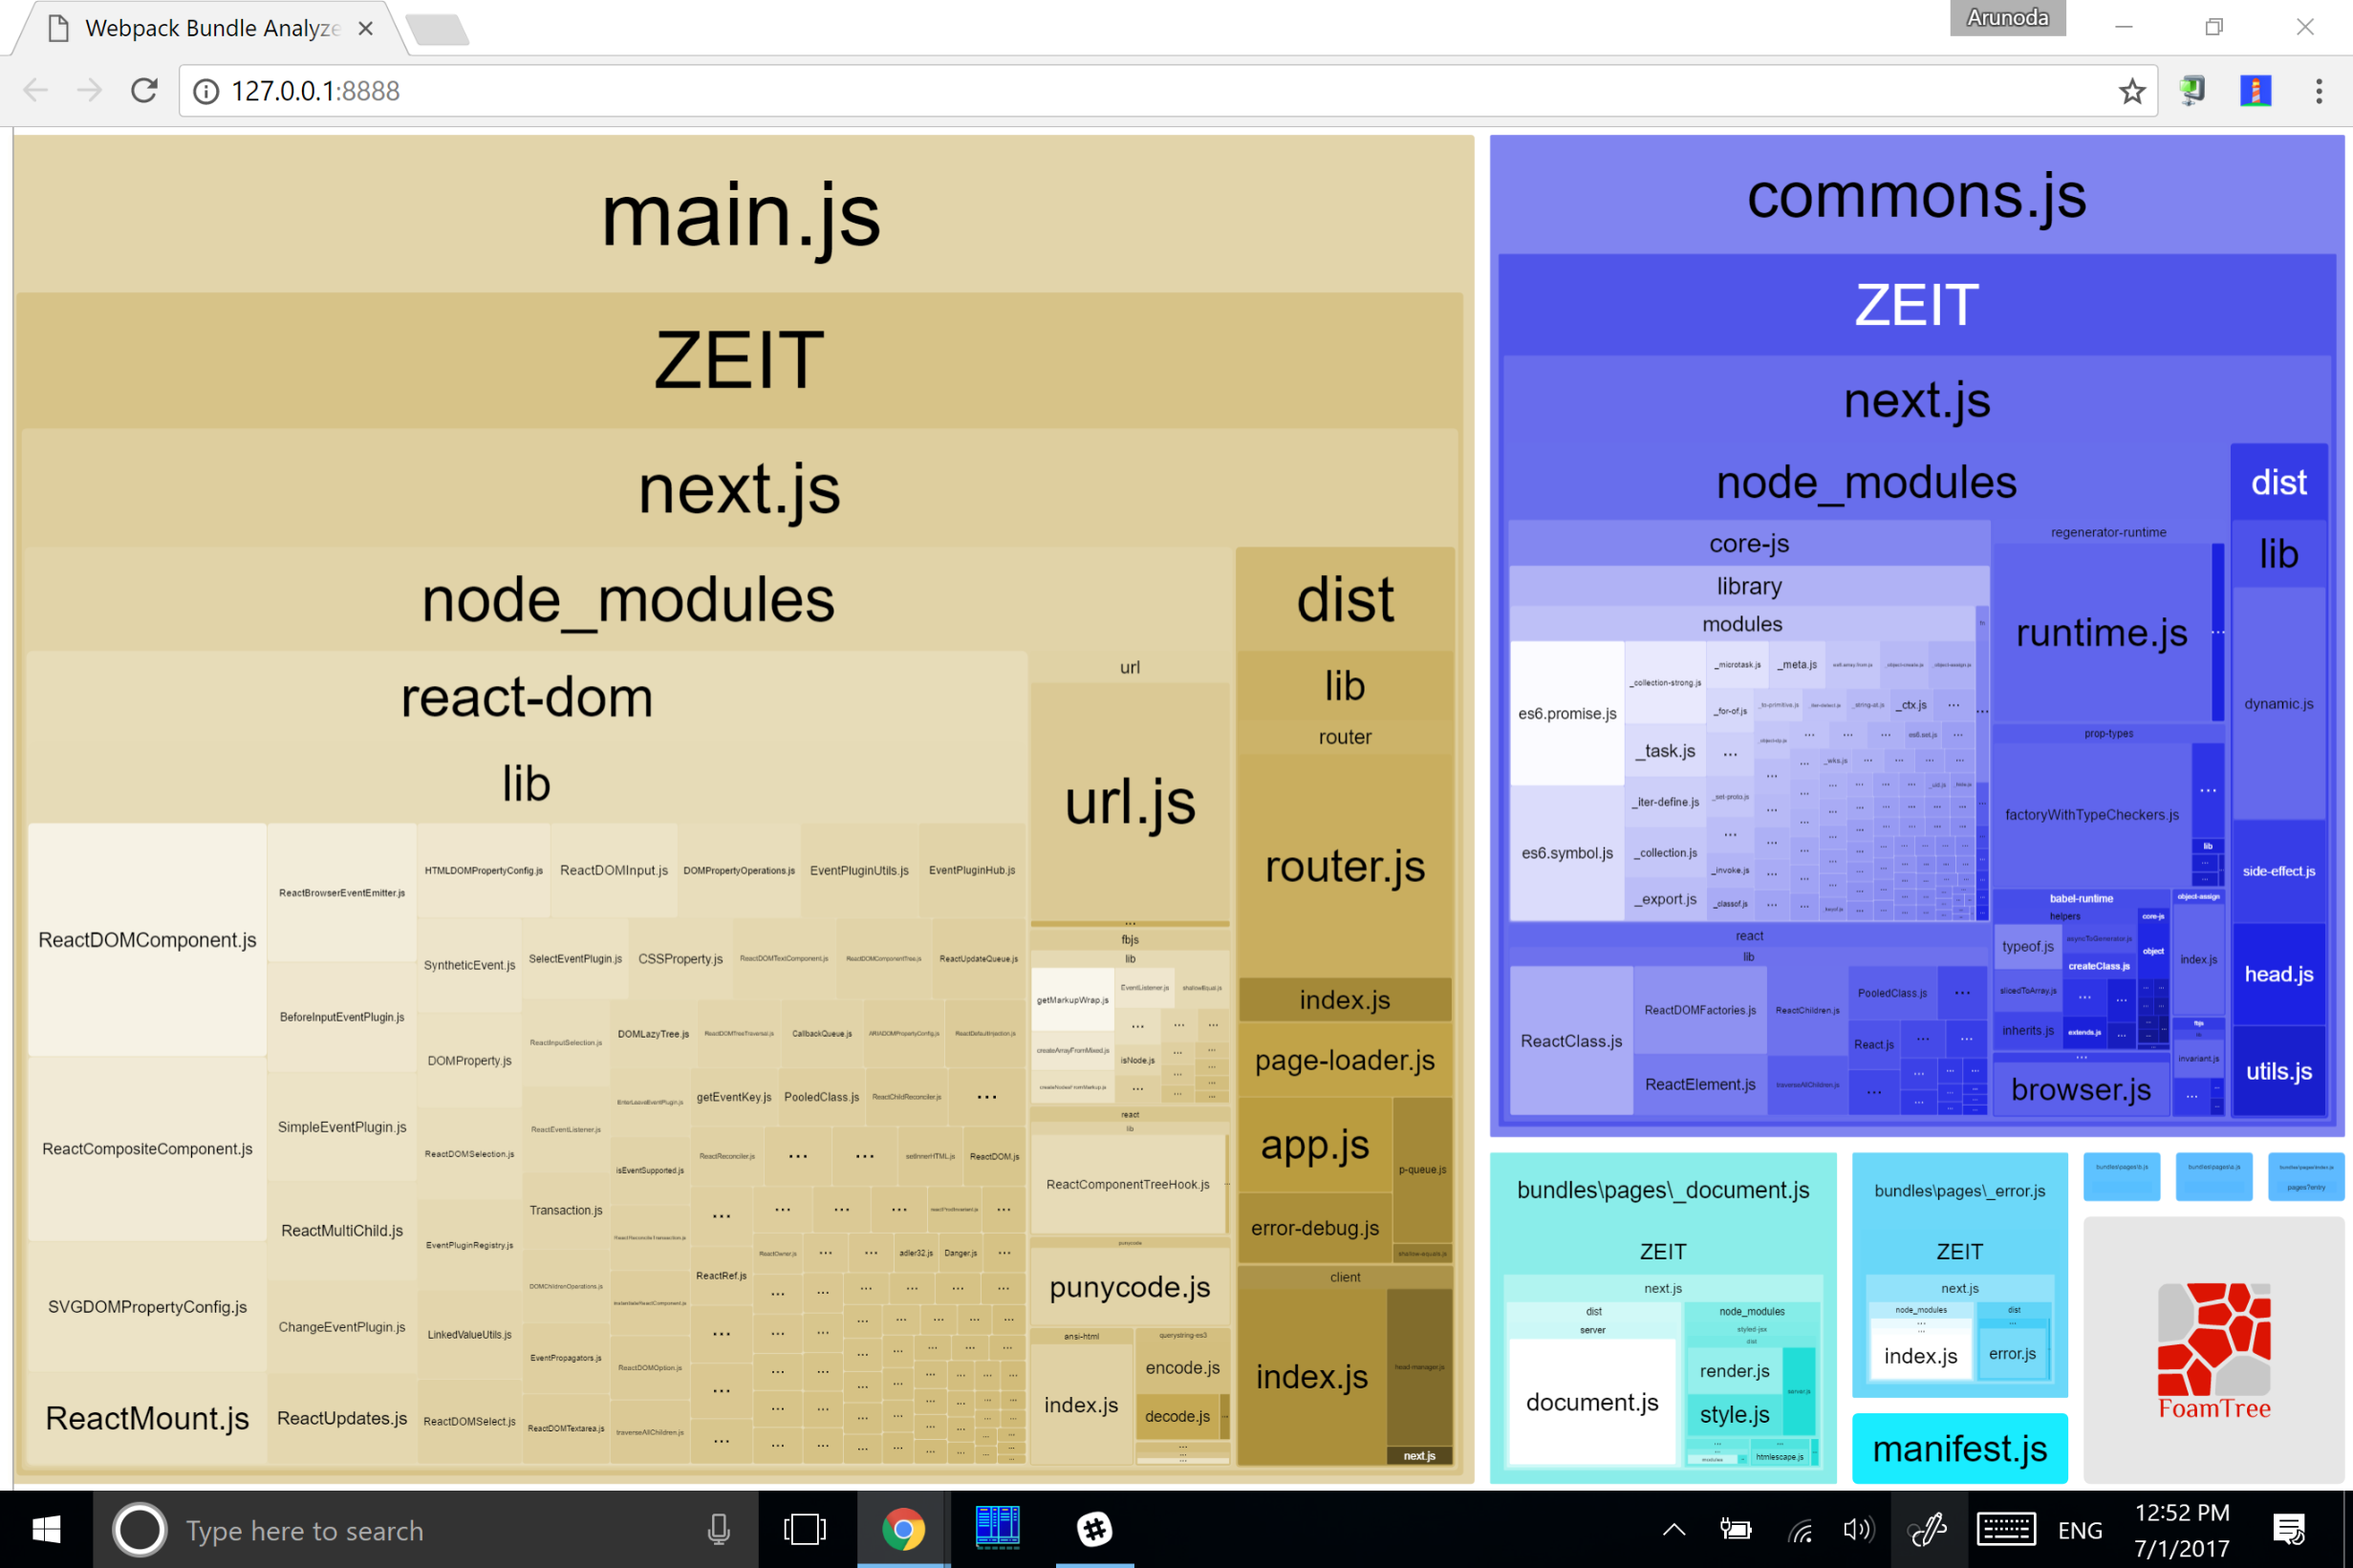
5. Optimized Bundle
The bundle size of Next.js core is now smaller. In fact, here is the webpack bundle analyzer output after optimization:
6. Improved Hot Module Replacement
Before now, there were some bugs with HMR, (hot module replacement), One of which was the ERR_INCOMPLETE_CHUNK_ENCODING error that shows up when using Node.js 8.0. That issue has been solved. Yaay!
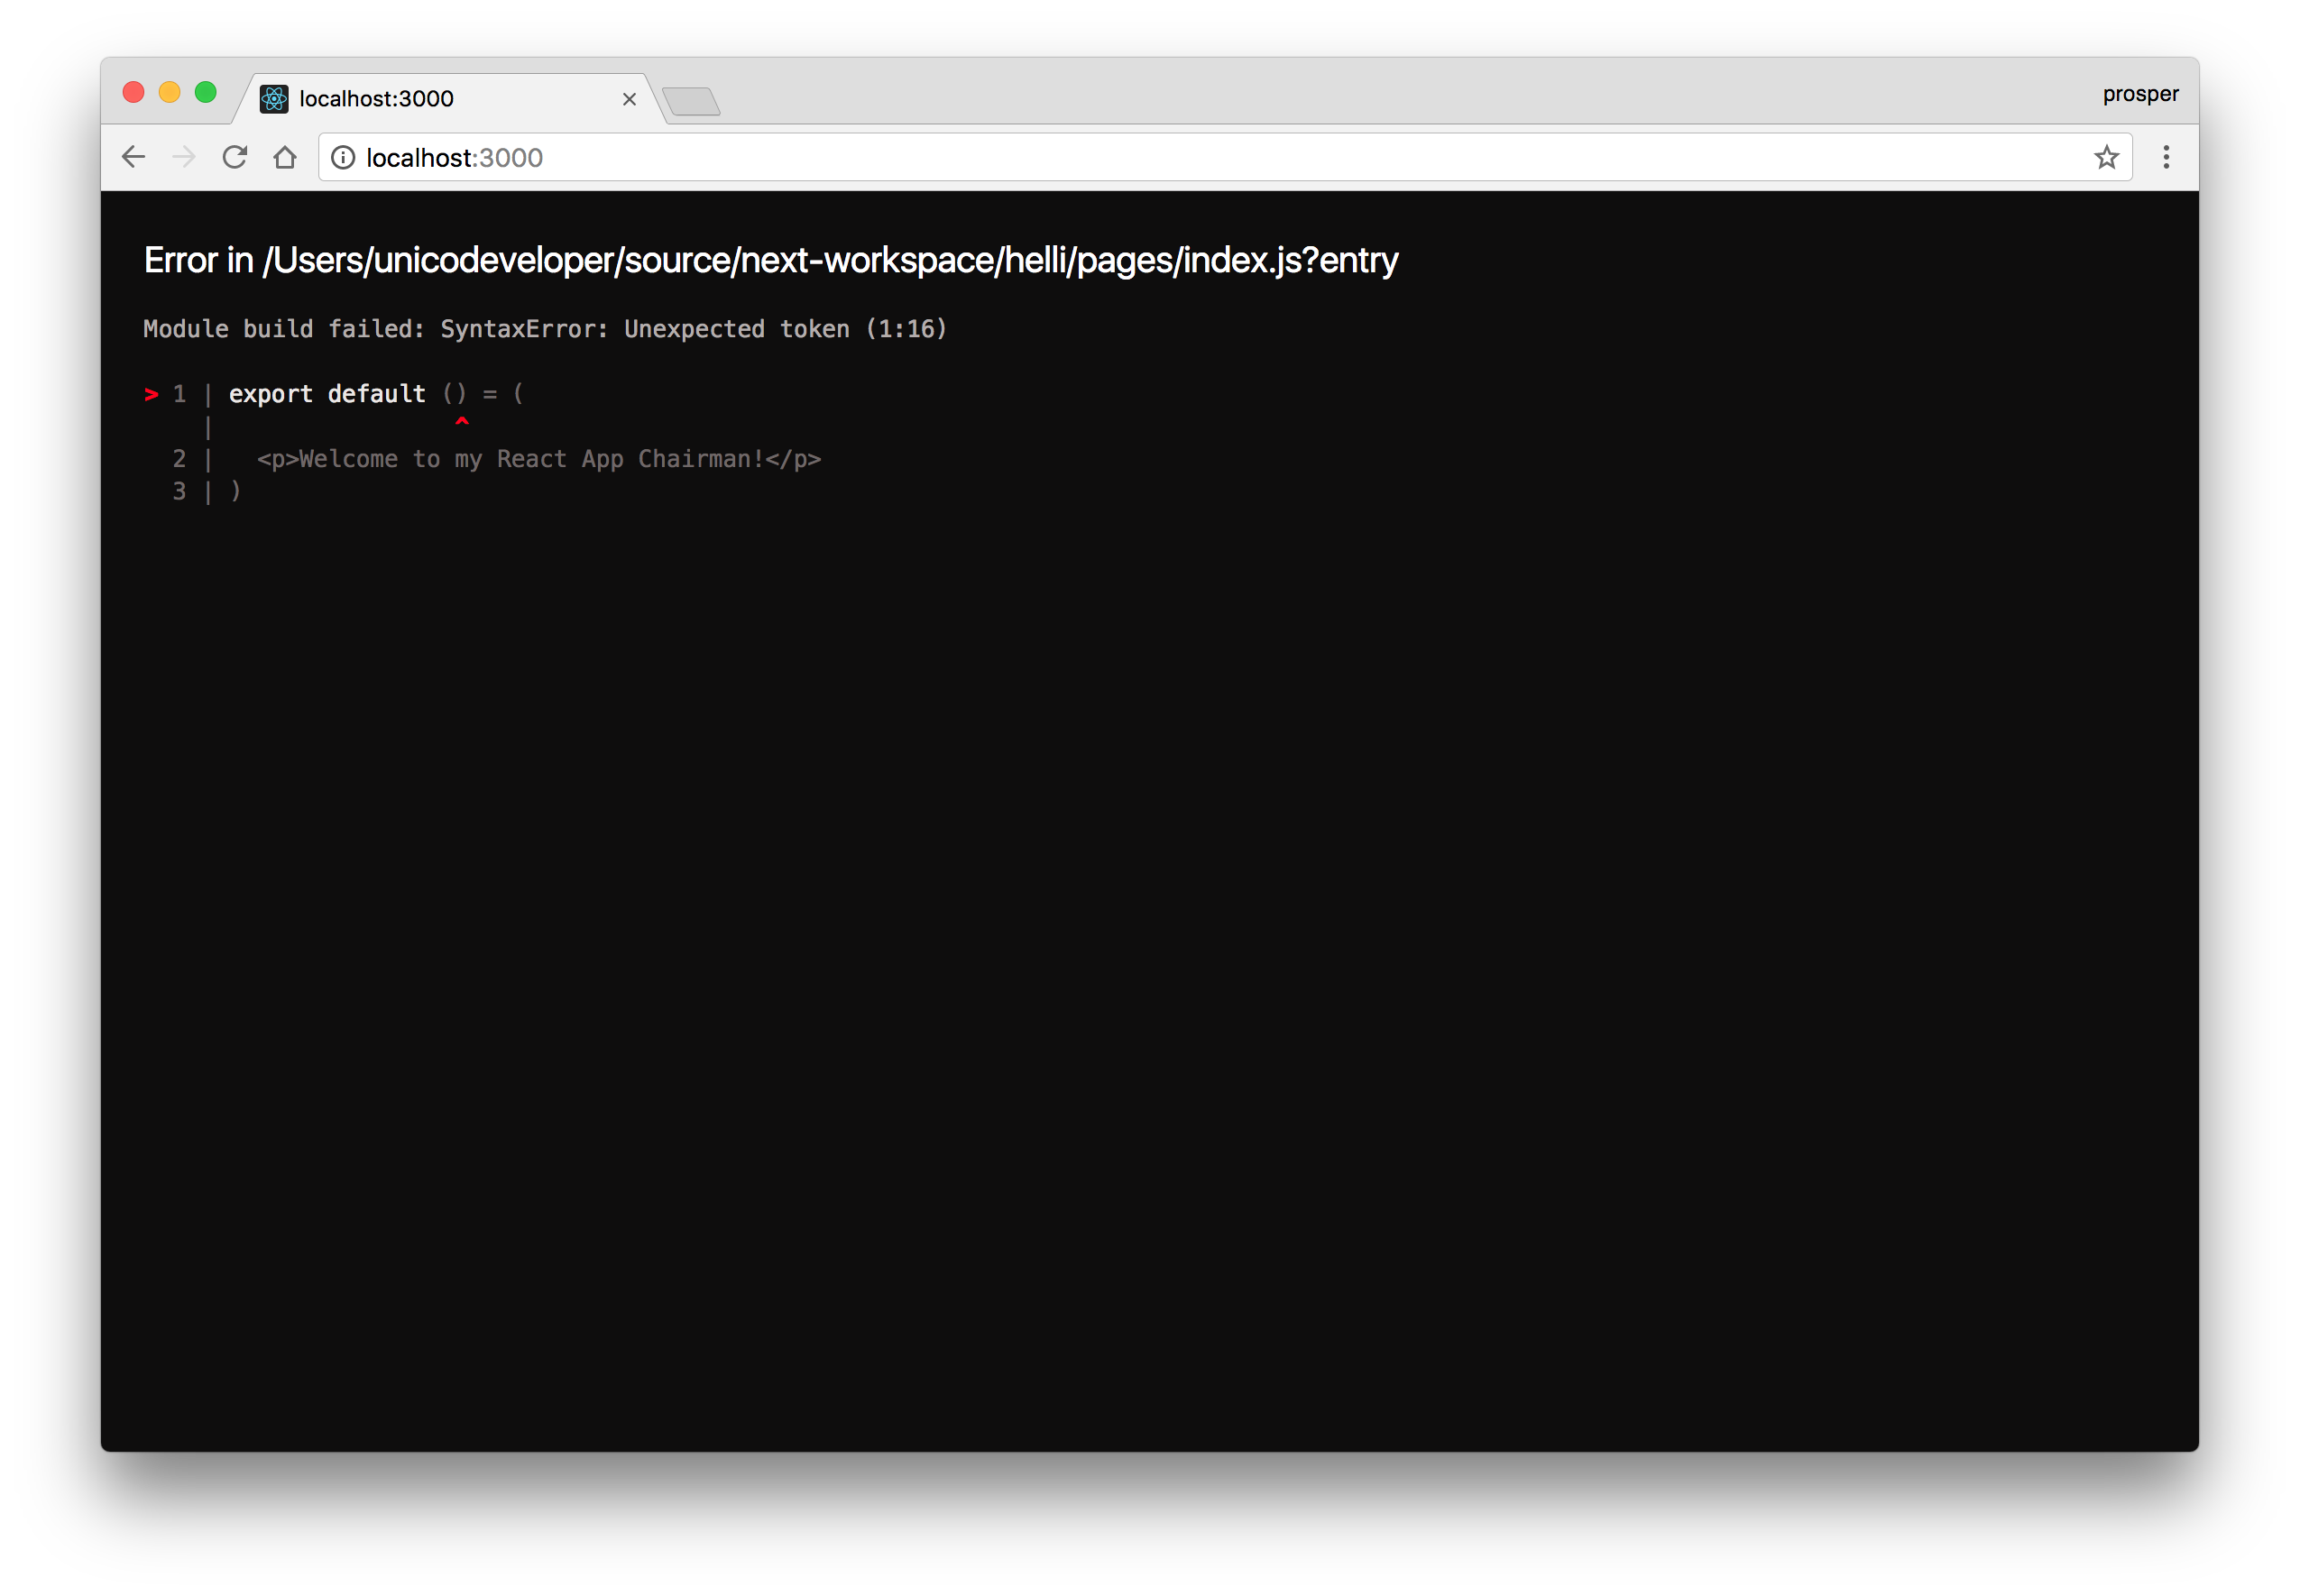
Furthermore, if you return a wrong type, Next.js shows you the right error message and also recovers smoothly from it once the right type is returned.
One more thing: undefined is not a function is now obsolete. Next.js now correctly identifies any type of runtime error thrown and catches it effectively. A typical example of this scenario can be seen below:
7. Dynamic React Components
Next.js now ships with a powerful opt-in utility called next/dynamic which helps you to create dynamically loaded React Components easily.
Before now, code splitting was route based. In Next.js 3, you will be able to load code as a function of the data that the user gets.
import dynamic from 'next/dynamic'
const DialogComponent = dynamic(import('../components/DialogBox'))

export default () => (
  <div>
    <Header />
    <DialogComponent />
    <p>Weclome to the landing Page</p>
  </div>
)
Note: If the dynamic component is loaded in the initial rendering, server-rendering also works. Awesome!
Aside: Authenticating a Next.js 3.0 App with Auth0
Auth0 issues JSON Web Tokens on every login for your users. This means that you can have a solid identity infrastructure, including single sign-on, user management, support for social identity providers (Facebook, Github, Twitter, etc.), enterprise identity providers (Active Directory, LDAP, SAML, etc.) and your own database of users with just a few lines of code.
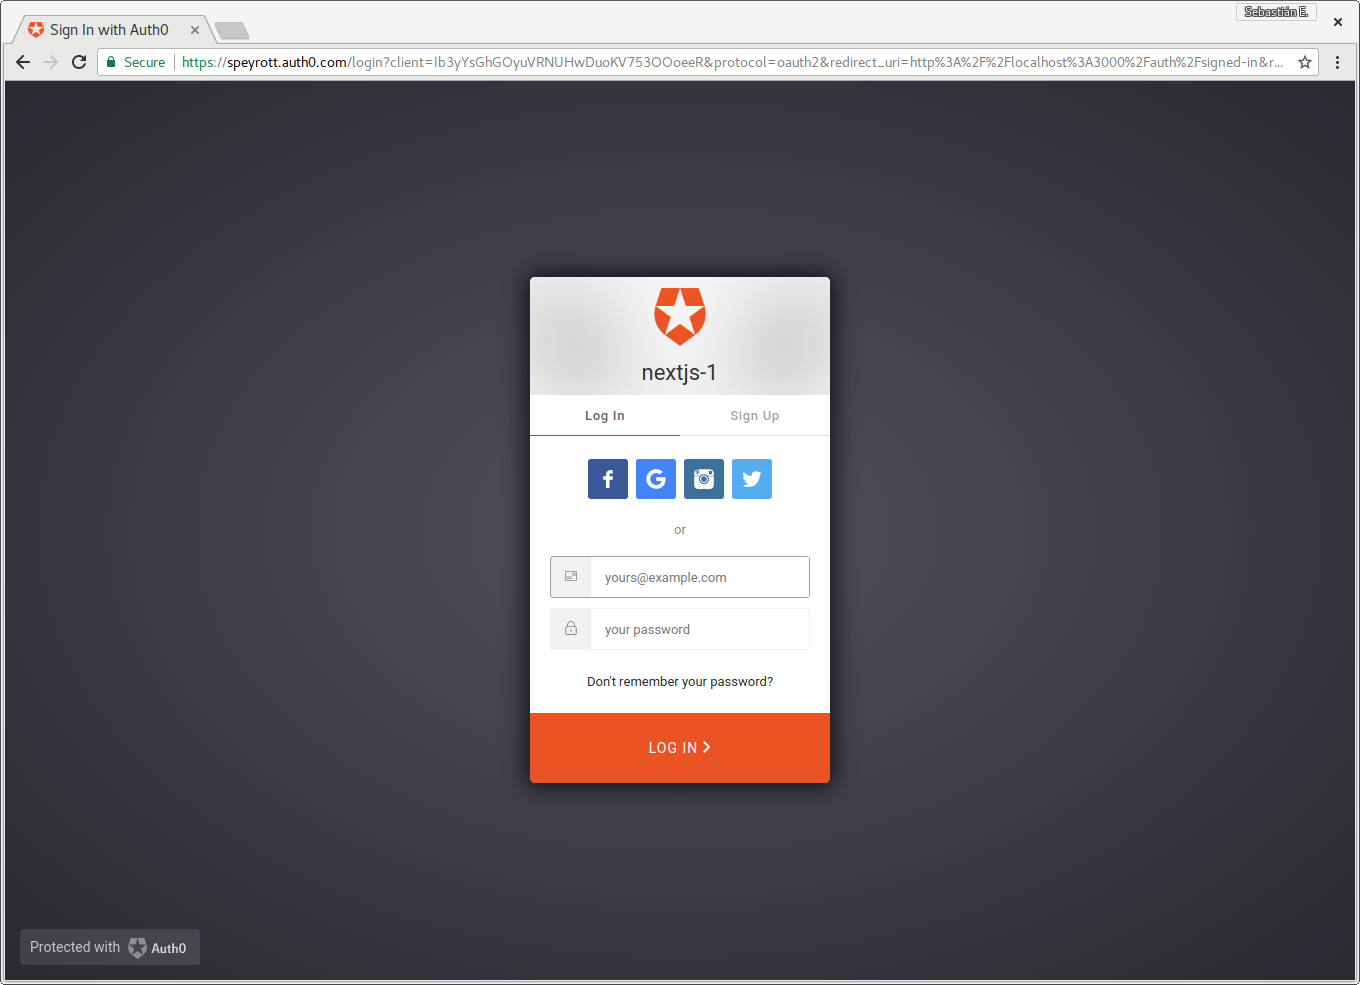
We can easily set up authentication in a Next.js 3.0 apps by using the Auth0.js library. If you don't already have an Auth0 account, sign up for one now. Navigate to the Auth0 management dashboard, click on New client by the right hand side, select Regular Web App from the dialog box and then go ahead to the Settings tab where the client ID, client Secret and Domain can be retreived.
Auth0 offers a generous free tier to get started with modern authentication.
Note: Make sure you set the Allowed Callback URLs to http://localhost:3000/auth/signed-in or whatever url/port you are running on. Furthermore; set the Allowed Logout URLs to http://localhost:3000/.
Authentication in a Next.js app could be a little complicated because you have to ensure that the server-rendered pages are authenticated, meaning they need to have access to the token.
Check out the complete app on Github.
Note: Don't forget to rename the config.sample.json file to config.json and add your credentials.
utils/auth.js
import jwtDecode from 'jwt-decode'
import Cookie from 'js-cookie'

const getQueryParams = () => {
  const params = {}
  window.location.href.replace(/([^(?|#)=&]+)(=([^&]*))?/g, ($0, $1, $2, $3) => {
    params[$1] = $3
  })
  return params
}

export const setToken = (idToken, accessToken) => {
  if (!process.browser) {
    return
  }
  Cookie.set('user', jwtDecode(idToken))
  Cookie.set('idToken', idToken)
  Cookie.set('accessToken', accessToken)
}

export const unsetToken = () => {
  if (!process.browser) {
    return
  }
  Cookie.remove('idToken')
  Cookie.remove('accessToken')
  Cookie.remove('user')

  // to support logging out from all windows
  window.localStorage.setItem('logout', Date.now())
}

export const getUserFromServerCookie = (req) => {
  if (!req.headers.cookie) {
    return undefined
  }
  const jwtCookie = req.headers.cookie.split(';').find(c => c.trim().startsWith('idToken='))
  if (!jwtCookie) {
    return undefined
  }
  const jwt = jwtCookie.split('=')[1]
  return jwtDecode(jwt)
}

export const getUserFromLocalCookie = () => {
  return Cookie.getJSON('user')
}
utils/auth0.js
const getAuth0 = (options) => {
  const config = require('../config.json')
  const auth0 = require('auth0-js');
  return new auth0.WebAuth({
    clientID: config.AUTH0_CLIENT_ID,
    domain: config.AUTH0_CLIENT_DOMAIN,
  });
}

const getBaseUrl = () => `${window.location.protocol}//${window.location.host}`

const getOptions = (container) => {
  return {
    responseType: 'token id_token',
    redirectUri: `${getBaseUrl()}/auth/signed-in`,
    scope: 'openid profile email'
  }
}

export const authorize = () => getAuth0().authorize(getOptions())
export const logout = () => getAuth0().logout({ returnTo: getBaseUrl() })
export const parseHash = (callback) => getAuth0().parseHash(callback)
pages/auth/sign-in.js
import React from 'react'

import defaultPage from '../../hocs/defaultPage'
import { authorize } from '../../utils/auth0'

class SignIn extends React.Component {
  componentDidMount () {
    authorize()
  }
  render () {
    return null
  }
}

export default defaultPage(SignIn)
Display the login page once the sign-in component gets mounted.
pages/auth/signed-in.js
import React, { PropTypes } from 'react'
import Router from 'next/router'

import { setToken } from '../../utils/auth'
import { parseHash } from '../../utils/auth0'

export default class SignedIn extends React.Component {
  static propTypes = {
    url: PropTypes.object.isRequired
  }

  componentDidMount () {
    parseHash((err, result) => {
      if(err) {
        console.error('Something happened with the Sign In request')
        return;
      }

      setToken(result.idToken, result.accessToken);
      Router.push('/')
    })
  }
  render () {
    return null
  }
}
Grab the token and ID token from Auth0 as it returns to the callback which is the signed-in page, save it and redirect to the index page.
pages/index.js
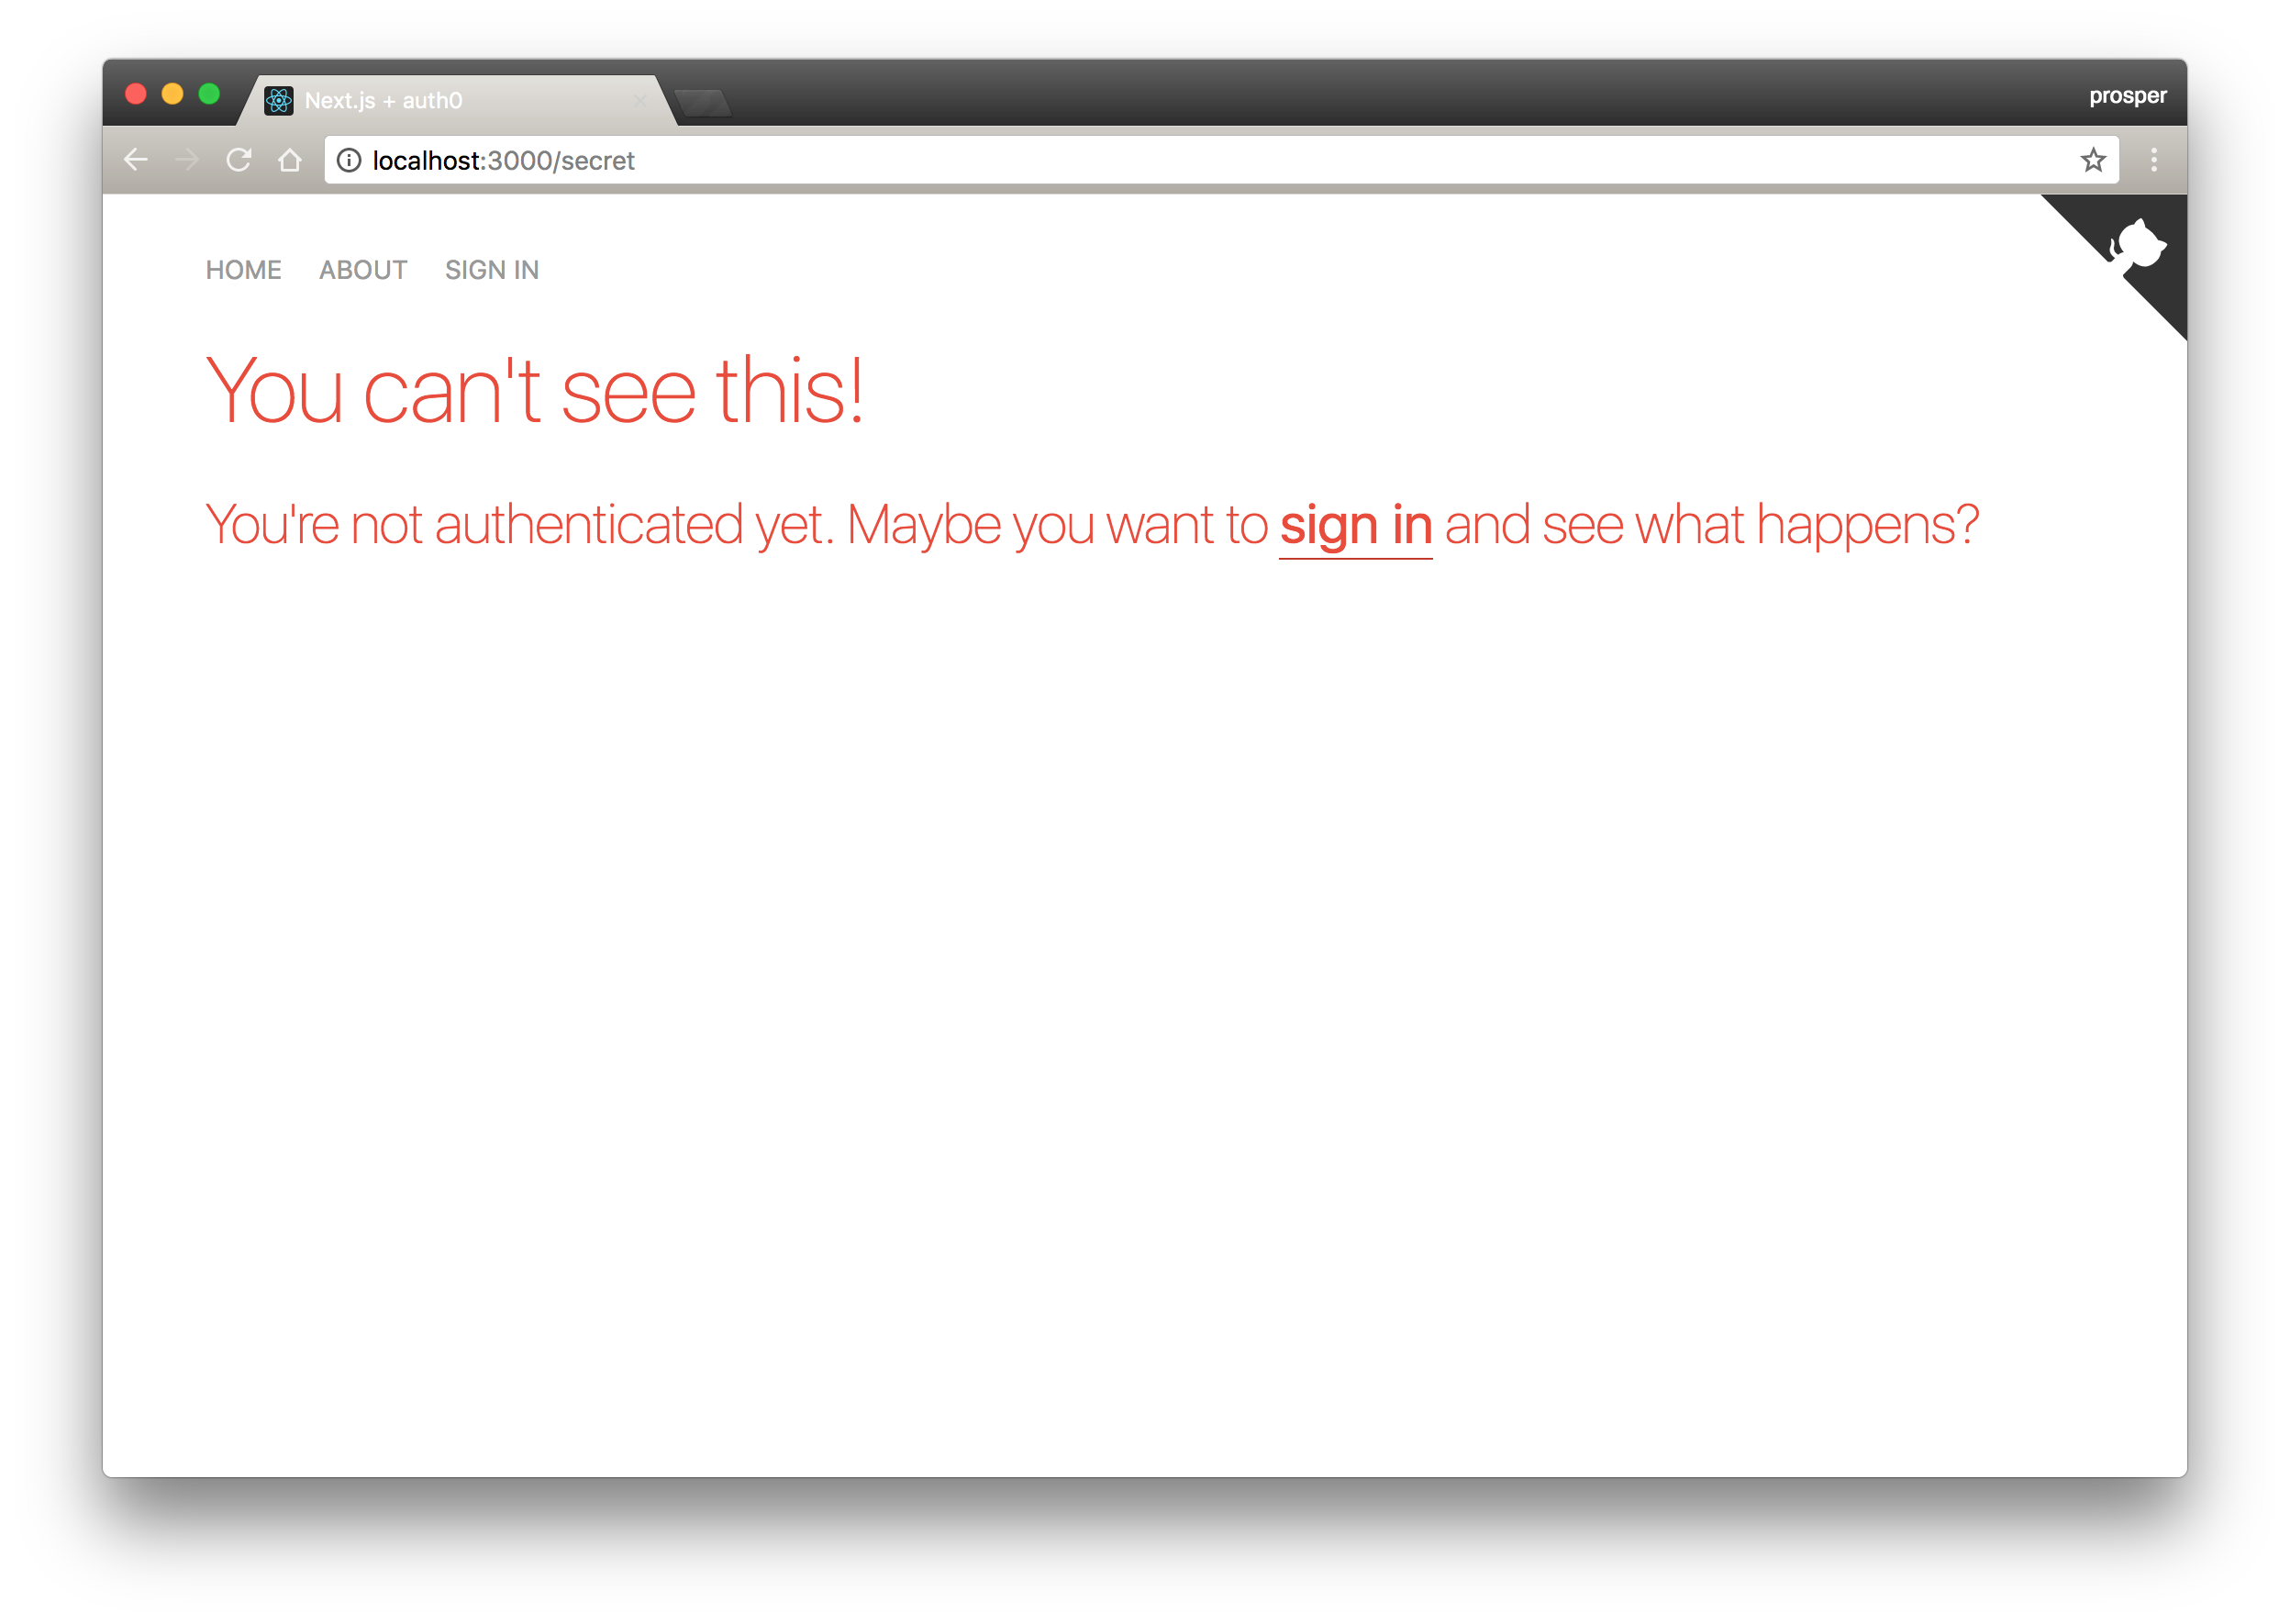
import React, { PropTypes } from 'react'
import Link from 'next/link'

import defaultPage from '../hocs/defaultPage'

const SuperSecretDiv = () => (
  <div>
    This is a super secret div.
    <style jsx>{`
      div {
        background-color: #ecf0f1;
        box-shadow: 0 1px 3px rgba(0,0,0,0.12), 0 1px 2px rgba(0,0,0,0.24);
        border-radius: 2px;
        padding: 10px;
        min-height: 100px;
        display: flex;
        align-items: center;
        justify-content: center;
        color: #333;
        text-align: center;
        font-size: 40px;
        font-weight: 100;
        margin-bottom: 30px;
      }
    `}</style>
  </div>
)

const createLink = (href, text) => (
  <a href={href}>
    {text}
    <style jsx>{`
      a {
        color: #333;
        padding-bottom: 2px;
        border-bottom: 1px solid #ccc;
        text-decoration: none;
        font-weight: 400;
        line-height: 30px;
        transition: border-bottom .2s;
      }

      a:hover {
        border-bottom-color: #333;
      }
    `}</style>
  </a>
)

const Index = ({ isAuthenticated }) => (
  <div>
    {isAuthenticated && <SuperSecretDiv />}
    <div className='main'>
      <h1>Hello, friend!</h1>
      <p>
        This is a super simple example of how to use {createLink('https://github.com/zeit/next.js', 'next.js')} and {createLink('https://auth0.com/', 'Auth0')} together.
      </p>
      {!isAuthenticated && (
        <p>
          You're not authenticated yet. Maybe you want to <Link href='/auth/sign-in'>{createLink('/auth/sign-in', 'sign in')}</Link> and see what happens?
        </p>
      )}
      {isAuthenticated && (
        <p>
          Now that you're authenticated, maybe you should try going to our <Link href='/secret'>{createLink('/secret', 'super secret page')}</Link>!
        </p>
      )}
    </div>
    <style jsx>{`
      .main {
        max-width: 750px;
        margin: 0 auto;
        text-align: center;
      }

      h1 {
        font-size: 40;
        font-weight: 200;
        line-height: 40px;
      }

      p {
        font-size: 20px;
        font-weight: 200;
        line-height: 30px;
      }
    `}</style>
  </div>
)

Index.propTypes = {
  isAuthenticated: PropTypes.bool.isRequired
}

export default defaultPage(Index)
The index page is server-rendered. It checks if the user is authenticated or not and renders content based on the status.
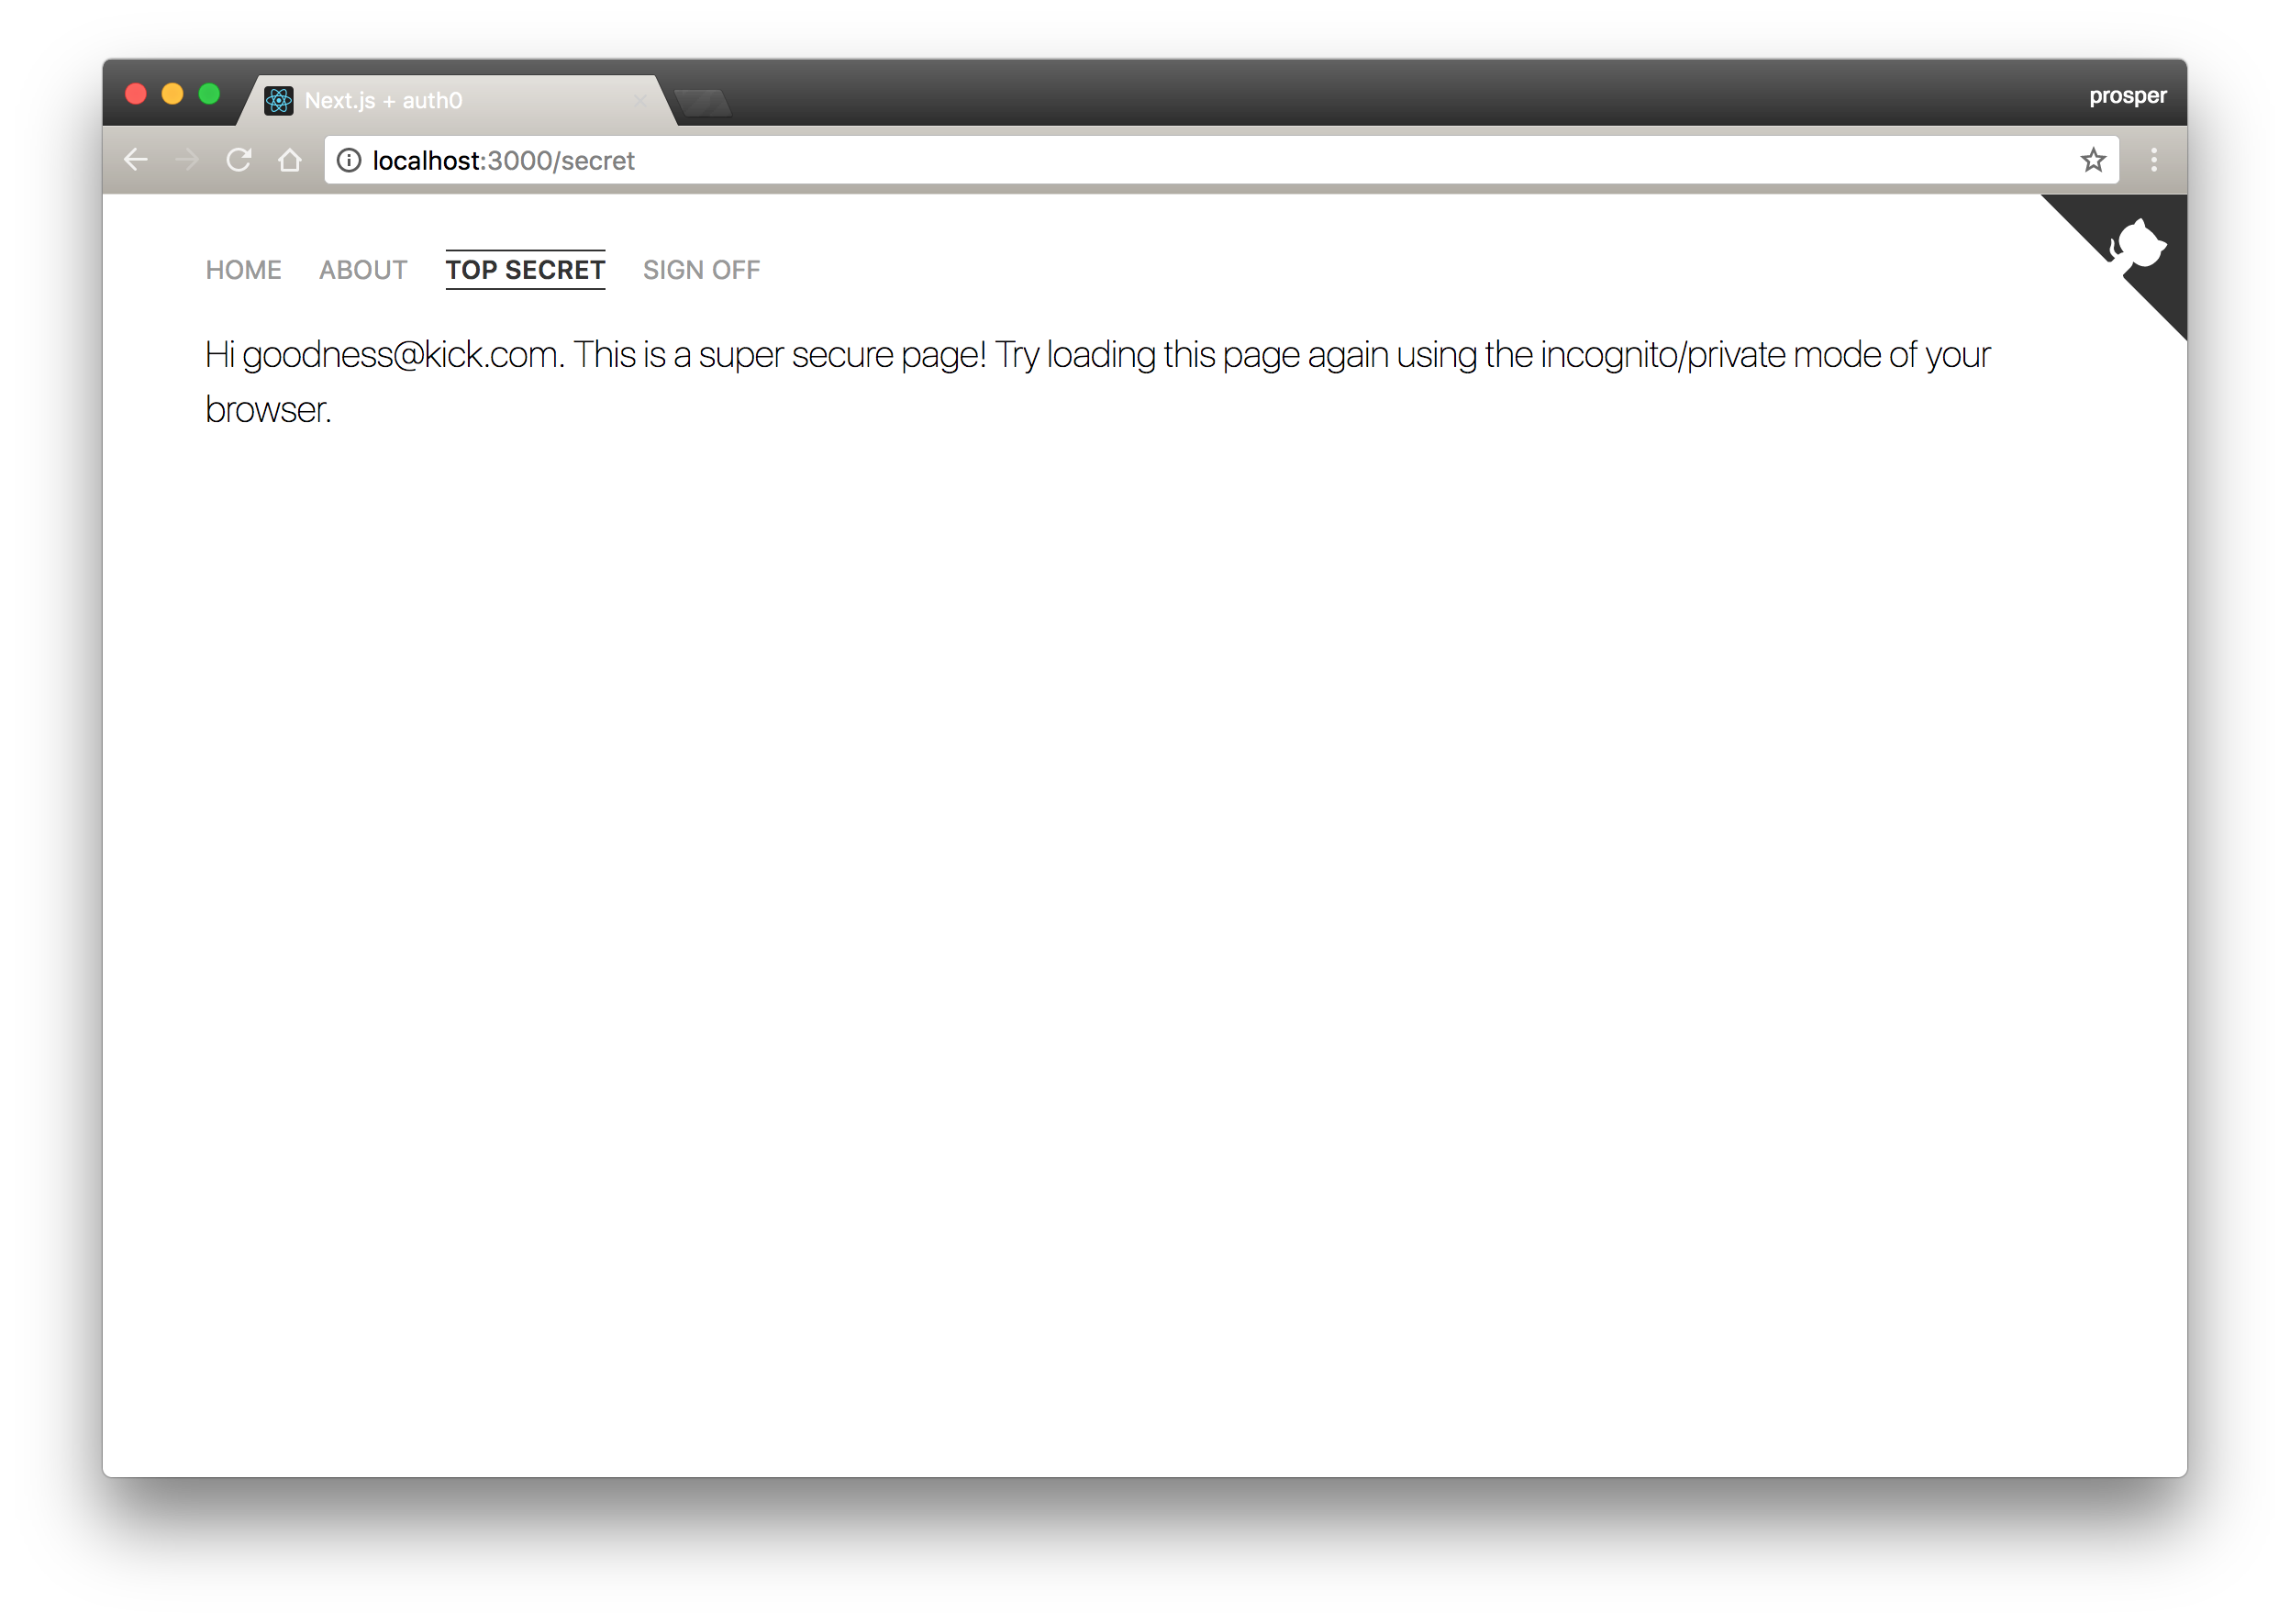
The secret page too checks if the user is logged in and determines content based on the user's status.
Note: This example performs no server side validation of the token sent by the user in its cookies. For production-ready secure pages this is necessary.
Auth0 provides the simplest and easiest to use user interface tools to help administrators manage user identities including password resets, creating and provisioning, blocking and deleting users.
Conclusion
With Next.js 3, the GitHub repo now has over 16,000 stars and we have seen lots of significant improvements and major upgrades from the initial version that was released last year. Kudos to the team behind this project and the JavaScript community for their continuous support. In fact, they already have plans for Next.js 4.
About the author

Prosper Otemuyiwa
Former Auth0 Employee (Auth0 Alumni)