
Razor Pages is one of the programming models to create web applications in ASP.NET Core. Let's see how to add authentication support using the Auth0 ASP.NET Core Authentication SDK.
Razor Pages vs. ASP.NET Core MVC
When it comes to building web applications with ASP.NET, you find yourself having to choose between several programming models. Putting aside Single Page Applications (SPA) and focusing only on the most recent versions of .NET, you have two programming models to create traditional web applications: ASP.NET Core MVC and Razor Pages. Which programming model should you choose for your web application?
The ASP.NET Core MVC model is more popular than the Razor Pages model, maybe because ASP.NET Core MVC has a longer tradition that started in 2009 with ASP.NET MVC. Actually, this doesn't mean that this programming model is better than the Razor Pages model.
Both programming models rely on the same template engine, Razor. However, ASP.NET Core MVC promotes the Model-View-Controller (MVC) design pattern, while Razor Pages applications propose a lighter and more page-focused approach. So, when you have to choose what programming model to use for your web application, you should carefully evaluate where your application's behavior fits into. As Microsoft documentation states, "if your ASP.NET MVC app makes heavy use of views, you may want to consider migrating from actions and views to Razor Pages".
That said, if you have experience in using both programming models, you may note that the border between the two models is not so neat. Since both models share the same template engine, you may find ASP.NET Core MVC applications that use Razor Pages when a simple page is needed. On the other side, you may find Razor Pages applications that use controllers for functionalities where they make sense.
Mixing the two models lets you take the best of both to build efficient web applications.
To learn more about Razor Pages, check out the official documentation. This article will focus on securing a Razor Pages application with Auth0. Check out this article if you are looking to add authentication to an ASP.NET Core MVC application.
The Sample Application
This article will not drive you to build a Razor Pages application from scratch. Instead, you will modify an existing sample project built with C# 10. This means that you need the .NET 6 SDK installed on your machine. To learn more about the new features introduced by .NET 6, check out this article.
While the instructions in this article will drive you to use the .NET CLI to build and run the application, you can use Visual Studio 2022 if you prefer.
Get and run the sample application
You can download the sample application on your machine by running the following command in a terminal window:
git clone -b starter --single-branch https://github.com/auth0-blog/acme-aspnet-razor.git
Once you download it, move to the acme-aspnet-razor folder and type the following command to launch the application:
dotnet watch
This command will run the sample application and wait for possible changes to the code. If you change the application code, it will be automatically rebuilt.
Note that some specific changes to your code, known as rude edits, may require restarting your application. Read this to learn more.
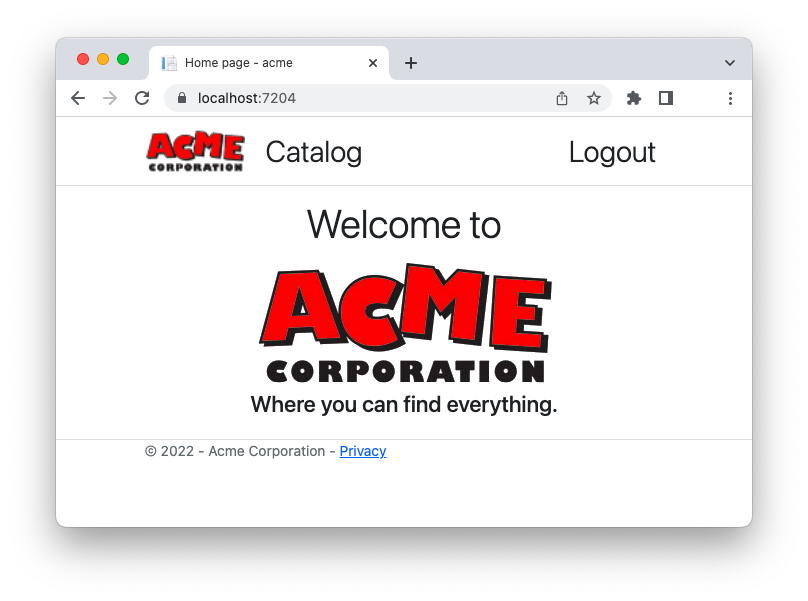
After a few seconds, your application is up and running. Point your browser to https://localhost:7204. You should see the following page:
This is the home page of the fictional company ACME Corporation.
By clicking the Catalog link in the header, you can navigate their catalog, which will look as shown below:
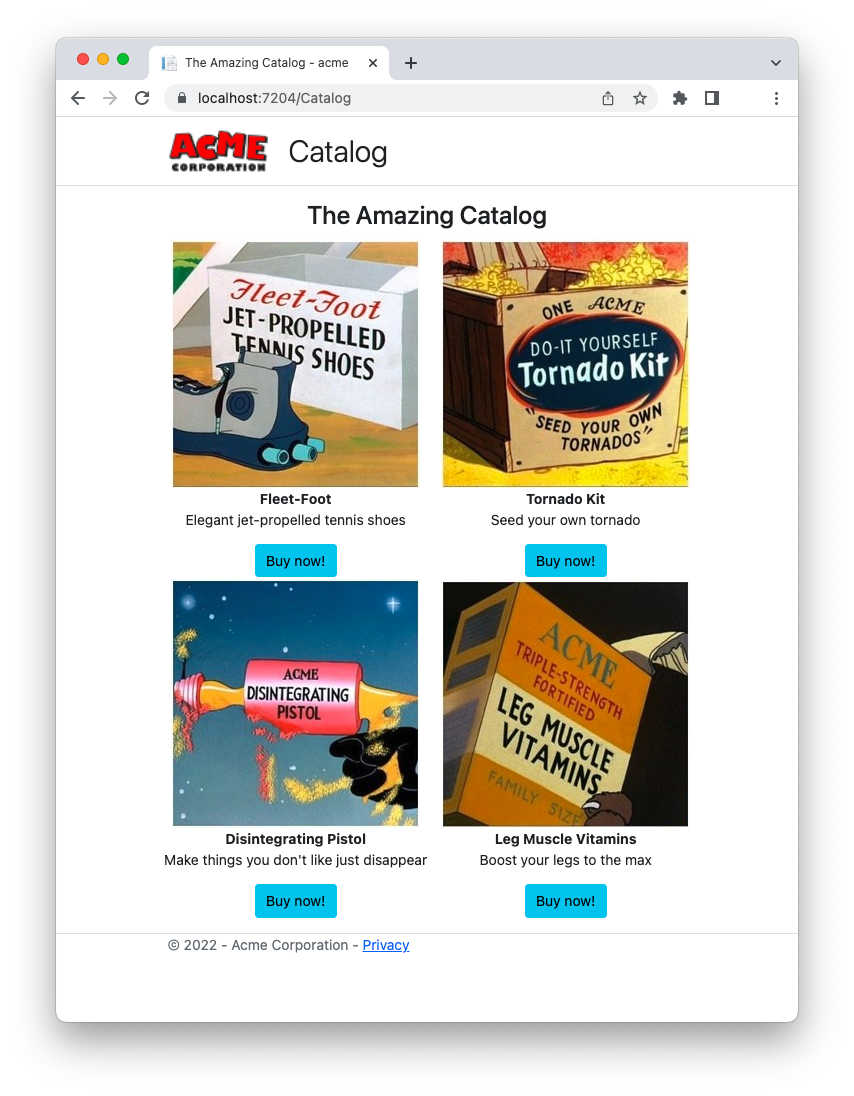
Actually, the Buy now! buttons are not working. This page is just a placeholder for a page that users would expect to be protected. In other words, only authenticated users should access the catalog page. This is what you are going to implement in the next few sections.
Register with Auth0
Before making any changes, you must register the application with Auth0. You need an Auth0 account, of course. If you don't yet have one, you can sign up for free.
Once in the dashboard, move to the Applications section and follow these steps:
- Click on Create Application.
- Provide a friendly name for your application (for example, ACME Web App) and choose Regular Web Applications as the application type.
- Finally, click the Create button.
These steps make Auth0 aware of your ASP.NET Core application and will allow you to control access to it.
After the application has been created, move to the Settings tab and take note of your Auth0 domain and your client id. We will use them shortly.
Then, in the same form, assign the value https://localhost:7204/callback to the Allowed Callback URLs field and the value https://localhost:7204/ to the Allowed Logout URLs field.
The first value tells Auth0 which URL to call back after the user authentication. The second value tells Auth0 which URL a user should be redirected to after their logout.
Click the Save Changes button to apply them.
Now, head back to the root folder of the sample application project, open the appsettings.json configuration file, and replace its content with the following:
// appsettings.json
{
  "Logging": {
    "LogLevel": {
      "Default": "Information",
      "Microsoft.AspNetCore": "Warning"
    }
  },
  "AllowedHosts": "*",
  "Auth0": {
    "Domain": "YOUR_DOMAIN",
    "ClientId": "YOUR_CLIENT_ID"
  }
}
Replace the placeholders YOUR_DOMAIN and YOUR_CLIENT_ID with the respective values taken from the Auth0 dashboard.
Add Authentication
At this point, the basic settings for connecting your application to Auth0 are in place. To add authentication, you need to apply some changes to your application and use those settings. Let's go one step at a time.
Install the Auth0 SDK
As your first step, install the Auth0 ASP.NET Core Authentication SDK by running the following command in your terminal window:
dotnet add package Auth0.AspNetCore.Authentication
The Auth0 ASP.NET Core Authentication SDK lets you easily integrate OpenID Connect-based authentication in your app without dealing with all its low-level details.
If you want to learn a bit more, this blog post provides you with an overview of the Auth0 ASP.NET Core Authentication SDK.
Set up authentication
Now, let's modify the application code to support authentication. Open the Program.cs file and change its content as follows:
// Program.cs

using Auth0.AspNetCore.Authentication; // 👈 new code

var builder = WebApplication.CreateBuilder(args);

// 👇 new code
builder.Services
    .AddAuth0WebAppAuthentication(options => {
      options.Domain = builder.Configuration["Auth0:Domain"];
      options.ClientId = builder.Configuration["Auth0:ClientId"];
    });
// 👆 new code

// Add services to the container.
builder.Services.AddRazorPages();

var app = builder.Build();

// Configure the HTTP request pipeline.
if (!app.Environment.IsDevelopment())
{
    app.UseExceptionHandler("/Error");
    app.UseHsts();
}

app.UseHttpsRedirection();
app.UseStaticFiles();

app.UseRouting();

app.UseAuthentication(); // 👈 new code
app.UseAuthorization();

app.MapRazorPages();

app.Run();
Following the highlighted code, you added a reference to the Auth0.AspNetCore.Authentication namespace at the beginning of the file. Then you invoked the AddAuth0WebAppAuthentication() method with the Auth0 domain and client id as arguments. Finally, you called the UseAuthentication() method to enable the authentication middleware. Make sure to call UseAuthentication() before UseAuthorization().
These changes lay the groundwork for supporting authentication via Auth0.
Implement login
To implement login, move to the root folder of the project and add a new Razor page by running the following command in a terminal window:
dotnet new page --name Login --namespace acme.Pages --output Pages/Account
This command will create an Account folder within the Pages folder and add two files there, Login.cshtml and Login.cshtml.cs. Open the Login.cshtml.cs file and replace its content with the following:
// Pages/Account/Login.cshtml.cs

using Microsoft.AspNetCore.Mvc.RazorPages;
using Microsoft.AspNetCore.Authentication;
using Auth0.AspNetCore.Authentication;

namespace acme.Pages;

public class LoginModel : PageModel
{
  public async Task OnGet(string returnUrl = "/")
  {
    var authenticationProperties = new LoginAuthenticationPropertiesBuilder()
                .WithRedirectUri(returnUrl)
                .Build();

    await HttpContext.ChallengeAsync(Auth0Constants.AuthenticationScheme, authenticationProperties);
  }
}
This class defines the page model for the login page. Actually, this page isn't displayed at all. It just creates a set of authentication properties required for the login and triggers the authentication process via Auth0.
To enable this login operation, you need to change the UI. So, open the _Layout.cshtml file under the Pages/Shared folder and update its content as follows:
@* Pages/Shared/_Layout.cshtml *@

<!DOCTYPE html>
<html lang="en">

<!-- ...existing code -->

  <div class="navbar-collapse collapse d-sm-inline-flex justify-content-between">
    // 👇 new code
    @if (User.Identity.IsAuthenticated)
    {
    // 👆 new code
      <ul class="navbar-nav flex-grow-1">
        <li class="nav-item">
          <a class="nav-link text-dark display-6" asp-area=""
             asp-page="/Catalog">Catalog</a>
        </li>
      </ul>
    // 👇 new code
    } else {
      <ul class="navbar-nav ms-auto">
        <li class="nav-item">
          <a class="nav-link text-dark display-6" asp-area=""
            asp-page="Account/Login">Login</a>
        </li>
      </ul>
    }
    // 👆 new code
  </div>

<!-- ...existing code -->
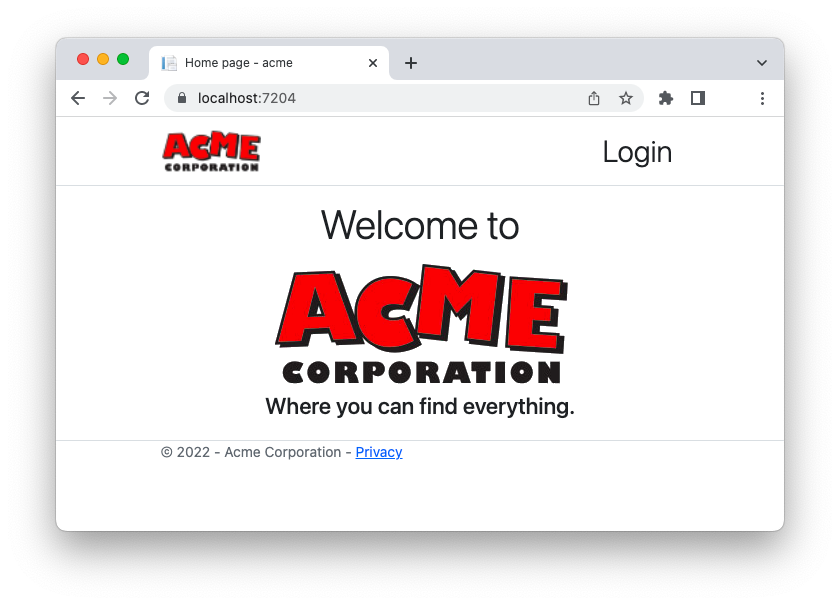
You modify the page's markup by adding a check on the User.Identity.IsAuthenticated property. As you may have figured out, this property lets you know if the current user is authenticated or not. If the user is not authenticated, a Login link will be shown on the right side of the navigation bar.
Test login
Everything is ready. Refresh the page in your browser, and you should see the Login link as shown in the following picture:
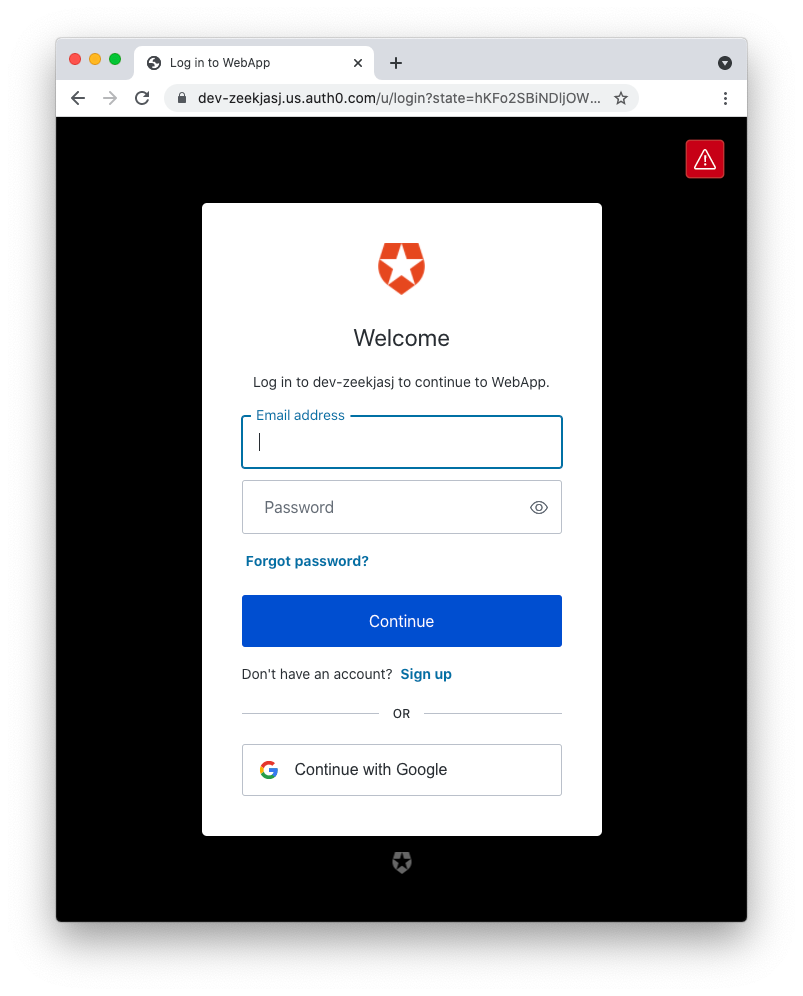
When you click that link, you will be redirected to the Auth0 Universal Login page, as shown in the following screenshot:
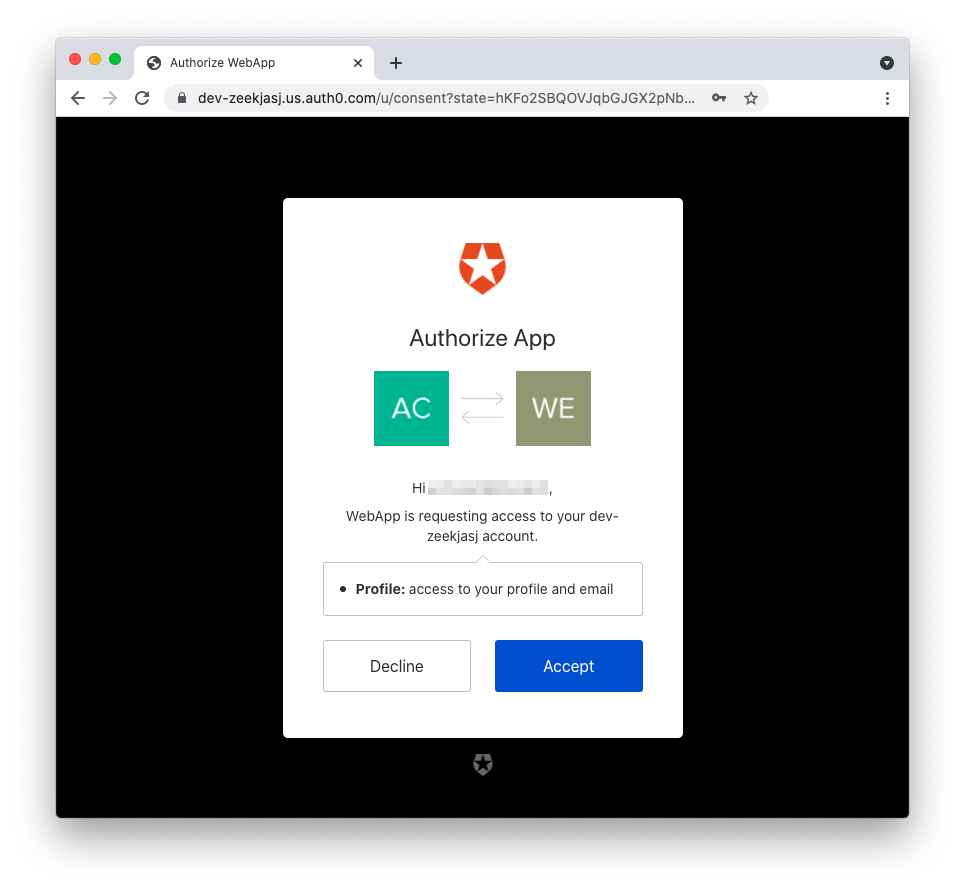
The first time the user authenticates, they will be prompted with a page similar to the following:

This page is known as the consent screen, which informs the user that the sample application will access their user profile data. After accepting, you are redirected back to the sample application and should see the Catalog link appearing on the left side of the navigation bar:

Congratulations! You added authentication to your ASP.NET Core Razor Pages application!
A new Auth0-powered .NET app in less than a minute? Try out our templates
Install the NuGet package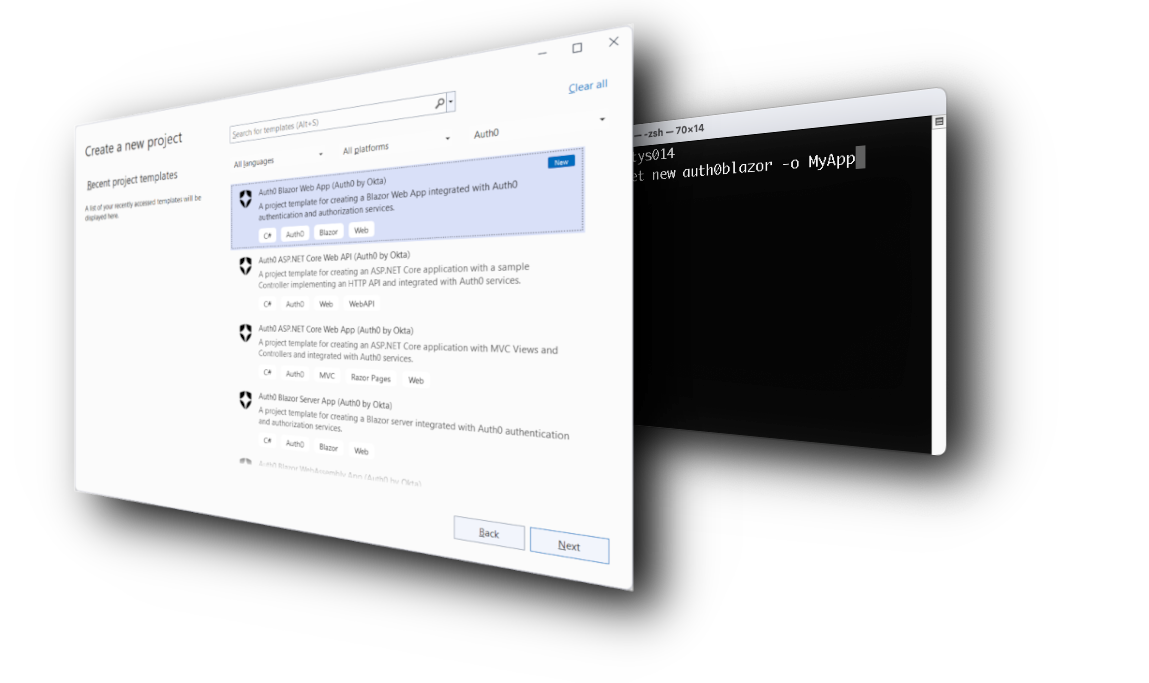
Protect Private Pages
Although you have to authenticate to see the Catalog link in the navigation bar, the catalog view itself is not protected. You can verify this by accessing the https://localhost:7204/Catalog address directly.
You need to restrict access to the catalog only to authenticated users.
Protect the catalog page
For this purpose, edit the Program.cs file in the root folder of the project as shown below:
// Program.cs

using Auth0.AspNetCore.Authentication;

var builder = WebApplication.CreateBuilder(args);

builder.Services
    .AddAuth0WebAppAuthentication(options => {
      options.Domain = builder.Configuration["Auth0:Domain"];
      options.ClientId = builder.Configuration["Auth0:ClientId"];
    });

// Add services to the container.
// 👇 changed code
builder.Services.AddRazorPages(options =>
{
    options.Conventions.AuthorizePage("/Catalog");
});
// 👆 changed code

var app = builder.Build();

//...existing code...
You used the Razor Pages authorization conventions to protect the Catalog page from unauthorized access. This approach allows you to centralize access control in your Razor Pages application. Check out the official documentation to learn more about Razor Pages authorization conventions.
Implement logout
Another missing thing to make your application usable is logout. In fact, currently, when you log in to the application, you stay logged in until your session expires. You may want to allow your user to explicitly log out of the application. For this purpose, add a Logout page to the Account folder by running the following command:
dotnet new page --name Logout --namespace acme.Pages --output Pages/Account
Then, open the Logout.cshtml.cs file and replace its content with the following:
// Pages/Account/Logout.cshtml.cs

using Microsoft.AspNetCore.Mvc.RazorPages;
using Auth0.AspNetCore.Authentication;
using Microsoft.AspNetCore.Authentication;
using Microsoft.AspNetCore.Authentication.Cookies;

namespace acme.Pages
{
    public class LogoutModel : PageModel
    {
        public async Task OnGet()
        {
    var authenticationProperties = new LogoutAuthenticationPropertiesBuilder()
        .WithRedirectUri("/")
        .Build();

    await HttpContext.SignOutAsync(Auth0Constants.AuthenticationScheme, authenticationProperties);
    await HttpContext.SignOutAsync(CookieAuthenticationDefaults.AuthenticationScheme);
        }
    }
}
Like the login page, the logout page doesn't display anything as well. It just creates a set of required properties and triggers the logout process to destroy both the Auth0 session and the local session.
The next step is to make the logout link available to the user. So, update the content of the _Layout.cshtml file under Pages/Shared folder as follows:
@* Pages/Shared/_Layout.cshtml *@

<!DOCTYPE html>
<html lang="en">

<!-- ...existing code -->

  <div class="navbar-collapse collapse d-sm-inline-flex justify-content-between">
    @if (User.Identity.IsAuthenticated)
    {
      <ul class="navbar-nav flex-grow-1">
        <li class="nav-item">
          <a class="nav-link text-dark display-6" asp-area=""
             asp-page="/Catalog">Catalog</a>
        </li>
      </ul>
      // 👇 new code
      <ul class="navbar-nav ms-auto">
        <li class="nav-item">
          <a class="nav-link text-dark display-6" asp-area=""
             asp-page="/Account/Logout">Logout</a>
         </li>
       </ul>
      // 👆 new code
    } else {
      <ul class="navbar-nav ms-auto">
        <li class="nav-item">
          <a class="nav-link text-dark display-6" asp-area=""
             asp-page="/Account/Login">Login</a>
        </li>
      </ul>
      }
  </div>

<!-- ...existing code -->
You just added the logout link on the right side of the navigation bar when the user is authenticated. That link points to the logout page in the Account folder.
As the final step, open the Program.cs file and configure the logout page as a protected page, as shown below:
// Program.cs

//...existing code...

// Add services to the container.
builder.Services.AddRazorPages(options =>
{
  options.Conventions.AuthorizePage("/Catalog");
  // 👇 new code
  options.Conventions.AuthorizePage("/Account/Logout");
  // 👆 new code
});

//...existing code...
Test the application
It's time to test this new version of the application. First of all, remove all cookies from your browser or use an incognito window. This is needed because you haven't had a chance to log out so far.
Now, after you log in again, the home page should look as follows:
When you click the Logout link, you will be disconnected from Auth0 and see the usual home page with only the Login link.
Learn web security through a hands-on exploration of some of the most notorious threats.
Download the free ebook
Add a Profile Page
Let's try to go one step further and add a page showing some data about the user.
Specify your scopes
As said before, the Auth0 ASP.NET Core Authentication SDK uses OpenID Connect (OIDC) to authenticate your users. OIDC provides your application with an ID token containing some basic data about the user. From a technical point of view, this user data is available because the SDK requests the openid and profile scopes by default. You don't see this because the SDK takes care of the whole authentication process and manages the ID token. So, by default, you have the user's name and possibly their picture. If you also want the user's email in their profile, you have to specify the scopes explicitly.
Open the Program.cs file and apply the following change:
// Program.cs

// ...existing code...

var builder = WebApplication.CreateBuilder(args);

builder.Services
    .AddAuth0WebAppAuthentication(options => {
      options.Domain = builder.Configuration["Auth0:Domain"];
      options.ClientId = builder.Configuration["Auth0:ClientId"];
      options.Scope = "openid profile email"; // 👈 new code
    });

// ...existing code...
You assigned a string to the Scope option containing the default scopes mentioned before (openid and profile) and the email scope.
This causes the email to be added to the user profile.
Create the profile page
Now, let's create a new page where to show the user's profile data. From the root folder of the project, run the following command:
dotnet new page --name Profile --namespace acme.Pages --output Pages/Account
As usual, it creates two new files in the Pages/Account folder: Profile.cshtml and Profile.cshtml.cs.
Open the Profile.cshtml.cs file and replace its content with the following:
// Pages/Account/Profile.cshtml.cs

using Microsoft.AspNetCore.Mvc.RazorPages;
using System.Security.Claims;

namespace acme.Pages;

public class ProfileModel : PageModel
{
  public string UserName { get; set; }
  public string UserEmailAddress { get; set; }
  public string UserProfileImage { get; set; }
  public void OnGet()
  {
    UserName = User.Identity.Name;
    UserEmailAddress = User.FindFirst(c => c.Type == ClaimTypes.Email)?.Value;
    UserProfileImage = User.FindFirst(c => c.Type == "picture")?.Value;
  }
}
This code simply defines the ProfileModel class with the three elements of the user profile: the name, the email address, and the user's picture.
Now, define the associated view by replacing the content of the Profile.cshtml file in the same folder with the following content:
@* Pages/Account/Profile.cshtml *@

@page
@model acme.Pages.ProfileModel
@{
    ViewData["Title"] = "User Profile";
}

<div class="row">
    <div class="col-md-12">
        <div class="row">
            <h2>@ViewData["Title"].</h2>

            <div class="col-md-2">
                <img src="@Model.UserProfileImage"
                     alt="" class="img-rounded img-responsive" />
            </div>
            <div class="col-md-4">
                <h3>@Model.UserName</h3>
                <p>
                    <i class="glyphicon glyphicon-envelope"></i> @Model.UserEmailAddress
                </p>
            </div>
        </div>
    </div>
</div>
This markup shows the three properties of the user model.
Protect the profile page
Before moving on to test this new feature, let's make sure that only authorized users can access the user profile page. So, open the Program.cs file and configure the Profile page as a protected page as shown below:
// Program.cs

//...existing code...

// Add services to the container.
builder.Services.AddRazorPages(options =>
{
  options.Conventions.AuthorizePage("/Catalog");
  options.Conventions.AuthorizePage("/Account/Logout");
  // 👇 new code
  options.Conventions.AuthorizePage("/Account/Profile");
  // 👆 new code
});

//...existing code...
You just added the profile page to the pages requiring authorization.
Link the profile page
Finally, let's make the profile page available to the user. Open the _Layout.cshtml file under the Pages/Shared folder and update its content as follows:
@* Pages/Shared/_Layout.cshtml *@

<!DOCTYPE html>
<html lang="en">

<!-- ...existing code -->

  <div class="navbar-collapse collapse d-sm-inline-flex justify-content-between">
    @if (User.Identity.IsAuthenticated)
    {
      <ul class="navbar-nav flex-grow-1">
        <li class="nav-item">
          <a class="nav-link text-dark display-6" asp-area=""
             asp-page="/Catalog">Catalog</a>
        </li>
      </ul>
      <ul class="navbar-nav ms-auto">
        // 👇 new code
        <li class="nav-item">
          <a class="nav-link text-dark display-6"
             asp-page="/Account/Profile">Hello @User.Identity.Name!</a>
        </li>
        // 👆 new code
        <li class="nav-item">
          <a class="nav-link text-dark display-6" asp-area=""
             asp-page="/Account/Logout">Logout</a>
         </li>
       </ul>
    } else {
      <ul class="navbar-nav ms-auto">
        <li class="nav-item">
          <a class="nav-link text-dark display-6" asp-area=""
             asp-page="/Account/Login">Login</a>
        </li>
      </ul>
      }
  </div>

<!-- ...existing code -->
You add the link to the profile view next to the logout link. That link will show a welcome message with the user name. Also, it will be shown only when the user is authenticated.
Test the user profile
Go back to your browser and authenticate again. As a first difference, you will notice that you see the consent screen again. Why? Didn't you previously accept?
Actually, this time your application is requesting a new piece of information about you: the email. If you compare this screen with the previous one, you will notice this subtle difference.
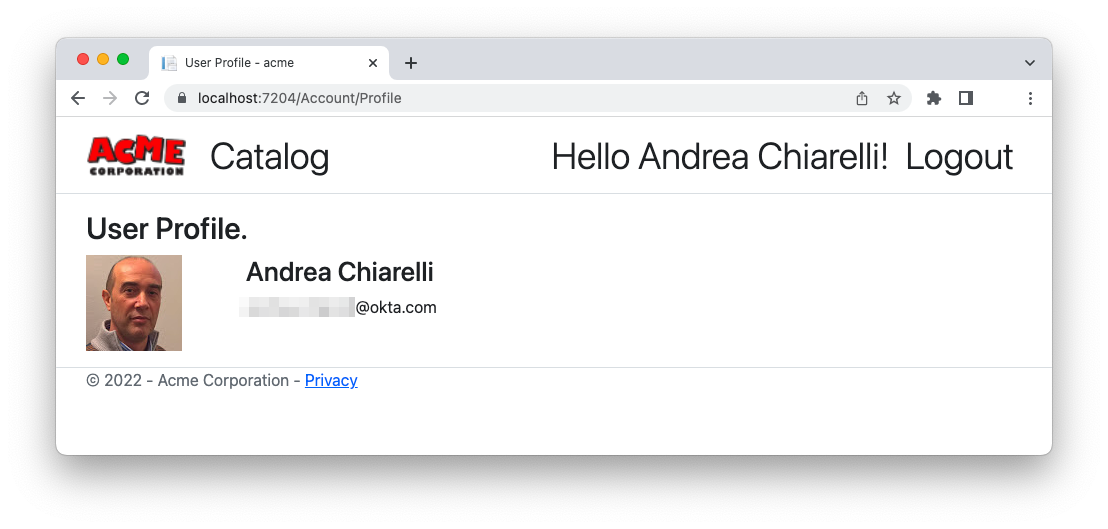
After you accept that screen, your new home page will look as follows:
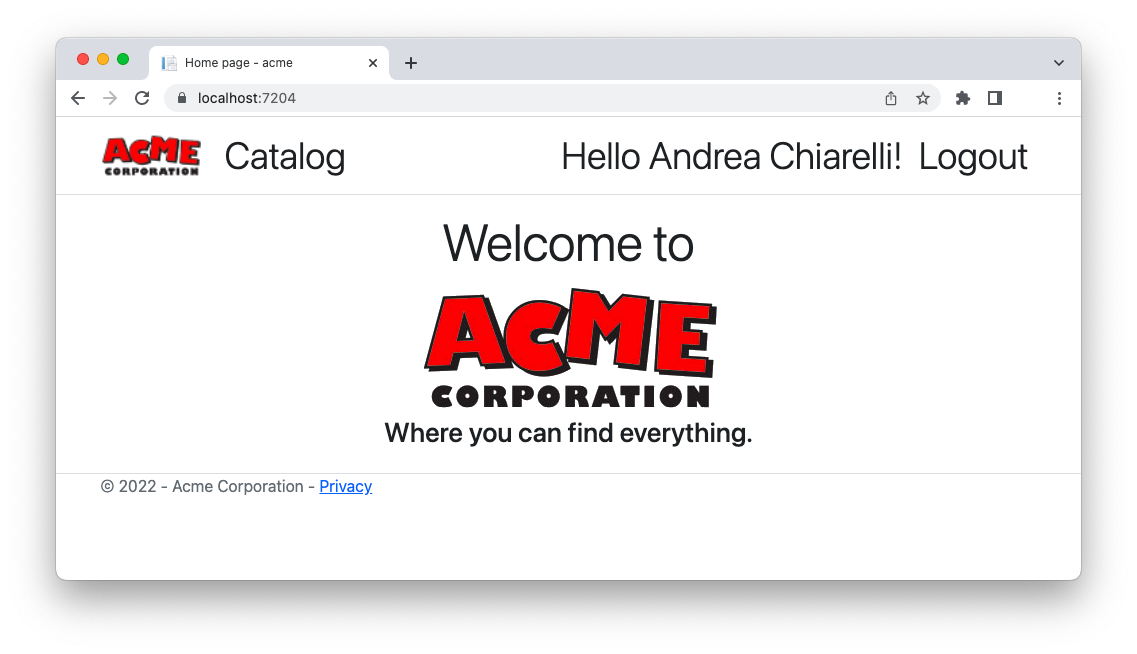
You can see the welcome message next to the logout link. If you click the welcome message, the user profile will be shown as in the following picture:
Summary
Congratulations! You completed this basic journey! You learned how to integrate authentication in a Razor Pages application via Auth0. You've seen how the Auth0 ASP.NET Core Authentication SDK handles OpenID Connect for you under the hood, preventing you from dealing with the technical details. You also learned how to protect the private pages of your application and how to implement logout. Finally, you were able to get the user's data to create a user profile page.
You can find the complete code of the Razor Pages project in this GitHub repository.
About the author

Andrea Chiarelli
Principal Developer Advocate
I have over 20 years of experience as a software engineer and technical author. Throughout my career, I've used several programming languages and technologies for the projects I was involved in, ranging from C# to JavaScript, ASP.NET to Node.js, Angular to React, SOAP to REST APIs, etc.
In the last few years, I've been focusing on simplifying the developer experience with Identity and related topics, especially in the .NET ecosystem.