

- Requesting App tenant: Your Auth0 tenant, which acts as the Requesting App. Your AI agent or SaaS application is registered here.
- Resource App tenant: A separate Auth0 tenant acting as the Resource App Authorization Server. In production, this tenant belongs to the third-party SaaS provider whose API you want to call.
- Configure the test Resource App in the Resource App tenant.
- Configure the OIDC connection between the Requesting App tenant and the Resource App tenant.
Configure the test Resource App
The following steps configure a test Resource App and its API in the Resource App tenant. In production, the third-party SaaS provider completes these steps as part of their XAA Resource App setup.Create the Resource App
In the Resource App tenant, navigate to Applications > Applications and select Create Application. Enter a name and select Regular Web Application, Native, or Single Page Application depending on the type of application you want to use.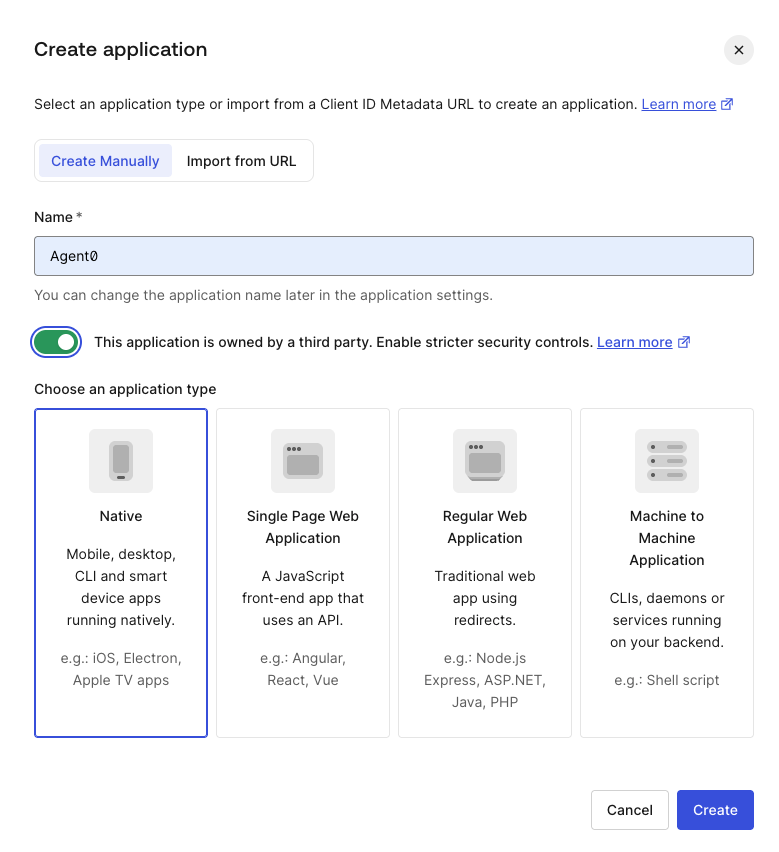
- Auth0 Dashboard
- Management API
- Under Application URIs, add the callback URL of your Requesting App tenant as an Allowed Callback URL:
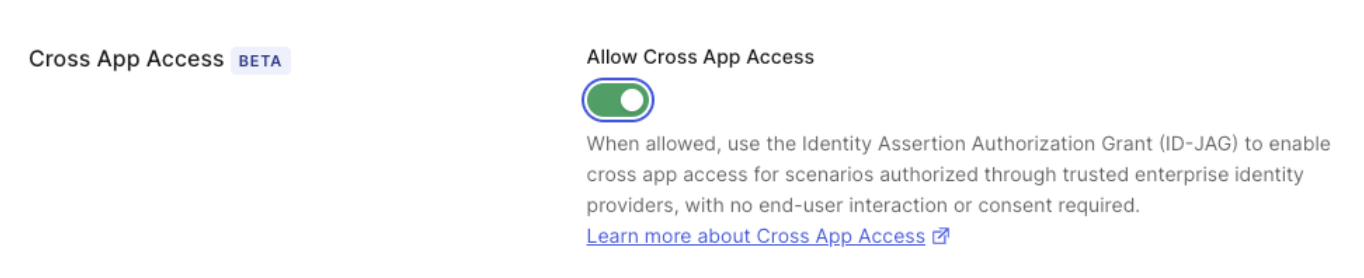
https://YOUR_REQUESTING_APP_DOMAIN/login/callback. - Under Cross App Access, enable Allow Cross App Access.
- Under Advanced Settings > Grant Types, select Authorization Code and Refresh Token.
- Select Save Changes.
Create the Resource App API
In the Resource App tenant, navigate to Applications > APIs and select Create API.- Enter a name and an identifier for the API. The identifier cannot be changed after creation.
- Under Access Settings, select Allow Offline Access.
- Under Access Policy for Applications, select All apps allowed or configure per-app authorization as needed for user-delegated and client access.
- Set the API identifier as the Default Audience for the Resource App tenant under Tenant Settings.
- Select Create.
Configure the OIDC connection
In your Requesting App tenant, create an OIDC Enterprise connection that federates your tenant with the Resource App tenant. This connection enables your tenant, which acts as the Requesting App, to obtain ID-JAGs from the enterprise IdP and exchange them for access tokens from the Resource App.- Auth0 Dashboard
- Management API
- Navigate to Authentication > Enterprise > OpenID Connect and select Create Connection.
- Under Purpose, select Authentication and Connected Accounts for Token Vault to allow this connection to be used for user login and secure token management with Token Vault.
-
Under Cross App Access:
- Under Cross App Access Roles, select Resource Application.
- Under Cross App Access for Token Vault, select Enable Cross App Access for Token Vault to authorize Token Vault to retrieve and store access tokens from the Resource App on the user’s behalf.
- Select Create.