Prerequisites
- Auth0 Dashboard
- Management API
-
You must have a database connection to import the user data into, which can be either:
- A database connection using the Auth0 user store.
- A custom database connection using your external user store with import mode on.
-
You must have one of the following tenant member roles:
- Admin
- Editor - Users
1. Create the user data file
First, format your existing user data into JSON for import into Auth0 following the structure defined in the user data JSON schema and property reference. The following considerations may be helpful as you create the user data file:- The file size limit for a bulk import is 500KB. If your data exceeds this limit, you need to divide your user data into multiple smaller files to upload across multiple jobs. As a guideline, approximately 1,000 users with fewer than 10 metadata fields per user is typically under the file size limit.
-
If you’re starting with an Auth0 user data export:
-
Bulk imports support JSON format, but user exports generated by Auth0 are in NDJSON format. You can convert from NDJSON to JSON using tools like
jq. -
Bulk imports automatically add the
auth0|prefix to imported user IDs, but user exports generated by Auth0 already have theauth0|prefix on user IDs.
auth0|prefix from all imported user IDs. Otherwise, the user IDs will have the prefix twice (auth0|auth0|<user_id>). -
Bulk imports support JSON format, but user exports generated by Auth0 are in NDJSON format. You can convert from NDJSON to JSON using tools like
-
You can import user data with passwords hashed by a supported algorithm. Users with passwords hashed by unsupported algorithms must reset their password when they log in for the first time after the bulk import.
If a user did not log in with the
custom_password_hashyou imported initially, you can update it by resubmitting the user data with a different value forcustom_password_hashin a new job with upserts enabled.
2. Import the user data into your database connection
- Auth0 Dashboard
- Management API
To import user data using the Auth0 Dashboard:
- Go to Dashboard > User Management > Users.
- In the top right corner of the page, select Import/Export Users to go to the Import/Export Users page.
-
Select Import Users to go to the Import Users page.
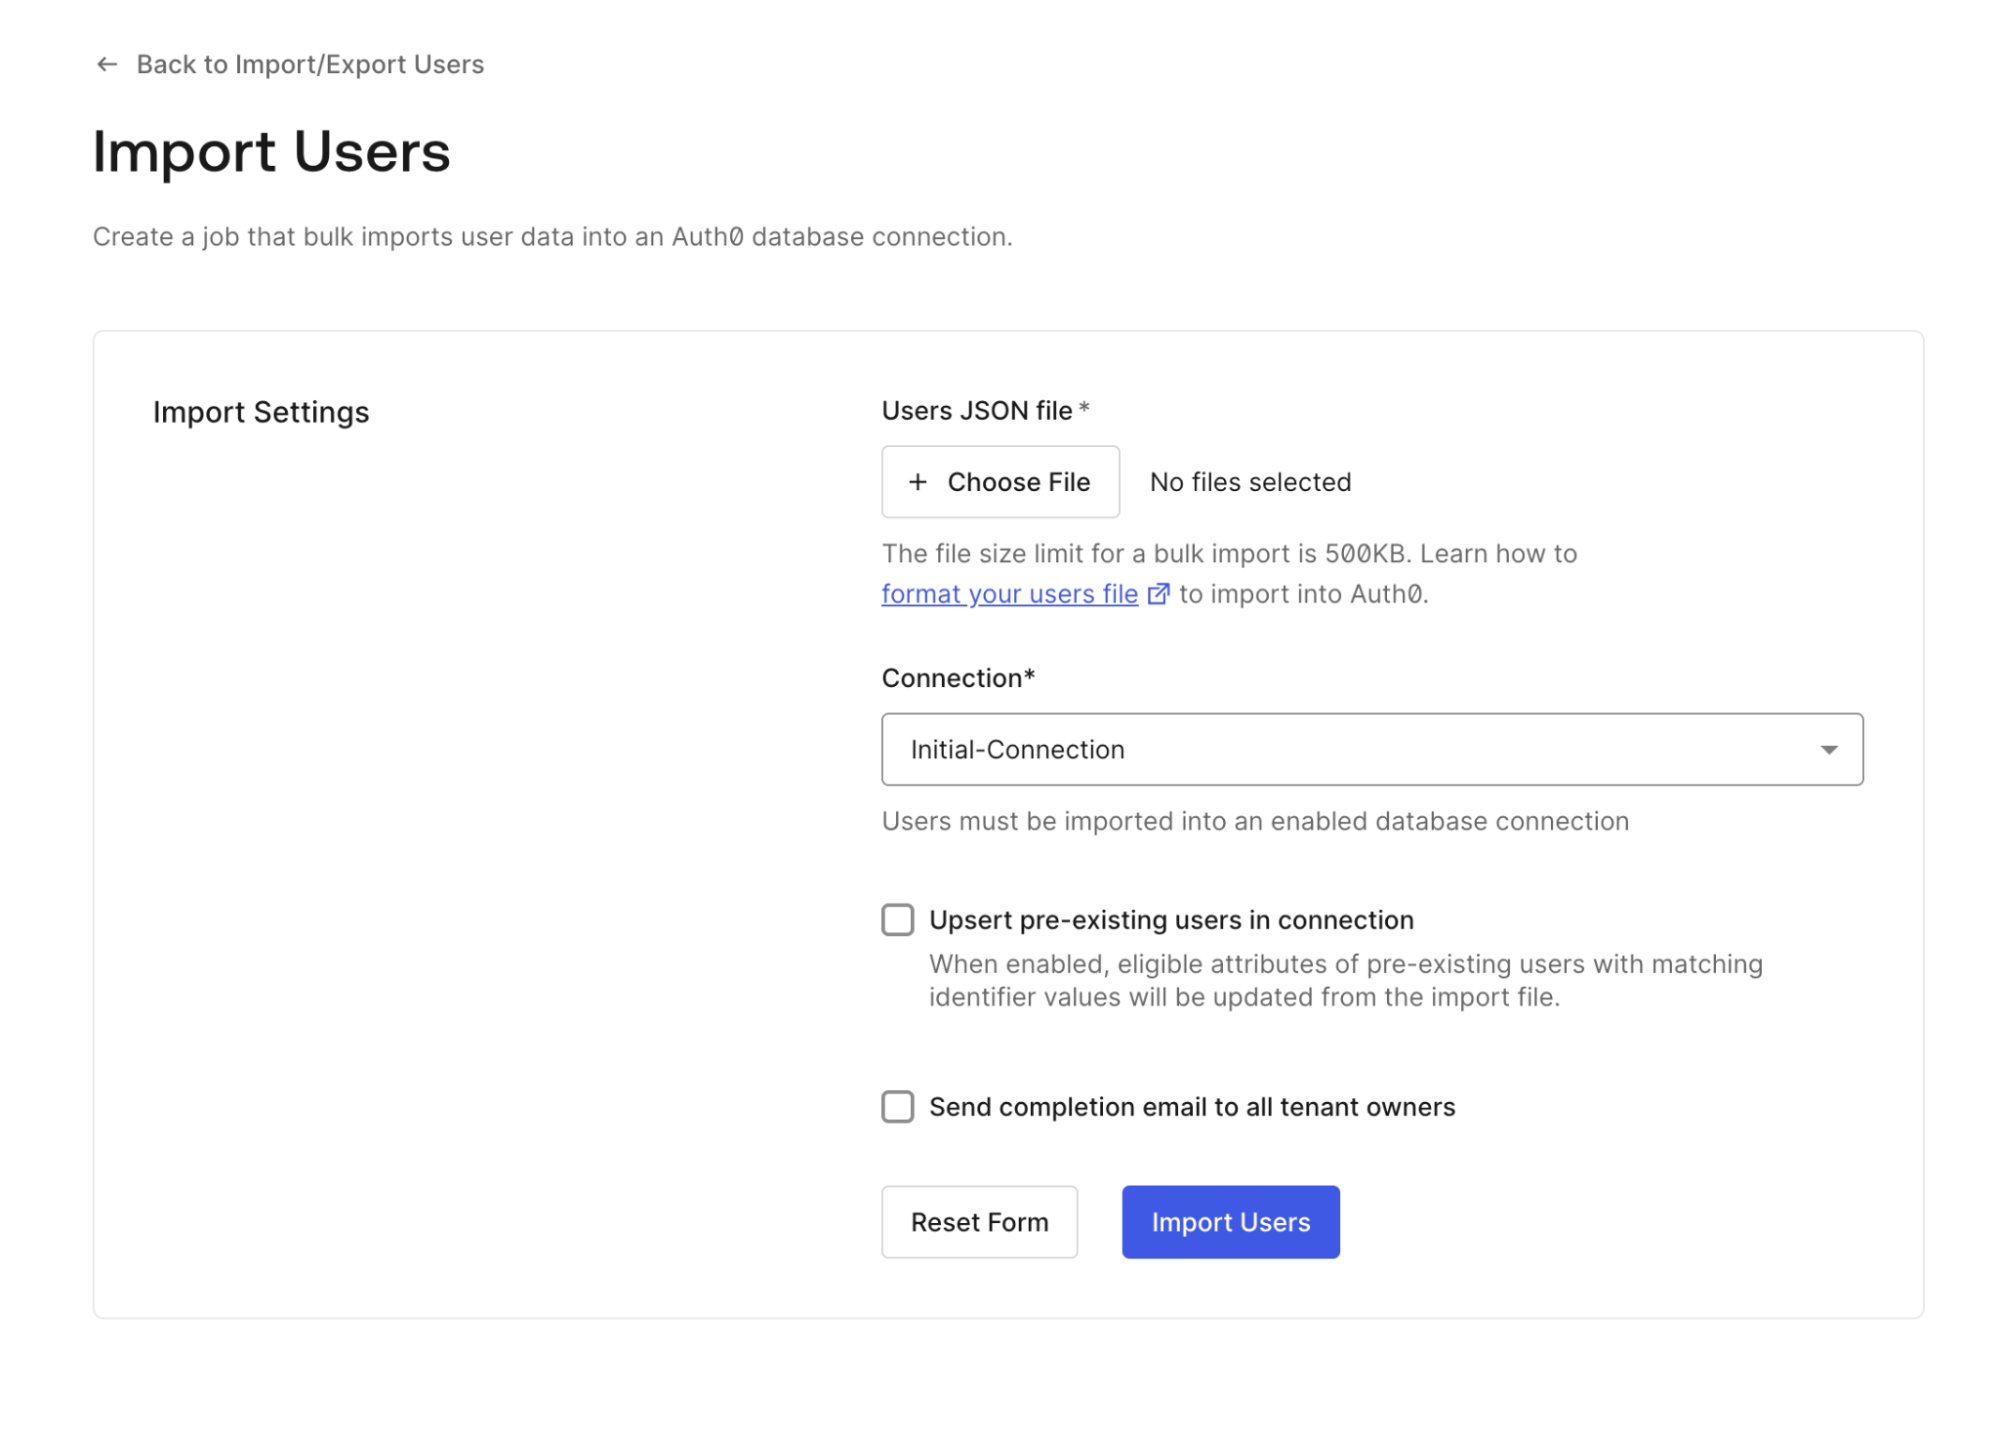
- Under Users JSON file, select + Choose File and upload the user data JSON file.
- Under Connection, open the drop-down menu and select the database connection where you want to import the user data.
-
Optionally, check Upsert pre-existing users in connection. When an imported user matches an existing user in the database connection, you can choose whether or not to upsert the data:
- By default, upserts are disabled. Imports of users that match on email address, user ID, phone, or username fail.
- With upserts enabled, imports of users matching on email address update all upsertable attributes.
- Optionally, check Send completion email to all tenant owners. When enabled, this sends a completion email to all tenant administrators when the job succeeds or fails.
- To submit the job, select Import Users.
3. Check job status
- Auth0 Dashboard
- Management API
To check the status of a job:
- Go to Dashboard > User Management > Users.
- In the top right corner of the page, select Import/Export Users to go to the Import/Export Users page. Once you start at least one job, this page lists your submitted jobs.
- To view more information about a job, select More info next to any job.
Limits
- There is a limit of two concurrent import jobs per tenant.
- User import jobs time out after two (2) hours. If a job does not complete within this time frame, it is marked as failed.
- All job-related data is automatically deleted after 24 hours.
- Duplicated user entries in the import file cause an error. They do not cause an import followed by an upsert.
-
Upserts do not merge
user_metadataorapp_metadata. The existing metadata is completely overwritten with the new metadata.
Best practices for large-scale migrations
When importing large quantities of user data (requiring 10 or more jobs), we recommend the following strategies:-
Use a job scheduler framework (such as Bull or Agenda). This lets you:
- Enforce the required concurrency limit.
- Include a retry strategy to handle network connection drops and temporary failures.
- Store job results and error details beyond the deletion window.
- Don’t interrupt imports on single user failures. Instead, implement a “finalizer” job that reviews all spawned jobs and collects failed records into a new file. Fix any errors in the collected failed records and import them as a new job.
-
Use caution when enabling
upsertmode. Imports with upsert are slower than standard imports and do not merge metadata. Use upsert mode when you need to update existing users and understand these limitations.