Local development
Customize your ACUL screens locally with the Auth0 CLI commandauth0 acul dev. Quickly iterate your ACUL screens without any delays or backend dependencies with the Universal Login Context Inspector.
The Universal Login Context Inspector provides mock context data to test your authentication screens against tenant specific configurations.
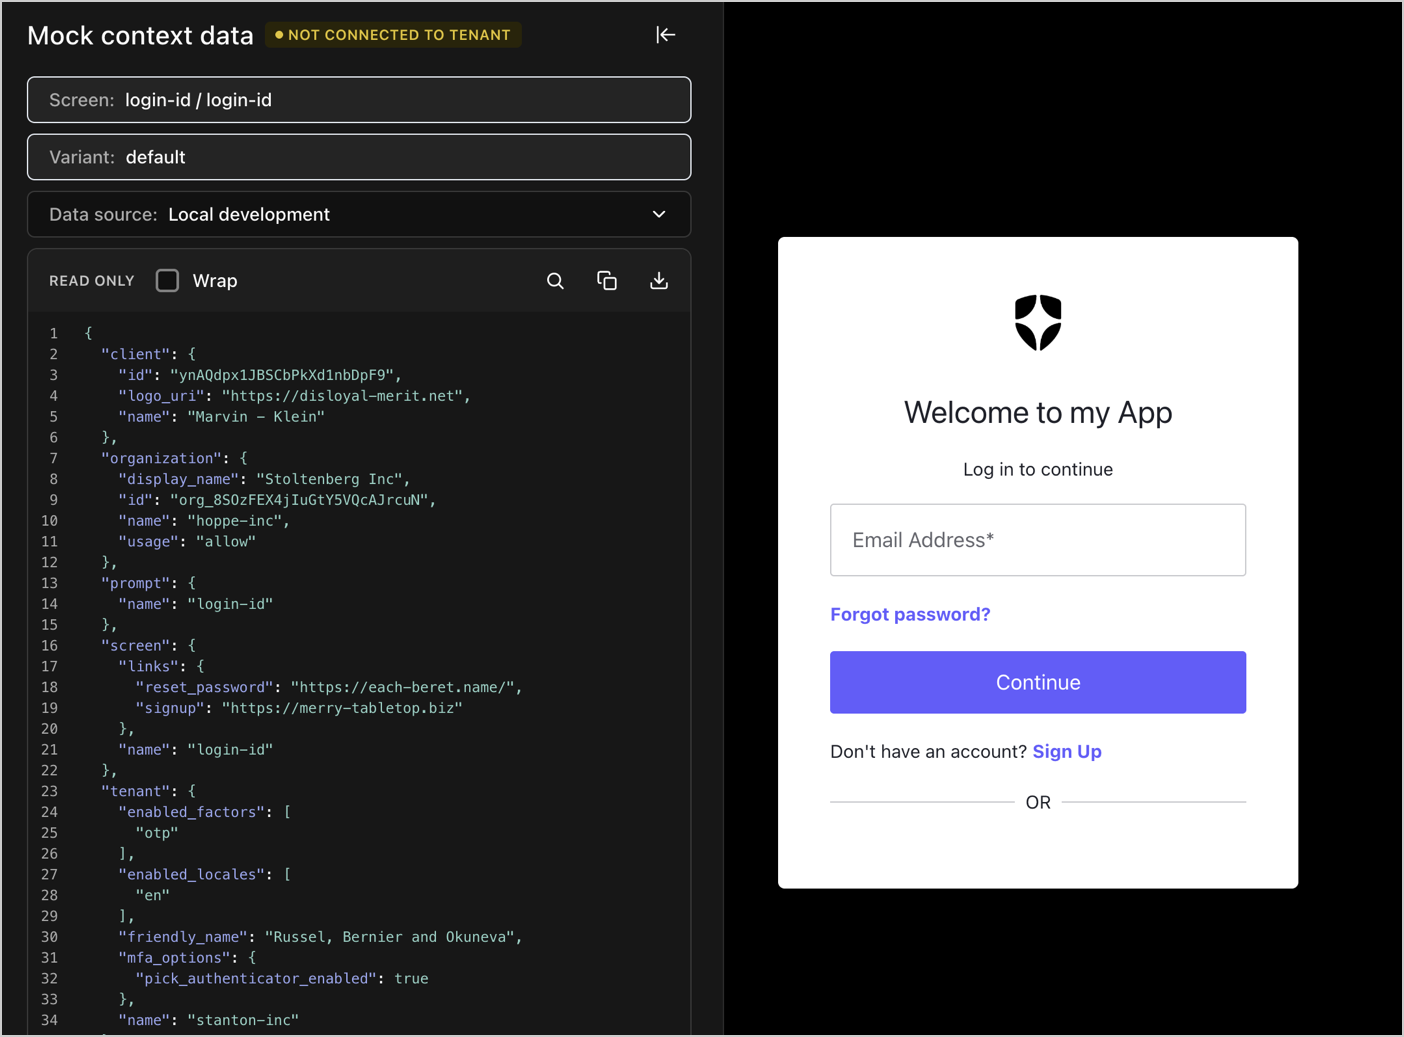
- Select Screen to see your available ACUL configured screens with default mock context data.
- Select Data Source to select mock context data served from Auth0 CDN or mock context data from your Local Development project’s
public/screens/{prompt}/{screen}directory. - Select the Download JSON icon to download the context data for a selected screen.
Live tenant integration testing
Live tenant integration with the Auth0 CLI commandauth0 acul dev --connected allows for End-to-End testing of your custom screen UIs and verifies integration with your Auth0 tenant.
Use --connected mode for integration testing after the UI is largely complete, as each reload restarts the authentication flow.
When using auth0 acul dev --connected
- Select your ACUL project’s directory.
- Select
npm run buildto build the project and configure your Auth0 tenant. - Select the port to serve your local assets, by default
55444and start the local server in the background. - Optionally, allow
--connectedmode to continually monitor watch for changes to the project’s/dist/assetsdirectory.
auth0 test login to test the login flow on your tenant.
In
--connected mode, The Auth0 CLI command watches for file changes, rebuilds assets, and automatically updates your tenant’s configuration.