Before you start
You need:
- An Auth0 development tenant configured with Universal Login and a custom domain.
- An Auth0 First Party Application.
- Identifier First Authentication enabled in your Auth0 tenant.
- Node.js V22
- Auth0 CLI installed and configured with your development tenant.
login_id screen using Auth0 CLI:
1. Initialize an ACUL sample application
If you have not configured your development tenant with Auth0 CLI, use the
auth0 login command to configure your tenant.- Select React (with ACUL React SDK).
- Select the login-id screen.
- At Would you like to proceed with installing the required dependencies using ‘npm install’? Enter y.
If you did not select y to install the required dependencies, navigate to your project directory and run the
npm install command.2. (Optional) Add additional screens to your project
Select additional screens for your project by running the following command:3. Launch the Login Id screen with Universal Login Context Inspector
Use the UL context inspector to launch the Login ID screen:- Navigate to your project directory and run the following command:
- Confirm the project directory
- Select the port to share the local assets, by default Port
55444
4. Update the sample Login Id screen
The command auth0 acul dev builds the ACUL screens, hosts your assets locally, and continuously watches for updates to the assets directory; allowing you to test your screens locally. To learn more, read Auth0 CLI acul command documentation.
- In your project directory, edit the
/src/index.cssdirectory and update the logo widget with your logo url:
--ul-theme-widget-logo-url: "Your-Logo-URL";
- Save the change.
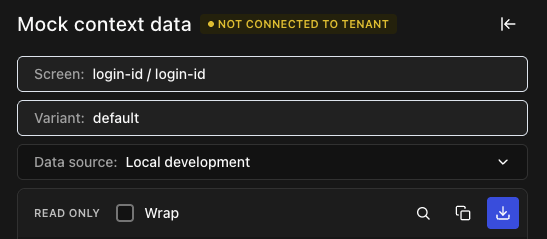
5. Customize the context data for your authentication screens
Using the Universal Login Context Inspector, you can customize the default context data to test your authentication screens against tenant specific configurations.- Create a local version of the mock context data for a screen in your project:
- Rename and move the downloaded file to the
public/screens/{prompt}/{screen}and add it to thepublic/manifest.json filein your project’s directory.
login-id-login-id-context.json file is renamed login-id.json and is moved to /public/screens/login-id/login-id.json.
- Select Local Development from the Universal Login Context Inspector Data source to load the local version of the mock context for the screen.