

To use Client-Initiated Backchannel Authentication (CIBA) features, you must have an Enterprise Plan or an appropriate add-on. Refer to Auth0 Pricing for details.
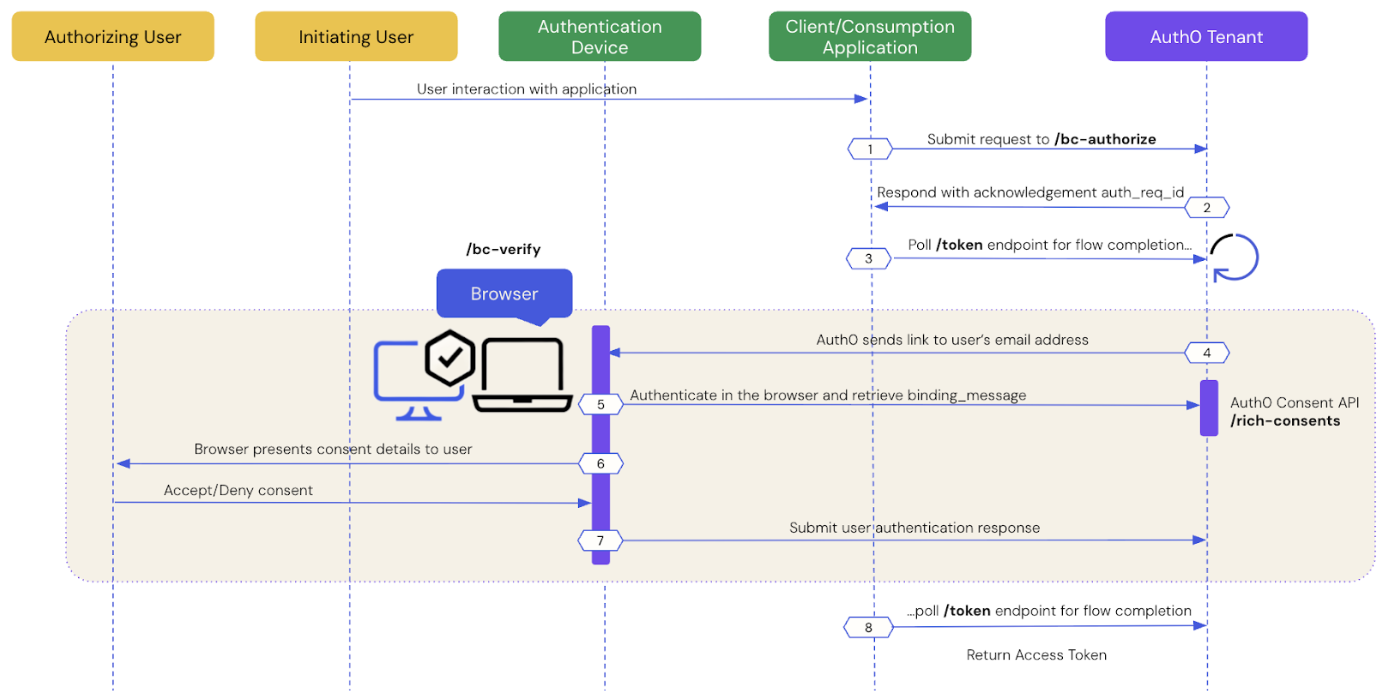
- Prerequisites
- Step 1: Client application initiates a CIBA request
- Step 2: Auth0 tenant acknowledges the CIBA request
- Step 3: Client application polls for a response
- Step 4: Auth0 sends a link to the user’s email address
- Step 5: User authenticates in the browser
- Step 6: Browser presents consent details to the user
- Step 7: Auth0 receives user response after the flow completes
- Step 8: Auth0 returns access token to client application
Prerequisites
To initiate a CIBA email request using Auth0, you must:- Configure Client-Initiated Backchannel Authentication for your tenant and application, including email notifications.
- Set the
requested_expiryparameter to a value between 301 to 259200 seconds (72 hours). To learn more, read Configure notification channel. - If using email notifications with CIBA and Rich Authorization Requests (RAR) for user authorization, set the customized consent prompt.
Step 1: Client application initiates a CIBA request
Use the User Search APIs to find the authorizing user for whom you’d like to initiate a CIBA request and obtain their user ID. Once you have a user ID for the authorizing user, use the Authentication API or our SDKs to send a CIBA request to the/bc-authorize endpoint:
- cURL
- C#
- Go
- Java
There is a user-specific rate limit where the authorizing user will not be sent more than 5 requests per minute.
Step 2: Auth0 tenant acknowledges the CIBA request
If the Auth0 tenant successfully receives thePOST request, you should receive a response containing an auth-req-id that references the request:
auth_req_id value is passed to the /token endpoint to poll for the completion of the CIBA flow.
Step 3: Client application polls for a response
Use the Authentication API or our SDKs to call the/token endpoint using the urn:openid:params:grant-type:ciba grant type and the auth_req_id you received from the /bc-authorize endpoint:
- cURL
- C#
- Go
- Java
/token endpoint.
Step 4: Auth0 sends a link to the user’s email address
The Auth0 Authorization Server uses thelogin_hint, which contains the user ID for the authorizing user, to initiate user authentication on the authentication device:
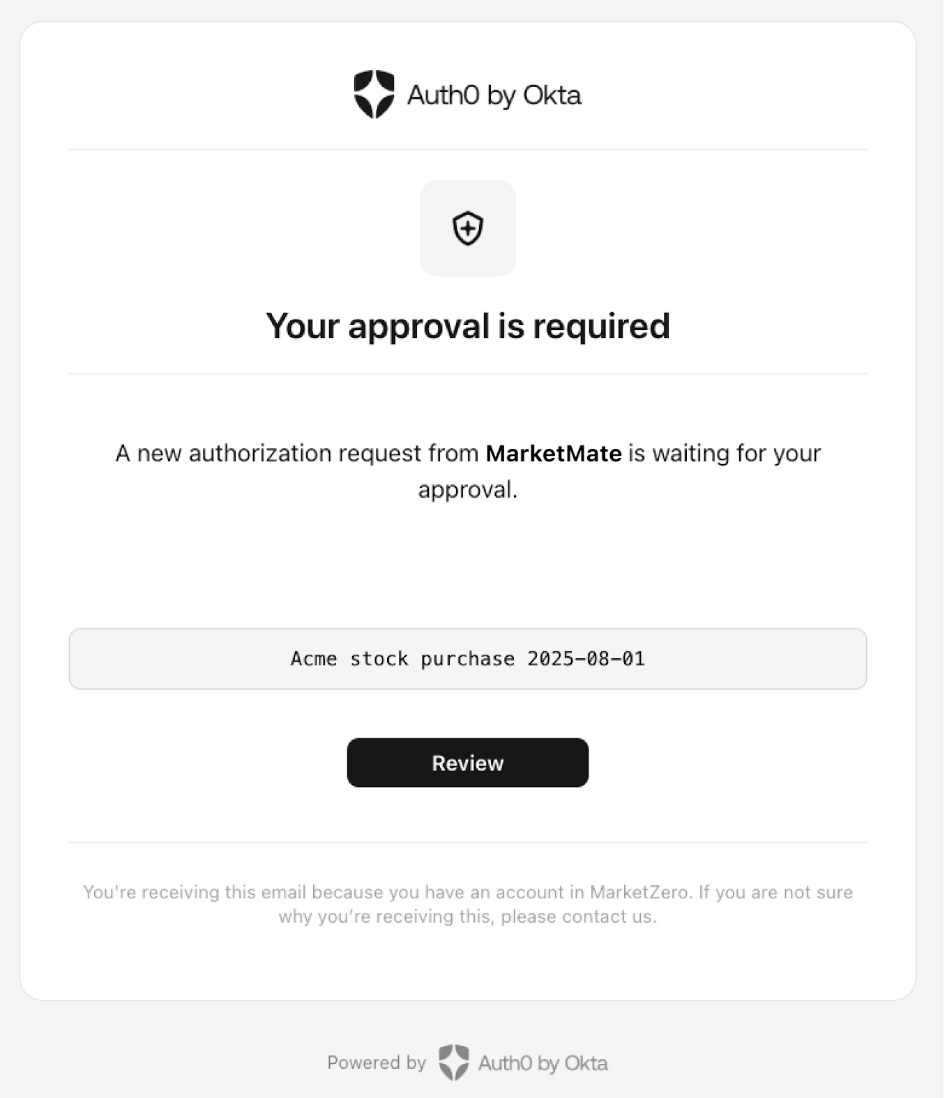
- The Auth0 Authorization Server sends an email to the user’s verified email address.
- The email contains a verification link that the user must click to authenticate. The
binding_messageshows up as the request code. - The link directs the user to the browser through a request to the
/bc-verifyendpoint, where theconsentquery parameter references the CIBA request awaiting consent.
Step 5: User authenticates in the browser
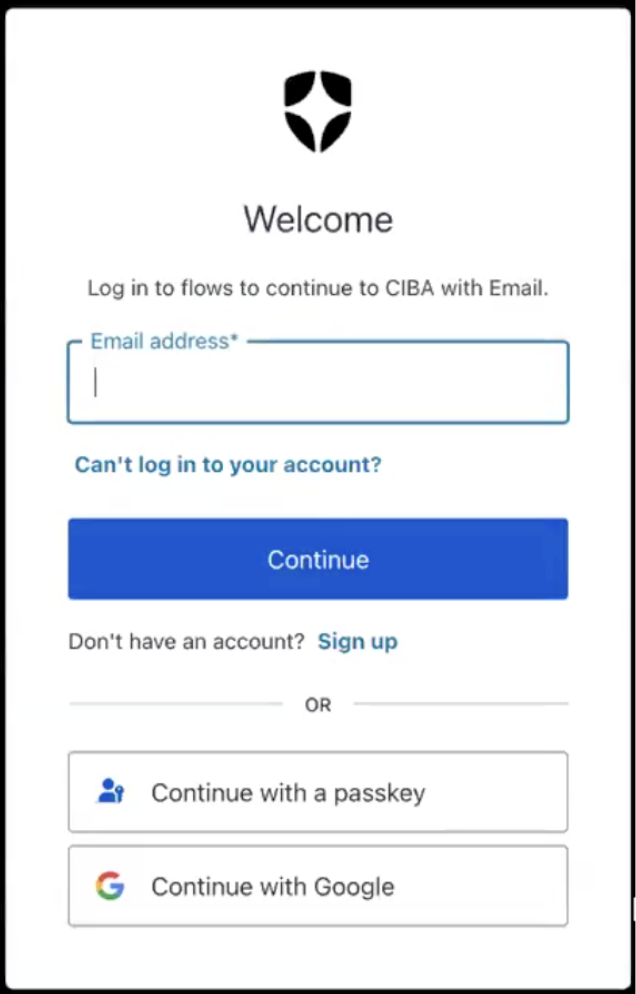
If no active session is found, the verification link will ask the user to authenticate. The user clicks the link to proceed with user authentication. To authenticate, the user enters their verified email address and password. The user must use the credentials provided to thelogin_hint parameter sent to the /bc-authorize endpoint when the client application initiates a CIBA request. Otherwise, the user is prompted with an error message and needs to log out and try again.
post-login Actions trigger runs in the CIBA with email flow, enabling customers to provide custom logic to apply access control policies or ask for additional MFA factors. When executed from a CIBA verification link, the event.transaction.protocol value is oidc-ciba-web-link, allowing you to apply custom rules to this specific type of login. To learn more, read Login Trigger.
Once authenticated, the browser presents the consent details to the user from the Auth0 Consent API, which includes the binding_message, scope, and audience. The scopes are filtered according to your RBAC policy. To learn more, read Role-Based Access Control.
The following code sample is an example response from the Auth0 Consent API:
Step 6: Browser sends the user response back to Auth0
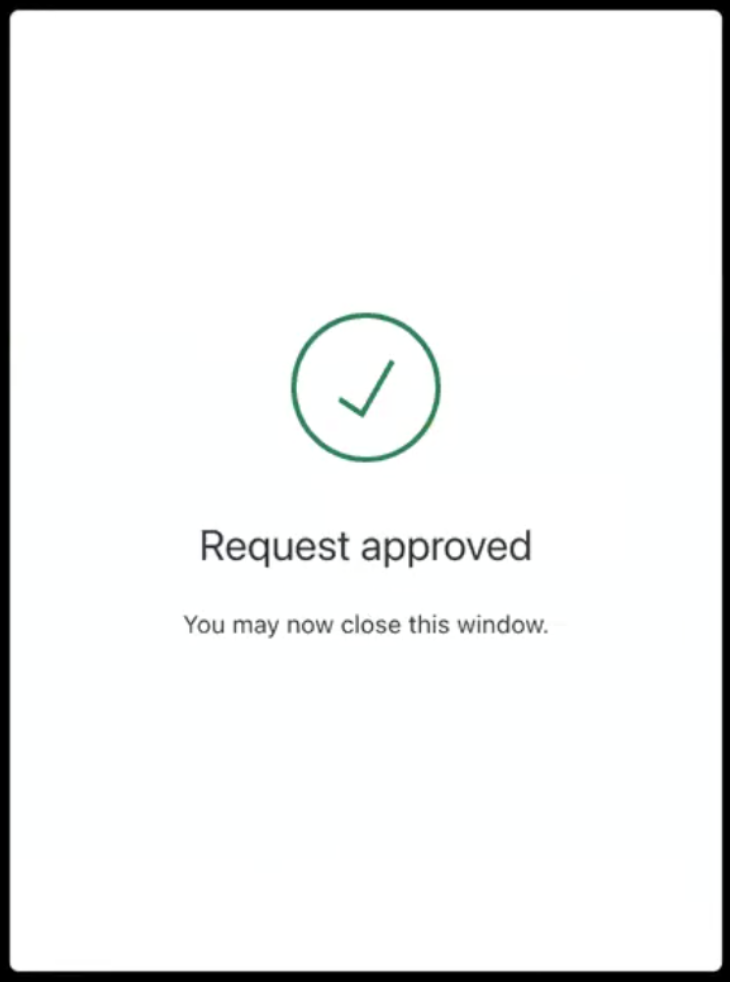
The browser sends the user response back to Auth0. Depending on whether the user accepts or rejects the authentication request, Auth0 displays the following consent screens, which you need to customize by setting the consent prompts:User accepts the authentication request
User rejects the authentication request
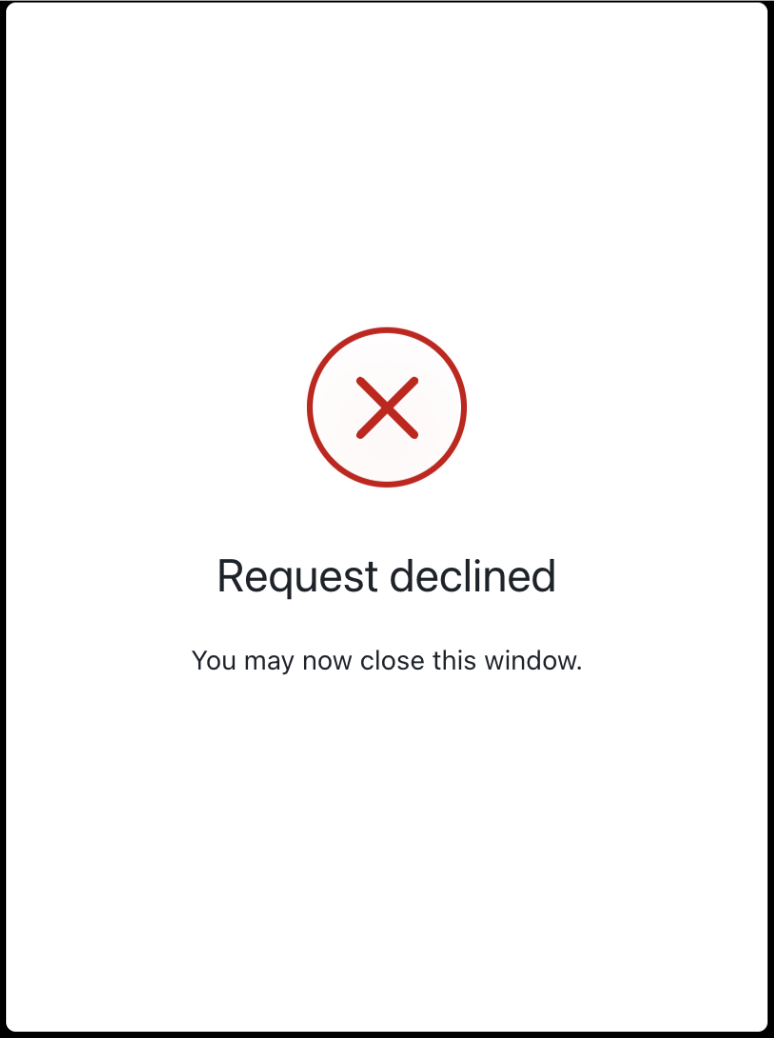
Step 7: Auth0 receives user response after the flow completes
The client application completes the polling upon receiving a response from the/token endpoint. A CIBA flow always requires a response, either an approval or decline, from the authorizing user, and existing grants are not checked.
Step 8: Auth0 returns access token to client application
If the user rejects the email request, Auth0 returns an error response like the following to the client application:The
refresh_token will only be present if the offline_access scope was included in the initial /bc-authorize request.