
Jakarta EE 10 includes a new authentication mechanism: OpenID Connect! This can be added to a Jakarta EE servlet using the new @OpenIdAuthenticationMechanismDefinition annotation.
This tutorial will show you how to implement a web application with OpenID Connect (OIDC) authentication and use Auth0 as the OIDC provider. You will also see one way to secure an API and authenticate using JSON Web Tokens (JWTs). This will all be accomplished using WildFly as the Jakarta EE runtime.
This stack includes a lot of technologies. I'm going to introduce them briefly below. If you're comfortable with all those terms and just want to get to the code, feel free to skip ahead to the prerequisites section.
Jakarta EE vs Java EE
Jakarta EE is Jakarta Enterprise Edition, formerly known as Java EE. The name and framework packages were migrated when Oracle gave Java EE to the Eclipse Foundation because Oracle still has the rights to the Java brand and did not open-source absolutely everything in the javax.* namespace. Thus, Jakarta EE is the Eclipse-owned and now totally open-source Java EE (You may have recently had to change some packages from javax to jakarta. This is why.)
Enterprise Edition is built on top of Jakarta (that is, Java) SE or Standard Edition. Jakarta SE is the more lightweight Java version that provides a basic cross-platform runtime. Enterprise Edition is assumed to run on an application server and adds libraries for larger-scale, multi-user applications.
What about Java SE?
To run a Java SE application, you only need the JRE (Java runtime environment) for a compatible version of Java. Enterprise Edition, however, requires a complete runtime environment and has many more possible modules and configuration options. To see a list of Jakarta EE-compatible products, you can look at the Jakarta website. A few examples are Open Liberty, Payara, WildFly, GlassFish, and TomEE.
As of the time I wrote this tutorial, Jakarta EE 10 was a very new release, and only three frameworks supported version 10: Eclipse GlassFish, Payara Server Community, and WildFly.
WildFly for Jakarta EE 10
I chose to use WildFly as my Jakarta EE runtime. Hantsy Bai created a great example project that was a big help. Check out the GitHub project repository page. Thanks, Hantsy Bai! Super helpful.
WildFly is an open-source community project sponsored by Red Hat. It bills itself as a "flexible, lightweight, managed application runtime" that is "based on Jakarta EE and provides rich enterprise capabilities in easy-to-consume frameworks that eliminate boilerplate and reduce technical burden." It is a modular, standards-based runtime for Jakarta EE applications.
Jakarta Security 3.0
The exciting thing about Jakarta EE 10 (from a security perspective) is that it includes a new OIDC implementation in the Security 3.0 specification. OpenID Connect is an authentication protocol. Many third-party vendors, such as Auth0 and Okta, implement this protocol, making it relatively easy to add secure login to an application. Jakarta EE 10 Security 3.0 provides an annotation-based configuration to add OIDC authentication to servlets.
You can check out the docs for Jakarta EE 10 Security 3.0 OIDC here.
Prerequisites
Before you start, please ensure the following prerequisites are installed (or install them now).
- Java 17: or use SDKMAN! to manage and install multiple versions (the Jakarta EE spec says 11 and up is supported, but I wrote this tutorial assuming version 17)
- Auth0 CLI: the Auth0 command-line interface
- HTTPie: a simple tool for making HTTP requests from a Bash shell
You will need a free Auth0 developer account if you don't already have one. Go ahead and sign up for an Auth0 account using their sign-up page.
Clone this tutorial's example from its GitHub repository.
git clone https://github.com/oktadev/auth0-jakarta-ee-oidc-example.git
Jakarta EE Example Project Overview
I won't reproduce the entire pom.xml file here, but I want to point out a few things.
First, take a look at the dependencies. The only dependency required for Jakarta EE is the first one (jakarta.jakartaee-api).
<dependencies>
    <dependency>
        <groupId>jakarta.platform</groupId>
        <artifactId>jakarta.jakartaee-api</artifactId>
        <version>${jakartaee-api.version}</version>
        <scope>provided</scope>
    </dependency>
</dependencies>
The WildFly plugin is included and configured in the block below.
<plugin>
    <groupId>org.wildfly.plugins</groupId>
    <artifactId>wildfly-maven-plugin</artifactId>
    <version>${wildfly-maven-plugin.version}</version>
    <configuration>
        <commands>
            <command>/subsystem=undertow/application-security-domain=other:write-attribute(name=integrated-jaspi, value=false)</command>
            <command>reload</command>
        </commands>
    </configuration>
</plugin>
The docs for the WildFly Maven plugin are here. Except for the cryptic <command></command> block, the plugin is pretty simple and easy to use.
It took a little digging to figure out, but the obscure command block is required, at least according to the experts I asked. It disables integrated JASPI (Java Authentication SPI for Containers) in the server and delegates validation of credentials to a non-integrated ServerAuthModule. This allows identities to be dynamically created instead of statically stored in an integrated security domain. Look at the Elytron and Java EE Security section of the docs for more on this.
There's also a Maven unpack plugin that is used to download the specified WildFly version and unpack it locally. Alternatively, you could run a separate instance of WildFly and load the application using the WildFly Maven plugin.
Project Structure and Configuration
The files in the src directory are listed below. There are three different services:
- the OIDC-protected servlet;
- the API servlet protected by a JWT authentication filter; and
- an unprotected servlet.
src
└── main
    ├── java
    │   └── com
    │       └── demo
    │           ├── ApiServlet.java // API protected by filter
    │           ├── CallbackServlet.java  // OIDC callback handler
    │           ├── JwtFilter.java  // Verifies JWT and secures ApiServlet
    │           ├── OidcConfig.java  // Loads oidc.properties
    │           ├── ProtectedServlet.java  // OIDC-handling servlet endpoint
    │           └── PublicServlet.java  // Public endpoint
    ├── resources
    │   ├── META-INF
    │   │   ├── beans.xml  // Declare some provided dependencies for deployment
    │   │   └── MANIFEST.MF  // Configure CDI (Contexts and Dependency Injection)
    │   ├── logging.properties  // Simple console logging configuration
    │   └── oidc.properties  // OpenID Connect config properties
    └── webapp
        └── WEB-INF
            └── jboss-web.xml  // Configures context root to '/'
When the application loads, the OpenID Connect properties are loaded from oidc.properties by the OidcConfig class. These values are used by the JwtFilter to create the class that verifies JSON Web Tokens. These properties are also used by the ProtectedServlet in the @OpenIdAuthenticationMechanismDefinition annotation to configure OIDC.
The jboss-web.xml file is simply used to change the context root to /.
Neither of the files in the META-INF directory seems to be required for the application to function. The beans.xml file explicitly enables CDI / dependency injection. However, this would also be done implicitly by the use of annotations. The MANIFEST.MF file defines some provided runtime dependencies related to CDI. Perhaps it would be necessary to include this file in some runtime environments, but it seems unneeded when running locally with WilfFly.
Create an Auth0 OIDC Application
If you have not already, install the Auth0 CLI and run auth0 login in a terminal. As I write this, the Auth0 CLI 1.0 version is in beta. It adds some new features that I'll mention. You can take a look at the release here.
Waiting for the login to complete in the browser... done

 ▸    Successfully logged in.
 ▸    Tenant: dev-0xb84jzp.us.auth0.com
Take note of the domain listed as the tenet. This is your Auth0 domain. If you need to find it again later, you can use auth0 tenants list.
Now use the Auth0 CLI to create an OpenID Connect (OIDC) application. From the project base directory, run the following.
auth0 apps create
Use the following values:
- Name:
jakartaee-demo - Description: whatever you like, or leave blank
- Type:
Regular Web Application - Callback URLs:
http://localhost:8080/callback - Allowed Logout URLs:
http://localhost:8080
The console output shows you the Auth0 domain and the OIDC client ID. However, you also need the client secret. With the 1.0 version of the Auth0 CLI, you can show the client secret by adding --reveal-secrets to the apps create command. However, you must get the client secret for previous versions by logging into Auth0. Type the following:
auth0 apps open
Select the OIDC app (or client) you just created from the list. This will open the OIDC application on the Auth0 dashboard.

Fill in the three values in src/main/resources/oidc.properties. Replace the bracketed values with the values from the OIDC application page on the Auth0 dashboard.
domain=<your-auth0-domain>
clientId=<your-client-id>
clientSecret=<your-client-secret>
You also need to fill in your domain in the ProtectedServlet.java file. In the OpenIdAuthenticationMechanismDefinition annotation, look at the extraParameters parameter. You need to replace <your-auth0-domain> with your actual Auth0 domain.
src/main/java/com/demo/ProtectedServlet.java
@OpenIdAuthenticationMechanismDefinition(
    clientId = "${oidcConfig.clientId}",
    clientSecret = "${oidcConfig.clientSecret}",
    redirectURI = "${baseURL}/callback",
    providerURI = "${oidcConfig.issuerUri}",
    jwksConnectTimeout = 5000,
    jwksReadTimeout = 5000,
    extraParameters = {"audience=https://<your-auth0-domain>/api/v2/"}, // <-- YOUR DOMAIN HERE
    claimsDefinition = @ClaimsDefinition(callerGroupsClaim = "http://www.jakartaee.demo/roles")
)
There must be a way to use the extraParametersExpression annotation parameter to load this from the config file, but I was unable to get it to work (if somebody figures it out, let me know, and I'll update this tutorial).
Configure Roles on Auth0
Managing roles is a feature that is being added in the upcoming Auth0 CLI 1.0 version that's currently in beta. What I'll show you below is how to do it in the dashboard.
Open your Auth0 developer dashboard. You need to create a role, assign your user to that role, and create an action that will inject the roles into a custom claim in the JWT.
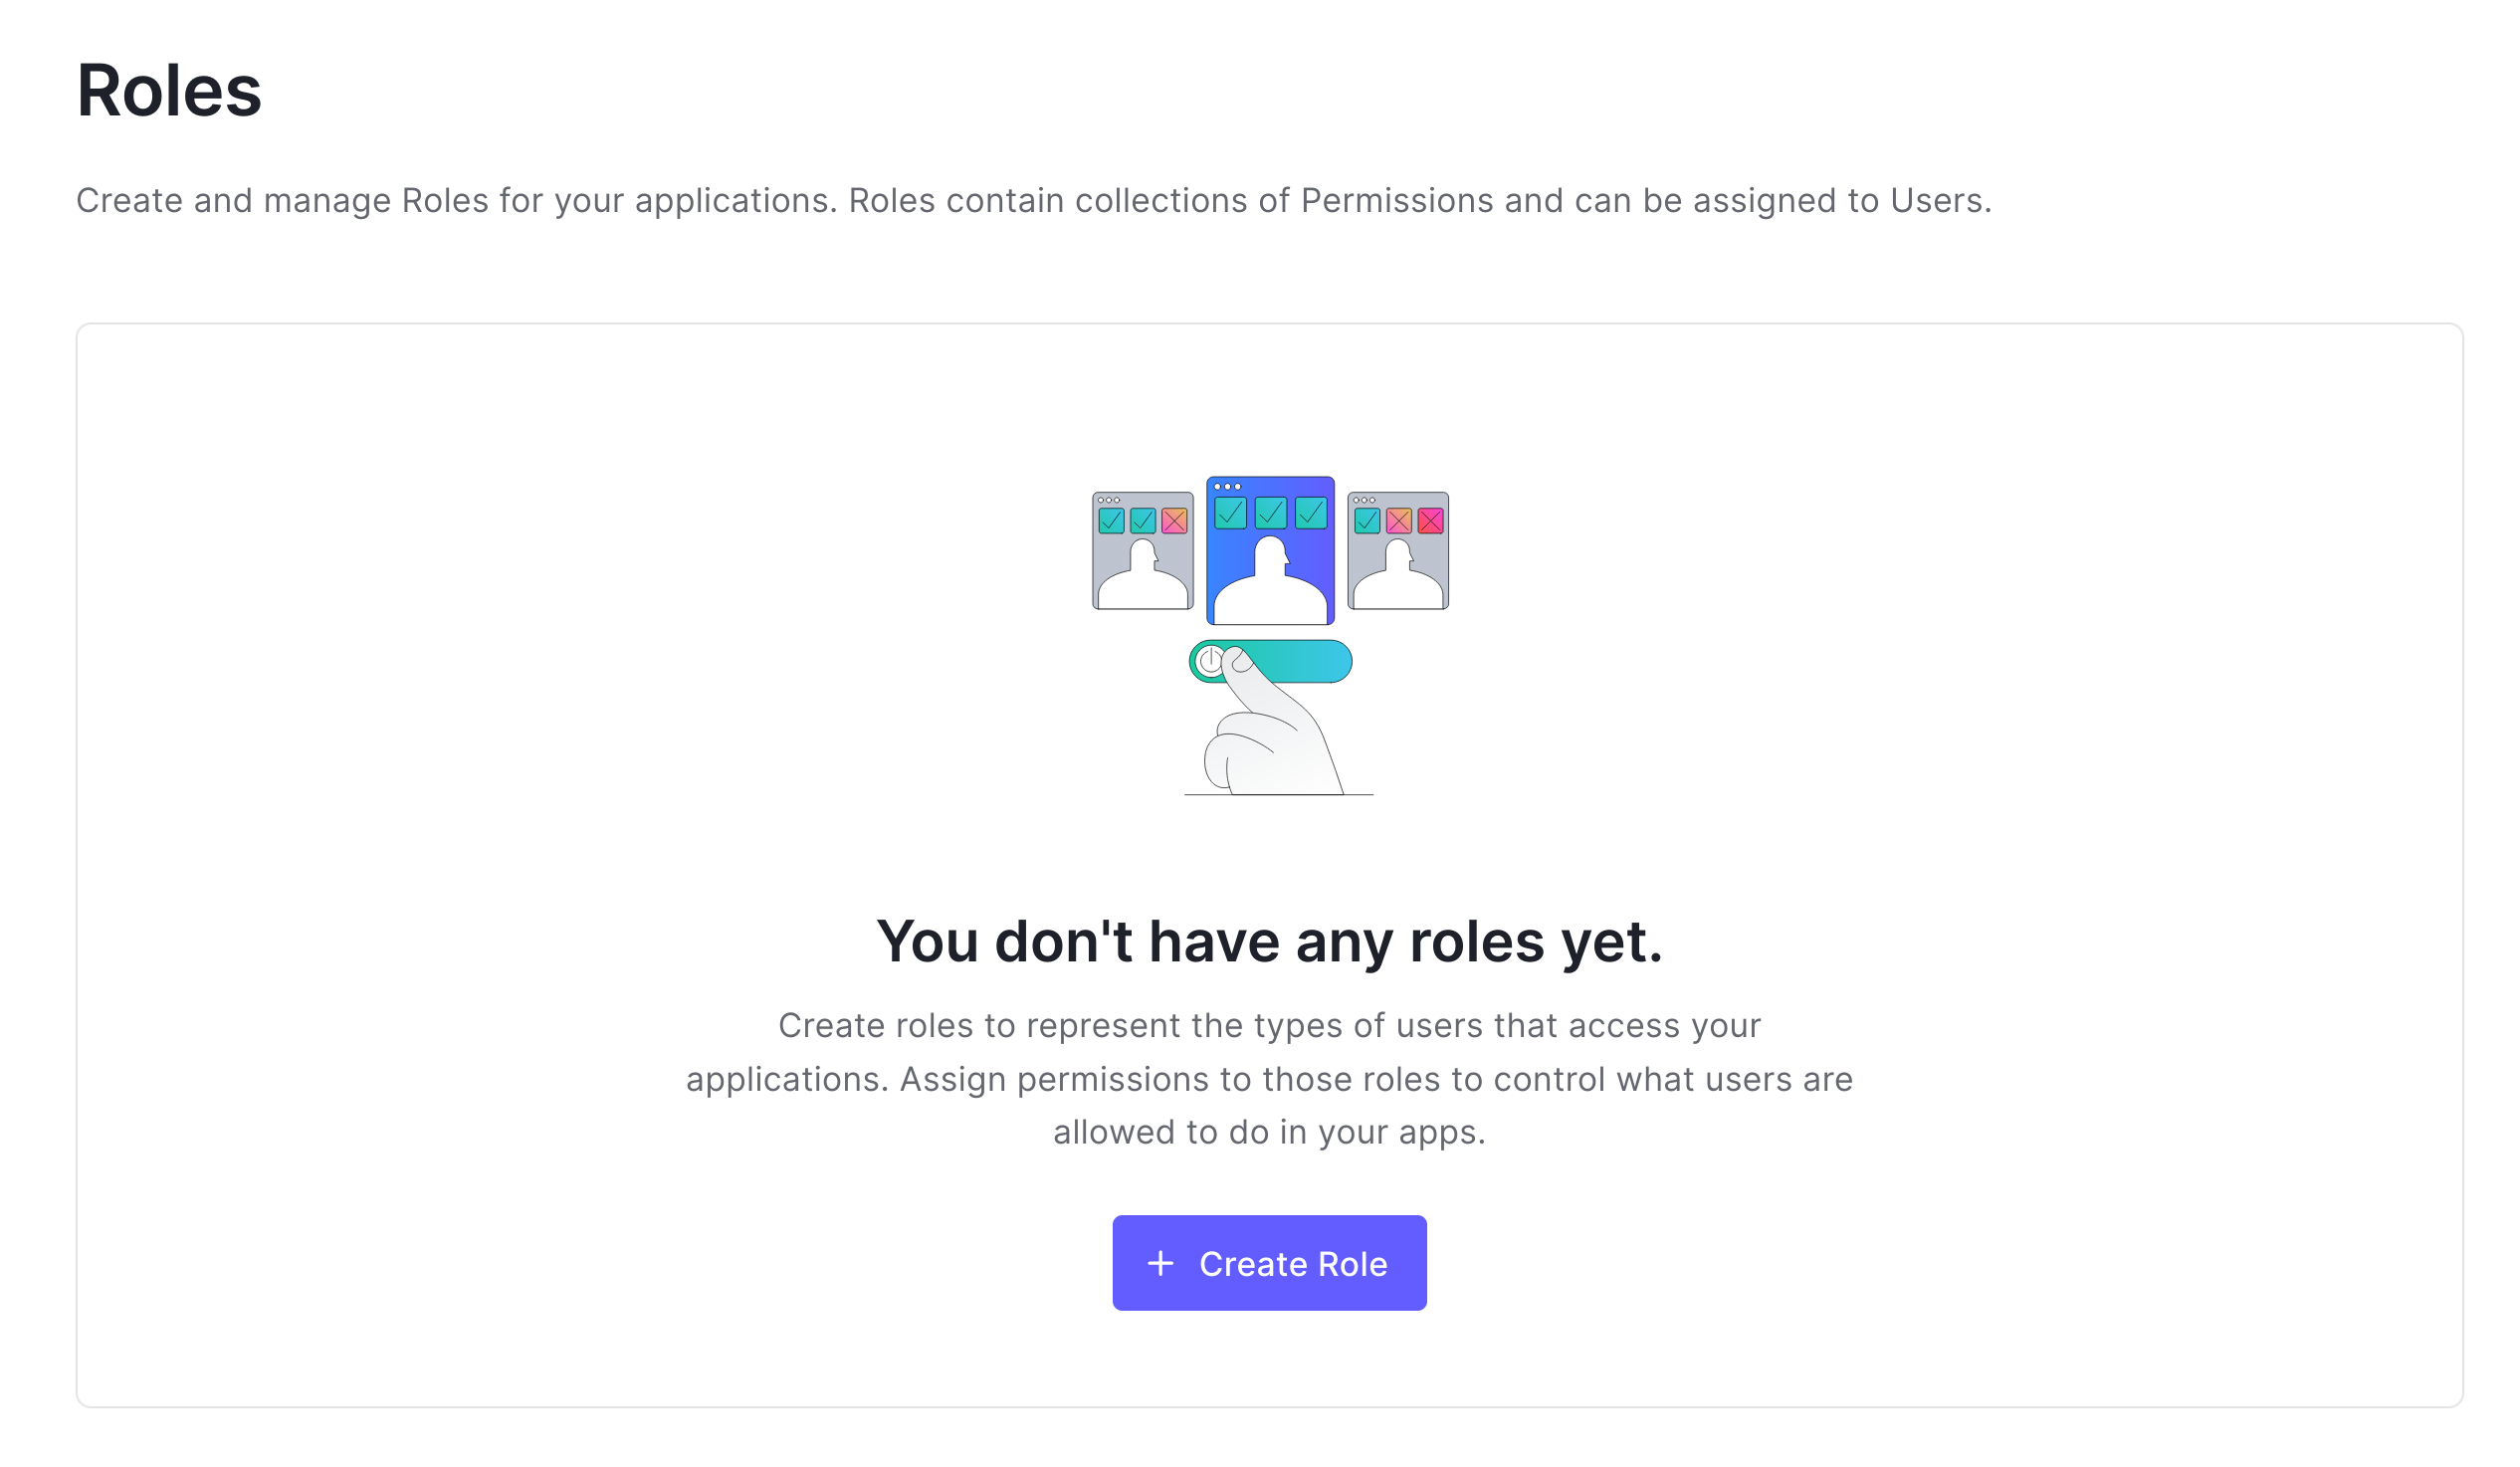
Under User Management, click on Roles. Click the Create Role button.
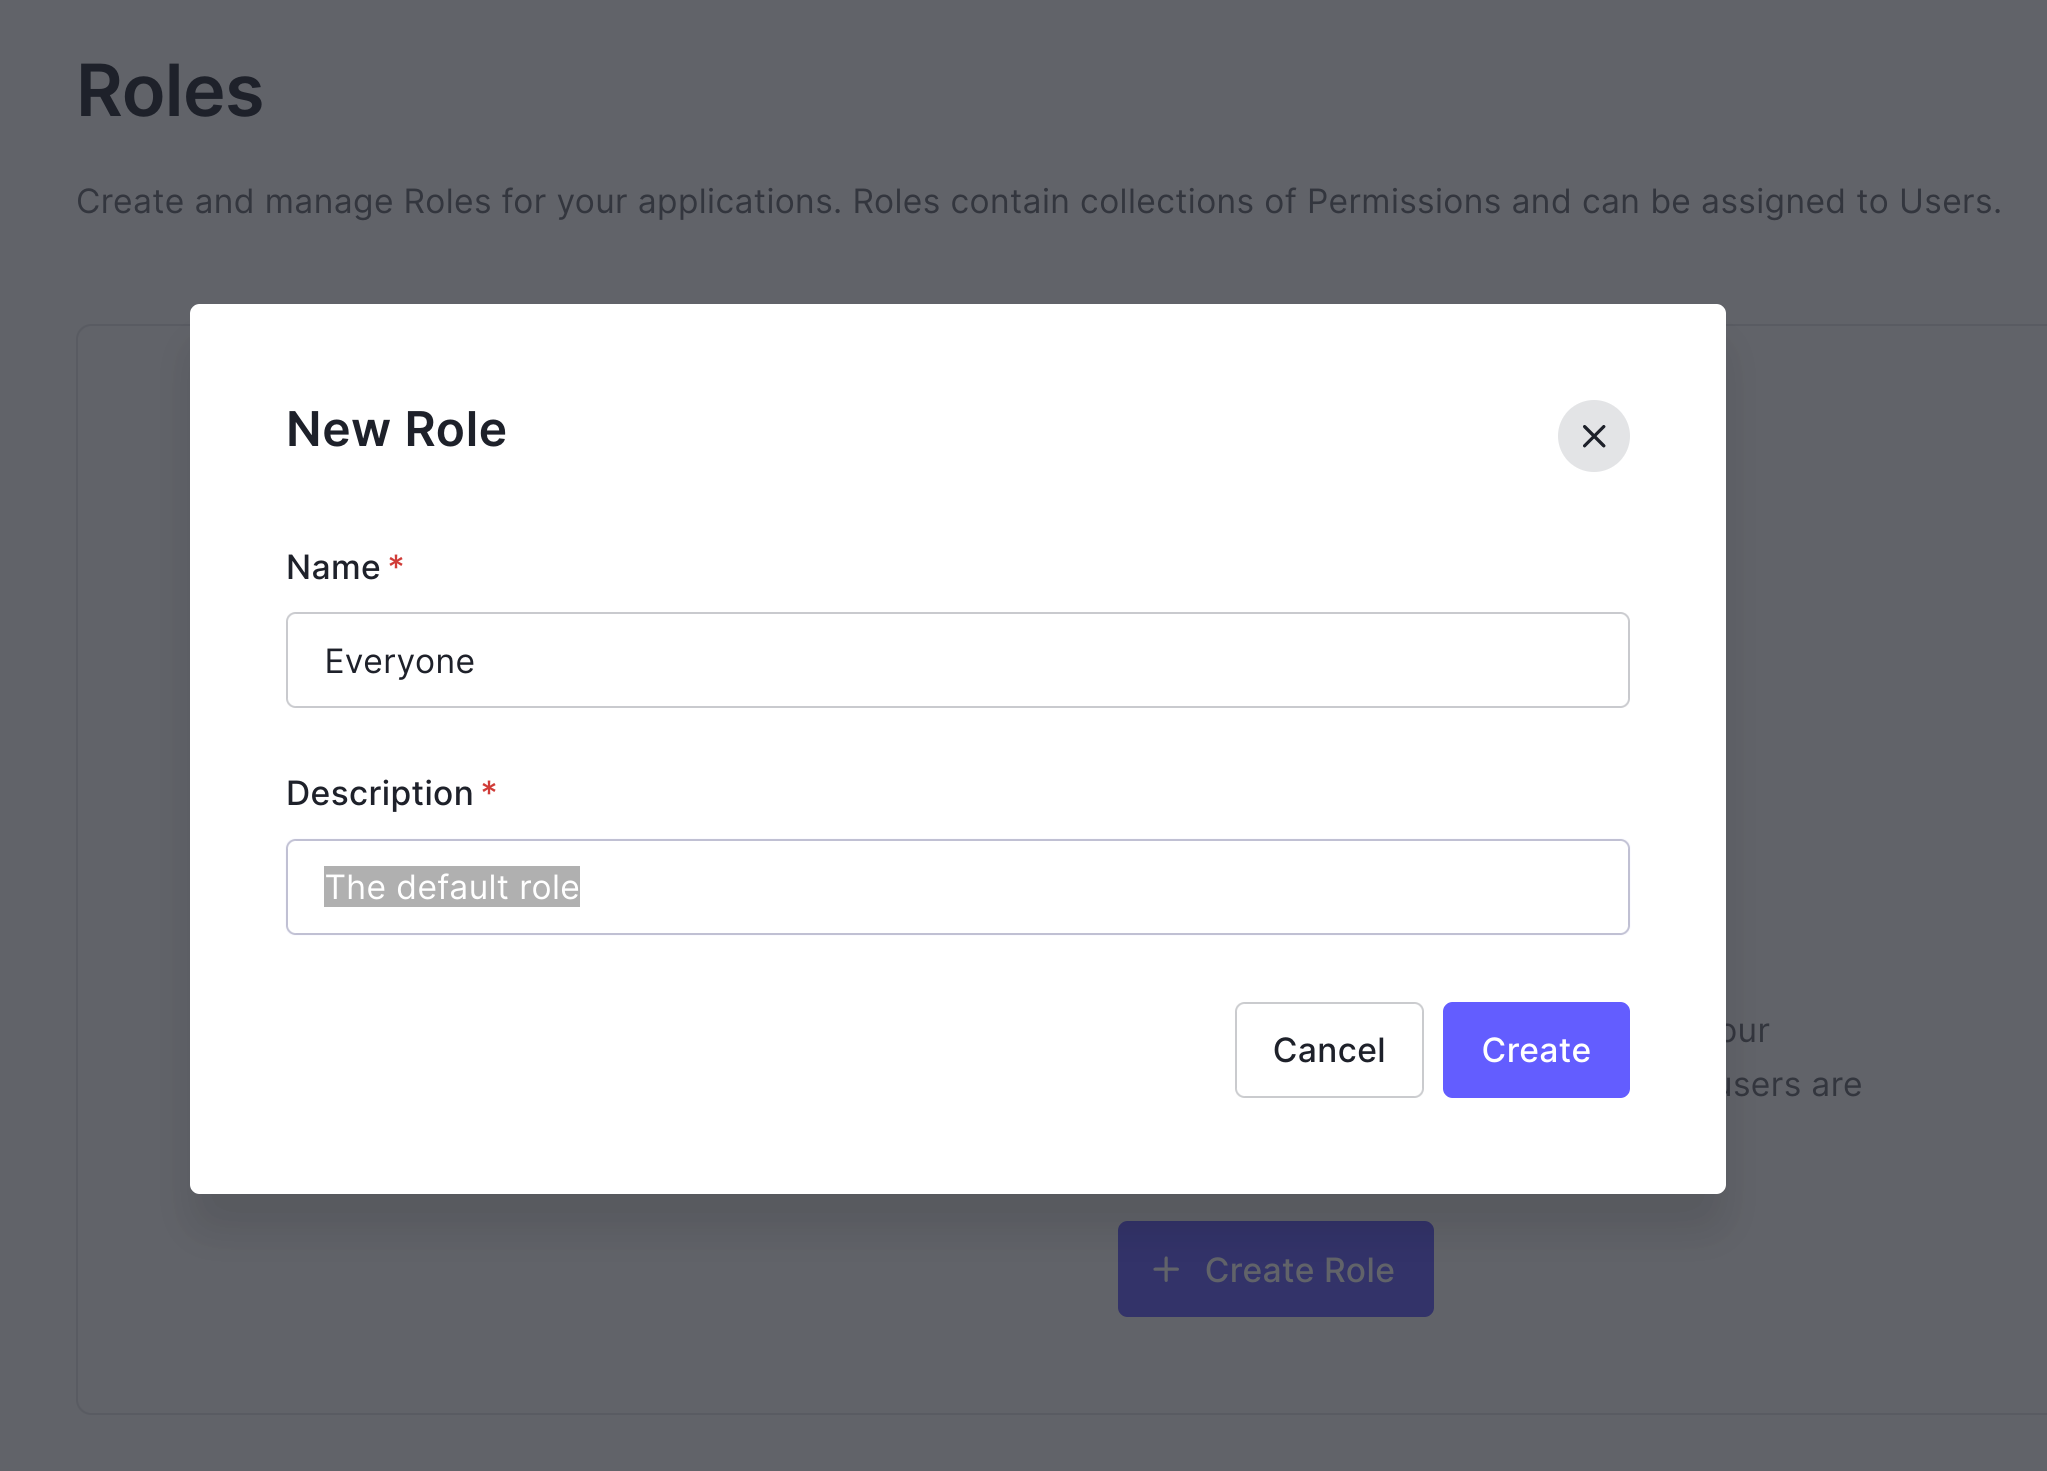
Name the role Everyone. Give it a Description, whatever you like. Click Create.
The Everyone role panel should be shown. Select the Users tab. Click Add Users. Assign yourself to the role.
You've now created a role and assigned yourself to it. But this information will not be passed along in the JWT without a bit of customization. The current best practice is to do this using actions.
Select Actions from the left menu in the developer dashboard. Click on Flows. Select Login.
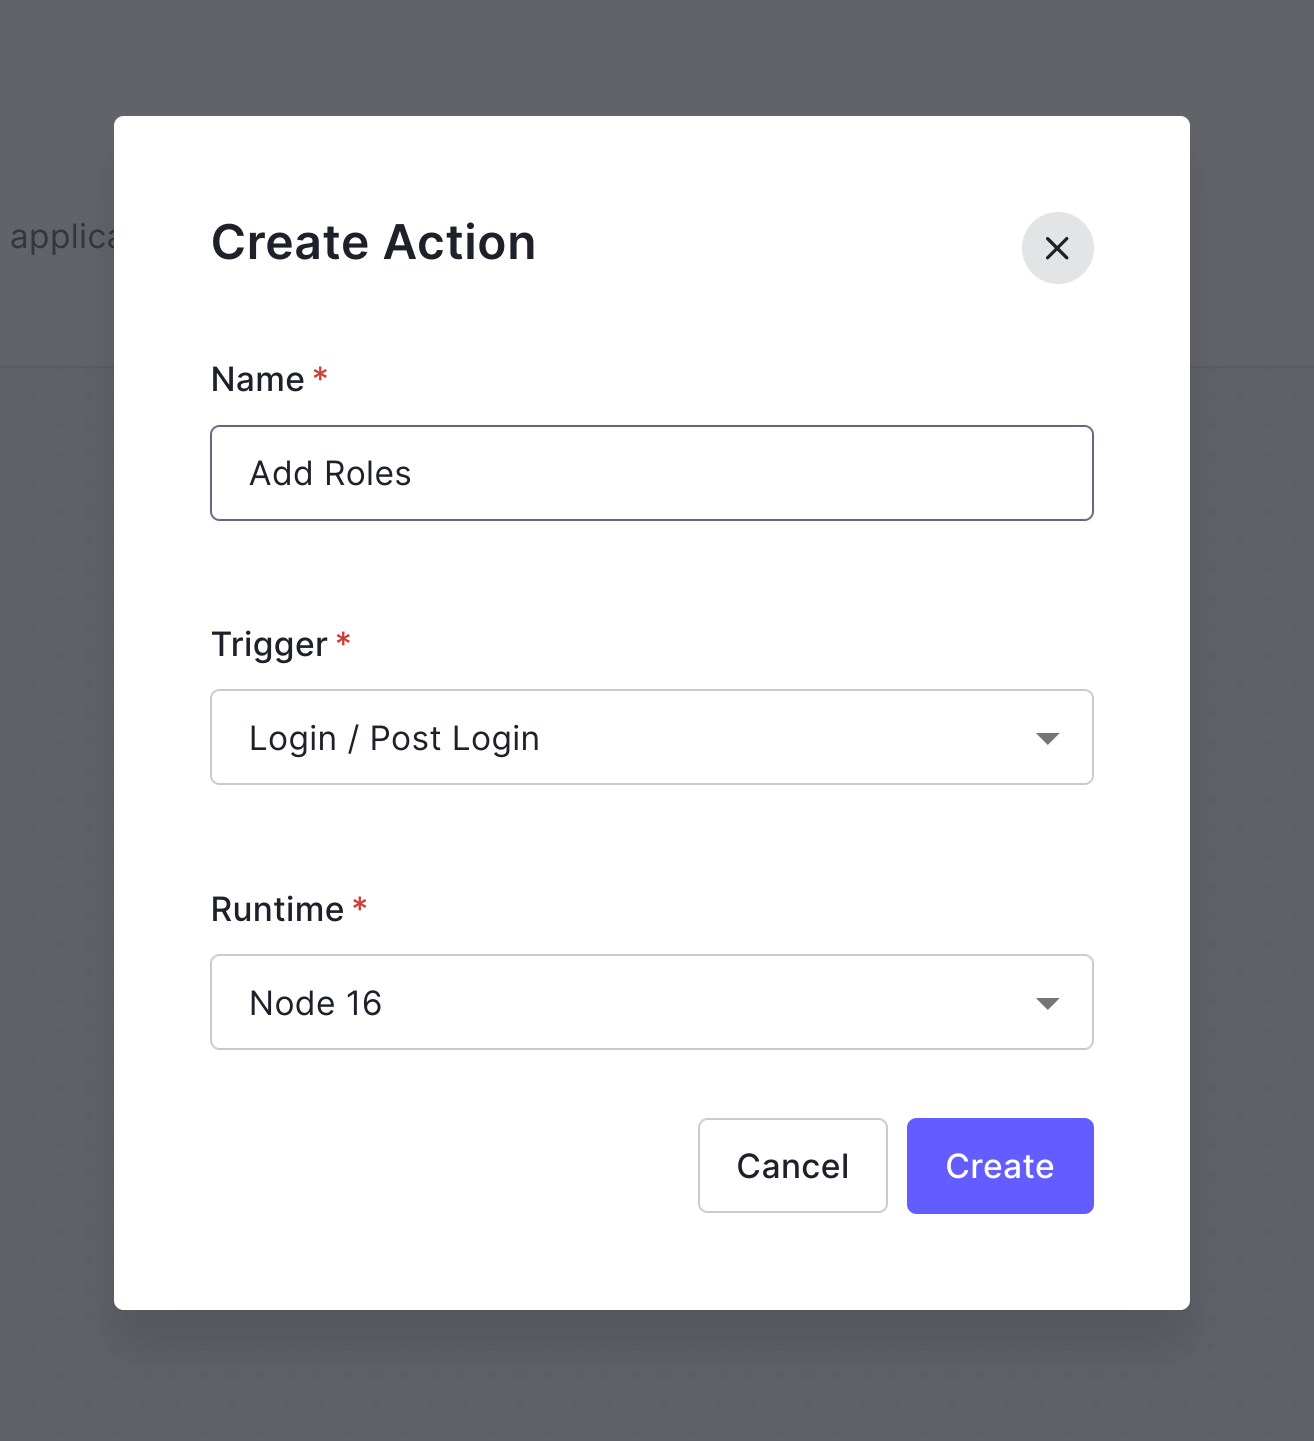
Add a new action by clicking on the + symbol to the right of Add Action. Select Build Custom.
Give the action a Name, such as Add Roles. Leave the other two values the same. Click Create.
Change the code for the action to the following.
exports.onExecutePostLogin = async (event, api) => {
  const namespace = 'http://www.jakartaee.demo';
  if (event.authorization) {
    api.idToken.setCustomClaim('preferred_username', event.user.email);
    api.idToken.setCustomClaim(`${namespace}/roles`, event.authorization.roles);
    api.accessToken.setCustomClaim(`${namespace}/roles`, event.authorization.roles);
  }
}
Click on Deploy.
Click on the Add to flow link in the popup window that slides in (if you miss this, you can find the new action under the custom action tab back in the flow panel).
Drag the Add Roles action over under the Rules (legacy) action.
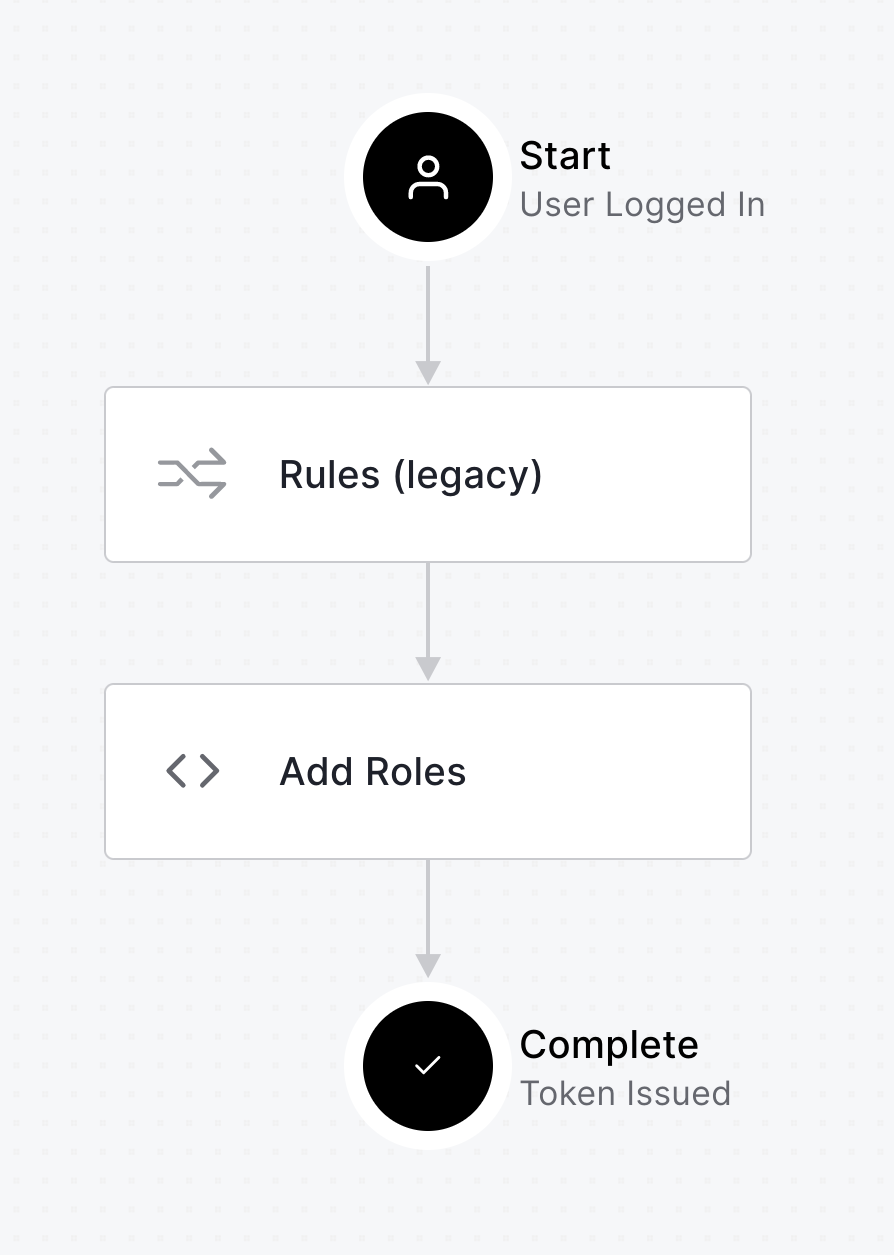
Click Apply (top right of the panel).
Explore the ProtectedServlet and OIDC Flow
Let's look at the ProtectedServlet first. This is the class that defines the OIDC annotation and will redirect to Auth0 to handle OIDC authentication. You should have already substituted your Auth0 domain for the bracketed placeholder in the OpenID annotation in this file. The actual method does very little, just extract some information from the JWT and print it. All of the action is in the annotations.
src/main/java/com/demo/ProtectedServlet.java
package com.demo;

...

// This globally defines the OIDC configuration (but does not itself secure the method)
@OpenIdAuthenticationMechanismDefinition(
    clientId = "${openIdConfig.clientId}",
    clientSecret = "${openIdConfig.clientSecret}",
    redirectURI = "${baseURL}/callback",
    providerURI = "${openIdConfig.issuerUri}",
    jwksConnectTimeout = 5000,
    jwksReadTimeout = 5000,
    extraParameters = {"audience=https://<your-auth0-domain>/api/v2/"}, // <-- YOUR AUTH0 DOMAIN HERE
    claimsDefinition = @ClaimsDefinition(callerGroupsClaim = "http://www.jakartaee.demo/roles")
)
// This actually secures the methods in the servlet
@WebServlet("/protected")
@ServletSecurity(
    @HttpConstraint(rolesAllowed = "Everyone")
)
public class ProtectedServlet extends HttpServlet {

    @Inject
    private OpenIdContext context;

    @Inject
    SecurityContext securityContext;

    @Override
    protected void doGet(HttpServletRequest request, HttpServletResponse response) throws IOException {

        var principal = securityContext.getCallerPrincipal();
        var name = principal.getName();

        String html = """
            <div style="margin: 0 10%%; width: 80%%; overflow-wrap: anywhere;">
                <h1>Protected Servlet</h1>
                <p>principal name: %s </p>
                <p>access token (type = %s):</p>
                <p>%s</p>
                <p>preferred_username: %s</p>
                <p>roles: %s</p>
                <p>claims:</p>
                <p>%s</p>
            </div>
            """.formatted(
            name,
            context.getTokenType(),
            context.getAccessToken(),
            context.getClaimsJson().get("preferred_username").toString(),
            context.getClaimsJson().get("http://www.jakartaee.demo/roles").toString(),
            context.getClaimsJson()
        );

        response.setContentType("text/html");
        response.getWriter().print(html.toString());
    }
}
The @OpenIdAuthenticationMechanismDefinition is the new feature added by Jakarta EE 10 and Security 3.0. The docs for this annotation are here.
The first four parameters set the required OIDC values. I had to increase the timeout values to avoid an intermittent error. The extraParameters param is used to send the audience value as the Auth0 custom API (without which, Auth0 will return an opaque token). The claimsDefinition param is used to configure reading the roles from the custom claim.
The @OpenIdAuthenticationMechanismDefinition annotation alone does not protect the resource. It activates OIDC and configures a provider. It could just as easily have been included in another class file.
The security constraint is added by @ServletSecurity, which is used to only allow users with the role (or group) Everyone.
The other annotation, @WebServlet("/protected"), defines the class as a web servlet and defines the path. You can see the spec for this annotation here.
CDI (Context and Dependency Injection) is used to inject two dependencies: the OpenIdContext and the SecurityContext. These are both used to retrieve and return some details about the authenticated person. They are not required for authentication itself.
When a user that is not authenticated attempts to load this resource, they are redirected to Auth0 for authentication. From a browser, the user sees Auth0's login screen. After successfully logging in, the user is redirected back to the /callback servlet with an authentication code. Jakarta EE's security framework intercepts this redirect and sends the code back to Auth0 to exchange it for an authentication token before passing control back to the /callback endpoint.
At this point, the user is successfully authenticated. If you look at the callback servlet (shown below), you'll see that it simply redirects the user back to the /protected servlet.
Log in to the App Using Auth0 SSO and OpenID Connect
Give it a try. Start the app.
./mvnw wildfly:run
Wait a few seconds for it to finish loading.
Open a browser to the protected page at http://localhost:8080/protected.
You'll have to authorize the app with Auth0. You may also have to log in if you are not already logged in. After that, you should be redirected back to the protected page, which will print out some information from the token.
Success! You've got a working Jakarate EE application secured with OIDC and OAuth 2.0.
Protected Servlet

principal name: andrewcarterhughes+test@gmail.com

access token (type = Bearer):

eyJhbGciOiJSUzI1NiIsInR5cCI6IkpXVCIsImtpZCI6Im5yMWZwWVlkb3JkalEybzRlREp6MiJ9.eyJodHRwOi8vd3d3Lmpha2FydGFlZS5kZW1vL3JvbGVzIjpbIkV2ZXJ5b25lIl0sImlzcyI6Imh0dHBzOi8vZGV2LTByYTk5anJwLnVzLmF1dGgwLmNvbS8iLCJz...

preferred_username: "andrewcarterhughes+test@gmail.com"

roles: ["Everyone"]

claims:

{"sub":"auth0|638e36302e342504ae92b911","nickname":"andrewcarterhughes+test","preferred_username":"andrewcarterhughes+test@gmail.com","name":"andrewcarterhughes+test@gmail.com","picture":"https://s.gravatar.com/avatar/146a9ec7b0773b3edc6a299d7ad5dbb0?s=480&r=pg&d=https%3A%2F%2Fcdn.auth0.com%2Favatars%2Fan.png","updated_at":"2023-02-18T04:37:30.403Z","email":"andrewcarterhughes+test@gmail.com","email_verified":true,"http://www.jakartaee.demo/roles":["Everyone"]}
Make sure you see roles: ["Everyone"]. This is coming from the claim http://www.jakartaee.demo/roles":["Everyone"], which is what is being injected by the action you created on Auth0. If that's not there, something is misconfigured.
Next, you'll see how to secure an API method on the app and use the token you just retrieved to access the secured API method. Directly below, however, is a summary of the OIDC login flow for people not already familiar with it.
OpenID Connect Authentication Flow Summary
For people new to OAuth and OIDC, this is a summary of what just happened when you accessed the protected endpoint.
- Client requests
/protected. - Jakarta EE Security 3.0 intercepts this request based on OIDC configuration and authentication requirement for the endpoint and redirects to Auth0 for authentication.
- Upon successful authentication, Auth0 redirects back to
/callbackendpoint, sending the authorization code. - Jakarta EE Security 3.0 intercepts the request to the
/callbackendpoint and sends the authorization code back to Auth0. - Auth0 accepts the authorization code, verifies it, and returns an access token (and possibly an identity token) to the Jakarta EE Security 3.0 framework.
- The client receives the access token, unpacks it, and verifies it. Once the token is verified, the user is authenticated. The
callbackmethod is run, which programmatically redirects back to the/protectedendpoint. - Before the
/protectedendpoint is run, the@ServletSecurityannotation requirement is checked. If the user is a member of theEveryonegroup, theProtectedServlet.doGet()method is called. - Finally, the
ProtectedServlet.doGet()method is called.
All of that happened above when you logged into Auth0 and loaded the protected servlet. Since this servlet handily prints out the JWT, I thought it would be nice to see how to secure a web API using a JWT, which is what you'll see in the next section.
Use the JWT to Access the Protected API
Your secured API method will not perform all of the redirecting of the OIDC flow. Instead, it will simply decode and validate the JWT. Take a look at the ApiServlet.java file. This is what defines the API servlet. This is what you'll access using the JWT and a simple HTTP request using HTTPie.
src/main/java/com/demo/ApiServlet.java
package com.demo;

...

@WebServlet("/api/protected")
public class ApiServlet extends HttpServlet {

    @Override
    protected void doGet(HttpServletRequest request, HttpServletResponse response) throws IOException {

        DecodedJWT jwt = (DecodedJWT) request.getAttribute("accessToken");
        IdToken idToken = (IdToken) request.getAttribute("idToken");
        response.setContentType("text/plain");
        response.getWriter().println("Welcome, " + idToken.email);
        response.getWriter().println("accessToken claims:" + jwt.getClaims());
        response.getWriter().println("idToken claims:" + idToken.toString());
    }
}
By itself, this servlet is not secured. It would be public without the JwtFilter class, which is shown below. The filter intercepts any requests matching the /api/* URL pattern and denies them if they do not have a valid JWT. Notice that this is a totally different authentication and authorization method from the client login OIDC example above.
src/main/java/com/demo/JwtFilter.java
package com.demo;

...

@WebFilter(filterName = "jwtFilter", urlPatterns = "/api/*")
public class JwtFilter implements Filter {

    private static final Logger LOGGER = Logger.getLogger(JwtFilter.class.getName());

    @Inject
    OidcConfig oidcConfig;

    @Override
    public void init(FilterConfig filterConfig) {
        LOGGER.info("Auth0 jwtVerifier initialized for issuer:" + oidcConfig.getIssuerUri());
    }

    @Override
    public void doFilter(ServletRequest servletRequest, ServletResponse servletResponse,
                         FilterChain chain) throws IOException, ServletException {

        HttpServletRequest request = (HttpServletRequest) servletRequest;
        HttpServletResponse response = (HttpServletResponse) servletResponse;

        LOGGER.info("In JwtFilter, path: " + request.getRequestURI());

        // Get access token from authorization header
        String authHeader = request.getHeader("authorization");
        if (authHeader == null) {
            response.setStatus(HttpServletResponse.SC_UNAUTHORIZED);
            response.getOutputStream().print("Unauthorized");
            return;
        } else {
            // Get the access token from the header
            String accessToken = authHeader.substring(authHeader.indexOf("Bearer ") + 7);
            LOGGER.info("accesstoken: " + accessToken);
            JwkProvider provider = new UrlJwkProvider(oidcConfig.getIssuerUri());
            try {
                // Decode the access token
                DecodedJWT jwt = JWT.decode(accessToken);
                // Get the kid from received JWT token
                Jwk jwk = provider.get(jwt.getKeyId());

                Algorithm algorithm = Algorithm.RSA256((RSAPublicKey) jwk.getPublicKey(), null);

                // Verify the access token
                JWTVerifier verifier = JWT.require(algorithm)
                    .withIssuer(oidcConfig.getIssuerUri())
                    .build();

                jwt = verifier.verify(accessToken);
                LOGGER.info("JWT decoded. sub=" + jwt.getClaims().get("sub"));

                // Save the access token in a request attribute
                request.setAttribute("accessToken", jwt);

                // Get the ID Token
                String issuerUri = oidcConfig.getIssuerUri();
                String userinfoUri = issuerUri + "userinfo";
                LOGGER.info("userinfoUri: " + userinfoUri);

                HttpClient client = HttpClient.newHttpClient();
                HttpRequest requestIdToken = HttpRequest.newBuilder(
                        URI.create(userinfoUri))
                    .header("Authorization", "Bearer " + accessToken)
                    .build();
                HttpResponse<String> responseIdToken = client.send(requestIdToken, HttpResponse.BodyHandlers.ofString());
                String idTokenString = responseIdToken.body();
                LOGGER.info("idTokenString: " + idTokenString);

                // Deserialize the ID token
                IdToken idToken = new Gson().fromJson(idTokenString, IdToken.class);

                LOGGER.info("idToken: " + idToken.toString());

                // Save the id token in a request attribute
                request.setAttribute("idToken", idToken);

            } catch (JWTVerificationException | JwkException e) {
              ...
            } catch (InterruptedException e) {
              ...
            }

        }

        chain.doFilter(request, response);
    }

    @Override
    public void destroy() {
    }

}
This code uses Auth0's JWT verifier for Java. Auth0 has good docs on JWT validation. If a valid JWT is found and decoded, it is saved in a request attribute. The access token, however, has minimal user information in it (just the user ID as the sub claim). The filter code uses the access token to request the ID token from the userinfo endpoint. This returns complete user information, such as the email address and preferred name. This is deserialized into the IdToken Java object and stored in another request attribute. These are read in the ApiServlet.
Give it a try. Start the project.
./mvnw wildfly:run
Make a request to the protected API endpoint (not the OIDC endpoint).
http :8080/api/protected
You'll get the following:
HTTP/1.1 401 Unauthorized
Now, use your OIDC endpoint to retrieve a token. Using a browser, open http://localhost:8080/protected.
Authenticate with Auth0. When you are redirected back to the protected servlet page, copy the token value and save it as a variable in a new shell.
TOKEN=eyJraWQiOiJqY3dpbGpUcGVZSG1Jajl6ODR3LV...
In that same shell, make a request to the protected API endpoint using the token.
http :8080/api/protected "Authorization: Bearer $TOKEN"
It should return something like the following.
HTTP/1.1 200 OK
Connection: keep-alive
Content-Length: 401
Content-Type: text;charset=ISO-8859-1
Date: Tue, 23 Feb 2023 07:48:59 GMT

Welcome, andrew.hughes@mail.com
accessToken claims: { ... }
idToken claims: { ... }
...
Keep Learning with Jakarta EE and Auth0
You just built a Jakarta Enterprise Edition application that used the new OpenID Connect annotation and implementation built into Jakarta EE 10. You used Auth0 as the OIDC and OAuth 2.0 provider and saw how to implement both SSO and JWT authentication.
You can find the source code for this example on GitHub in the @oktadev/auth0-jakarta-ee-oidc-example repository.
If you liked this post, there's a good chance you'll like similar ones:
- Secure Secrets With Spring Cloud Config and Vault
- Micro Frontends for Java Microservices
- Build a Simple CRUD App with Spring Boot and Vue.js
If you have questions, please ask them in the comments below! If you're into social media, follow us: @oktadev on Twitter, Okta for Developers on LinkedIn, and OktaDev on Facebook. If you like learning via video, subscribe to our YouTube channel.
About the author