
TL;DR: Parse is shutting down on January 28, 2017. Auth0 allows you to easily migrate Parse users by implementing just a couple of scripts that interface with the Parse REST API. In this tutorial, we'll walk you through a step by step process of setting up Auth0 to automigrate your existing Parse userbase as well as how to implement Auth0 authentication in your app.
“Auth0 allows you to easily migrate Parse users by implementing just a couple of scripts.”
Tweet This
Facebook shocked the developer community when it announced it would be shutting down Parse, a MBaaS, which powers over 500,000 apps. Applications relying on Parse have until January 28, 2017 to find a new home. The Parse team has released two tools to help developers migrate away, Parse Server and the Database Migration Tool.
Today's tutorial will focus on migrating users from an existing Parse application to Auth0. We will implement Auth0's automatic migration feature to work with our existing Parse backend so that when our existing users login their account will be migrated to Auth0. We have developed a sample app that utilizes Parse - and this tutorial will take us step by step through the process of migrating users to Auth0.
Introduction
David S. founded CloudCakes to deliver pastry happiness to customers with the click of a button. After the announcement that Parse is shutting down, David has decided to use Auth0 to manage user creation and authentication. CloudCakes has millions of happy users across the world and David wants to make the transition as smooth as possible. David is not alone in this - so let's see how David and you can migrate your existing Parse userbase to Auth0.
Setting Up Automatic Migration
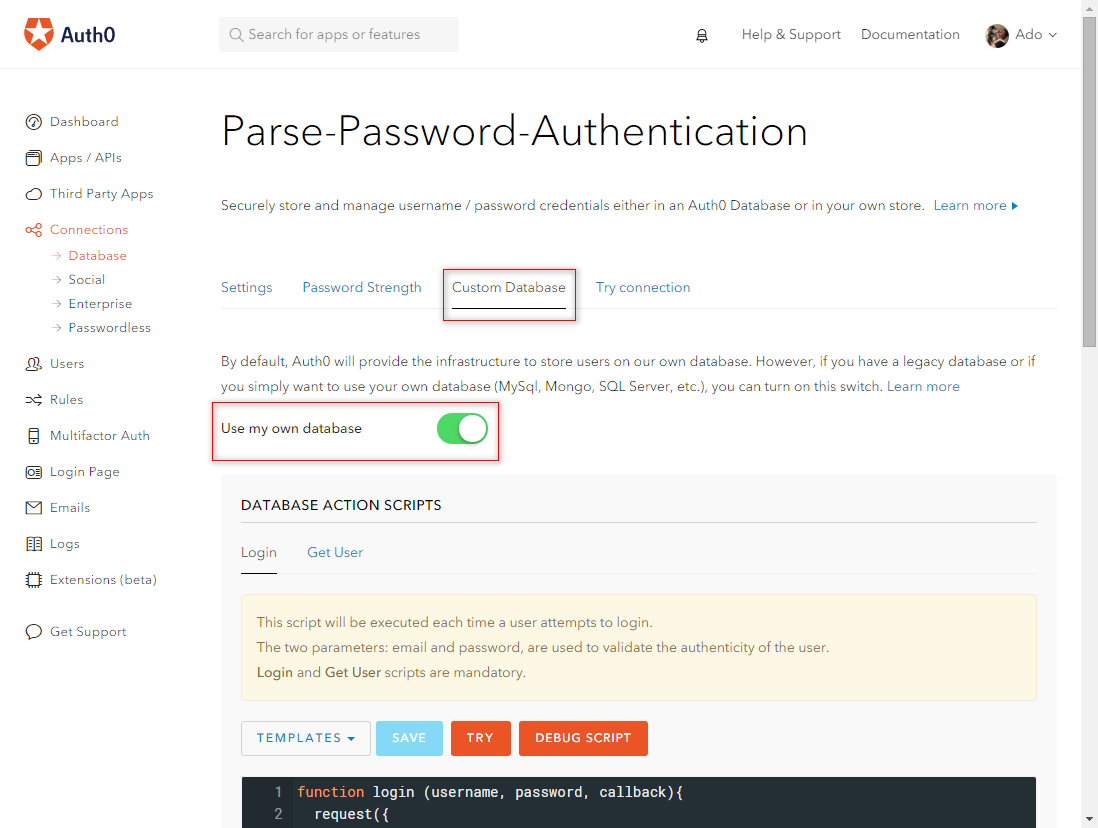
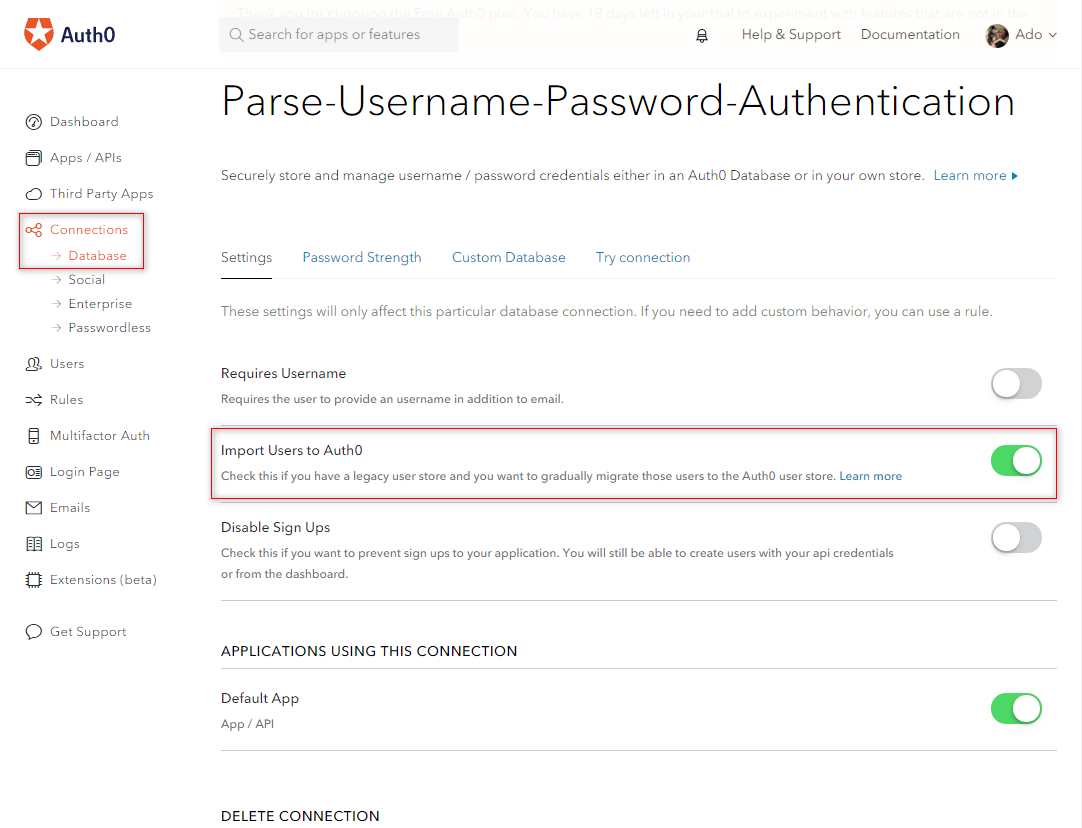
With an Auth0 account created and verified, David is ready to setup automatic migration for his users. In the Auth0 Dashboard, he navigates to the Connections then Database menu and creates a new database connection. To enable the migration from Parse, the first step will be to enable the use of a custom database. To do that, David navigates to the Custom Database tab and flips the switch on the "Use my own database" option. Next, he goes back to the Settings tab and enables the "Import Users to Auth0" functionality.
Username vs Email
Parse uses the username key when creating user accounts. The username key can either be an actual email address or any valid string - it's up to the developer to choose. If your Parse users login with a username rather than an email address, you will also need to enable the "Requires Username" option in the Settings otherwise you can leave this setting unchecked.
Implementing the Database Action Scripts
To get the automatic migration working we will need to implement two scripts - Login and Get User. These scripts are used to interface with your external data store. We'll explain each of the scripts in greater detail below.
Login
The login script is executed when a user attempts to sign in but their account is not found in the Auth0 database. Here we will implement the functionality to pass the user credentials provided to our Parse database and see if that user is valid. Auth0 provides templates for many common databases such as MongoDB, MySQL and Sql Server, but for Parse we will have to write our own. We will utilize Parse's REST API to authenticate the user.
// The login function takes 3 parameters:
// 1. username/email
// 2. password
// 3. callback function
function login (username, password, callback){

  // Utilizing the request library we make the REST call to Parse
  // Visit https://parse.com/docs/rest/guide#users-logging-in for requirements
  request({
    url: 'https://api.parse.com/1/login',
    qs: {username: username, password: password},
    method: 'GET',
    headers: {
        // Auth0 provides us a configuration object we can use to securly store values
        'X-Parse-Application-Id': configuration.ParseApplicationId,
        'X-Parse-REST-API-Key': configuration.ParseAPIKey,
        'X-Parse-Revocable-Session' : '1'
    }
  }, function(error, response, body){
    if(error) {
      callback(error);
    } else {
      body = JSON.parse(body);
      if(response.statusCode !== 200){
        callback();
      } else {
        // If a user was found and succesfully authenticated through the API
        // We create a new Auth0 user with details returned and log the user in
        callback(null, {
          user_id : body.objectId,
          username: body.username,
          email: body.email,
          // We set the users email_verified to true as we assume if they were a valid
          // user in Parse, they have already verified their email
          // If this field is not set, the user will get an email asking them to verify
          // their account
          email_verified: true,
          nickname: body.nickname
          // Add any additional fields you would like to carry over from Parse
        });
      }
    }
  });
}
Get User
The get user script is executed when the user attempts to do a password reset and their account is not found in the Auth0 database. The get user script interfaces with your Parse datastore and checks to see if the user exists there. If the user does exist, their data is sent back to Auth0 where the user is automigrated and a password reset email is sent out. Once the user confirms the reset, they are good to go and can access your app. Subsequent logins will be authenticated against the Auth0 database as the users profile is not stored with Auth0.
Let's take a look at the code to implement this functionality with Parse. Once more, we will be using Parse's REST API to implement a lookup of the users email and if we get a successful return we'll create the user and send out the reset password request.
// The getByEmail function takes 2 parameters:
// 1. email
// 2. callback function
function getByEmail (email, callback) {
  var profile = {
    email:  email
  };

  // We are going to make a query call to the /users endpoint of the Parse API
  // Visit https://parse.com/docs/rest/guide#users-querying for additional info
  request({
    url: 'https://api.parse.com/1/users',
    qs: {where: profile}, // We pass an object with the provided email
    method: 'GET',
    headers: {
        'X-Parse-Application-Id': configuration.ParseApplicationId,
        'X-Parse-REST-API-Key': configuration.ParseAPIKey,
        'X-Parse-Revocable-Session' : '1'
    }
  }, function(error, response, body){
    if(error) {
      callback(error);
    } else {
      body = JSON.parse(body);
      if(response.statusCode !== 200){
        callback();
      } else {
        // The /users endpoint will return either an array or an empty object
        // If what we get is an array, we know we found a user with the provided email
        // If what we get is an empty object, we know that we did not find the user in which case nothing happens
        if(Array.isArray(body.results)){
          var user = body.results[0];
          callback(null, user);
        } else {
          callback();
        }
      }
    }
  });
}
The Parse REST API call to return the user data will return everything except the users password. Just like in the Create User Database Action Script, you are free to modify which data you store in Auth0. Additionally, if you would like to restrict the data returned from Parse, you can do so by implementing query constraints on the call, for more info how to do that check out this section of the Parse REST API docs.
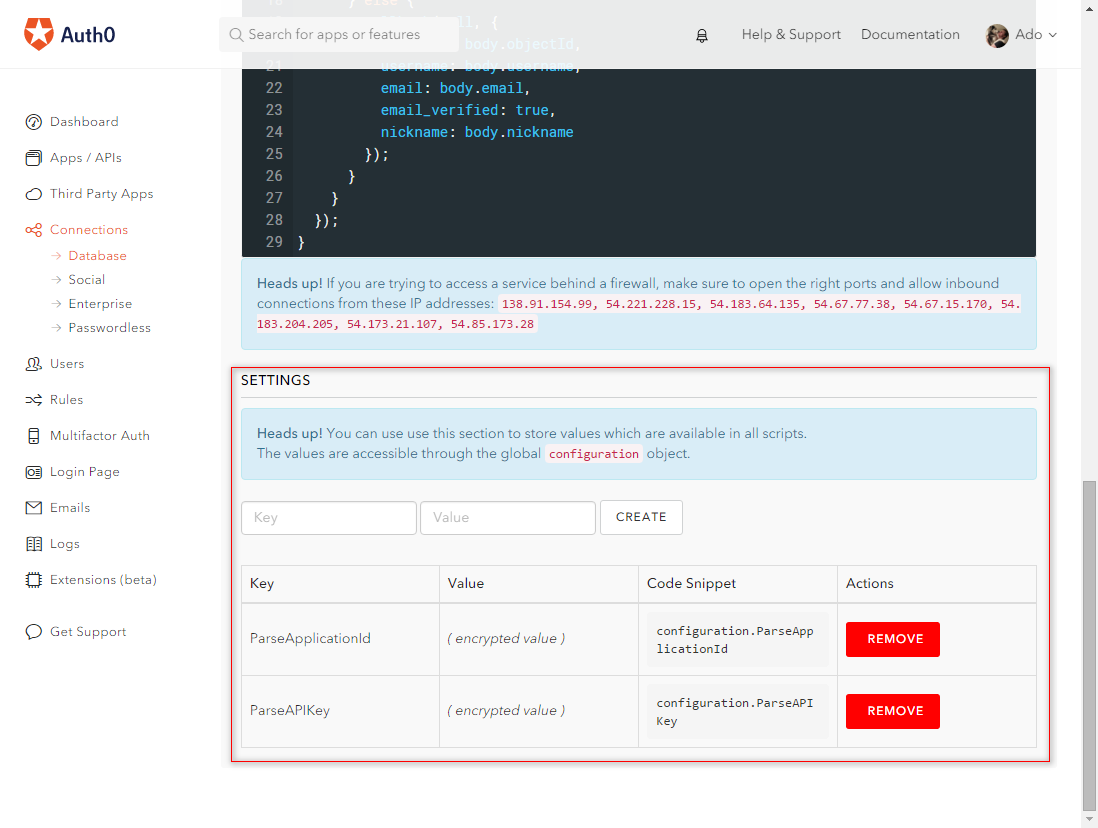
Settings / Configuration
As mentioned in the code sample above, Auth0 provides a convenient configuration object that we can use in our database action scripts. For our Parse integration, we have utilized this feature to create two keys, ParseApplicationId and ParseAPIKey which hold the values of our Parse Application Id and Parse API Key respectively. Creating additional keys is as easy as picking a unique name for the key and entering the value you want it to hold.
Script Debugging
Auth0 additionally provides functionality to try your custom login function as well as debug it when issues arise. As this code runs in a sandbox on Auth0's servers, you will need to install Webtask (as well as NodeJS) by running npm install -g wt-cli and hook it into your Auth0 app. The instructions are very straightforward and can be found by clicking the Debug Script button in the Database Action Scripts section of the page. The webtask that runs will display any console.logs you have placed in your Database Action Scripts functions as well as other errors.
Implement Auth0 Authentication in CloudCakes
We are now ready to implement Auth0 authentication in our app. CloudCakes was built as an AngularJS app that talks to a REST backend. If you would like to follow along get the code here. Since our app was built with AngularJS we will add all the required and supplemental libraries to make the implementation as easy as possible. AngularJS setup is out of scope for this tutorial - we will primarily focus on integrating Auth0 authentication. We will assume you are following along with the CloudCakes code example.
Auth0 provides a REST based API that you can use to integrate into any app you are building. Additionally, Auth0 provides official libraries and SDK's for most frameworks and languages including Python, Node, Ruby, iOS, Android, Java, .Net and many others. To learn more about the different SDK's supported visit this page.
Hooking Into Auth0
The first and most important step is to properly add your Auth0 credentials. For CloudCakes, David has created a file auth0-variables.js where he instantiated three global variables AUTH0_CLIENT_ID, AUTH0_DOMAIN and AUTH0_CALLBACK_URL and inserted the appropriate values into the variables. You can get these values for your app by navigating to your Auth0 Dashboard, selecting your app and clicking on the Settings tab. The Domain and Client ID will be predefined for you and you can just copy and paste them. You will need to insert a value or values in the Allowed Callback URLs. The value here should be the domain you will be accessing your app from. In CloudCakes case, we are just going to add our local development url which is http://localhost:3000. With these three setting defined, you are ready for the next step.
In the CloudCakes GitHub repo, we have provided an auth0-variables-example.js file that you can use to add your *Client Id and Domain* - just be sure to remove the -example from the filename.
Login Functionality
Next we are going to integrate the login functionality for our application. The code for this can be found in the login/login.js file. Auth0 provides numerous ways for a user to sign in, for our purposes we will be using the popup mode. Let's look at the sign in function in detail.
// We bind the login function to our view using the $scope variable
$scope.login = function() {
  // The auth.sign(options, successCallback, errorCallback) function takes 3 parameters
  // 1. options - if we want to use Auth0's popup modal - we simply pass in a blank object, otherwise we pass the user's credentials
  // 2. successCallback - this callback is executed if a user is successfully authenticated
  // 3. errorCallback - this callback is executed if an error occurred.
  auth.signin({}, function(profile, token) {
    // If success we store the user's profile and toekn information into localStorage and navigate back to the homepage
    store.set('profile', profile);
    store.set('token', token);
    $location.path("/");
  }, function(error) {
    // If the authentication failed we simply log the error to the console.
    console.log("There was an error logging in", error);
  });
}
If you have used Auth0 before you may be scratching your head and thinking "well this code isn't any different than implementing Auth0 without the automigration feature enabled." That's the point! Let's explore what happens when a user attempts to login.
Automigrating Parse Users
So far, we've enabled the automigration features in Auth0, setup our Database Action Scripts to interface with the Parse API and added Auth0 login functionality in our CloudCakes application. Yay! Let's put it all together now and see what happens when a user attempts to login. Let's go over the potential use cases.
Existing Parse User Attempts to Login
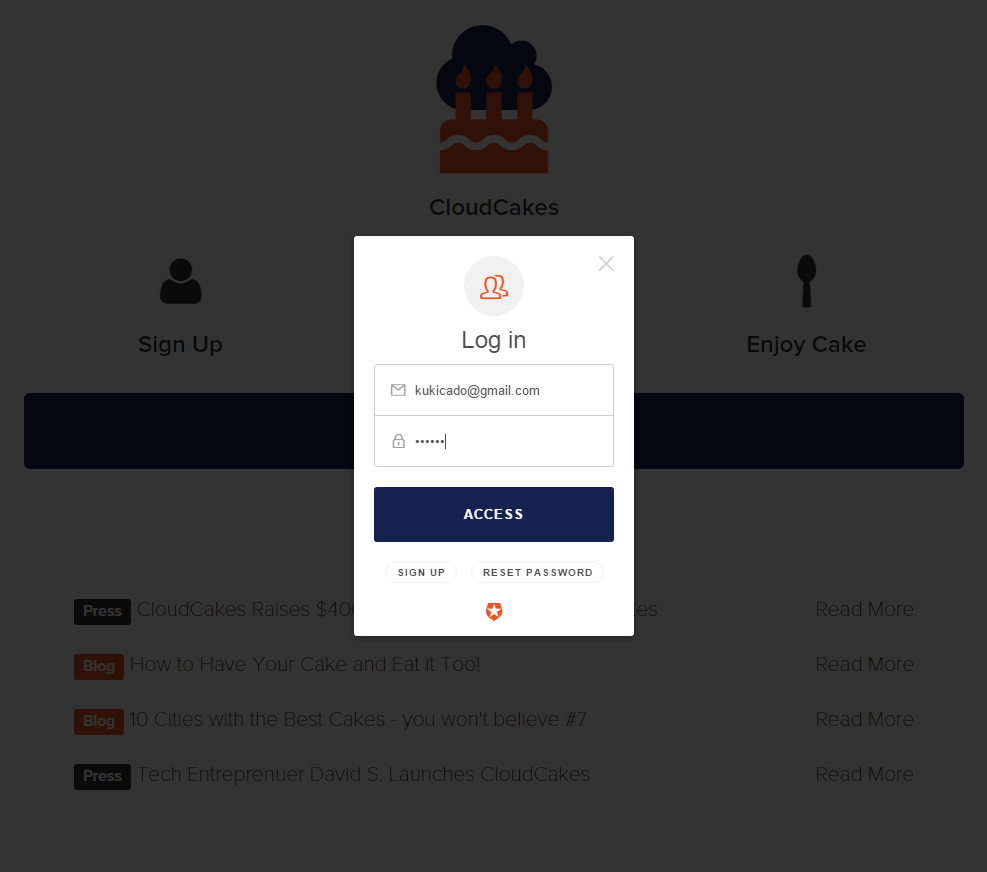
Our user, let's call him Chris, comes to CloudCakes and attempts to login:
- Existing Parse user enters their credentials and hits "Access"
- Check to see if user is in Auth0
- Since user is not, run the Login Database Action Script
- The Login script makes a call to the Parse REST API
- If the credentials provided are valid, the API will return the user
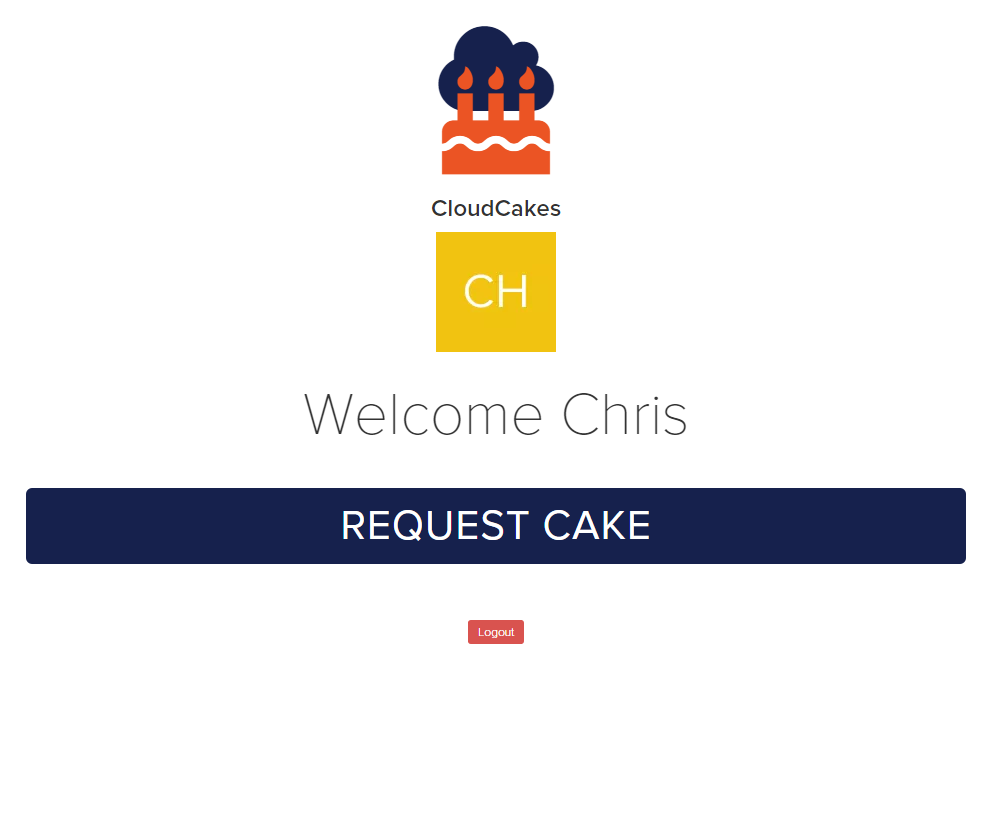
- Auth0 will then migrate this user to the Auth0 database and log the user in
Existing Parse User Attempts Subsequent Login
A few days later, Chris has the cravings for cake again, but doesn't want anyone to know, so he opens up an incognito window and goes back to CloudCakes.
- User enters their credentials and hits "Access"
- Since the user has already migrated and is in Auth0's database, his credentials are verified and he is logged in
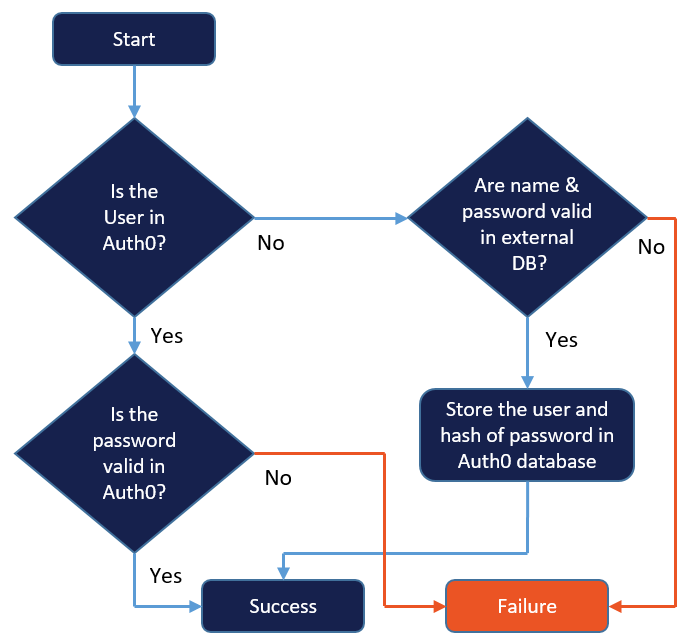
The entire migration process is fully transparent to the user. The user did not need to do anything differently to get access. New users registering for CloudCakes will have their account created and stored in Auth0's database. To further illustrate the steps taken please see the graphical representation of the authentication flow below.
Closing Migration
Once Parse shuts down, you can close the migration process by going back to the Connections -> Database menu in the Auth0 dashboard, navigating to the Settings tab and unchecking the "Import Users to Auth0" checkbox as well as turning off the "Use my own database" setting in the Custom Database tab.
Social Login with Auth0
David S. has successfully migrated his Parse users to Auth0. Business is booming but he really wants to get to the next level by adding social authentication and letting users sign up with their existing social media accounts. Auth0 has him covered! Navigating to the Connections, then Social menu, David is presented with an array of authentication providers including Facebook, Twitter, Google, GitHub and more.
David decides that he wants to allow his users to login with Facebook. Enabling login through Facebook is as simple as switching the Facebook social connection to the "On" state and then clicking on it to bring up the settings menu. Here, all David has to add is his App ID and App Secret as well as any attributes and permissions he would like the user to grant. To get the App ID and App Secret you will need to create a Facebook app on the Facebook Developers. Once your app is created, you will be able to find the App ID and App Secret at the very top of the page on the Dashboard tab of your app. One additional step that you will need to do to enable Facebook authentication with Auth0 is to add your Auth0 callback URL in the Client OAuth Settings of your Facebook app. To do this, inside of your Facebook app, navigate to the Settings tab, then Advanced. On this page, scroll to the section that reads Client OAuth Settings and insert your Auth0 callback url in the Valid Oauth redirect URIs box. The callback url looks like https://{AUTH0_USERNAME}.auth0.com/login/callback.
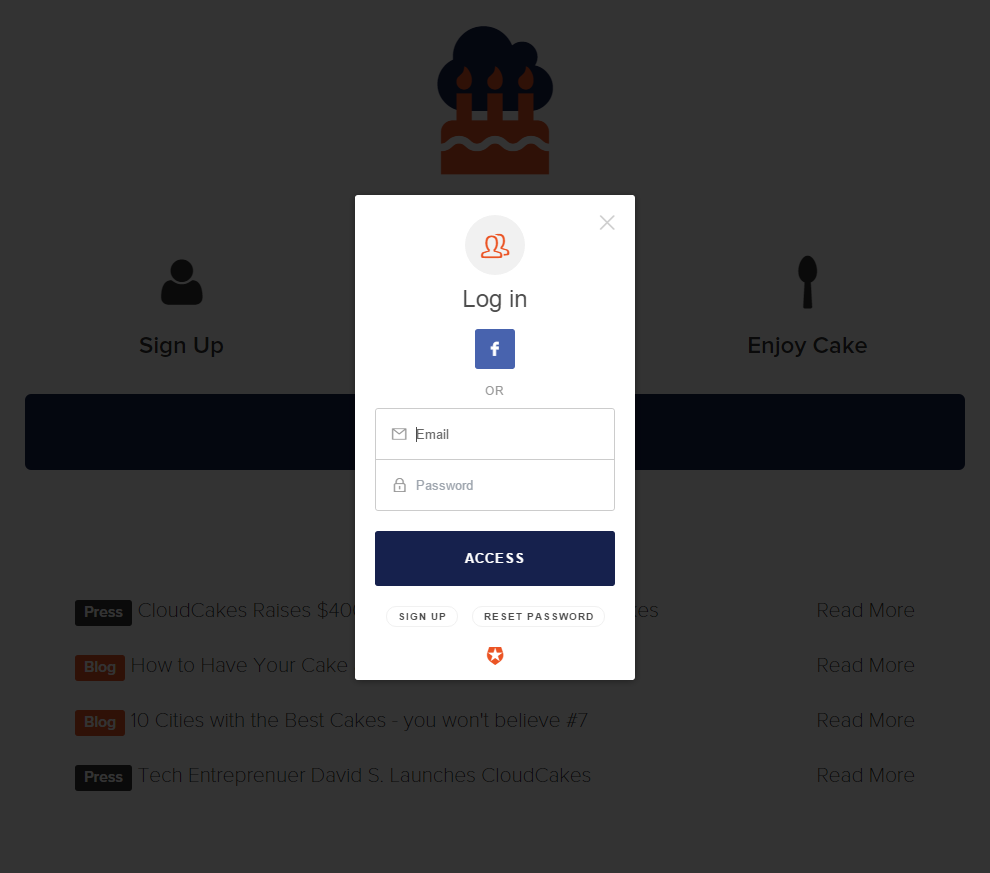
Facebook login will now be displayed as an option when a user clicks on the Sign Up button in the CloudCakes app. Clicking the Facebook icon will take the user through the Facebook oAuth workflow and if successful the user will be logged in to CloudCakes as well as have their account registered in Auth0. Adding additional social login providers is just as easy - to learn more about the process, benefits and how-to visit the Social Login section of the Auth0 website.
Additional Resources
Parse handled more than just user authentication. Since the announcement the developer community has banded together and complied an amazing list of resources to help those affected find alternatives to parse. A GitHub repo, ParseAlternatives, has been setup containing links and information to alternative SaaS products - some that mimic Parse in features and others which provide very specific functionality many which Auth0 can integrates into. To date the repo has over 60 contributors. As mentioned at the beginning of the article, the Parse team has also released tools to ease the pain of migration: Parse Server and the Database Migration Tool.
Conclusion
Today we learned how to migrate existing Parse users to Auth0. We walked through setting up our Auth0 account to support the migration, wrote scripts to interface with Parse, implemented the Auth0 login functionality and finally added social authentication via Facebook in our CloudCakes app. Having done this, existing users of CloudCakes or any Parse application will be able to continue using the app as they always have without needing to reset their password, create new account or really change anything. David S is satisfied and getting ready to expand his business to one-click pie delivery. :)
About the author

Ado Kukic
Former Auth0 Employee (Auth0 Alumni)