
In this tutorial series, you'll be provided with a practical introduction to how Next.js can help you build web applications.
Created by Vercel, a cloud company for hosting frontends and serverless functions, Next.js is a React framework capable of creating applications that run both on the client and the server, otherwise known as Universal JavaScript applications. This framework helps you build universal apps faster by streamlining basic features like client-side routing and page layout while simplifying advance features like server-side rendering and code splitting.
In this first part of the series, you'll learn how to create pages and a page layout using Next.js 9, the most recent framework version at the time of writing. Familiarity with the React library is recommended.
Getting Started
To start, you need to bootstrap a React project with next as a dependency. Anywhere in your system, create a folder named whatabyte and make it your current directory:
mkdir whatabyte
cd whatabyte
Then, initialize a default Node.js project under the whatabyte directory and install core dependencies by issuing these commands:
npm init -y
npm install --save react react-dom next
As the name suggests, next is the package that will allow you to use the Next.js framework in your project with all of its modules, components, and dependencies.
Next.js is flexible but has one major structural requirement for it to work. Every Next.js project needs to have a pages subdirectory child to the project directory. Therefore, create a new pages subdirectory like so:
mkdir pages
Every page of your web app will be defined as a React component in a JavaScript file under the pages subdirectory. For example, the file index.js represents the root path, / and a file named user.js represents the /user path. You'll get a more detailed explanation of these mechanics in the next section.
To make running and building your Next.js application easy, replace the NPM scripts of your package.json with the following:
{
  //...
  "scripts": {
    "dev": "next",
    "build": "next build",
    "start": "next start"
  },
  //...
}
Save the changes made to package.json. To run the project, execute this command in the terminal:
npm run dev
Head to http://localhost:3000/ and bask in the glory of a 404 error. You haven't done anything wrong. This error shows up because the pages directory is empty. It needs an index.js file inside to render the default / home route. You'll do that... Next!
Creating Your First Next.js Page
To understand how Next.js works, it helps to think about creating websites the classical way using HTML pages. The index.html file is the entry point of a website and it contains logic that takes the visitor to any other pages, like about.html and profile.html.
With Next.js, each page is represented by a JavaScript file under the pages subdirectory. Each file, instead of having HTML templates, exports a React component that is used by Next.js to render the page with the default root route being index.js. Go ahead and create this file under pages subdirectory:
touch pages/index.js
- Windows PowerShell:
ni pages/index.js
Populate index.js with this code:
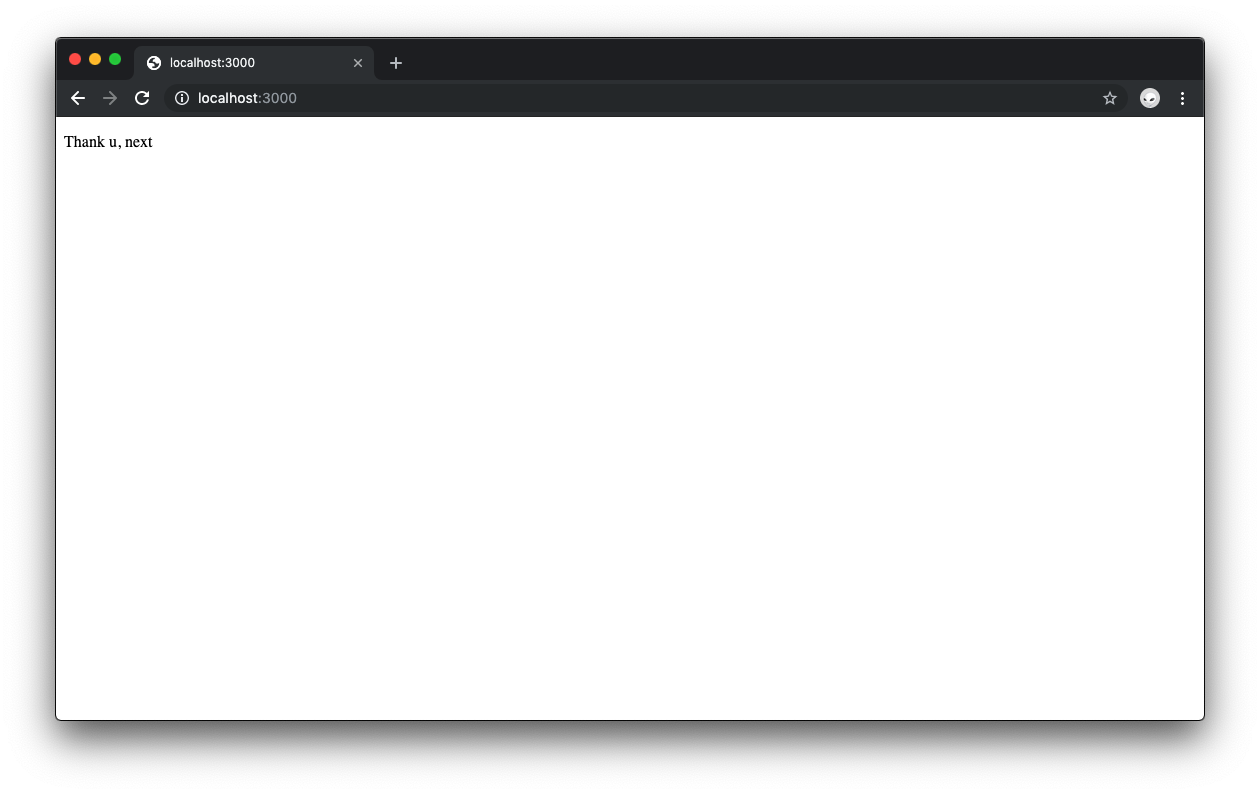
// pages/index.js

const Index = () => (
  <div>
    <p>Thank u, next</p>
  </div>
);

export default Index;
Without having to restart the app, Next.js detects the new index.js and the exported Index component and updates the view in the browser automatically.
If you were using create-react-app to build your React application, you'd be looking here at rendering an App component instead. The App component is the parent or shell component for the whole application. With Next.js, you can think of that component as being implied through the pages subdirectory and hierarchy.
To achieve a uniform core interface for each page, you'd want to have a common layout that includes a header, a content container, and a navigation bar. This can be easily done with Next just like you'd do it with create-react-app: using components.
Creating a Next.js Layout Using React Components
Under the whatabyte root directory, create a components directory:
mkdir components
The name of this directory could be really anything, but it makes sense to stick with well-understood file structure names that make it easier for anyone else to understand the structure of your application.
You need three components for creating a layout:
Layoutto hold the core view in placeHeaderto provide a standard header to all viewsNavBarto provide navigation buttons
Thus, create the following files under the components directory:
Layout.jsHeader.jsNavBar.js
touch components/Layout.js components/Header.js components/NavBar.js
- Windows PowerShell:
ni components/Layout.js, components/Header.js, components/NavBar.js
Open Header.js and add the following code to it:
// components/Header.js

const headerStyle = {
  backgroundColor: "blue",
  color: "white",
  width: "100%",
  height: "50px"
};

const Header = () => (
  <div className="Header" style={headerStyle}>
    HEADER
  </div>
);

export default Header;
In NavBar.js add the following:
// components/NavBar.js

const navBarStyle = {
  backgroundColor: "red",
  color: "white",
  width: "100%",
  height: "60px"
};

const NavBar = () => (
  <div className="NavBar" style={navBarStyle}>
    NAVBAR
  </div>
);

export default NavBar;
In Layout.js, use the Header and NavBar components to render any content passed through props.children within a Content container:
// components/Layout.js

import Header from "./Header";
import NavBar from "./NavBar";

const layoutStyle = {
  display: "flex",
  flexDirection: "column",
  height: "100%",
  width: "100%"
};

const contentStyle = {
  flex: 1,
  display: "flex",
  flexDirection: "column"
};

const Layout = props => (
  <div className="Layout" style={layoutStyle}>
    <Header />
    <div className="Content" style={contentStyle}>
      {props.children}
    </div>
    <NavBar />
  </div>
);

export default Layout;
These three components use inline CSS styling to give improve their structure and presentation.
Finally, update index.js to use the Layout component:
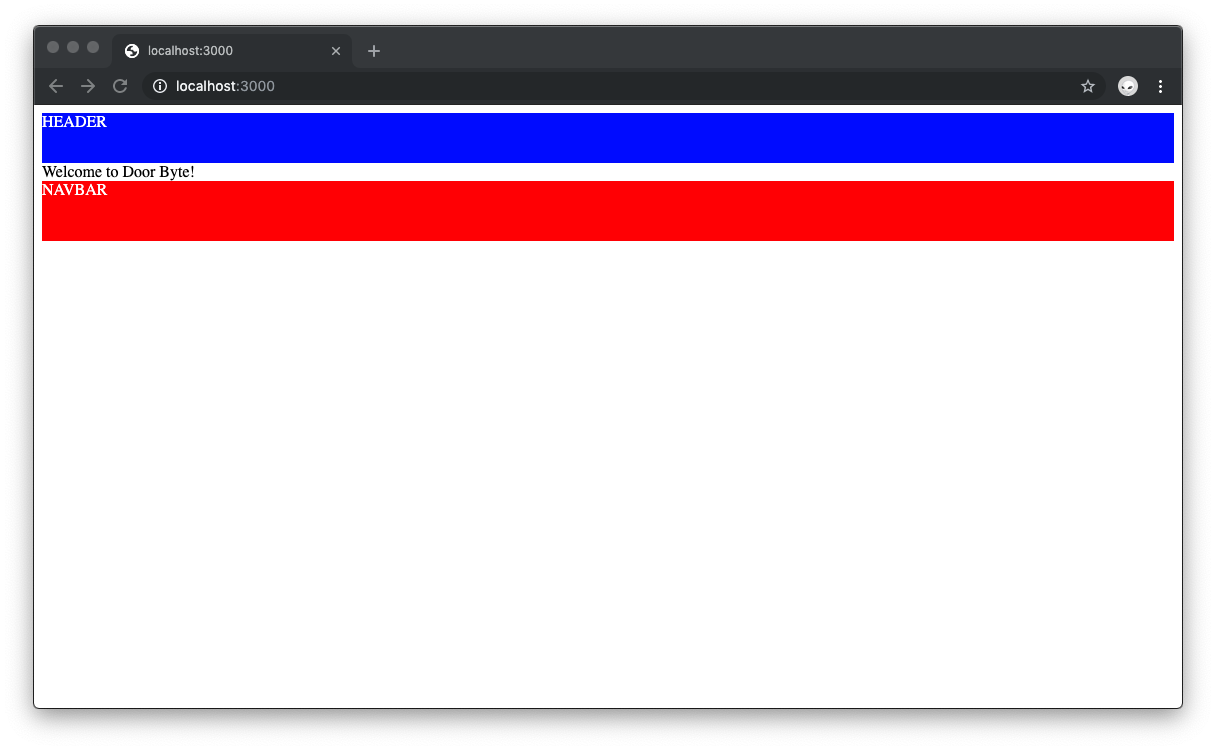
// pages/index.js

import Layout from "../components/Layout";

const Index = () => <Layout>Welcome to WHATABYTE!</Layout>;

export default Index;
The look and feel of the interface will improve in the next part of this tutorial.
In the browser, the index page now shows a blue box serving as a header, a white box with a message serving as content, and a red box serving as the navigation bar. With a layout in place, you are ready to create more pages with a consistent structure.
Creating More Pages Using Next.js
The WHATABYTE app has four core views:
- Explore: To show trending restaurants and dishes
- Near Me: To show restaurants near the user
- My Cart: To show the orders of the user
- Profile: To show the user information such as name, address, and billing data
As you may be thinking, you'll need to add new files under the pages directory to represent each of these pages. You are right. The plan here is to create a route for each view:
/explore/nearme/mycart/profile
To create these views, create the following files under the pages directory and add their respective content:
touch pages/explore.js pages/nearme.js pages/mycart.js pages/profile.js
- Windows PowerShell:
ni pages/explore.js, pages/nearme.js, pages/mycart.js, pages/profile.js
explore.js:
// pages/explore.js

import Layout from "../components/Layout";

const ExploreView = props => <Layout>{`Explore View`}</Layout>;

export default ExploreView;
nearme.js:
// pages/nearme.js

import Layout from "../components/Layout";

const NearMeView = props => <Layout>{`Near Me View`}</Layout>;

export default NearMeView;
mycart.js:
// pages/mycart.js

import Layout from "../components/Layout";

const MyCartView = props => <Layout>{`My Cart View`}</Layout>;

export default MyCartView;
profile.js:
// pages/profile.js

import Layout from "../components/Layout";

const ProfileView = props => <Layout>{`Profile View`}</Layout>;

export default ProfileView;
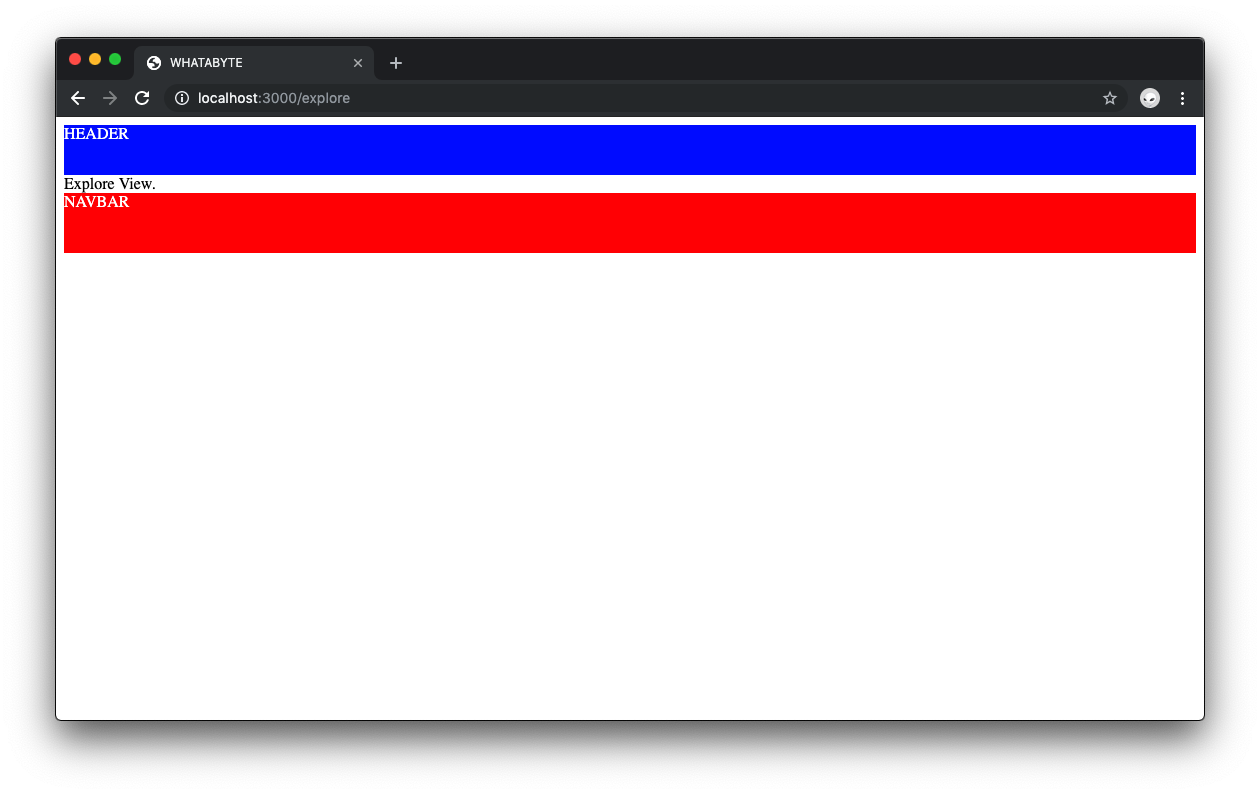
In the browser, you can visit http://localhost:3000/explore and see the new Explore page up and running! You can try any of the other paths as well.
“Learn how to bootstrap a Next.js application to create pages and a page layout.”
Tweet This
Get Your Head In the Next.js Game
Your Next.js pages need to have a document title shown on the page tab or window title bar of the browser. To add a document title, you need to use the <title> HTML element which can only be used within a web page's <head> block.
Next.js pages are created with a <head> block that has sensible defaults such as the following:
<head>
  <title class="next-head"></title>
  <meta charset="utf-8" class="next-head">
  <meta
    name="viewport"
    content="width=device-width,minimum-scale=1,initial-scale=1"
    class="next-head">
</head>
However, notice that the title tag is empty. To modify the head block, Next.js offers a built-in Head component in the next/head module which appends elements to the <head> block of a page. To modify the document title, you'd nest a title HTML element within the Head component.
Since you need the document title to be present on every page, the <head> block should be modified within the Layout component template. Open components/Layout.js and update its content as follows:
// components/Layout.js

import Head from "next/head";

// Component imports remain the same

// Style objects already defined

const Layout = props => (
  <div className="Layout" style={layoutStyle}>
    <Head>
      <title>WHATABYTE</title>
    </Head>

    <Header />
    <div className="Content" style={contentStyle}>
      {props.children}
    </div>
    <NavBar />
  </div>
);

export default Layout;
The browser tab or window hosting your page should now reflect the "WHATABYTE" title.
The <head> block can also contain other important metadata (data that describes data) like scripts, stylesheets, character encoding, name, and much more.
For more information, visit the
<head>block and metadata MDN docs.
“Learn how to get started with Next.js, a universal JavaScript framework based on React.”
Tweet This
Next Steps
The current layout of the application is not working as it should. The .Content container, within the Layout component, is expected to stretch out to fill the space left by the Header and NavBar components as its contentStyle object specifies the flex: 1 CSS property. However, this flexible property depends on the height value of the its parent, the .Layout container.
Despite the height of the .Layout container being specified in its layoutStyle object as 100%, this container is not filling out the full height of the viewport. In turn, this could only mean that its parent doesn't have a definite height.
If you open the browser Dev Tools and look at the structure of the Index page, you'll notice that the parent container for the app is a div element with the ID __next. Clicking on that element shows that it has no height or width; therefore, its descendant containers have no height value to inherit and use for dynamic sizing.
To fix this, you'd need to give the __next container a height and width of 100%. But Next.js doesn't come with a default global index stylesheet like with create-react-app. The solution is to style components in the "Next.js way" or to use custom SCSS, which is the topic of the next second part of this tutorial.
Recap
In this first part, you have learned how to use Next.js to create pages that integrate a page layout. Using a page layout gives your pages consistent high-level structure. To give the elements within each page better styling and positioning, you need to rely on CSS.
So far, you applied basic styling to your pages using inline style objects. However, Next.js offers more scalable and powerful mechanisms to apply styles to your pages. In the next part of this tutorial, your pages will go from this...
... to this!
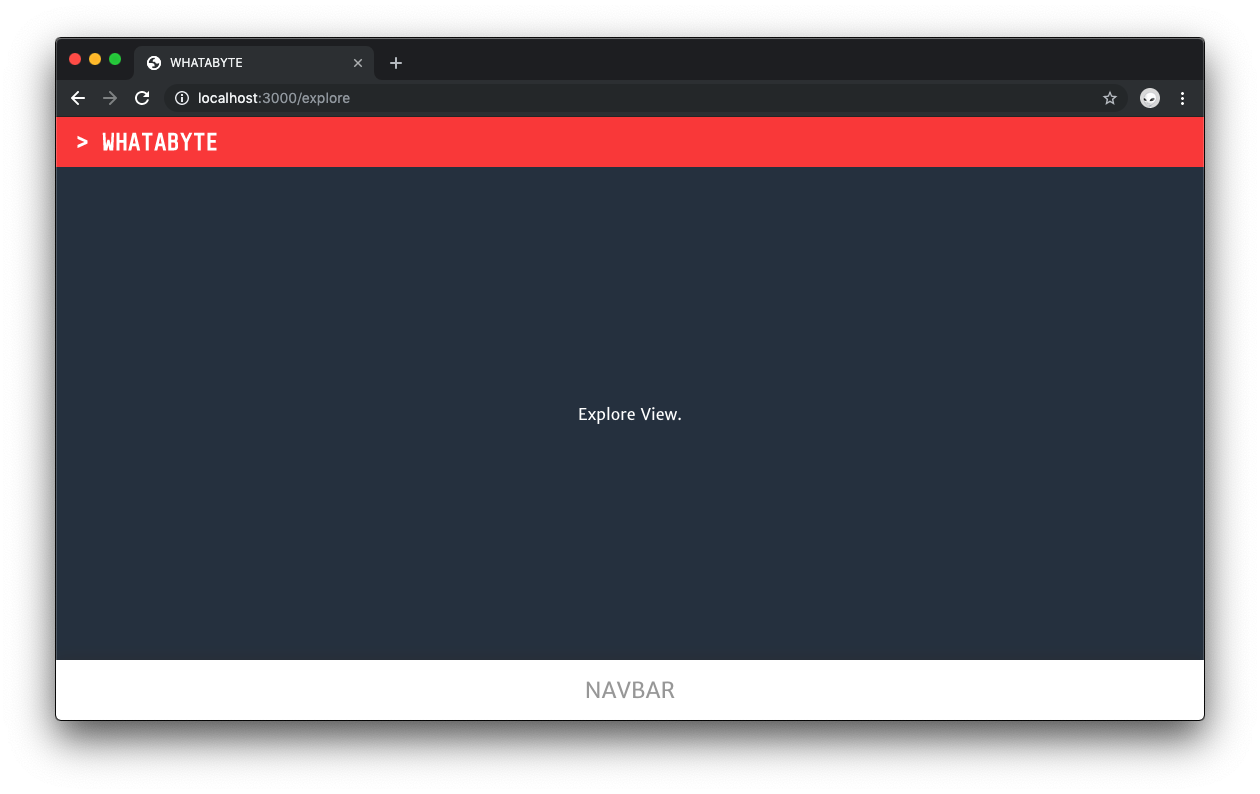
Continue to Part 2: Next.js Styling and Theming
About the author

Dan Arias
Software Engineer (Auth0 Alumni)