Production. Ensure your tenant’s environment tag is set to Production before going live, and note the differences between rate limits for different tenants, environments, and fee structures.
You can name your multiple environments any way you prefer. For production environments, we strongly recommend using custom domains.
If you have an Enterprise subscription plan, you can create child tenants by linking multiple tenants to a single subscription; child tenants each gain access to the paid or upgraded features associated with the subscription. You can ensure your development, staging, or testing environments have access to the same features as your production environment by linking them all to the same Enterprise subscription.
Tag the environment
For each new tenant created, you should specify its environment. You can assign Environment Tags to your tenants to differentiate between development, staging, and production environments. If your tenant is mixed use, choose the higher environment. For example, a tenant used for both development and production should be set to Production.-
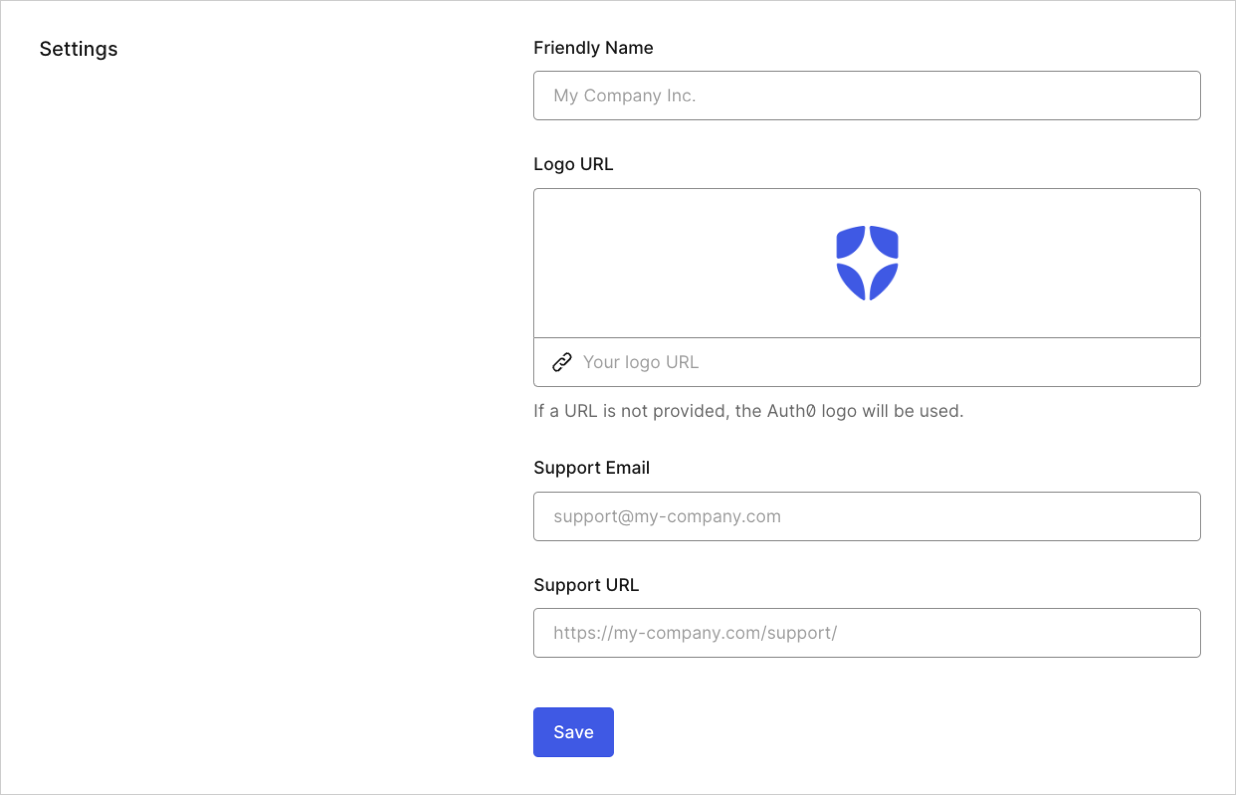
To assign an Environment Tag to a tenant, go to the Dashboard > Settings > General.
-
Under Assign Environment Tag, identify your tenant’s environment as Development, Staging, or Production.
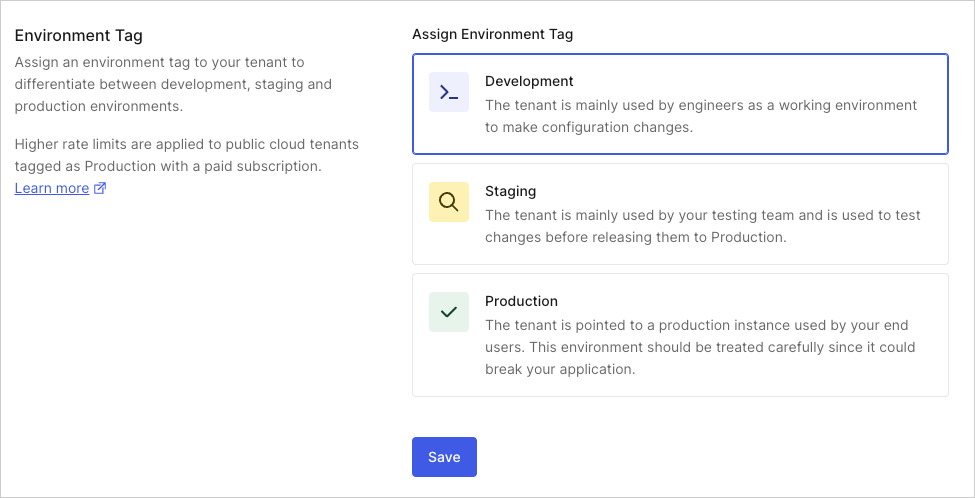
- After selecting the environment, click Save.
Migration
Through the Management API v2, you can automate the migration of assets (rules, database connections, and so forth) between tenants. For easier configuration management, save your configuration values in the Dashboard, instead of hardcoding them into your rules or db connections scripts. For example, let’s say you want to set a URL for logs. One way to do it is to hardcode it in the rule:- Click Create Your First Rule.
- Choose the empty rule template.
- Enter a name for your new rule, and click Save.
-
Go to Dashboard > Rules, and scroll to the bottom of the page to set your configuration values (we will use
log_urlfor the key name, andhttps://someurl/logfor value), then click Create. -
Now, you can write your rule. Edit the rule you created, enter the following code in the code area, and click Save.