This is the second part of Ably’s Fully Featured Scalable Chat App series. We have been working on creating a prototype for an open-source chat application that anyone could use at real-world scales of traffic, with many of the bells and whistles one would expect from a modern chat application. This means integrated media, notifications, and more.
If you want to try out this application yourself, you can get the code from GitHub and follow the README on the steps for local setup.
Our goal is for you to be able to take the code and create your own scalable chat application or mix and match elements from it into other applications that need a chat element.
Ably handles the complexity of distributed messaging between clients, presence checks, and authorization of messages. By making use of WebSockets we can have persisted, realtime communication. Making use of Ably as a Pub/Sub broker, we will be able to have the consistent ordering of messages and reliable message ordering. You can try out these features by signing up for a free Ably account.
Before starting on these elements, however, we need the absolute fundamentals of chat. One of the most crucial things to get right is the authentication of users.
Authentication requires:
- All information we store on users to be secure
- We should provide 2FA and reasonable methods to recover an account should login credentials be forgotten
- Password resetting should be possible
- We need to be able to assign permissions, user information, and more to a user
Starting Off
Prior to starting on our authentication system, we already have a few things in place.
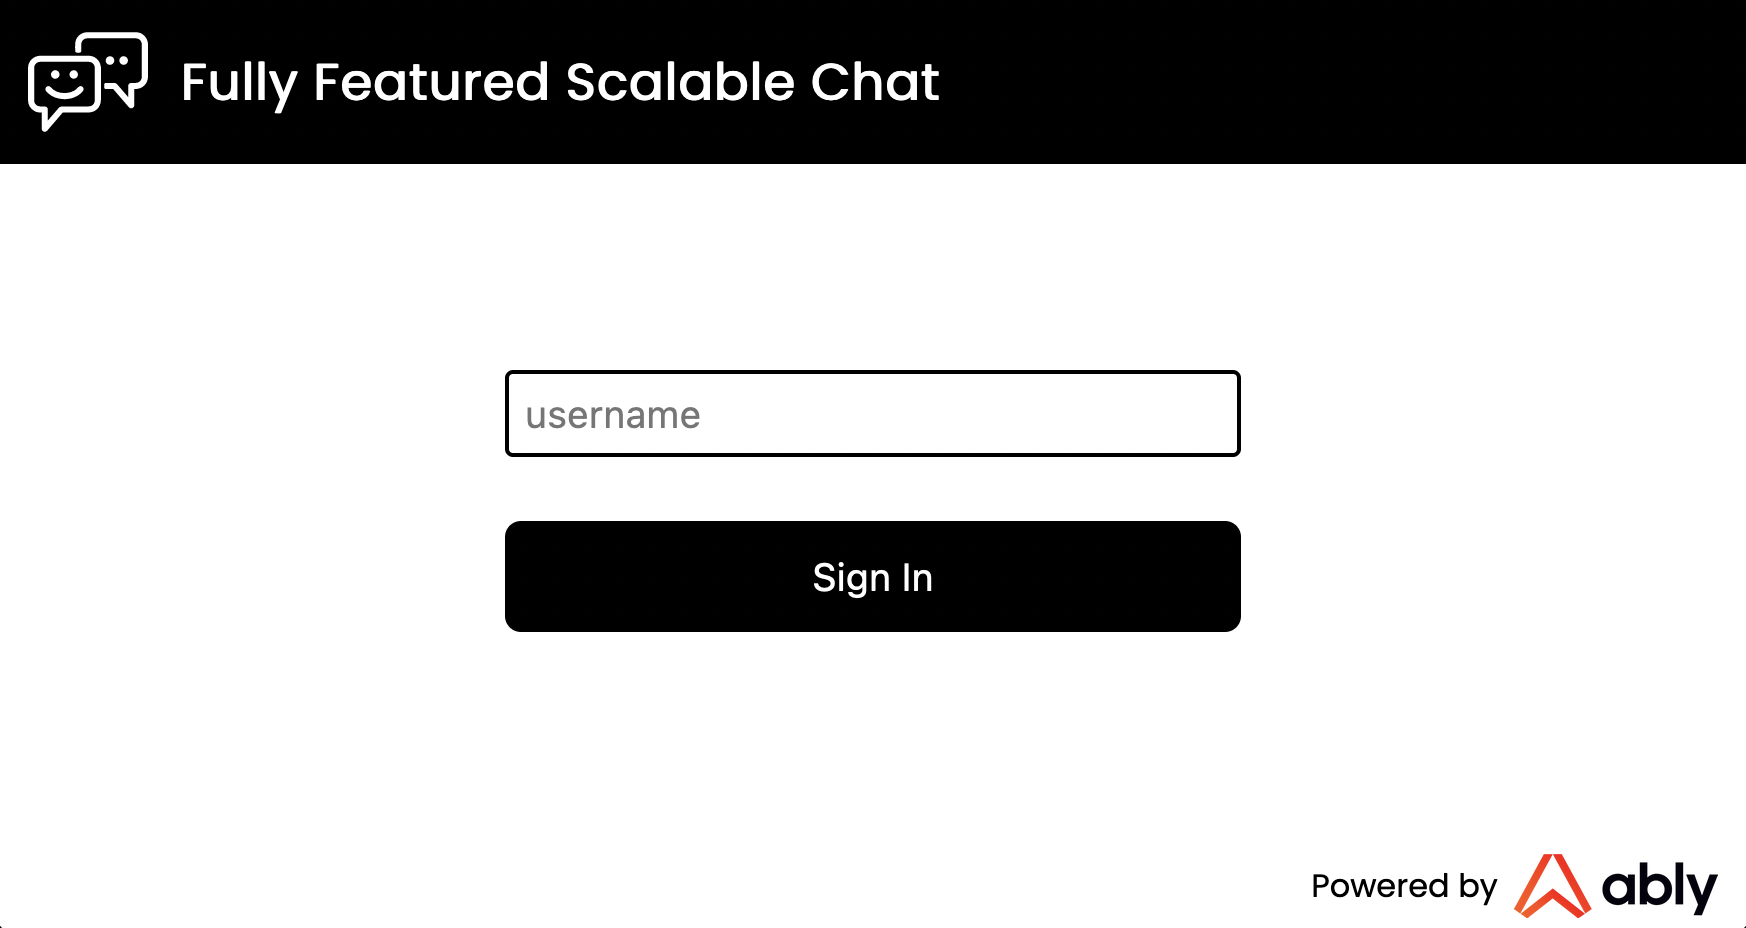
We have a frontend server that is hosting a ReactJS application, compiled using Snowpack. On this, we have a basic page as seen below which allows for a user to set a username for themselves.
Once a user sets their username, they’ll be taken to the main chat application page, which has the available hard-coded chat channels on the left, which you can click on to load a React Component on the right of the screen for chatting within that channel.
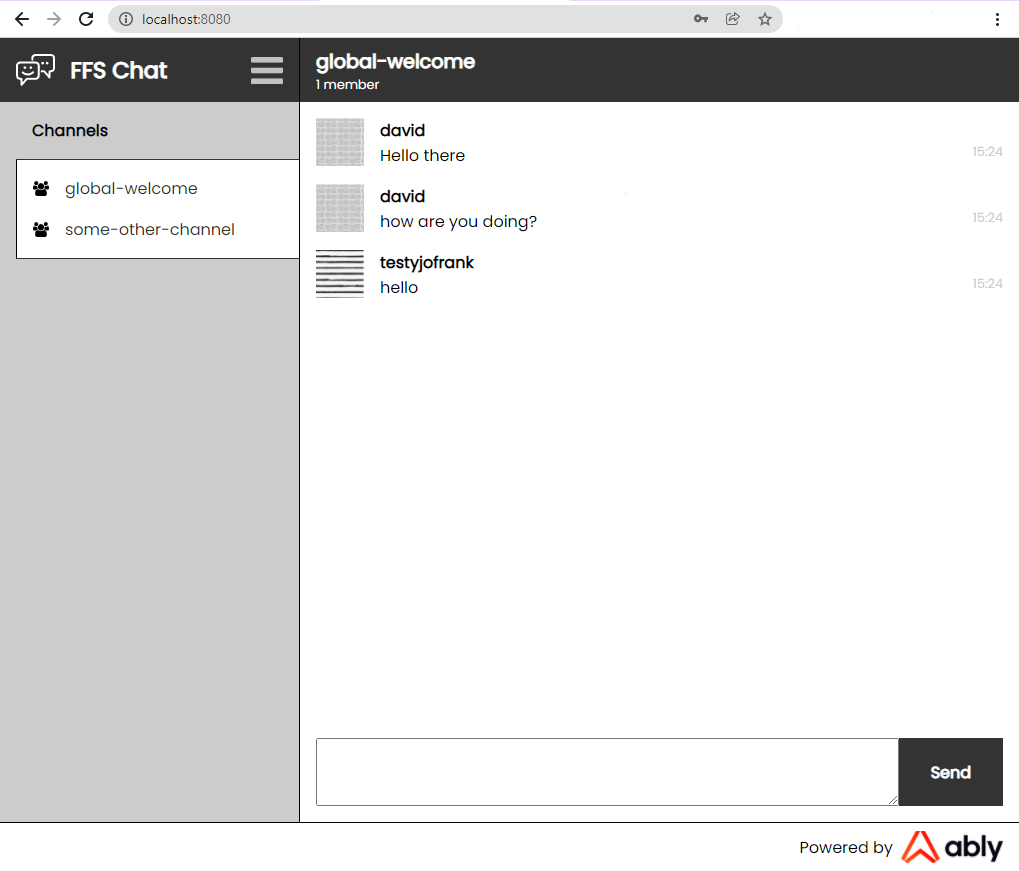
The chat uses Ably. When a user clicks on one of the chat channels on the left of the screen, we use the Ably React Hooks library to connect to one of Ably’s servers and subscribe to its associated Ably Channel. For example, to subscribe to the Ably Channel for the ‘global-welcome’ chat room:
[ channel ] = useChannel(“global-welcome”, (message) => {
// Append message to our chat box component
});
If we want to publish a message to this channel, we can make use of the channel object returned by the useChannel function:
channel.publish("message", messageFromChatBox);
We do both of these within the FFS app inside our ChatContainer code, which you can check if you’d like to see real examples.
With the above, we’re able to allow for non-authenticated usage of some hard-coded chat rooms with a username. However, we have no form of authentication at this stage. We trust the user to set themselves to have any name, even if it’s the same as someone else. We have no way to uniquely identify a user, which is something that is crucial for having any form of permissioning, private discussions, notifications, and more.
Creating a Basic Authentication System
For an absolutely rudimentary authentication system, we need to have:
- A signup page where users can create a username and password
- A database to store these, with the password being encrypted
- A backend system that can authenticate a user when logging in by checking their login details to the database, and return a token that the user can use for any actions which require authentication
- An endpoint that can be used to get authentication credentials to be used with Ably
In addition, we’d want:
- 2-Factor Authentication
- Password Resetting
- Social media logins
Each would be complex to implement, with many edge-cases and many security concerns to address. However, we thankfully knew of an existing solution for this, which we’ve used in numerous projects before, known as Auth0.
Auth0, an authentication and authorization platform, simplifies this process immensely. Not only does it allow for easy integration with your login systems, but it also makes integrating other login services such as Google and Twitter simple. It allows for a quick setup of permissions, roles with set permissions attached, and these roles to be assigned to users. These users can then use various login systems to access the same account and thus have the same permissions.
Setting up Auth0
To make use of Auth0, you firstly need to create and configure an account with them. To do this, firstly, sign up to Auth0 on their website. Go through the signup process, setting whatever tenant name and region you'd like. Once you’re signed up, go to the ‘Applications’ part of the website. You should see ‘Default App’ here, which you can use for this tutorial, or you can create a new app if you so wish.
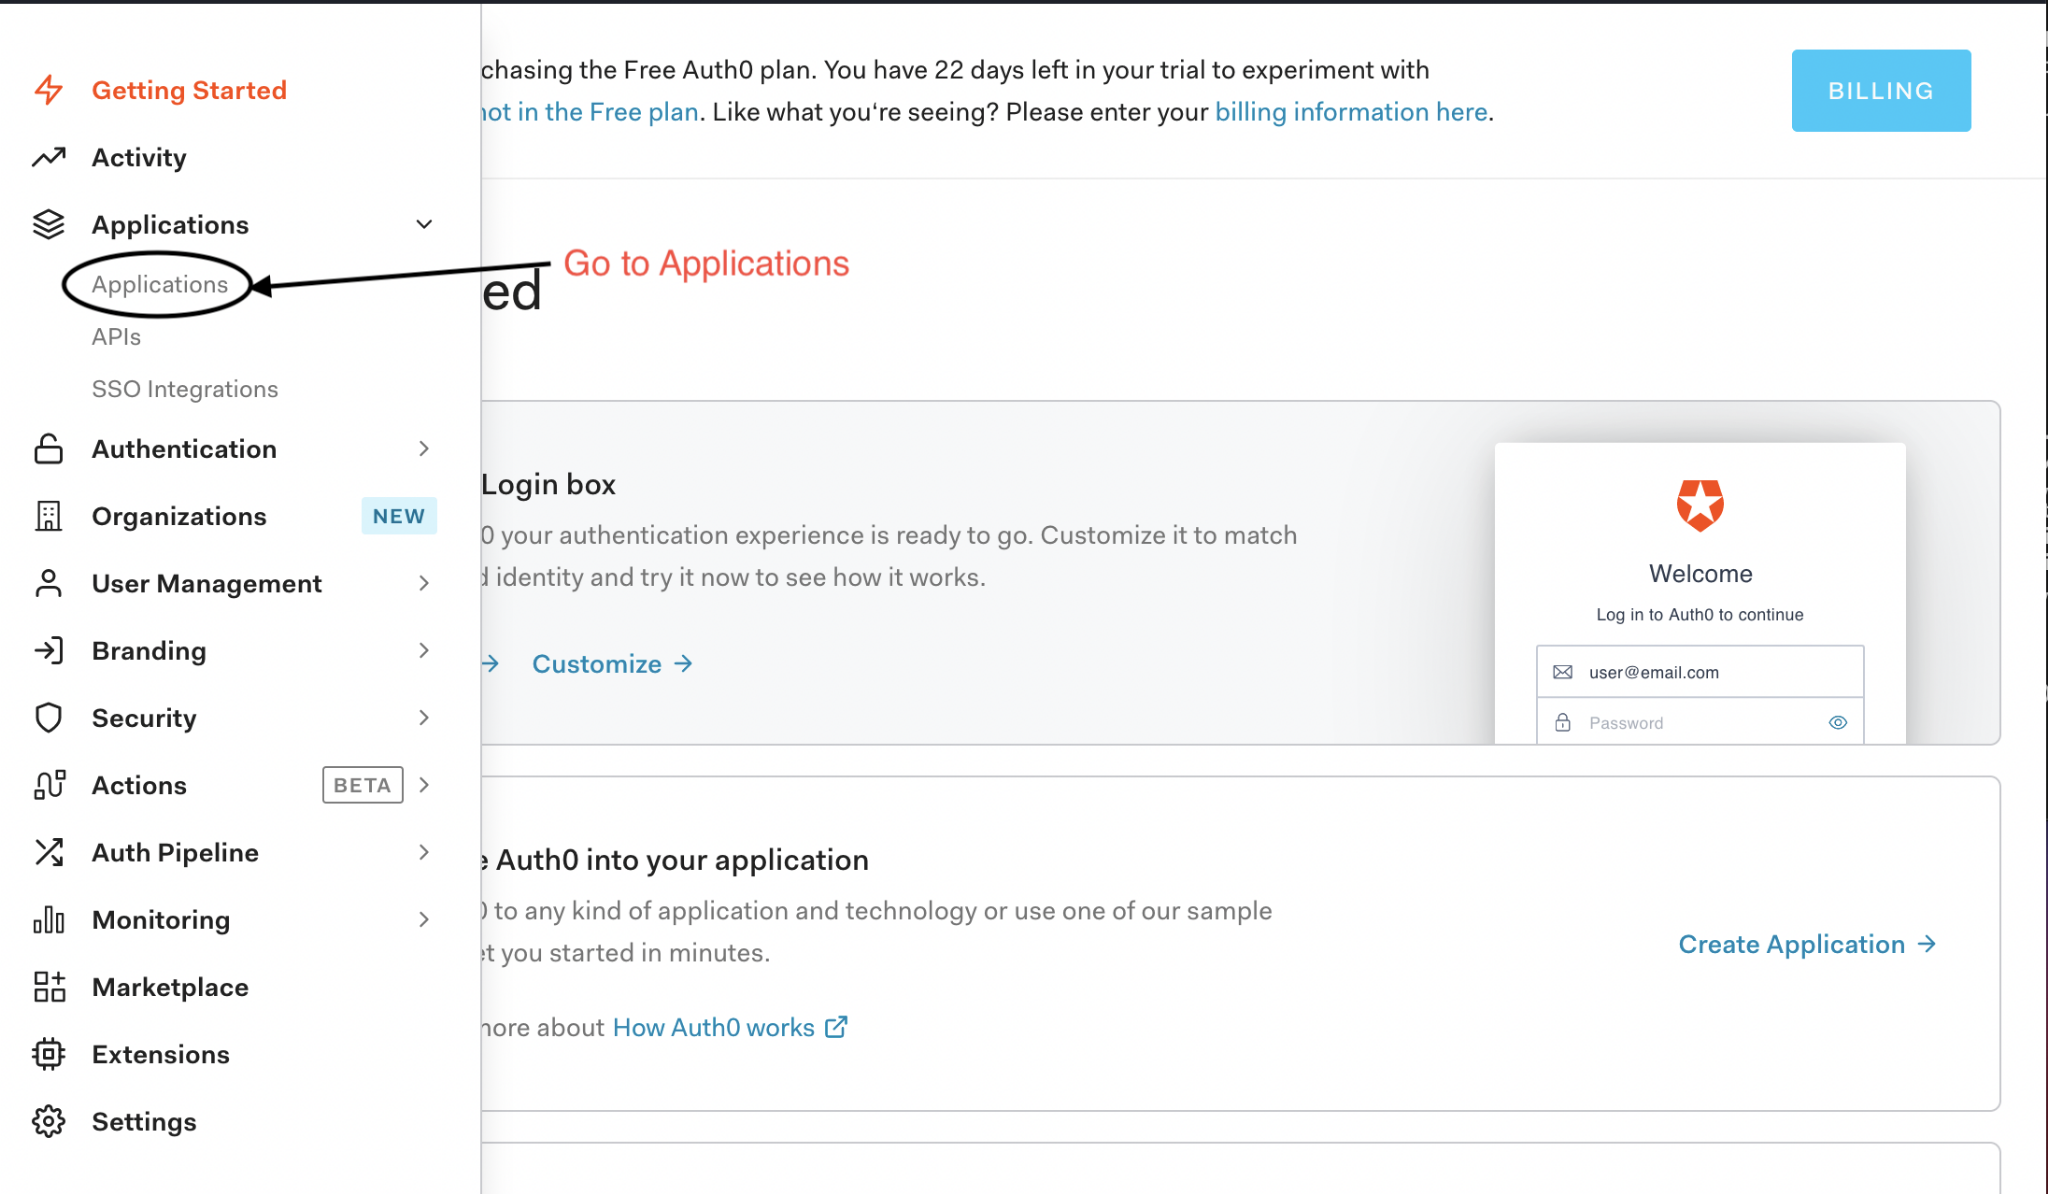
If you go to your app, you should arrive on the ‘Settings’ page for the app. From here, you should make a note of the Domain, Client ID, and Client Secret.
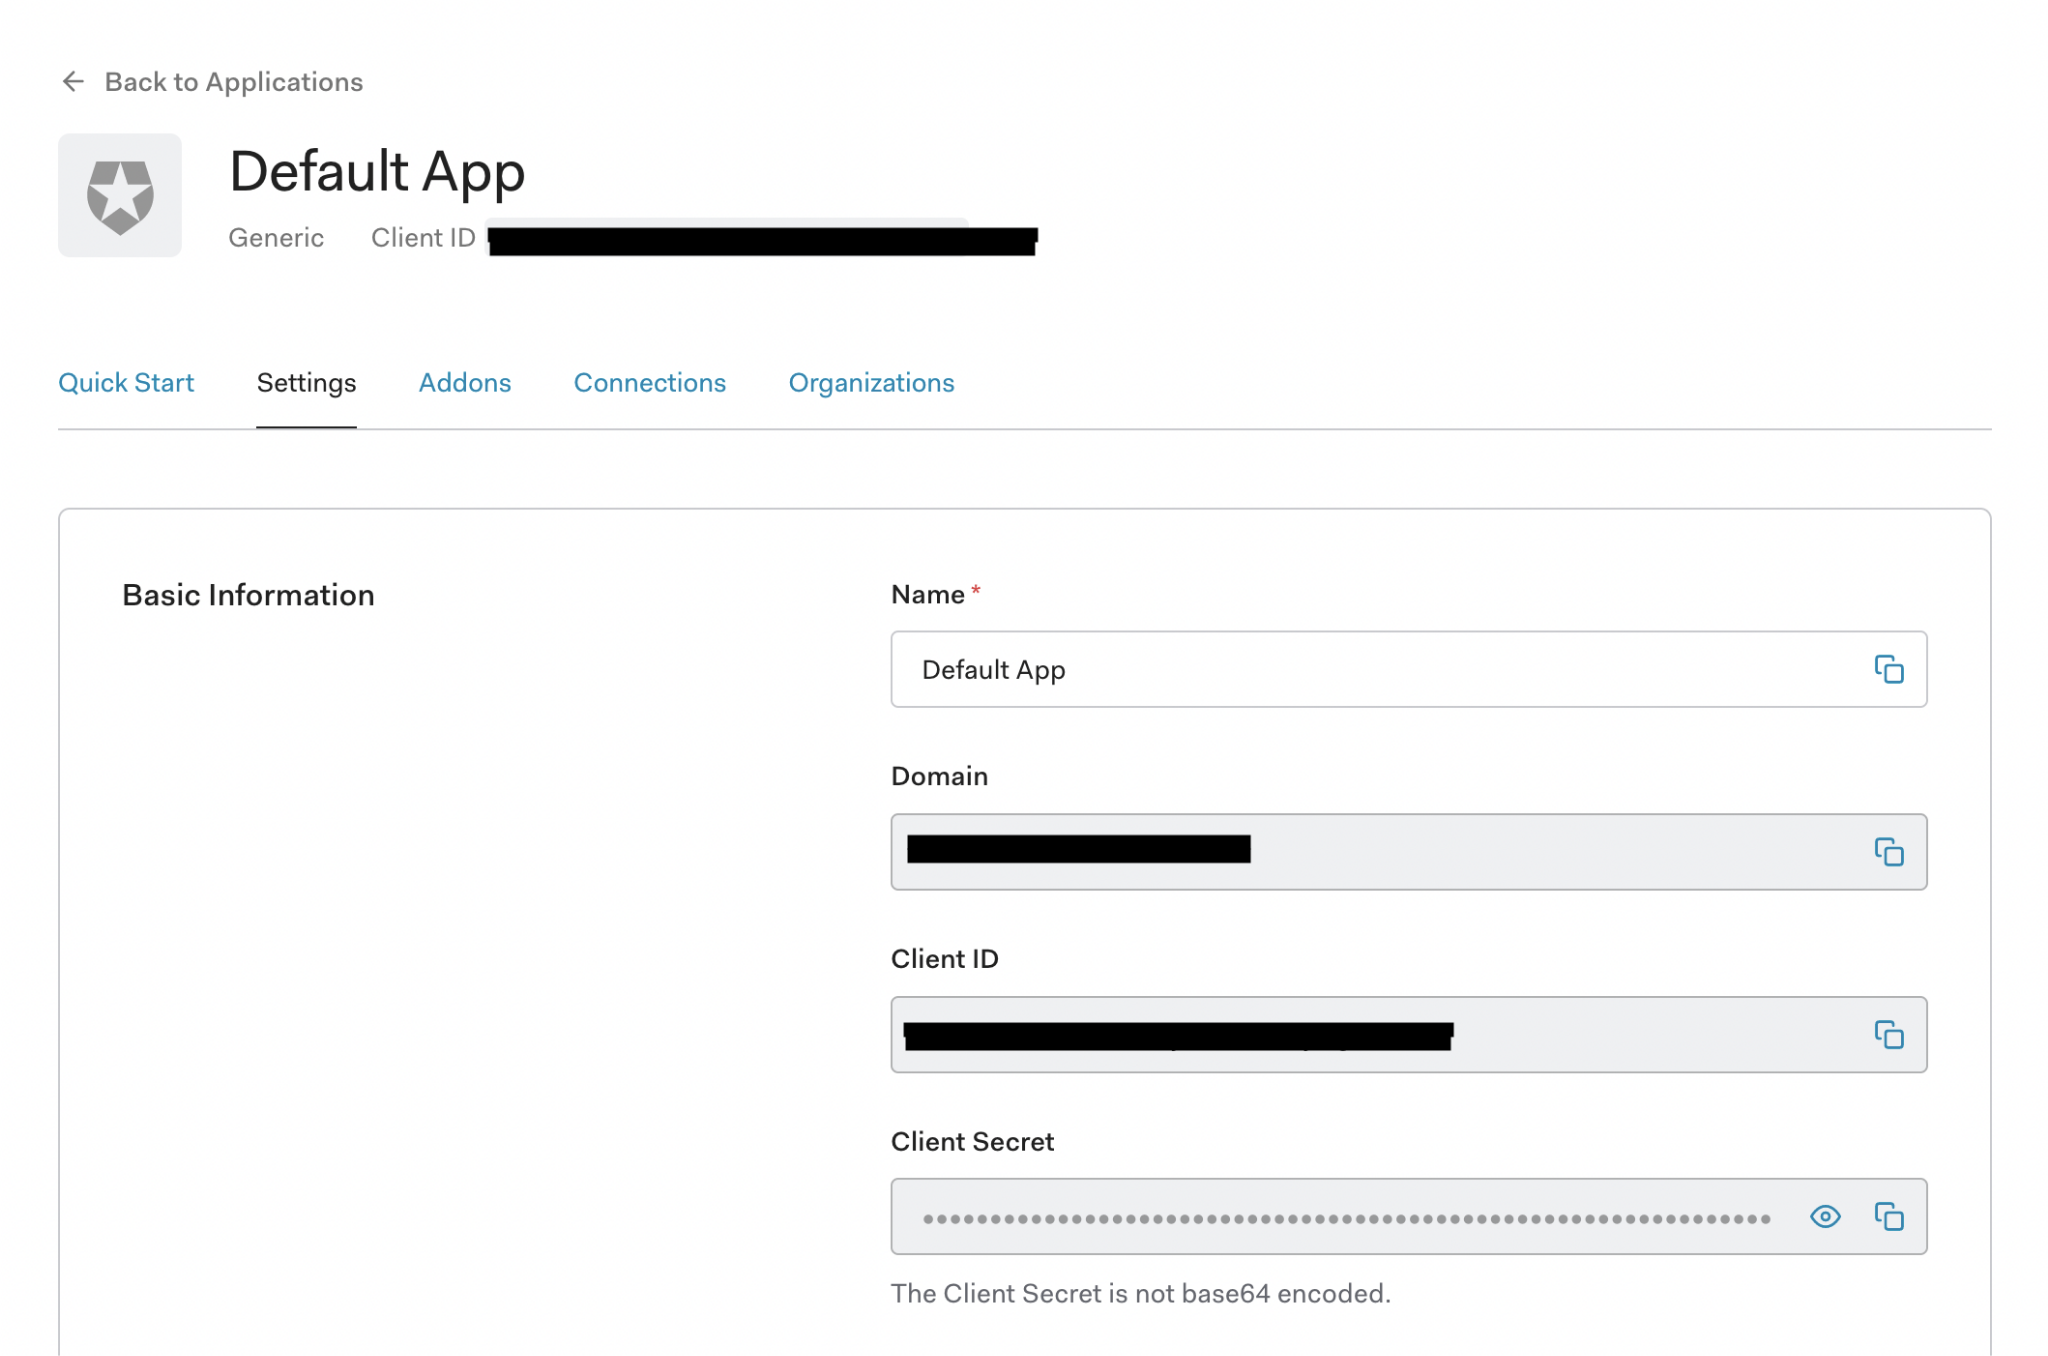
On this settings tab, scroll down to the section called ‘Application URIs.’ In it, you should see a field for ‘Allowed Callback URLs’ and ‘Allowed Logout URLs.’ For context, the flow of a webpage using Auth0 is:
- Your site links a user to your Auth0 app’s login page, where they sign in
- The Auth0 page redirects the user back to your website’s ‘callback’ page
- When the user wants to log out, they are directed to the Auth0 app’s logout page and then redirected back to the page specified in the ‘returnTo’ query passed to the logout page
To avoid potential misuse and abuse, you need to specify what URLs Auth0 can redirect to. When hosting this chat app locally, it is hosted on localhost:8080, so set the Allowed Callback URLs to ‘http://localhost:8080/auth0-landing’. When a user logs out, we’ll have the user redirected back to our main page, so set the Allowed Logout URLs to ‘http://localhost:8080/’.
Using an Auth0 application from the chat application
With the Auth0 application set up, the actual chat application needs to make use of it. When someone attempts to sign up or log in via Auth0, we will need to redirect a user to the appropriate Auth0 endpoint, and the same needs to occur when a user logs out.
Auth0 provides both a React library as well as a standard node module. Both work well, and in most cases, you’d probably want to use the React library as it will automatically handle a lot of authentication state sharing between different components.
For this project, however, we decided to go with the node module. This was due to a few reasons:
- We want the code to be easily understood, and as we will need to use the node module version from the Serverless Functions we’re using for our database, it makes sense to keep consistency between both frontend and backend
- To use the Auth0 library, it needs to have specific details such as the endpoint name specified as part of a compilation. To have these details adjustable by anyone using the project, we’d need to set this as part of the environment variables. This variable would be required at two different stages, the compilation (which we do on GitHub using GitHub Actions) and at runtime (for the Serverless Functions which we’re hosting on Azure), we’d need to specify it in 2 separate environments.
To avoid these complications, we decided only to store these Auth0 variables on the Serverless Functions and make them available via a Serverless Function to clients to use. We couldn’t use the React library to do this, as it has no method for asynchronous instantiation of details.
Using the node library, we just need to fetch the Auth0 configuration details from the appropriate Serverless Function endpoint, and then use those to instantiate an Auth0 client:
import createAuth0Client from "@auth0/auth0-spa-js";

const response = await fetch("/api/oauth/config");
const configuration = await response.json();
cachedClient = await createAuth0Client(configuration);
The Serverless Function at /api/oauth/config simply responds with the configuration details we obtained earlier when setting up Auth0:
  context.res = {
    status: 200,
    body: JSON.stringify({
          domain: process.env.AUTH0_DOMAIN,
          clientID: process.env.AUTH0_CLIENTID,
          client_id: process.env.AUTH0_CLIENTID,
          redirect_uri: process.env.AUTH0_REDIRECT_URI
    })
  };
Now we can add a button to our chat application which will instantiate our Auth0 client as seen above, and then use the Auth0 library’s login method to redirect the user to the Auth0 login page for our app:
export async function loginWithRedirect(event) {
  event.preventDefault();
  const auth0 = await useAuth0();
  await auth0.loginWithRedirect();
}
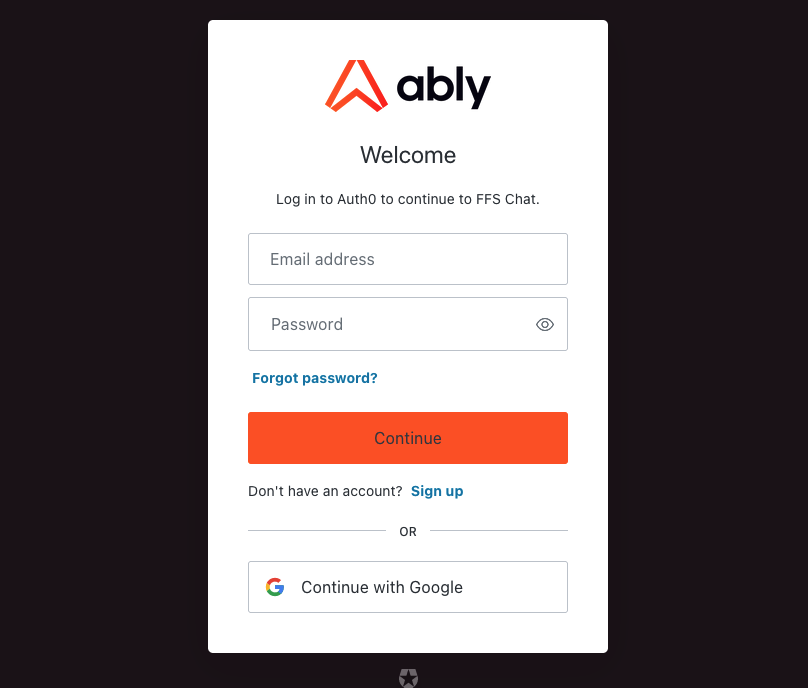
When the user either signs up or enters valid credentials for logging in via Auth0, they need to be redirected to the page we specified when setting up Auth0, localhost:8080/auth0-landing.
With that, Auth0 is now up and running and we can use it as an authentication method!
Storing user credentials
We now have login credentials of our users stored in Auth0, but we need that data to be accessible and associated with data in our CosmosDB database as well. Ideally we’d migrate our database’s contents over to Auth0 to avoid duplication of information, however for the time being we decided to keep data in CosmosDB.
As we will be treating our own database as the definitive location of data, we will want to also have our Auth0 users stored in our database as well. To do this, we can just intercept the response of signup via Auth0, and get the Auth0 ID and other details to store in our database.
Our CosmosDB will thus end up with a data structure for Users, defined in our Users.ts file, of:
- id: Unique ID for the User in our database
- username: the login name they use if using our custom login system
- oauthSub: The unique Auth0 ID if the user has an Auth0 login method associated with them
- firstName: The user’s first name
- lastName: The user’s last name
- profileImgUrl: User’s profile image
With the above, we can provide users with login methods for both Auth0. We will also have representations of all our users within our database.
Conclusion
With that, we have a way to authenticate users. With Auth0 we’re able to have 2FA, password recovery, and a smooth signup process handled for us. We have additional user information stored within CosmosDB, which we can use for providing additional information on users, which we can potentially use for profile pages, attaching details to messages.
With authentication done now, we still need to be able to authorize these users. We may know who someone is when they’re logged in, but we’re yet to define what permissions they should have, and how we’ll control them.
Next, we’ll be diving into how we can make use of a combination of Role-based Access Control (RBAC) and fine-grained permissions to define an authorization structure for users, as well as how to apply these permissions to both our backend as well as our real-time communications over WebSockets using Ably.
If you have any questions or thoughts about this project, please get in touch on Twitter or via email and we’d love to talk with you!
About the author

Thomas Camp
DevRel Engineer at Ably Realtime