In May, we announced the release of Auth0 Templates for .NET, a NuGet package that allows .NET developers to scaffold a new project with Auth0 embedded. Today, we are announcing the release of a new powerful version of the package: Auth0 Templates for .NET 2.1. 🎉
Go to your terminal window and install the new package by running the following command:
dotnet new install Auth0.Templates
⚠️ If you already have a previous version of the package installed on your machine, please uninstall it using the following command before installing the new package:
dotnet new uninstall Auth0.Templates
Let's explore what's new and how you can now create a working application with Auth0 authentication in less than a minute!
Auth0 CLI integration
The most prominent feature introduced in this new release is the integration with the Auth0 CLI, the command line tool that allows you to manage your Auth0 tenants and your application registration from your terminal window.
📖 If you are new to the Auth0 CLI, take a look at the Auth0 CLI Basics Lab to learn how to use it.
If you have the Auth0 CLI installed on your machine and are already logged in to your Auth0 tenant, you can have your new application automatically registered. Let's do an example to better explain.
Self-Registration in .NET CLI
Suppose you want to create a Blazor Server application with Auth0 authentication embedded. You can start by running the following command in a terminal window:
dotnet new auth0blazorserver -o MyBlazorServerApp
This command uses the
auth0blazorserverMyBlazorServerAppAfter launching the command, you will see a message similar to the following:
The template "Auth0 Blazor Server App" was created successfully.

Processing post-creation actions...

Template is configured to run the following action:
Actual command: register-with-auth0.cmd
Do you want to run this action [Y(yes)|N(no)]?
With this message, the template engine asks if you want to register the newly created application with Auth0.
Once you confirm, the new Blazor application will be registered on your current Auth0 tenant. You will see the registration data onscreen for documentation purposes only, as you don't need to configure it manually. In fact, your new application will be automatically configured. All you need to do is run your Blazor application with
dotnet runAs you can see, using the integration with the Auth0 CLI allows you to have an application up and running in less than a minute!
Of course, you can still pass the configuration options on the command line in case you don't have the Auth0 CLI installed or if you have already registered the application with Auth0. See the specific options for each template for more details.
Auth0 registration in Visual Studio
If you are using the templates with Visual Studio, you can't leverage the self-registering feature. This is not a limitation of the template, but a restriction imposed by Visual Studio (see this issue for context).
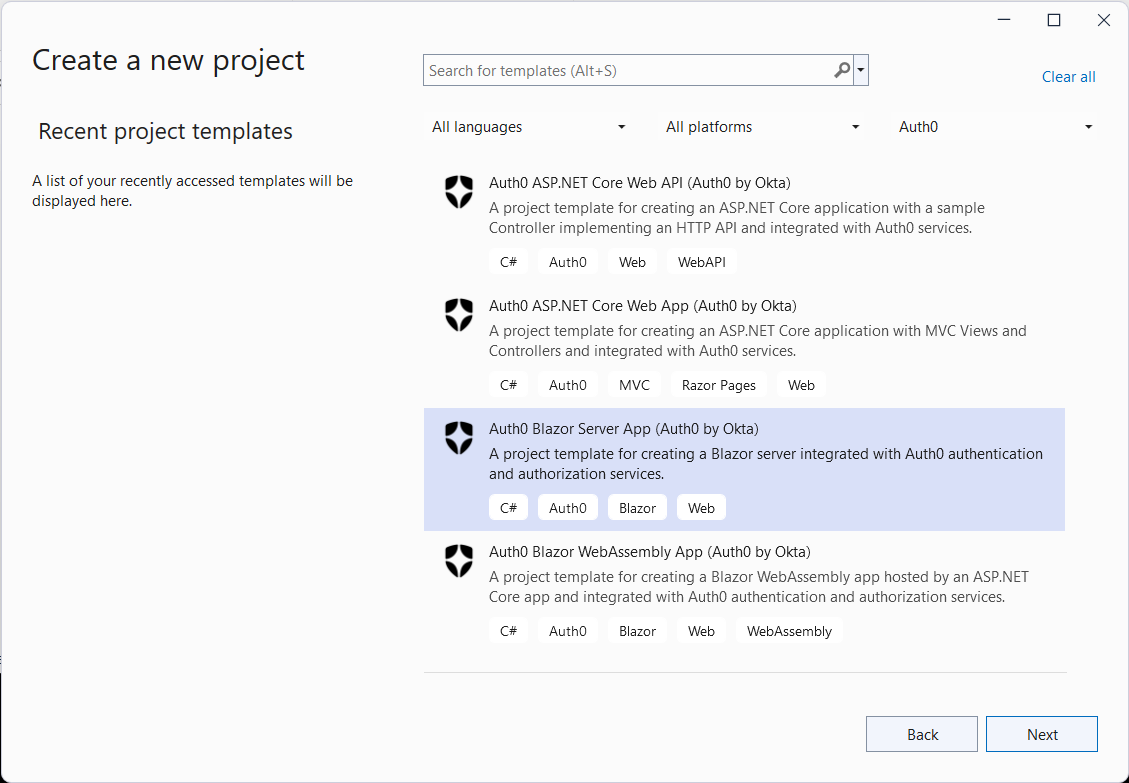
However, you can run the registration action manually. So, assuming you want to create your Blazor Server application with Visual Studio, select the Auth0 Blazor Server App template as shown in the following picture:

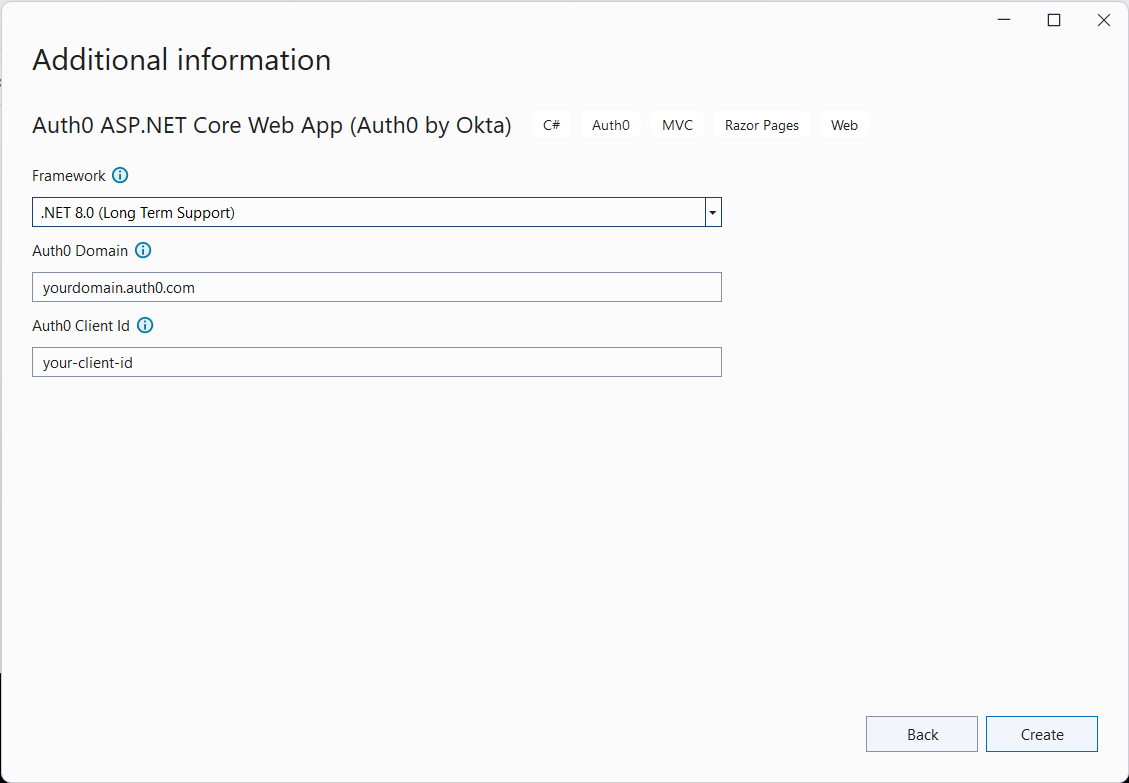
Then, accept the default values proposed by the template configuration window and create the project.
After the project is created, go to the newly created application and run the following command:
./register-with-auth0.cmd
This command will automatically register your Blazor Server application with Auth0 and configure your application.
Note: On MacOS you must enable the script to execute. Run the following command before launching the automatic registration:
chmod +x register-with-auth0.cmd
.NET 8 Support
The new release of Auth0 Templates for .NET supports .NET 8 by default for most templates. When you use the
dotnet new
Blazor templates do not currently support .NET 8, but they still target .NET 7. The reason for this choice depends on the new .NET 8 Blazor model, which provides a more fluid approach between the Server and the WebAssembly hosting models. Currently, there are no official guidelines on how to integrate OpenID Connect with the new Blazor model. If you are interested in this topic, you can follow this thread in the Auth0 Community forum to stay updated.
Leverage Auth0's authentication and authorization services in your .NET applications.
DOWNLOAD THE FREE EBOOK
Minimal API Template
The Auth0 Templates for .NET package contains four templates since its first release:
- ASP.NET Core MVC
- ASP.NET Core Web API
- Blazor Server
- Blazor WebAssembly (ASP.NET Core hosted)
This new release adds a new template for ASP.NET Core minimal API. To use this template, add the
--minimaldotnet new auth0webapidotnet new auth0webapi -o MyWebAPI --minimal
This command creates a minimal API project in the
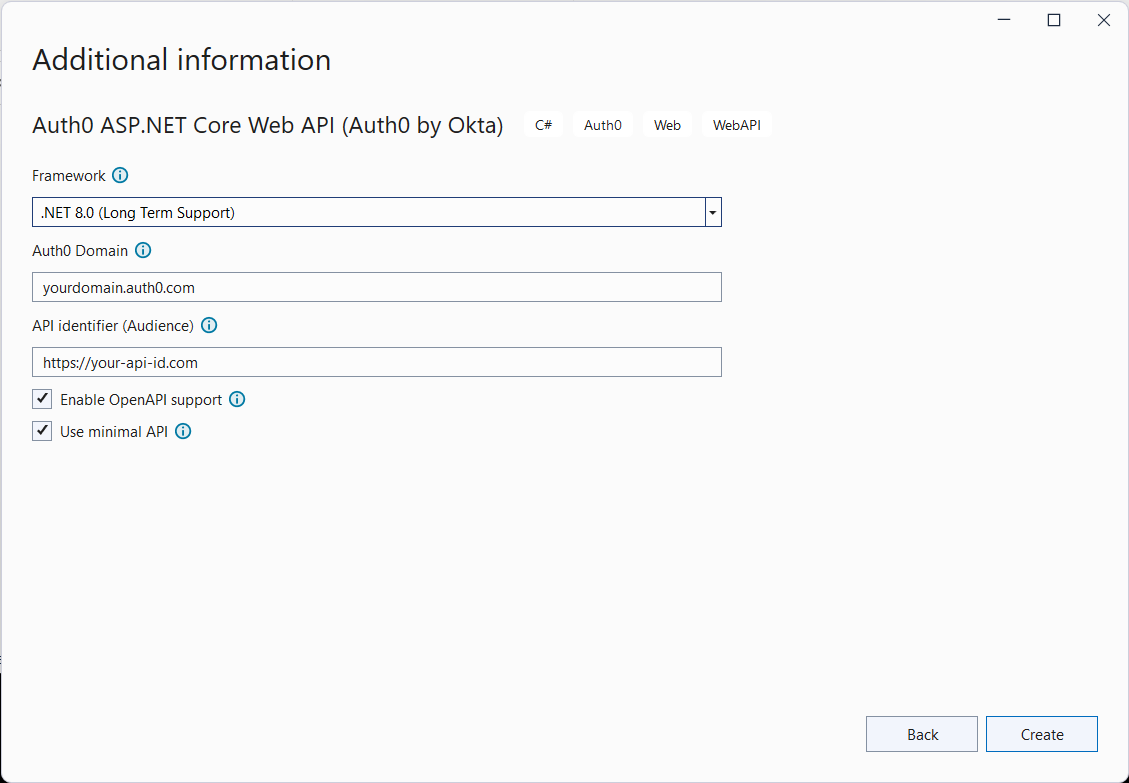
MyWebAPIIn Visual Studio, you can simply select the Use minimal API checkbox as shown in the following picture:

Looking Ahead
We hope that these new features will help .NET developers set up their new applications with Auth0 more easily than before. Our goal for the next release is to include a template for the missing Blazor model and add templates for other .NET application types.
Your feedback is valuable. If you experience a problem or have a request, please open an issue on the project's GitHub repository.
Remember that Auth0 Templates for .NET is an open source project, so your contribution is welcome! If you think you can help, check out our contribution policy and get involved.
About the author

Andrea Chiarelli
Principal Developer Advocate
I have over 20 years of experience as a software engineer and technical author. Throughout my career, I've used several programming languages and technologies for the projects I was involved in, ranging from C# to JavaScript, ASP.NET to Node.js, Angular to React, SOAP to REST APIs, etc.
In the last few years, I've been focusing on simplifying the developer experience with Identity and related topics, especially in the .NET ecosystem.
