Cross App Access (XAA) is currently in Beta. By using this feature, you agree to the applicable Free Trial terms in Okta’s Master Subscription Agreement. To learn more about Auth0’s product release cycle, read Product Release Stages. To participate in this program, contact Auth0 Support or your Technical Account Manager.
This section explains how to set up the end-to-end test environment for the Resource App. By configuring your Auth0 tenant as the Resource App Authorization Server, your SaaS application can start accepting incoming ID-JAG requests without requiring any code changes. This enables your SaaS API to generate access tokens in response to these requests, allowing AI agents and other applications to seamlessly consume your API.
This guide assumes you use Okta as your enterprise identity provider (IdP) and have administrative access to an Okta tenant you can use for testing. If you don’t have one, read Create and configure your Okta tenant.
To set up your end-to-end test environment for the Resource App:
  • Configure and register your Resource App: This includes configuring your Auth0 tenant and registering your SaaS application as a Resource App with Okta. To learn more, read Resource App setup.
  • Configure the Requesting App to test the end-to-end: This includes registering a test Requesting App in your Auth0 tenant and updating Okta to link it with your Resource App. To learn more, read Requesting App setup.
  • Configure how your Auth0 tenant federates with your customer’s enterprise IdP: In our test environment, the enterprise IdP will be your Okta test tenant, representing one of your enterprise customers. To learn more, read Federate with the enterprise IdP and Organization configuration.
  • Manage Cross App Access in Okta: Configure agent-to-app and app-to-app connections in the Okta Admin Console. To learn more, read Manage Cross App Access in Okta.
The following image maps the responsibilities of the different personas in a production-ready XAA flow:

Create and configure your Okta tenant

To set up your end-to-end test environment for the Resource App, you need to create and configure your Okta tenant for Cross App Access.
  • On the Okta Developer website, sign up for an Okta Integrator Free Plan. Once you sign up, you should be redirected to your new Okta tenant.
  • In the Okta Admin Console, navigate to Settings > Features. Under Early access features, enable Cross App Access.

Resource App setup

To set up your Resource App, you need to:

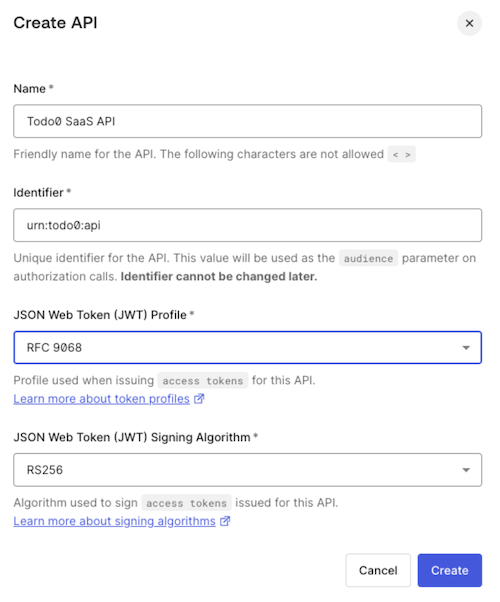
Create the API in Auth0

If you have already created a custom API in your Auth0 tenant, you can skip this section.
In the Auth0 Dashboard, register a custom API representing your SaaS API in your Auth0 tenant.
After you’ve created the API, you can optionally set its audience as the Default Audience for your Auth0 tenant under Tenant Settings. You can also use API Access Policies for Applications to granularly control which applications are granted access to your API for which scopes.

Create the Resource App in Auth0

If your Auth0 tenant already has one or several applications ready to log into your SaaS application, you can skip this section.
In the Auth0 Dashboard, create an application, such as a regular web app, SPA, or native app, that serves as the primary interface for end-users to access your SaaS application functionality.

Register the Resource App in Okta

You must register your SaaS application in the Okta Integration Network (OIN) for it to be considered a valid Resource App. To register your SaaS application as a Resource App in Okta, you have two options:
  • For a quick test setup, we recommend using the Todo0 application that is already registered in the OIN. In the Okta Admin Console, go to Applications > Applications > Browse App Catalog and search for Todo0. Select it and add the integration.
  • You can also request the registration of a new application in the OIN from your Okta tenant. To learn more, read the Submission process for SSO and SCIM integrations. To accelerate the registration process, contact your Auth0 or Okta representative.
In a production environment, your enterprise customers will install your SaaS application from the OIN catalog during their IdP setup.
Additionally, you must provide Okta with the issuer URL of your Auth0 tenant, which is associated with your Resource App. Requesting Apps use the issuer URL to request connecting to your Resource App. To learn more, read Test the end-to-end XAA flow.

Requesting App setup

In a production environment, you configure each Requesting App once to enable its connection with your Resource App.
To set up your Requesting App, you need to:

Create the Requesting App in Auth0

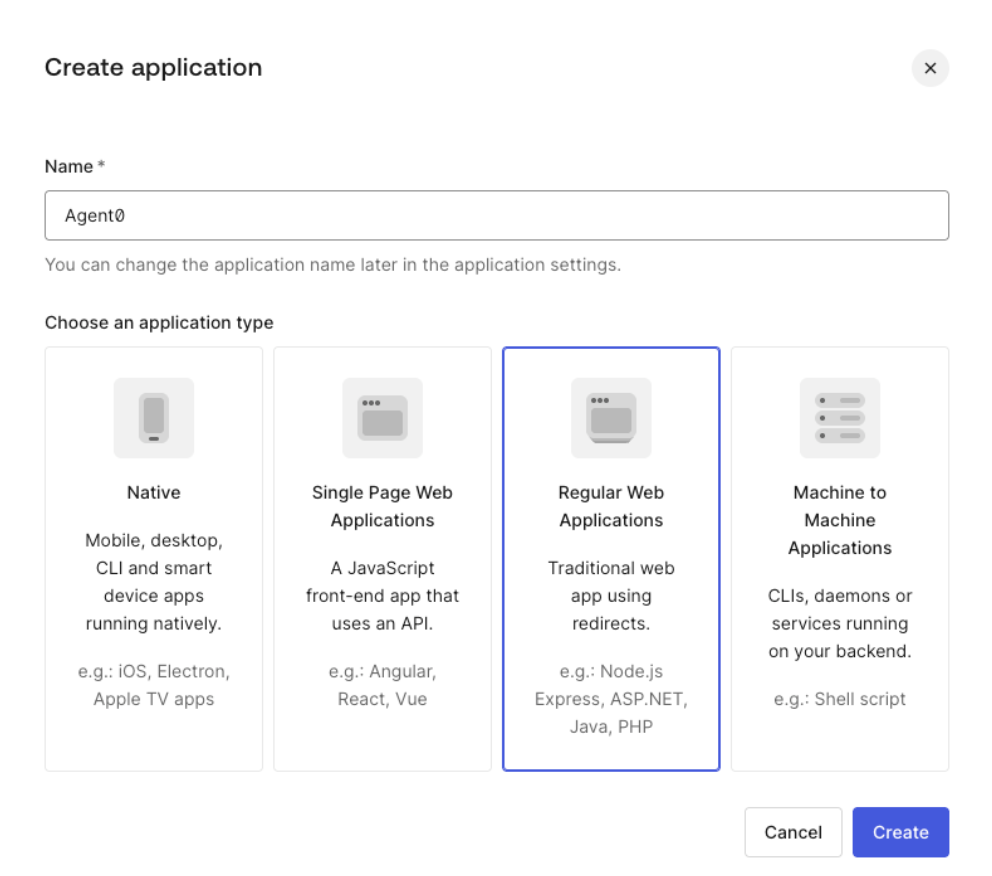
To test the end-to-end environment, create and register an application that behaves as the Requesting App. The application should be a confidential client that can store client secrets, such as a web application. To create an application representing the Requesting App in your Auth0 tenant:
  • Navigate to Applications > Applications and select Create Application.
  • Enter a name and select Regular Web Application.
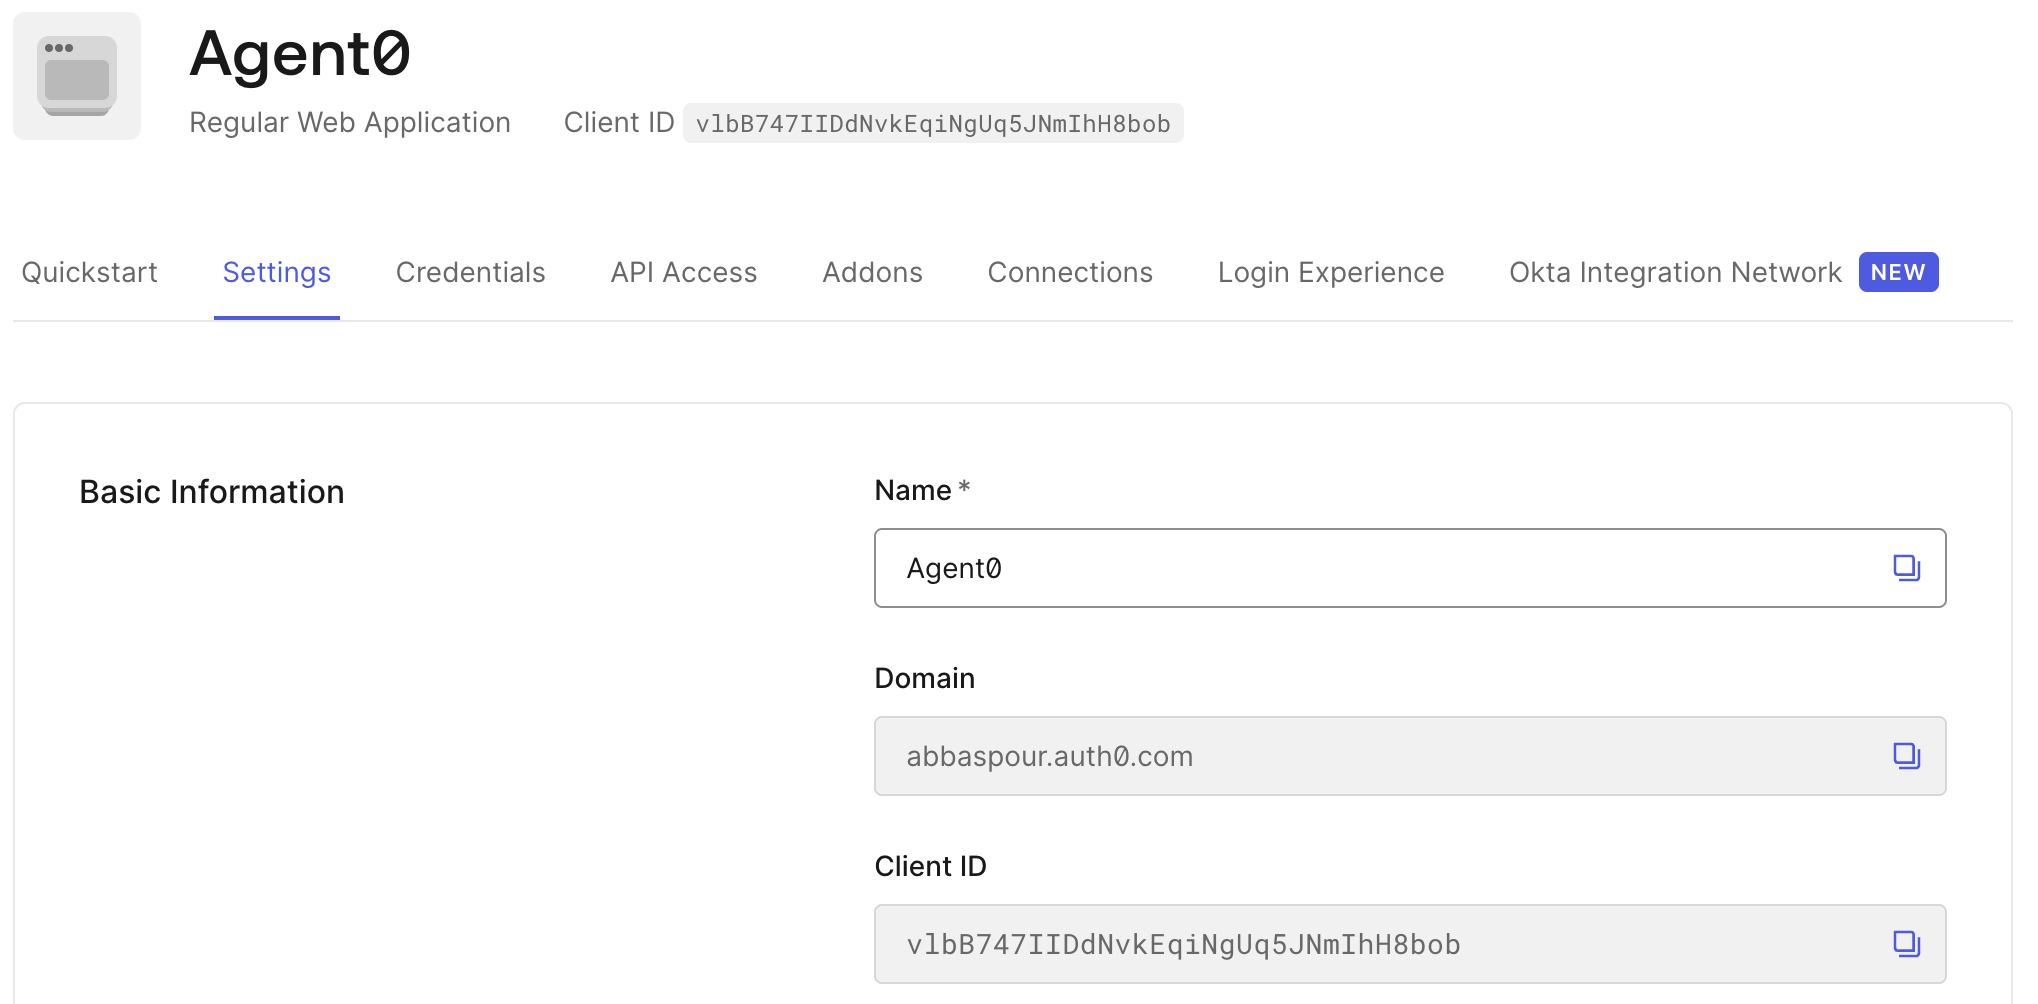
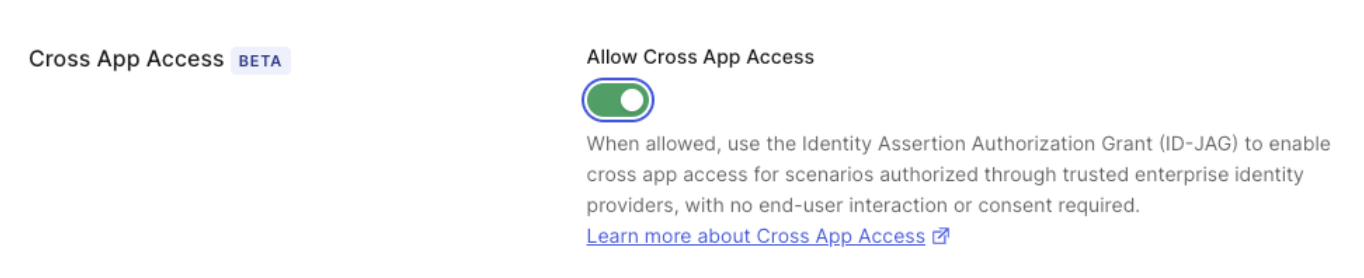
  • Once you’ve created the application, scroll to Settings and enable the Cross App Access toggle.
Once you’ve created and configured your application, you must provide Okta with the application’s client_id and the issuer URL of your Auth0 tenant. This enables the connection between the Requesting App, identified by the client_id, and the Resource App, identified by the issuer URL. To learn more, read Test the end-to-end XAA flow.

Register the Requesting App in Okta

In a production environment, the Requesting App developer registers the Requesting App in the Okta Integration Network (OIN). Enterprise customers will install the Requesting App from the OIN catalog during their IdP setup.
You must register the application in the Okta Integration Network (OIN) for it to be considered a valid XAA Requesting App when using Okta as the enterprise IdP. To register the Requesting App in Okta, you have two options:
  • For a quick test setup, we recommend using the Agent0 application that is already registered in the OIN. In the Okta Admin Console, go to Applications > Applications > Browse App Catalog and search for Agent0. Select it and add the integration.
Since the Requesting App authenticates enterprise employees with Okta, you need to configure the application’s sign-on policy in Okta.
  1. Go to Applications > Applications and select the application (e.g. Agent0).
  2. Under Sign On, select Edit and add the Requesting App’s callback URL in the Redirect URI field. Adjust the Redirect URI’s value depending on the testing application you want to use. To learn more, read Test the end-to-end XAA flow.
  3. Select Save.
Finally, allow your test user to log into the Requesting App in Okta. In the Okta Admin Console:
  1. Navigate to Applications and select the application (e.g. Agent0).
  2. Select Assign > Assign to People and select your test user.
  3. Select Save.

Federate with the enterprise IdP and Organization configuration

In a production environment, you configure each of your enterprise customers once to federate it with your Auth0 tenant. Auth0 will add support for Self-Service SSO in later versions, enabling you to delegate XAA configuration to your enterprise customers as part of SSO setup.
You must federate your Auth0 tenant, acting as the authorization server for your Resource App, with your enterprise customer’s Okta tenant. This federation establishes cryptographic trust, allowing your application to validate and accept signed assertions (ID-JAGs) issued by the customer’s IdP. To test the end-to-end XAA flow for multiple enterprise customers connected to your Resource App, you can repeat the steps in this section for multiple Okta Workforce Enterprise connections in your Auth0 tenant. Each connection maps to a different Okta test tenant, where each tenant represents a different enterprise customer.

Configure an Okta Workforce Enterprise connection

Use your Resource App’s client_id and client_secret to create an Okta Workforce Enterprise connection in your Auth0 tenant. When creating the Okta Workforce Enterprise connection, activate the Cross App Access - Resource Application role. This enables your Resource App to accept ID-JAGs issued by the enterprise IdP associated with that connection, in this case, your Okta tenant.
After creating the Okta Workforce Enterprise connection, copy the callback URL provided by Auth0 in the connection’s settings. You need the callback URL to configure the sign-on policies of the Resource App in your Okta tenant. In the Okta Admin Console:
  1. Navigate to Applications > Applications and select the application (e.g. Todo0).
  2. Under Sign On settings, select Edit and add the callback URL in the Redirect URI field.
  3. Select Save.
To test the Okta Workforce Enterprise connection, create a test user and give it permission to log into the Requesting App. In the Okta Admin Console:
  • Navigate to Applications and select the application (e.g. Agent0).
  • Select Assign > Assign to People and select your test user.
  • Select Save.
In the Auth0 Dashboard:
  • Navigate to Authentication > Enterprise > Okta Workforce:
    • Enter the Okta Workforce Enterprise connection you created and select the Applications tab. Then, enable the Requesting App you created for the connection.
    • Go back to the list of Okta Workforce connections. Select the three dots on the right for your connection and select Try. You will be redirected to authenticate in your Okta tenant to complete the login with your test user.

Configure an Organization

Optionally, if you want an enterprise customer to use Organizations, create an Organization and enable the Okta Workforce Enterprise connection for that Organization. This automatically associates access tokens generated using XAA, in the scope of this connection, to the corresponding org_id if the target user is a member of the Organization.
You can also configure the Requesting App’s Organization behavior to set whether it is required or allowed to use Organizations. We recommend that you start testing with Both, which allows users to log in as an Organization member or sign up with a personal account.