
In this step-by-step tutorial, you will learn how to integrate a Java web application with Auth0 using Datawiza to implement OIDC/OAuth SSO for the Java web application.
Prerequisites
- A favorite text editor or IDE
- JDK 1.8 or later
- Gradle 4+ or Maven 3.2+
- Docker (18.03+)
- Docker Compose
Run a Java Web Application
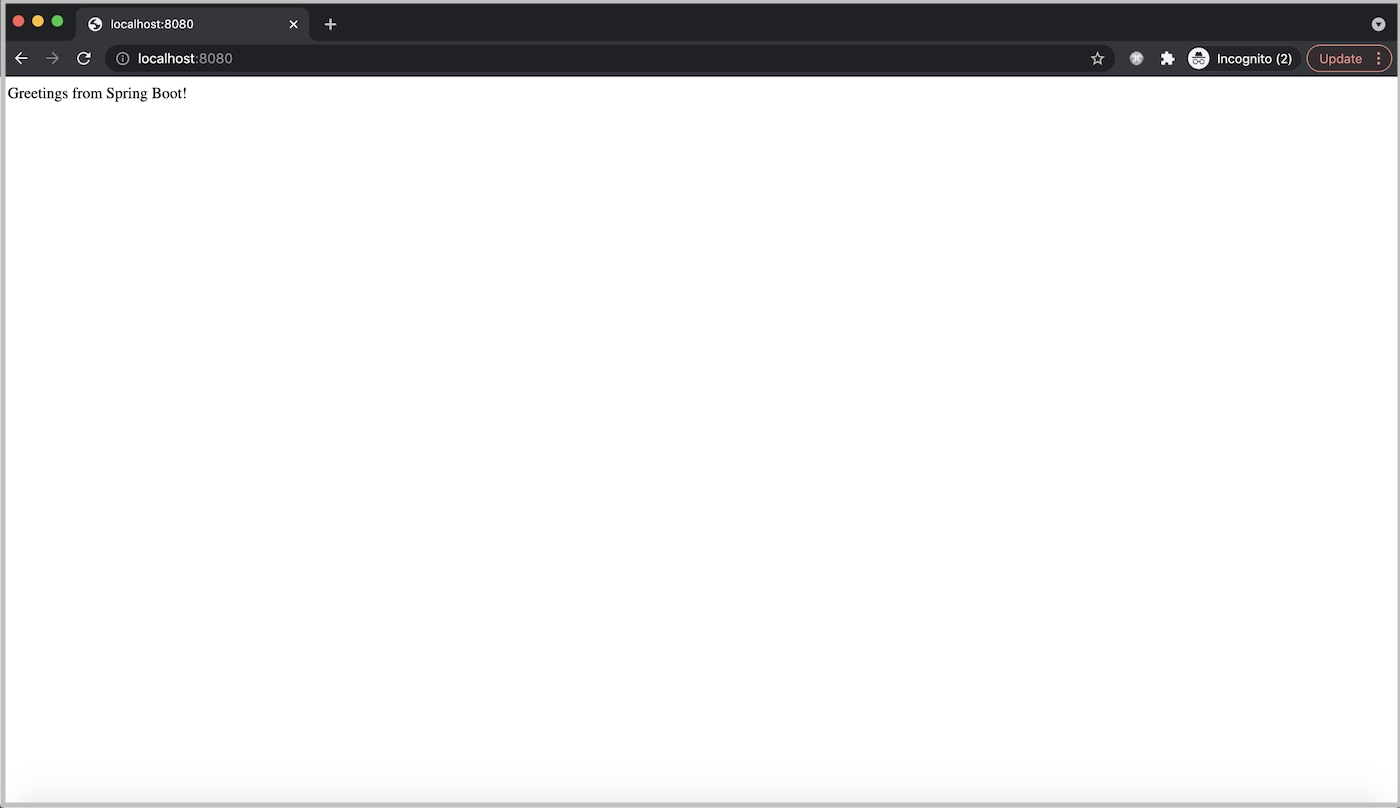
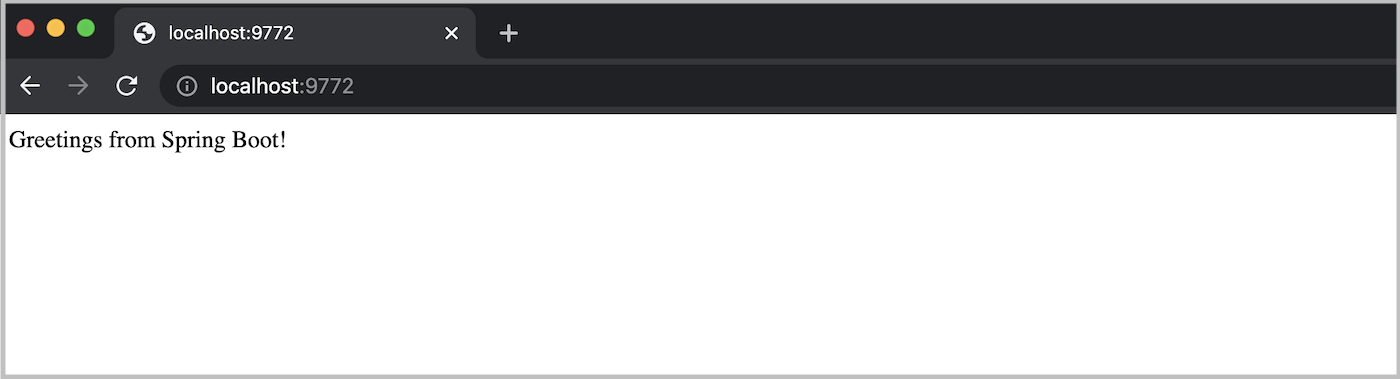
We use the sample offered in Spring.io official Building an Application with Spring Boot as the example in this section. The application running at port 8080 simply returns “Greetings from Spring Boot!”
Suppose you want to add SSO authentication for a Java web application using Auth0. In that case, Auth0 provides quickstarts on adding the user login to a Java EE web application or a Java Servlet application and integrating Auth0 with any new or existing Spring Boot 2 web application. What’s more, there is an official Java client library for the Auth0 platform and a Java implementation of JSON Web Token (JWT). However, you will still need to invest significant time to clearly understand concepts related to Auth0, OIDC, Oauth2, JWT, and so on. And you cannot avoid heavy code changes. You deserve a better solution, and we are building one that will reduce the required time from weeks to just minutes.
Introduction to the Datawiza Platform
The Datawiza Platform is a cloud-delivered, SaaS-based access management solution. It includes a data plane and a control plane: Datawiza Access Broker (DAB) and Datawiza Cloud Management Console (DCMC).
DAB is a lightweight, container-based access proxy deployed close to your application via the sidecar (agent) or gateway mode. It talks to Auth0 on behalf of your applications, so you don’t need to worry about the integration work. DCMC is a cloud-based management console where you can configure and manage the policies of DABs. Such a SaaS-based design makes the whole platform much easier to use.
Step 1: Create an Application in Auth0
First, we need to create an Auth0 application in the Auth0 console. When performing this step, make sure to log in to your account on Auth0. Visit the link here to create a developer account.
You can skip this step if you already have an application with the following values: Domain, Client ID, and Client Secret.
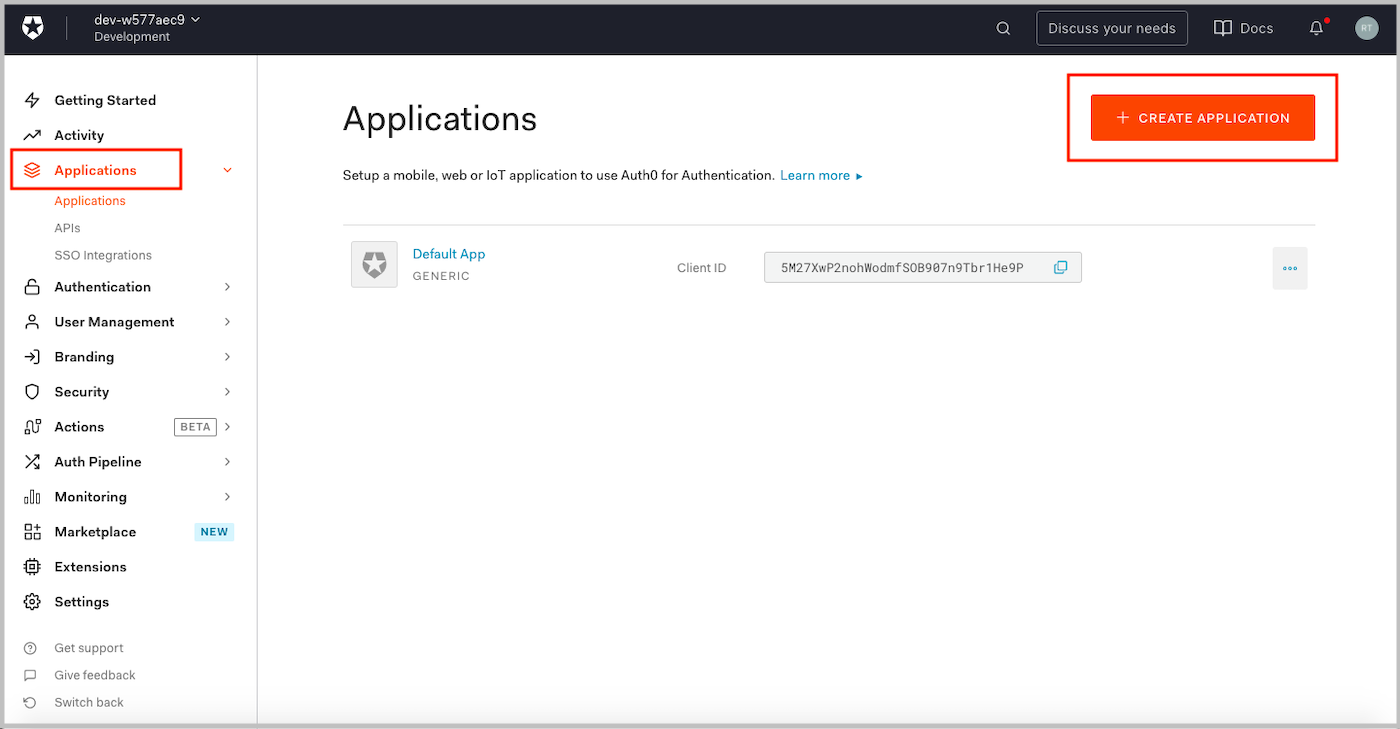
Create an application after you log in to Auth0.
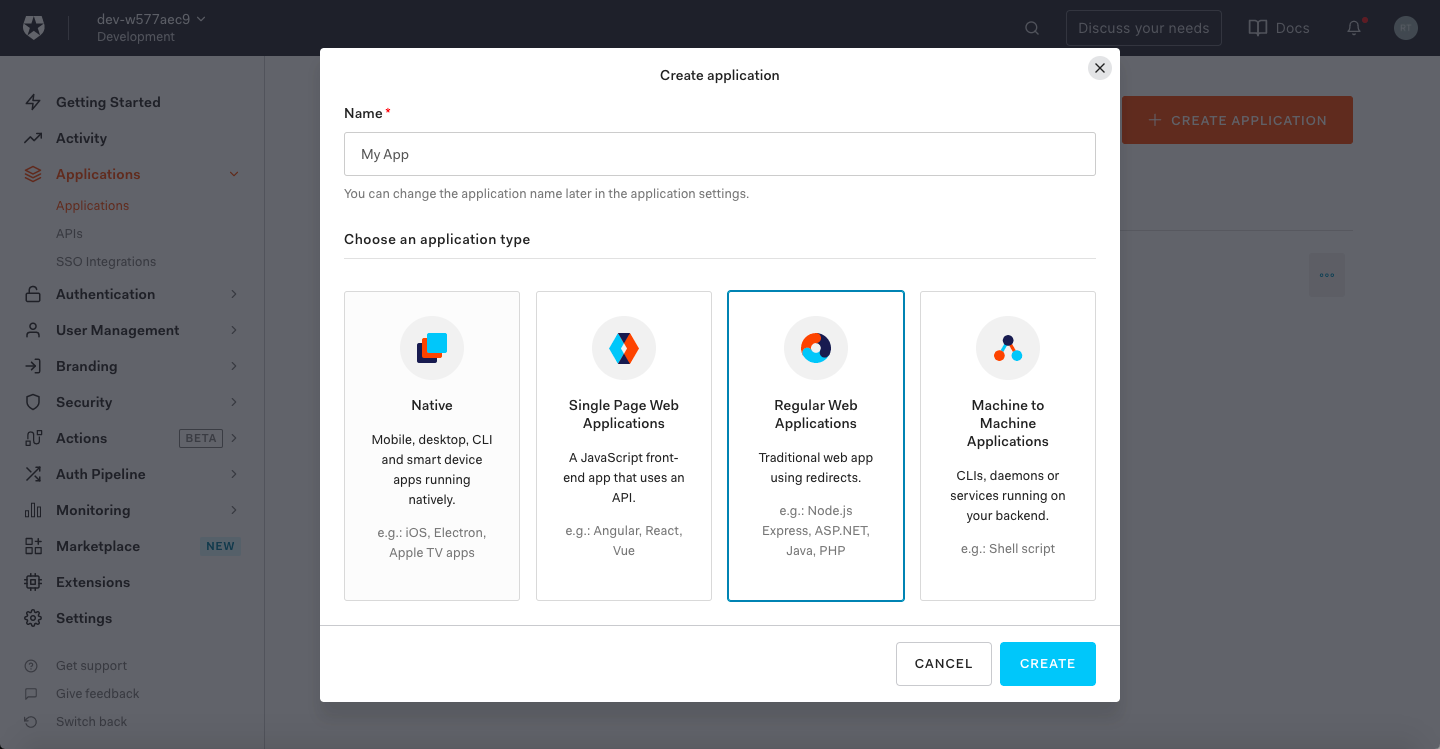
Enter the application name and choose Regular Web Applications, then click CREATE.
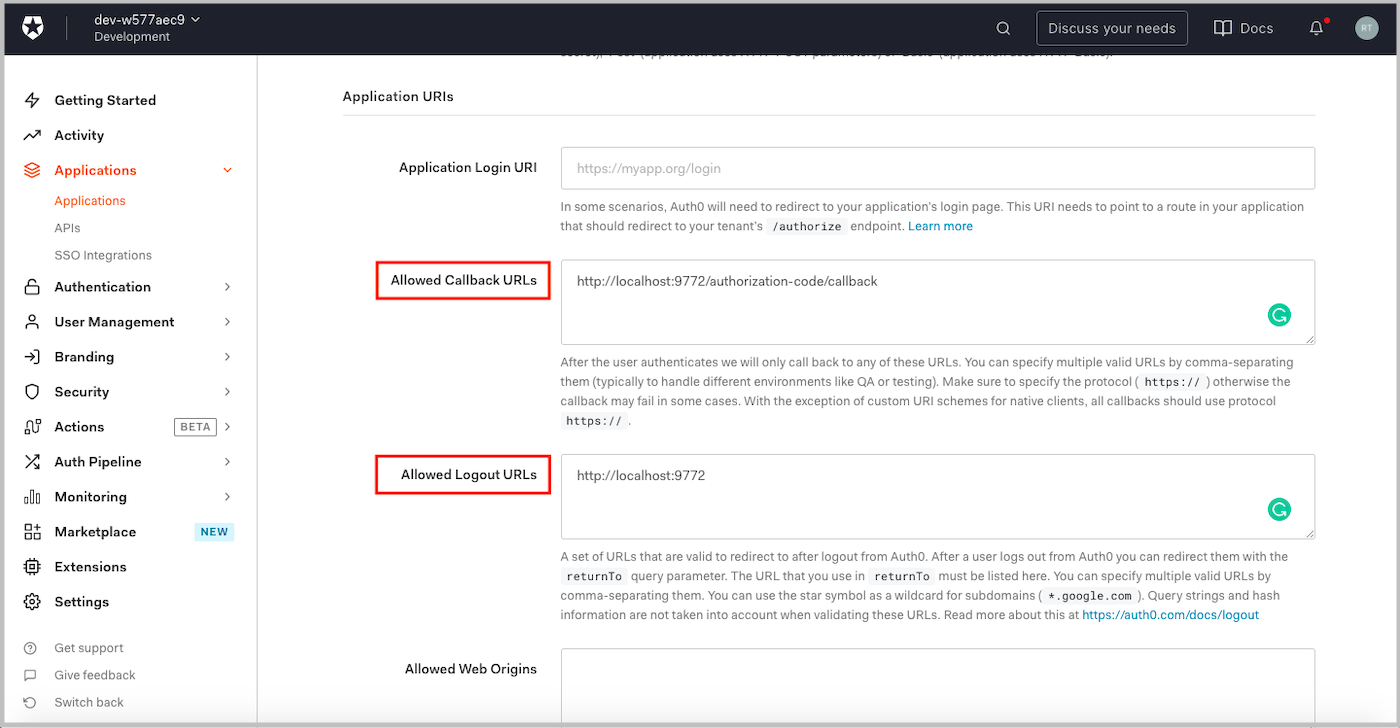
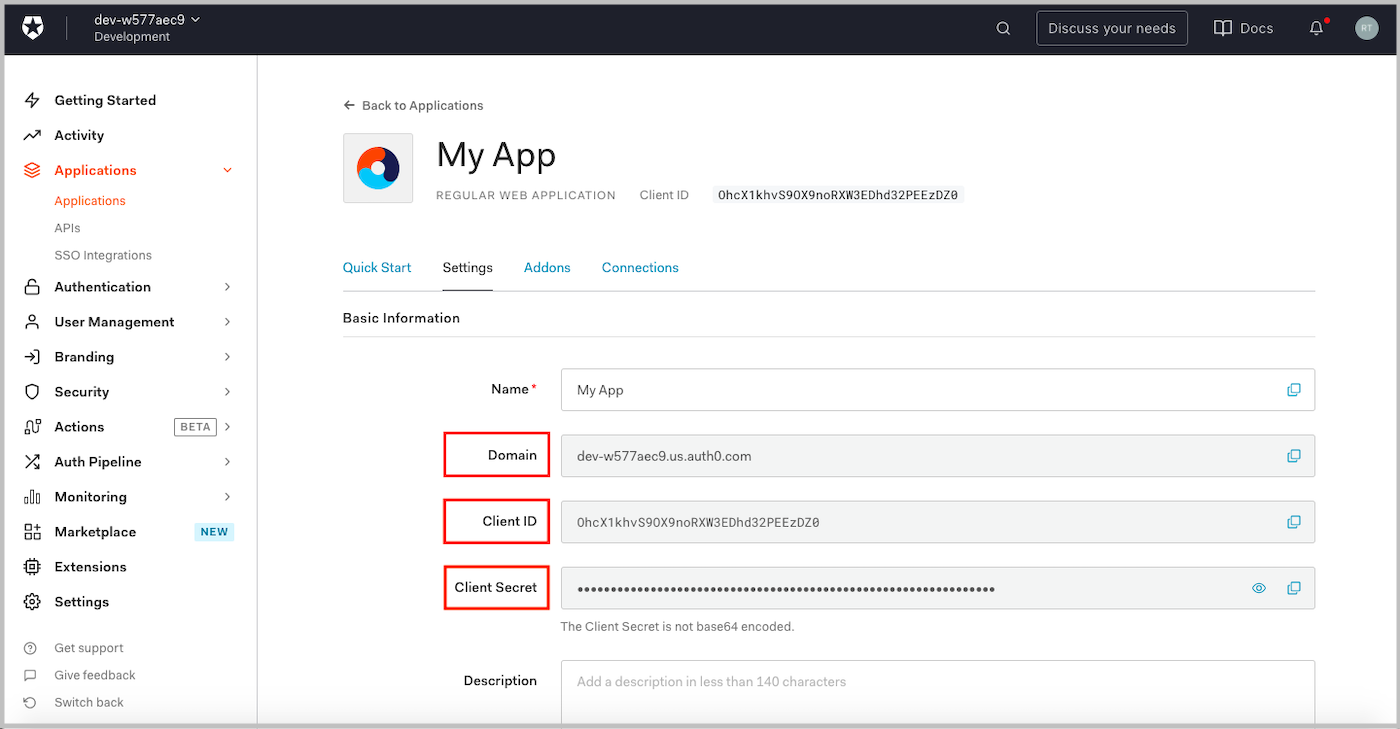
Select the Settings tab and fill out the form. Follow the steps below:
- Allowed Callback URLs: e.g., http://localhost:9772/authorization-code/callback
- Allowed Logout URLs: e.g., http://localhost:9772
- Use the default settings for the remaining fields
Then click SAVE CHANGES.
On the same page, be sure to save a copy of Domain, Client ID, and Client Secret. You will need these values later when establishing the connection.
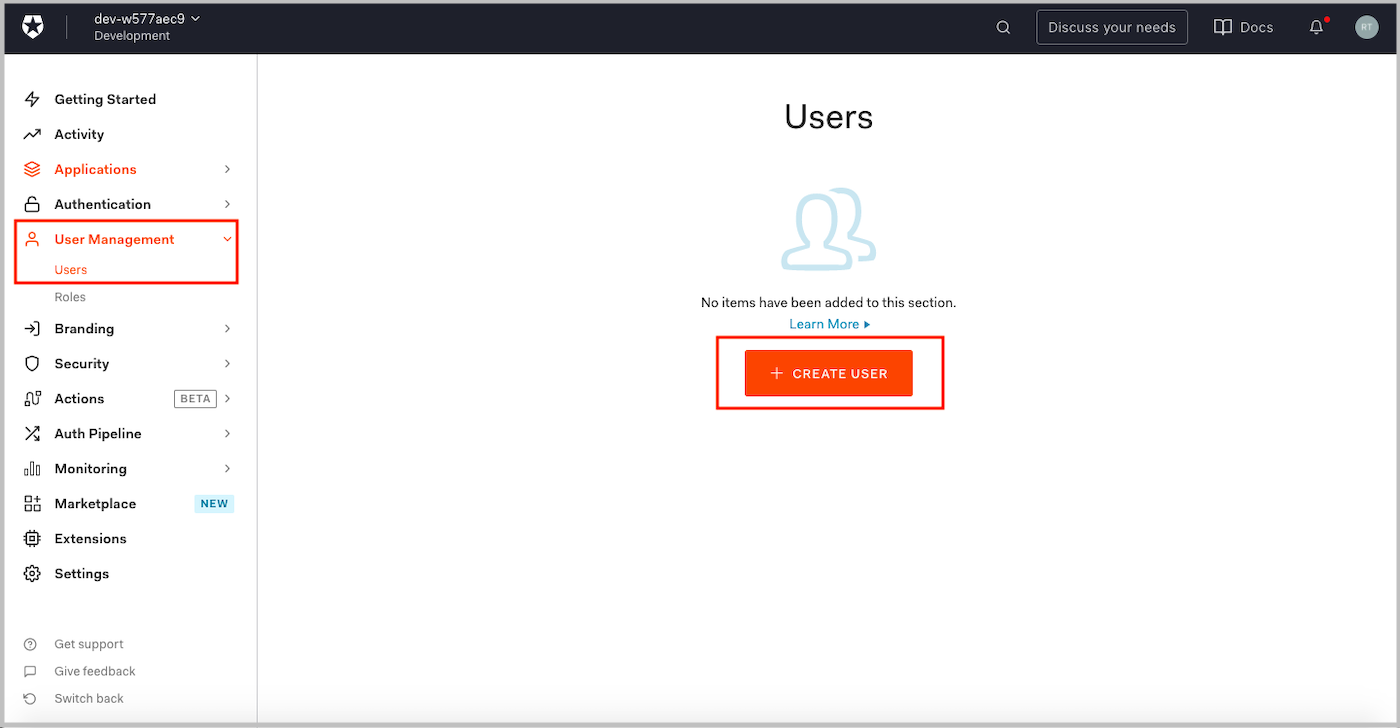
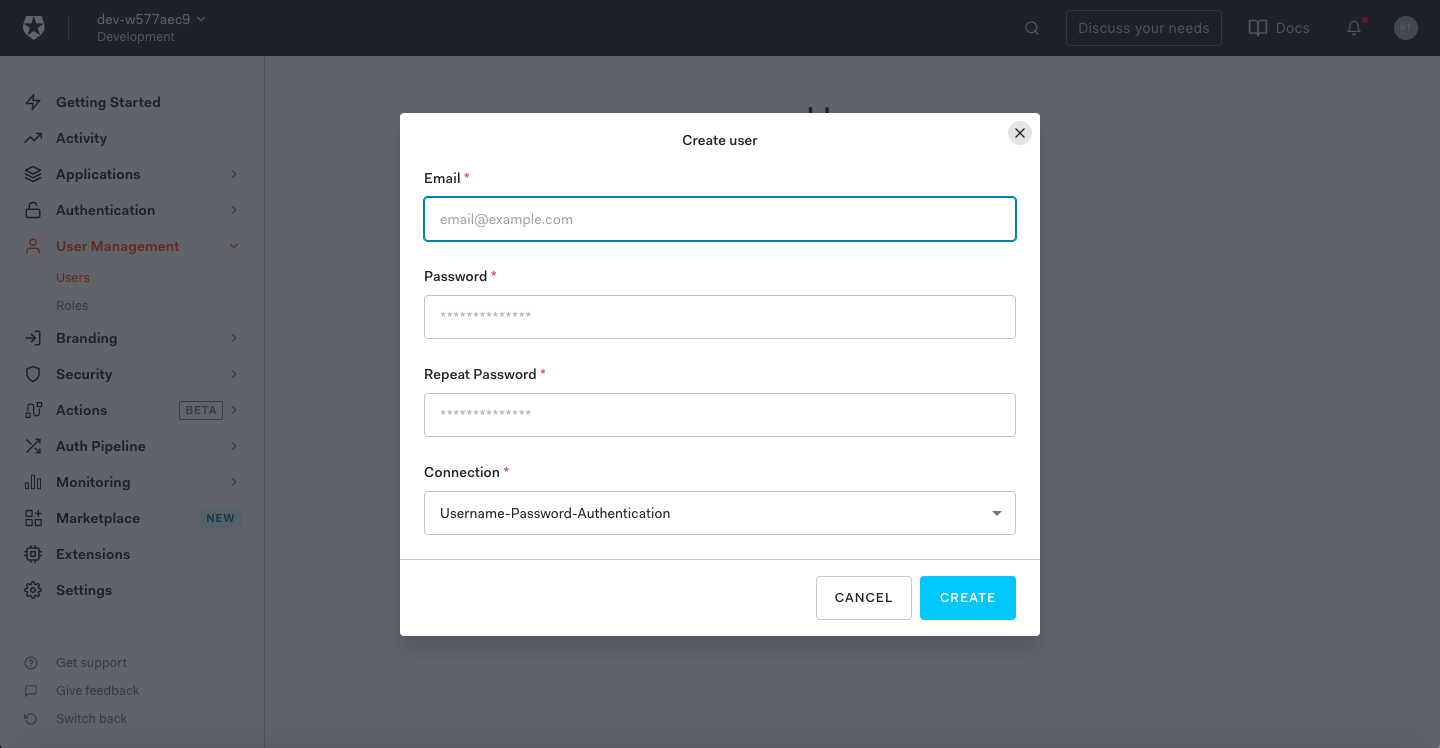
Choose Users under the Users & Roles Tab and create a test user.
You have now registered a web application on Auth0. Next, you will create a simple configuration in the DCMC.
Step 2: Configurations in Datawiza Cloud Management Console
Then, log in to the Datawiza Cloud Management Console (DCMC). If you do not have a DCMC account, you can create one by email from the DCMC login page. Also, we provide social login and SSO functionality with Microsoft, GitHub, and Google to simplify logins for you.
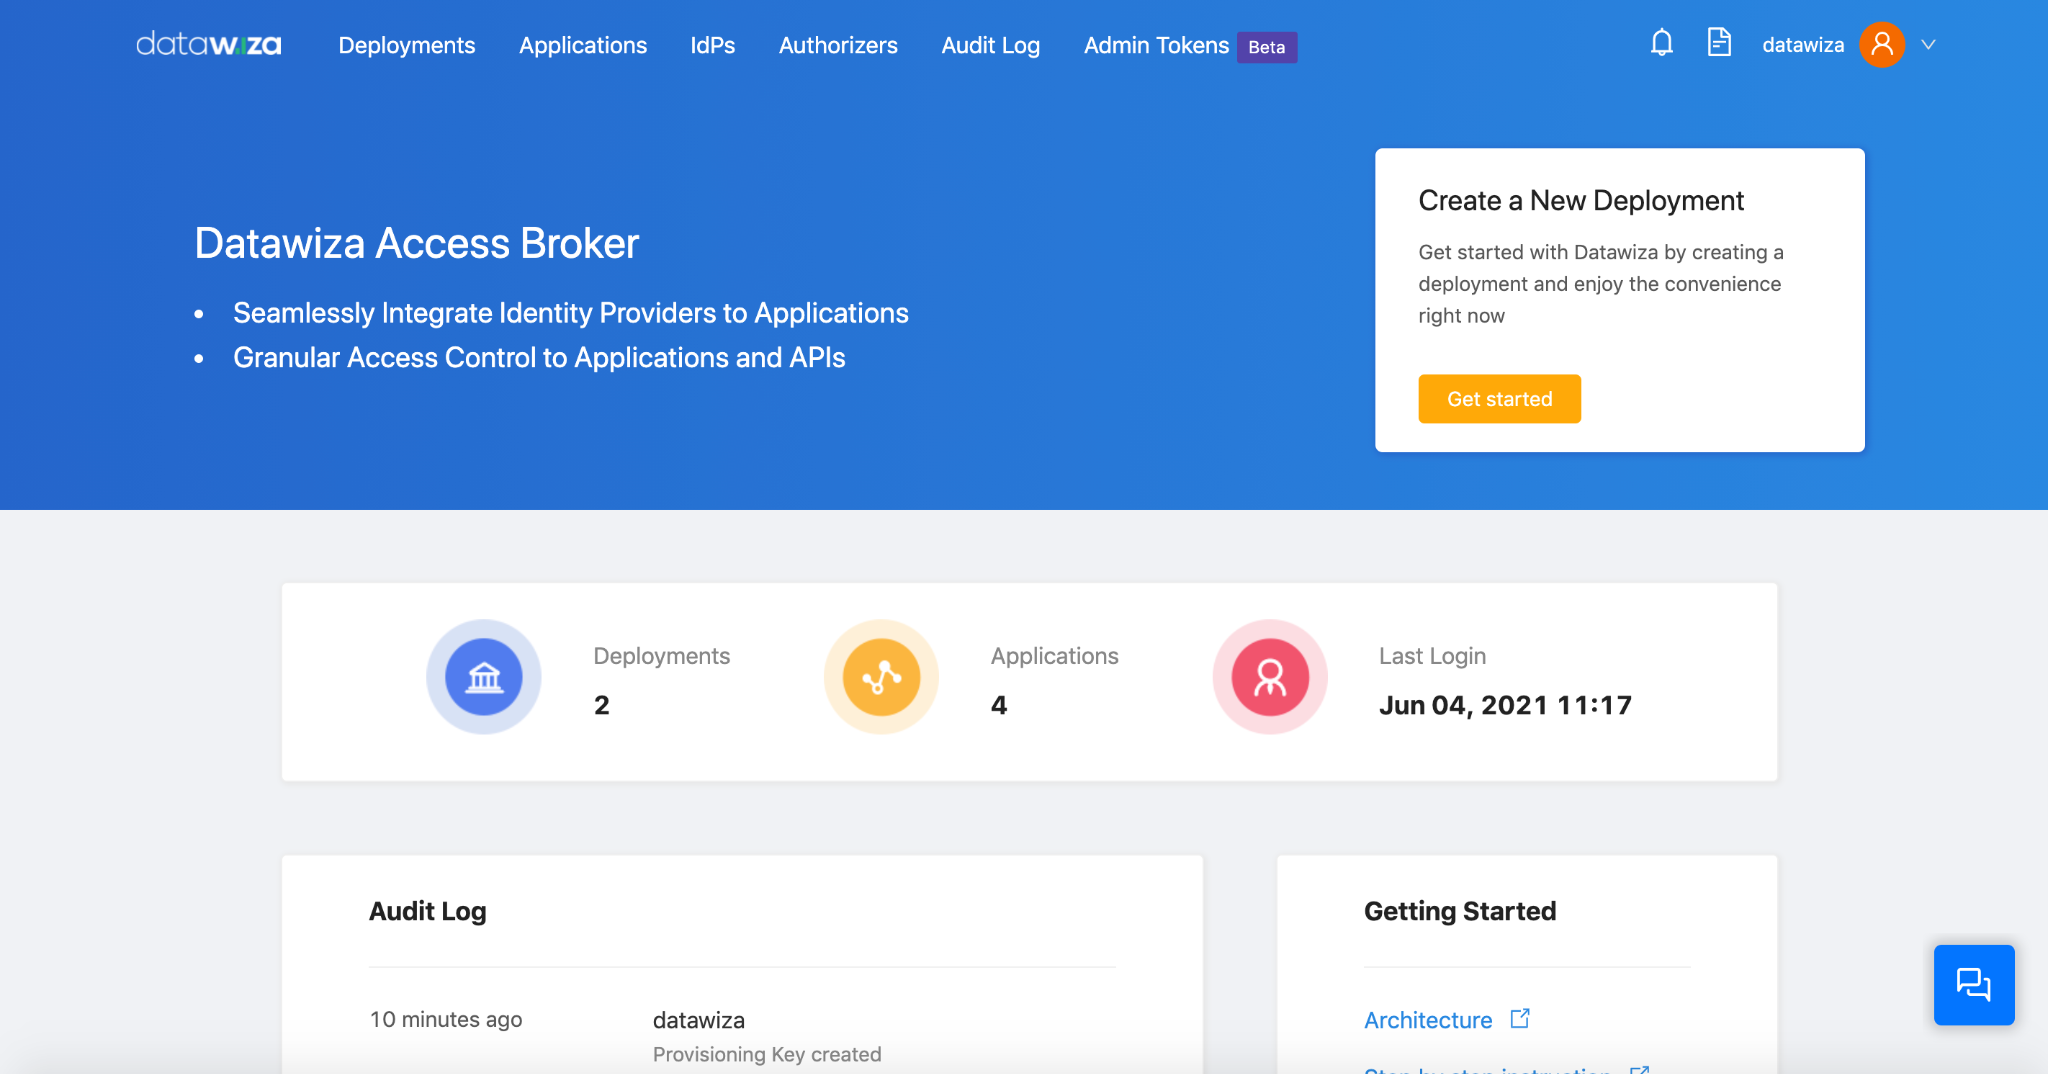
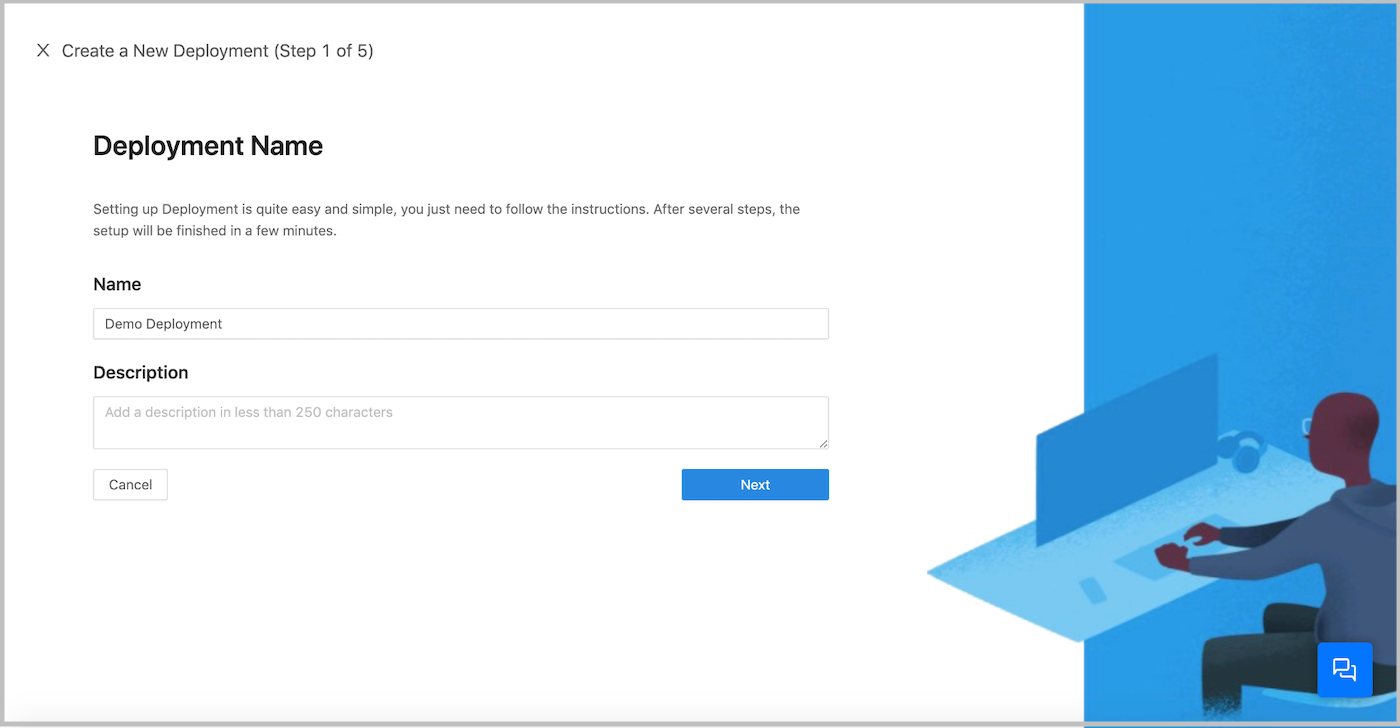
The Get started function will guide you through the configuration. After logging in to the DCMC, click on the yellow “Get started” button and follow the steps.
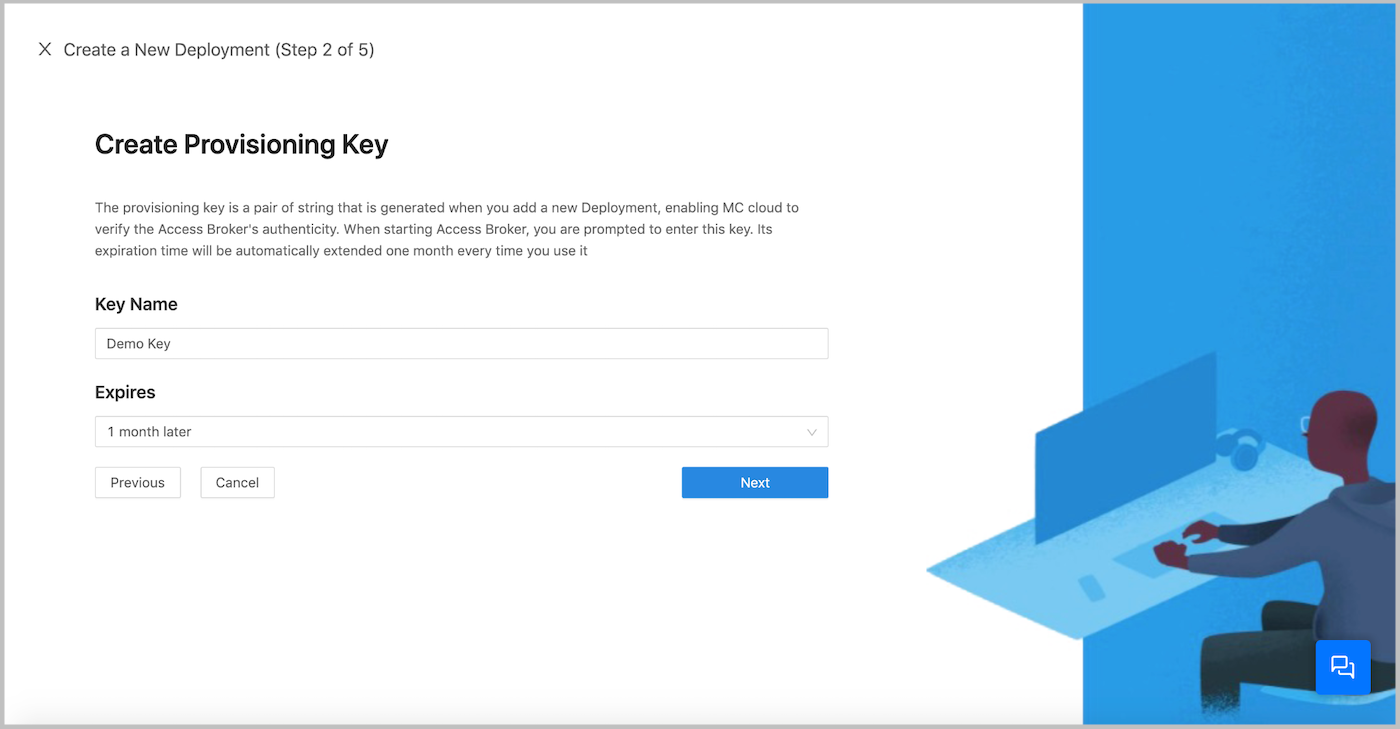
Enter some basic information, such as the deployment name and provisioning key name:
Now Add an Application:
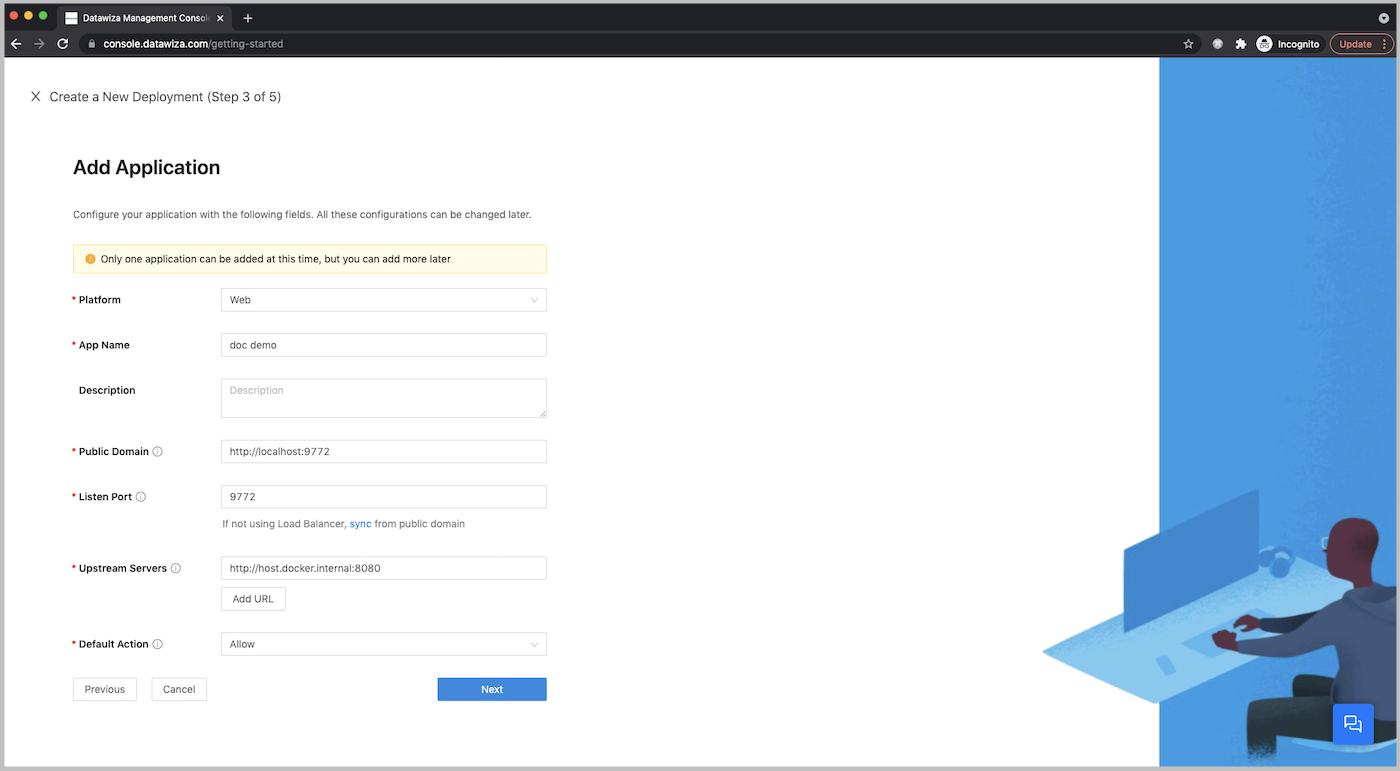
Configure your application with the following values:
- Platform: Web
- App Name: Demo App
- Public Domain: http://localhost:9772
- Listen Port: 9772
- Upstream Servers: http://host.docker.internal:8080
- Default Action: Allow
Note that Upstream Servers is the address of the Java application.
- If you use Mac or Windows, then set the Upstream Servers to http://host.docker.internal:8080 (requires Docker 18.03+).
- If you use Linux, use ip addr show docker0 to get the docker host IP (e.g., 172.17.0.1) and then set Upstream Servers to http://172.17.0.1:8080 (see this for more details).
Next Configure the IdP:
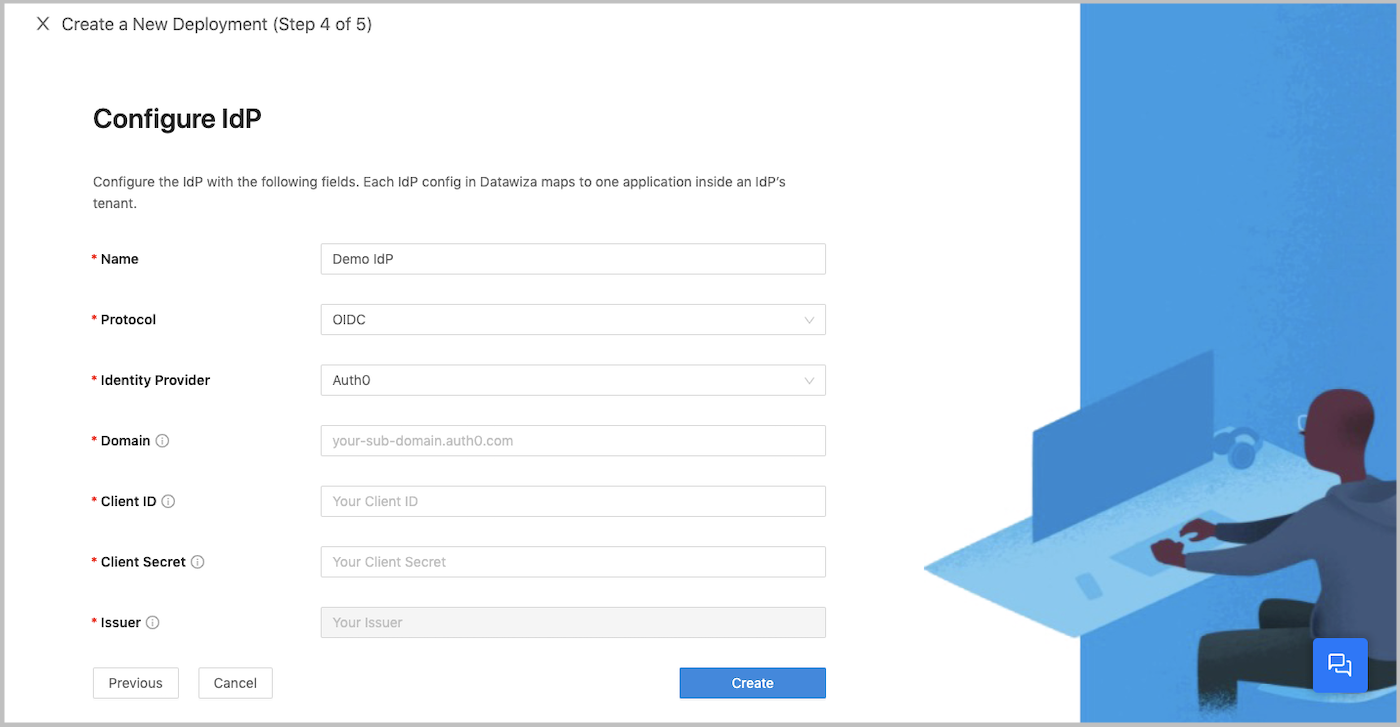
Select OIDC as the Protocol and Auth0 as the Identity Provider. Input the Domain, Client ID, and the Client Secret you saved when creating the app in Auth0. Then click Create.
In the last step, we will provide the command lines to pull the DAB image and the docker-compose file to run the DAB.
Execute the command lines in steps 1 & 2 and note down the docker-compose file in step 3.
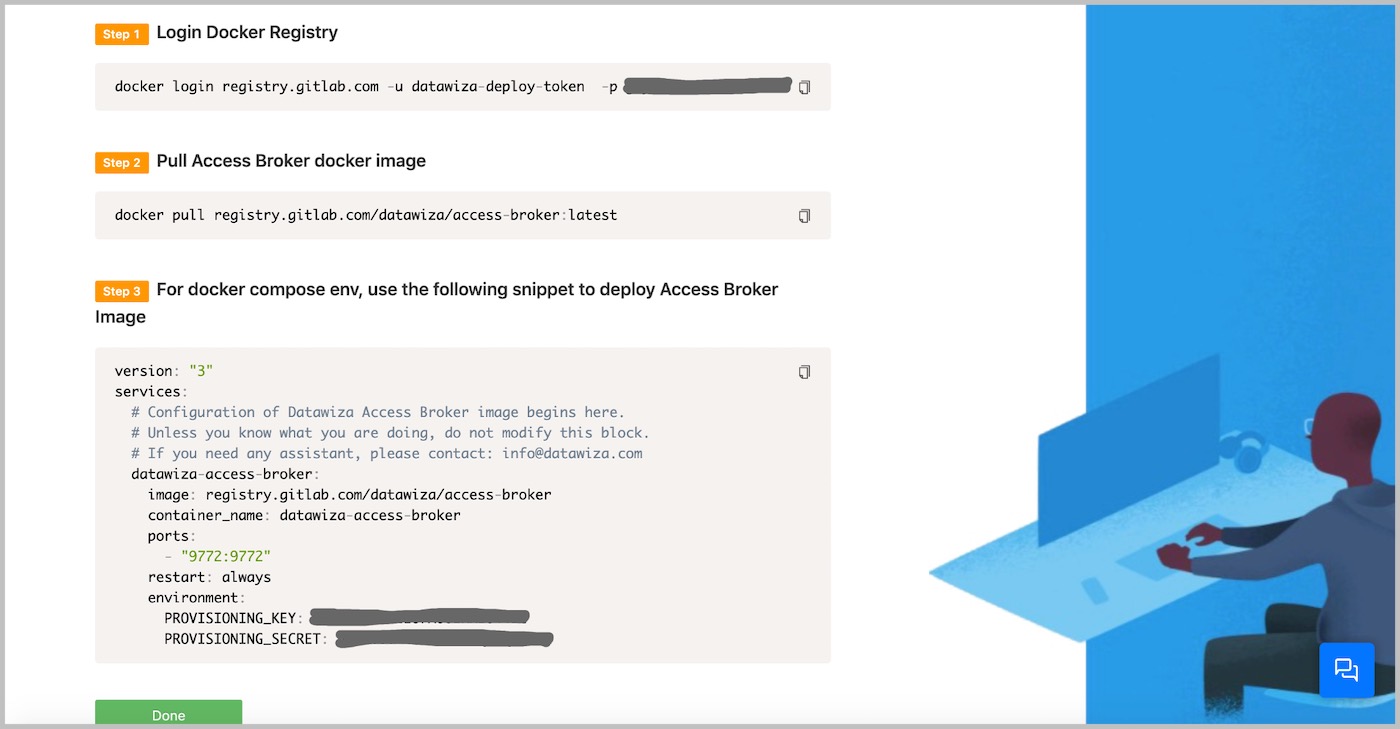
Step 3: Run DAB as a Sidecar (Agent) to Your Application
After finishing the configuration in DCMC, you can run the DAB with the YAML file noted in the previous step. The docker-compose YAML file, named datawiza-access-broker.yaml should then appear like this:
version: '3'
services:
datawiza-access-broker:
image: registry.gitlab.com/datawiza/access-broker
container\_name: datawiza-access-broker
restart: always
ports:
- "9772:9772"
environment:
PROVISIONING\_KEY: #############################
PROVISIONING\_SECRET: #############################
Now, we can use docker-compose to create and start the DAB:
docker-compose -f datawiza-access-broker.yaml up -dThat's it. After executing the command above, the Node.js application should have SSO enabled with Auth0.
Now, let's give it a try.
Open a browser and type in http://localhost:9772. You should see the Auth0 login page as follows:
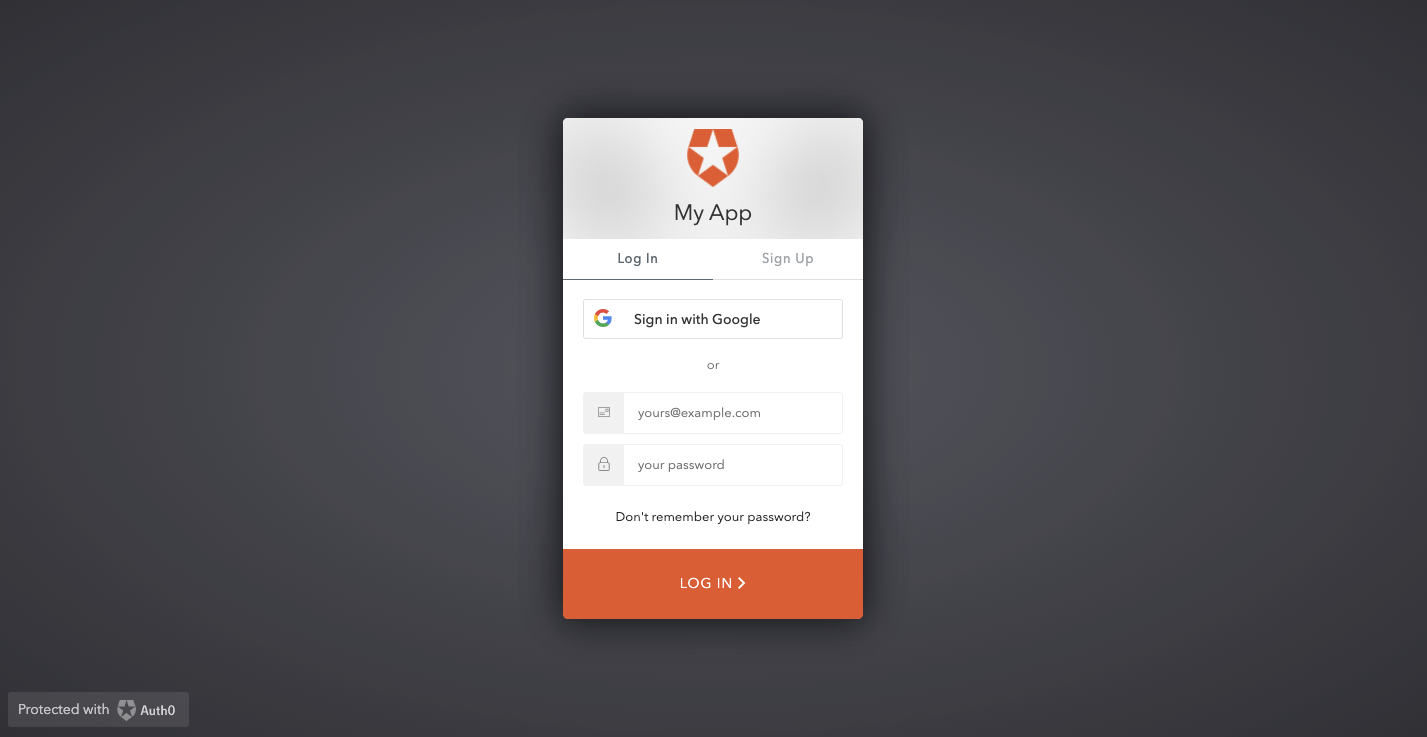
After logging in to Auth0, the Java web application will be shown.
Summary
Congratulations! You secured a Java web application by adding Auth0 authentication using Datawiza -- in minutes instead of weeks or months. This is only a small sampling of what Datawiza can do. See Datawiza’s online docs or official website for much more information.
About the author

Weiyu Fang
Software Engineer at Datawiza