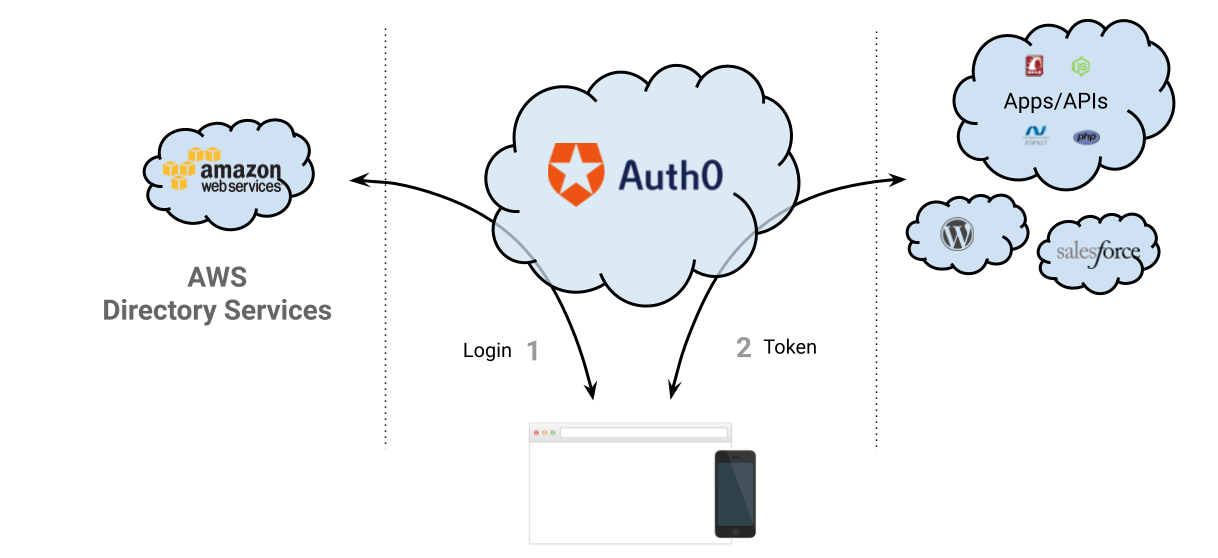
Amazon introduced today a new feature called AWS Directory Service. In a nutshell, it allows:
- Connect existing Active Directory to the cloud or to create complete new Directories from scratch.
- Seamless administration of AWS Resources.
- Seamless access to AWS applications for end-users.
- Simplify Deployment of Windows Workloads on AWS.
- Pay as you go (0.05 $/hr for small installations and $0.15 for large)
More information at http://aws.amazon.com/es/directoryservice/
In this short tutorial we will deploy a new AWS Simple AD, connect it to an Active Directory MMC and configure it to work with Auth0.
Configuring the Simple AD
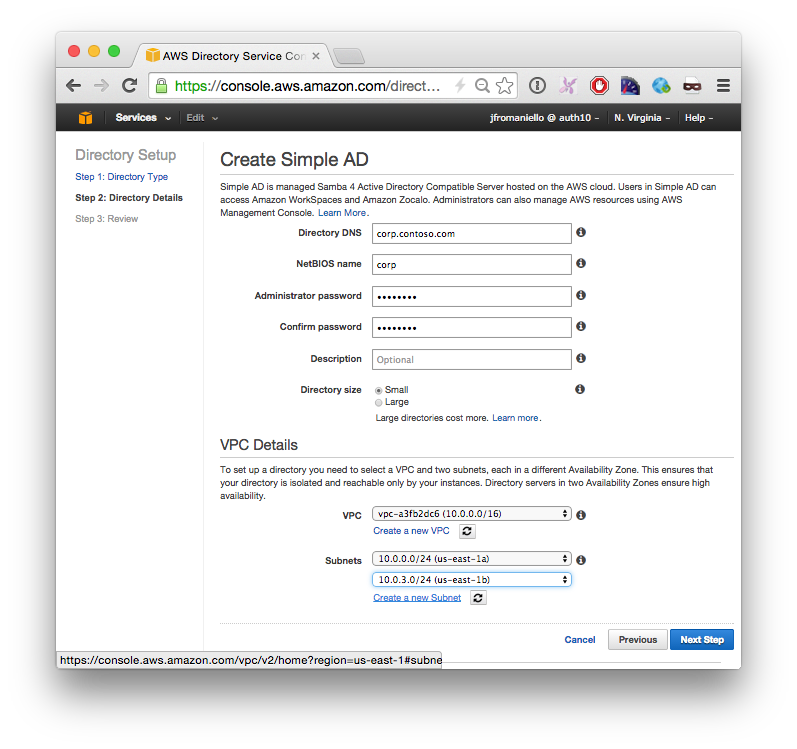
Open up the Directory Service console and create a new Simple AD:
This operation can take a while to complete.
Notice that Simple AD doesn't have a way to manage its user and roles, so the next thing we are going to do is to deploy a Windows EC2 instance on the same VPC.
Deploy Management Interface
In this step we will deploy a new Windows 2012 VM instance and join it to the windows domain.
- Launch a new Windows 2012 on EC2.
- Connect via Remote Desktop
- Open Network Connections or run
%SystemRoot%\system32\control.exe ncpa.cpl. - Right-click any enabled network connection and select Properties.
- In the connection properties dialog box, double-click Internet Protocol Version 4.
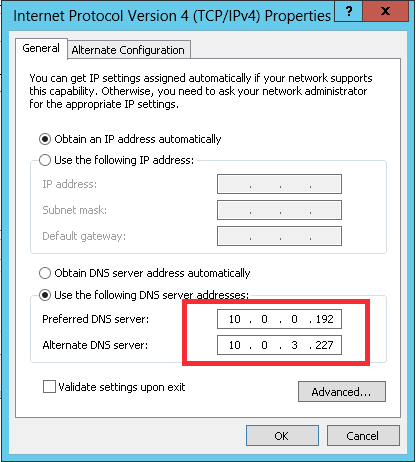
- Select Use the following DNS server addresses, change the Preferred DNS server and Alternate DNS server addresses to the IP addresses of the Simple AD and click OK:
- Open System Properties or run
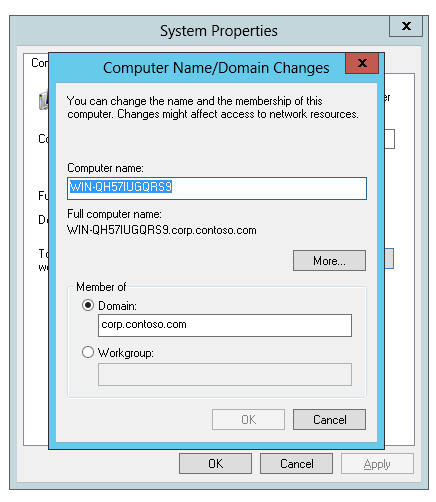
%SystemRoot%\system32\control.exe sysdm.cpl, select the Computer Name tab, and click Change:
- You will have to enter a username and password, use Administrator and the password you selected when creating the Simple AD.
- You will need to restart the machine.
- Connect again via Remote Desktop but this time use a domain account with the qualifier, for our example
corp.contoso.com\Administrator. - Open Program and features or run
%SystemRoot%\system32\control.exe appwiz.cpl - Click on Turn Windows features on or off
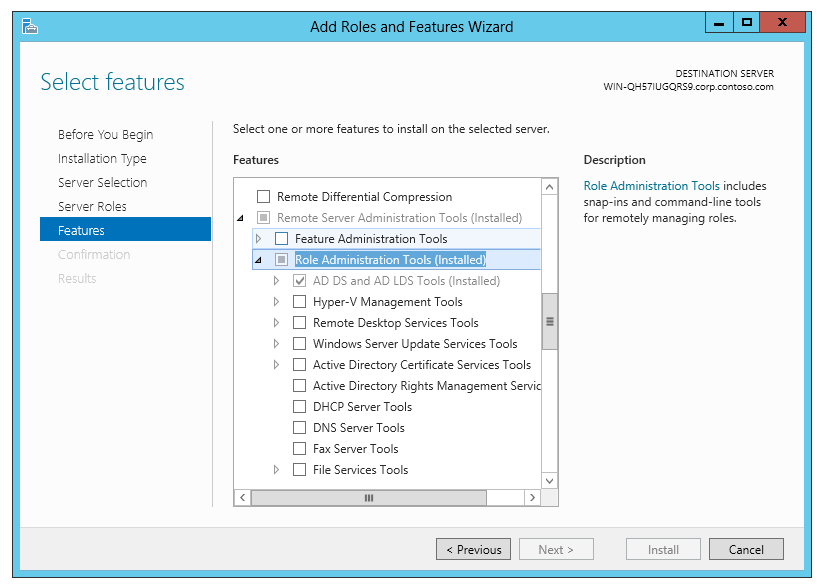
- Go to the Features step , expand Remote Administration Tools, then Role Administration Tools and then select AD DS and AD LDS Tools:
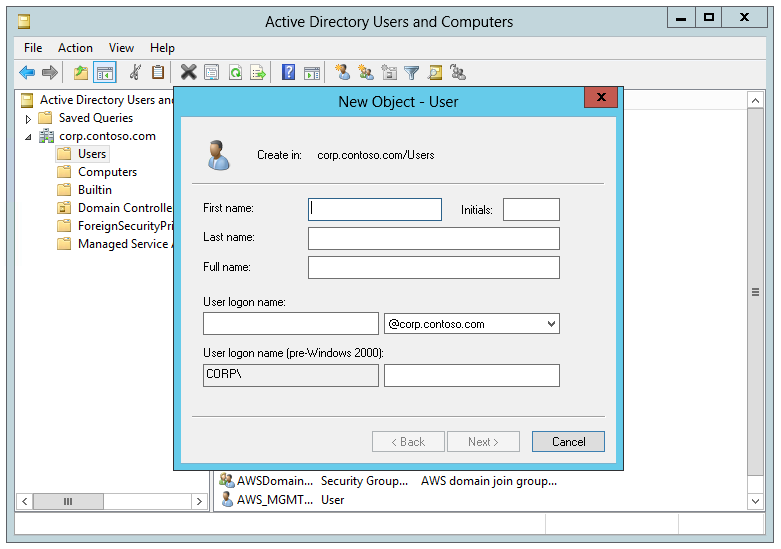
Now you will be able to create Users and Groups on your AWS Simple AD using the Active Directory Users and Groups:
Connect your new directory to Auth0
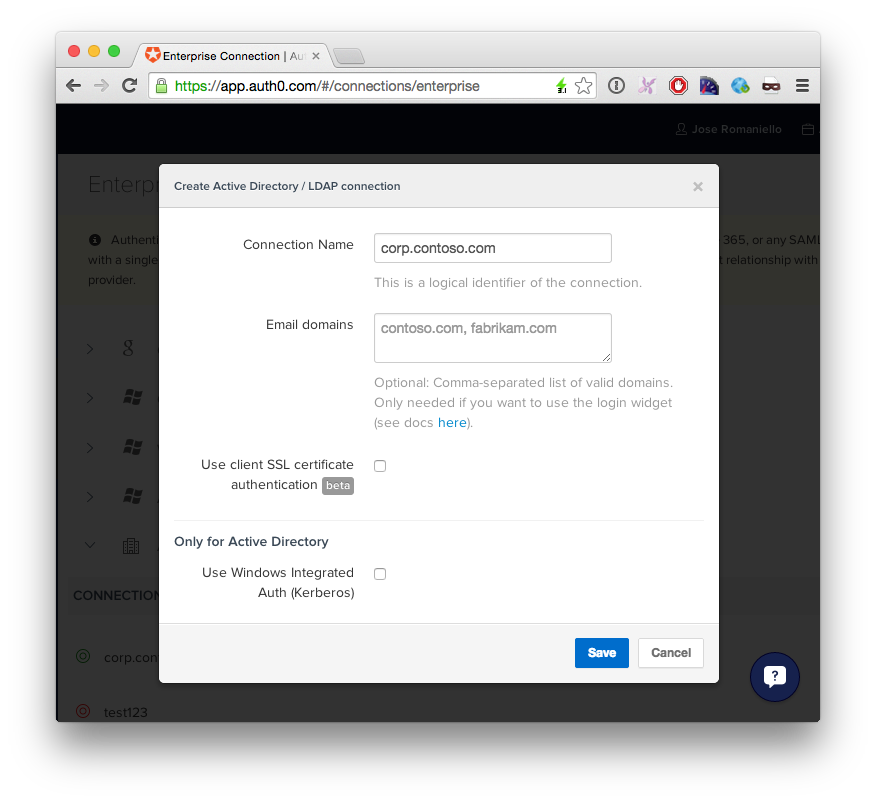
1. Create a new AD LDAP Enterprise connection in Auth0
Optionally, you can enable Kerberos to use Windows Integrated Authentication on machines joined to the same domain.
Copy the TICKET URL provided by auth0 and paste in a browser inside the Windows Machine provisioned in the previous step.
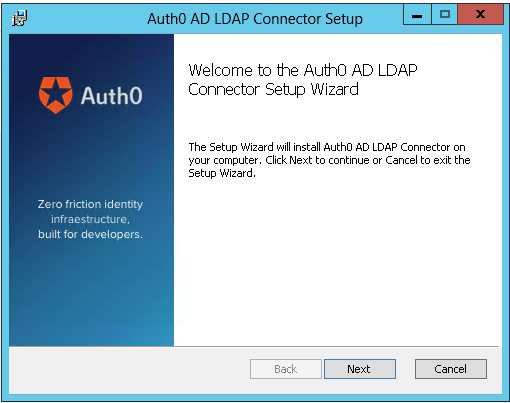
2. Download and install the agent:
After the installation a new page in the browser will came up, paste your TICKET URL:
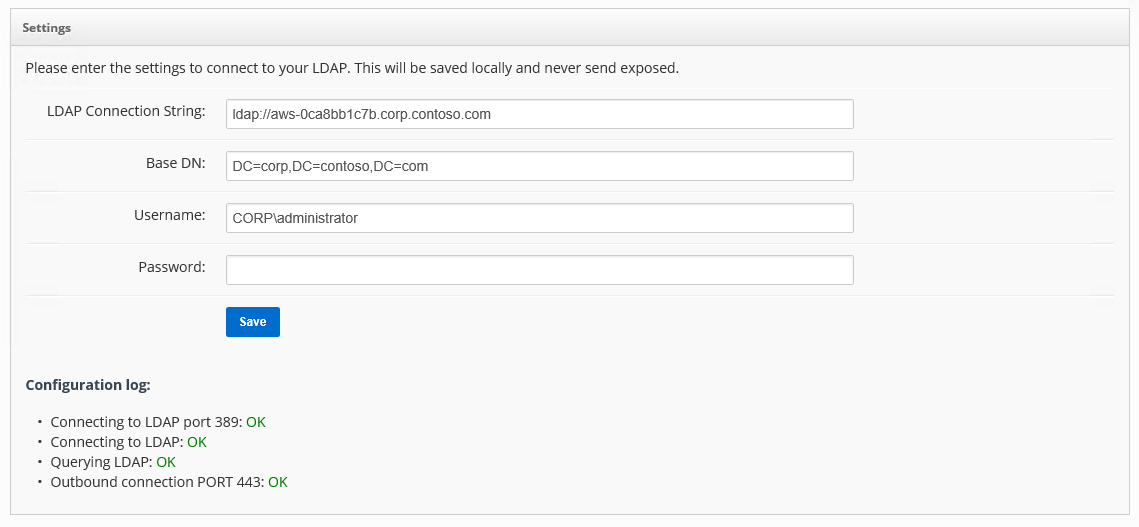
Complete the LDAP config settings
Testing your new connection
If you go back to your Auth0 Dashboard you should see now a green icon:
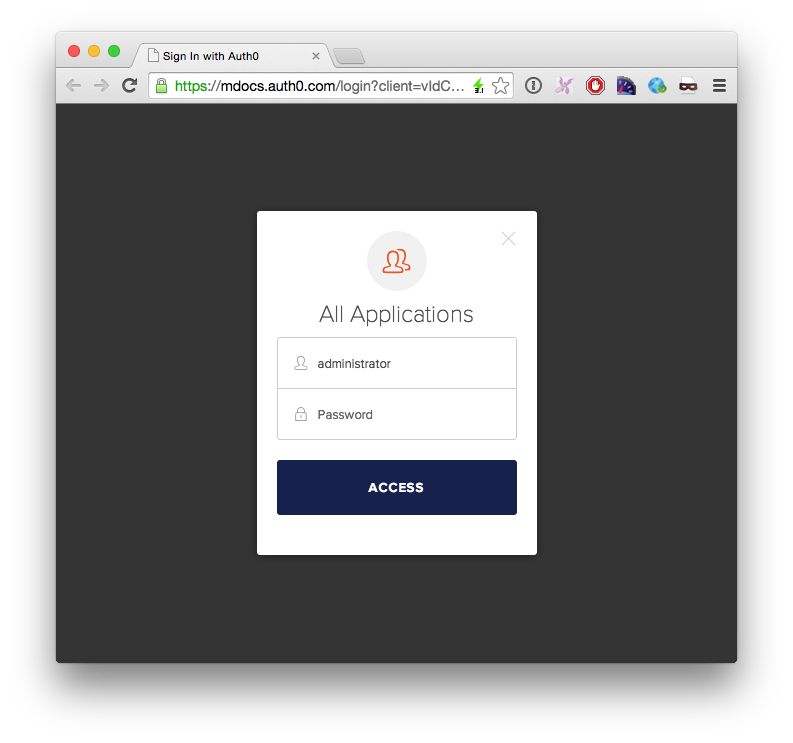
Click the Try button and enter the user credentials:
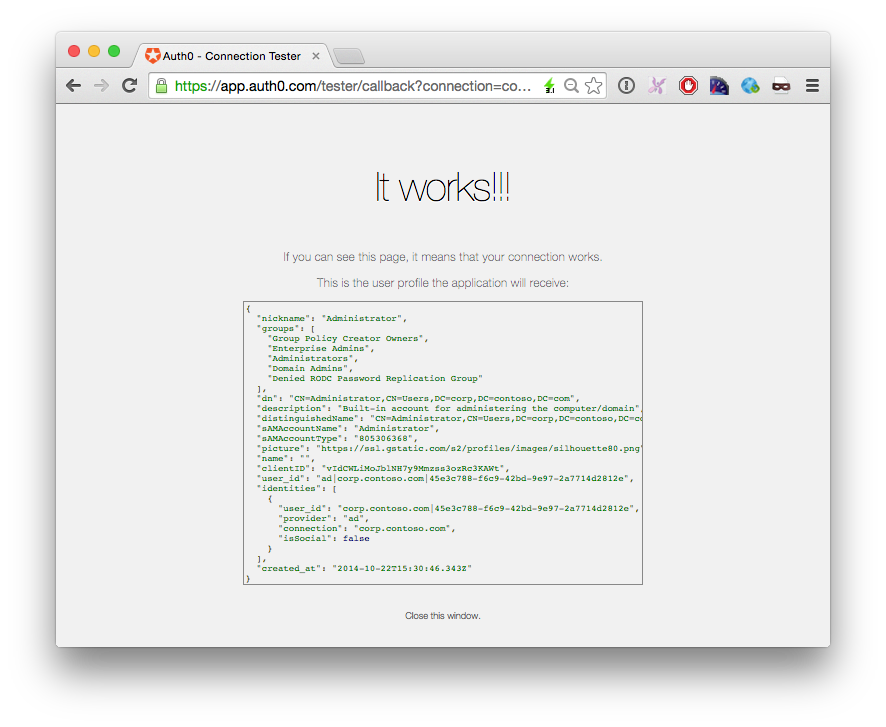
If you see this screen, then everything is working as expected:
So, what can I do now with Auth0?
When you plug Auth0 to your Active Directory you can:
- Have your custom web, single page apps and mobile apps authenticate with the AWS AD in minutes
- Connect the AWS AD with Salesforce, Zendesk, NewRelic and other SAML-based application.
- Connect the AWS AD with Open Source platforms like WordPress, Drupal and Discourse
- Configure Single Sign On between all these applications
- Add Multi-factor authentication to these applications
- Extend the user profile with application-related metadata
More information about Auth0: https://auth0.com/how-it-works
About the author

Jose Romaniello
Head of Engineering

