
TL;DR: In this article, you will learn how Auth0 can help you support government-issued IDs as social connections in your own applications with ease. For demonstration purposes, you will learn how Auth0 can help you support SwissID (a popular digital identity solution in Switzerland) in your applications. However, the process explained here will be quite similar for other similar government-issued IDs.
“With @auth0, developers can easily support government-issued IDs in their applications.”
Tweet This
SwissID Introduction
SwissID is the standardized digital identity initiative for use across Switzerland. This initiative is a joint venture of state-affiliated businesses, financial institutions, and health insurance companies (like Swiss Post and SBB) that provide a third-party Identity Provider service to application vendors. With SwissID, users retain exclusive ownership over their personal data making online transactions easier to process and, more importantly, more secure.
Usually, application vendors implementing support for SwissID would require a working knowledge of the OAuth 2.0 protocol and of the OpenID Connect specification. However, as Auth0 now supports SwissID as a Custom Social Connection, developers can easily integrate this identity provider into their applications. Also, alongside with SwissID, by using Auth0 you can support a myriad of other Identity Provider services (e.g., Facebook, Google, Twitter, and LinkedIn) as well as add capabilities such as Single Sign On and Multifactor Authentication.
“Auth0 helps developers integrating the SwissID identity provider into their custom applications.”
Tweet This
Signing up to SwissID
As an application vendor (a.k.a. a Relying Party), you will first need to sign-up to SwissID. This process starts by contacting SwissID in order to become a Business Partner. After the sign up with SwissID, you will have to provide information about your redirection URI’s. In return, SwissID will provide you with a Client ID and a Client Secret. Keep handy this information as you will need both values while setting up SwissID within you Auth0 account.
Signing up to Auth0
If you don't have an Auth0 account yet, sign up for a free one right now.
As part of the free plan, you will get things like:
- 7,000 active users.
- Up to 2 social identity providers.
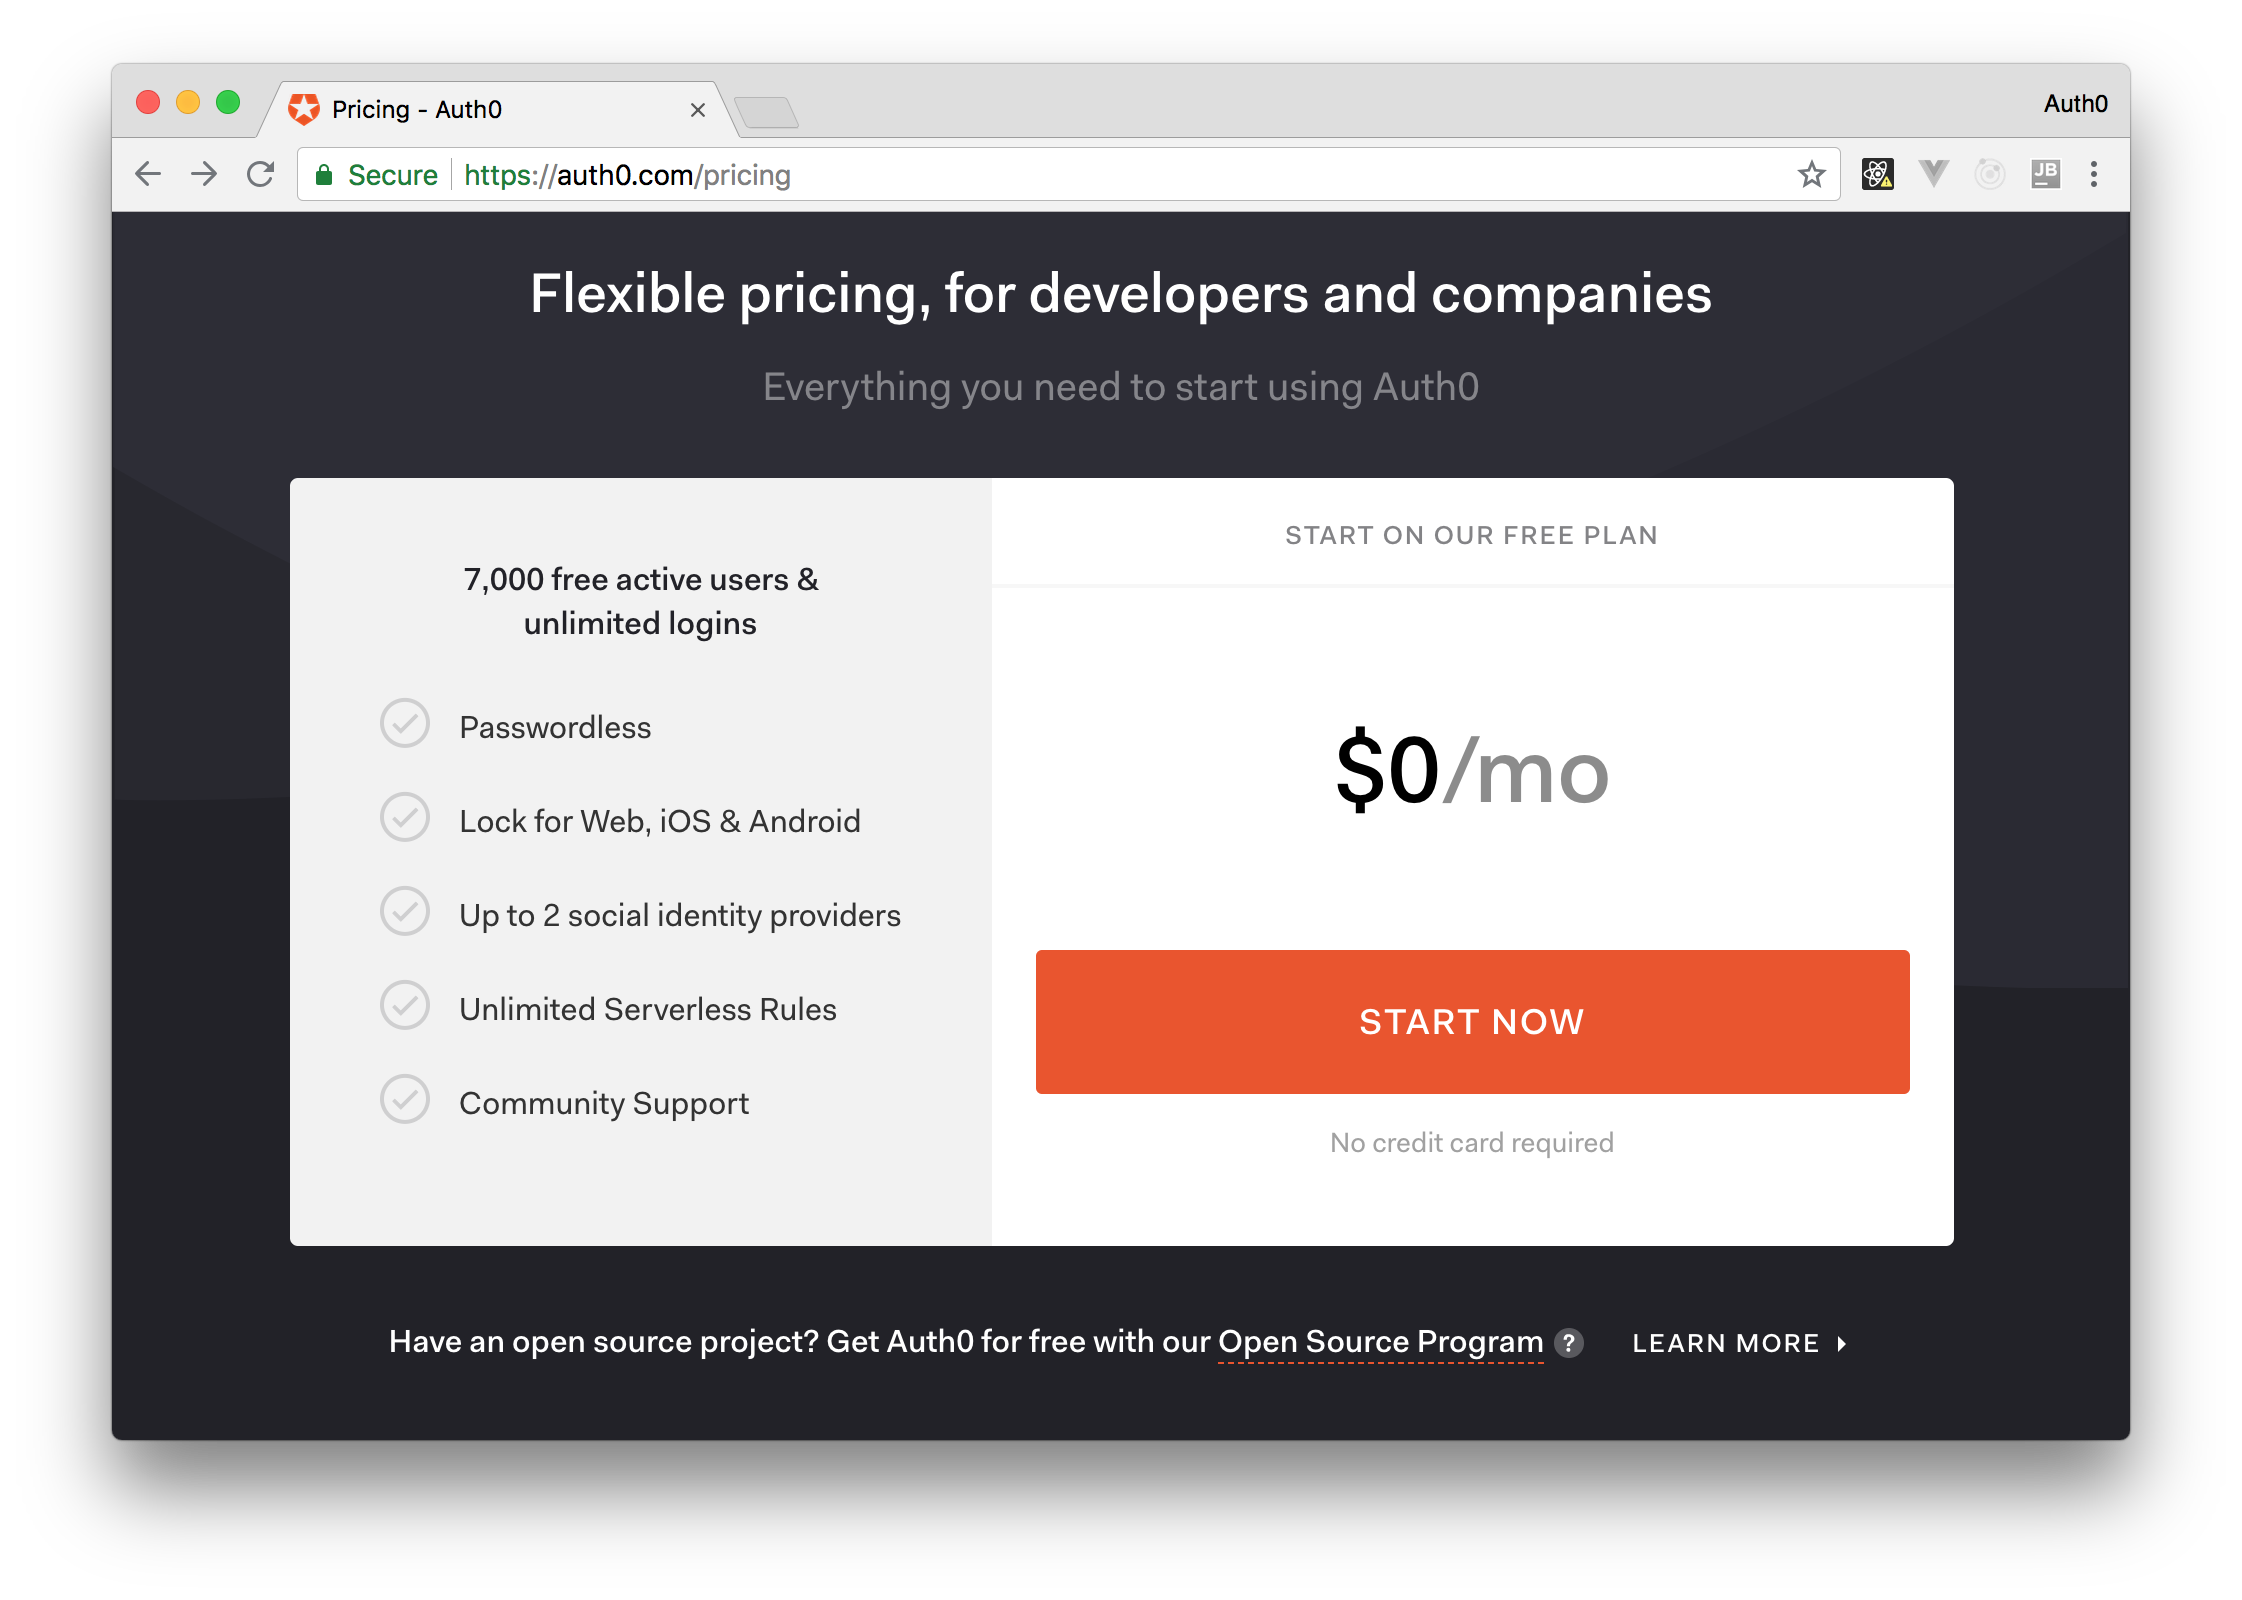
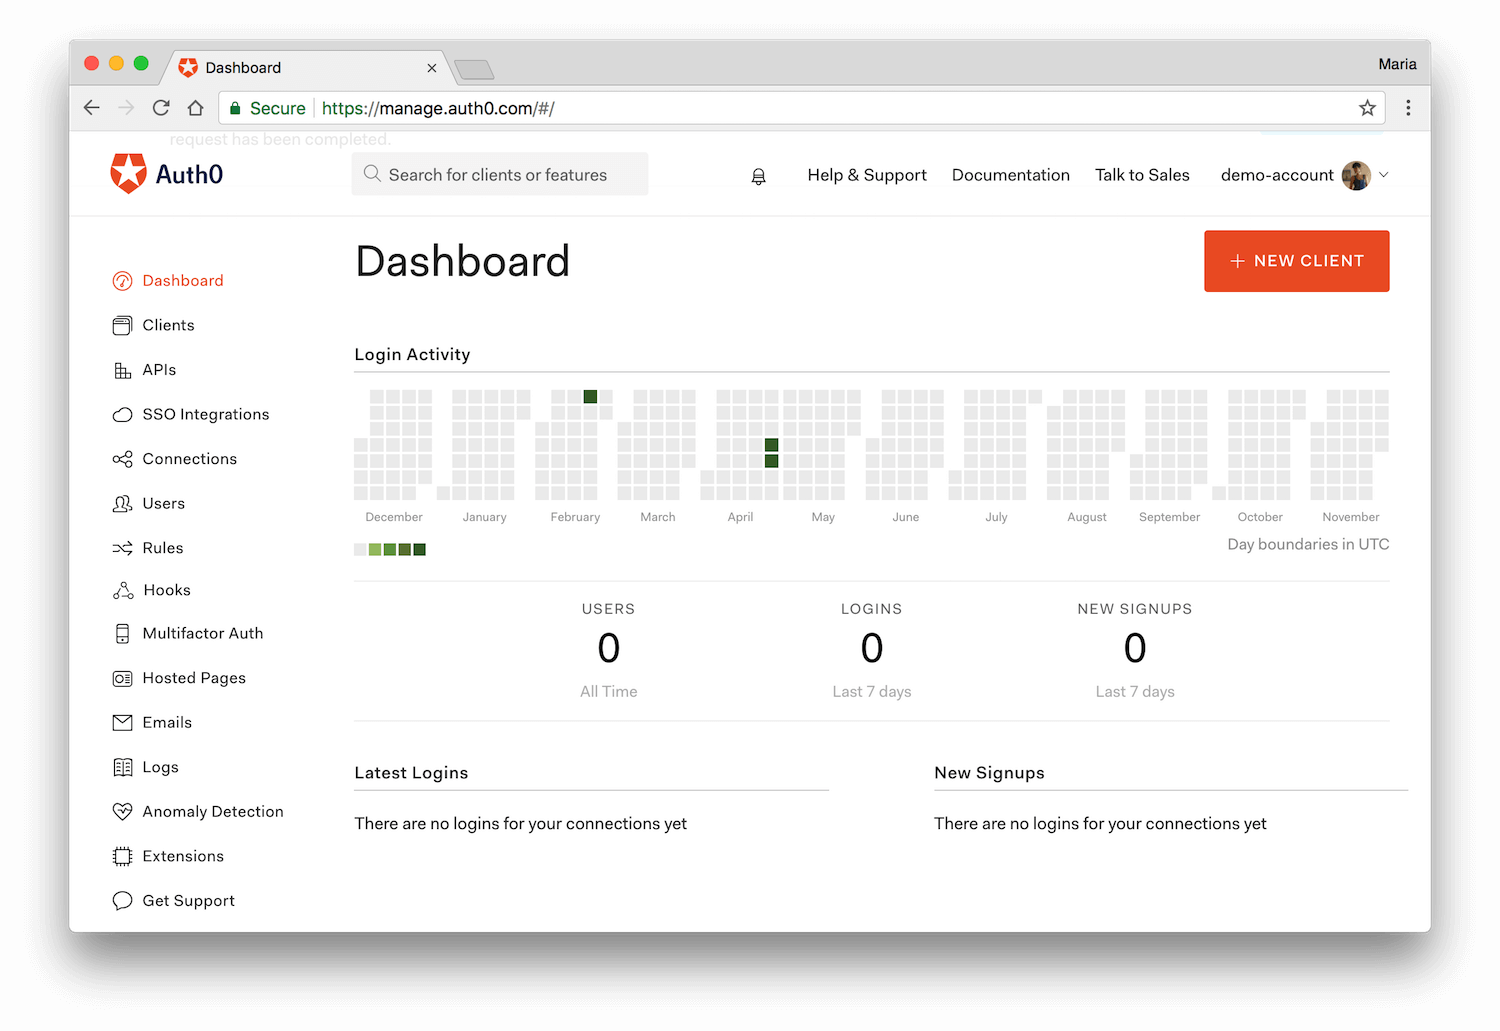
While signing up to Auth0, you will have to define a Tenant Domain (e.g., your-company.auth0.com) and you will have to choose a Region (at the time of writing, three regions are available: US, Europe, and Australia). After filling in this form, you can complete your account creation, and Auth0 will redirect you to your dashboard.
Configuring the Government-Issued ID Connection in Auth0
From your deployment, go to Connections > Social in the Auth0 Dashboard, scroll to the bottom, and click Create Custom.
Add a name for this connection (something similar to "SwissID-connection" would be descriptive enough), as well as your SwissID Client ID and Client Secret.
Next, define the Fetch User Profile Script as follows:
function (accessToken, ctx, cb) {
  // call SwissID to obtain user profile
  request.post({
    url: 'https://login.int.swissid.ch:443/idp/oauth2/userinfo',
    headers: {
      'Authorization': 'Bearer ' + accessToken,
    },
  }, function (err, res, body) {
    if (err) return cb(err);
    if (res.statusCode !== 200) return cb(new Error(body));

    // validate token using the node-jsonwebtoken library
    jwt.verify(body, 'SWISS_ID_SECRET', {}, function(err, decoded) {
      if (err) return cb(err);

      cb(null, {
          user_id: decoded.sub,
          family_name: decoded.family_name,
          given_name: decoded.given_name,
          gender: decoded.gender,
          email: decoded.email,
          provider: 'SwissID',
      });
    });
  });
}
Note: You will have to replace
SWISS_ID_SECRETwith your own SwissID Client Secret.
After implementing the script above, you will have to define three more properties before wrapping up:
- Authorization URL: In this field, you will have to input this:
https://login.int.swissid.ch:443/idp/oauth2/authorize. - Token URL: In this field, you will have to input this:
https://login.int.swissid.ch:443/idp/oauth2/access_token. - Scope: In this field, you will have to input this:
openid profile email phone.
With these changes in place, you can hit the Create button to persist the new settings.
Note: The function declared in the script above is fully customizable and is used to obtain the various supported claims from SwissID. You can tweak this script to build the profile from different perspectives for a particular user (for example, you could ask only for its email address, or its email and its first name, etc.). If you need help building up your users' profile, you can check the reference application provided by SwissID to explore what claims are available.
Testing the SwissID Custom Social Connection in Auth0
After hitting Create, a new set of buttons will appear on the screen. One of them will be the Try Connection button. Pressing it will present you the SwissID login page and, once you submit your credentials successfully, a page similar to the following will be displayed by Auth0:
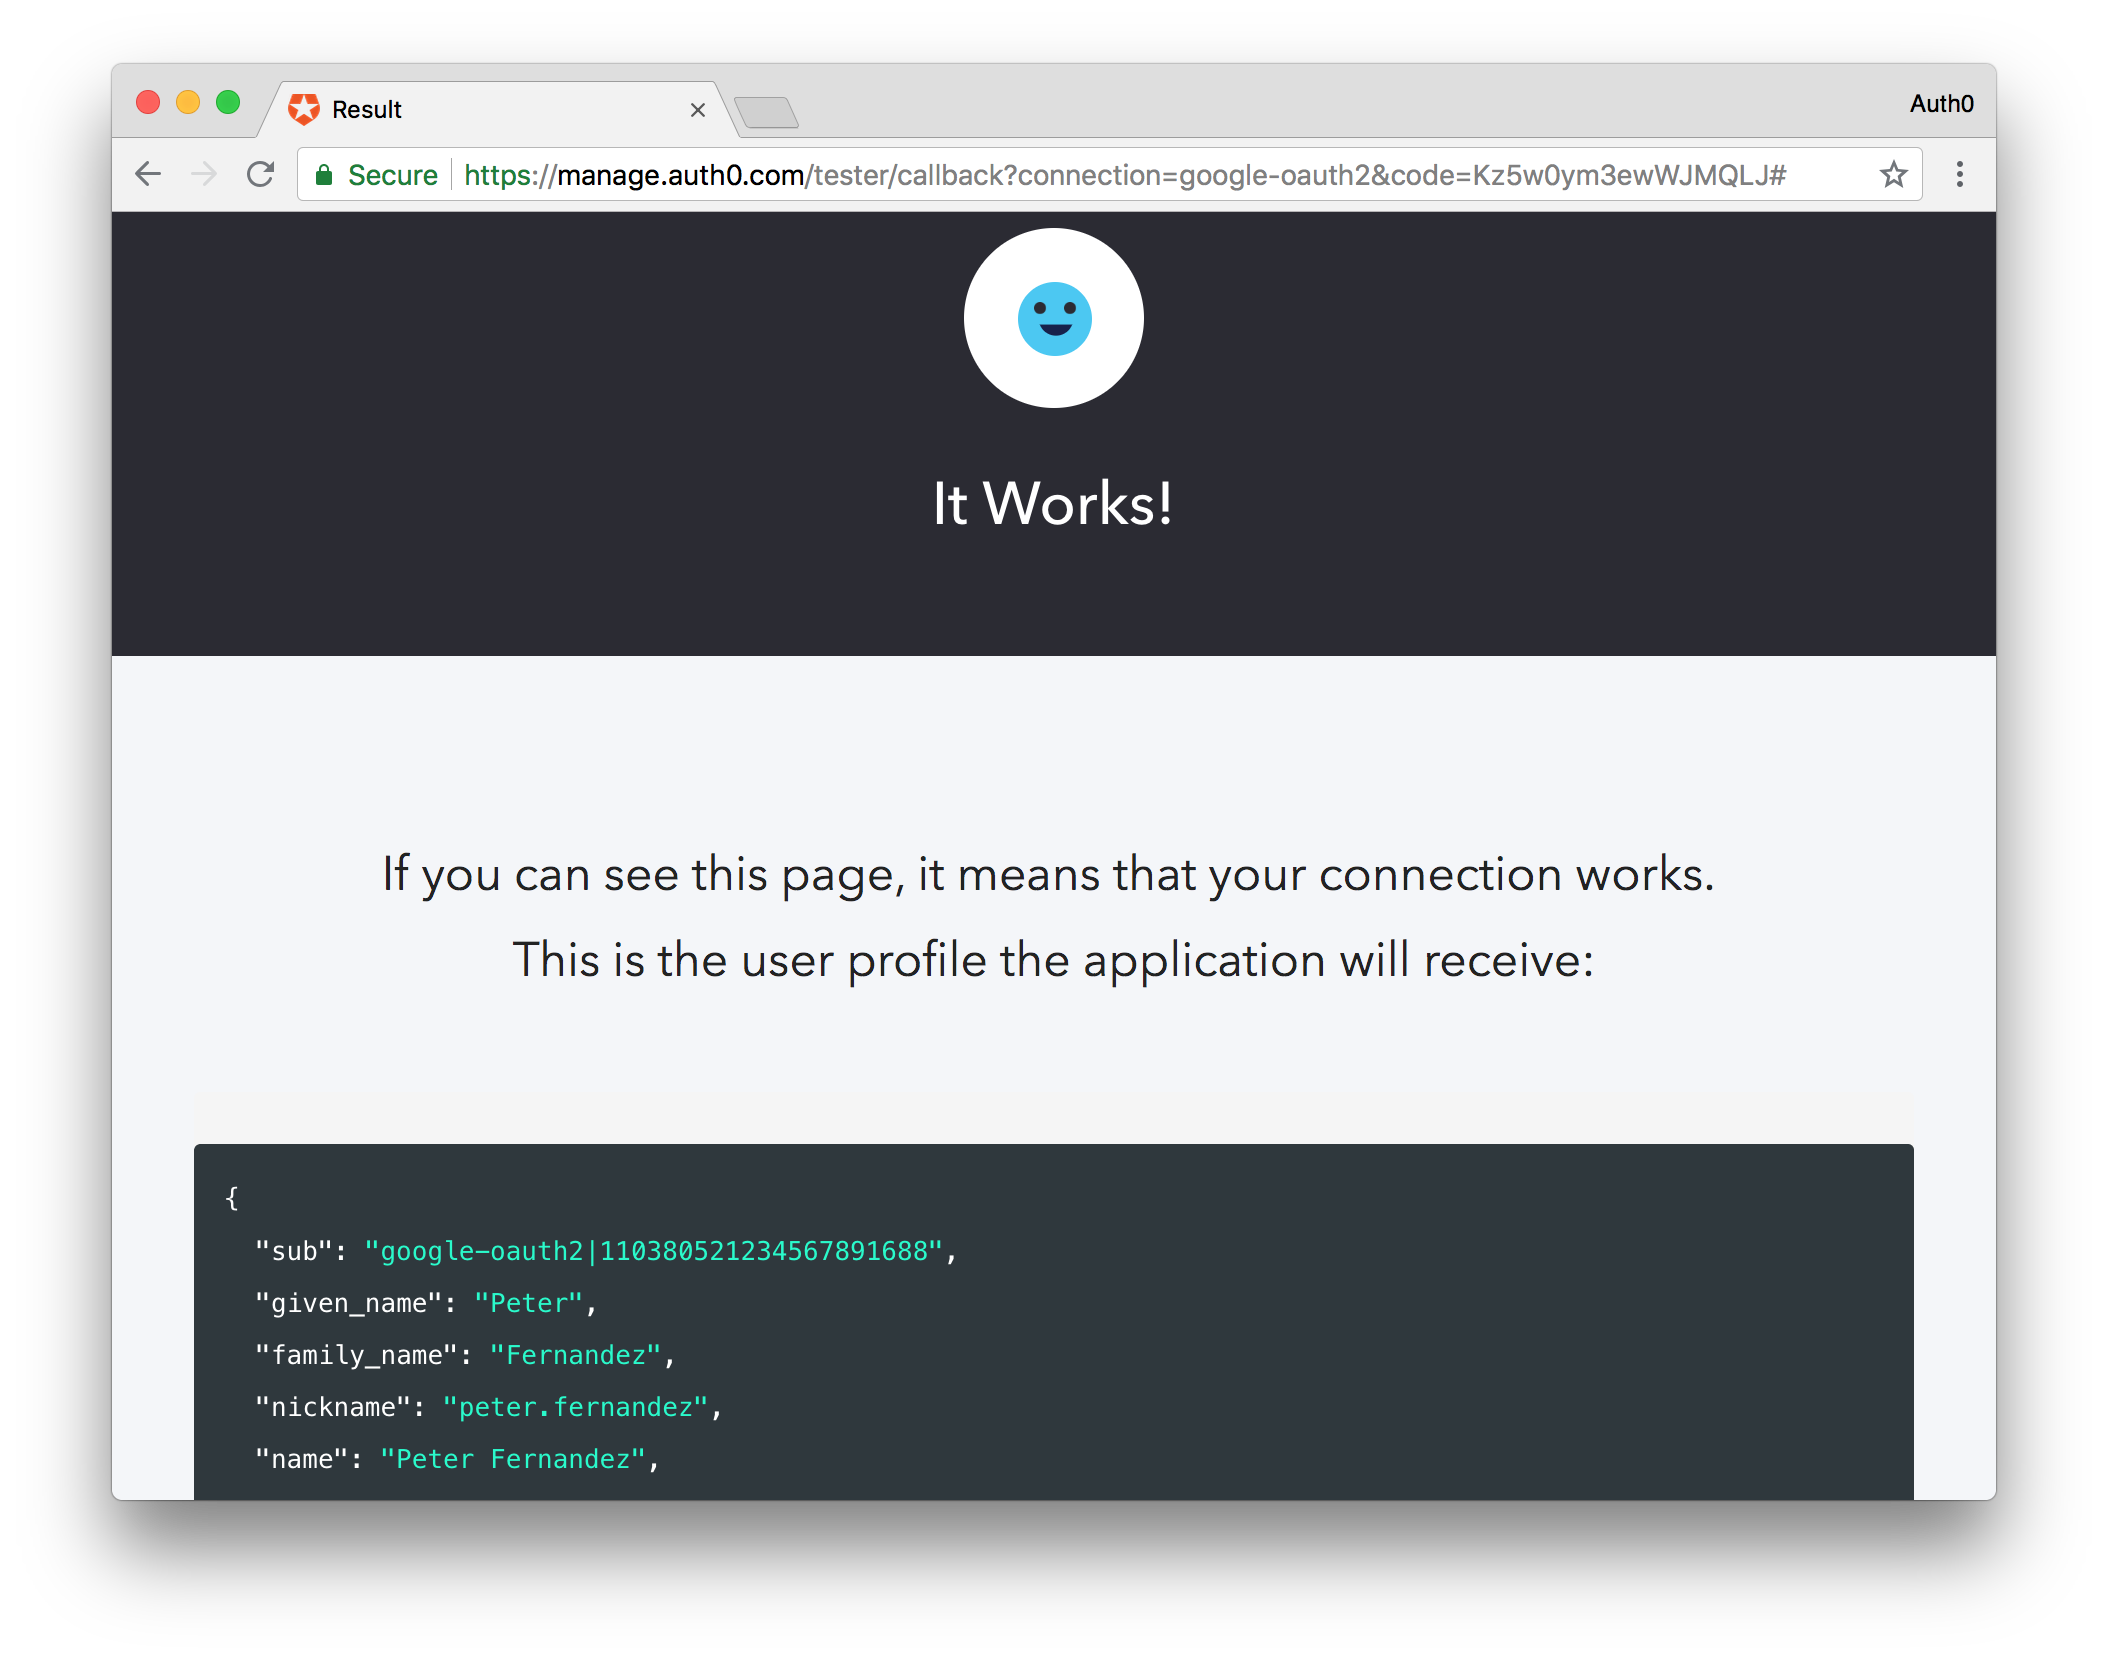
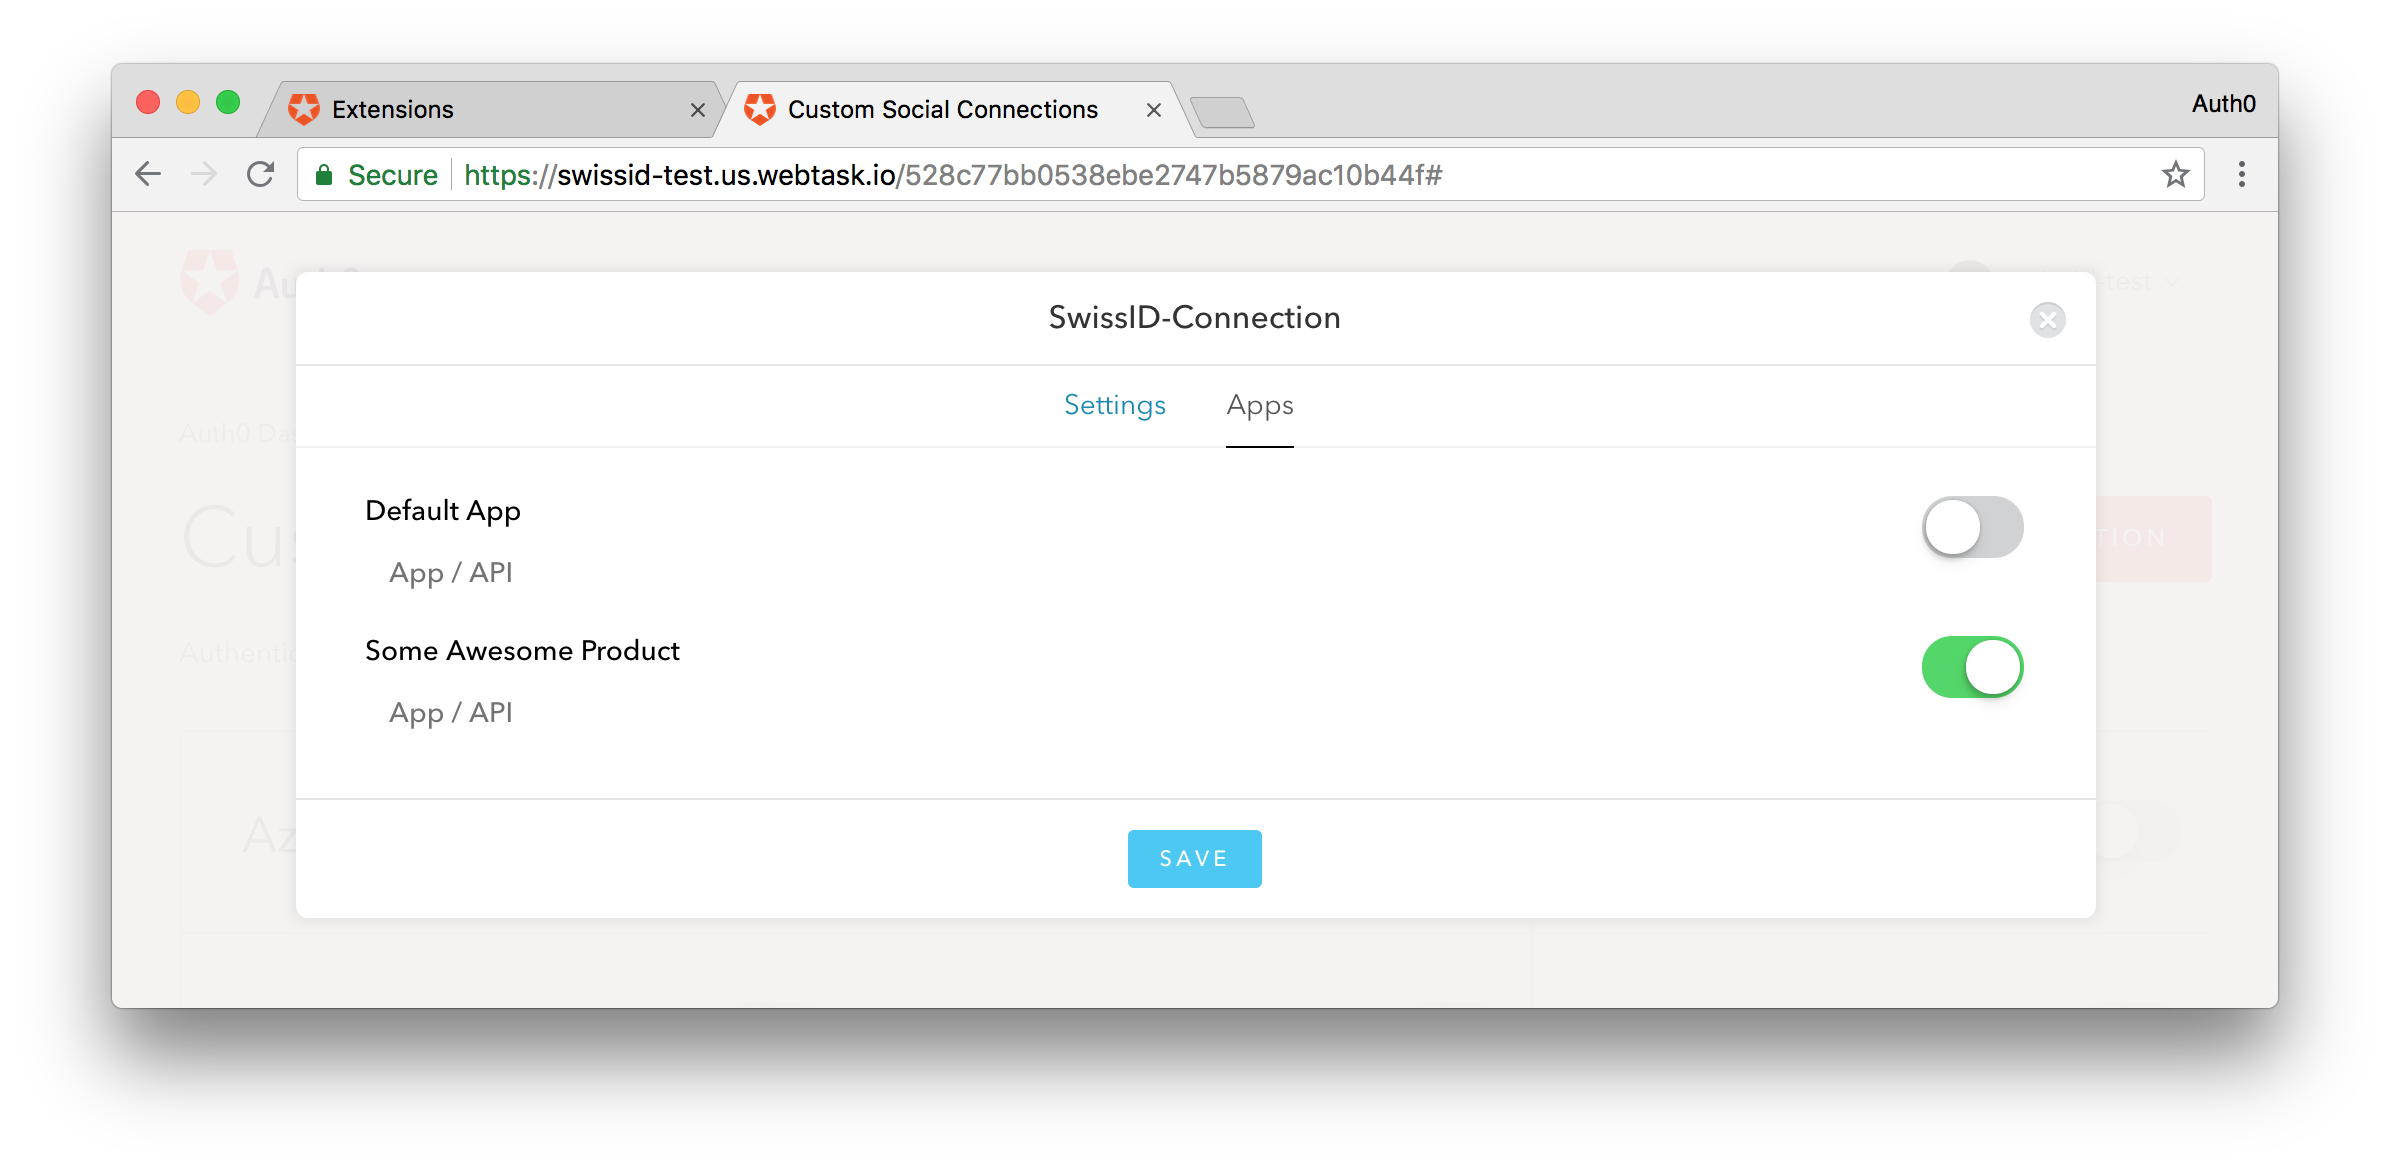
That's it! Your custom connection between Auth0 and SwissID is already configured. Now, you can use the Applications tab available on your custom connection to enable the applications you want to use with SwissID. For example, the screenshot below shows a configuration where only the Some Awesome Product application has the SwissID custom connection active.
Note: If you are experiencing problems with your SwissID Connection, please, ensure that the SwissID team have set the configuration to use client secret in the body of POST requests to their
access_tokenendpoint.
“With Auth0, developers can support SwissID login alongside with other features like multifactor authentication, single sign on, etc.”
Tweet This
Styling the SwissID Connection on the Auth0 Login Page
By default, the Auth0 Login page will automatically display all connections enabled for an application. For first-class connections like Facebook and Google, the login page will automatically display an appropriate icon for the connection. However, for custom connections (such as SwissID), only a default icon is displayed.
If needed, you can tailor the look and feel for any connection on either the login or the registration dialogs. This allows you to host a logo for SwissID on your own CDN, and then tell Auth0's login page to use this logo. For more information, check our documentation on how to customize your login page
About Auth0
Auth0 by Okta takes a modern approach to customer identity and enables organizations to provide secure access to any application, for any user. Auth0 is a highly customizable platform that is as simple as development teams want, and as flexible as they need. Safeguarding billions of login transactions each month, Auth0 delivers convenience, privacy, and security so customers can focus on innovation. For more information, visit https://auth0.com.
About the author

Peter Fernandez
Principal Developer Advocate