
C# extension methods let you easily add new functionality to existing classes. Learn how you can leverage them to simplify the Auth0 configuration for ASP.NET web apps.
ASP.NET Web Apps and Auth0
Adding Auth0 authentication to an ASP.NET web application is quite straightforward and doesn't require any specific Auth0 SDK. You can simply use the standard Microsoft.AspNetCore.Authentication.OpenIdConnect package to enable your web application to use the OpenID Connect (OIDC) protocol for user authentication. Let's take a look at how a typical ASP.NET web app configured with Auth0 looks like.
Getting the sample app
The sample application that comes with this article requires .NET Core 3.1 SDK, but you can easily adapt it to run with .NET 5 by simply changing the project's target framework.
As a first step, download the project from the starting-point branch of this GitHub repository. You can do it by running the following command in a terminal window:
git clone -b starting-point https://github.com/auth0-blog/auth0-dotnet-extension-methods.git
The project implements a basic ASP.NET MVC application that requires authentication to access the user's profile. It is the result of the Auth0 ASP.NET Core Quickstart.
Registering the web app with Auth0
To run your application, you need to register it with Auth0 and configure it with a few parameters. You can do this by accessing your Auth0 Dashboard and moving to the Applications section. If you don't have an Auth0 account yet, you can sign up for a free one right now.
Once you are in the Applications section, follow these steps to register your application with Auth0:
- Click the Create Application button.
- Provide a friendly name for your application (for example, Sample ASP.NET MVC App) and select Regular Web Application as the application type.
- Finally, click the Create button.
After you create the application, move to the Settings tab and take note of your Auth0 Domain, Client ID, and Client Secret. You will need these values to configure your application and allow it to communicate with Auth0.
Then, assign the value https://localhost:5001/callback to the Allowed Callback URLs field and the value https://localhost:5001/ to the Allowed Logout URLs field. The first value tells Auth0 which URL to call back after users authenticate. The second value tells Auth0 which URL users should be redirected to after they log out.
Finally, click the Save Changes button to apply them.
Configuring the web app
After registering your application with Auth0, you need to configure it with a few parameters from the Dashboard. So head to the root folder of your ASP.NET project and open the appsettings.json file. Its content should look like the following:
{
  "Logging": {
    "LogLevel": {
      "Default": "Information",
      "Microsoft": "Warning",
      "Microsoft.Hosting.Lifetime": "Information"
    }
  },
  "AllowedHosts": "*",
  "Auth0": {
    "Domain": "{DOMAIN}",
    "ClientId": "{CLIENT_ID}",
    "ClientSecret": "{CLIENT_SECRET}"
  }
}
Replace the {DOMAIN}, {CLIENT_ID}, and {CLIENT_SECRET} placeholders with the corresponding values from the Auth0 Dashboard, and save the file.
Consider the client secret to be the password of your application. Take care of it, and don't spread it around. Here, you are storing the client secret in the
appsettings.jsonfile because the sample application is meant to run on the server, and users have no access to it.
Running your app
At this point, you should be able to launch the sample application by running this command:
dotnet run
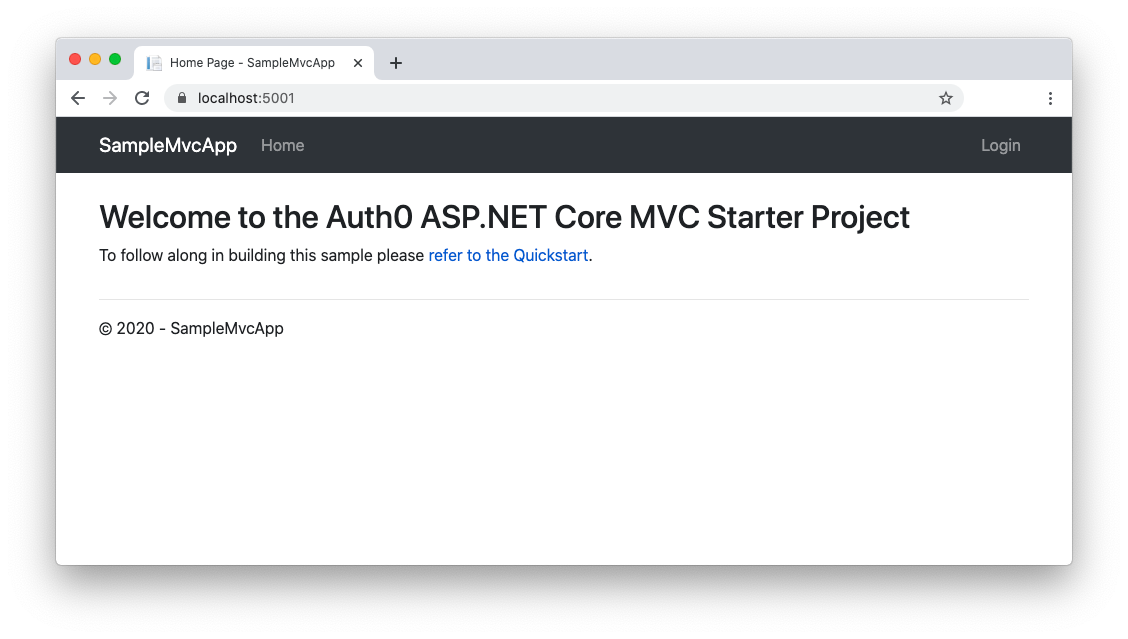
In a few seconds, the application will start. You can access it by pointing your browser to the https://localhost:5001 address. You will see the following page in your browser:
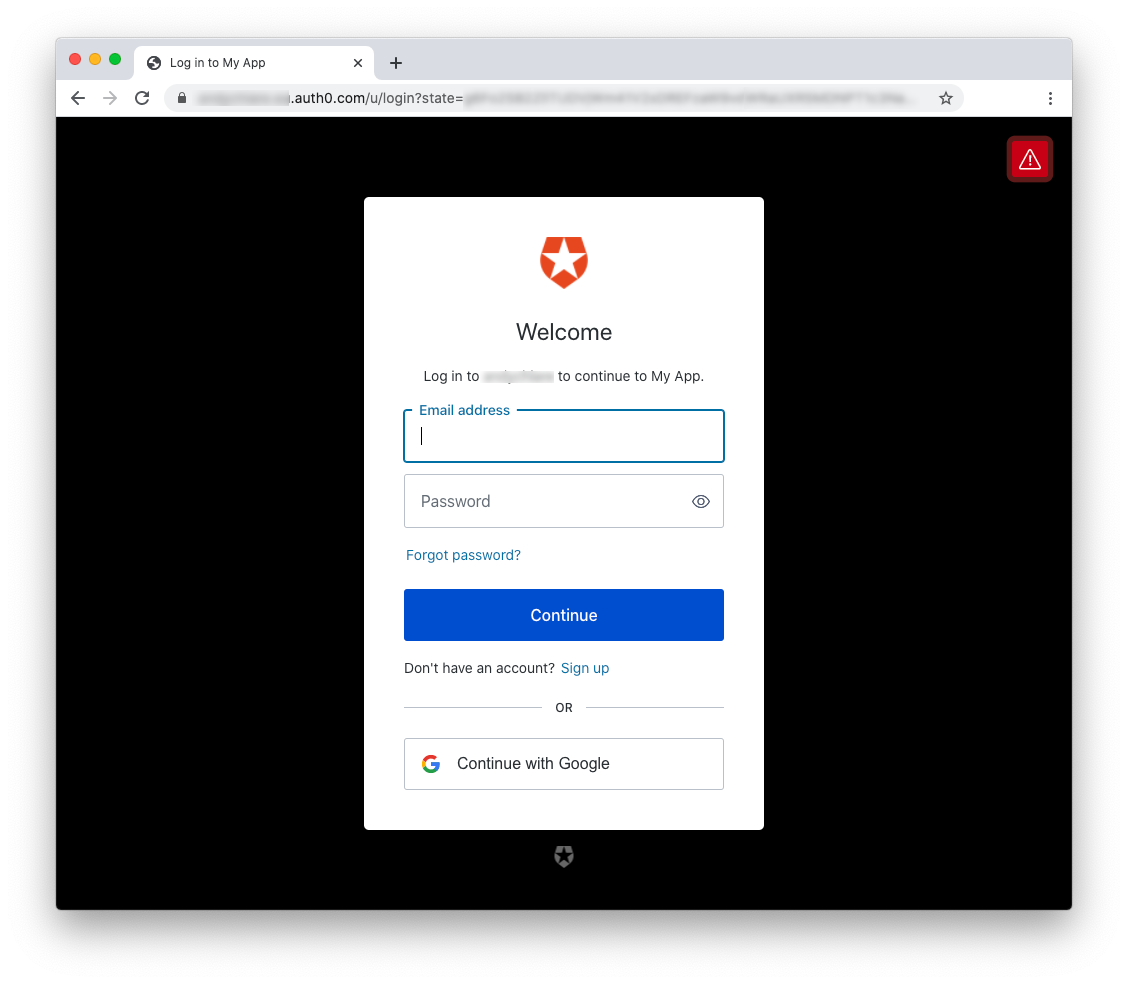
If you click the Login link on the upper right corner of the page, you will be redirected to the Auth0 Universal Login page to authenticate:
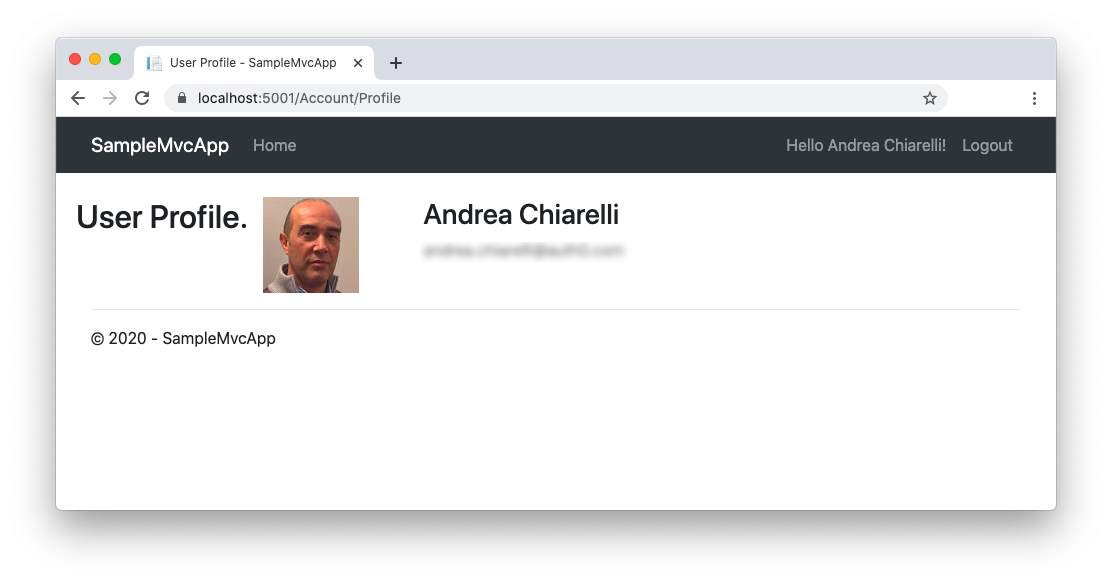
Once you authenticate, you will see a new link in the header that allows you to see your own profile:
A look at the code
As said before, the integration between the ASP.NET MVC application and Auth0 relies on the Microsoft.AspNetCore.Authentication.OpenIdConnect package. You can see how it is used and configured by opening the Startup.cs file and analyzing the ConfigureServices() method:
// Startup.cs

// ...other code...

    public void ConfigureServices(IServiceCollection services)
    {
        services.AddAuthentication(options =>
        {
            options.DefaultAuthenticateScheme = CookieAuthenticationDefaults.AuthenticationScheme;
            options.DefaultSignInScheme = CookieAuthenticationDefaults.AuthenticationScheme;
            options.DefaultChallengeScheme = CookieAuthenticationDefaults.AuthenticationScheme;
        }).AddCookie()
        .AddOpenIdConnect("Auth0", options => {
            options.Authority = $"https://{Configuration["Auth0:Domain"]}";

            options.ClientId = Configuration["Auth0:ClientId"];
            options.ClientSecret = Configuration["Auth0:ClientSecret"];

            options.ResponseType = OpenIdConnectResponseType.Code;

            options.Scope.Clear();
            options.Scope.Add("openid");
            options.Scope.Add("profile");
            options.Scope.Add("email");

            options.CallbackPath = new PathString("/callback");

            options.ClaimsIssuer = "Auth0";

            options.SaveTokens = true;

            options.TokenValidationParameters = new TokenValidationParameters
            {
                NameClaimType = "name"
            };

            options.Events = new OpenIdConnectEvents
            {
                OnRedirectToIdentityProviderForSignOut = (context) =>
                {
                    var logoutUri = $"https://{Configuration["Auth0:Domain"]}/v2/logout?client_id={Configuration["Auth0:ClientId"]}";

                    var postLogoutUri = context.Properties.RedirectUri;
                    if (!string.IsNullOrEmpty(postLogoutUri))
                    {
                        if (postLogoutUri.StartsWith("/"))
                        {
                            var request = context.Request;
                            postLogoutUri = request.Scheme + "://" + request.Host + request.PathBase + postLogoutUri;
                        }
                        logoutUri += $"&returnTo={ Uri.EscapeDataString(postLogoutUri)}";
                    }

                    context.Response.Redirect(logoutUri);
                    context.HandleResponse();

                    return Task.CompletedTask;
                }
            };
        });

        services.AddControllersWithViews();
    }

// ...other code...
The AddOpenIdConnect() method adds support for the OIDC protocol to the application. However, you need to configure it by passing an Action Delegate that sets the OIDC options. As you can see, you have to set many options in order to use OIDC with Auth0 correctly.
Most of those settings are constant values in the Auth0 configuration generic case. Also, the verbose configuration code in the ConfigureServices() method makes it hard to read. Finally, For each new application that uses Auth0 to authenticate users, you need to repeat this long series of assignments.
Is there any way to simplify this approach in the Auth0 configuration?
By using C# extension methods, you can achieve this goal in a simple and elegant way.
You will not delve into this application's code and how it has been implemented. If you like to learn more about how this sample application has been built, please check out the Auth0 ASP.NET Quickstart.
What are C# Extension Methods?
An extension method is a C# feature that allows you to add a method to an existing type without creating a new derived type or modifying the original type. It is a static method, but you can invoke it as if it were a method of the original type.
Let's take a closer look at how extension methods work with an example. Suppose you want to extend the System.String class by adding a new method that returns the number of vowels in a string. Let's call this new method VowelsCount(). You can implement this extension with the following code:
using System;
using System.Linq;

namespace MyExtensionMethods
{
    public static class StringExtensions
    {
        public static int VowelsCount(this String inputString)
        {
            return inputString.Count(c => "aeiou".Contains(Char.ToLower(c)));
        }
    }
}
The method of the StringExtension class above adds the functionality we are looking for. It looks like an ordinary method of an ordinary class. However, the this modifier before the inputString parameter makes the difference. It tells the compiler that you are adding this method to the String class.
This implementation allows you to call the VowelsCount() method as in the following example:
string sentence = "This is a sample sentence.";

Console.WriteLine(sentence.VowelsCount());
Extension methods are awesome and easy to implement. They are especially useful when you need to extend a class whose source code is not under your control. However, there are a few caveats to keep in mind. If the original class definition changes and gets a new method with the same signature as your extension method, your extension method will not be called. So use them wisely.
Auth0 Authentication as an Extension Method
Let's leverage the C# extension methods feature to simplify the typical configuration for Auth0 in an ASP.NET MVC application.
As a first step, create a new Authentication folder in the root folder of your sample project. Within this new folder, create an Auth0Defaults.cs file with the following content:
//Authentication/Auth0Defaults.cs

using Microsoft.AspNetCore.Http;

namespace Auth0.NET.Authentication
{
    public class Auth0Defaults
    {
        public const string AuthenticationScheme = "Auth0";
        public const string ClaimsIssuer = "Auth0";

        public static readonly string CallbackPath = new PathString("/callback");
    }
}
This class simply defines a few constants that you will use in a minute.
In the same folder, create another file named Auth0Options.cs and set the following as its content:
//Authentication/Auth0Options.cs

using Microsoft.AspNetCore.Authentication.OpenIdConnect;
using Microsoft.IdentityModel.Protocols.OpenIdConnect;
using Microsoft.IdentityModel.Tokens;

namespace Auth0.NET.Authentication
{
    public class Auth0Options : OpenIdConnectOptions
    {
        public string Domain { get; set; }

        public Auth0Options()
        {
            ResponseType = OpenIdConnectResponseType.Code;

            Scope.Clear();
            Scope.Add("openid");
            Scope.Add("profile");
            Scope.Add("email");

            CallbackPath = Auth0Defaults.CallbackPath;
            ClaimsIssuer = Auth0Defaults.ClaimsIssuer;
            SaveTokens = true;

            TokenValidationParameters = new TokenValidationParameters
            {
                NameClaimType = "name"
            };
        }
    }
}
The Auth0Options class inherits from the OpenIdConnectOptions class and defines the default option values for the Auth0 configuration.
Finally, let's create the Auth0Extensions.cs file that contains the actual extension method. Its content will be as follows:
//Authentication/Auth0Extensions.cs

using System;
using System.Threading.Tasks;
using Microsoft.AspNetCore.Authentication;
using Microsoft.AspNetCore.Authentication.OpenIdConnect;
using Microsoft.Extensions.DependencyInjection;

namespace Auth0.NET.Authentication
{
    public static class Auth0Extensions
    {
        public static AuthenticationBuilder AddAuth0(this AuthenticationBuilder builder, Action<Auth0Options> configureOptions)
        {
            return builder.AddAuth0(Auth0Defaults.AuthenticationScheme, configureOptions);
        }


        public static AuthenticationBuilder AddAuth0(this AuthenticationBuilder builder, string authenticationScheme, Action<Auth0Options> configureOptions)
        {
            var auth0Options = new Auth0Options();

            configureOptions(auth0Options);

            return builder.AddOpenIdConnect(authenticationScheme, options =>
            {
                options.Authority = $"https://{auth0Options.Domain}";
                options.ClientId = auth0Options.ClientId;
                options.ClientSecret = auth0Options.ClientSecret;
                options.ResponseType = auth0Options.ResponseType;

                options.Scope.Clear();
                foreach(var scope in auth0Options.Scope)
                {
                    options.Scope.Add(scope);
                }

                options.CallbackPath = auth0Options.CallbackPath;
                options.ClaimsIssuer = auth0Options.ClaimsIssuer;
                options.SaveTokens = auth0Options.SaveTokens;

                options.TokenValidationParameters = auth0Options.TokenValidationParameters;

                options.Events = new OpenIdConnectEvents
                {
                    OnRedirectToIdentityProviderForSignOut = (context) =>
                    {
                        var logoutUri = $"{options.Authority}/v2/logout?client_id={options.ClientId}";

                        var postLogoutUri = context.Properties.RedirectUri;
                        if (!string.IsNullOrEmpty(postLogoutUri))
                        {
                            if (postLogoutUri.StartsWith("/"))
                            {
                                var request = context.Request;

                                postLogoutUri = request.Scheme + "://" + request.Host + request.PathBase + postLogoutUri;
                            }

                            logoutUri += $"&returnTo={ Uri.EscapeDataString(postLogoutUri)}";
                        }

                        context.Response.Redirect(logoutUri);
                        context.HandleResponse();

                        return Task.CompletedTask;
                    }
                };
            });
        }
    }
}
The AddAuth0() method defined in this file extends the built-in AuthenticationBuilder class. Its definition is overloaded to be compliant with the standard methods of the base class. Basically, you can invoke the AddAuth0() method by using the default authentication scheme name (Auth0) or by providing your own name. The whole logic of the extension method is in the last definition, where you can find all the option settings you had in the ConfigureServices() method.
However, consider the first two statements of the AddAuth0() method:
//Authentication/Auth0Extensions.cs

//...other code...

        public static AuthenticationBuilder AddAuth0(this AuthenticationBuilder builder, string authenticationScheme, Action<Auth0Options> configureOptions)
        {
            var auth0Options = new Auth0Options();

            configureOptions(auth0Options);

            return builder.AddOpenIdConnect(authenticationScheme, options =>
            {
                //...other code...
            }
        }

//...other code...
The first statement creates an instance of the Auth0Options class. The second statement executes the configureOption() Action on that class instance to apply any external configuration. This allows you to add the missing configuration parameters and to override any default settings.
“A C# extension method adds a method to an existing type without creating a new derived type or modifying the original type.”
Tweet This
Using the Auth0 Extension Method
Let's take a look at how you can use the AddAuth0() extension method implemented in the previous section. Open the Startup.cs file in the root folder of the sample project and replace the current ConfigureServices() method definition with the code shown in the following:
// Startup.cs
// ...existing using...
using Auth0.NET.Authentication;  //👈 new addition

// ...existing code...

    public void ConfigureServices(IServiceCollection services)
    {
        services.AddAuthentication(options =>
        {
            options.DefaultAuthenticateScheme = CookieAuthenticationDefaults.AuthenticationScheme;
            options.DefaultSignInScheme = CookieAuthenticationDefaults.AuthenticationScheme;
            options.DefaultChallengeScheme = CookieAuthenticationDefaults.AuthenticationScheme;
        }).AddCookie()
        //👇 changed code
        .AddAuth0(options => {
            options.Domain = Configuration["Auth0:Domain"];
            options.ClientId = Configuration["Auth0:ClientId"];
            options.ClientSecret = Configuration["Auth0:ClientSecret"];
        });
        //👆 changed code

        services.AddControllersWithViews();
    }

// ...other code...
You added a reference to the Auth0.NET.Authentication namespace, which makes the extension method available. Then you replaced all the code to configure OpenID Connect with this simple AddAuth0() invocation. The only required settings to provide are just the Auth0 parameters you added in the appsettings.json file. That's it!
This simplifies Auth0 integration in the basic cases and makes the ConfigureServices() method's code more readable.
You still have the capability of providing more advanced configurations. For example, if you want to specify a different callback page, you can do it as follows:
// Startup.cs
// ...existing code...

    public void ConfigureServices(IServiceCollection services)
    {
        services.AddAuthentication(options =>
        {
            options.DefaultAuthenticateScheme = CookieAuthenticationDefaults.AuthenticationScheme;
            options.DefaultSignInScheme = CookieAuthenticationDefaults.AuthenticationScheme;
            options.DefaultChallengeScheme = CookieAuthenticationDefaults.AuthenticationScheme;
        }).AddCookie()
        .AddAuth0(options => {
            options.Domain = Configuration["Auth0:Domain"];
            options.ClientId = Configuration["Auth0:ClientId"];
            options.ClientSecret = Configuration["Auth0:ClientSecret"];
            //👇 new addition
            options.CallbackPath = new PathString("/callback-page");
        });

        services.AddControllersWithViews();
    }

// ...other code...
You now have a simple way to configure Auth0 in your ASP.NET web applications.
Summary
You started this article by exploring how to configure Auth0 by using the standard Microsoft.AspNetCore.Authentication.OpenIdConnect package in the ConfigureServices() method of the Startup class. You've seen how verbose it is, and how it makes the body of ConfigureServices() hard to read.
After you learned what C# extension methods are and how they work, you implemented the AddAuth0() extension method for the AuthenticationBuilder class to isolate the Auth0 configuration. This allows you to dramatically simplify the Auth0 configuration code used in the ConfigureServices() method.
You can find the final version of the sample project in this GitHub repository.
About the author

Andrea Chiarelli
Principal Developer Advocate
I have over 20 years of experience as a software engineer and technical author. Throughout my career, I've used several programming languages and technologies for the projects I was involved in, ranging from C# to JavaScript, ASP.NET to Node.js, Angular to React, SOAP to REST APIs, etc.
In the last few years, I've been focusing on simplifying the developer experience with Identity and related topics, especially in the .NET ecosystem.