If you have multiple distinct API implementations that are all logically a part of the same API, you can simplify your authorization process by representing them with a single logical API in the . Doing this allows you to implement just one , while still controlling access to the individual APIs by assigning the appropriate scopes. The following sections describe how to use and represent multiple APIs as a single in Auth0. We will use the following sample application in the examples. The sample application uses a microservices architecture and contains:Documentation Index
Fetch the complete documentation index at: https://auth0.com/llms.txt
Use this file to discover all available pages before exploring further.
- 2 Node.js APIs:
contactsandcalendar(you can think of them as microservices) - 1 Resource Server representing the 2 APIs
- 2 Namespaced scopes:
read:contactsandread:calendar - The Implicit Grant flow to obtain an
access_tokenthat works for both APIs
Organizer Service. We will then create two scopes to demonstrate how you can use the Implicit Flow to access the calendar and contacts APIs from the SPA.
You need to complete the following steps:
- Enable a connection for your application
- Create a test user
- Register a logical API in Auth0
- Configure scopes for the logical API
- Grant access to the logical API
- (Optional) Implement single logout (SLO) or single sign-on (SSO)
Prerequisites
-
Register your application.
- Select an Application Type of Single-Page App.
- Add Allowed Callback URLs of
http://localhost:3000andhttp://localhost:3000/callback.html.
- Download the sample application. To learn how to set up the sample app, read the README.
Enable a connection for your application
You will need a source of users for your newly-registered application, so you will need to configure a connection. For the purpose of this sample, we’ll create a simple Database Connection that asks only for the user’s email address and a password. To learn more, read Set Up Database Connections.Create a test user
Since you’re working with a newly-created connection, there won’t be any users associated with it. Before we can test the sample application’s login process, we’ll need to create and associate a user with the connection, so make sure you choose your newly-created Connection when you create your user. To learn more, read Create Users.Register a logical API in Auth0
Register a single logical API that you will use to represent the multiple APIs contained within the sample application. For the purpose of this sample, call your APIOrganizer Service and set its unique identifier to organize. By default, the for the tokens obtained for this API is RS256, which you should leave as is. To learn more, read Register APIs.
Configure permissions for the logical API
To allow the logical API to represent the APIs included within the sample application, you will need to create the proper permissions (scopes). Scopes allow you to define which API actions will be accessible to calling applications. One scope will represent one API/action combination. For the purpose of this sample, you want calling applications to be able toread from one API called calendar and another one called contacts, so you will need to create the following permissions:
read:calendarread:contacts
Grant access to the logical API
You are now ready to provide access to your APIs by allowing the logical API to obtain . By including the necessary scopes, you can control an application’s access to the APIs represented by the logical API. The following steps use the Implicit Flow to reflect the sample. However, you can use whichever flow best suits your needs. For example:- If you have a Machine-to-Machine Application, you can authorize it to request Access Tokens for your API by executing a Client Credentials Flow.
- If you are building a Native App, you can implement the Authorization Code Flow with Proof Key for Code Exchange (PKCE).
-
The user clicks Login within the SPA, and the app redirects the user to the Auth0 Authorization Server (
/authorizeendpoint). To learn more about the call’s parameters, see our tutorial: Call Your API Using the Authorization Code Flow with PKCE.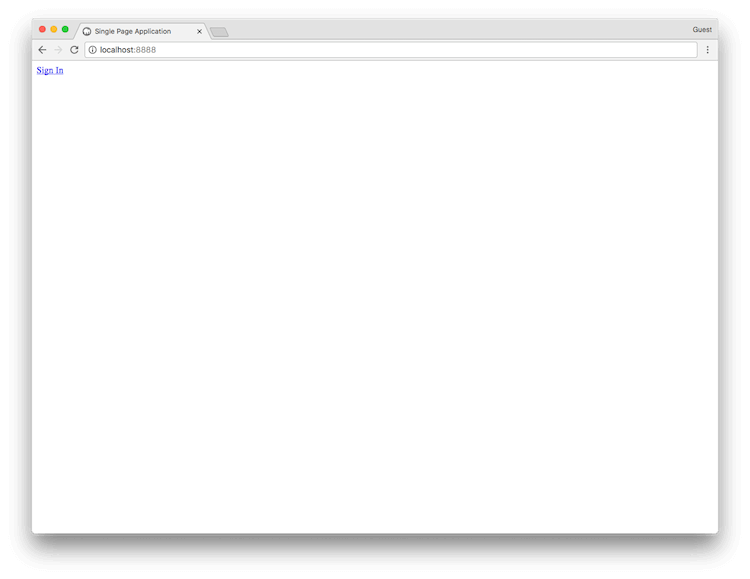
-
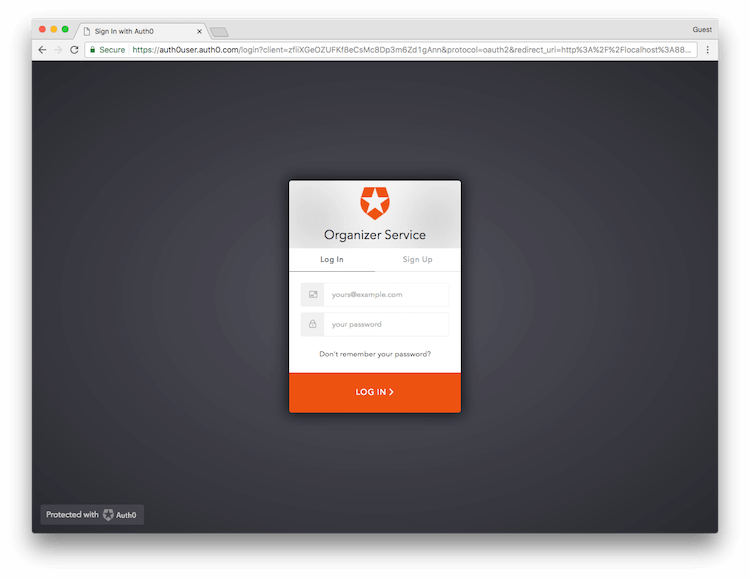
Your Auth0 Authorization Server redirects the user to the login page, where the user authenticates using one of the configured login options.
-
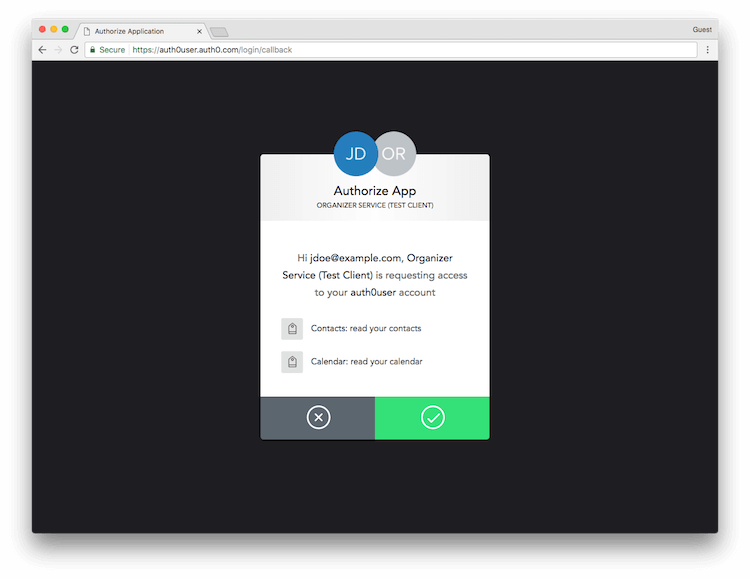
If this is the first time the user has been through this flow, they see a consent prompt listing the permissions Auth0 will give to the SPA. In this case, the user is asked to consent to the app reading their contacts and calendar.
-
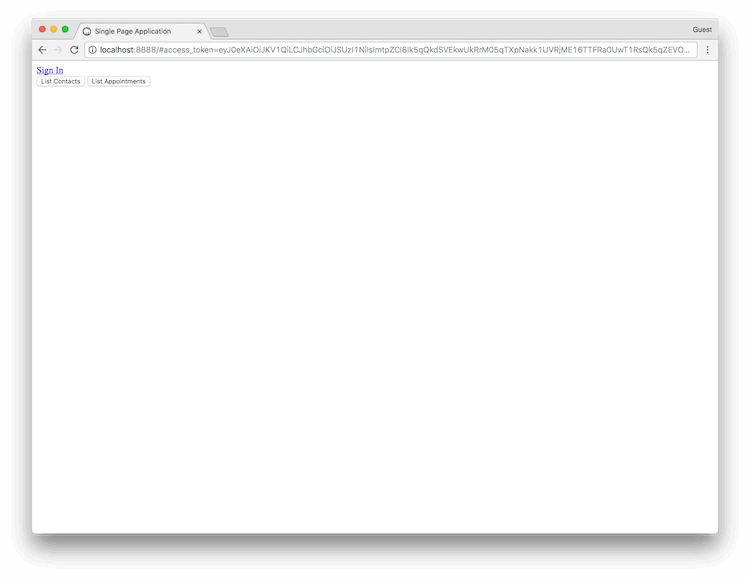
If the user consents, Auth0 redirects the user back to the SPA with tokens in the hash fragment of the URI. The SPA can now extract the tokens from the hash fragment using JavaScript and use the Access Token to call your APIs on behalf of the user.
In our sample, after you successfully log in, you will see buttons that allow you to call either of your APIs using the Access Token obtained from the logical API.
Implement single logout (SLO) or single sign-on (SSO)
In some multi-application scenarios, where Single Logout is desired (a user logging out of one application needs to be logged out of other applications), an application can be set up to periodically poll Auth0 usingcheckSession() to see if a session exists. If the session does not exist, you can then log the user out of the application. The same polling method can be used to implement silent authentication for a (SSO) scenario.
The poll interval between checks to checkSession() should be at least 15 minutes between calls to avoid any issues in the future with rate limiting of this call.