Settings
Use the settings on this tab to configure token expiration, role-based access control (RBAC), and other access settings. Click Save at the bottom of the tab to save changes.General Settings
These fields were set when you initially registered the API, except in the case of the Auth0 . You can only modify the Name.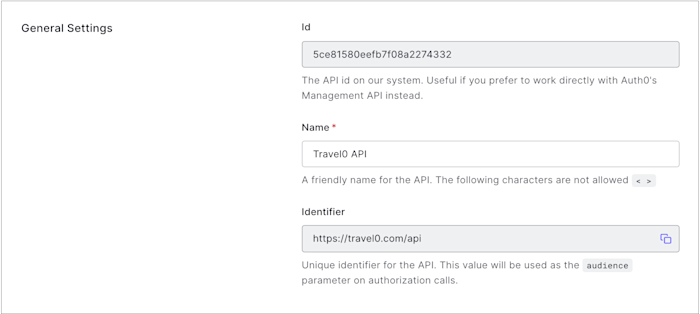
- Id: A unique alphanumeric string generated by Auth0. This information is read-only, and you will only need it if you will be working directly with Auth0’s Management API Resource Servers endpoints.
- Name: A friendly name for the API. Does not affect any functionality. The following characters are not allowed:
< >. - Identifier: A unique identifier for your API. This value is set upon API creation and cannot be modified afterward. We recommend using a URL, but this doesn’t have to be a publicly available URL; Auth0 will not call your API at all.
Token Settings
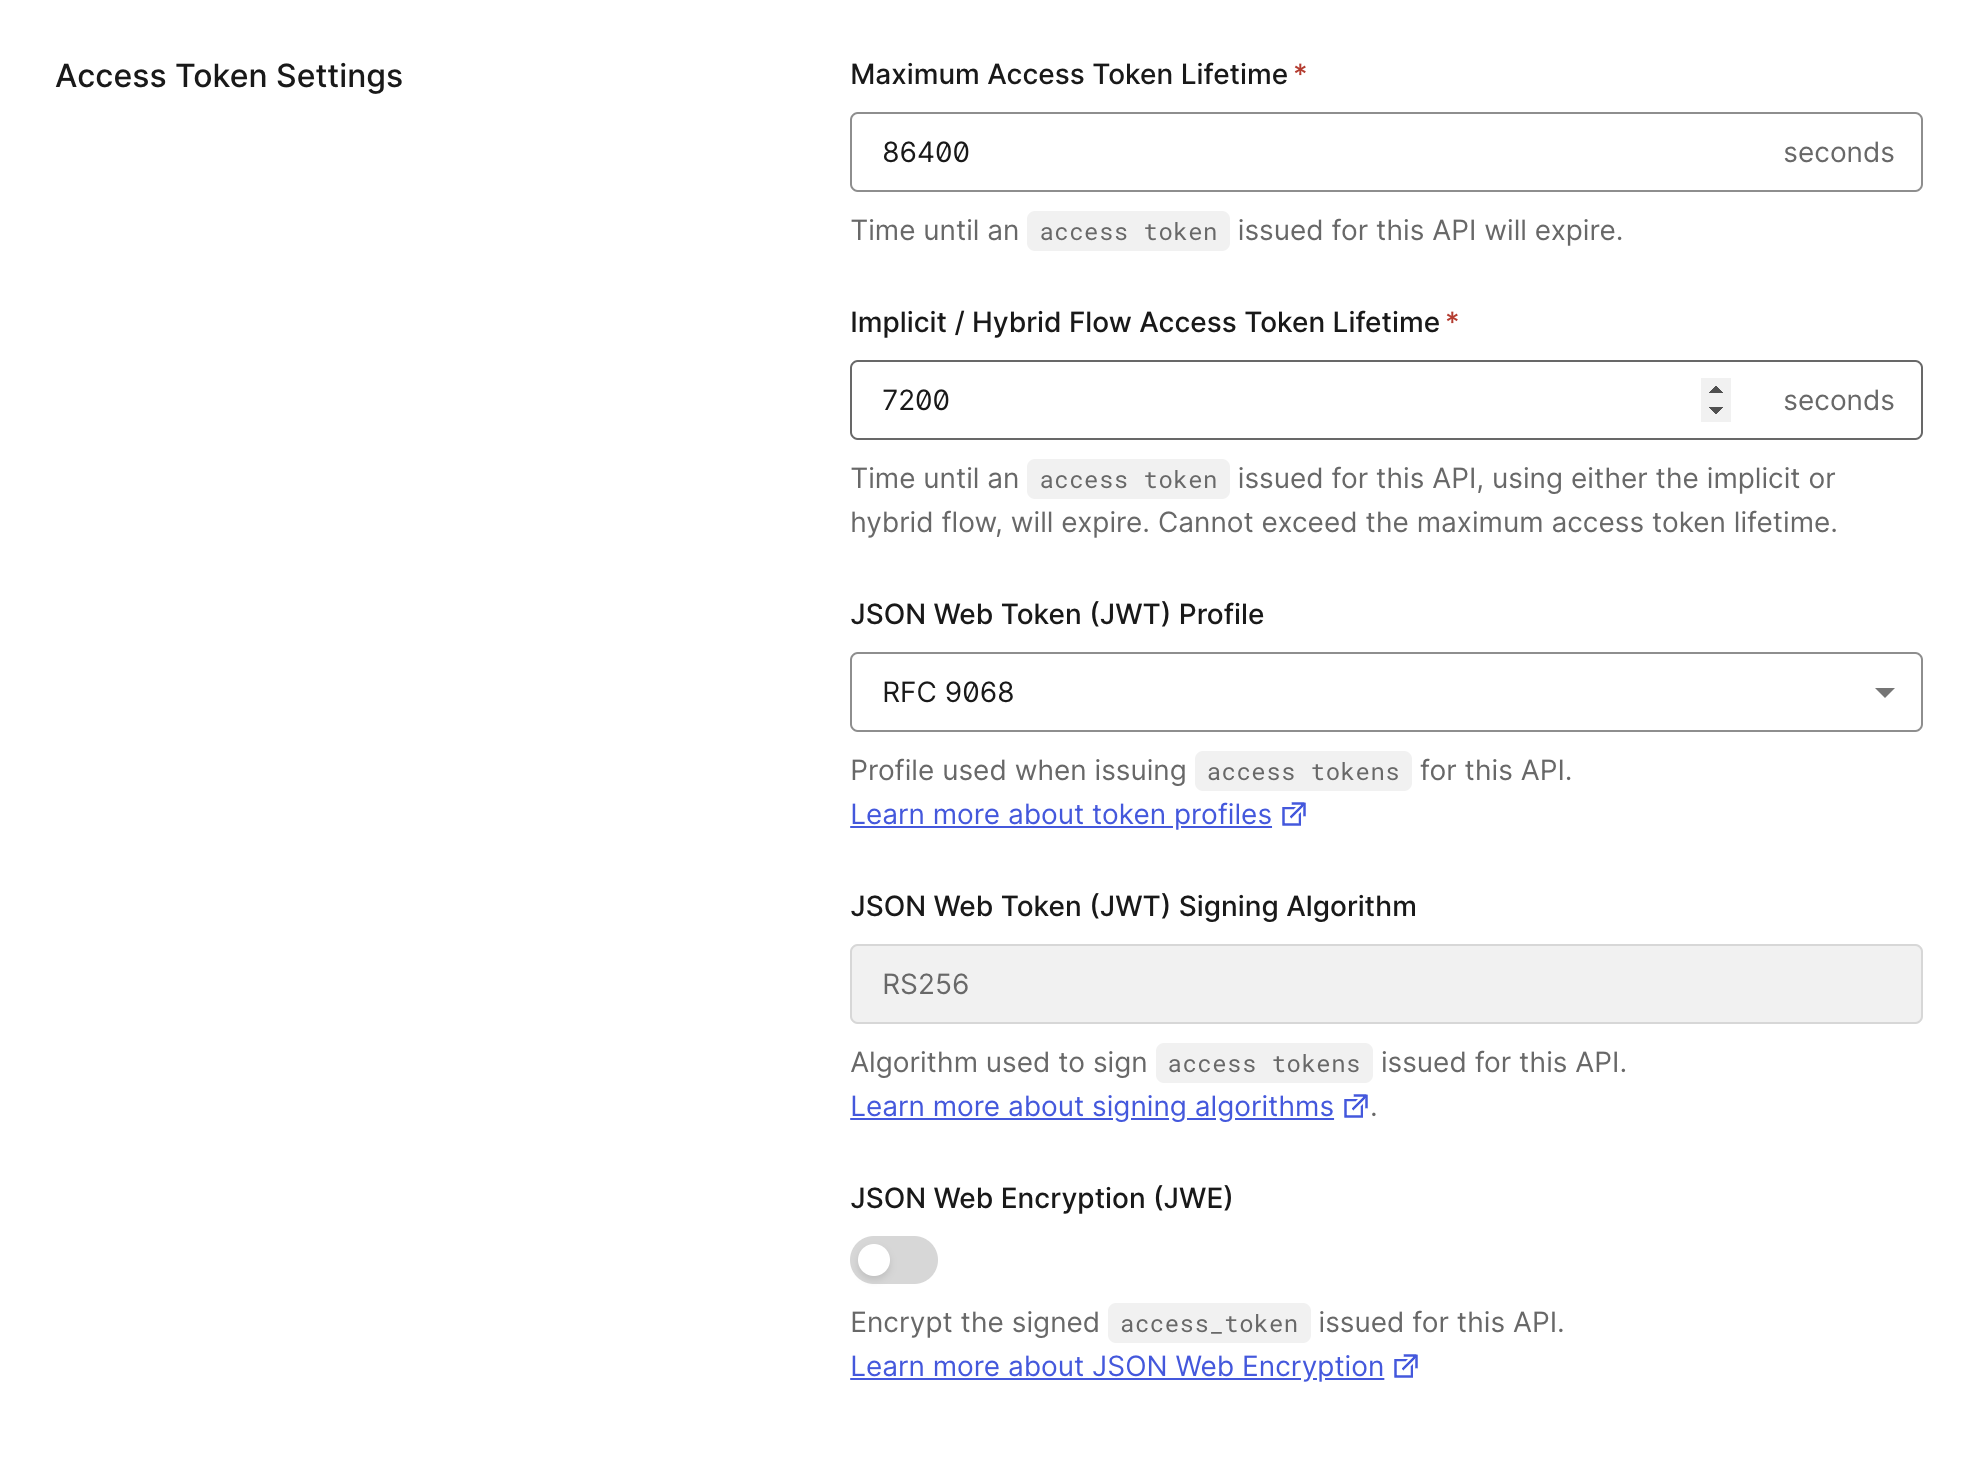
- Maximum Lifetime (Seconds): The amount of time (in seconds) before an access token expires. The default value is 86400 seconds (24 hours). The maximum value you can set is 2592000 seconds (30 days).
- Implicit / Hybrid Flow Access Token Lifetime (Seconds): The amount of time (in seconds) before an access token issued using an implicit or hybrid flow expires. The default value is 86400 seconds (24 hours). The value cannot exceed the maximum access token lifetime.
-
(JWT) Profile: The profile determines the format of the access tokens issued for the API. The available values are
Auth0andRFC 9068. To learn more, read Access Token Profiles. -
JSON Web Token (JWT) : The algorithm with which to sign the tokens. The signature is used to verify that the sender of the JWT is who it says it is and to ensure that the message wasn’t changed along the way. The available values are
HS256andRS256. If you selectRS256(recommended), the token will be signed with your tenant’s private key. This value is set when your API is created and cannot be modified afterward. To learn more about signing algorithms and how they work in Auth0, read Signing Algorithms.The signature is part of a JWT. If you are unfamiliar with JWT structure, please see JSON Web Token Structure. - JSON Web Encryption (JWE): When enabled, issued access tokens are encrypted using JSON Web Encryption (JWE). format. To learn more, read JSON Web Encryption.
RBAC Settings
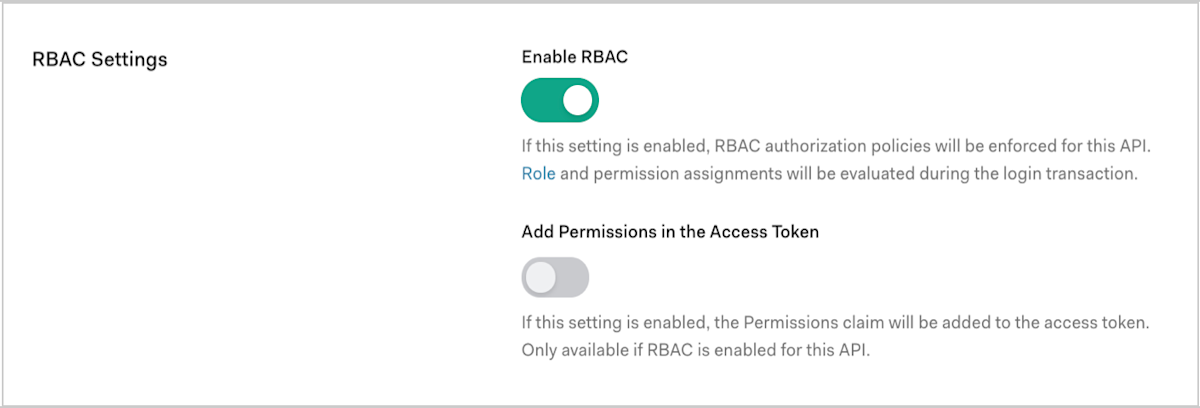
- Enable RBAC: Enable this setting for RBAC policies to be enforced for the API. To learn more, read Role-Based Access Control and Enable Role-Based Access Control for APIs.
- Add Permissions in the Access Token: Enable this setting to add the Permissions claim to the access token. This setting is only available if you enable RBAC. You can configure permissions on the Permissions tab.
Access Settings
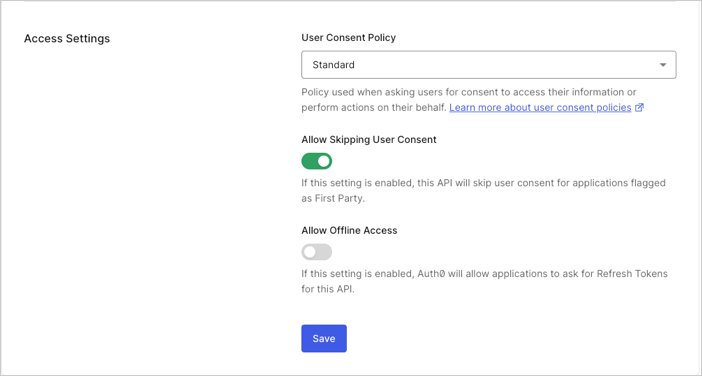
- Allow Skipping User Consent: Enable this setting for the API to skip user consent for applications flagged as “first party.”
- Allow Offline Access: Enable this setting to allow applications to ask for for the API.
Default Policy setting

- Require 2FA: When enabled, Auth0 enforces the Default Policy on the My Account API to trigger Step-Up Authentication. Users are required to authenticate with a second factor within 15 minutes. To learn about the full behavior and how to enable it, read My Account API: Default Policy.
The Default Policy is not available with Classic Login.
Permissions
Use the settings on the Permissions tab to define the permissions (scopes) that the API will use. To learn more, read Add API Permissions and Delete API Permissions.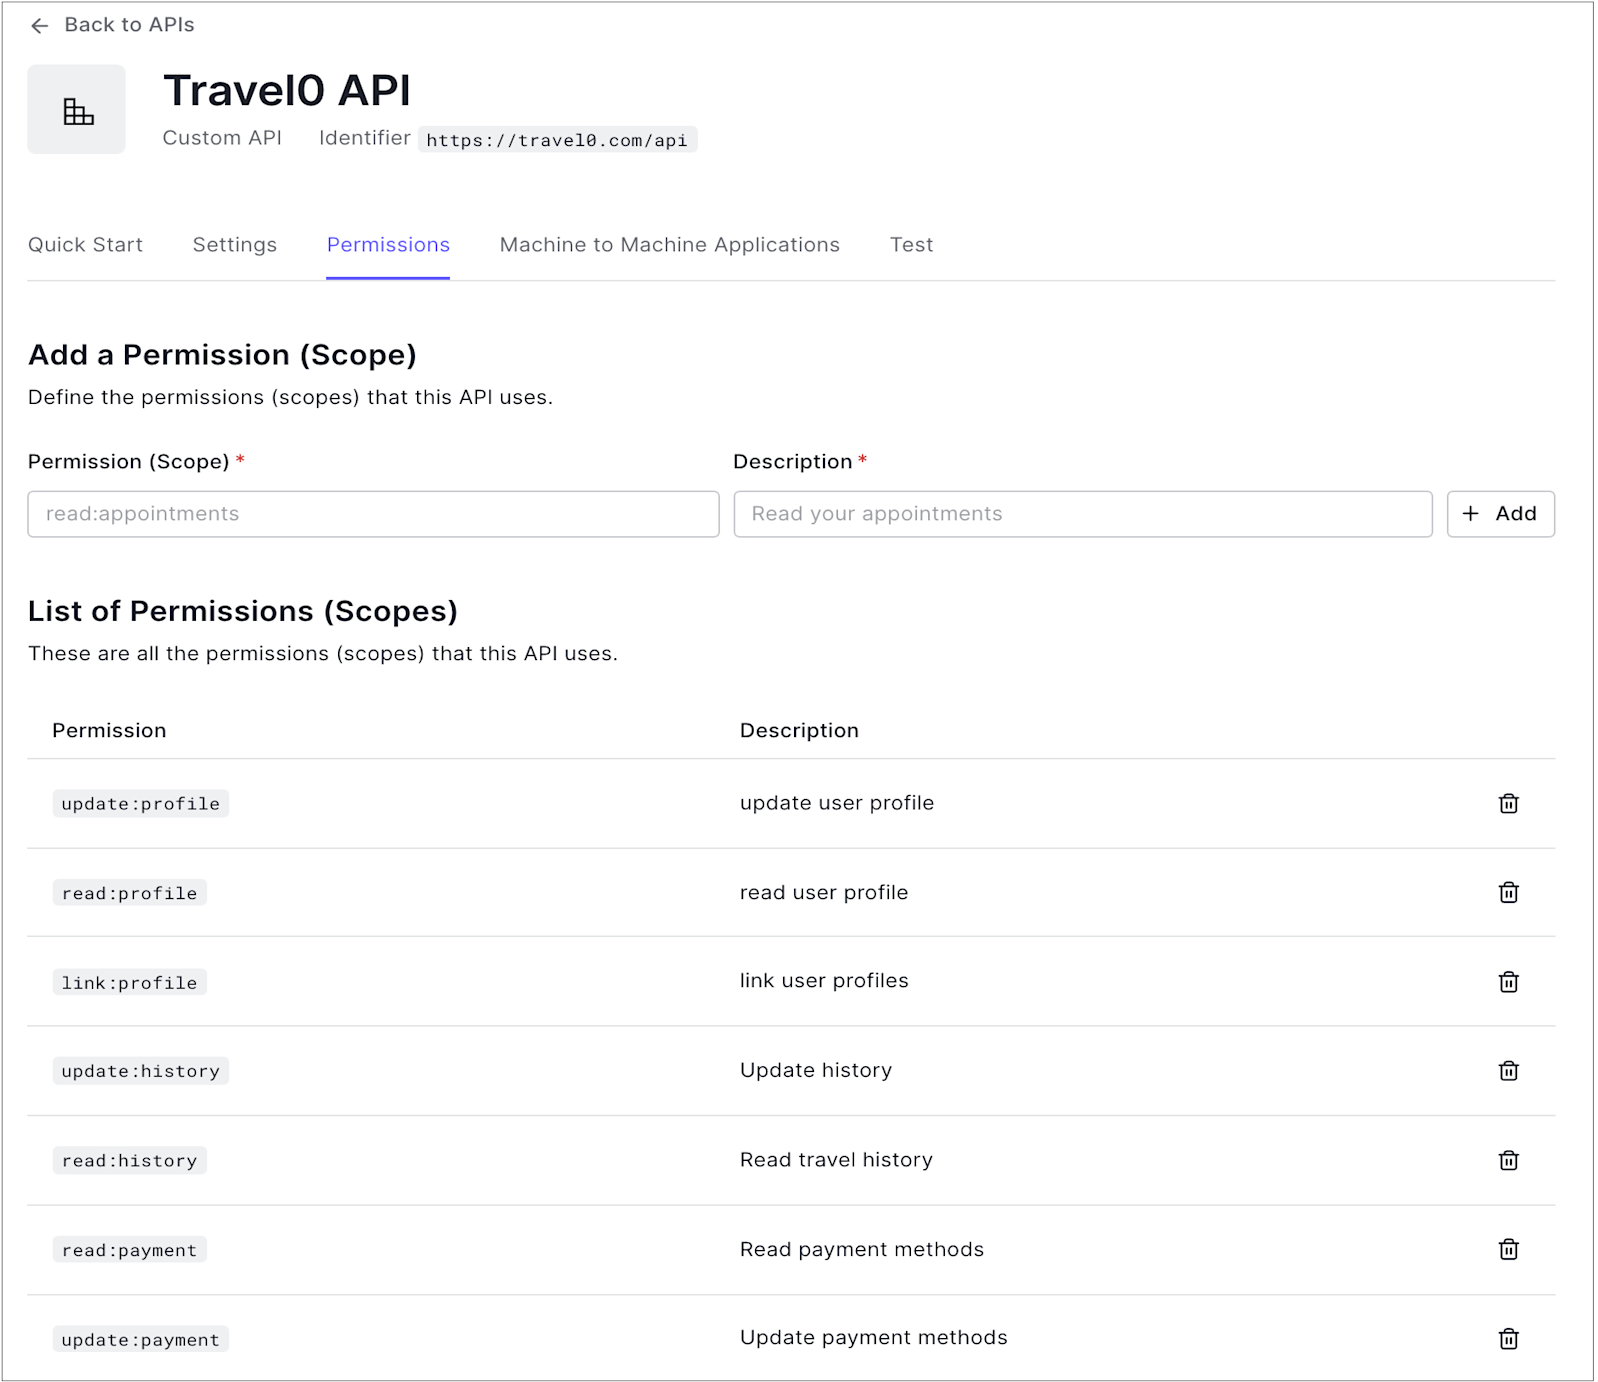
Machine-to-Machine Applications
If you have machine-to-machine applications, they will appear in a list on this tab. Use the toggles to authorize applications in the list. To learn more, read Register Machine-to-Machine Applications.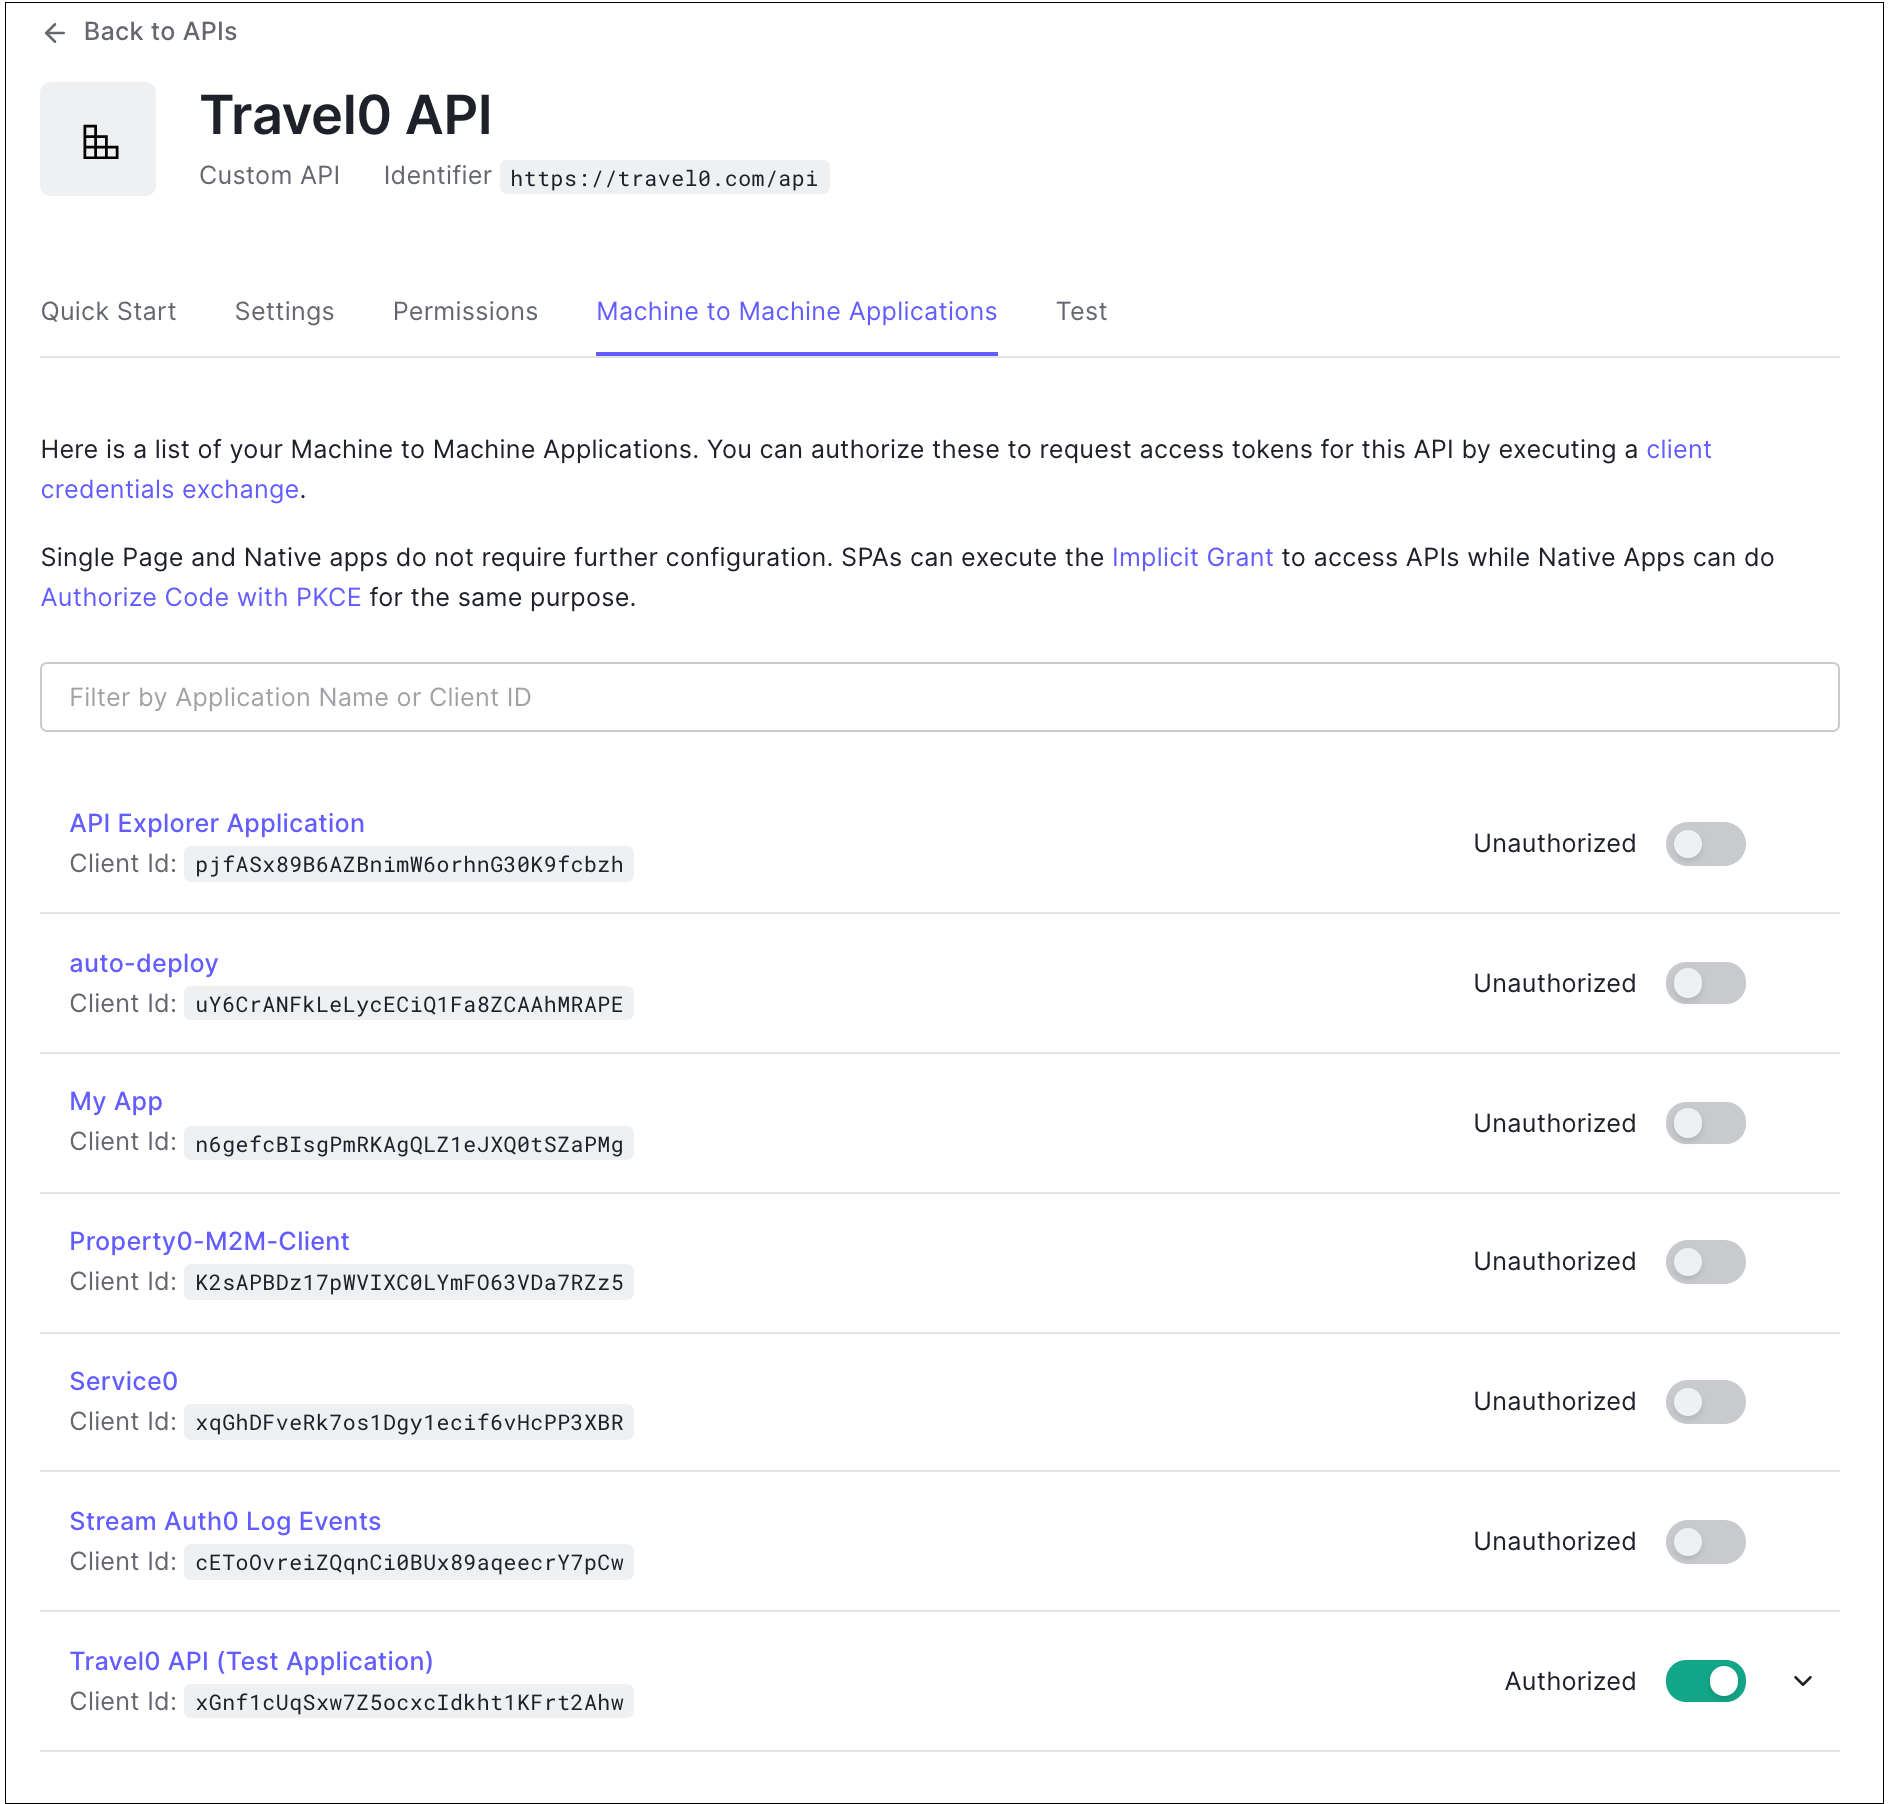
Test
A test application is automatically created by Auth0 to allow to tests with the API. To learn how to create more test machine-to-machine applications for Management API testing, read Create Machine-to-Machine Applications for Testing.
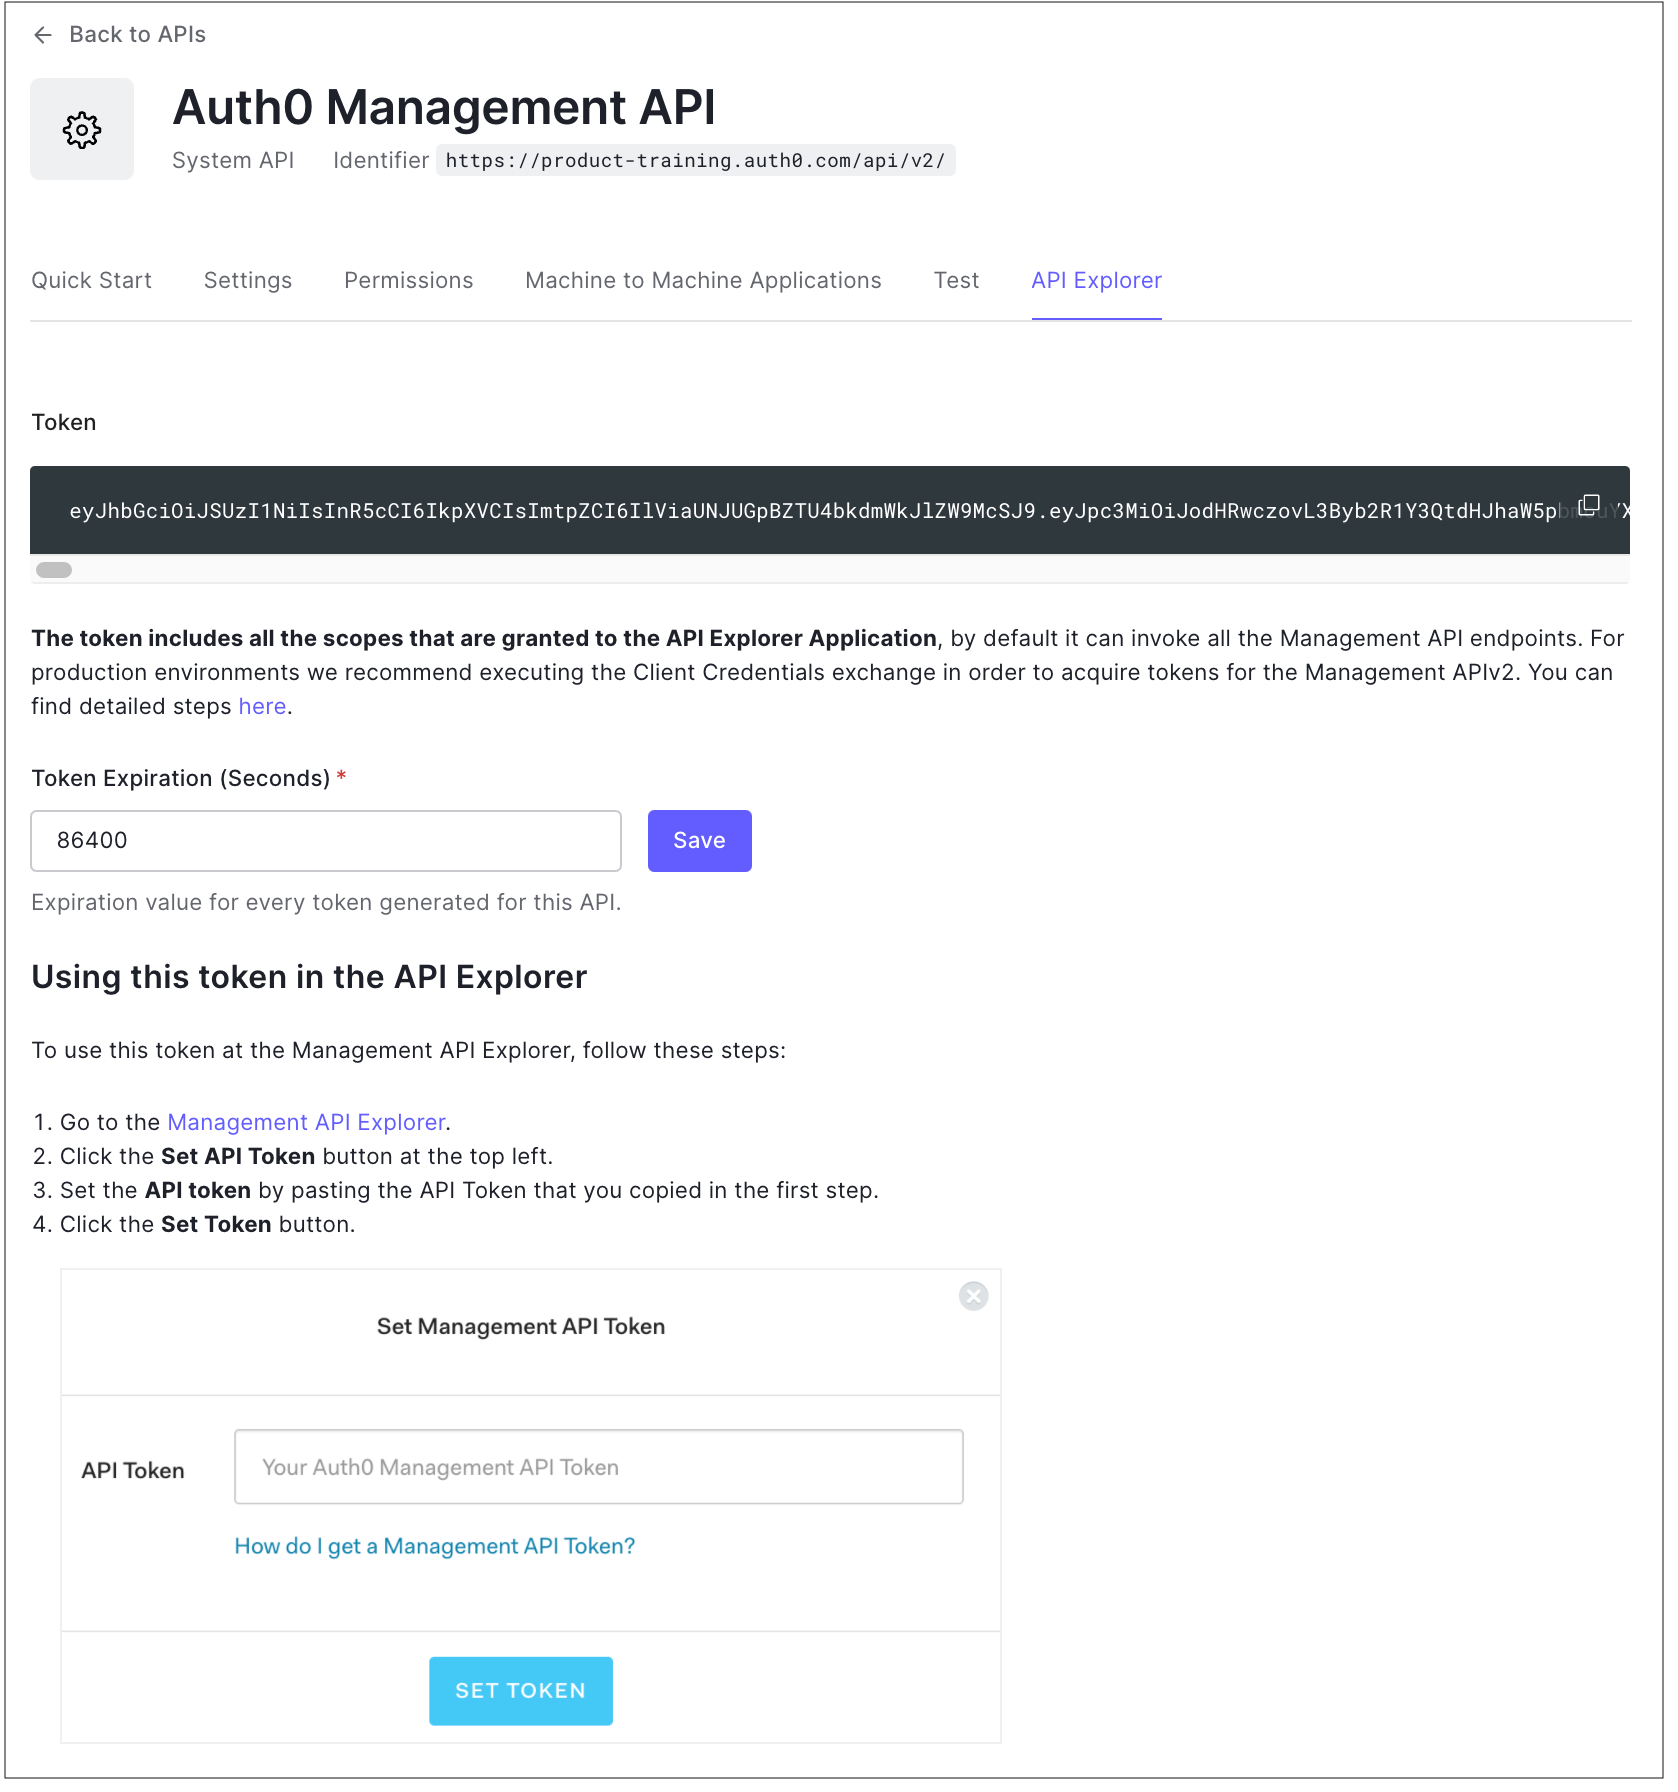
Management API Explorer
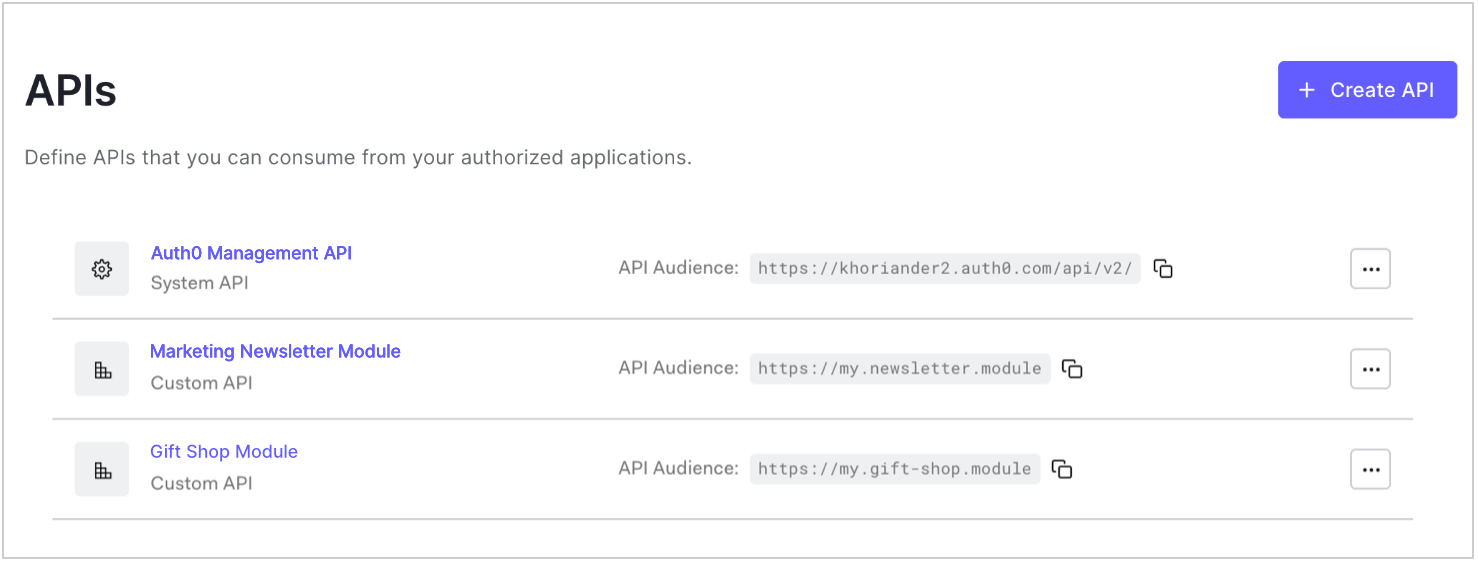
If you view the Settings for the Auth0 Management API, you will see an additional tab called API Explorer.