

Hi, this is Kassandra with Auth0. In the first episode of our new Getting Started with Lock screencast, we talked about how to implement Lock. Today, we'll be talking about customizing Lock with the various options in our Lock library.
But first, I'd like to introduce viewers to the Lock Playground. This is a tool Auth0 has that allows users to test the options out on Lock without having to implement it! The code on the left affects the window on the right in real time. A documented list of all of the options are available in our docs.
Here's a snapshot of the options we'll be looking at today:
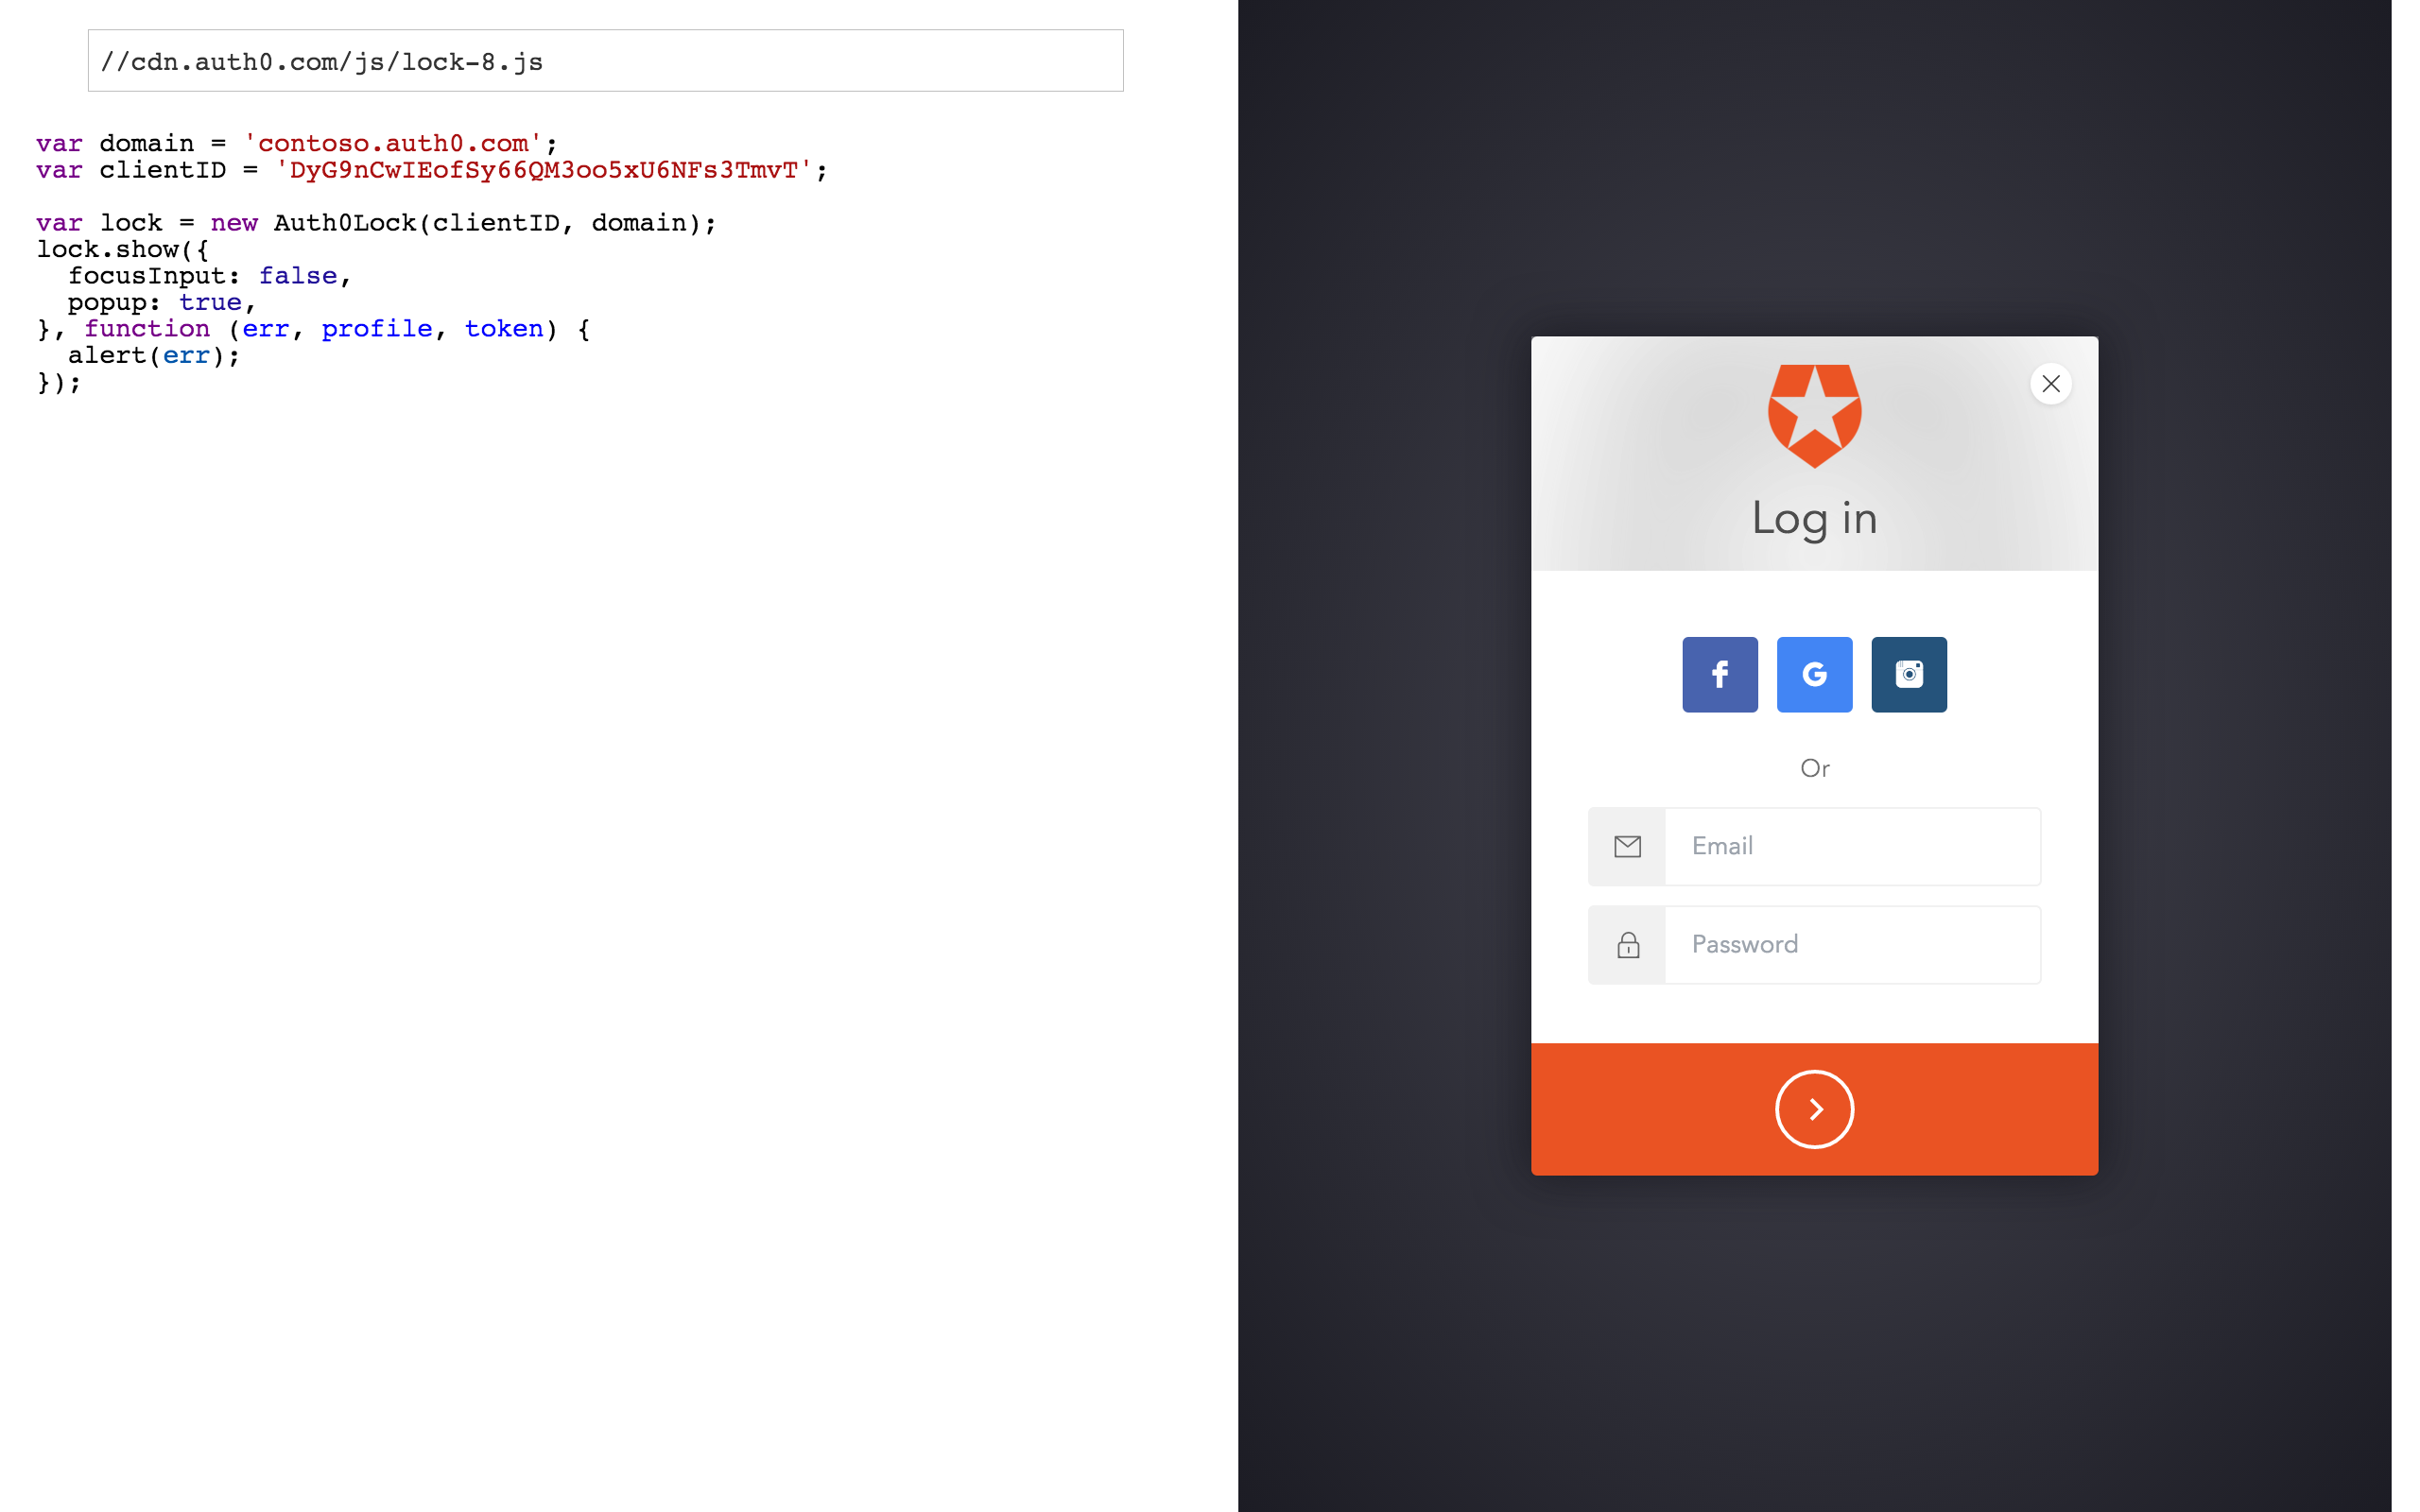
lock.show({
    connections: ['Username-Password-Authentication', 'Facebook'],
    dictionary: 'en',
    icon: 'https://mycdn.com/myImage.png',
    closable: true,
    socialBigButtons: true,
    focusInput: true,
    usernameStyle: 'email',
    gravatar: true,
    disableSignupAction: false,
    disableResetAction: false
});
First, we'll talk about the connections option: this option allows us to select a subset of our configured login providers to show to a user. This is handy if you have configured a login type, but do not want it to be an open option to potential users. This is an array of the connections you'd like to show.
Next is dictionary: you can convert the dialogue to a different language by using its language code (e.g. 'es' for Spanish).
The icon option accepts a URL and allows you to change the logo at the top of the dialog to an image of your choosing. Recommended size is 85x85px.
closable, when set to true, allows users to close the Lock dialog, and can be set to false to prevent users from dismissing your login screen.
You can change the presentation of the social provider buttons using the socialBigbuttons option: this defaults to false if the username and password dialog is shown, and true otherwise. However, you can change it to suit your needs.
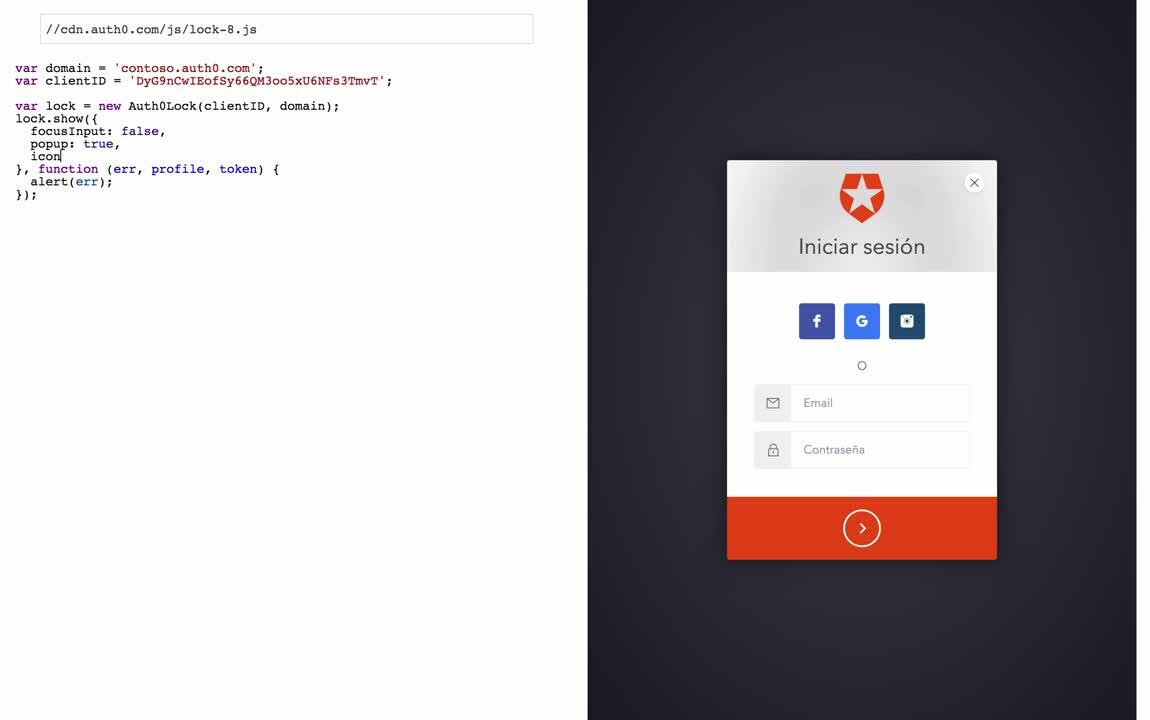
focusInput places focus on the username field in the Lock dialog, when set to true. This can be especially handy in situations where your login dialog is mandatory or overlays the screen-- however, it's best set to false in optional or embedded contexts. (It's set to false in the playground so that our cursor stays with the code.)
The usernameStyle option is handy if you'd rather use usernames instead of emails to identify themselves. By default, the prompt in username is set to 'Email', but by setting usernameStyle to username, the prompt will change to 'Username'.
The gravatar options, which defaults to true, watches the email entered in the Email field, and, if it matches a gravatar account, will replace the logo at the top of the dialog with the user's gravatar.
When you are showing your username and password login option, you will see a 'Sign Up' tab and a 'forgot your password?' link on the Lock dialog. You can disable these by setting disableSignupAction and disableResetAction to true.
In our next episode, we'll talk about the differences between Lock's two modes: popover and redirect.
Thanks for reading!