Auth0 applications come setup with a user DB automatically, but what if you wanted to add a social connection? Enabling social connections makes it much easier for users to get started using your applications. In this article, let's see how to add a Twitter social connection.
Getting Started
You'll need a free account with Auth0 to follow along with this tutorial. You can sign up here.
If you are logging in to Auth0 for the first time, you'll need to create a tenant. For this demo, we are going to use the sample React code that Auth0 provides us from the dashboard. You don't need to have React experience as we won't be making any code changes.
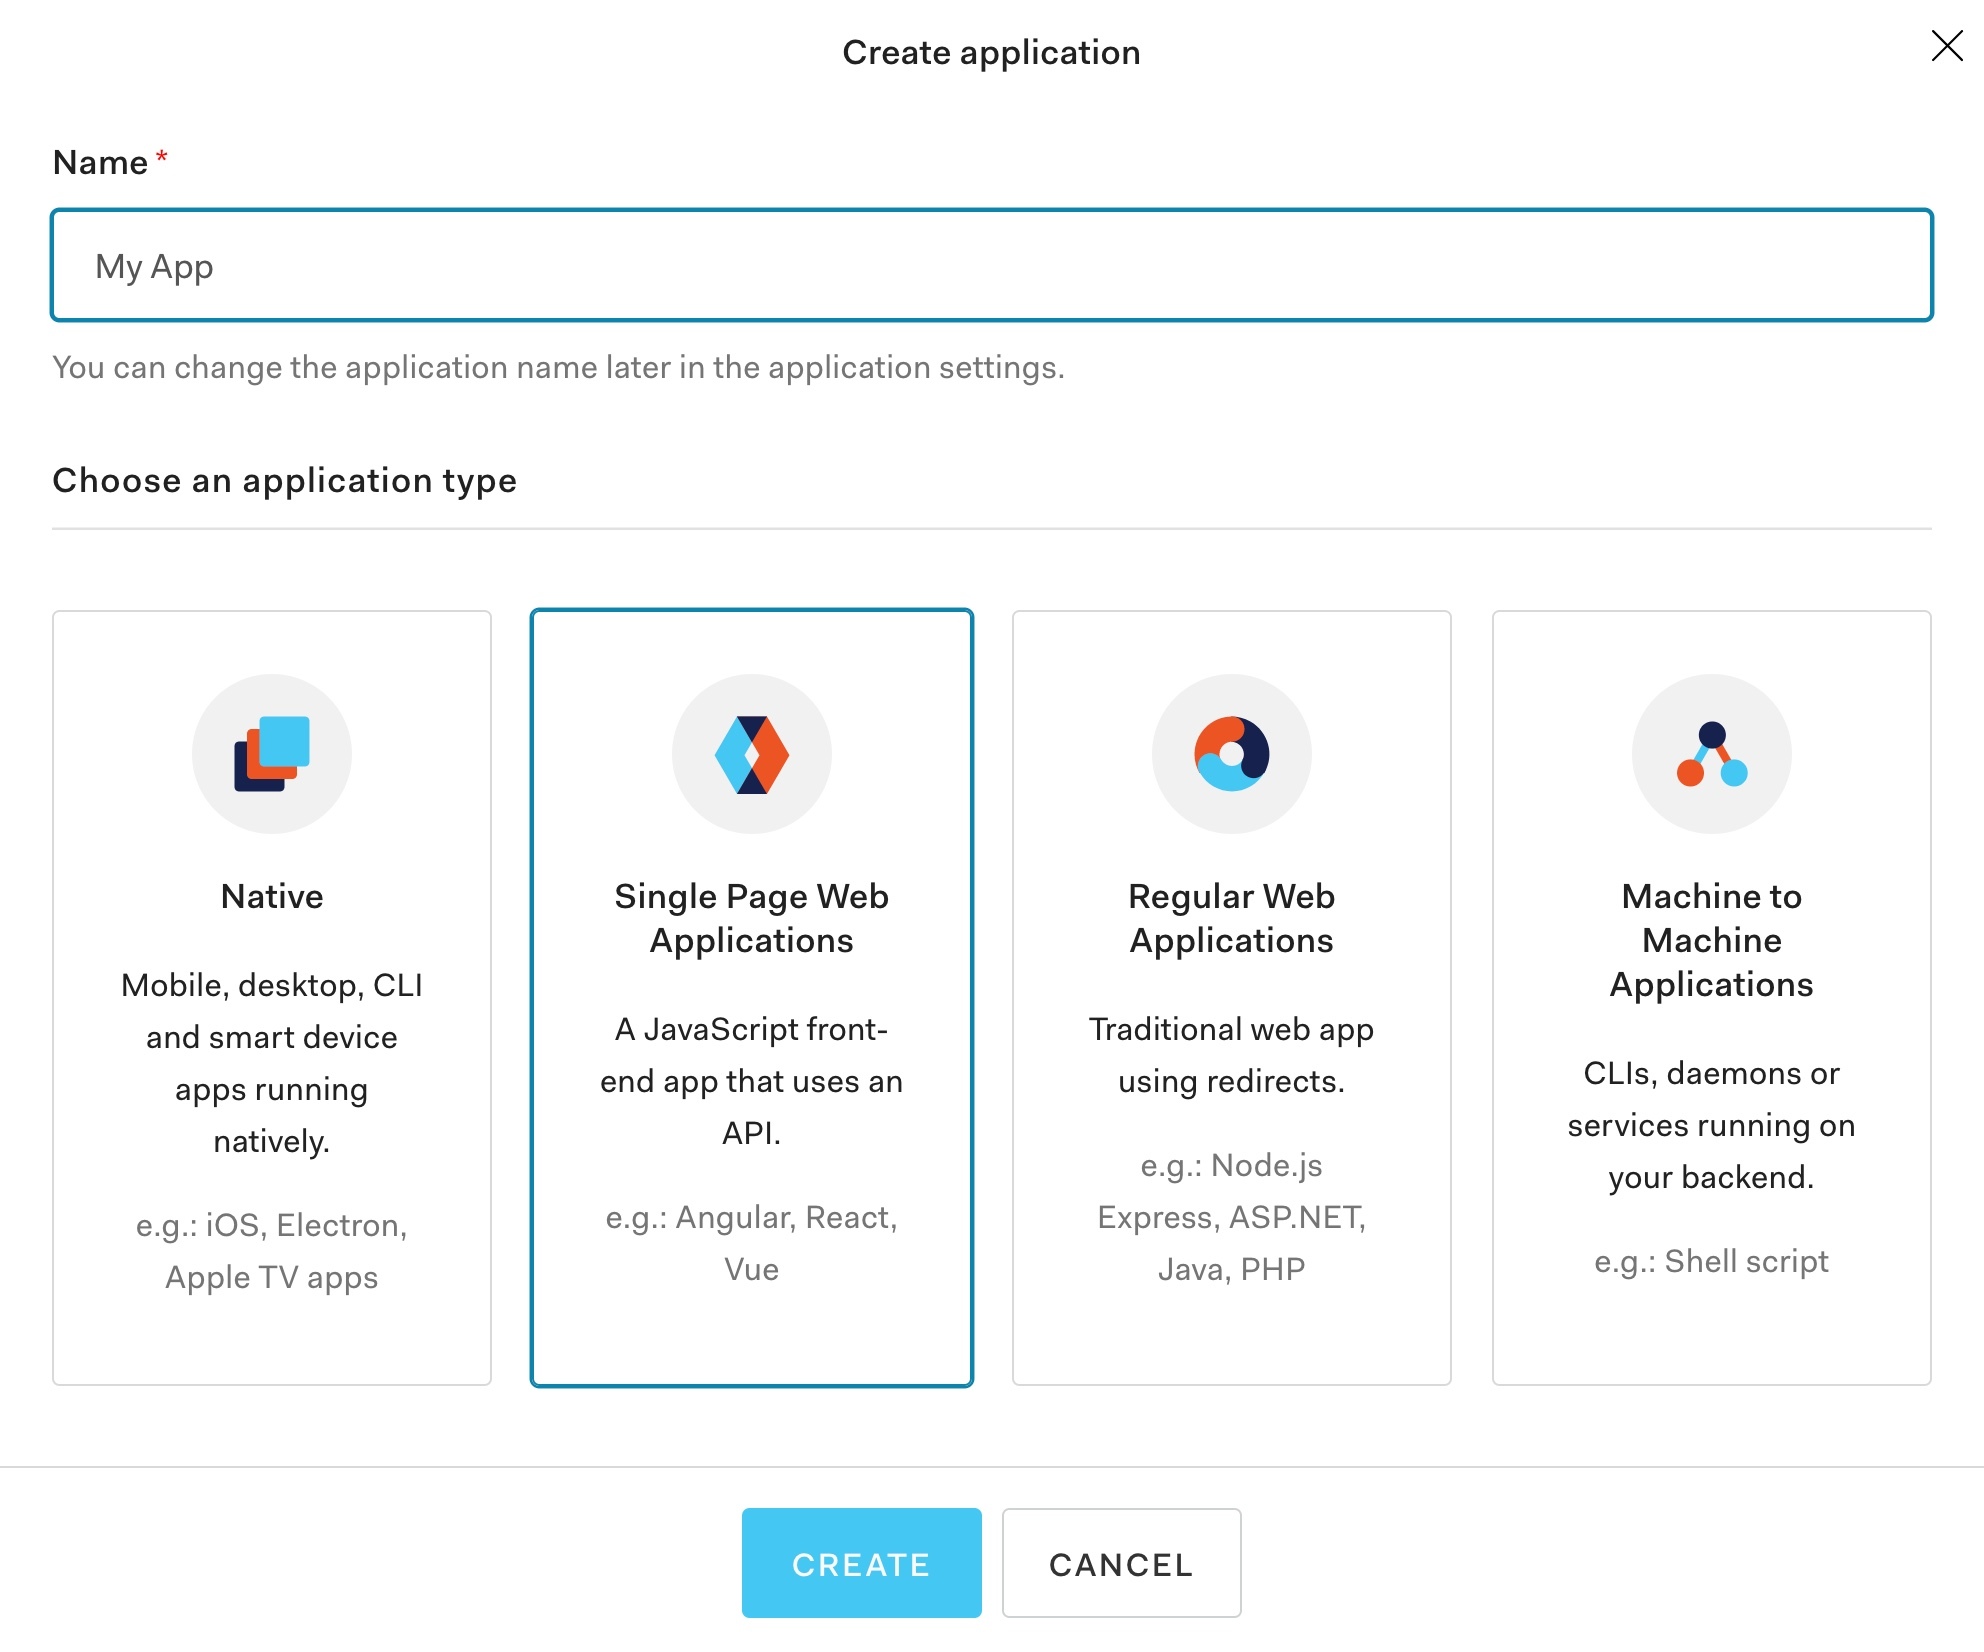
Start by creating a new application under the "Applications" tab, choose "Single Page Web Applications", and give it a name.
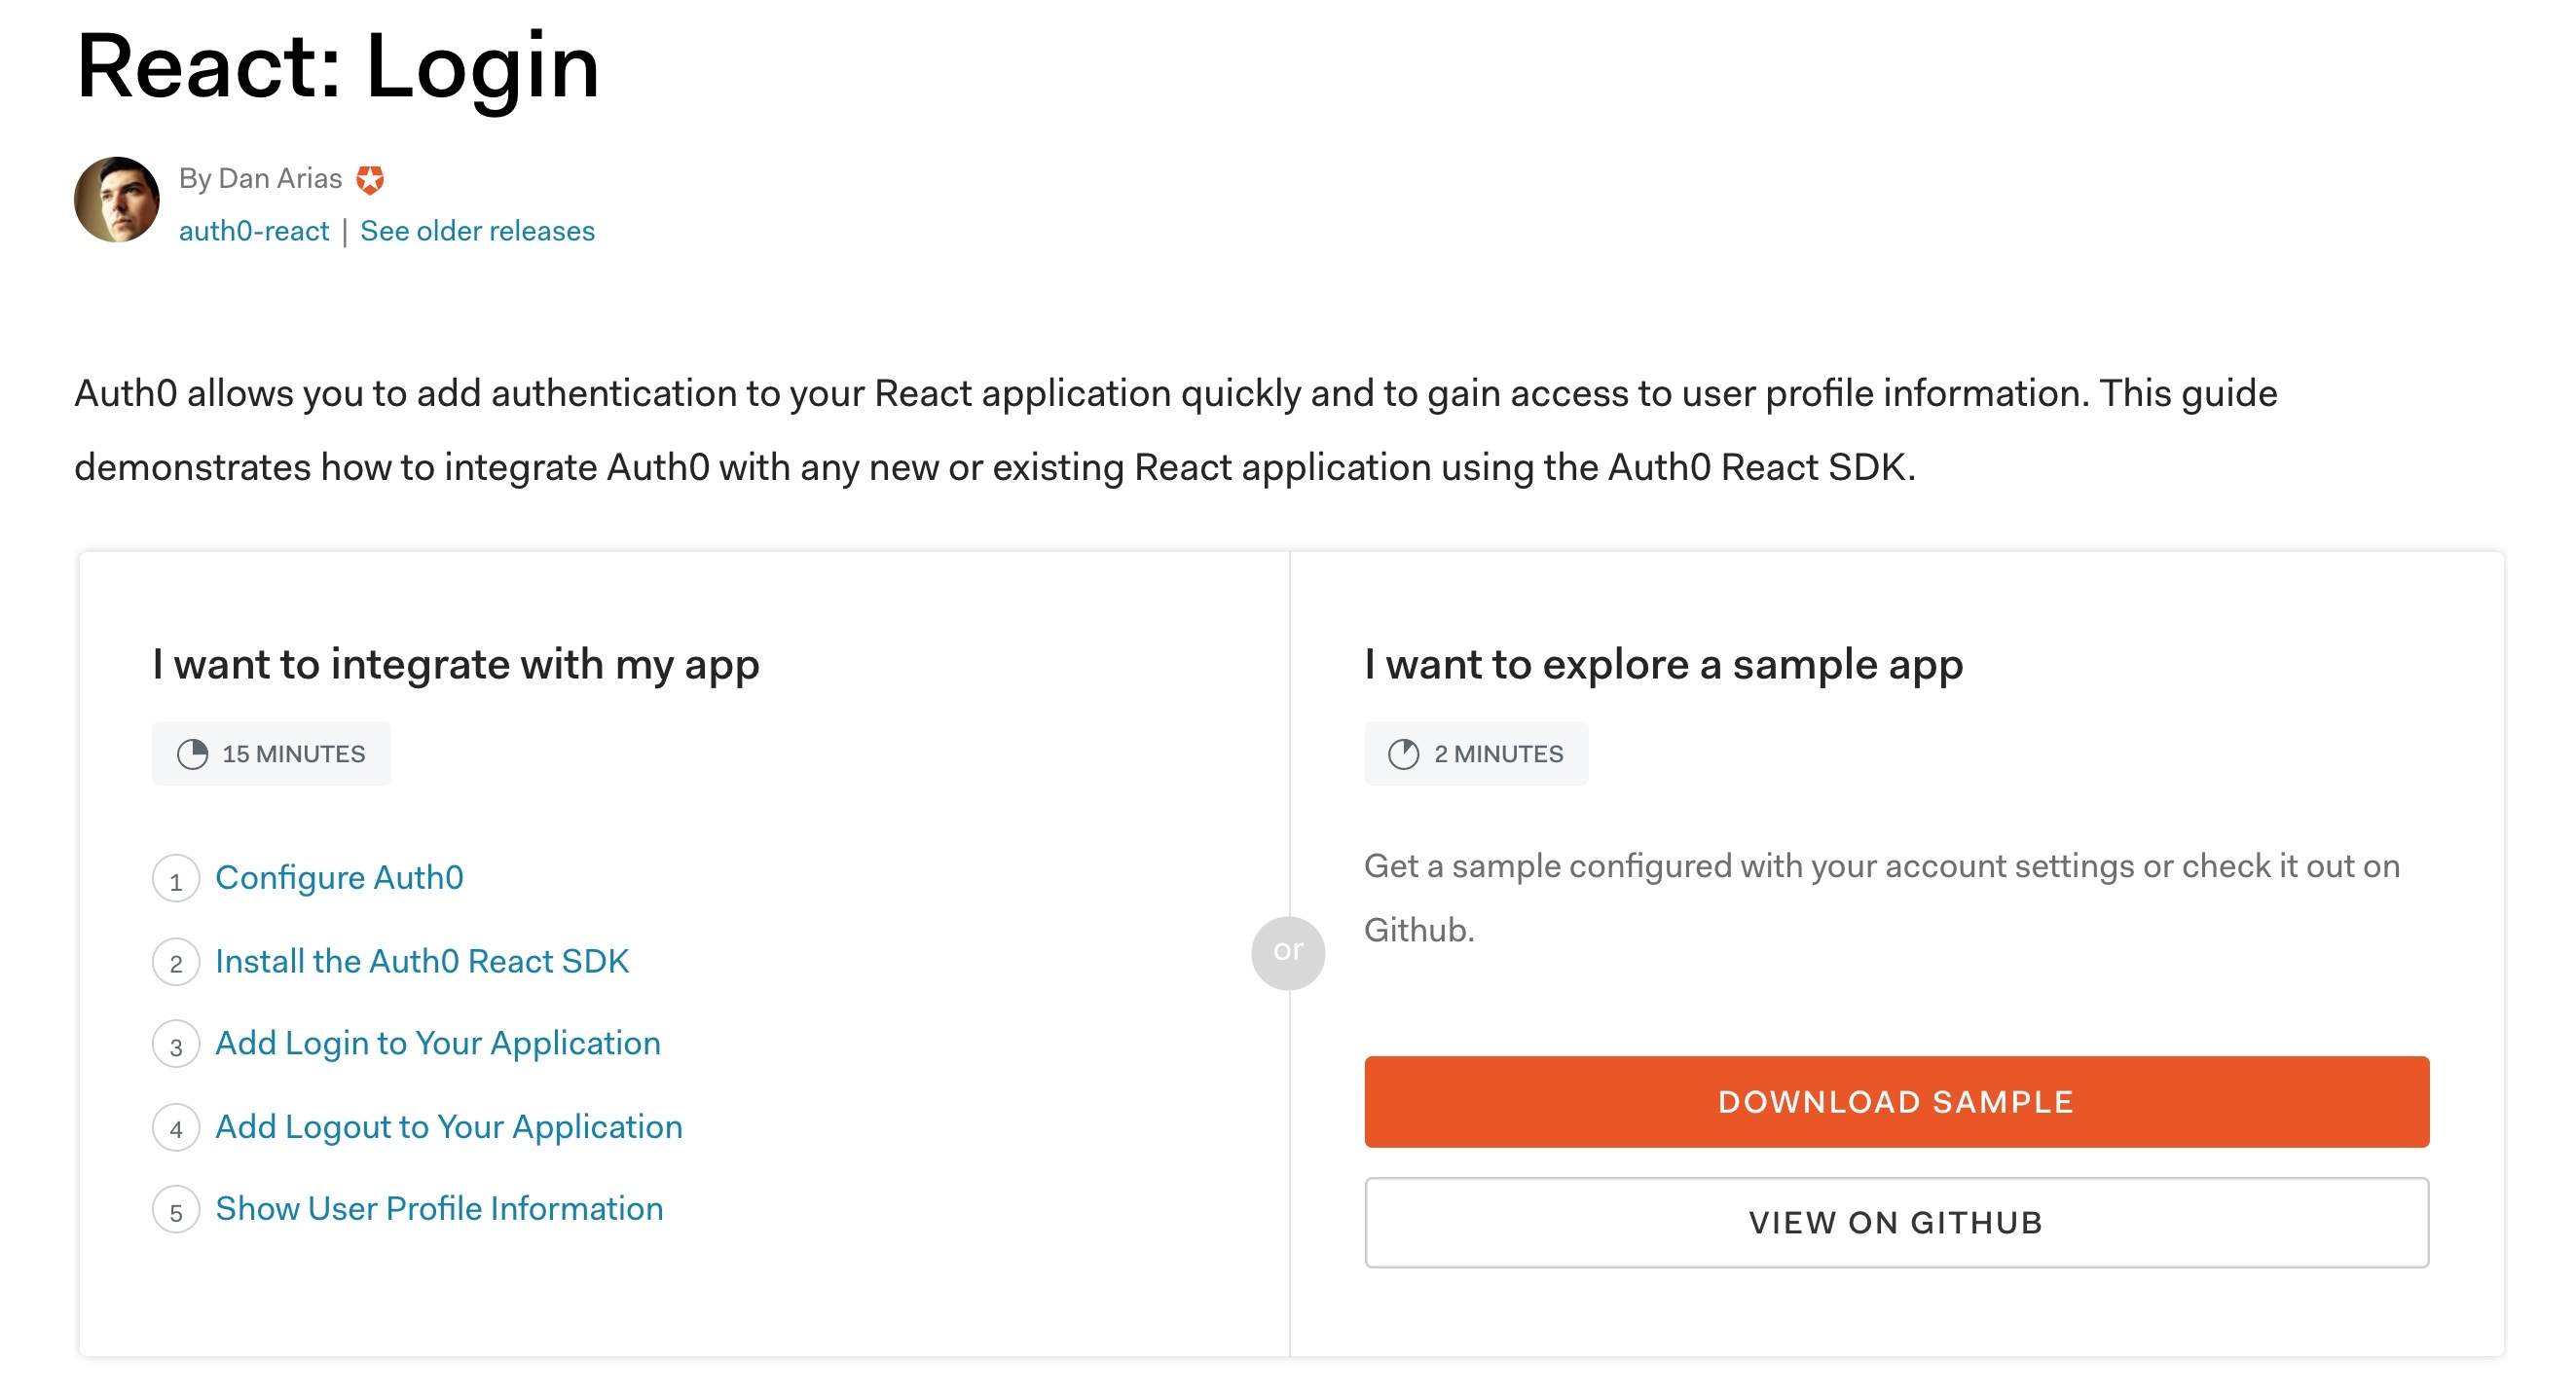
From there, the Quick Start window will show. Choose "React", and then choose "Download Sample". A window might pop up with additional details but continue on to "Download".
After you've downloaded the source code, scroll back to the top and click the "Settings" tab. In the settings tab, take note of your domain property. We will use this shortly in the Twitter dashboard.
We also need to update a few settings about the app. These settings will be used during the redirects of the authentication workflow. In short, our React application will redirect the user to Auth0, Auth0 will handle the login process, and then Auth0 will redirect the user back to our application.
- Allowed Callback URLs -
http://localhost:3000 - Allowed Web Origins -
http://localhost:3000 - Allowed Logout Origins -
http://localhost:3000
After you update those settings scroll down and save.
Running the Sample Code
Let's get the sample code running. Open the project in your text editor of choice. Since we are not following Part 2 of the "Quick Start" docs, we need to remove one property from the sample code configuration.
Open the auth_config.json file located in the project's root folder and remove the audience property. Then, install all of the npm dependencies.
npm install
Now, to start the app, run the following command to start it up.
npm run spa
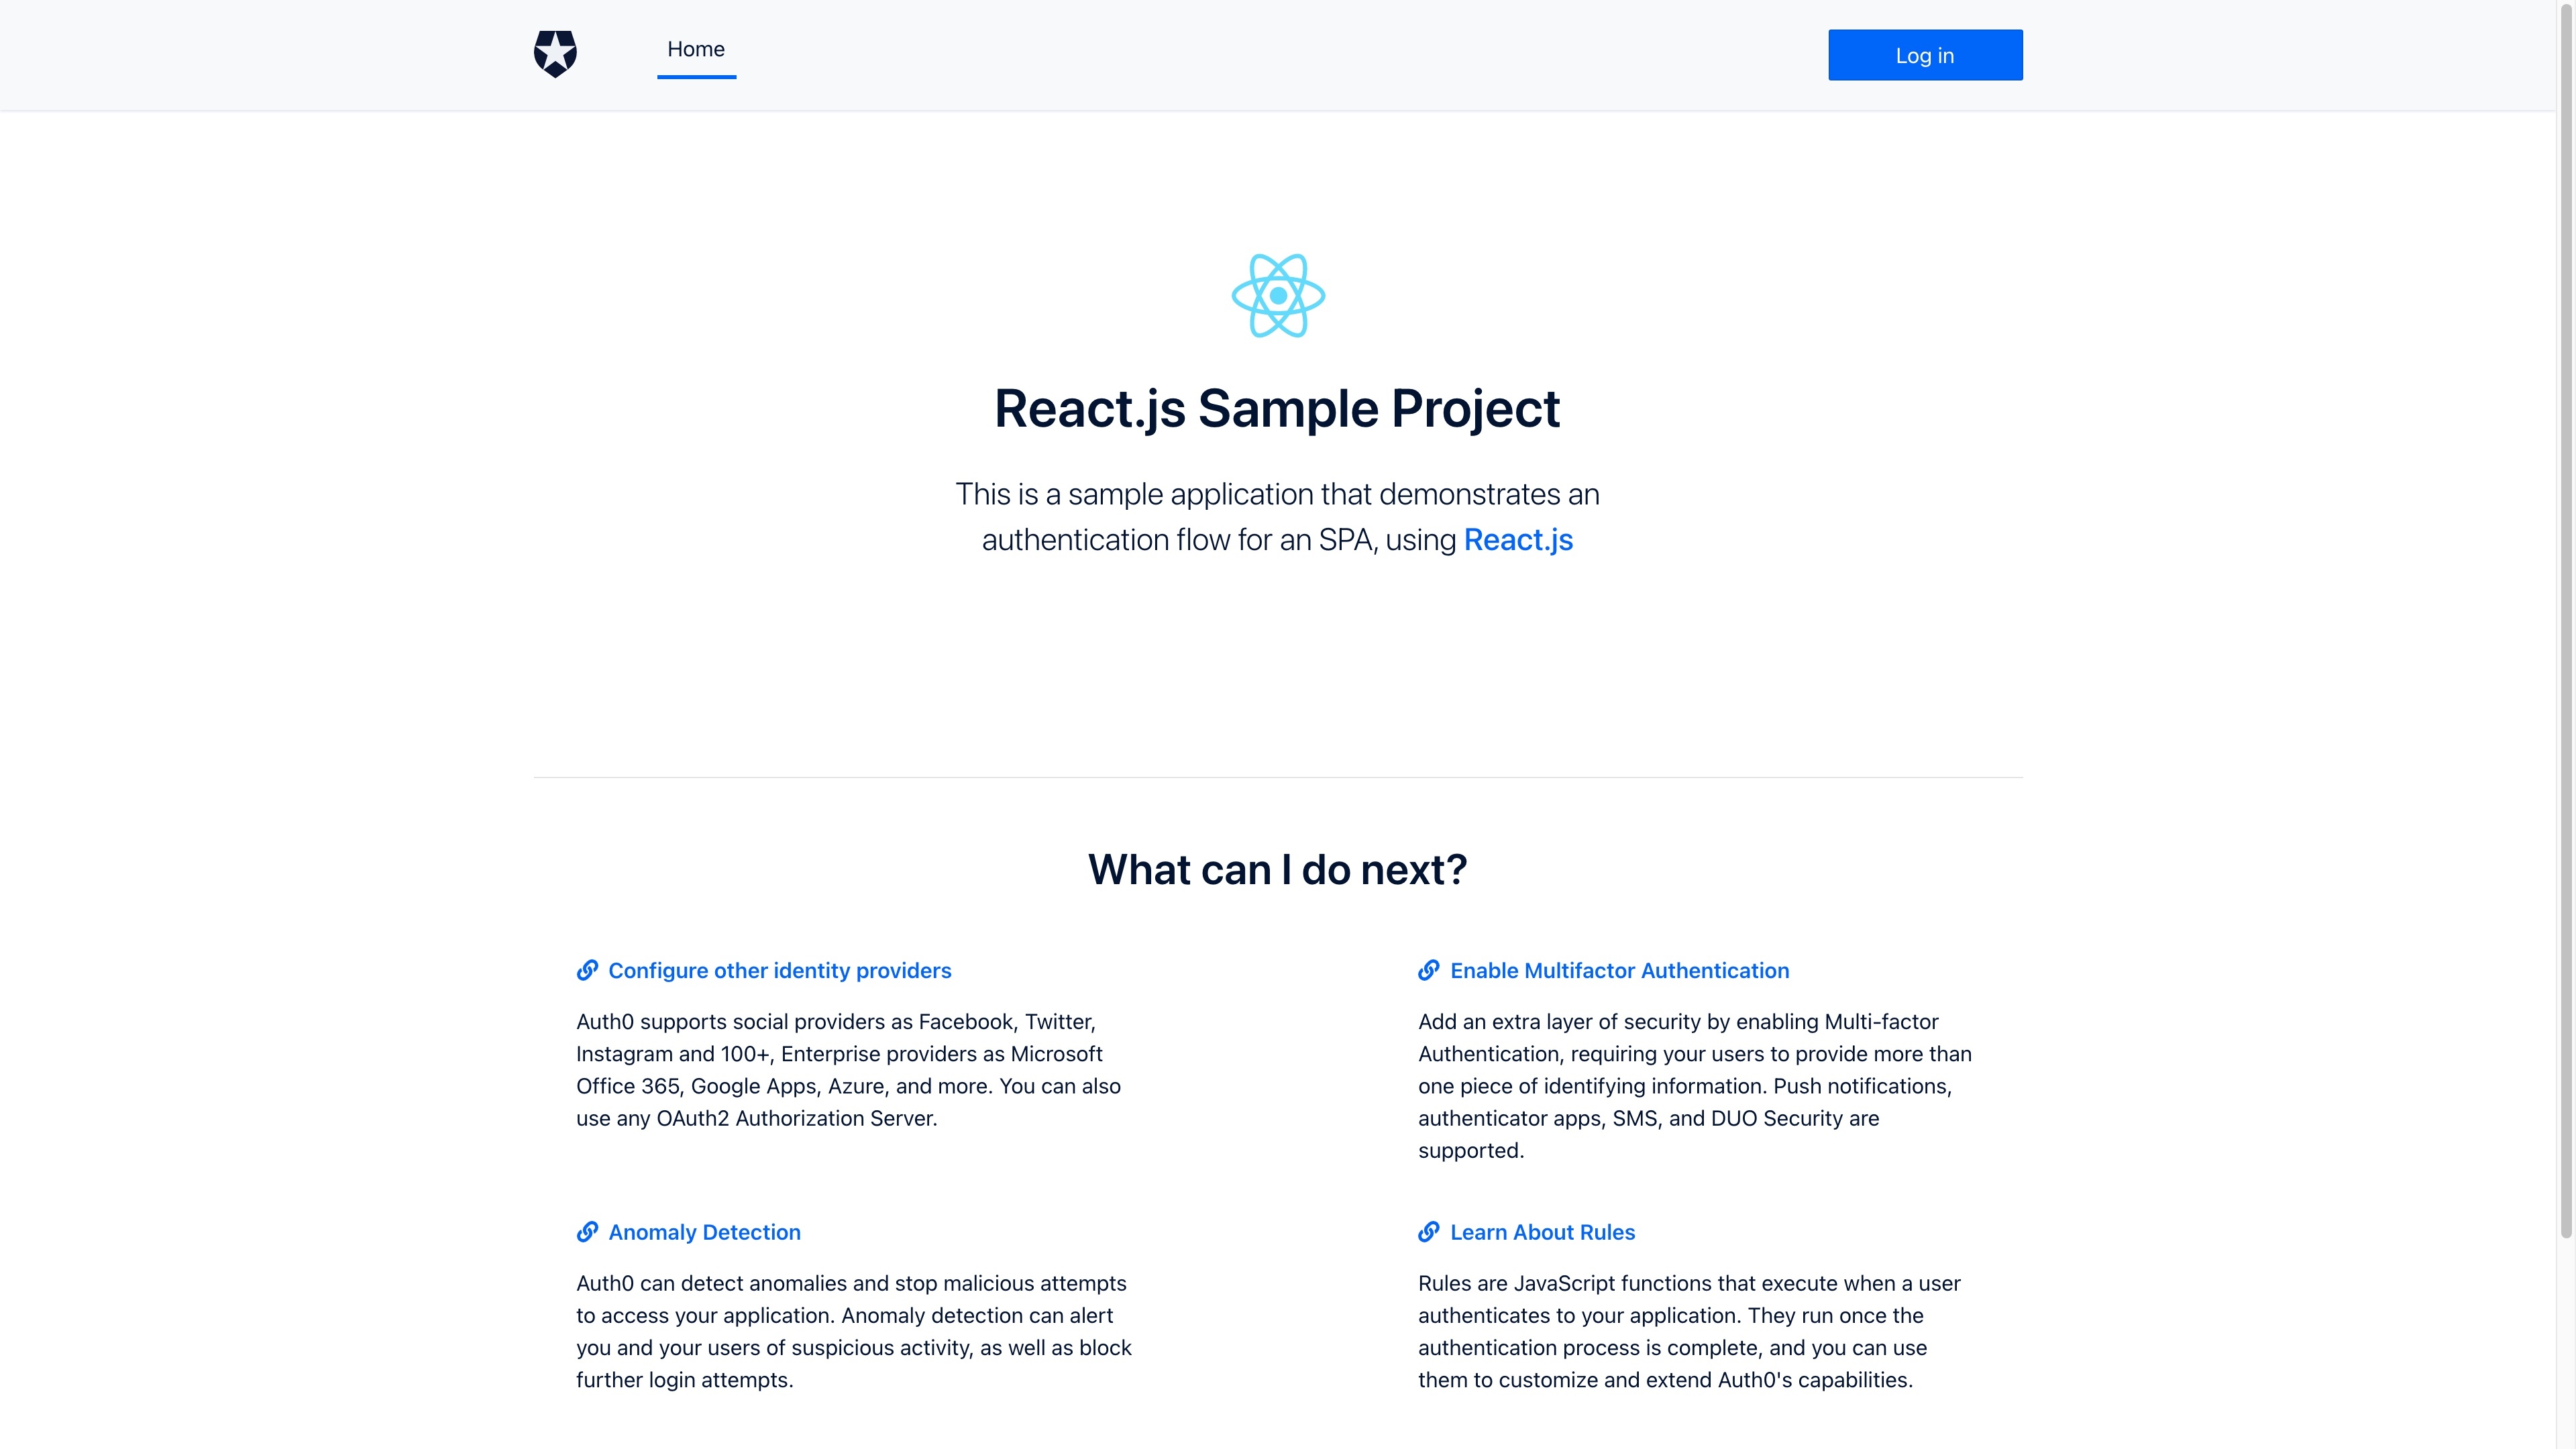
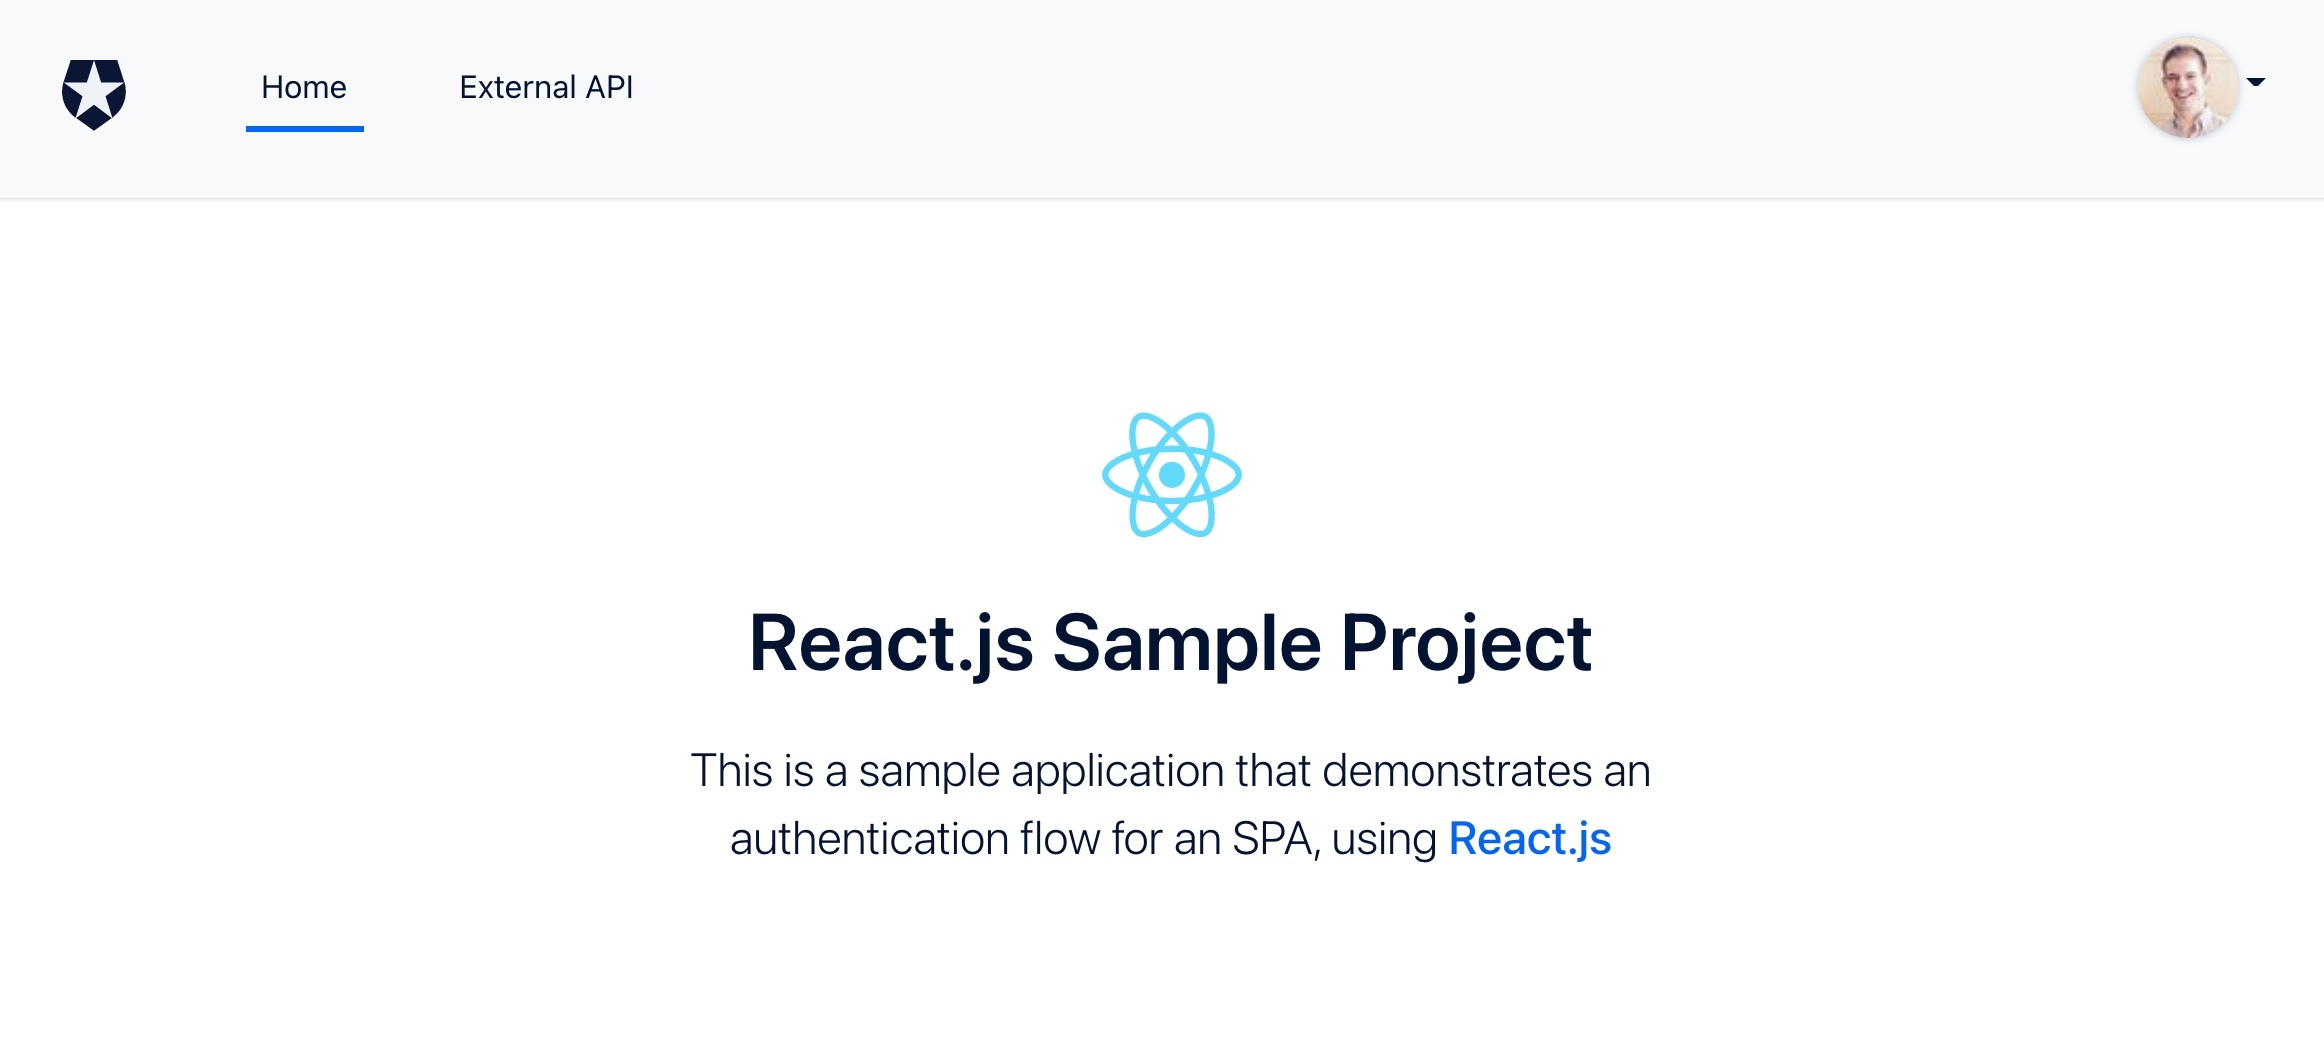
With the app running, click the "Login" button to go through that process. If you are logging in for the first time, you'll need to create an account. If you have already logged in to this app or another app in the same tenant, you can use your existing account. After you finish, you should see that you have successfully been logged in with your profile image in the top right.
Setup Twitter connection
Now that we have a sample app that supports login, we can add the Twitter social connection. To create the new connection it will be in 1 of 2 places.
Authentication -> SocialConnections -> Social
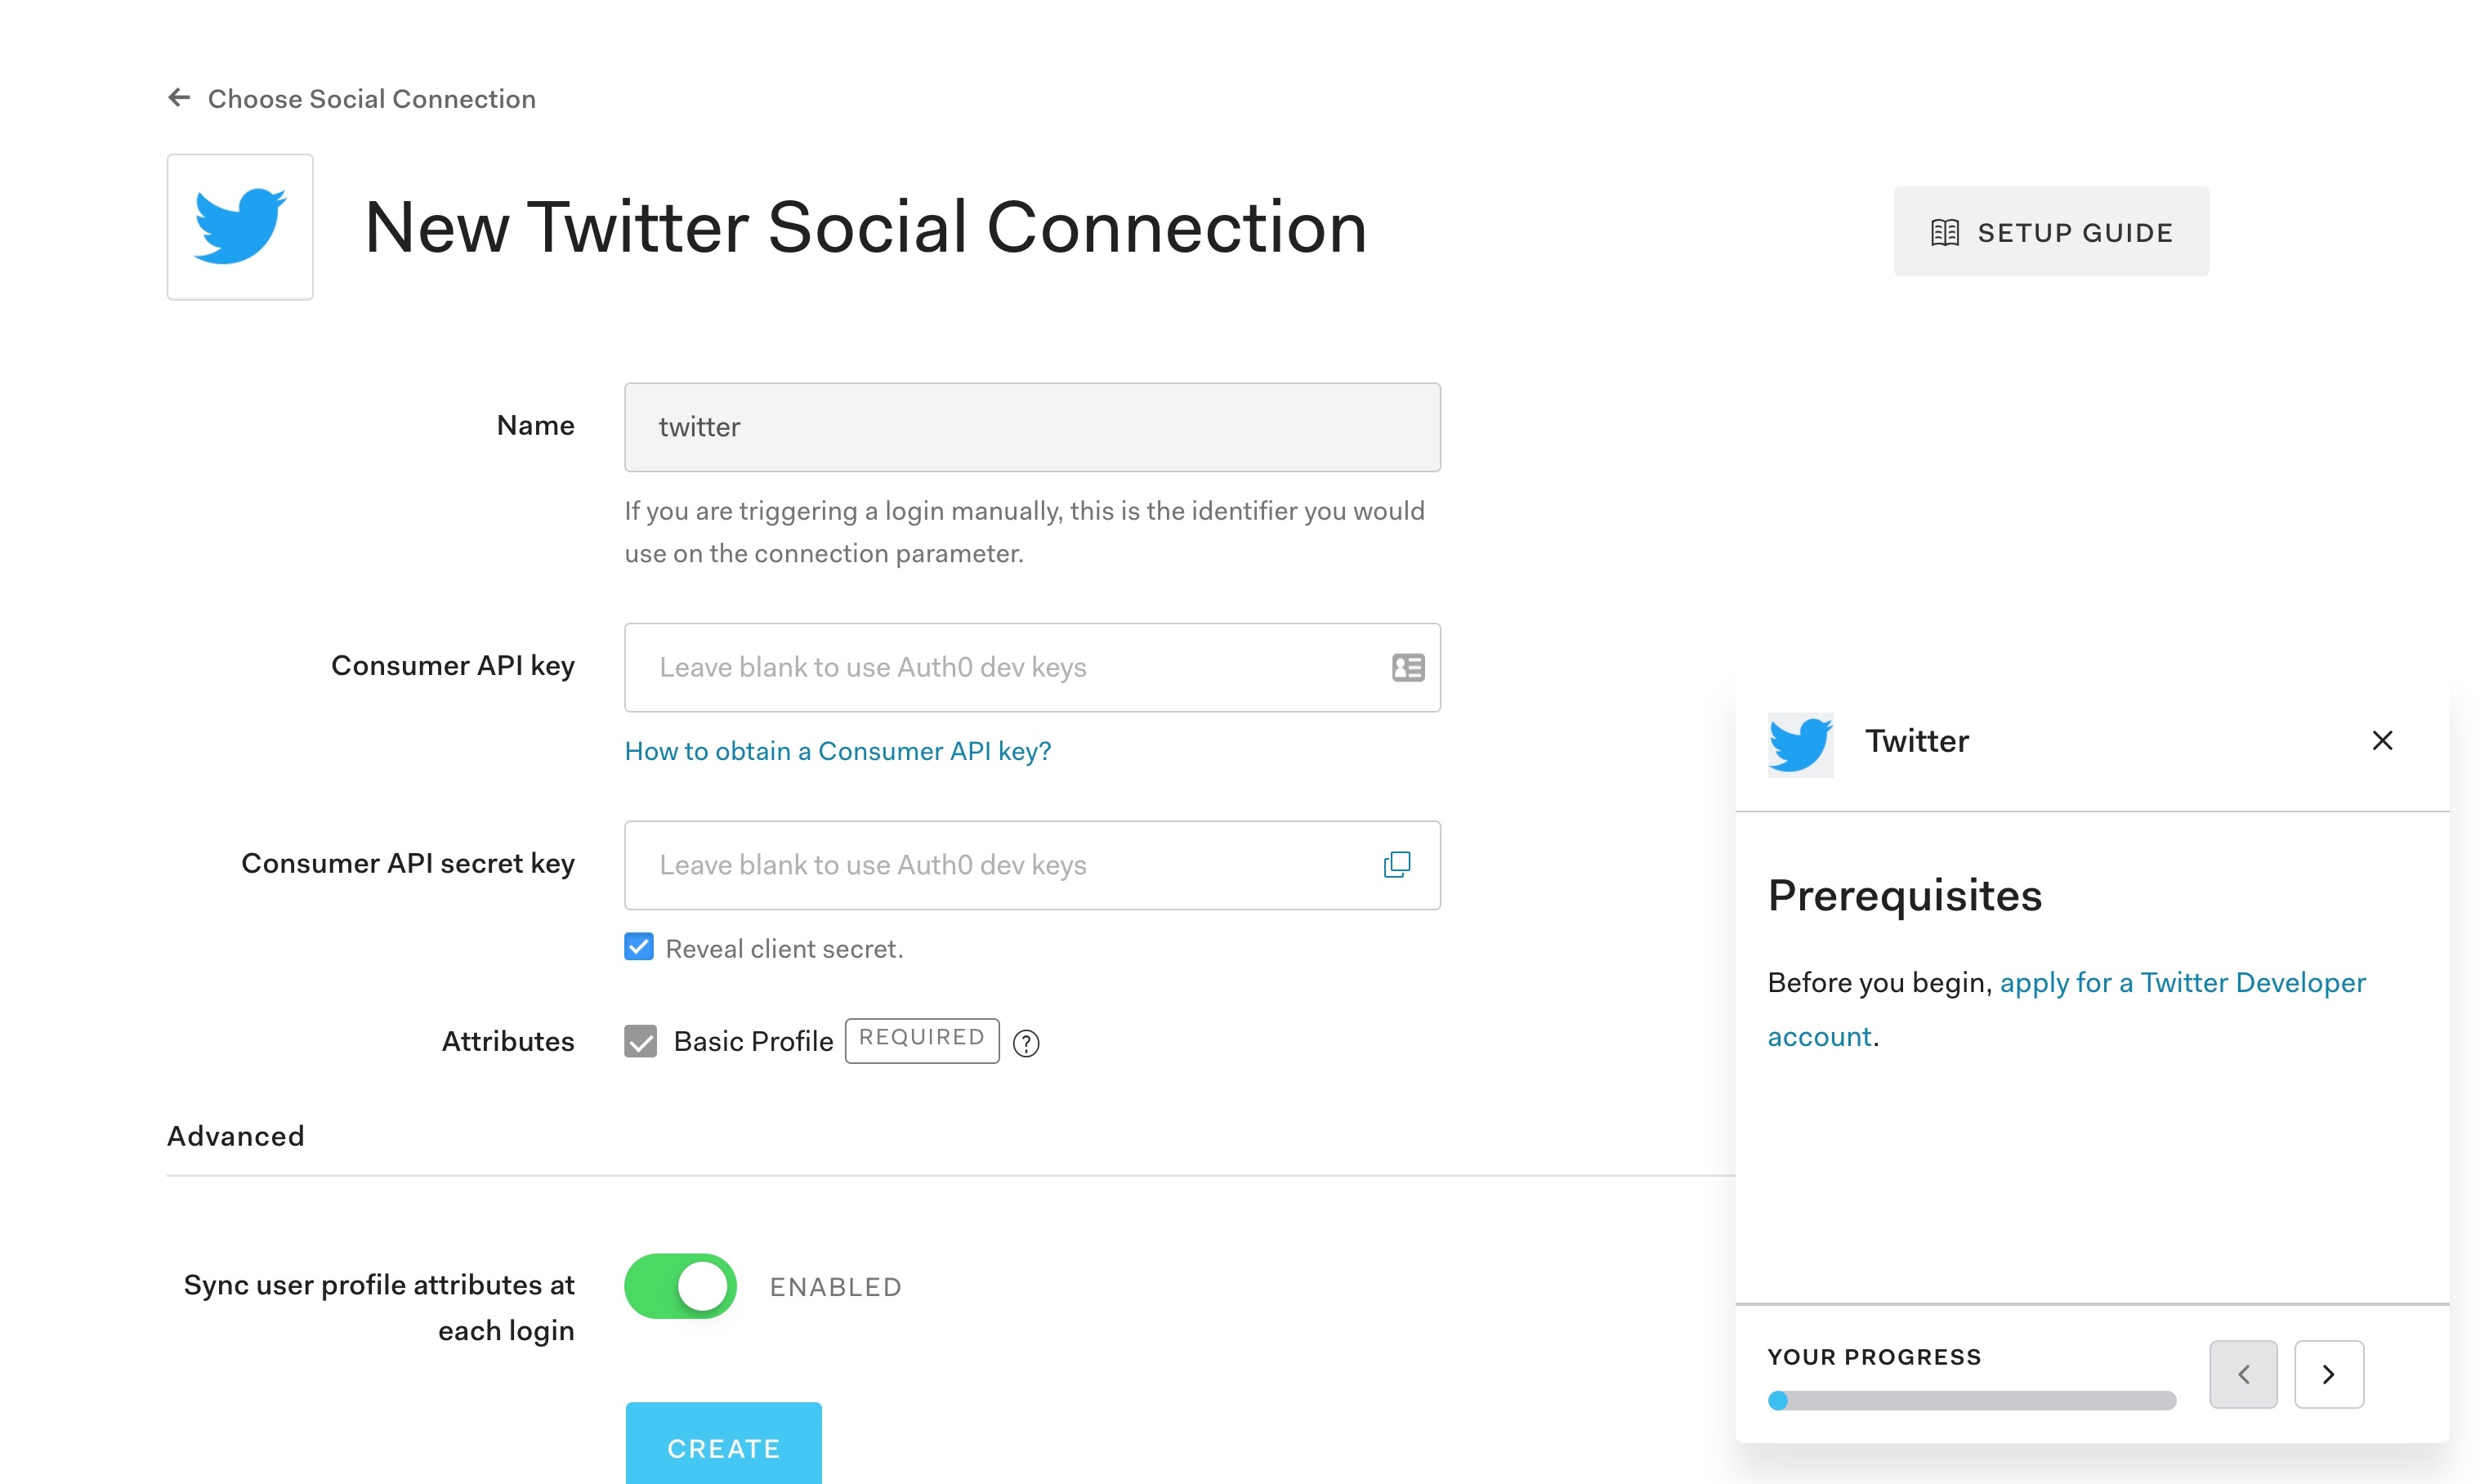
Click, "Create Social Connection" and then choose Twitter. Auth0 will display information about required permissions which you can read and then click "Continue".
You'll see there are two main credentials that we will need to get from Twitter.
- Consumer API key
- Consumer API secret key
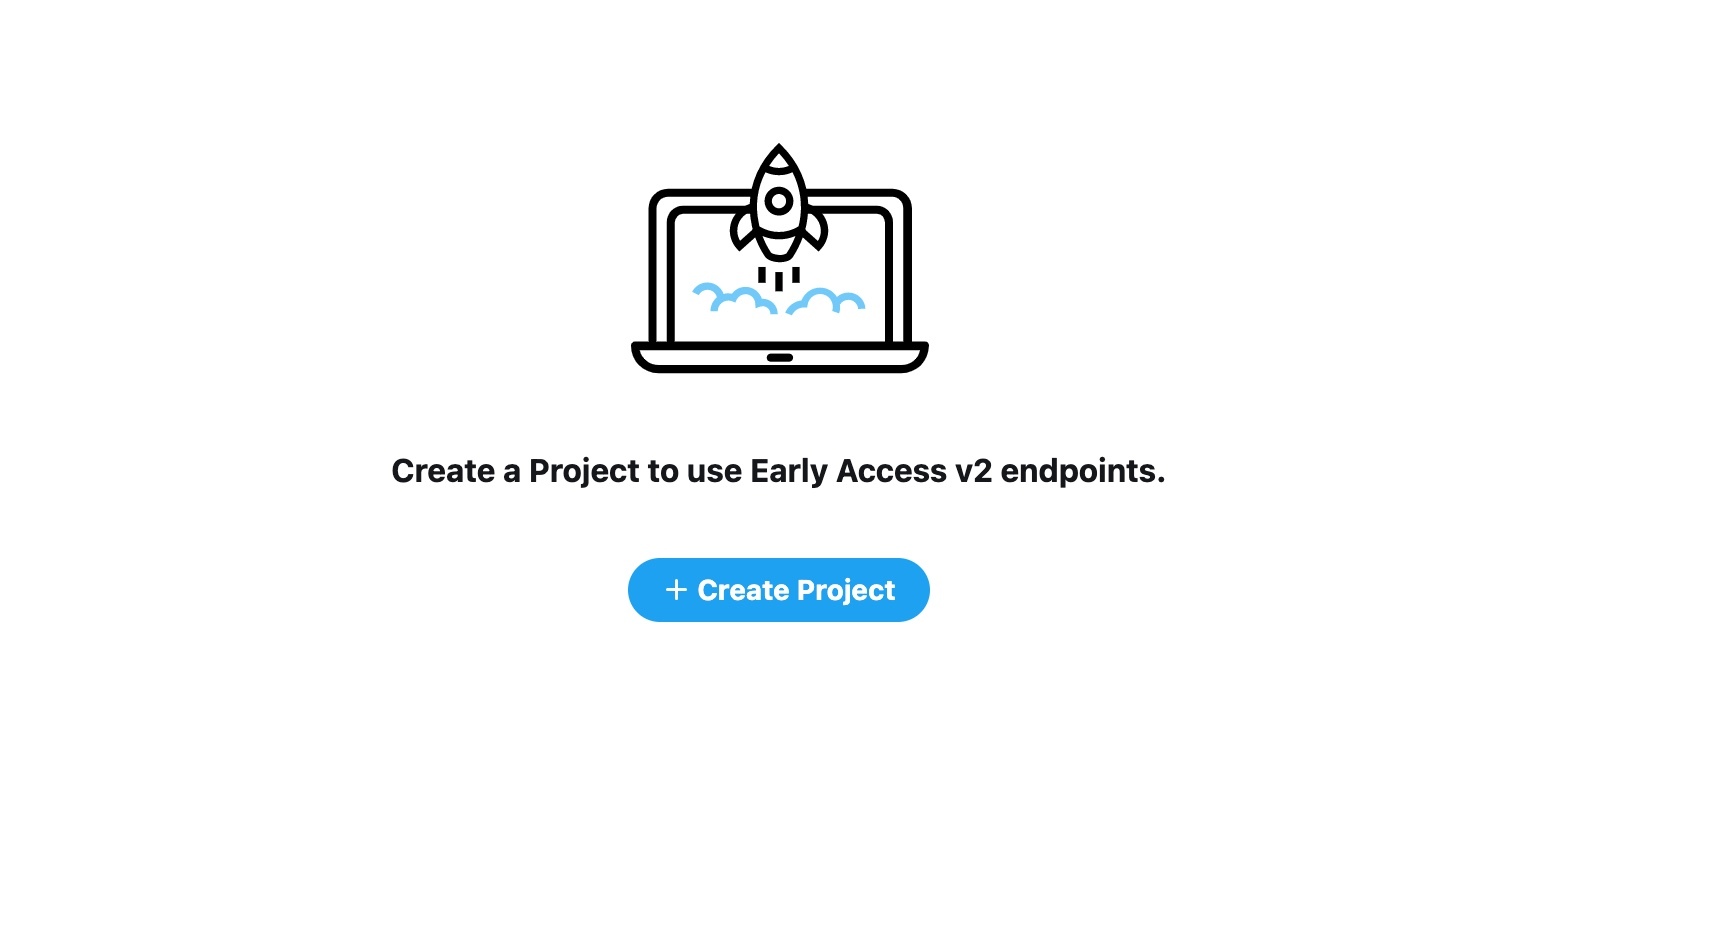
From here, we need to head over to the Twitter Developer dashboard to set up a project and app and get those credentials. Click "Create Project":
Give your project a name, and you'll be prompted to answer how you are using the Twitter Developer Platform. I suggest "Exploring the API" for now. You'll also need to add a short description for this project.
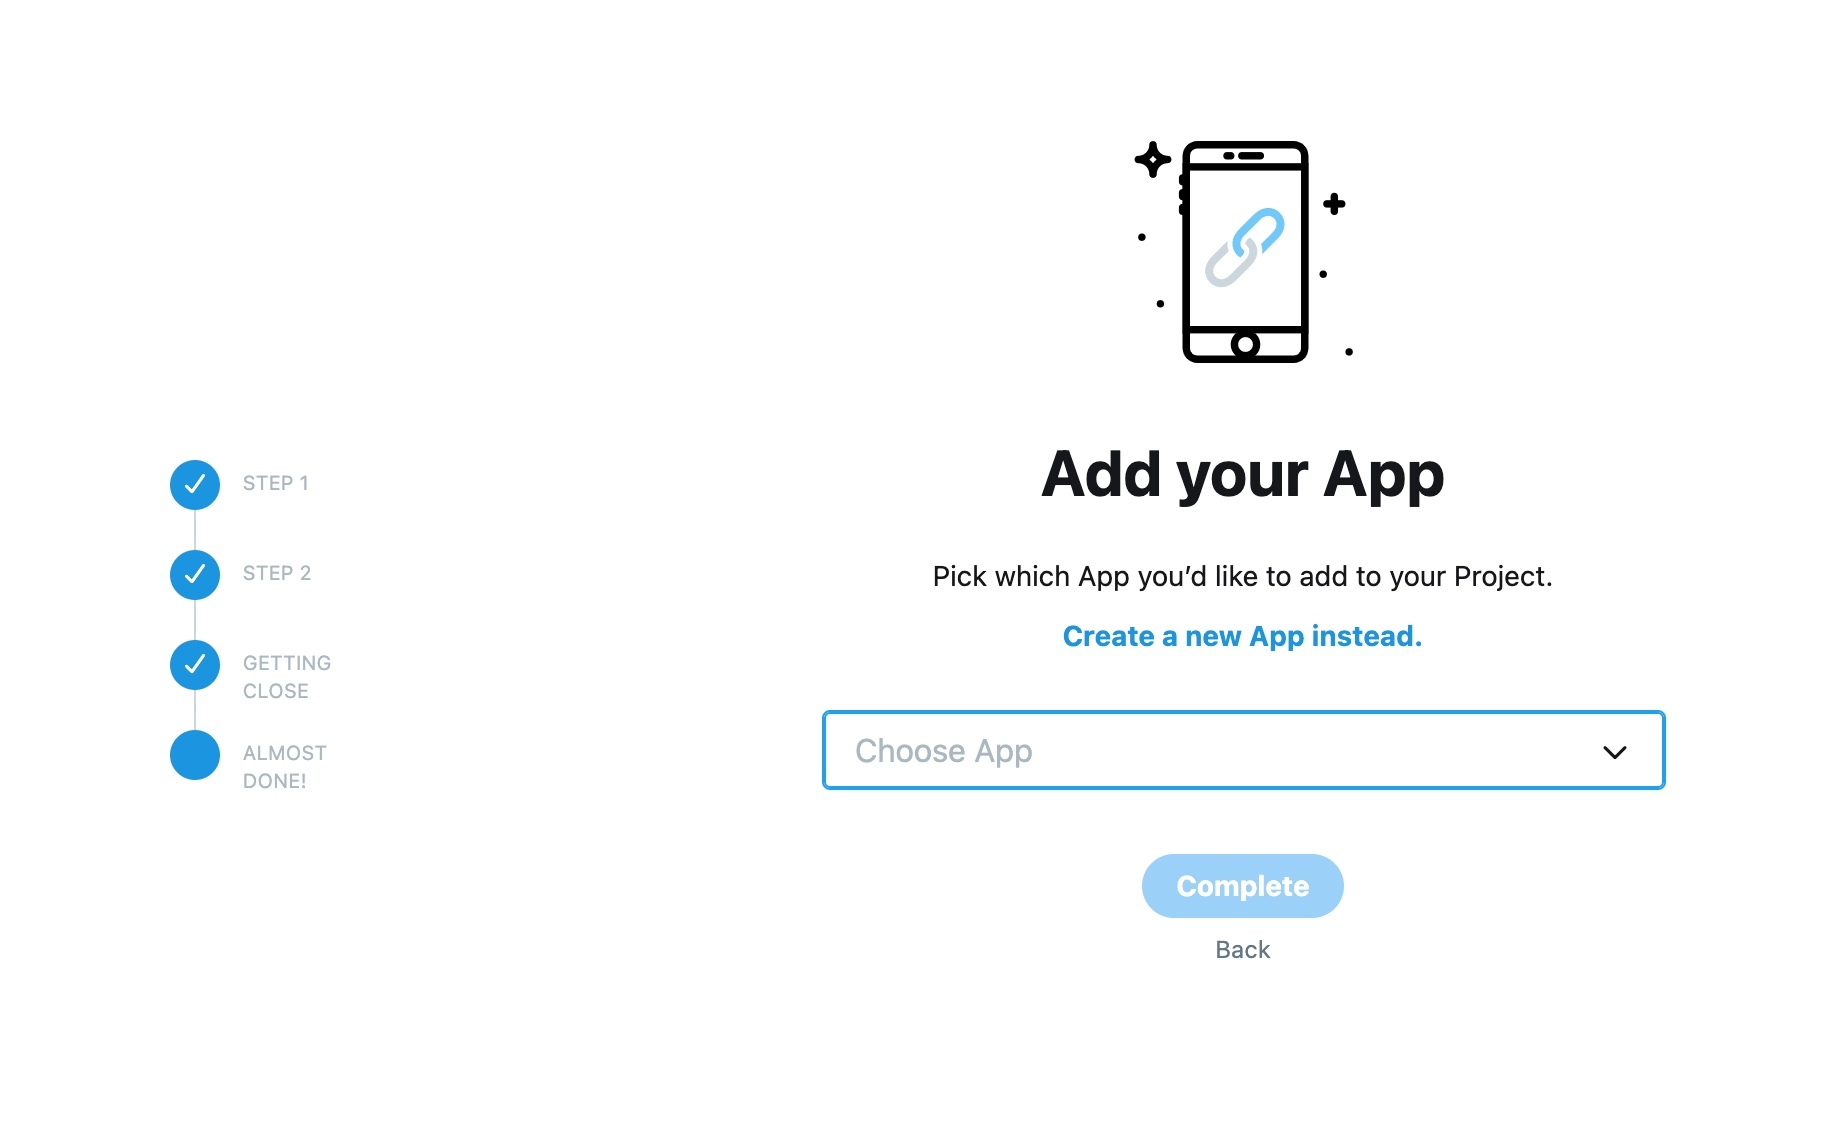
After you've finished those details, click "Create a new App instead" and give it a name.
When that finishes, you'll be shown the two credentials needed by Auth0. Copy over the API key and API secret key properties to Auth0.
Enable 3rd Party Application in Twitter
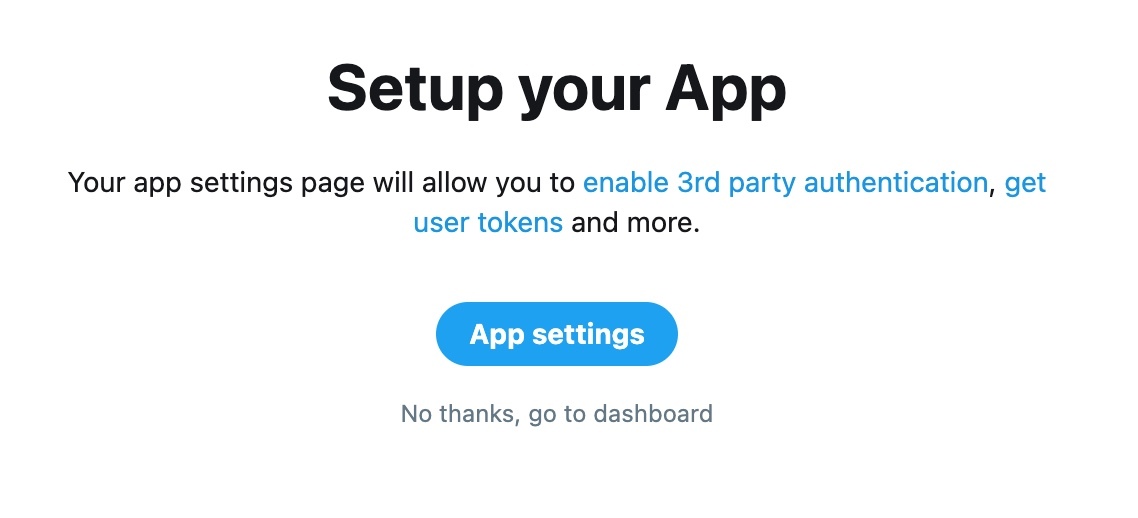
There is one more step to complete in the Twitter developer dashboard. Click "App Settings".
Scroll down to your app and click the settings (cog) icon.
Scroll down to "Authentication settings" and click "Edit".
Toggle "Enable 3-legged OAuth" to be on, and we'll need to fill in two properties,
Callback URLs and Website URL. Similar to the settings we needed to add in the Auth0 dashboard at the beginning of this tutorial, these two properties are used in the redirect process during login. Auth0 will redirect the user to Twitter. Twitter will handle authentication, then redirect the user back to Auth0. So, Twitter needs to know where to redirect the user back to.
Here's the format for those URLs. Make sure to replace YOUR_DOMAIN with the domain of your application. You can find it in the Auth0 dashboard in the settings for your application.
- Callback URLs -
https://YOUR_DOMAIN/login/callback - Website URL -
https://YOUR_DOMAIN
Test Twitter Login
After you've finished in the Twitter dashboard, we can test the connection in Auth0. From the Twitter configuration page in Auth0, click "Create". You should have already added the Consumer API key and Consumer API secret key properties.
Make sure to toggle this new social connection on for your application.
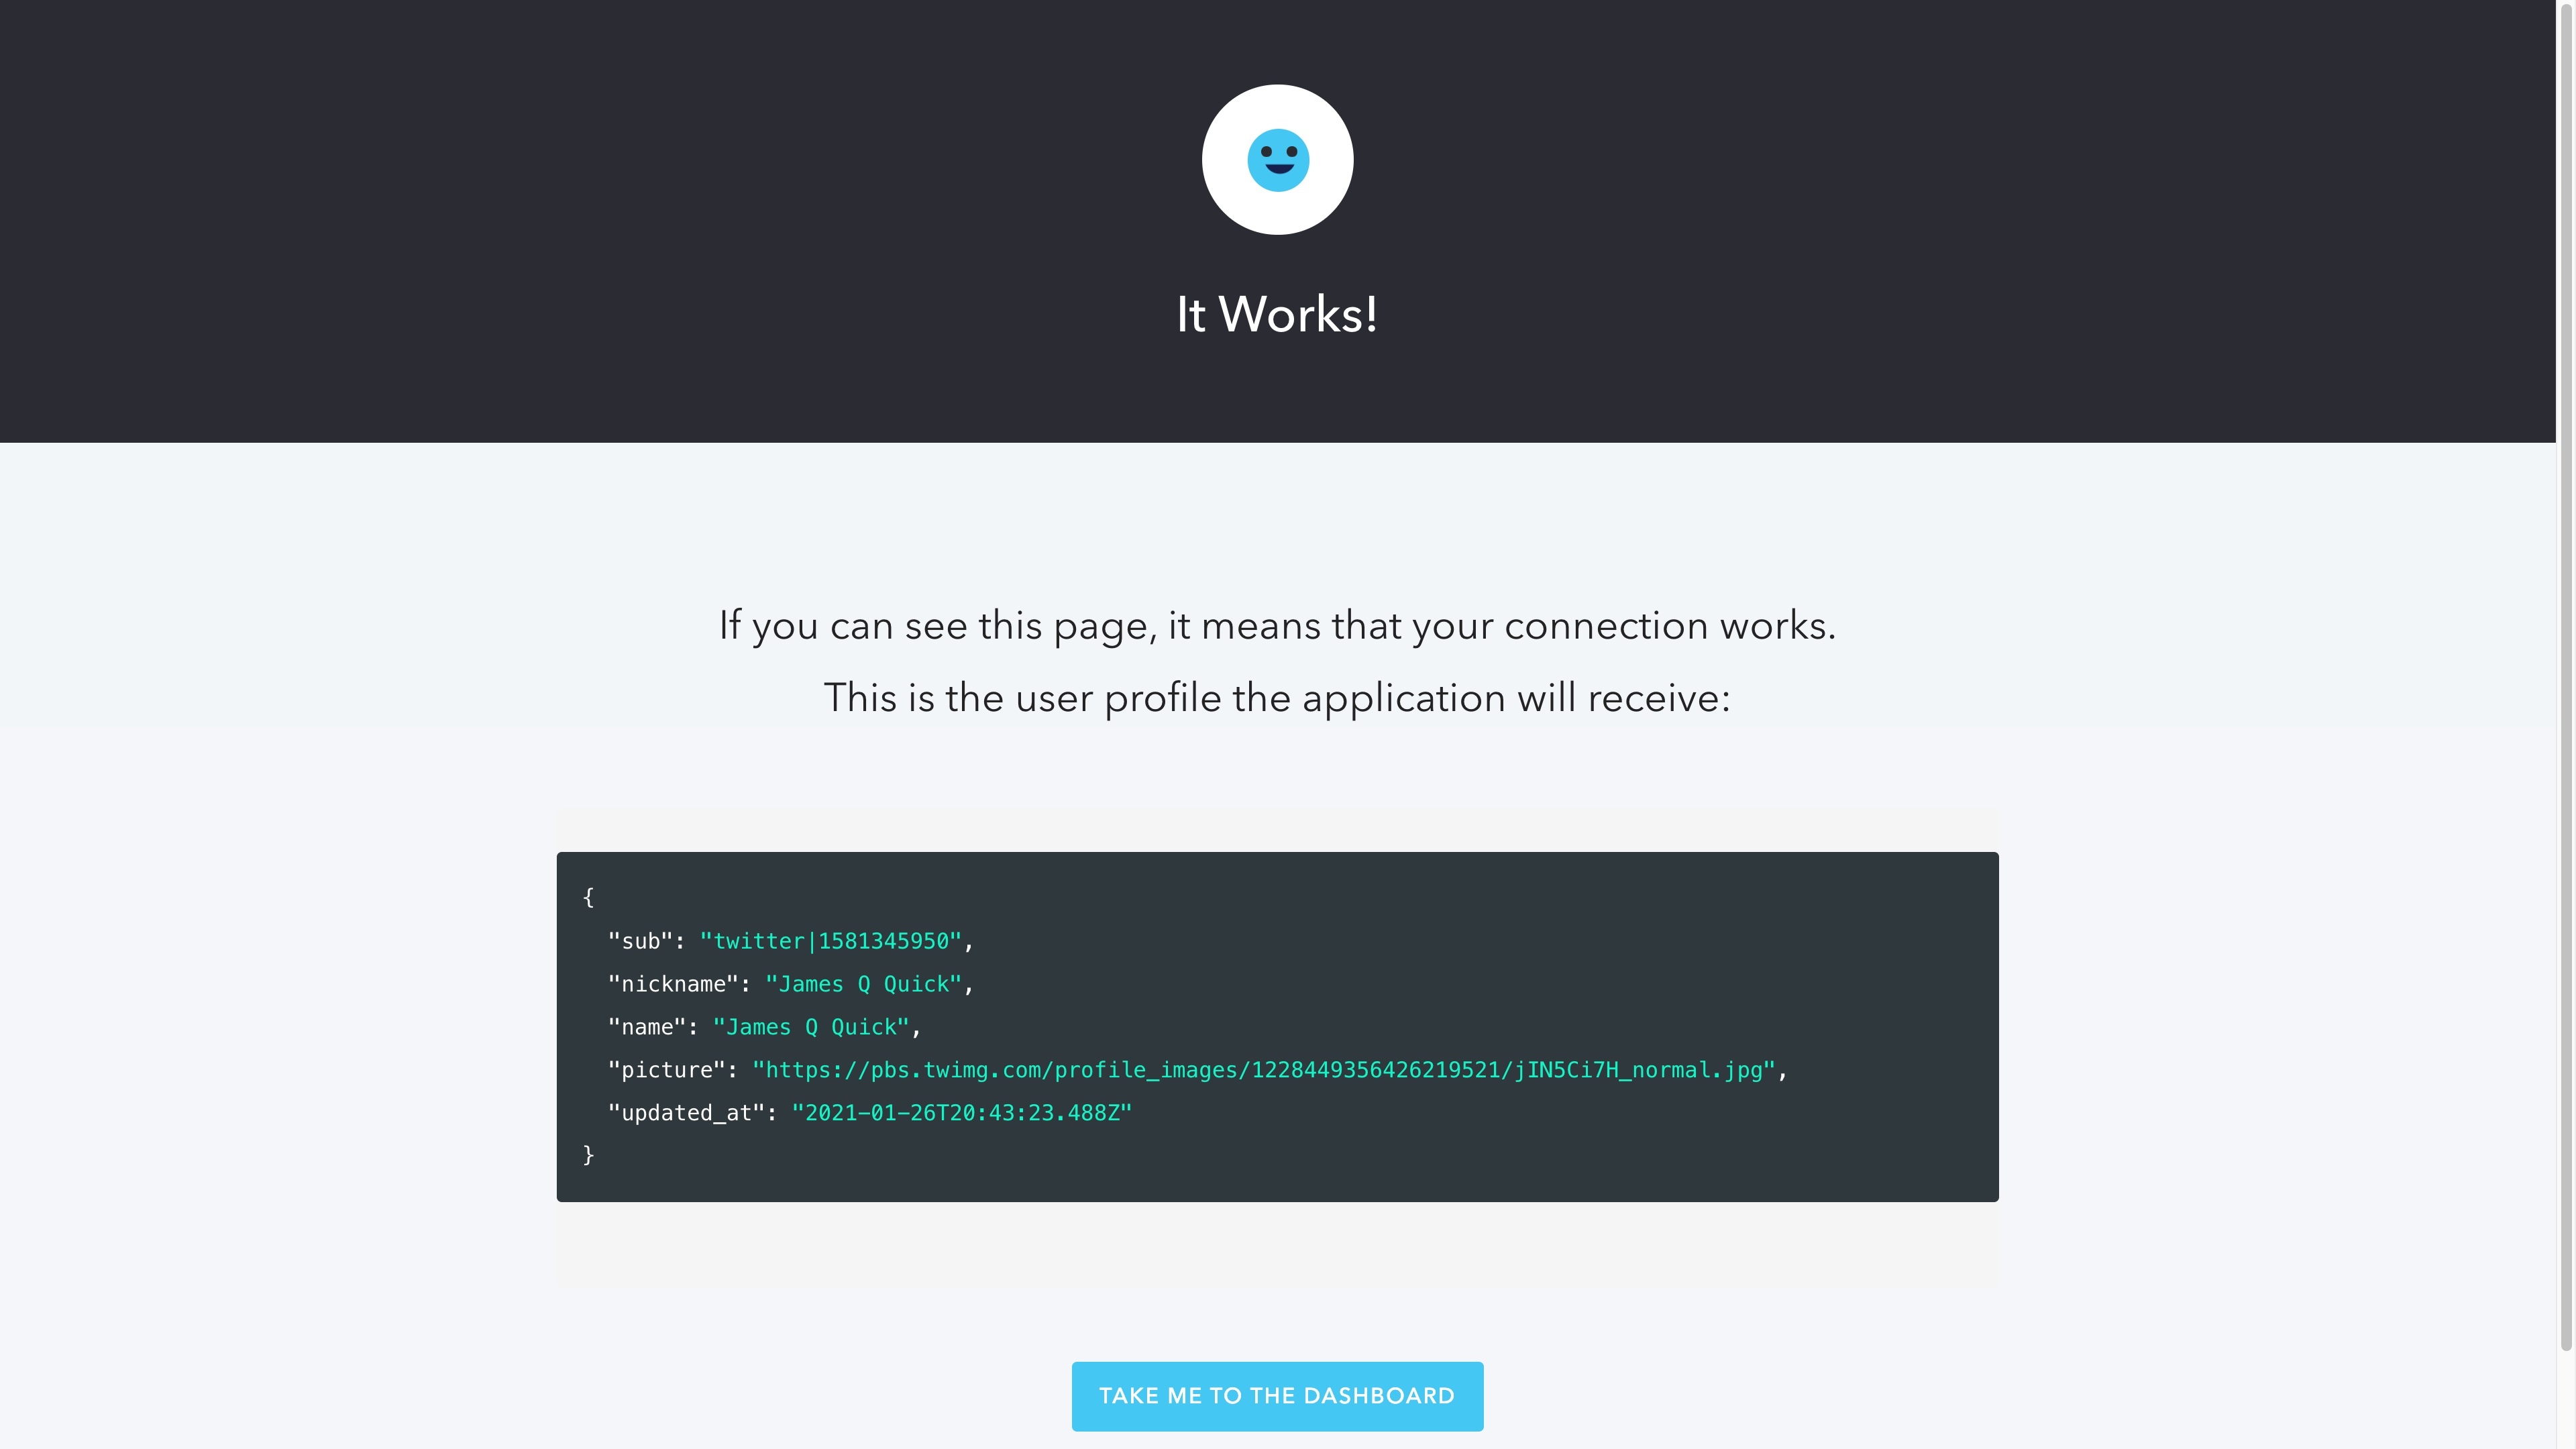
Then, click "Try Connection". This should initiate a redirect to Twitter where you can login.
Hopefully, that worked from the Auth0 dashboard. Now, you can test it from the sample React application. Make sure to log out of the application, then click "Login" again. You should now see an option to log in with Twitter. After you finish, you should see your Twitter profile in the top right corner.
Wrap Up
I hope that this tutorial helped you see how easy it is in Auth0 to add additional types of login methods for your customers. If you'd like to learn about how to setup other social connections, let us know.
About the author

James Quick
Developer Advocate (Auth0 Alumni)

