It feels like just yesterday we were reading about what's coming in Laravel 6. And here we are today, learning about what's new in Laravel 8! 🤯
Whether you're getting started with Laravel or just want to check out the latest and greatest, keep on reading.
Laravel Jetstream
Laravel Jetstream, the new Laravel application scaffolding, was released with the new version of Laravel.
Jetstream provides a fantastic starting point for your Laravel applications with the following built-in options:
- Login and registration
- Email verification
- Two-factor authentication (2FA)
- Session management
- Laravel Sanctum API support
- Designed with Tailwind CSS
- Choice of two frontend stacks: Livewire + Blade or Inertia.js + Vue.js
How to use Laravel Jetstream
You can create a new application with Jetstream using the Laravel installer. Make sure the Laravel installer is updated to v4.0, and then run the following:
laravel new your-project --jet
Choose which stack you want to use: Livewire or Inertia. Next, run your database migrations with:
php artisan migrate
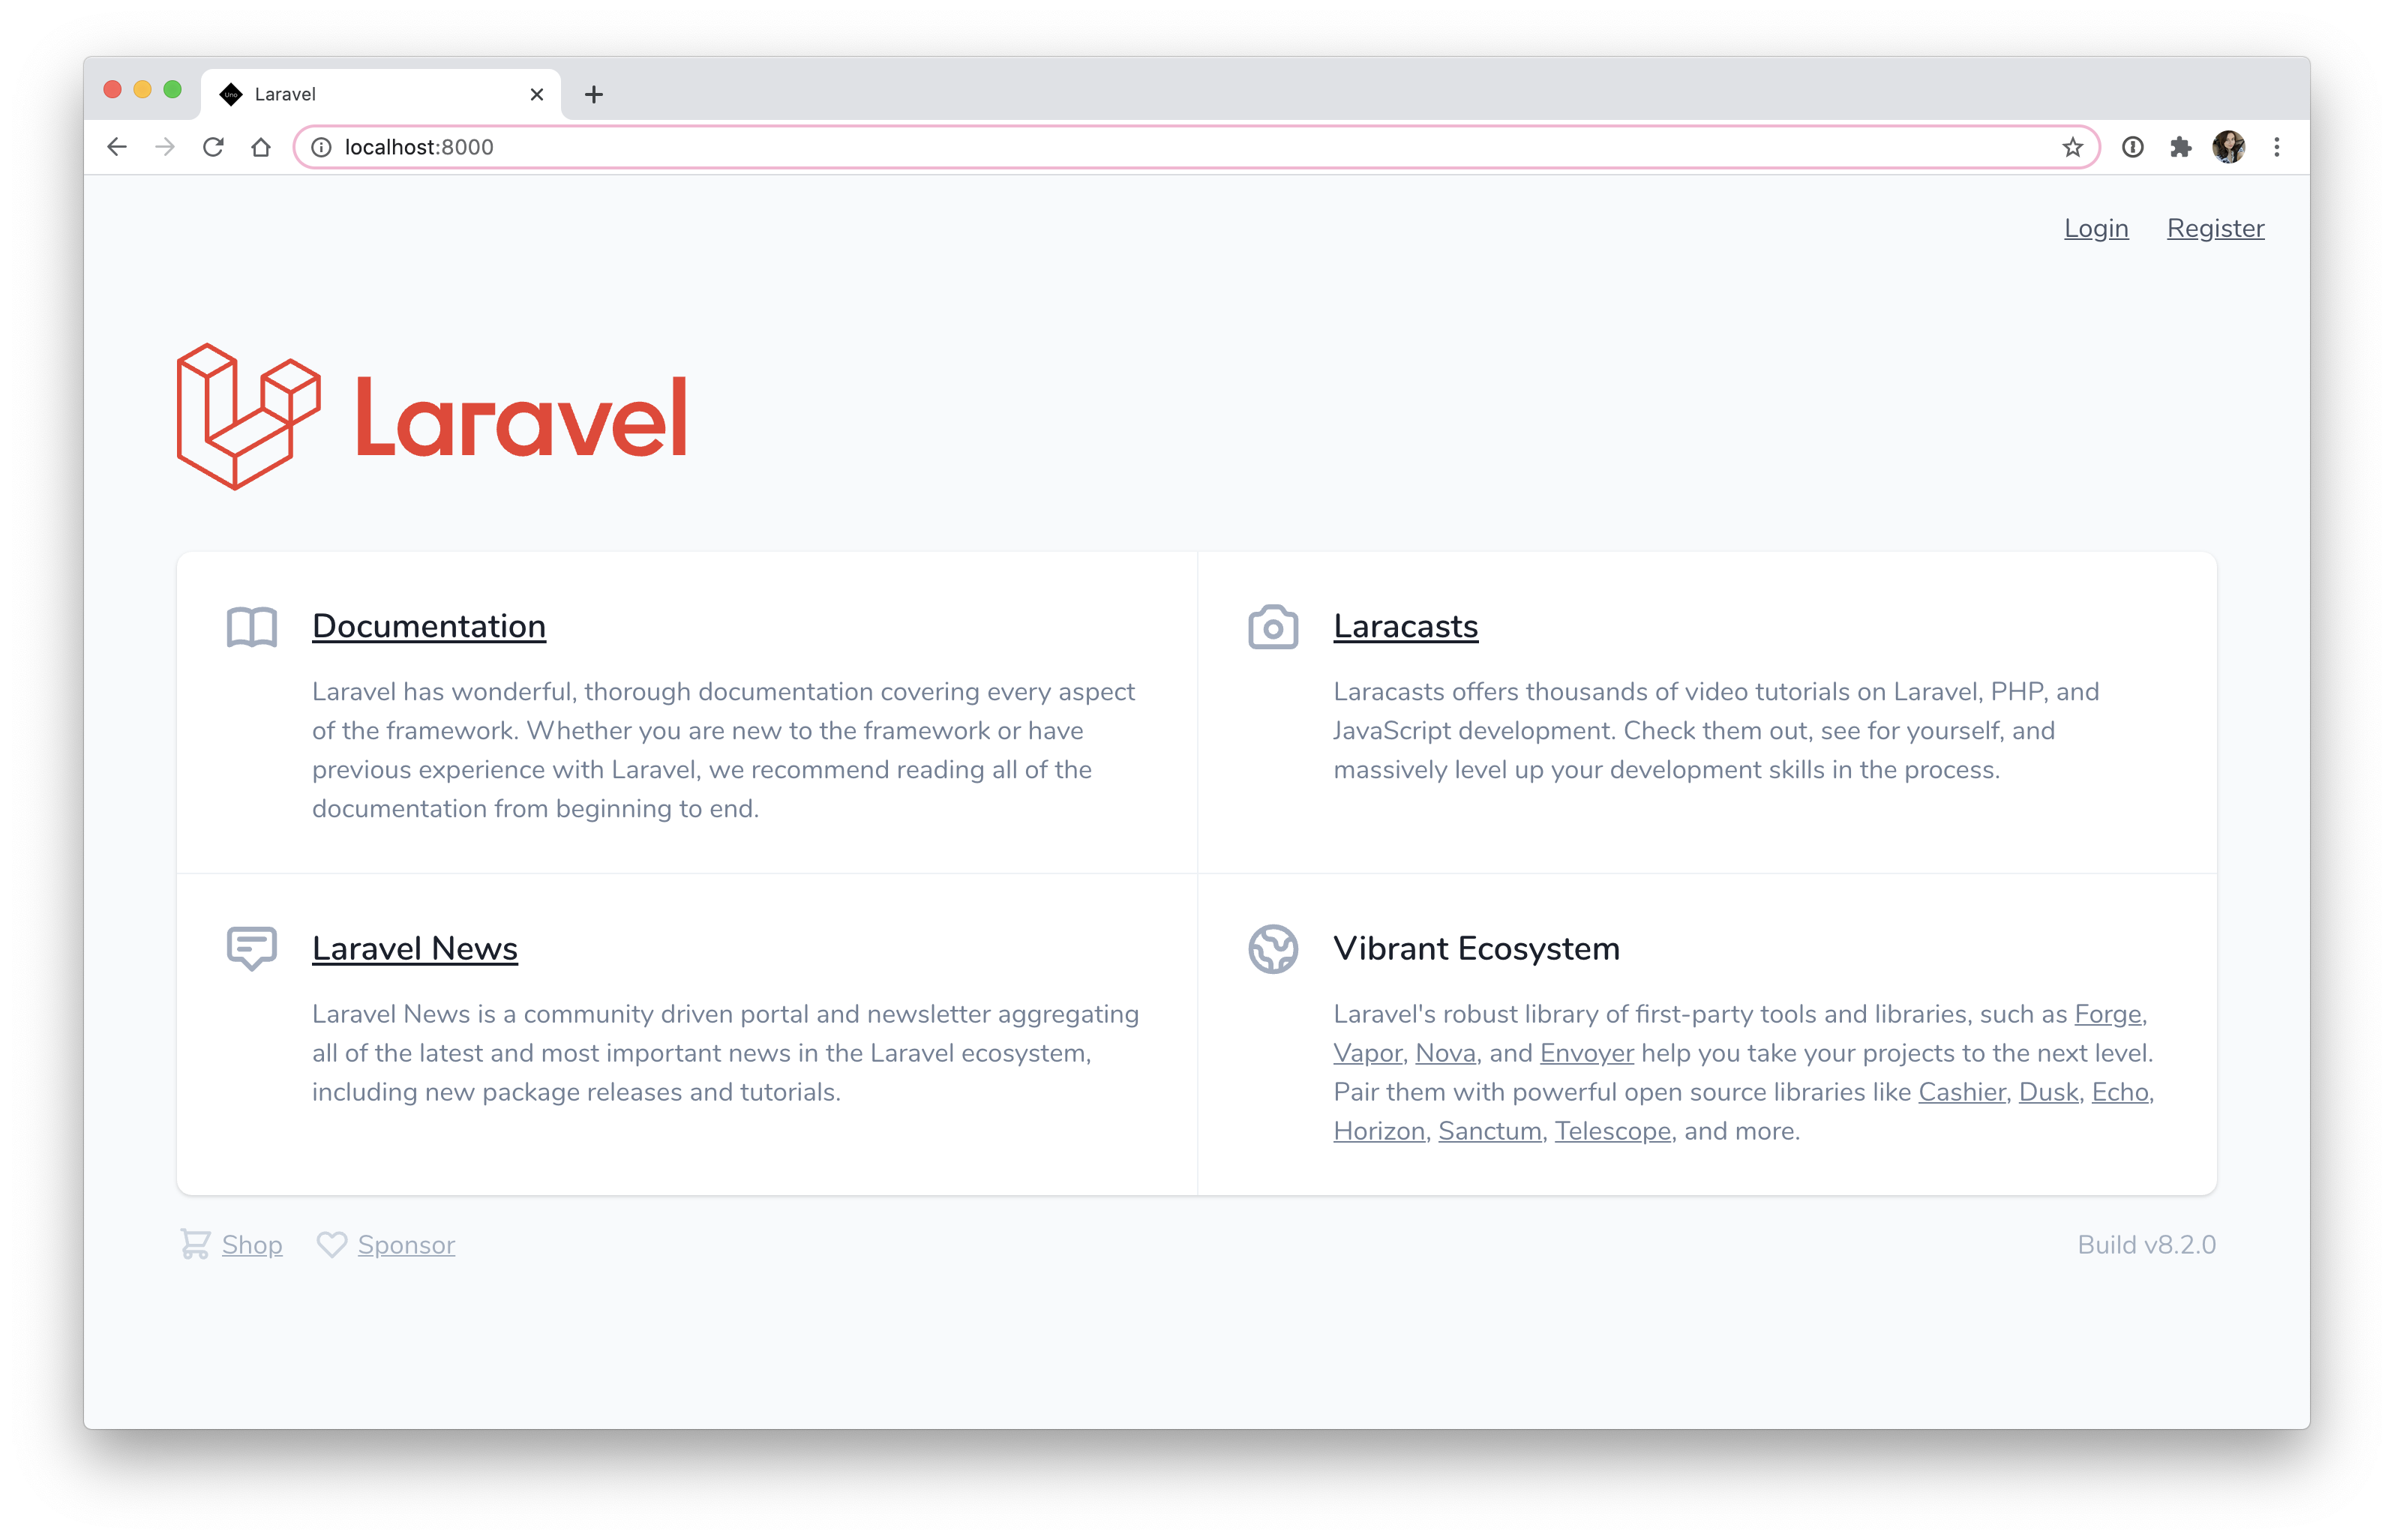
Finally, see your application at http://localhost:8000 by running:
php artisan serve
And now, you're ready to explore your new Laravel Jetstream application!
If you'd prefer to use Composer, you can find the Composer installation instructions in the Laravel Jetstream documentation.
Models Updates
Welcome back, Models directory!
The app/Models directory is back! Years ago, when Laravel 5 launched, a lot of developers noticed the Models directory was missing. Instead, new models were created directly in the app directory. Surprisingly, this caused quite the uproar in the community. You could still manually create the folder, and a lot of developers did, but it was considered an extra nuisance by some.
With Laravel 8, the beloved app/Models directory has been restored! If you prefer the old structure, you can always modify your codebase to remove the Models directory again.
Model factory classes
Taylor Otwell spent some time rewriting the Eloquent model factories as classes.
Let's compare the changes by looking at the default User factories from both Laravel 7 and 8.
User factory in Laravel 7.x:
// database/factories/UserFactory.php

use Faker\Generator as Faker;
use Illuminate\Support\Str;

$factory->define(App\User::class, function (Faker $faker) {
    return [
        'name' => $faker->name,
        'email' => $faker->unique()->safeEmail,
        'email_verified_at' => now(),
        'password' => '$2y$10$92IXUNpkjO0rOQ5byMi.Ye4oKoEa3Ro9llC/.og/at2.uheWG/igi', // password
        'remember_token' => Str::random(10),
    ];
});
User factory in Laravel 8:
// database/factories/UserFactory.php

namespace Database\Factories;

use App\Models\User;
use Illuminate\Database\Eloquent\Factories\Factory;
use Illuminate\Support\Str;

class UserFactory extends Factory
{
    /**
     * The name of the factory's corresponding model.
     *
     * @var string
     */
    protected $model = User::class;

    /**
     * Define the model's default state.
     *
     * @return array
     */
    public function definition()
    {
        return [
            'name' => $this->faker->name,
            'email' => $this->faker->unique()->safeEmail,
            'email_verified_at' => now(),
            'password' => '$2y$10$92IXUNpkjO0rOQ5byMi.Ye4oKoEa3Ro9llC/.og/at2.uheWG/igi', // password
            'remember_token' => Str::random(10),
        ];
    }
}
In Laravel 8, factories are now classes that extend the base Laravel factory class. Glancing at the default file, you'll see the model property and definition method. The definition method then returns the model attributes.
Compare this to Laravel 7 and below, where the UserFactory is defined with a Closure and returns the specified model attributes.
Both of these still have access to Faker, as expected. Let's look at the difference between using factories in Laravel 7 versus Laravel 8.
Using factories in Laravel 7:
Before this update, you would use the factory helper function in your seeder files to generate model instances.
// database/seeds/UserSeeder.php

class UserSeeder extends Seeder
{
  /**
  * Run the database seeds.
  *
  * @return void
  */
  public function run()
  {
    // Create three App\User instances
    $users = factory(App\User::class, 3)->create();
  }
}
Using factories in Laravel 8:
With Laravel 8, you can use the factory directly on the model instance. This is because the default models now include a HasFactory trait, as shown in the simplified code below.
// database/seeders/UserSeeder.php

class UserSeeder extends Seeder
{
  /**
    * Run the database seeds.
    *
    * @return void
    */
  public function run()
  {
    // Create three App\User instances
    User::factory(3)->create();
  }
}
// app/Models/User.php
<?php
namespace App\Models;

use Illuminate\Database\Eloquent\Factories\HasFactory;
// ...

class User extends Authenticatable
{
    use HasFactory;
    // ...
}
❗ If you have existing factories on a Laravel 7.x project or older and you're planning on upgrading, you can use the
laravel/legacy-factoriespackage that was created to simplify the upgrade process.
Migration Squashing
😱 Laravel 8 introduces another exciting feature: migration squashing! No longer do you have to scroll for five minutes when you open up your migrations folder! With migration squashing, you can now condense your migration files into a single SQL file with the following commands:
php artisan schema:dump
php artisan schema:dump --prune
Laravel will write the new schema file to database/schema. Then when you run your migrations, Laravel will run the SQL from the schema file first before moving on to anything created later in the migrations folder.
Note: Migration squashing is currently only supported for MySQL and Postgres.
Job Batching
In Laravel, jobs are tasks that can be performed as part of a queue to accomplish something in the background. The new job batching feature allows you to execute several jobs together.
To use the new batching feature, first define your job as you normally would. The example below has been simplified to show the new Batchable trait.
<?php
namespace App\Jobs;

use Illuminate\Bus\Batchable;
// ...

class SendEmail implements ShouldQueue
{
  use Batchable;

  /**
    * Execute the job.
    *
    * @return void
    */
  public function handle()
  {
    if ($this->batch()->cancelled()) {
      // Detected cancelled batch...

      return;
    }
    // Batched job executing...
  }
}
Once you have your job defined, you can dispatch a batch of jobs in your controller using the batch method of the Bus facade.
  use App\Jobs\SendEmail;
  use App\User;
  use Illuminate\Bus\Batch;
  use Illuminate\Support\Facades\Batch;
  use Throwable;

  $batch = Bus::batch([
    new SendEmail(User::find(1)),
    new SendEmail(User::find(2)),
    new SendEmail(User::find(3)),
  ])->then(function (Batch $batch) {
    // All jobs completed successfully...
  })->catch(function (Batch $batch, Throwable $e) {
    // First batch job failure detected...
  })->finally(function (Batch $batch) {
    // The batch has finished executing...
  })->dispatch();

  return $batch->id;
You'll also notice the addition of the then, catch, and finally methods. You can use these to define completion callbacks for your batch of jobs.
Better Rate Limiting
Rate limiting in Laravel 7
Route::middleware('auth:api', 'throttle:10,1')->group(function () {
  Route::get('/login', function () {
    //
  });
});
Rate limiting in Laravel 8
In Laravel 8, you can define your rate limiters in app/Providers/RouteServiceProvider.php using the for method of the RateLimiter facade. The for method will accept a name and a Closure, which returns the rate limiting details that you set up.
use Illuminate\Cache\RateLimiting\Limit;
use Illuminate\Support\Facades\RateLimiter;

RateLimiter::for('login', function (Request $request) {
  return Limit::perMinute(10);
});
You can now apply this pre-configured rate limiter to routes with throttle: followed by the rate limiter name.
Route::middleware(['throttle:login'])->group(function () {
  Route::post('/login', function () {
    //
  });
  Route::post('/register', function () {
    //
  });
});
Note: The
throttlemiddleware API from previous Laravel versions will still remain functional.
For more about rate limiting options, see the Laravel routing docs.
Maintenance Mode
Laravel 8 also brings some improvements to maintenance mode. Maintenance mode is a really helpful feature that allows you to "disable" your application while you're making updates to it.
In previous versions, you would have to specify the IPs that would still be allowed to access the application with the allow option:
php artisan down --allow=127.0.0.1 --allow=192.168.0.0/16
With Laravel 8, you no longer need to allow certain IPs explicitly. Instead, you can use the secret option to create a maintenance mode bypass token:
php artisan down --secret="1630542a-246b-4b66-afa1-dd72a4c43515"
You can then access your application while in maintenance mode by appending the token to your application's URL, e.g., https://example.com/1630542a-246b-4b66-afa1-dd72a4c43515. The bypass cookie will be saved to your browser, and you can continue navigating your application from its normal URL, e.g., https://example.com.
Routing Namespacing
In Laravel 8, the namespace property in app/Providers/RouteServiceProvider.php is now null by default, as you can see below.
// app/Providers/RouteServiceProvider.php
<?php

namespace App\Providers;

// ...
class RouteServiceProvider extends ServiceProvider
{
    // ...
    /**
     * If specified, this namespace is automatically applied to your controller routes.
     *
     * In addition, it is set as the URL generator's root namespace.
     *
     * @var string
     */
    protected $namespace = null; // <--- LARAVEL 8 CHANGE
    // ...
}
In previous versions, the $namespace property was set to App\Http\Controllers.
This change means that controller route definitions will no longer include automatic namespace prefixing. The example below demonstrates how routing namespacing differs between Laravel 7 and Laravel 8.
Laravel 7:
// routes/web.php

Route::get('/posts', 'PostController@index');
Laravel 8:
// routes/web.php
use App\Http\Controllers\PostController;

Route::get('/posts', [PostController::class, 'index']);
If you prefer the old way, you can change the $namespace value back to App\Http\Controllers in app/Providers/RouteServiceProvider.php.
For more about routing namespacing updates, see the Laravel routing documentation.
Wrap Up
As always, Taylor Otwell and the rest of the Laravel team have been hard at work to deliver us some awesome and welcome updates to Laravel! Now that you have some background about what's new and what changed with Laravel 8, feel free to go off and explore on your own! Leave a comment below letting me know your favorite change in Laravel 8 and what you're planning on building. Cheers!
About Auth0
Auth0 by Okta takes a modern approach to customer identity and enables organizations to provide secure access to any application, for any user. Auth0 is a highly customizable platform that is as simple as development teams want, and as flexible as they need. Safeguarding billions of login transactions each month, Auth0 delivers convenience, privacy, and security so customers can focus on innovation. For more information, visit https://auth0.com.
About the author

Holly Guevara
Former Developer Content Manager (Auth0 Alumni)

