How does the extension work?
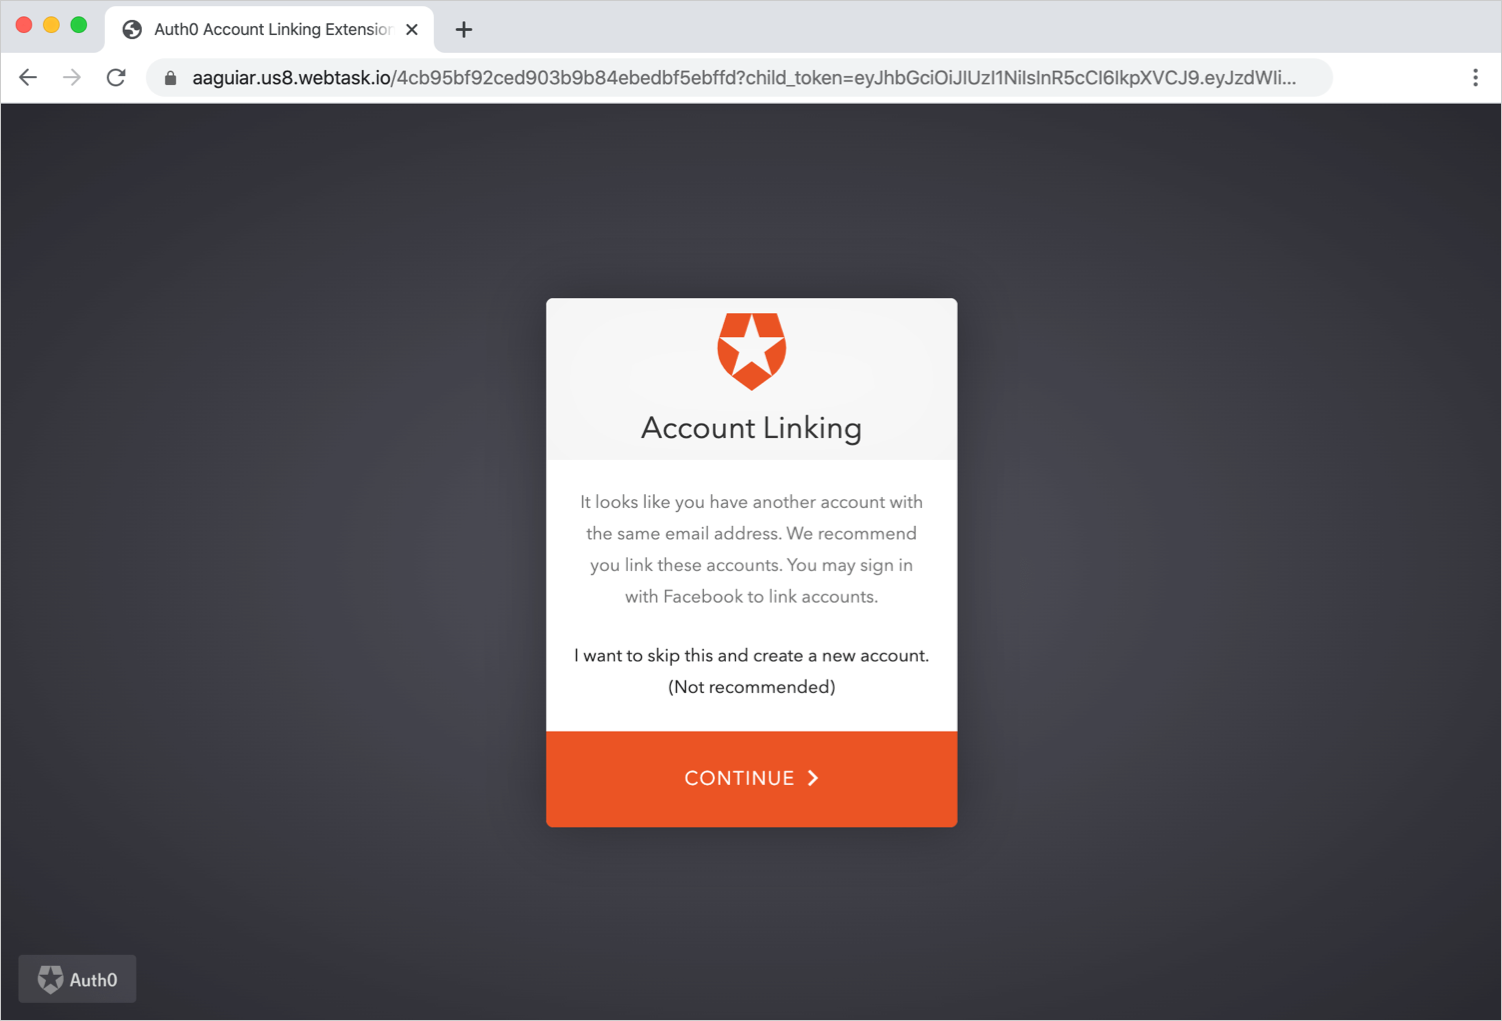
The extension triggers after authentication when the email address of the user who authenticated matches the email address of an existing user account attached to a different . For example, if a user logs in with their Facebook account using the emailjohn@acme.com and then later authenticates with Google using the same email address, they will be prompted with a page similar to the following:
Limitations
Note that the extension does not support connections, flows started using device authorization, or the and WS-federation protocols. For connections not supported by the Account Link extension, see Account Linking – Server-Side Implementation and User Initiated Account Linking – Client-Side Implementation as alternative options.Install and configure extension
Go to Auth0 Dashboard > Extensions, and select Auth0 Account Link. The Install Extension window opens. The extension will create a new application namedauth0-account-link to use internally and a new rule to redirect users to the extension if they login with a new account that has an email matching an existing account.
If you rotate your application client secret associated with the Account Link Extension, you need to uninstall the extension, reinstall, and reconfigure with the new application secret.
auth_config.json file in your text editor and update the domain and client_id with your details.
Add http://localhost:3000 in the “Allowed Callback URLs”, “Allowed Logout URLs”, “Allowed Web Origins” field.
Log in to http://localhost:3000 and select a connection. Enter an email address that is already associated with a verified user with a different type of connection.
To link the account, select Continue.
Once logged in, check the user details on the , we can see the user accounts are linked.
Set up extension
Change application name
We recommend changing the name of the default application used for the extension to something descriptive and easy to read for your customers, likeAccount Linking, since it will appear on the Login Page when they authenticate their primary account.
Update the login page
By default, Auth0’s allows a user to both log in and sign up, as one may expect. However, when the account linking asks you to authenticate your primary account in order to link it with the new account, providing a signup option can be confusing for users. To learn more about what you can do with Universal Login, see Auth0 Universal Login. To prevent this, we send a query parameter to let the login page know that it should hide the Sign Up option. For this query parameter to take effect, however, you must customize the login page.- Go to Auth0 Dashboard > Branding > Universal Login, and select the Login view.
- Enable the Customize Login Page switch to enable the custom editor below. In the editor, we’re going to add a new line to the Lock config.
-
Toward the bottom of the object configuring the Lock widget, add the following line (after the
closablesetting):allowSignUp: !config.extraParams.prevent_sign_up,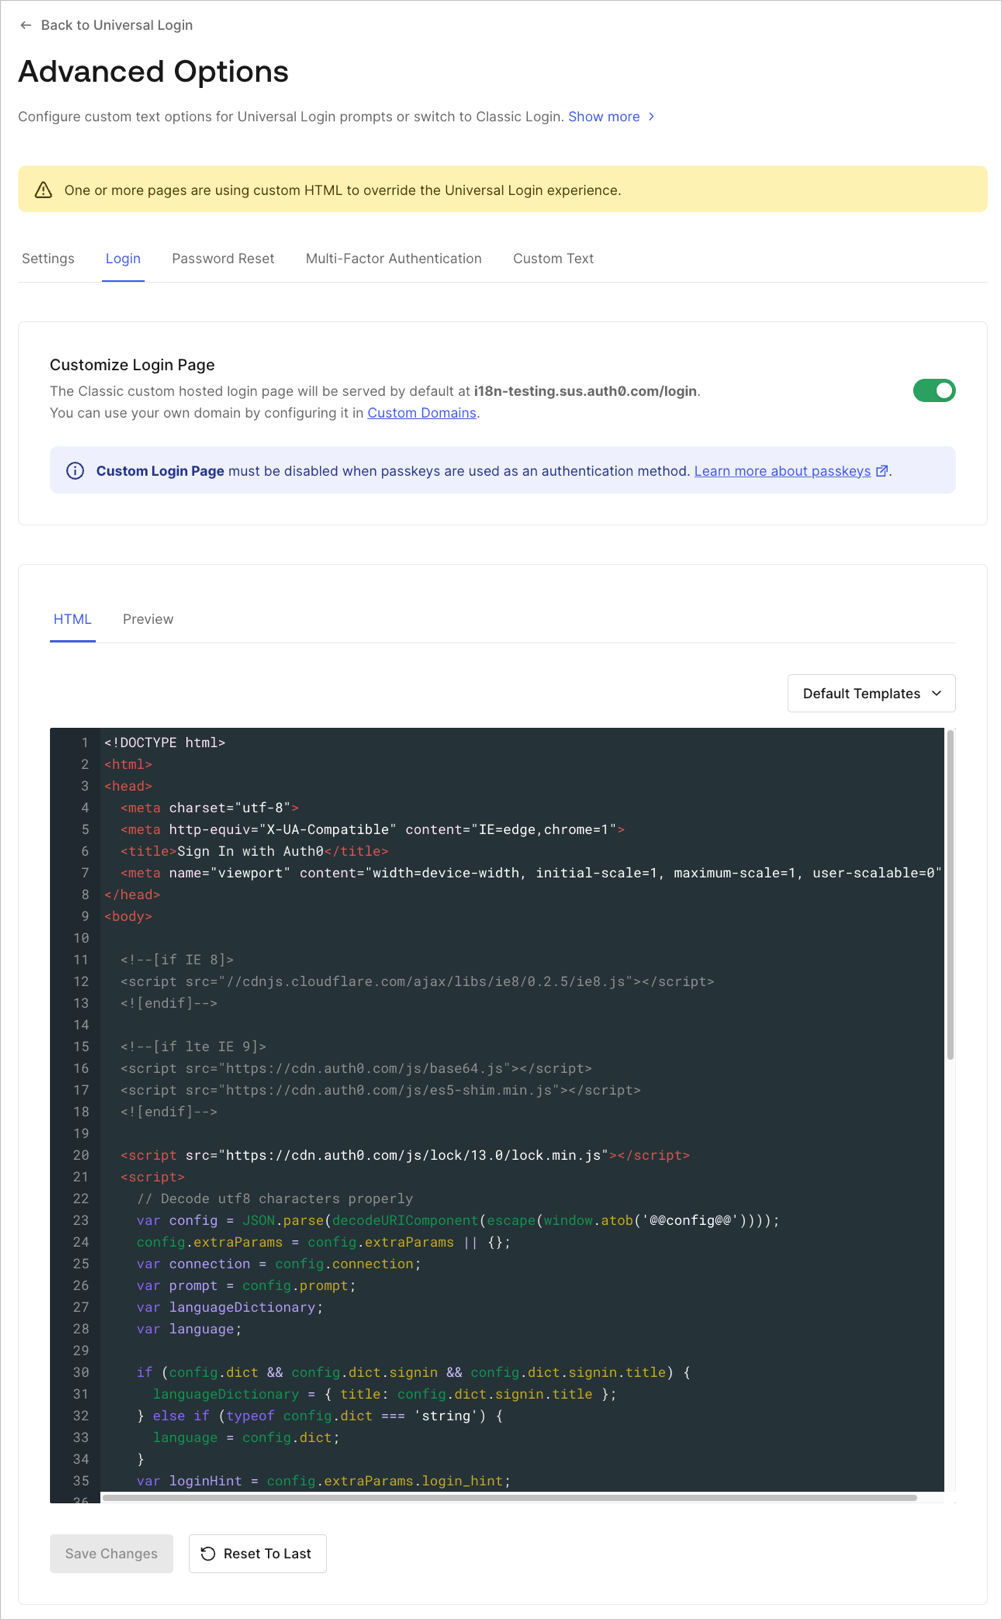
-
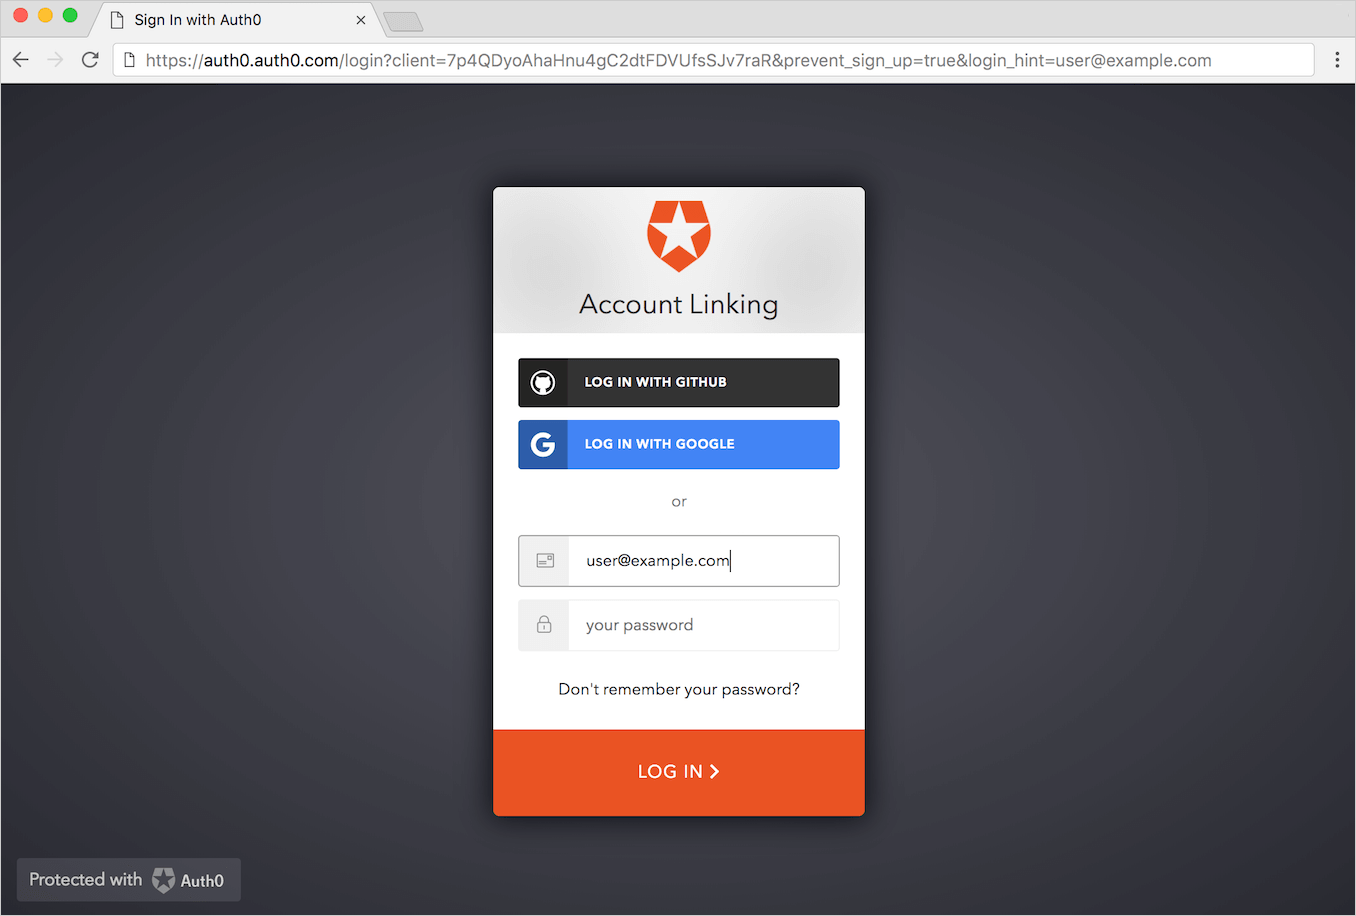
Save your changes and attempt to link an account. You’ll notice that the Sign Up option is no longer present and your users are safe from an extra level of confusion.
Hiding the Signup link is not supported in the Universal Login Experience.
Customize theme
At installation (or any time after by clicking the Settings icon for the Account Link Extension), you can add a URL to a custom stylesheet if you would like to customize the extension page to look a bit different from the default theme.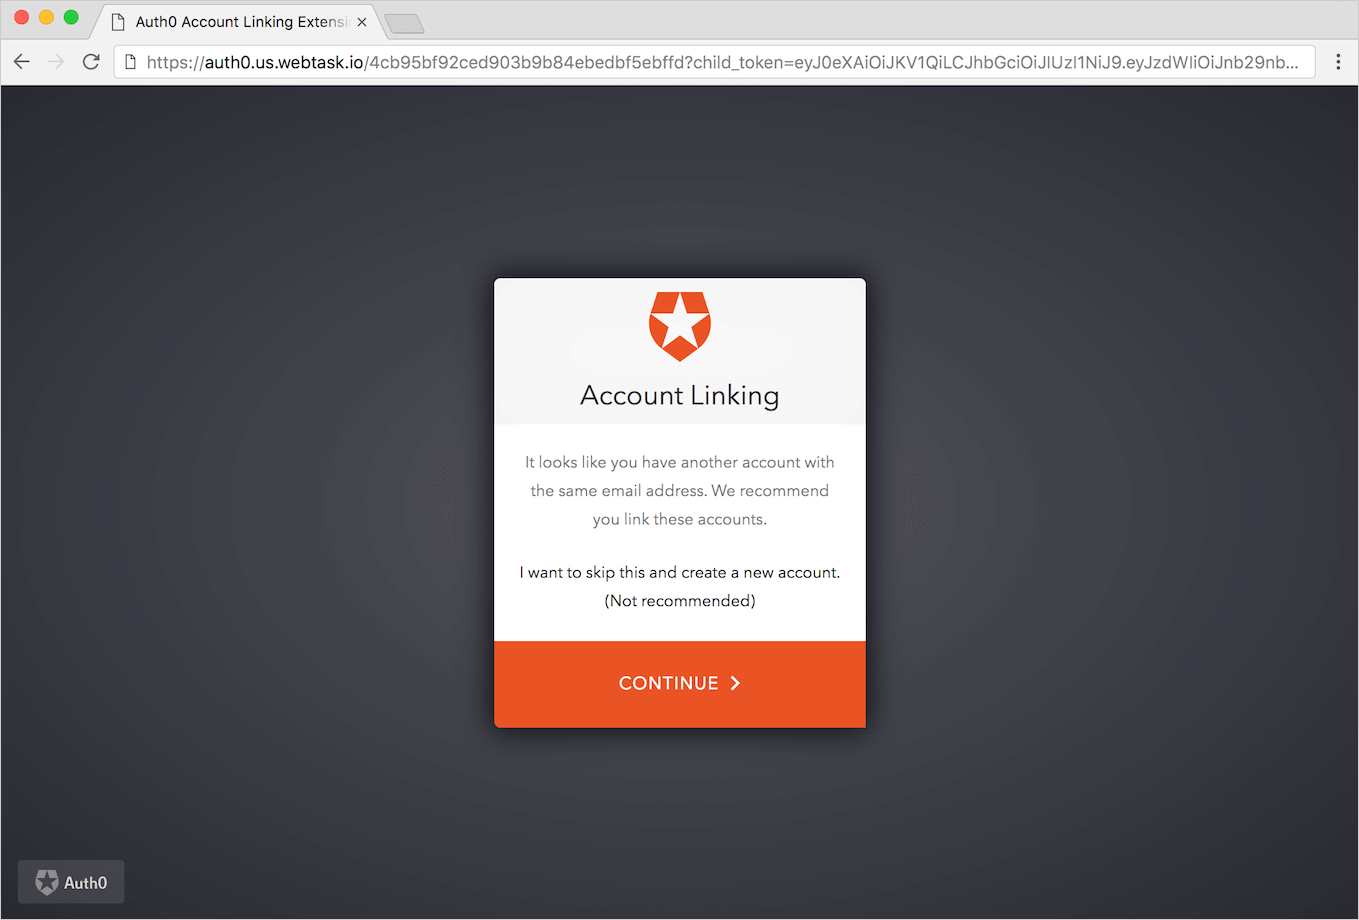
Administration Panel
You can customize your account linking login page and widget using the extension administration panel.- Go to Dashboard > Extensions > Installed Extensions > Auth0 Account Link.
- You will be redirected to the admin site. There you can edit the HTML code of your hosted page and change some settings of the account linking widget such as title, logo, color, and language.
Custom domains
If you’re using a , you’ll need to set the configs rulecustomDomain with the custom domain (for example, auth.custom.com).
- Go to Auth0 Dashboard > Auth Pipeline > Rules.
- By default, line 27 of the rule is:
issuer: auth0.domainYou will need to change this to:issuer: "myCustomDomain.com" Makesure to omit the protocol portion of the URL.