Guardian.swift allows you to integrate Auth0’s Guardian multi-factor service in your own iOS app, transforming it into the second factor itself. Your users will get all the benefits of our frictionless from your app. To learn more, read Getting Started with Apple Push Notification Service.Documentation Index
Fetch the complete documentation index at: https://auth0.com/llms.txt
Use this file to discover all available pages before exploring further.
Requirements
- iOS 10+ and Swift 4.1 is required in order to use Guardian.
- To use this SDK you have to configure your tenant’s Guardian service with your own push notification credentials, otherwise, you would not receive any push notifications. To learn more, read Configure Push Notifications for MFA.
Install Guardian iOS SDK
CocoaPods
Guardian.swift is available through CocoaPods. To install it, add the following line to your Podfile:Carthage
Add this line to your Cartfile:Enable Guardian push notifications
- Go to Dashboard > Security > Multi-factor Auth.
- Toggle Push Notification on to enable it.
- Configure push notifications.
Usage
Guardian is the core of the SDK. To use the SDK, import the library:
Enroll
An enrollment is a link between the second factor and an Auth0 account. When an account is enrolled you’ll need it to provide the second factor required to verify the identity. If your app is not yet using push notifications or you’re not familiar with it, see Apple Push Notification Service Overview for details. For an enrollment you need the following information, besides your tenant domain:| Variable | Description |
|---|---|
| Enrollment URI | Value encoded in the QR code scanned from Guardian Web Widget or your enrollment ticket sent to you in email or SMS. |
| APNS Token | Apple APNS token for the device. It must be a string containing the 64 bytes (in hexidecimal format). |
| Key Pair | An RSA (private/public) key pair used to assert your identity with Auth0 Guardian. |
Signing and verification keys
Guardian.swift provides a convenience class to generate a signing key:Data representation and store securely in, for example, an encrypted SQLiteDB:
SigningKey, for example:
Allow login requests
Once you have the enrollment in place, you will receive a push notification every time the user has to validate their identity with MFA. Guardian provides a method to parse the data received from APNs and return aNotification instance ready to be used.
allow method. You’ll also need some information from the enrolled device that you obtained previously. In case you have more than one enrollment, you’ll have to find the one that has the same id as the notification (the enrollmentId property).
When you have the information, device parameter is anything that implements the protocol AuthenticatedDevice:
UIDevice.current.identifierForVendor. Then just call:
Reject login requests
To deny an authentication request callreject instead. You can also send an optional reject reason. The reject reason will appear in the Guardian logs.
Unenroll
If you want to delete an enrollment, for example, if you want to disable MFA, you can make the following request:Set up mobile-only OTP enrollment
You can enable one-time passwords (OTP) as an MFA factor using the or . This option does not require a QR code and allows users to enroll manually. To invite a user to enroll, navigate to the Auth0 Dashboard > User Management > Users and select a user. Then, access their Details tab and use the Multi-Factor Authentication section to send an enrollment invitation.Connect a resource
You can connect a resource using the Auth0 Dashboard or the Guardian SDK.Use Auth0 Dashboard
-
Access the Auth0 login prompt and copy the provided code or a similar base32 encoded key obtained from another source. In the next step, you will enter this code into an authentication application.
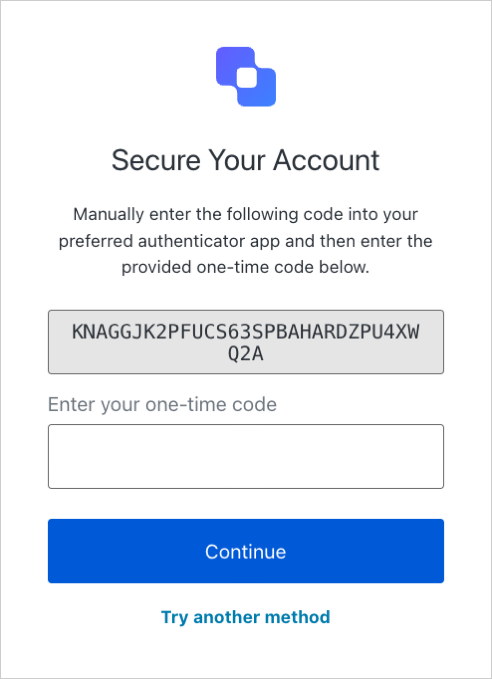
- Add the code you copied to an authentication application, such as Guardian.
Use the SDK
-
Import the Guardian library.
-
Create a code generator.
-
Retrieve generated code.
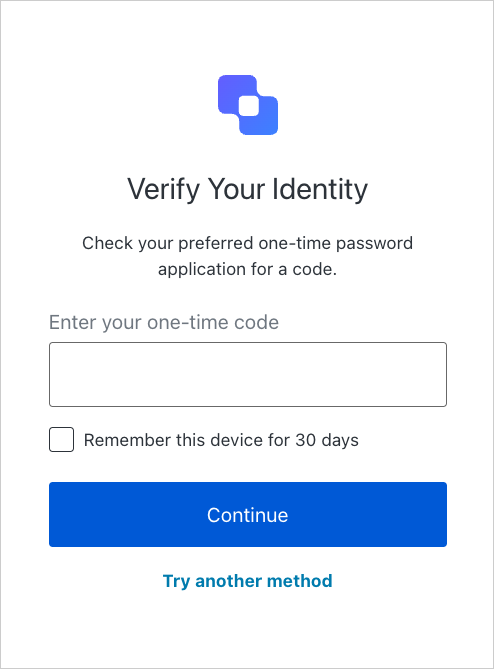
Enter one-time code
On the Auth0 login prompt, enter the code you generated in the previous step.Log in with your app
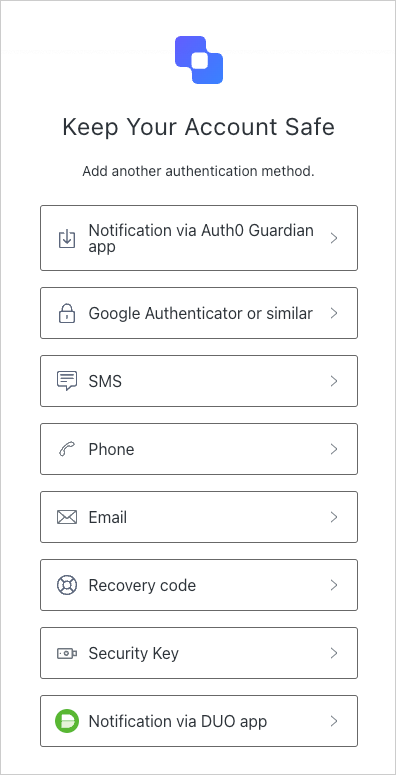
After the factor has been enrolled, your user can log in using your app. First, choose the Guardian app as your authentication method.