
At Auth0 we do what we do best—user authentication. SaaS is all about these types of specialities. Any SaaS company should concentrate on what it does best, and outsource the rest. You should use SaaS providers for your analytics, your customer communication, your storage, and, of course, your user authentication.
This makes it all the more important that any SaaS provider you use integrates with others, sharing data, and providing both you and your customers with a seamless experience. That’s why we developed Rules.
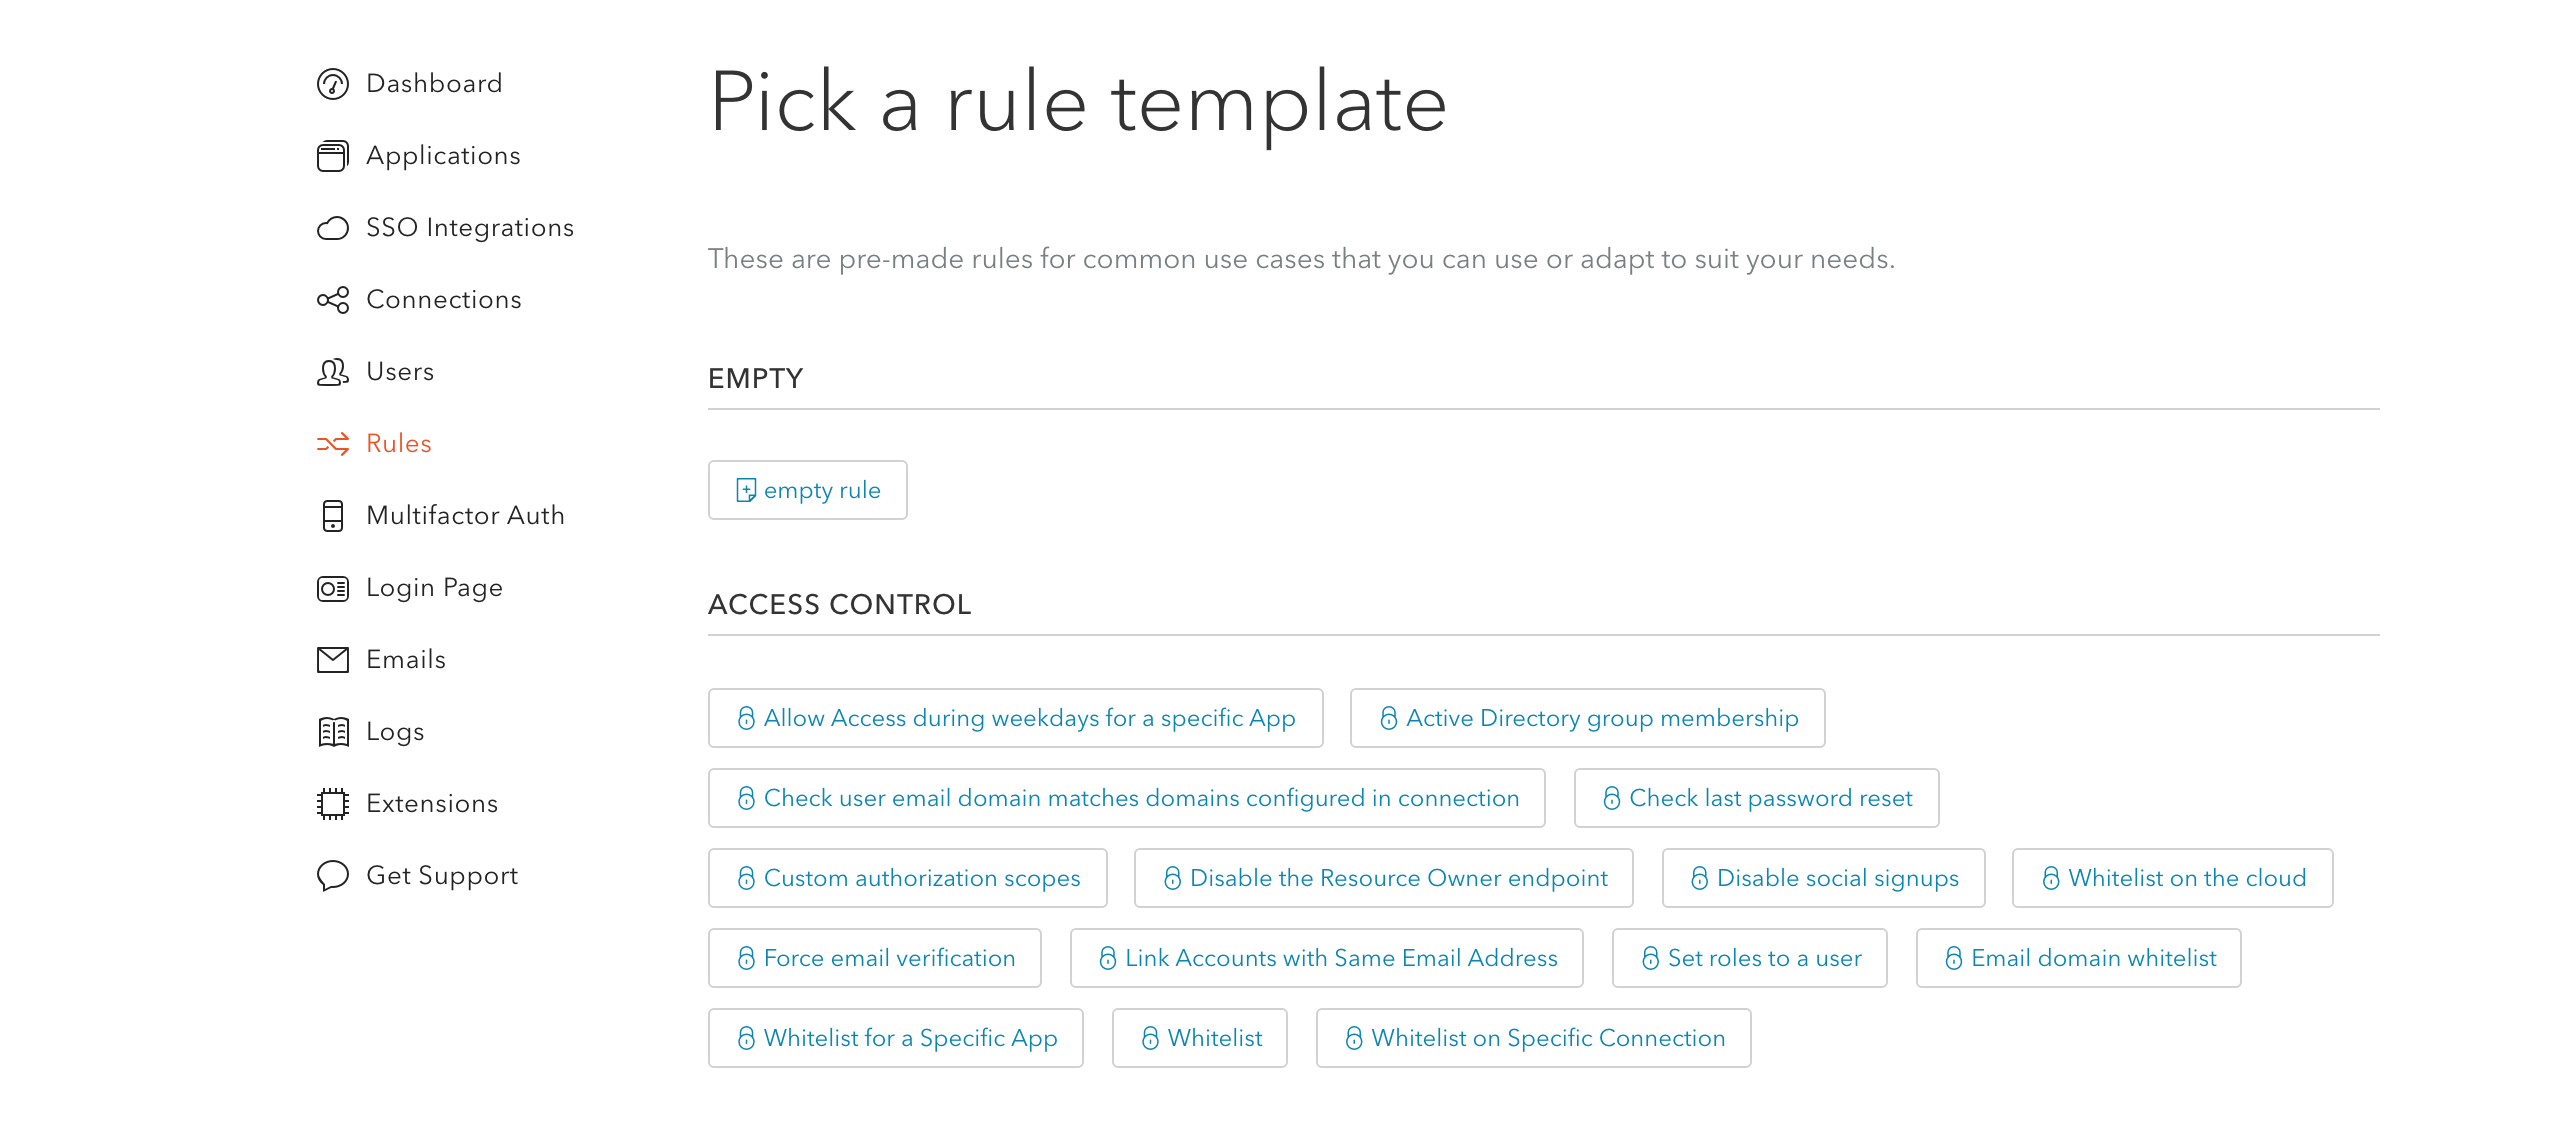
What Are Rules?
Rules are Javascript code snippets that run as part of a customized login process on Auth0 servers.

- Step 1: Your app initiates an authentication request to Auth0.
- Step 2: Auth0 routes the request to an Identity Provider through a configured connection.
- Step 3: The user authenticates successfully.
- Step 4: The
userobject representing the logged in user is passed through the Rules pipeline and returned to the app.
This entire process is executed as part of the Auth0 authentication process—no extra infrastructure or code is needed on your servers. Each Rule is passed 3 parameters:
- A
Userobject that comes from the identity provider - A
Contextobject which contains information about the current login, such as the device used, or where the login was attempted. - A
Callbackindicating whether the Rule was successfully completed or not.
With just this information, you can use Rules to handle specific requirements of your app, and pass important user data to any of your SaaS providers. For authentication, you could:
- Limit logins to a specific region
- Add information to a user profile, such as their security role
- Check the user's last password reset
Using your other SaaS providers, you could:
- Enrich the customer profile using external sources
- Add login events and user information to your analytics platform
- Trigger external events such as email campaigns or Slack notifications
Each of these would run immediately up on login.
Why Use Rules?
The following are some of the reasons of why you should use rule.
- Improved reporting accuracy: Events that are triggered server-side complete with a much higher degree of confidence than those that are attempted client-side, which can be blocked by firewalls, errant browser extensions, or code errors
- Real-time updates: Depending on the service you are implementing with Rules, you can get real-time updates of user sign-ins, along with any data you sent via the API.
- Easy to create & run: Implementation is through just a few lines of Javascript in our webtask sandbox. No extra technical debt or product development required.
- Sequencing: Any number of Rules can be run on log in. That means that you can run each of the 4 Rules, and more, below each time a user logs in.
Some examples of how to integrate your SaaS tools with Auth0
Let's see some of the most popular SaaS tools that are used by our users.
Send New User Emails Through Mailgun

Mailgun is a set of APIs that allow you to send, receive, and track email through code. It manages the delivery process to improve delivered rates, and produces analytics of why emails weren’t delivered.
If you’re using Mailgun for your email delivery, you can set up a Rule that will send new users an initial email when they first sign up
The persistent property SignedUp tracks whether this is the first login or subsequent ones.
function (user, context, callback) {
  user.app_metadata = user.app_metadata || {};
  if (user.app_metadata.signedUp) {
    return callback(null, user, context);
  }

  const request = require('request');

  request.post( {
    url: 'https://api.mailgun.net/v3/{YOUR MAILGUN ACCOUNT}/messages',
      auth:
      {
        user: 'api',
        pass: configuration.MAILGUN_API_KEY
      },
    form: {
      'to': 'admin@example.com',
      'subject': 'NEW SIGNUP',
      'from': 'admin@example.com',
      'text': 'We have got a new sign up from: ' + user.email + '.'
    }
  }, function(err, response, body) {
    if (err) return callback(err);
    if (response.statusCode !== 200) return callback(new Error('Invalid operation'));

    user.app_metadata.signedUp = true;
    auth0.users.updateAppMetadata(user.user_id, user.app_metadata)
      .then(function(){
        callback(null, user, context);
      })
      .catch(function(err){
        callback(err);
      });
  });
}
The same type of Rule can easily be changed to send an email to an administrator on that initial sign in.
Find this rule here.
Tracks Logins In MixPanel

Analytics are only as powerful as the underlying data. Adding an analytics Rule to your signing in process allows you to not only track individual logins with your preferred analytics SaaS provider, but also pass your analytics user-specific data to use.
“Analytics are only as powerful as the underlying data.”
Tweet This
This Rule sends MixPanel a Sign In event and includes the application the user is signing in to as a property.
function (user, context, callback) {

  const mpEvent = {
    "event": "Sign In",
    "properties": {
        "distinct_id": user.user_id,
        "token": configuration.MIXPANEL_API_TOKEN,
        "application": context.clientName
    }
  };

  const base64Event = Buffer.from(JSON.stringify(mpEvent)).toString('base64');

  request.get({
    url: 'http://api.mixpanel.com/track/',
    qs: {
      data: base64Event
    }
  }, (err, res, body) => {
      // don’t wait for the MixPanel API call to finish, return right away (the request will continue on the sandbox)`
      callback(null, user, context);
  });
}
This event will immediately be available in your Mixpanel dashboard, and available to analyze.
Find this rule here.
Creates A New Lead In Salesforce On First Login

Customer Relationship Management (CRM) tools are a mainstay of modern sales. However, they have a common weakness—the salespeople. Salespeople often forget to update their CRM, impacting the sales analytics for the company as well as their own sales pipeline.
Automating as much of the data entry process as possible is therefore important for sales teams. This Rule automates the generation of a new Lead in the Salesforce CRM when a user logs in to your app for the first time.
It checks whether this is the first login, then calls the Salesforce API to record the contact as a new Lead. It is using Salesforce REST APIs and the resource owner flow to obtain an access_token.
function (user, context, callback) {
  user.app_metadata = user.app_metadata || {};
  if (user.app_metadata.recordedAsLead) {
    return callback(null,user,context);
  }

  const MY_SLACK_WEBHOOK_URL = 'YOUR SLACK WEBHOOK URL';
  const slack = require('slack-notify')(MY_SLACK_WEBHOOK_URL);

  //Populate the variables below with appropriate values
  const SFCOM_CLIENT_ID = configuration.SALESFORCE_CLIENT_ID;
  const SFCOM_CLIENT_SECRET = configuration.SALESFORCE_CLIENT_SECRET;
  const USERNAME = configuration.SALESFORCE_USERNAME;
  const PASSWORD = configuration.SALESFORCE_PASSWORD;
  getAccessToken(
    SFCOM_CLIENT_ID,
    SFCOM_CLIENT_SECRET,
    USERNAME,
    PASSWORD,
    (response) => {
      if (!response.instance_url || !response.access_token) {
        slack.alert({
          channel: '#some_channel',
          text: 'Error Getting SALESFORCE Access Token',
          fields: {
            error: response
          }
        });

        return;
      }

      createLead(
        response.instance_url,
        response.access_token,
        (err, result) => {
        if (err || !result || !result.id) {
          slack.alert({
            channel: '#some_channel',
            text: 'Error Creating SALESFORCE Lead',
            fields: {
              error: err || result
            }
          });

          return;
        }

        user.app_metadata.recordedAsLead = true;
        auth0.users.updateAppMetadata(user.user_id, user.app_metadata);
      });
    });

  //See http://www.salesforce.com/us/developer/docs/api/Content/sforce_api_objects_lead.htm
  function createLead(url, access_token, callback){
    //Can use many more fields
    const data = {
      LastName: user.name,
      Company: 'Web channel signups'
    };

    request.post({
      url: url + "/services/data/v20.0/sobjects/Lead",
      headers: {
        "Authorization": "OAuth " + access_token
      },
      json: data
      }, (err, response, body) => {
        return callback(err, body);
      });
  }

  //Obtains a SFCOM access_token with user credentials
  function getAccessToken(client_id, client_secret, username, password, callback) {
    request.post({
      url: 'https://login.salesforce.com/services/oauth2/token',
      form: {
        grant_type: 'password',
        client_id: client_id,
        client_secret: client_secret,
        username: username,
        password: password
      }}, (err, respose, body) => {
        return callback(JSON.parse(body));
      });
  }

  // don’t wait for the SF API call to finish, return right away (the request will continue on the sandbox)`
  callback(null, user, context);
}
This Rule also includes another benefit of using Rules: easy error handling. If the Rule can’t complete, it sends an error message to a designated Slack channel, so the sales team knows an error has occurred and can update Salesforce manually.
Find this rule here.
Checking Fraud With MinFraud

MinFraud identifies possible fraud in online transactions, as well as suspect account logins and signups. The service uses factors such as geolocation, IP address, email, device and proxies to determine the likelihood a transaction is fraudulent.
This rule will send the user’s IP address, email address, and username (both in MD5 format) to MaxMind’s MinFraud API. The API will return the risk score for the transaction and this information can be leveraged within the Rule to block a login with a high risk score.
function (user, context, callback) {
  const querystring = require('querystring');
  const request = require('request');
  const crypto = require('crypto');

  const MINFRAUD_API = 'https://minfraud.maxmind.com/app/ccv2r';

  const data = {
    i: context.request.ip,
    user_agent: context.request.userAgent,
    license_key: configuration.MINFRAUD_LICENSE_KEY,
    emailMD5: user.email &&
        crypto.createHash('md5').update(user.email).digest("hex") || null,
    usernameMD5: user.username &&
        crypto.createHash('md5').update(user.username).digest("hex") || null
  };

  request.post(MINFRAUD_API, { form: data, timeout: 3000 }, (err, res, body) => {
    if (!err && res.statusCode === 200) {
      const result = querystring.parse(body, ';');

      console.log(`Fraud response: ${JSON.stringify(result, null, 2)}`);

      if (result.riskScore && (result.riskScore * 100) > 20) {
        return callback(new UnauthorizedError('Fraud prevention!'));
      }
    }

    if (err) {
      console.log(`Error while attempting fraud check: ${err.message}`);
    }
    if (res.statusCode !== 200) {
      const message = err && err.message;
      console.log(`Unexpected error while attempting fraud check: ${message}`);
    }

    // If the service is down, the request failed, or the result is OK just continue.
    return callback(null, user, context);
  });
}
Find this rule here.
Wrapping up: Customizing Rules
These are only a few examples. Any of these Rules can be customized to your other SaaS tools and your apps needs. Using the Auth0 Dashboard, you can use these or any other template to start using Rules in your app right now, or you can build your own unique Rule for your SaaS. The power is there for you to use it.
Unlock B2B SaaS growth with modern identity management. Download free eBook here.
About the author

Diego Poza
Sr Manager, Developer Advocacy (Auth0 Alumni)