TL;DR:The Auth0 MCP Server is now listed on the official Gemini CLI extensions page, directly installable with one command. Three built-in slash commands handle Auth0 tenant management: /auth0:init, /auth0:logout, and /auth0:session. Once authenticated, every Gemini session knows your Auth0 environment.
The Auth0 MCP Server is now listed on the official Gemini CLI extensions page. This means the Auth0 MCP Server is now directly installable through Gemini CLI with one command, allowing you to authenticate to Auth0 directly from your Gemini CLI session and load tenant information automatically.
What the Auth0 MCP Server Extension Provides
The extension packages the Auth0 MCP Server for Gemini CLI and adds three integration layers:
Discoverability: Listed on geminicli.com/extensions, searchable by name, installable without manual configuration.
Authentication Commands: Built-in slash commands for Auth0 tenant management:
/auth0:init- Device authorization flow with tenant selection/auth0:logout- Session termination/auth0:session- Current authentication status
Context Injection: After authentication, Gemini gains your tenant information so the AI can query applications, APIs, connections, actions, and logs without requiring manual tenant specification in every prompt.
Installation and Setup
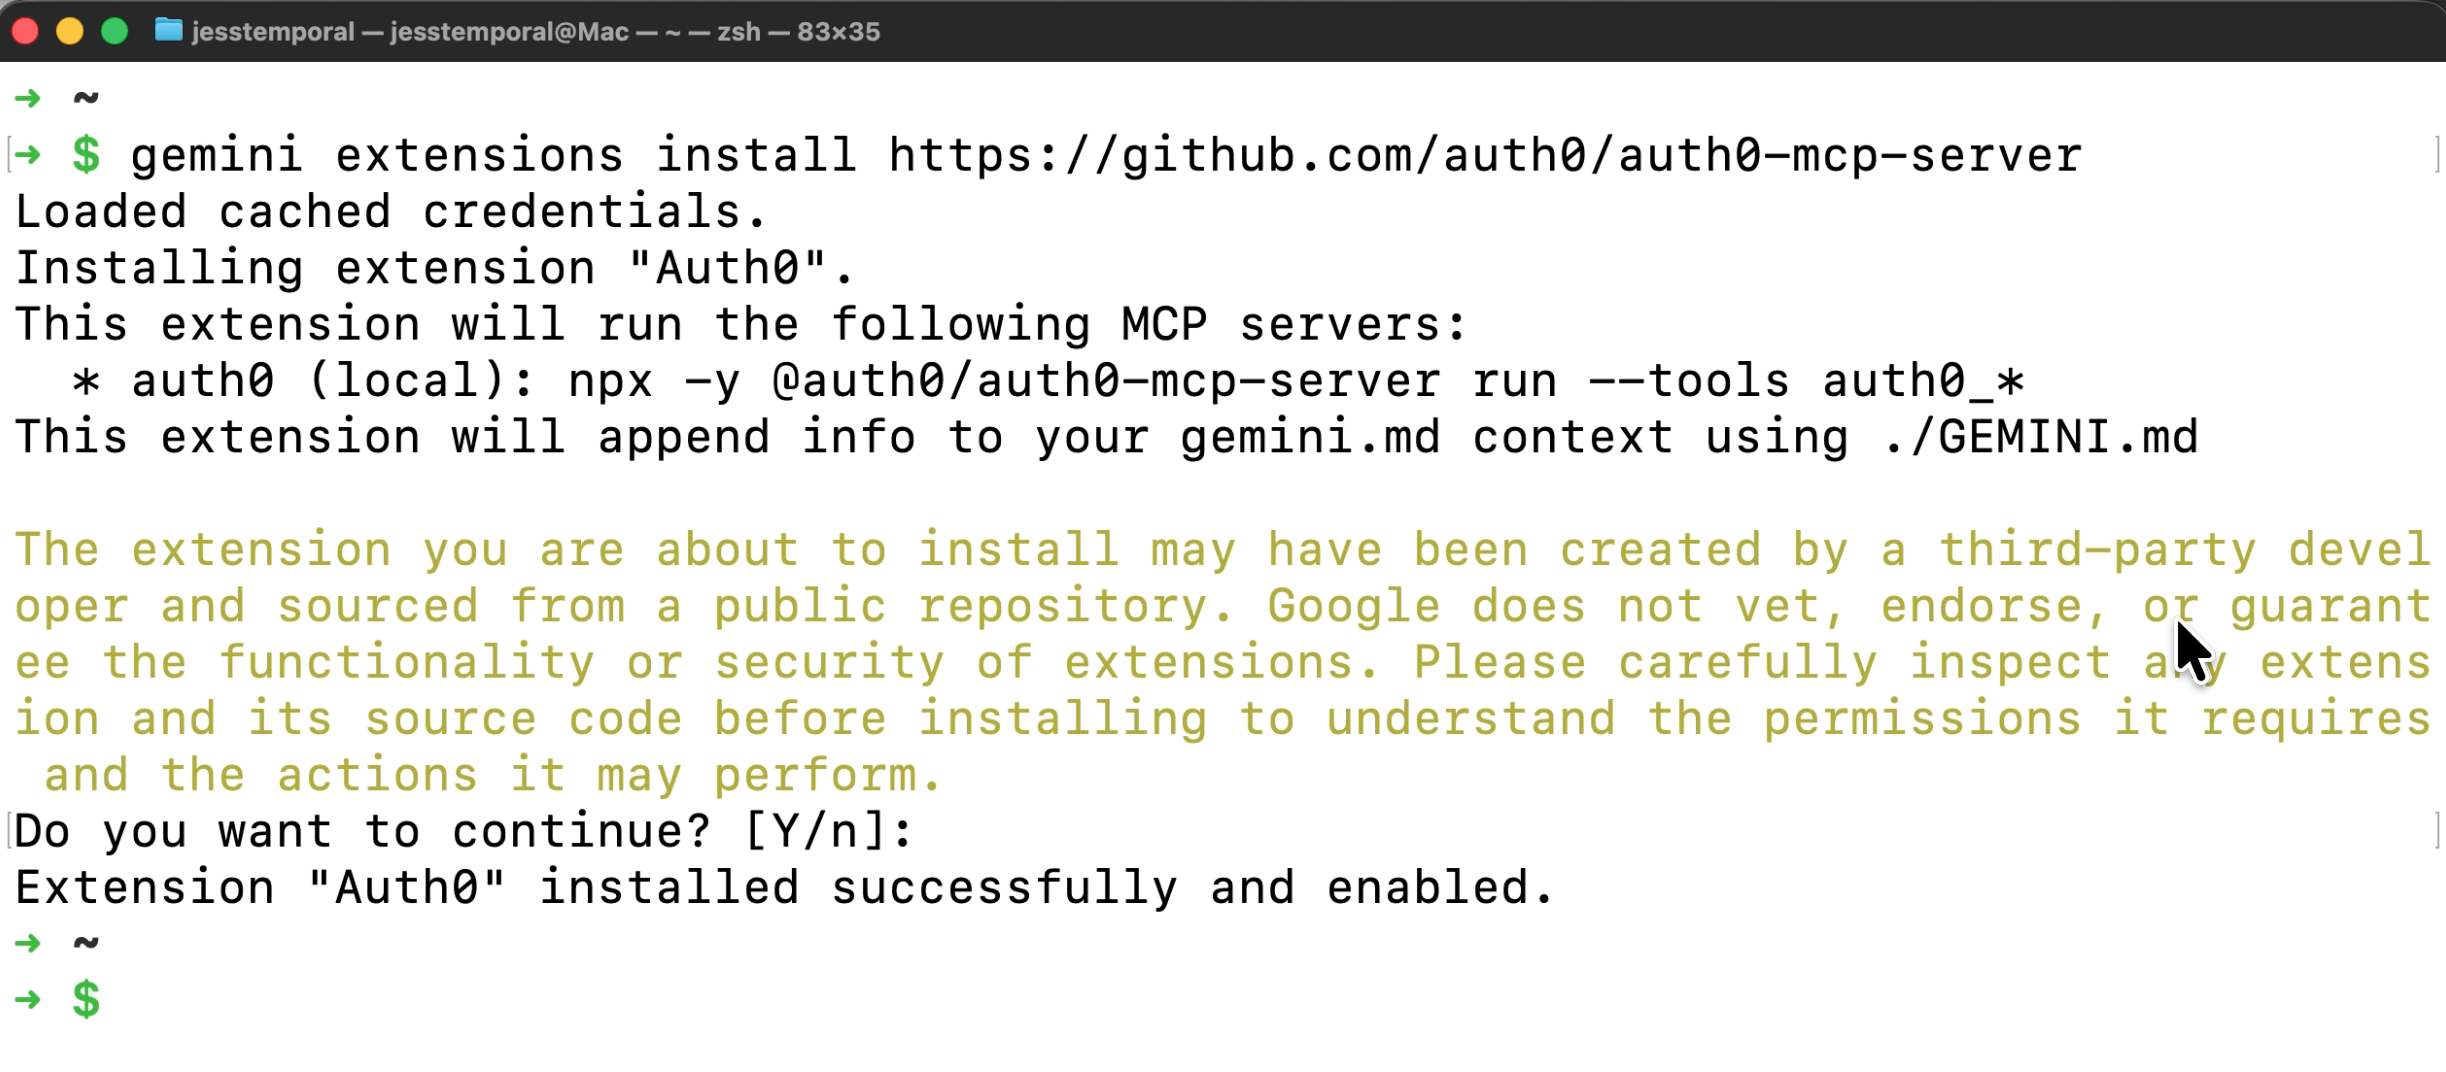
Install the extension:
gemini extensions install https://github.com/auth0/auth0-mcp-server
Once the command successfully finishes you should see a message stating Extension “Auth0” installed successfully:
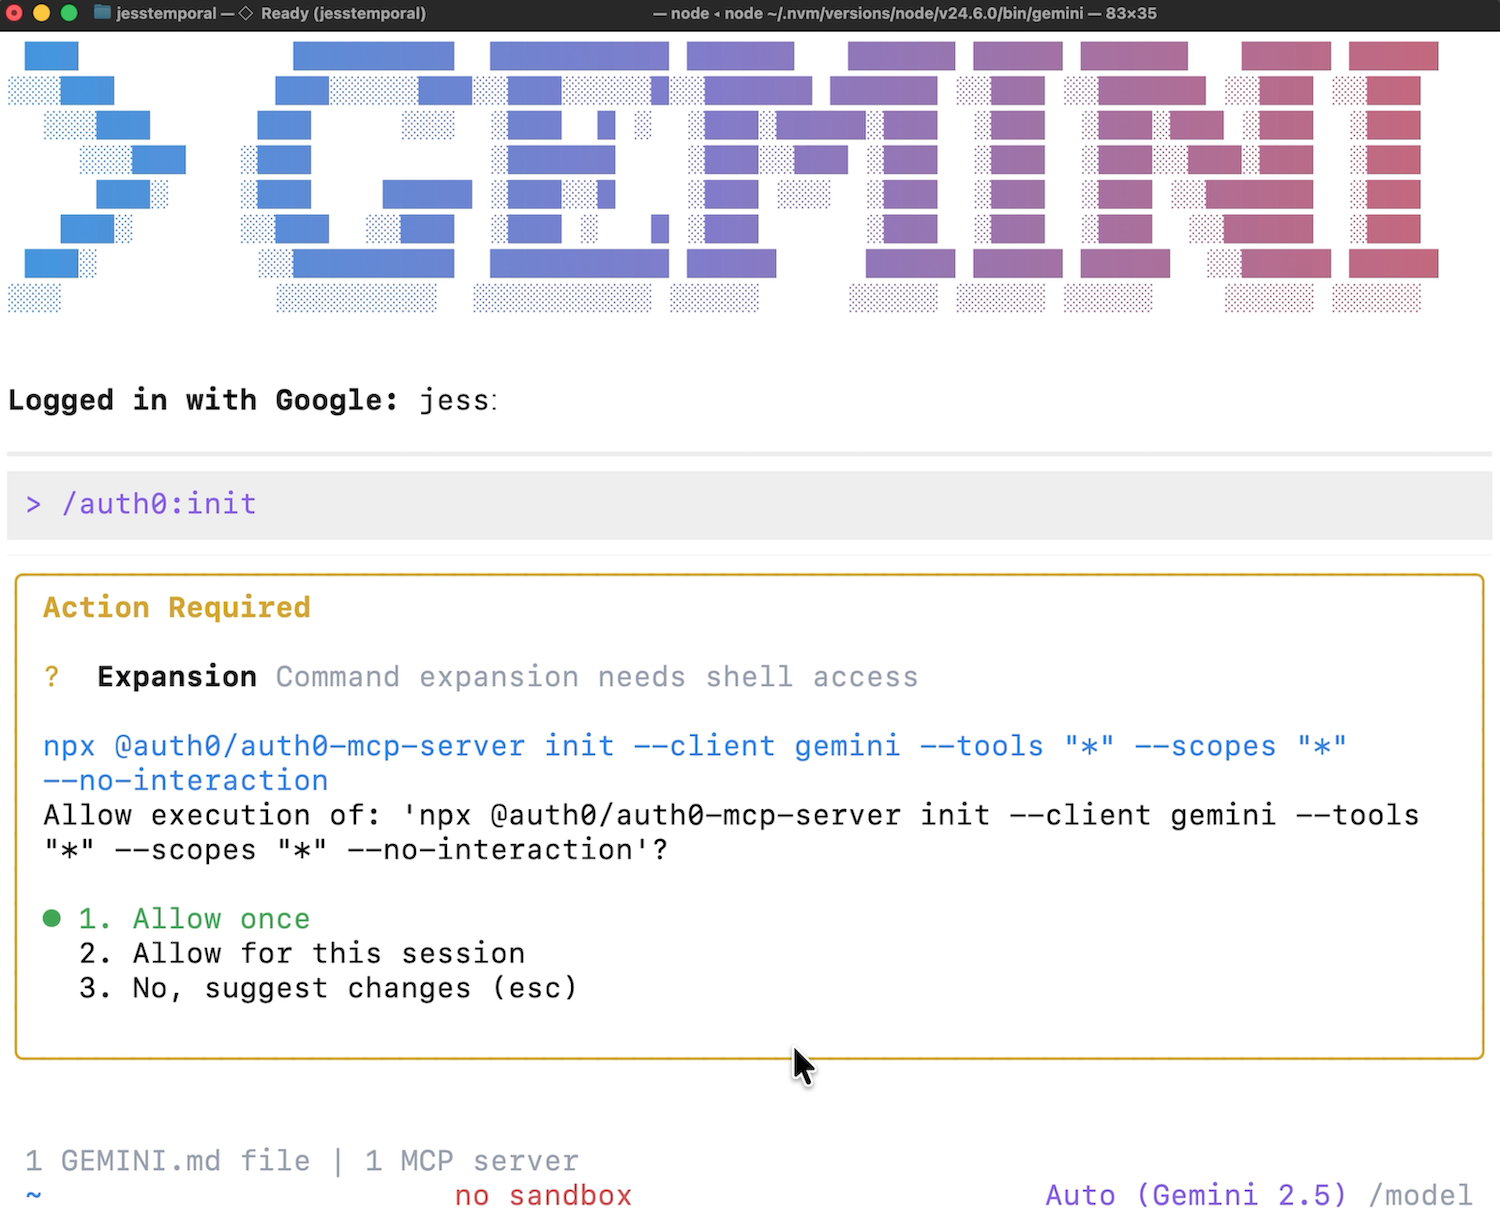
Initialize the Auth0 MCP Server:
/auth0:init
Make sure to allow the command to run when prompted. The server will run automatically.
You'll authenticate via device code flow to select your tenant:
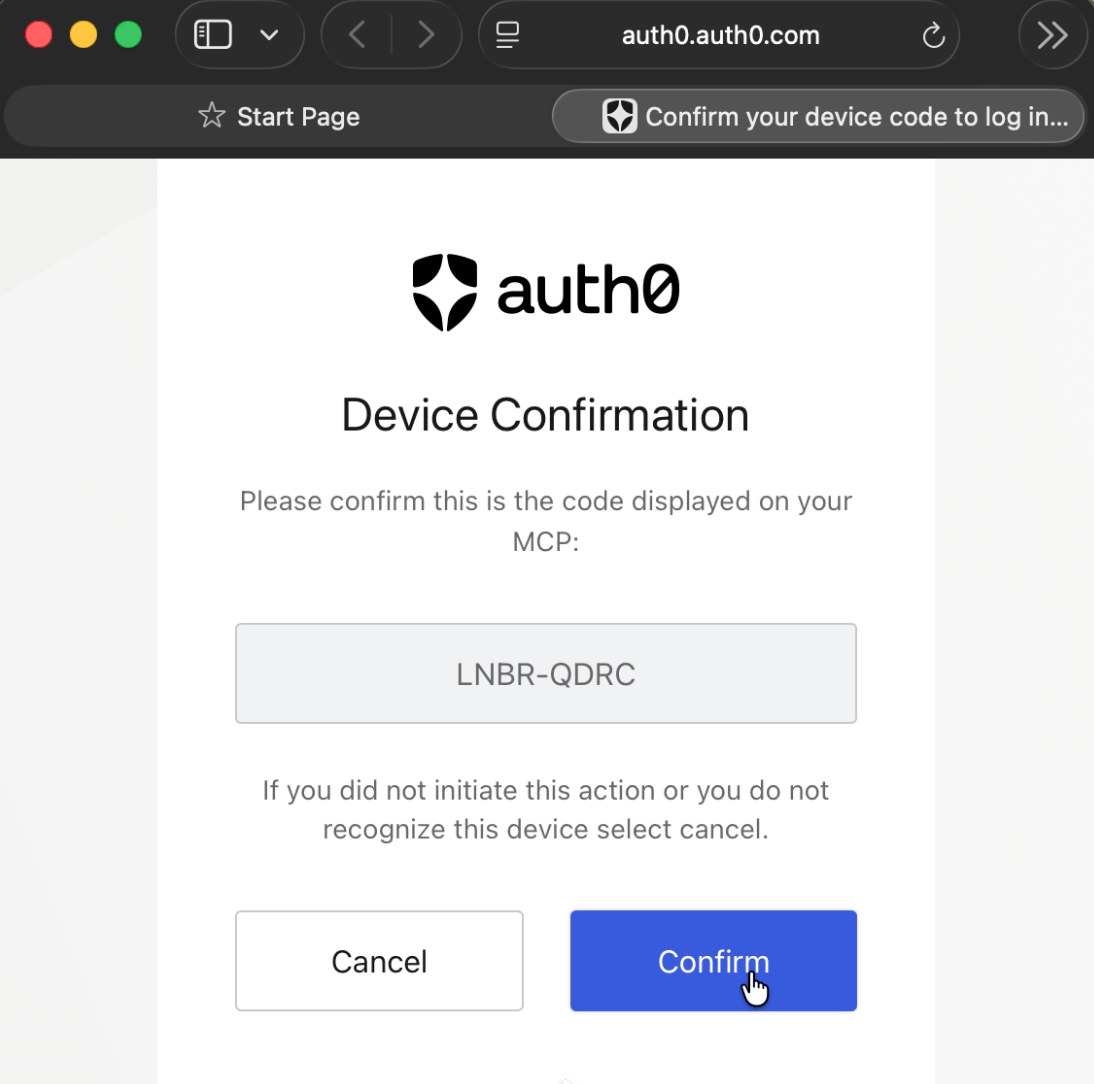
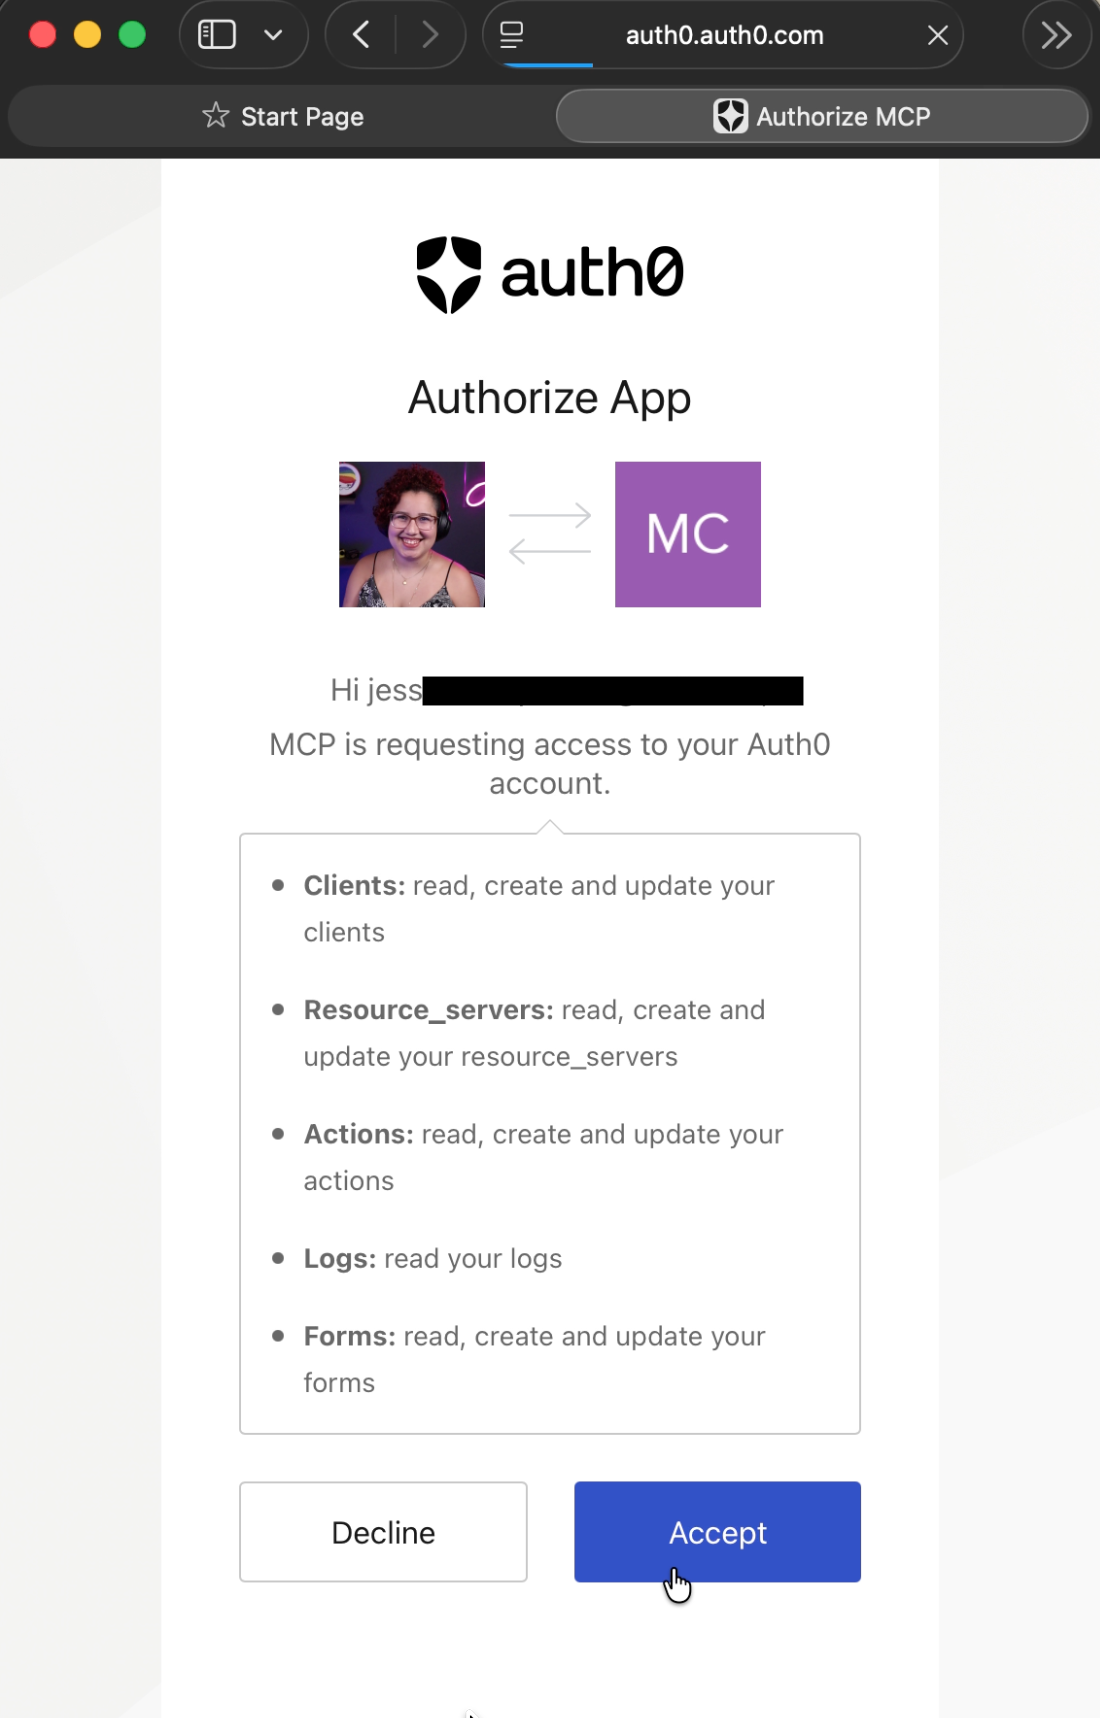
And confirm the permissions:
Once authenticated, you should see a message within Gemini saying the Auth0 MCP Server is configured and to restart Gemini CLI to see the changes:
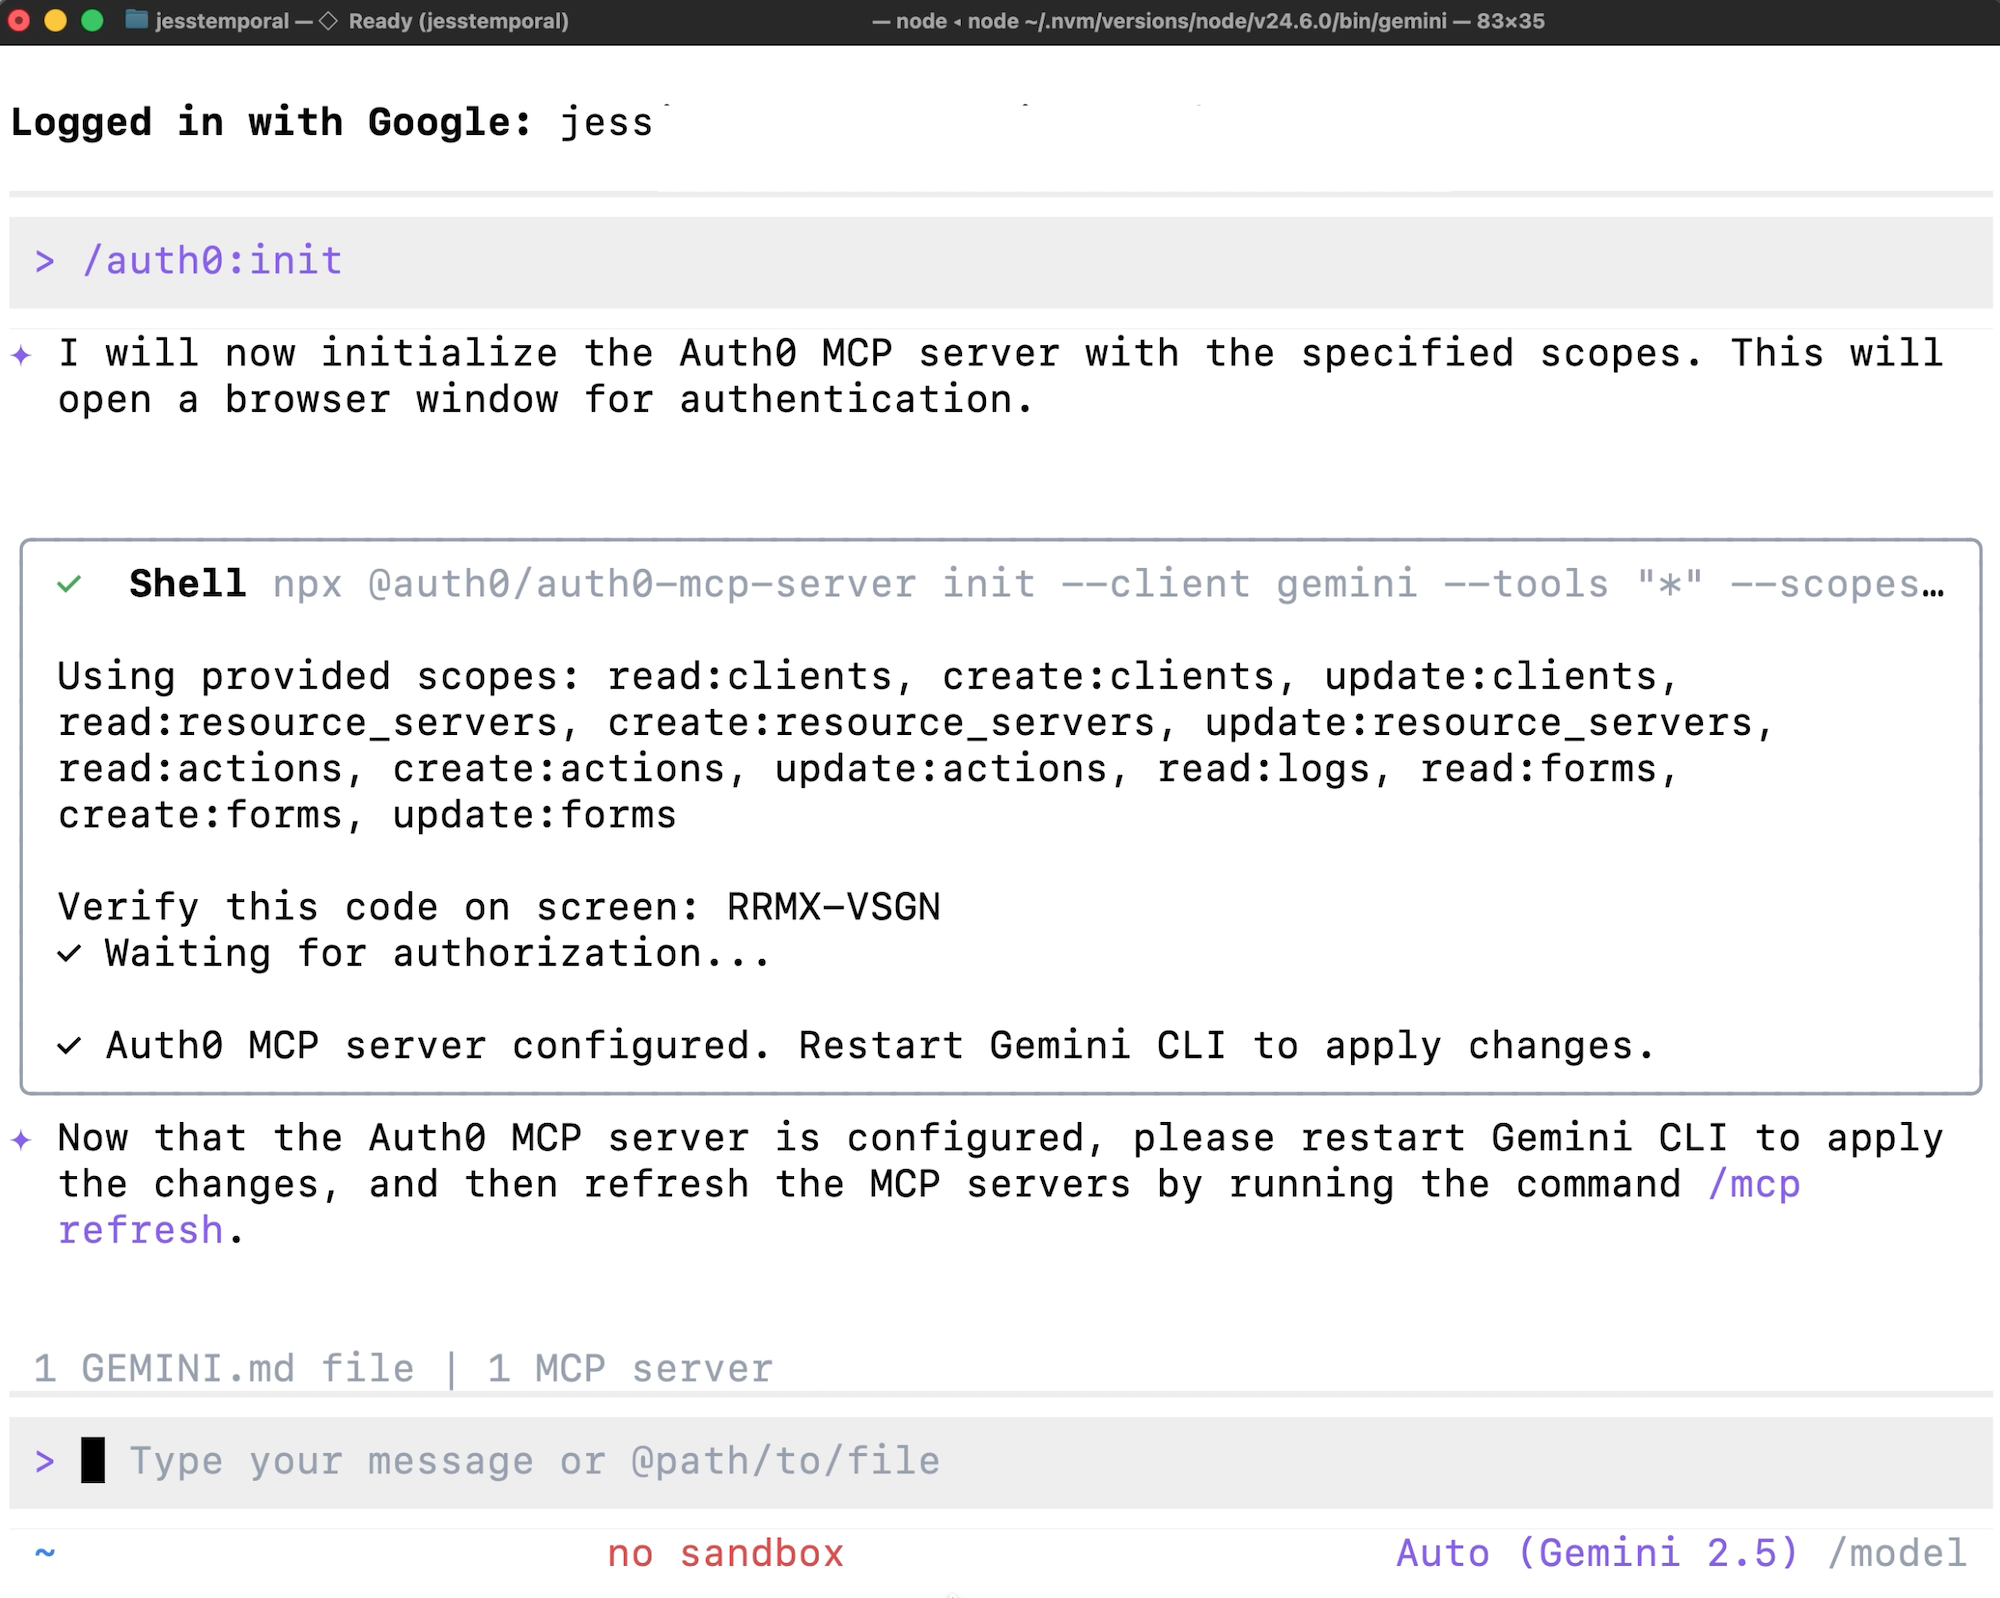
Refresh the MCP server list with the following command:
/mcp refresh
Gemini now has Auth0 context. Ask: "show me my applications" and the AI will receive the structured information about your applications, which Gemini CLI will display as a structured tool call result:
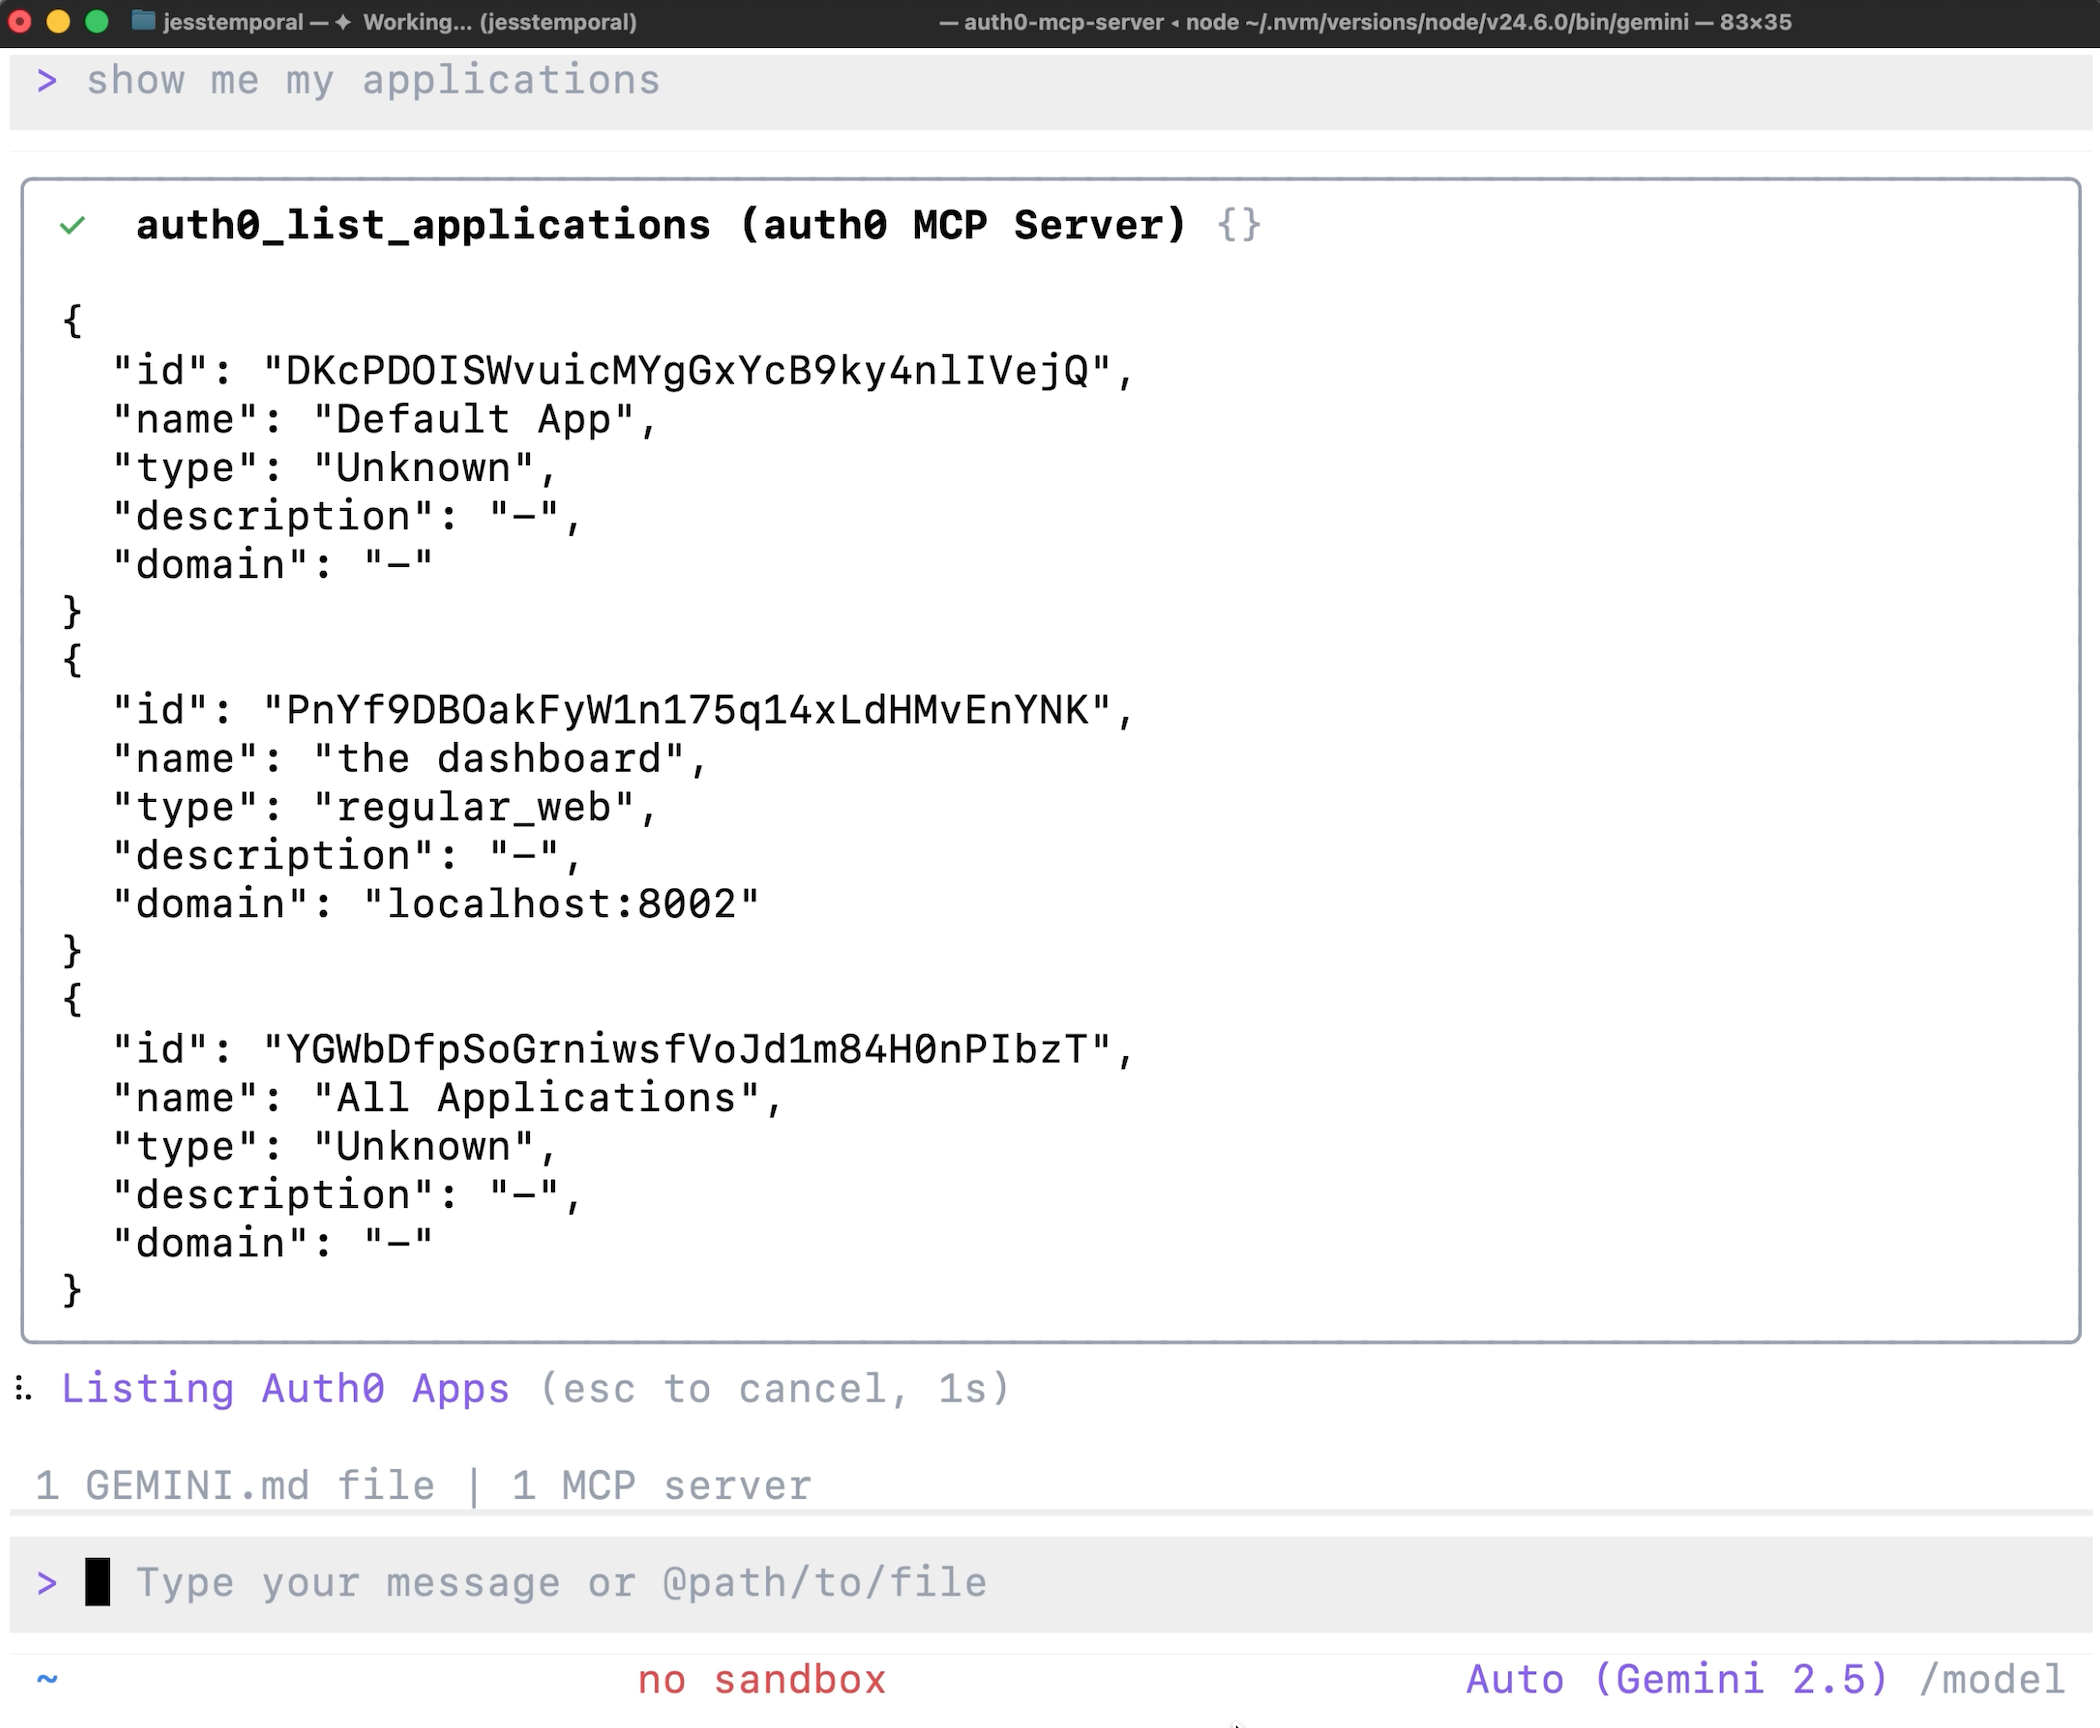
And since Gemini now understands your tenant structure, existing configurations, and naming conventions, it can also show you the same information in a more readable format:

Why This Matters
Before this extension, using the Auth0 MCP Server with Gemini CLI required manual server configuration, environment variable setup, and custom initialization scripts. The extension collapses that into a single install command and three slash commands.
More importantly: context persistence. Once authenticated, every Gemini session knows your Auth0 environment. You're not re-explaining your tenant structure or copy-pasting app IDs. The AI assistant operates with the same tenant awareness you have.
This is the same Auth0 MCP Server that powers VS Code integrations, now packaged for Gemini CLI's extension model. Same capabilities, different CLI.
What's Next
The Auth0 MCP Server supports tenant management, application configuration, API setup, and log analysis. For implementation details and the full MCP Server feature set, see the list on GitHub here.
The extension is available now at geminicli.com/extensions. Install, authenticate, and start managing Auth0 tenants through natural language.
About the author

Jessica Temporal
Sr. Developer Advocate