
Calling an API protected with an access token is pretty easy. It’s a matter of adding a bearer token to the HTTP request. You can do this in different ways in .NET. But what is the best way to do it in an ASP.NET Core application? Let's find out together with a practical example.
Call a Protected API: The Basics
In the OAuth 2.0 context, an application can call a protected API by including an access token in its HTTP request (RFC6750). The most common and recommended way to include the access token into the HTTP request is to use the Bearer authentication scheme. In short, this means that the request should include an Authorization header with the Bearer prefix, as shown in the following example:
GET /resource HTTP/1.1
Host: server.example.com
Authorization: Bearer mF_9.B5f-4.1JqM
The string following the Bearer prefix is the value of the access token.
Bear in mind two things:
- The
Bearerprefix indicates that any application in possession of the token can use it to call the protected API. No further proof of identity is requested by the API. This implies that you must send the request over a secure channel (such as HTTPS) and take extreme care to prevent any risk of token theft. - The value of the token is not relevant to the client application. It can be a JWT or use some other format. From the calling application's point of view, it's just a sequence of characters.
Basically, this is all you need to know to call a protected API:
How to get an access token.
How to attach the token to the HTTP request.
You will learn how to do this in practice in the next sections.
The Sample Application
To show how to call a protected API from ASP.NET Core, you will explore the code of a sample application and progressively modify it until you get the best approach.
To run the sample app you need the .NET 6.0 SDK installed on your machine.
If this is the first time you run an ASP.NET Core application on your machine, make sure to trust its HTTPS development certificate.
Let's download the sample application from GitHub by running the following command in a terminal window:
git clone --branch starting-point --single-branch https://github.com/auth0-blog/call-protected-api-aspnet-core.git
You will get a reward-points-redemption-app folder with two subfolders: catalog and redemption-api. The catalog folder contains the code of an ASP.NET Core MVC application that shows a reward catalog to authenticated users. The redemption-api folder contains the code of an ASP.NET Core Web API that allows users to redeem their points to get a reward.
The following diagram shows the overall interaction of the system components:

Following the diagram:
- The user authenticates with Auth0.
- After authentication, the user explores the reward catalog.
- When the user wants to redeem their points to get a catalog item, the catalog app makes a request to the redemption API.
The projects you downloaded from GitHub already implement most of those interactions. Getting the access token and calling the API are missing. You will implement this functionality in a moment.
While the application calling the protected API is an ASP.NET Core MVC application, all you learn in this article applies to other ASP.NET Core application frameworks, such as Razor Pages and Blazor Server.
If you want to learn how to add authentication to an ASP.NET Core MVC application, check out this article.
Configure the catalog application
Before proceeding with the needed changes, you must configure the two applications to work with Auth0. Let's start with the catalog application. You need an Auth0 account. If you don't have it yet, you can sign up for a free one.
In the Auth0 dashboard, move to the Applications section and follow these steps:
- Click on Create Application.
- Provide a friendly name for your application (for example, Catalog Web App) and choose Regular Web Applications as the application type.
- Finally, click the Create button.
These steps make Auth0 aware of your ASP.NET Core MVC application and will allow you to control access.
After creating the application, you land on the Quick Start tab of the application page. Ignore it and move to the Settings tab. Here take note of your Auth0 domain and client id. Then, in the same form, assign the value https://localhost:7095/callback to the Allowed Callback URLs field and the value https://localhost:7095/ to the Allowed Logout URLs field.
The first value tells Auth0 which URL to call back after the user authentication. The second value tells Auth0 which URL a user should be redirected to after their logout.
Click the Save Changes button to apply them.
Now, go to the catalog folder and open the appsettings.json configuration file. Its content is as shown below:
// catalog/appsettings.json
{
  "Logging": {
    "LogLevel": {
      "Default": "Information",
      "Microsoft.AspNetCore": "Warning"
    }
  },
  "AllowedHosts": "*",
  "Auth0": {
    "Domain": "YOUR_AUTH0_DOMAIN",
    "ClientId": "YOUR_CLIENT_ID"
  }
}
Replace the placeholders YOUR_AUTH0_DOMAIN and YOUR_CLIENT_ID with the respective values taken from the Application settings under the Basic Information section.
Configure the API
Let's configure the redemption API now. Go to the API section of the Auth0 dashboard and click the Create API button. Then provide a friendly name for your API (for example, Redemption API) and a unique identifier in the URI format (for example, https://redemption-api.com). Keep RS256 as the signing algorithm and click the Create button.
To complete the API configuration, move to the redemption-api folder and open the appsettings.json configuration file. Its content should be as follows:
//redemption-api/appsettings.json
{
  "Logging": {
    "LogLevel": {
      "Default": "Information",
      "Microsoft.AspNetCore": "Warning"
    }
  },
  "AllowedHosts": "*",
  "Auth0": {
    "Domain": "YOUR_AUTH0_DOMAIN",
    "Audience": "YOUR_UNIQUE_IDENTIFIER"
  }
}
Replace the YOUR_AUTH0_DOMAIN placeholder with your Auth0 domain, the same domain you got for the catalog application, and the YOUR_UNIQUE_IDENTIFIER placeholder with the value you provided as a unique identifier of your API (https://redemption-api.com, if you kept the value suggested above).
Run the applications
Now, let's run the applications to check if everything works as expected.
In the redemption-api folder, run the following command:
dotnet run
After a few seconds, the API application should be running and listening to the https://localhost:7151 address. You can check that everything works as expected by running the following command in a terminal window:
curl https://localhost:7151/redeem -v
You should get a response similar to the following:
*   Trying 127.0.0.1:7151...
* Connected to localhost (127.0.0.1) port 7151 (#0)

# ...other messages omitted...

> GET /redeem HTTP/1.1
> Host: localhost:7151
> User-Agent: curl/7.79.1
> Accept: */*
>
* Mark bundle as not supporting multiuse
< HTTP/1.1 401 Unauthorized
< Content-Length: 0
< Date: Wed, 17 Aug 2022 09:41:50 GMT
< Server: Kestrel
< WWW-Authenticate: Bearer
<
* Connection #0 to host localhost left intact
Notice the 401 Unauthorized status code you receive since you don't provide an access token in your request.
Now, move to the catalog folder and launch the dotnet run command in a new terminal window. After a few seconds, you should get the catalog application listening to the https://localhost:7095 address.
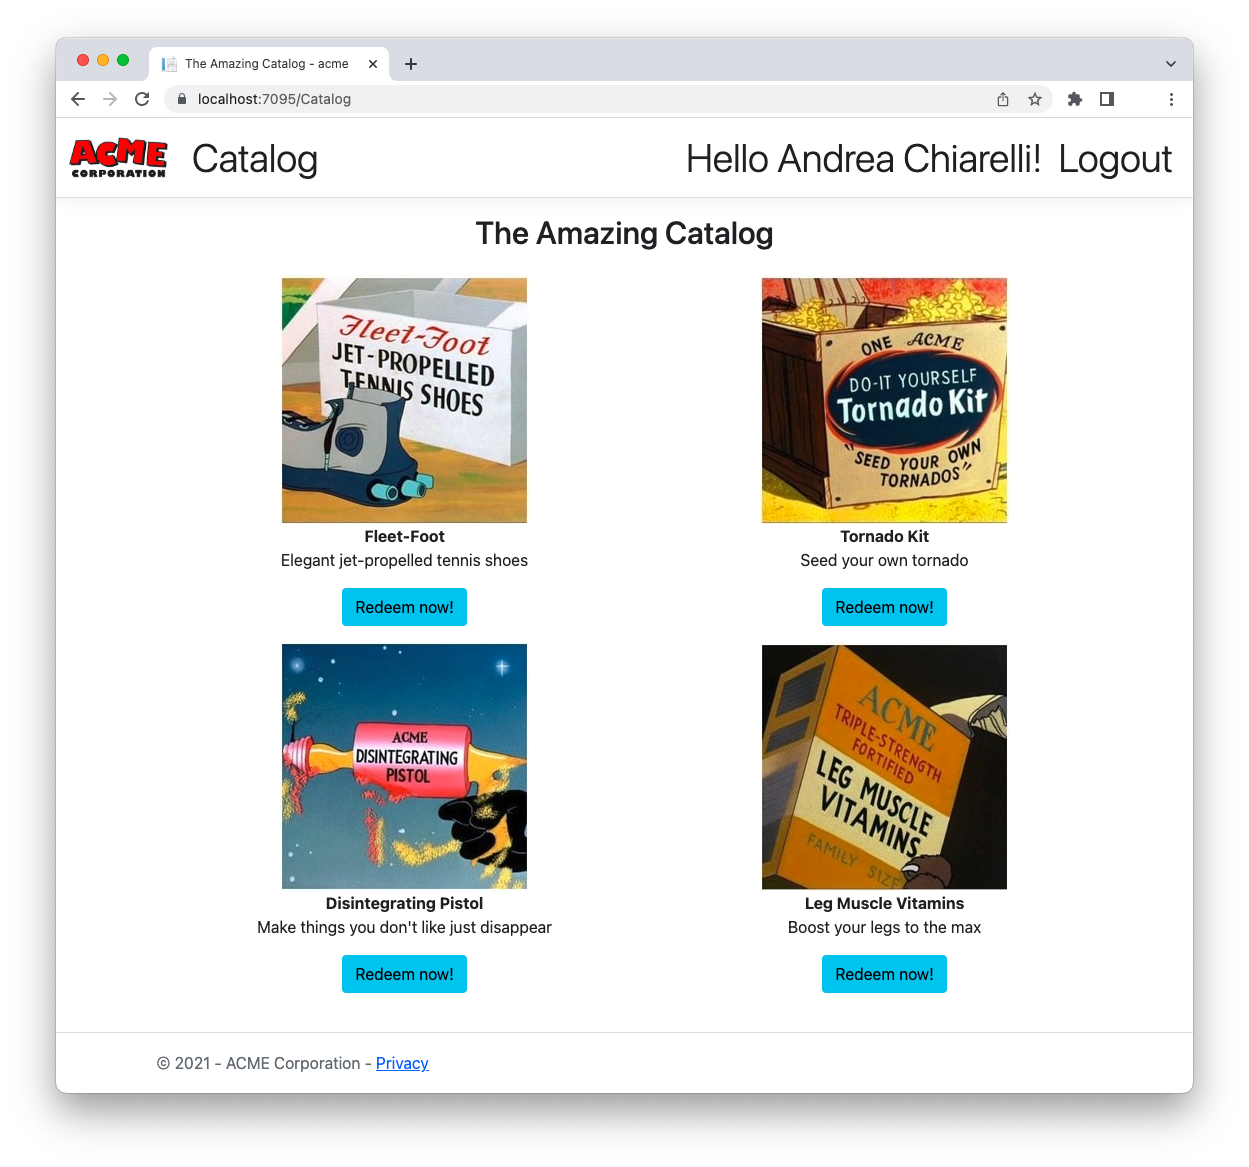
Pointing your browser to that address, you'll get the following page:

By clicking the Login link in the upper right corner of the page, you navigate to the Auth0 Universal Login page, which allows you to sign up or sign in as a user. After authentication, you will be able to access the reward catalog and redeem your points, as shown in the following picture:
Request an Access Token
Let's start by dealing with how to get an access token. The sample application uses the Auth0 ASP.NET Core Authentication SDK, so getting an access token is extremely easy. Go to the catalog folder and open the Program.cs file. Then, apply the changes highlighted in the following:
//catalog/Program.cs

using Auth0.AspNetCore.Authentication;

var builder = WebApplication.CreateBuilder(args);

builder.Services
    .AddAuth0WebAppAuthentication(options => {
      options.Domain = builder.Configuration["Auth0:Domain"];
      options.ClientId = builder.Configuration["Auth0:ClientId"];
      // 👇 new code
      options.ClientSecret = builder.Configuration["Auth0:ClientSecret"];
      // 👆 new code
      options.Scope = "openid profile email";
    })
    // 👇 new code
    .WithAccessToken(options =>
      {
          options.Audience = builder.Configuration["Auth0:Audience"];
      });
    // 👆 new code

builder.Services.AddControllersWithViews();

// ...existing code...
The first change is about adding the client secret to the Auth0 SDK configuration, while the second change invokes the WithAccessToken() method passing the audience of the API you want to call.
By default, the Auth0 ASP.NET Core AuthenticationSDK implements the Implicit Grant with Form Post to get only the ID token. To also get an access token, you need to use the Authorization Code Grant, which requires using the client secret.
Both client secret and audience values come from two keys in the appsettings.json configuration file. So, open this file in the catalog folder and add the keys as shown below:
// catalog/appsettings.json
{
  "Logging": {
    "LogLevel": {
      "Default": "Information",
      "Microsoft.AspNetCore": "Warning"
    }
  },
  "AllowedHosts": "*",
  "Auth0": {
    "Domain": "YOUR_AUTH0_DOMAIN",
    "ClientId": "YOUR_CLIENT_ID",
    "ClientSecret": "YOUR_CLIENT_SECRET", // 👈 new key
    "Audience": "YOUR_UNIQUE_IDENTIFIER"  // 👈 new key
  }
}
Replace the YOUR_CLIENT_SECRET placeholder with the client secret for your application in the Auth0 dashboard. Replace the YOUR_UNIQUE_IDENTIFIER placeholder with the value you provided as a unique identifier of the redemption API (https://redemption-api.com, if you kept the value suggested earlier).
With these changes, when the user authenticates, your application receives both the ID and access tokens. The SDK deals with this process behind the scenes and stores the access token in the current HTTP context object. You will use it when you need to call the protected API.
Use Your Access Token
Once you request your access token, let's see how to use it to call the redemption API.
Before diving into it, you have to know that the required code to let the user trigger the call and display the response is all in place. You just need to focus on the call to the redemption API. Basically, your "Redeem now!" button calls the Catalog/Redeem action in your ASP.NET Core MVC application. This action is handled by the Redeem() method implemented in the catalog/Controllers/CatalogController.cs file. Currently, it appears as below:
// catalog/Controllers/CatalogController.cs

using Microsoft.AspNetCore.Mvc;
using Microsoft.AspNetCore.Authorization;
using acme.Models;

namespace acme.Controllers;

public class CatalogController : Controller {

    // ...existing code...

    [Authorize]
    public IActionResult Redeem(string prodid)
    {
        return View(new RedeemResponse() {Code = 0});
    }
}
Actually, this code makes nothing special, apart from showing the view defined in catalog/Views/Catalog/Redeem.cshtml. Let's make it operative by calling the redemption API.
Replace the current Redeem() method in the CatalogController.cs file with the following:
// catalog/Controllers/CatalogController.cs

using Microsoft.AspNetCore.Mvc;
using Microsoft.AspNetCore.Authorization;
using Microsoft.AspNetCore.Authentication; // 👈 new code
using System.Net.Http.Headers; // 👈 new code
using acme.Models;

namespace acme.Controllers;

public class CatalogController : Controller {

    // ...existing code...

    [Authorize]
    public async Task<IActionResult> Redeem(string prodid)
    {
        var accessToken = await HttpContext.GetTokenAsync("access_token");
        RedeemResponse response;

        using(var httpClient = new HttpClient())
        {
            string ApiUrl = "https://localhost:7151/redeem";
            httpClient.DefaultRequestHeaders.Authorization
                         = new AuthenticationHeaderValue("Bearer", accessToken);
            response = await httpClient.GetFromJsonAsync<RedeemResponse>(ApiUrl);
            response.ProdId = prodid;
        }

        return View(response);
    }
}
First, you add a reference to the Microsoft.AspNetCore.Authentication and the System.Net.Http.Headers namespaces that make some specific functionality available to your code.
The new Redeem() method has a prodid parameter representing the catalog item you want to redeem. As its first step, the method gets the access token by invoking GetTokenAsync(), then creates an HttpClient instance to make HTTP requests. It builds the URL of the API endpoint to call and adds the access token to the HTTP headers as the bearer token. Finally, it calls the API, gets the response, and passes it to the view. That's all!
To test these changes, make sure that the API application is up and running and that you have logged out from the catalog application. You need to authenticate again to get an access token.
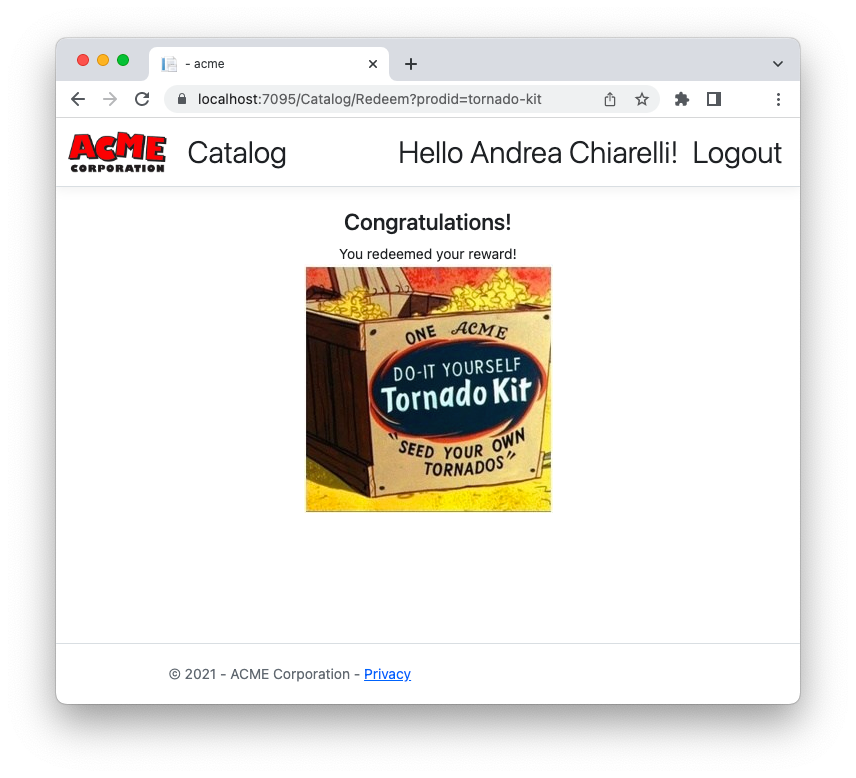
Once the catalog application runs, go to the catalog page and click any of the "Redeem now!" buttons. In case of success, you should get a screen like the following:
Otherwise, you can get a message like the following:
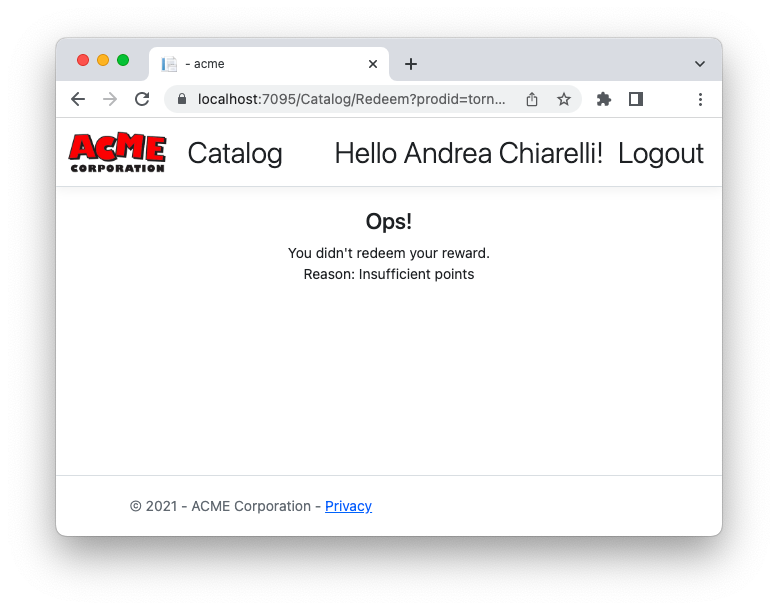
Remember that the API generates random responses.
Awesome! Now you have a working ASP.NET Core application that calls a protected API!
Unfortunately, this is not the best solution to call an API. The current code has a few issues. Each time you need to call the API, you have to rewrite the same code. Actually, this is easy to overcome with some refactoring techniques. However, creating an HttpClient instance each time you call the API can lead to the socket exhaustion problem. The recommended way to call an API with HttpClient is to use IHttpClientFactory and define a custom authorization message handler.
Let's see how to apply these changes in the next sections.
Use IHttpClientFactory
Since you should not create an HttpClient instance each time you call an API, you may think of using the Singleton Pattern to solve the problem. This may be an acceptable solution for short-lived applications, such as a console app. Unfortunately, it's not appropriate for long-running applications like ASP.NET Core apps. You may run into problems related to DNS changes.
As mentioned earlier, the best approach to create an HttpClient instance in your ASP.NET Core application is through IHttpClientFactory. This interface allows you to configure and create HttpClient instances through dependency injection. Check out this document to learn more about the benefits of using IHttpClientFactory.
Let's start by opening the Program.cs file in the catalog folder and adding the code highlighted below:
// catalog/Program.cs

using Auth0.AspNetCore.Authentication;

var builder = WebApplication.CreateBuilder(args);

// ...existing code...

builder.Services.AddControllersWithViews();

// 👇 new code
builder.Services.AddHttpClient("RedemptionAPI",
      client => client.BaseAddress = new Uri(builder.Configuration["RedemptionApiBaseUrl"]));

builder.Services.AddScoped(sp => sp.GetRequiredService<IHttpClientFactory>()
  .CreateClient("RedemptionAPI"));
// 👆 new code

var app = builder.Build();

// ...existing code...
The AddHttpClient() method defines a named HttpClient instance (RedemptionAPI) with the API address as the base address to use when making a request. The actual HttpClient instance is created by the CreateClient() method of the IHttpClientFactory service implementation. The function that creates the HttpClient instance is defined as a scoped service in the dependency system.
As you may have noticed, the API's base address value is taken from the application configuration instead of being hardwired into the code. So, you need to add a new RedemptionApiBaseUrl key in the appsettings.json configuration file, as shown in the following:
// catalog/appsettings.json

{
  "Logging": {
    "LogLevel": {
      "Default": "Information",
      "Microsoft.AspNetCore": "Warning"
    }
  },
  "AllowedHosts": "*",
  "Auth0": {
    "Domain": "YOUR_AUTH0_DOMAIN",
    "ClientId": "YOUR_CLIENT_ID",
    "ClientSecret": "YOUR_CLIENT_SECRET",
    "Audience": "YOUR_UNIQUE_IDENTIFIER"
  },
  "RedemptionApiBaseUrl": "https://localhost:7151" // 👈 new key
}
Notice that the RedemptionApiBaseUrl key has not been included in the Auth0 section since it is unrelated to Auth0 settings.
Create an Authorization Message Handler
The code you added in the previous section just allows you to create instances of HttpClient correctly. But you need to add the access token to each HTTP request to the API. You can do it through a custom message handler.
A message handler is a component that can manipulate HTTP messages before they reach the controller or are sent to the client. Check out this document to learn more about message handlers in ASP.NET Core.
To create your custom message handler, create a file named TokenHandler.cs in the catalog folder with the following code:
// catalog/TokenHandler.cs

using System.Net.Http.Headers;
using Microsoft.AspNetCore.Authentication;

public class TokenHandler : DelegatingHandler {
    private readonly IHttpContextAccessor _httpContextAccessor;

    public TokenHandler(IHttpContextAccessor httpContextAccessor)
    {
      _httpContextAccessor = httpContextAccessor;
    }

    protected override async Task<HttpResponseMessage> SendAsync(HttpRequestMessage request, CancellationToken cancellationToken) {
      var accessToken = await _httpContextAccessor.HttpContext.GetTokenAsync("access_token");

      request.Headers.Authorization =
          new AuthenticationHeaderValue("Bearer", accessToken);
      return await base.SendAsync(request, cancellationToken);
    }
}
The TokenHandler class defined here inherits from the DelegatingHandler class. It gets an implementation of the IHttpContextAccessor interface through dependency injection. This allows your code to access the current HTTP context. The TokenHandler class defines the SendAsync() method, which basically performs the HTTP requests with the access token as you did before.
To make the message handler available to your application, you have to modify the Program.cs file in the catalog folder once again. Here are highlighted the changes to apply to the code:
// catalog/Program.cs

using Auth0.AspNetCore.Authentication;

var builder = WebApplication.CreateBuilder(args);

// ...existing code...

builder.Services.AddControllersWithViews();

// 👇 new code
builder.Services.AddHttpContextAccessor();
builder.Services.AddScoped<TokenHandler>();
// 👆 new code

builder.Services.AddHttpClient("RedemptionAPI",
  client => client.BaseAddress = new Uri(builder.Configuration["RedemptionApiBaseUrl"]))
  .AddHttpMessageHandler<TokenHandler>();  // 👈 new code

builder.Services.AddScoped(sp => sp.GetRequiredService<IHttpClientFactory>()
  .CreateClient("RedemptionAPI"));


var app = builder.Build();

// ...existing code...
You add the default implementation of IHttpContextAccessor service. You also add the TokenHandler class to the application services and attach it to the HttpClient instance as a message handler.
You are almost done! You just need to use this infrastructure to actually call the API.
Call the Protected API
Edit the CatalogController.cs file in the catalog/Controllers folder by applying the changes shown below:
// catalog/Controllers/CatalogController.cs

using Microsoft.AspNetCore.Mvc;
using Microsoft.AspNetCore.Authorization;
using Microsoft.AspNetCore.Authentication;
//using System.Net.Http.Headers; // 👈 removed code
using acme.Models;

namespace acme.Controllers;

public class CatalogController : Controller {
    private readonly ILogger<HomeController> _logger;
    private readonly HttpClient _httpClient;  // 👈 new code

    // 👇 changed code
    public CatalogController(ILogger<HomeController> logger, HttpClient httpClient)
    {
        _logger = logger;
        _httpClient = httpClient;
    }
    // 👆 changed code

    // ...existing code...

    [Authorize]
    public async Task<IActionResult> Redeem(string prodid)
    {
        // 👇 changed code
        var response = await _httpClient.GetFromJsonAsync<RedeemResponse>("redeem");
        response.ProdId = prodid;
        return View(response);
        // 👆 changed code
    }
}
You remove the reference to System.Net.Http.Headers. Then you define a private variable _httpClient, which will be assigned the HttpClient instance injected through the controller's constructor.
Finally, you just change the body of the Redeem() method to use the injected HttpClient instance. Notice that, in this case, you just pass the API endpoint's relative path ("redeem"), since the API's base URL has been already configured in the HttpClient named instance.
Run your catalog application again and try to redeem one of the catalog items. You should get the same behavior as before, but your application is now more robust.
Try out Auth0 authentication for free.
Get started →Summary
Let's recap what you learned in this article to call a protected API.
You started by discovering that what you need is to get an access token and use it as a bearer token in calls to the API. Then you downloaded and configured a sample application to put this goal into practice.
You learned how to configure the sample ASP.NET Core application to request an access token to Auth0 during the authentication step. Then you find out how easy it is to retrieve and use the access token in your first attempt to call the protected API through HttpClient.
Unfortunately, this approach is not safe. It has a few issues in terms of code redundancy and resource management. For this reason, you implemented a different approach based on leveraging the .NET dependency injection system. You defined a service that creates HttpClient instances based on the IHttpClientFactory interface. You also created a message handler to add the access token to each HTTP request and bound this handler to the HttpClient instance.
Finally, you changed the actual API call to use this new centralized infrastructure.
You can download the final version of the ASP.NET Core application modified in this article from this GitHub repository.
About the author

Andrea Chiarelli
Principal Developer Advocate
I have over 20 years of experience as a software engineer and technical author. Throughout my career, I've used several programming languages and technologies for the projects I was involved in, ranging from C# to JavaScript, ASP.NET to Node.js, Angular to React, SOAP to REST APIs, etc.
In the last few years, I've been focusing on simplifying the developer experience with Identity and related topics, especially in the .NET ecosystem.