
TL;DR: In this article, we shall add authentication into our Django project using Auth0, and later, deploy it onto a public URL with Heroku for free. This article is the second part of the series, we can find part one here.
To follow along, fork and clone this GitHub repo from Part 1. Now let's get started by adding an authentication layer to our application using Auth0.
Authentication with Auth0
In this section, we’ll first create an Auth0 App and set the callback URLs for our application. Follow the below steps to set up an account in Auth0.
If you are wondering what callback URLs are, they are normal URLs that Auth0 invokes after the user authentication process. Auth0 redirects back to this URL and appends additional parameters to it, including an access code that will be exchanged for an id_token, access_token, and refresh_token.
“Callback URLs are URLs that Auth0 invokes after the authentication process.”
Tweet This
Creating the app in Auth0
- Create a new account by signing up for a free one here.
- If you already have an account, you can continue with your own.
- Next, go to your Auth0 dashboard and click on the "+ CREATE APPLICATION" button.
- Name the application, and then select "Regular Web Applications". Once done, click on "CREATE".
- After the application is created, click on the "Settings" tab and scroll down and set the Allowed Callback URLs and Allowed Logout URLs as follows:
- Allowed Callback URLs:
http://localhost:8000/complete/auth0/ - Allowed Logout URLs:
http://localhost:8000
These define the routes for login and logout in the Auth0 Dashboard.
Click on "SAVE CHANGES" at the bottom of the page to save these changes.
In the next section, we'll Auth0 and other necessary packages to configure the application.
Configuring Our App
We should have cloned this GitHub repo to start from where we left off in part 1. If this hasn't been done, do so now. We will be building off of this repo. Open the code in your text editor of choice.
It’s time to configure our application now. We will install the following dependencies as a primary step:
- social-auth-app-django~=3.1
- python-jose~=3.0
- python-dotenv~=0.9
To do so, use the following command in the terminal or command prompt of the application:
pip install social-auth-app-django~=3.1 python-jose~=3.0 python-dotenv~=0.9
Now let’s create a new app inside the codeshare folder:
python3 manage.py startapp auth0login
Make sure to install the following apps, social_django and auth0login in the ga-django-python/codeshare/settings.py file:
# ga-django-python/codeshare/settings.py

INSTALLED_APPS = [
    'django.contrib.admin',
    'django.contrib.auth',
    'django.contrib.contenttypes',
    'django.contrib.sessions',
    'django.contrib.messages',
    'django.contrib.staticfiles',
    'core',
    'social_django',
    'auth0login',
]
Alright! These are all packages and apps we need for authentication. In the next step, we'll add the Auth0 secure keys.
Settings up .env to secure the keys
To set up the communication between the Auth0 app to our application in the local system, we'll be adding a few keys. To make sure that these keys are secure and hidden, we'll be creating a .env file and export to our application. The keys we need to add to our app are,
- SOCIALAUTHAUTH0_DOMAIN
- SOCIALAUTHAUTH0_KEY
- SOCIALAUTHAUTH0_SECRET
We can get this information from the application settings in the Auth0 Dashboard.
The trick here is to save all our keys as variables in a .env file and load them to our core settings file. To achieve this, first, we'll have to create a file named .env and then export our variables, here is how it looks like:
export SOCIAL_AUTH_AUTH0_DOMAIN = "Your Auth0 Domain here"
export SOCIAL_AUTH_AUTH0_KEY = "Your Auth0 Client ID here"
export SOCIAL_AUTH_AUTH0_SECRET = "Your Auth0 Client Secret here"
Next, in our codeshare/settings.py file, we need to configure the location of the .env file. We will use the help of a package named dotenv that we installed earlier and import the keys from the .env file. Anywhere in the settings.py file, this is how it looks:
# ga-django-python/codeshare/settings.py

from dotenv import load_dotenv
project_folder = os.path.expanduser('/Users/viharkurama/Desktop/Articles/Auth0/codeshare-2') # update this line to your path
load_dotenv(os.path.join(project_folder, '.env'))

SOCIAL_AUTH_AUTH0_DOMAIN = os.getenv("SOCIAL_AUTH_AUTH0_DOMAIN")
SOCIAL_AUTH_AUTH0_KEY = os.getenv("SOCIAL_AUTH_AUTH0_KEY")
SOCIAL_AUTH_AUTH0_SECRET = os.getenv("SOCIAL_AUTH_AUTH0_SECRET")
Lastly, we can hide the
.envfile by adding it to a.gitignorefile. At the root of the project, create that.gitignorefile. With this, we can protect our keys without pushing them into any public repositories or production.
Setting Up Auth0
First, we set the SOCIAL_AUTH_AUTH0_SCOPE with the scopes that the application requests for when authenticating.
# ga-django-python/codeshare/settings.py

SOCIAL_AUTH_AUTH0_SCOPE = [
    'openid',
    'profile',
    'email'
]
Next, register the authentication backends in settings.py. Add the custom backend for Auth0 and ModelBackend for users to be able to authenticate and login with the username/password method. Below is the code snippet.
# ga-django-python/codeshare/settings.py

AUTHENTICATION_BACKENDS = {
    "auth0login.auth0backend.Auth0",
    "django.contrib.auth.backends.ModelBackend",
}
Next, configure the login and redirect login URLs; these redirect the application to the mentioned URLs during the login. The LOGIN_URL ends with auth0 as it needs to match the name property of the custom backend defined above.
# ga-django-python/codeshare/settings.py

LOGIN_URL = "/login/auth0"
LOGIN_REDIRECT_URL = "/"
Below is all the code showing the newly added configuration:
# ga-django-python/codeshare/settings.py

# Setting up .env file
from dotenv import load_dotenv
# update the following line to your path
project_folder = os.path.expanduser('/Users/viharkurama/Desktop/Articles/Auth0/codeshare-2')
load_dotenv(os.path.join(project_folder, '.env'))
SOCIAL_AUTH_AUTH0_DOMAIN = os.getenv("SOCIAL_AUTH_AUTH0_DOMAIN")
SOCIAL_AUTH_AUTH0_KEY = os.getenv("SOCIAL_AUTH_AUTH0_KEY")
SOCIAL_AUTH_AUTH0_SECRET = os.getenv("SOCIAL_AUTH_AUTH0_SECRET")

# Setting up Auth0 Scope
SOCIAL_AUTH_AUTH0_SCOPE = [
    'openid',
    'profile',
    'email'
]

# Setting up Authentication Backends
AUTHENTICATION_BACKENDS = {
    "auth0login.auth0backend.Auth0",
    "django.contrib.auth.backends.ModelBackend",
}

# Setting up login and redirect URLs
LOGIN_URL = "/login/auth0/"
LOGIN_REDIRECT_URL = "/"
Note: Be sure to update the
project_folderpath to your correct path.
Now that we have all the authentication variables configured, in the next section, we'll be writing authentication views.
Auth0 Backend
Now that we’ve created an app named auth0login, let’s create a file called auth0backend.py (in the auth0login folder) and write the functionality in there. Try to understand the code; this helps our app to connect with Auth0 in order to enable authentication.
# ga-django-python/auth0login/auth0backend.py

from urllib import request
from jose import jwt
from social_core.backends.oauth import BaseOAuth2
class Auth0(BaseOAuth2):
    """Auth0 OAuth authentication backend"""
    name = "auth0"
    SCOPE_SEPARATOR = " "
    ACCESS_TOKEN_METHOD = "POST"
    REDIRECT_STATE = False
    EXTRA_DATA = [("picture", "picture"), ("email", "email")]
    def authorization_url(self):
        return "https://" + self.setting("DOMAIN") + "/authorize"
    def access_token_url(self):
        return "https://" + self.setting("DOMAIN") + "/oauth/token"
    def get_user_id(self, details, response):
        """Return current user id."""
        return details["user_id"]
    def get_user_details(self, response):
        # Obtain JWT and the keys to validate the signature
        id_token = response.get("id_token")
        jwks = request.urlopen(
            "https://" + self.setting("DOMAIN") + "/.well-known/jwks.json"
        )
        issuer = "https://" + self.setting("DOMAIN") + "/"
        audience = self.setting("KEY")  # CLIENT_ID
        payload = jwt.decode(
            id_token,
            jwks.read(),
            algorithms=["RS256"],
            audience=audience,
            issuer=issuer,
        )
        return {
            "username": payload["nickname"],
            "first_name": payload["name"],
            "picture": payload["picture"],
            "user_id": payload["sub"],
            "email": payload["email"],
        }
In our "core" app, let’s define the login (index view) and logout (logout view) routes. Also, make sure to do the necessary imports. This should be the views.py file after making the required insertions and modifications:
# ga-django-python/core/views.py

from django.shortcuts import render, redirect
from django.views.generic import View
from django.utils.decorators import method_decorator
from .models import Post
from django.contrib.auth.decorators import login_required
from django.contrib.auth import logout as log_out
from urllib.parse import urlencode
from django.conf import settings
from django.http import HttpResponseRedirect
# Create your views here.
def index(request):
    user = request.user
    if user.is_authenticated:
        return redirect("/codes")
    else:
        return render(request, "index.html")
def logout(request):
    log_out(request)
    return_to = urlencode({"returnTo": request.build_absolute_uri("/")})
    logout_url = "https://{}/v2/logout?client_id={}&{}".format(
        settings.SOCIAL_AUTH_AUTH0_DOMAIN, settings.SOCIAL_AUTH_AUTH0_KEY, return_to,
    )
    return HttpResponseRedirect(logout_url)
class PostListView(View):
    @method_decorator(login_required)
    def dispatch(self, *args, **kwargs):
        return super(PostListView, self).dispatch(*args, **kwargs)
    def get(self, request):
        posts = Post.objects.all()
        context = {"posts": posts}
        return render(request, "home.html", context)
Let’s now create a new file in the "templates" folder called index.html.
<!-- ga-django-python/templates/index.html -->

<html>
  <body>
    <div class="login-box auth0-box before">
      <img src="https://images.ctfassets.net/23aumh6u8s0i/3kLCq6FMhsHsx98VTawqkY/82280e487e361595481f0870fb203929/StzWWrY34s" />
      <h3>Auth0 Example</h3>
      <p>Zero friction identity infrastructure, built for developers</p>
      <a class="btn btn-primary btn-lg btn-login btn-block" href="/login/auth0">
        Log In
      </a>
    </div>
  </body>
</html>
Great! We’re one step away from finishing the app. We’ve added our views, and set up Auth0, but we haven’t defined any login URLs yet. Let’s quickly go into our core URLs and add the below paths. This should be our "urls.py" file:
# ga-django-python/core/urls.py

from django.urls import path, include
from .views import PostListView, index, logout
urlpatterns = [
    path("", index),
    path("codes", PostListView.as_view()),
    path("logout", logout),
    path("", include("django.contrib.auth.urls")),
    path("", include("social_django.urls")),
]
Everything is in place now. Let’s make the migrations so that Django creates the database that’s required by "social_django".
python3 manage.py migrate
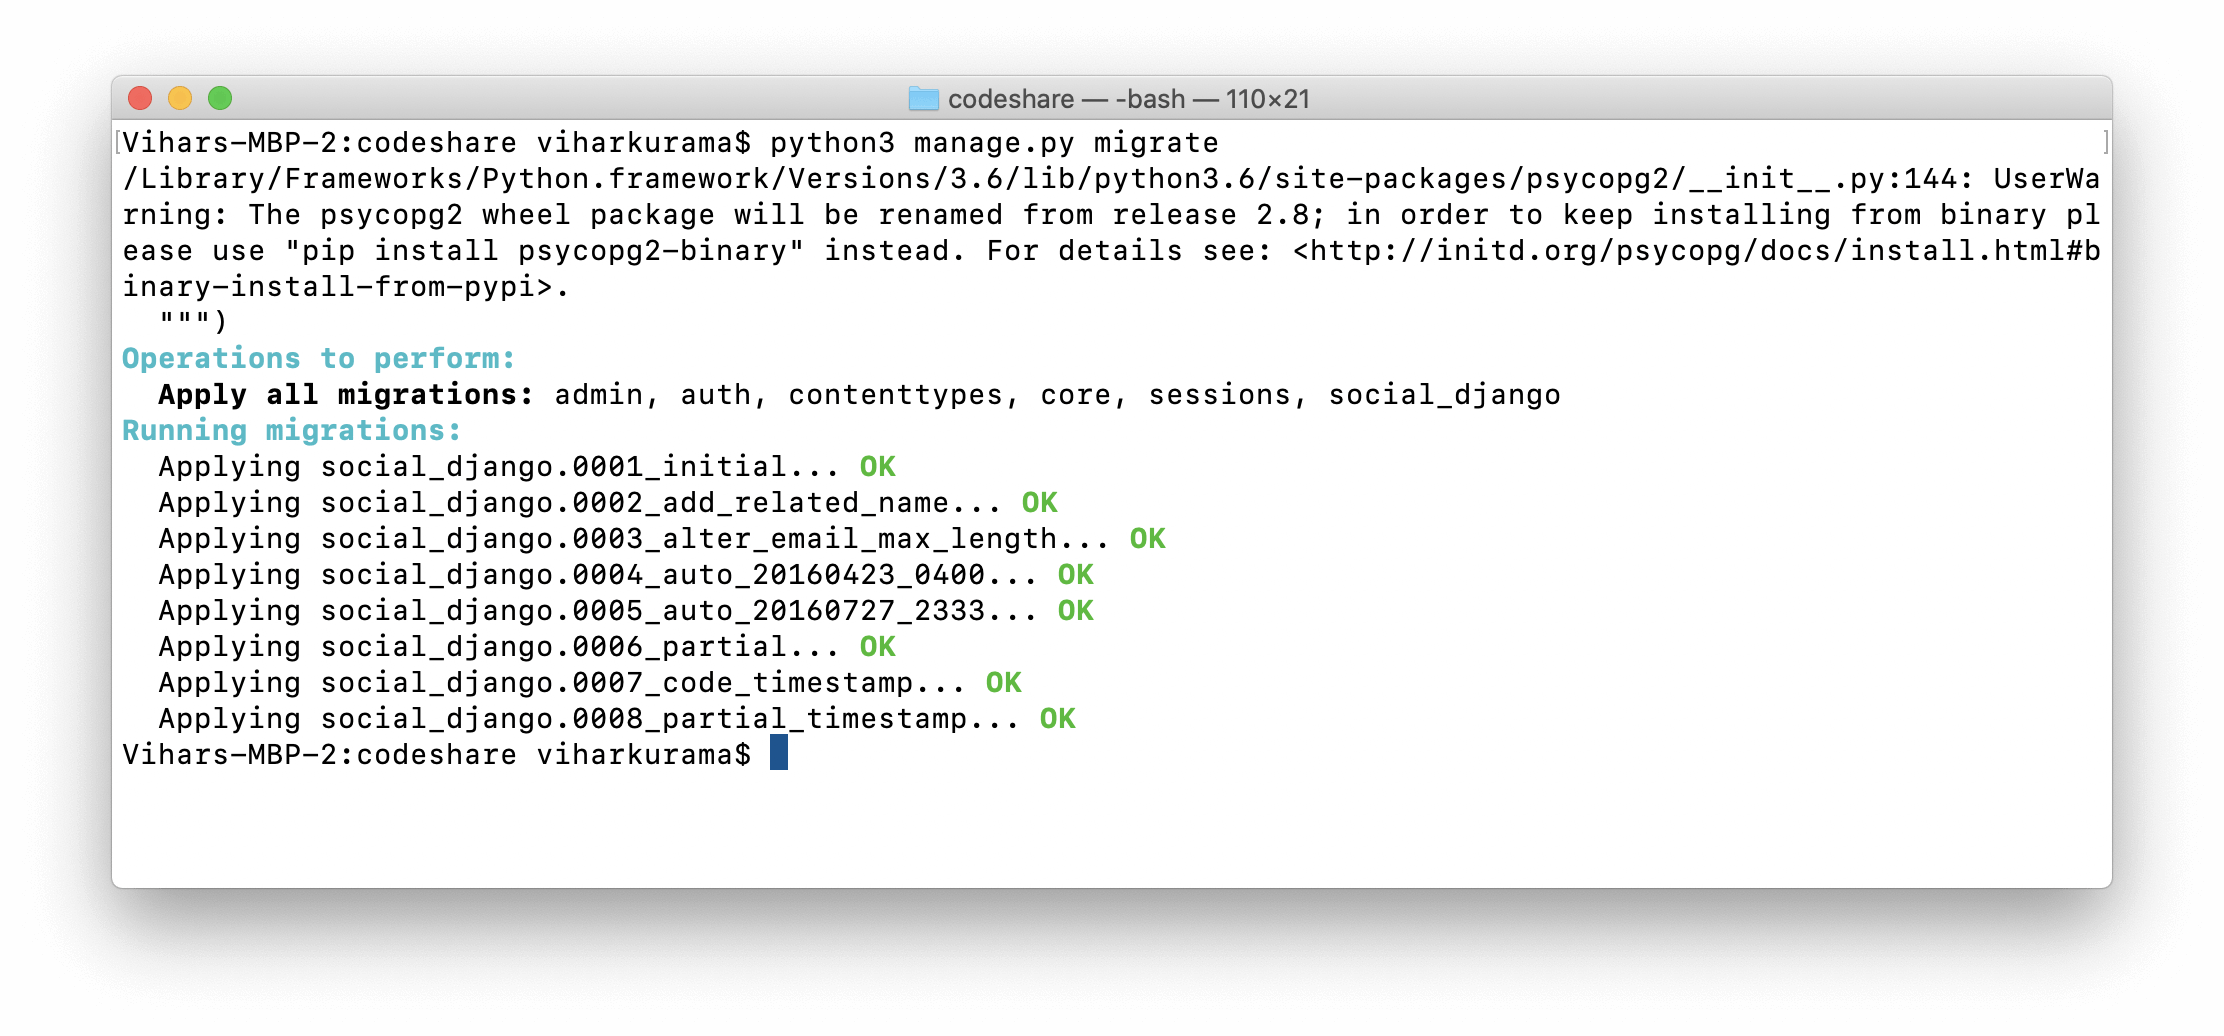
Alright, let’s run the server:
python3 manage.py runserver
Next, let's hit the URL localhost:8000. We should see the following screen indicating that Auth0 is perfectly integrated with our application:
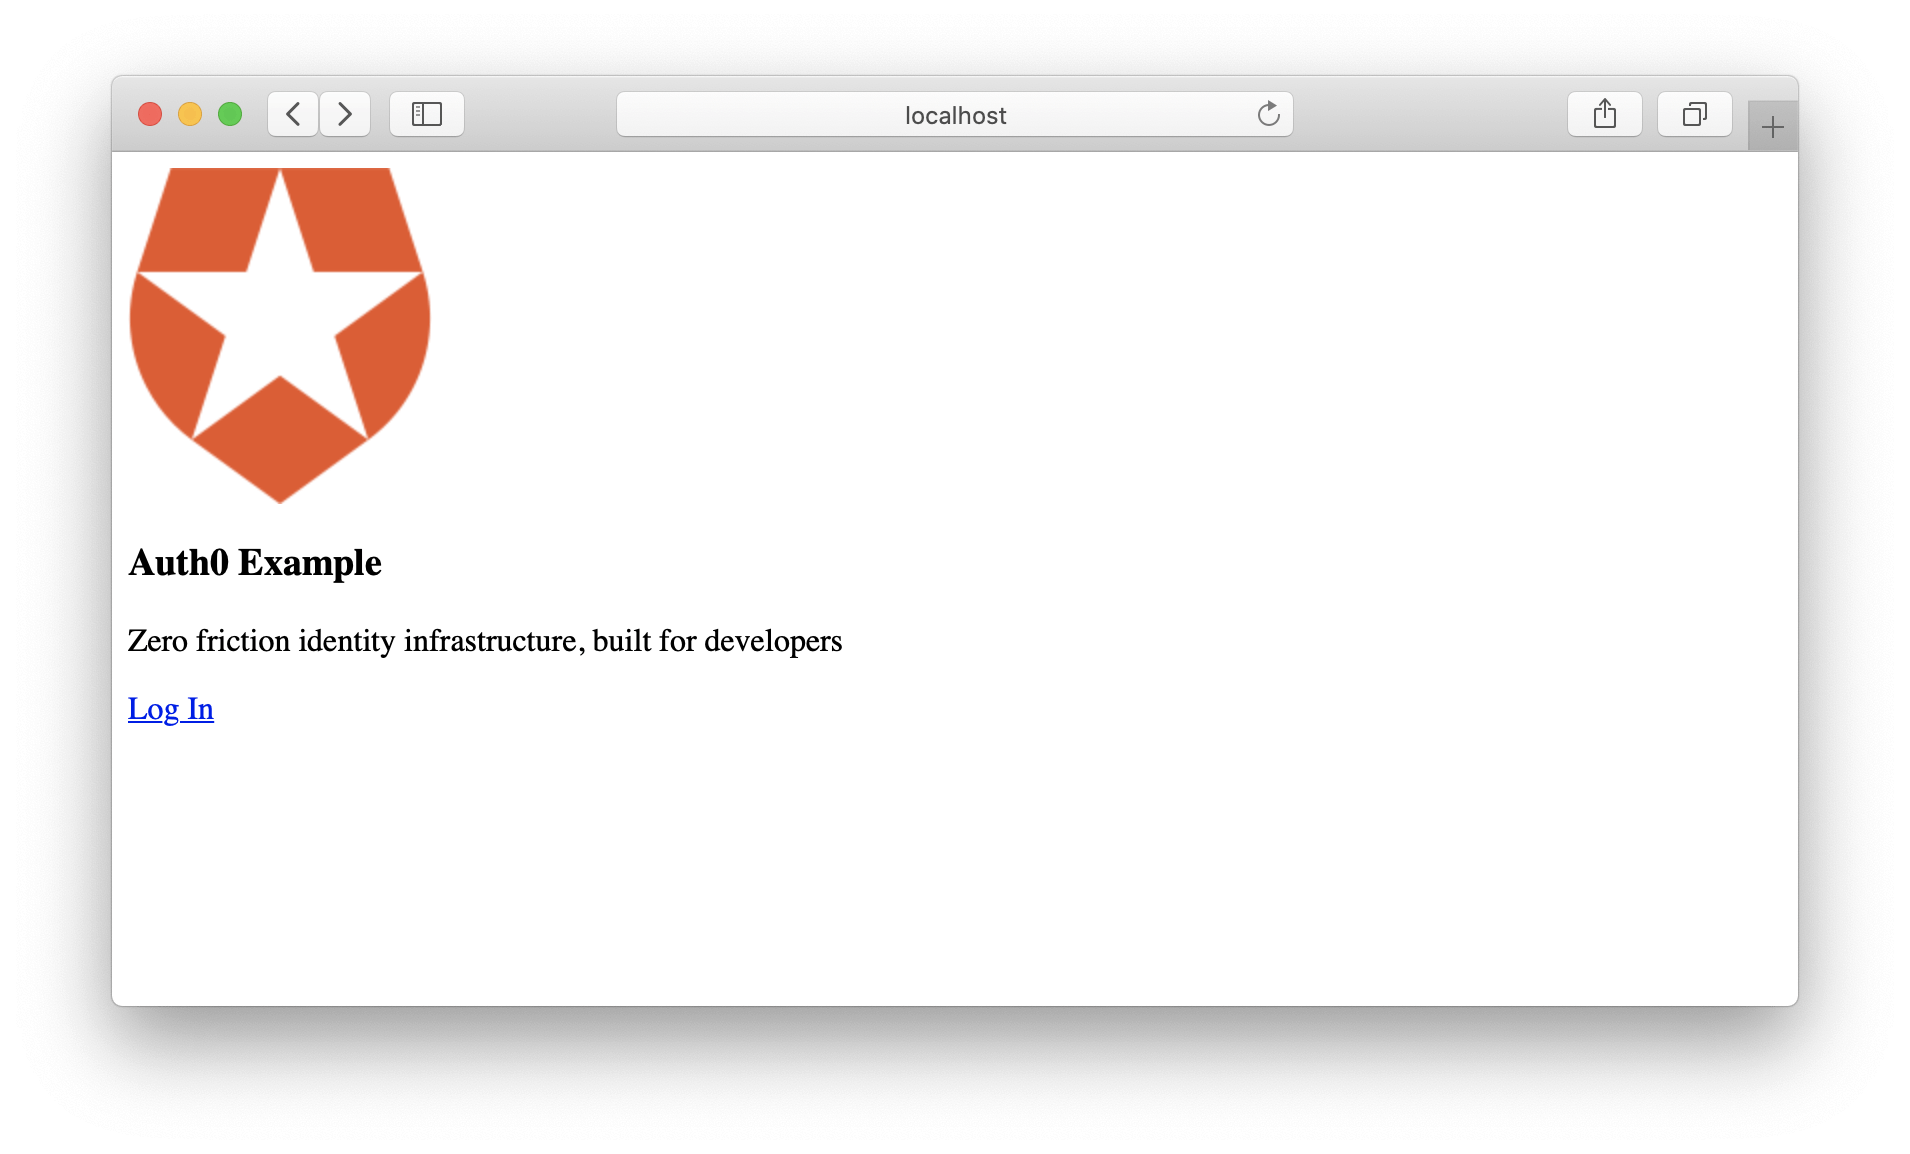
Click on Log In, and this should take us to the below screen:
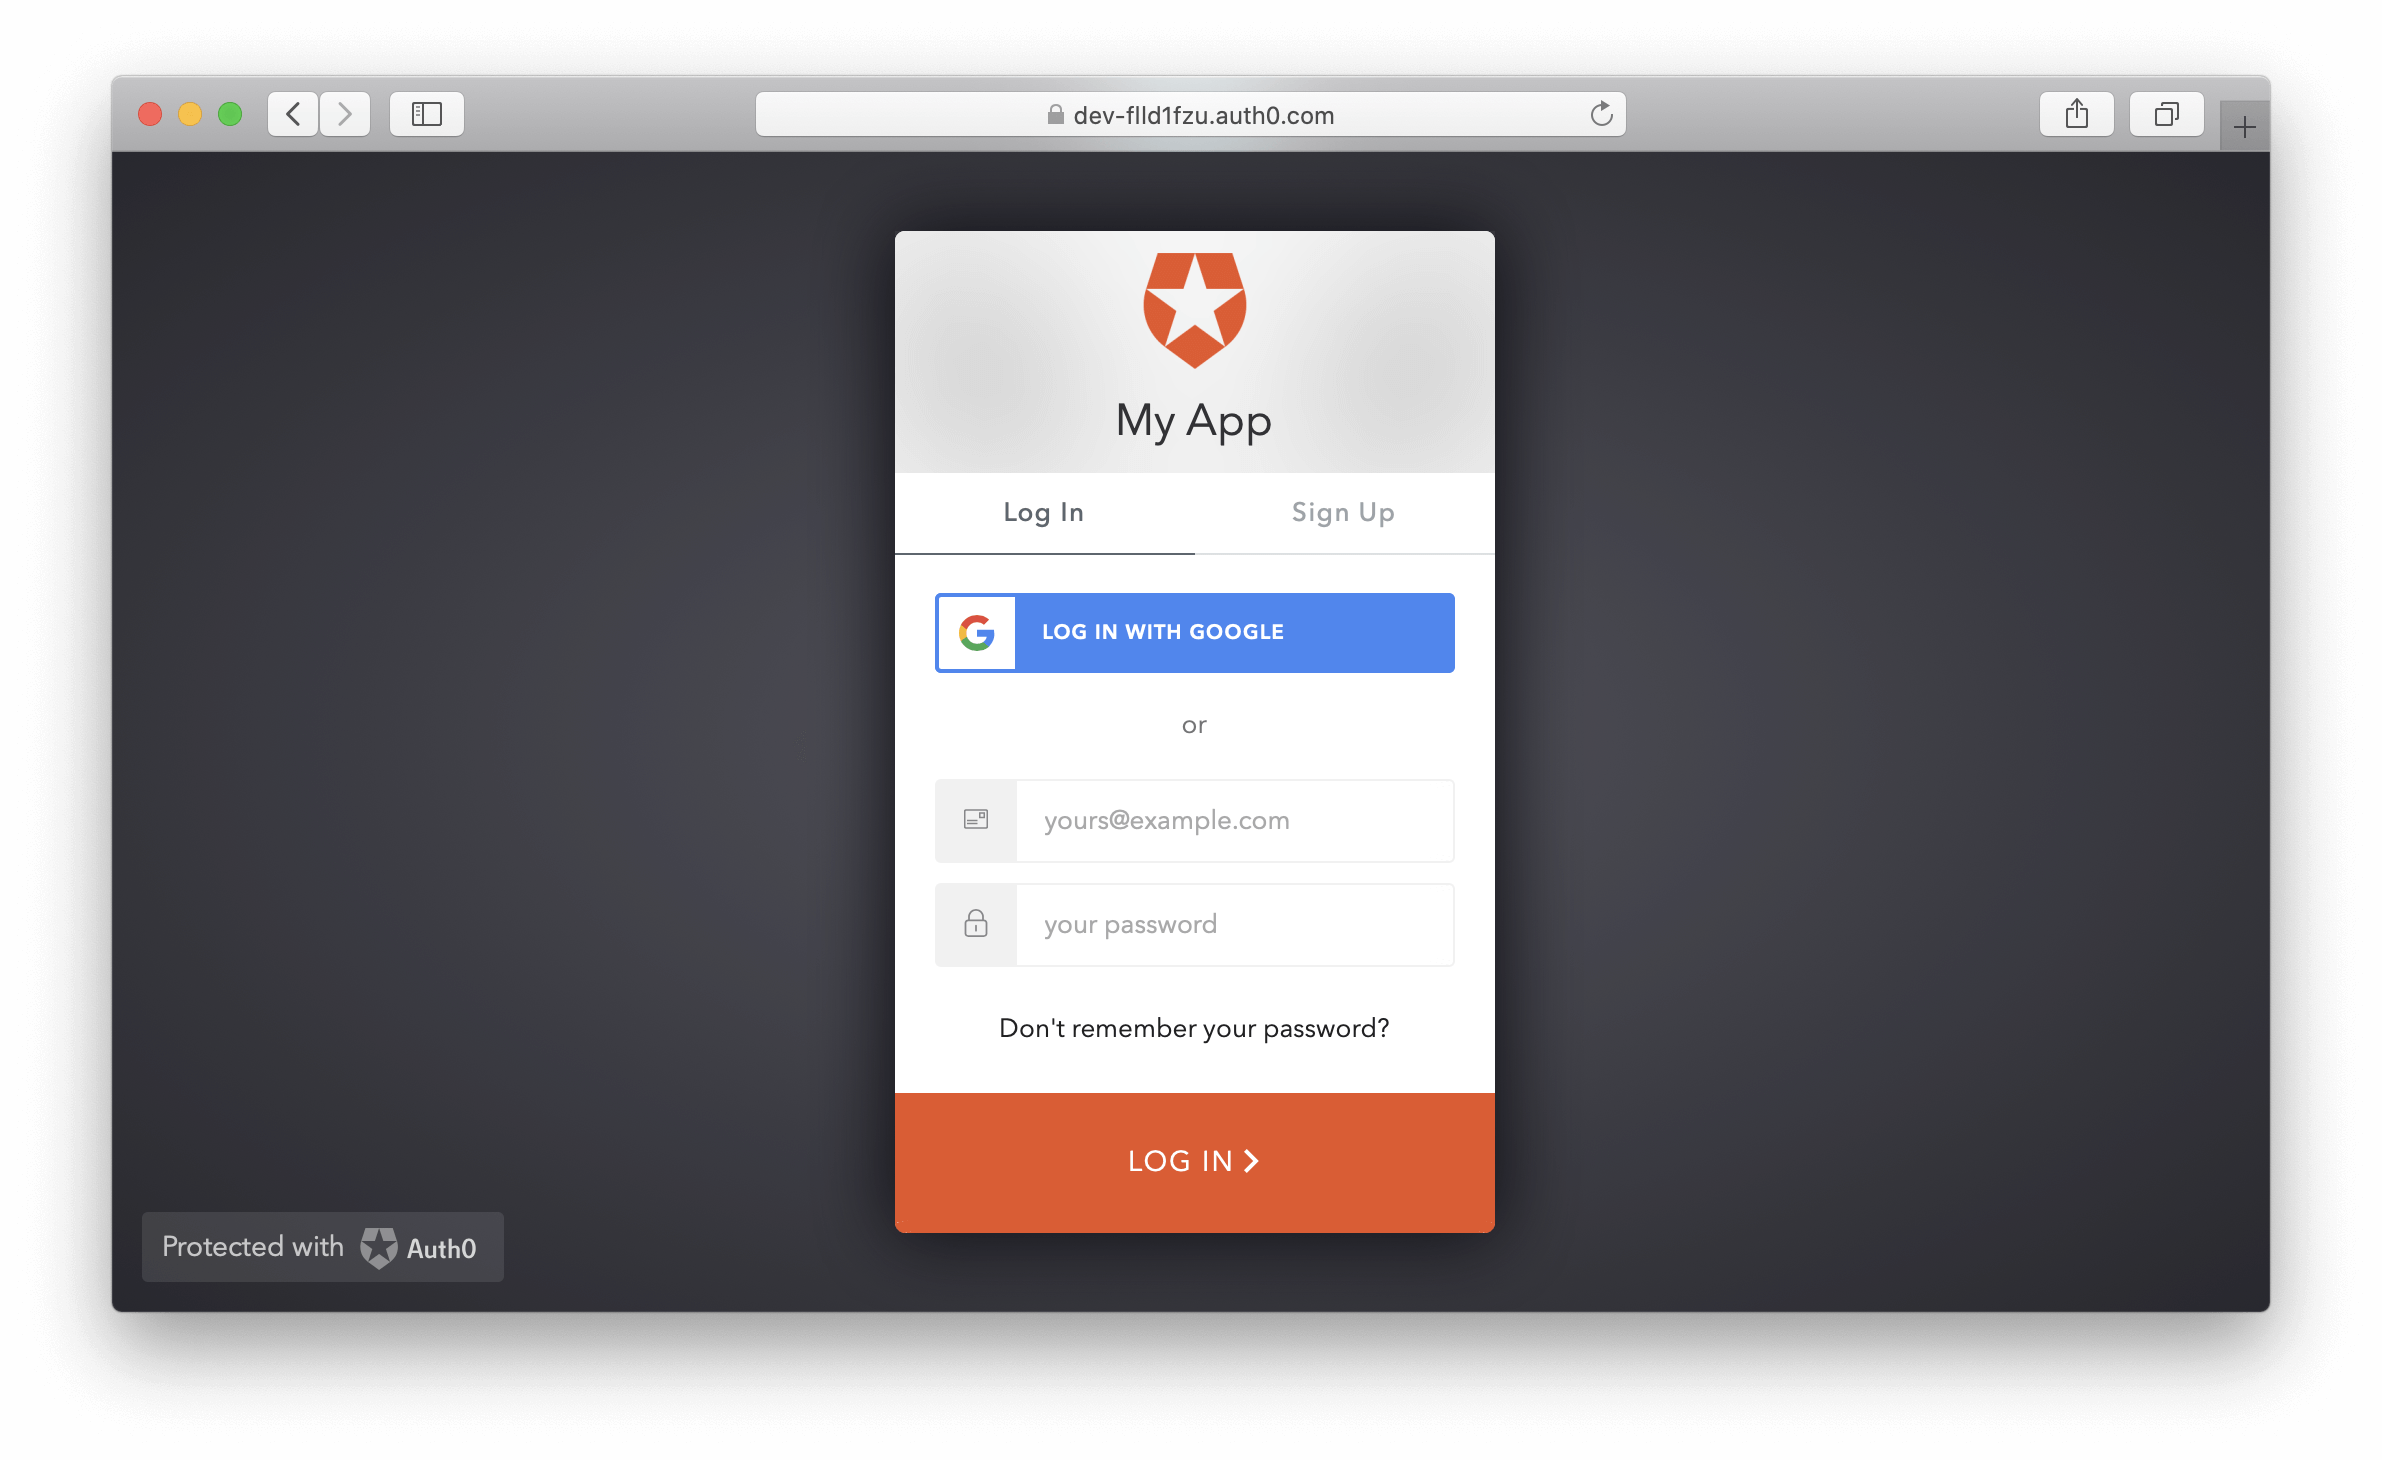
Here we go! An awesome way to greet a user!
In the next section, we’ll learn to deploy our Django application into production using Heroku.
Deploying Django Apps to Heroku
Before we get started, let's quickly get ourselves acquainted with the answers to the following two questions:
- What is website deployment?
- How do websites go live?
Web deployment is the process of deploying source code (HTML, CSS, JavaScript, and server code) from source control or source artifacts to a hosting platform. This is usually in the cloud. Here, we’ll use the Heroku cloud platform to deploy our Django application into production.
As of now, our website is locally deployed. Hence we test the application on our local server with the URL "localhost:8000". When a website is deployed into production, the site runs on a global server and can be accessed by a specific URL that can be viewed globally.
Moving on to the second question, how do websites go live? This is where Heroku comes into the picture. It’s a cloud application platform where we can make our websites go live with no extra cost. We’ll use git, a version control system software, to push files from our local system to production.
Seems interesting, right? Let’s get started right away.
“Use the Heroku cloud platform to deploy Django apps!”
Tweet This
Creating a Heroku account
Our first step is to create a new account on Heroku. Use this link to create an account.
After that’s done, a dashboard is displayed:
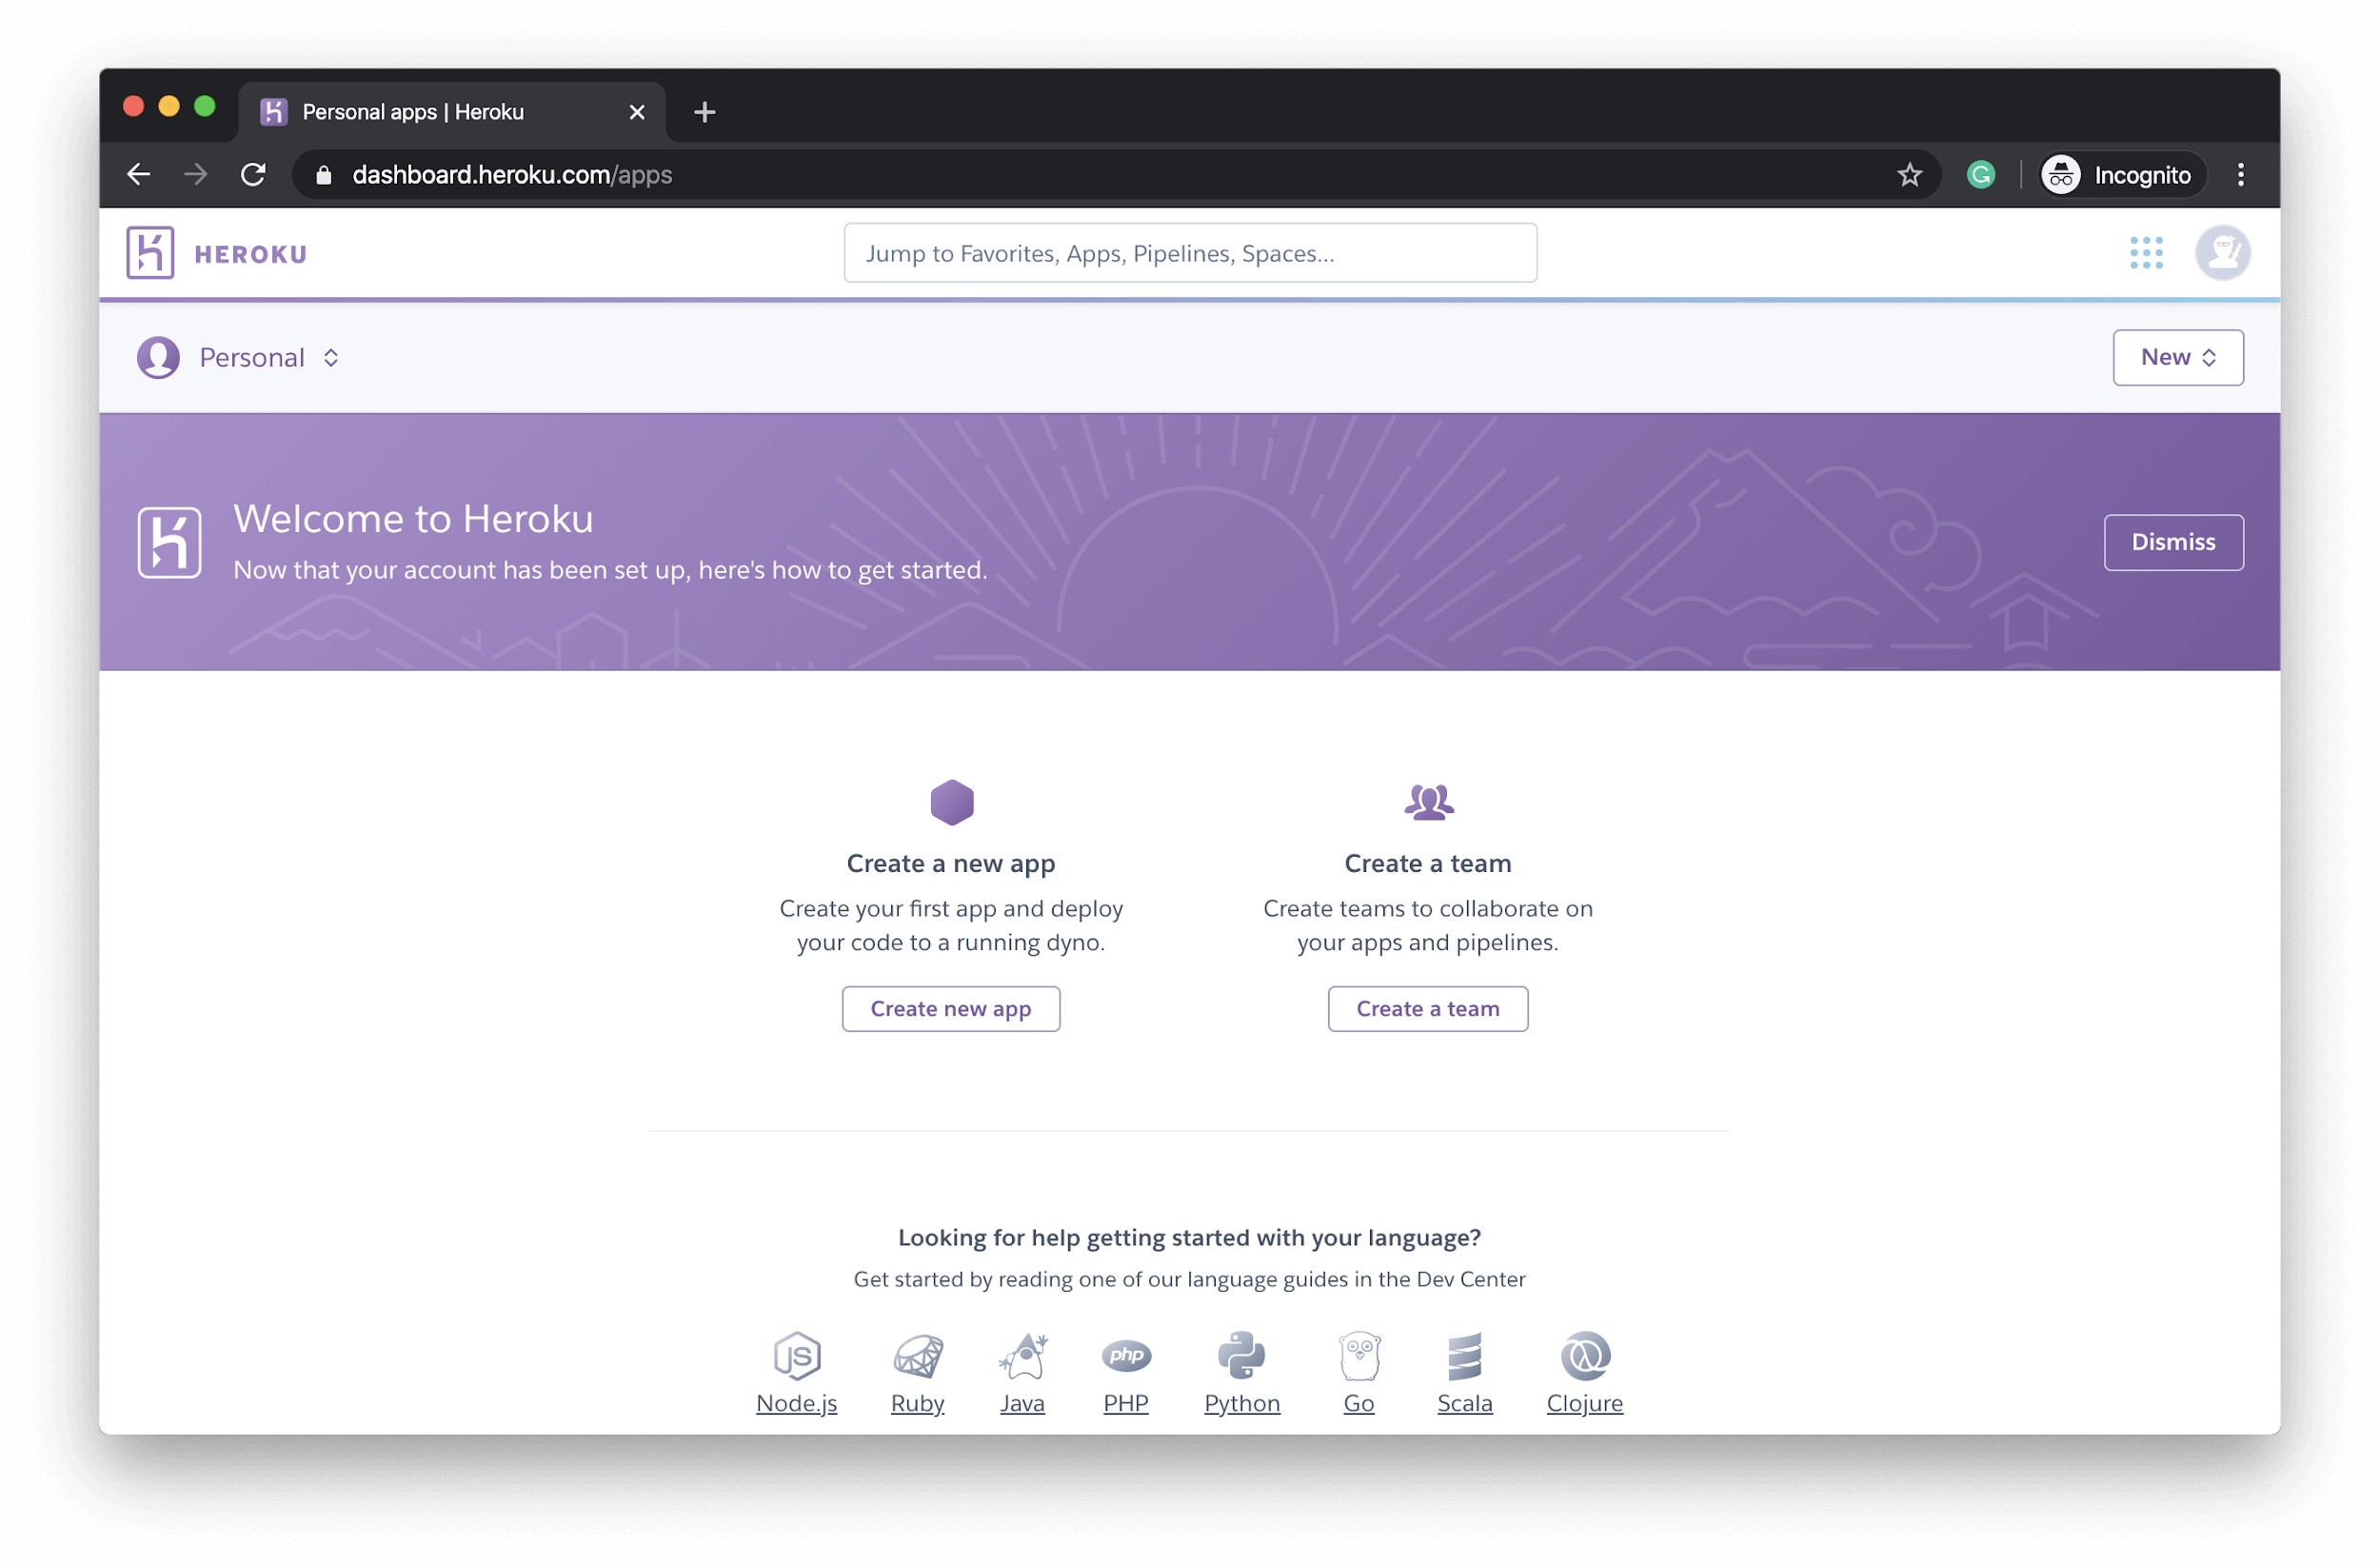
Our next task is to create a new app on Heroku. Click on "Create new app" and let’s name it; we will use codeshare-auth0 in this tutorial. The name must be unique, so please choose a unique one from this tutorial.
Once the app is created, it redirects us to a new page where we find documentation and instructions to help us through the process of setting up Heroku.
Taking that as a cue, let’s configure the settings in our application.
Configuring Heroku in our application
Let’s understand this section step-by-step.
- Step 1: First, we will create a file named Procfile (in the parent ga-django-python folder). Be sure the "P" is capitalized.
A Procfile is a mechanism for declaring commands run by our application.
Inside the Procfile, it will look like the following:
# ga-django-python/Procfile

web: gunicorn codeshare.wsgi
We use codeshare here because all of our settings live in the ga-django-python/codeshare/settings.py file.
- Step 2: We add Heroku settings to the settings.py file.
For that, we import django_heroku package and then append the following lines at the end to our codeshare/settings.py file as shown below:
# ga-django-python/codeshare/settings.py

import django_heroku
django_heroku.settings(locals())
Note: Heroku requires few settings and middleware configurations hence add these lines at the end as the mentioned variables need to be executed in the first.
- Step 3: We then install the imported and used dependencies - Heroku and Gunicorn. To do so, run the following commands from your terminal or command prompt:
pip3 install psycopg2
pip3 install gunicorn
pip3 install django-heroku
- Step 4: We create the files runtime.txt and requirements.txt (in the root of the project) to list all the required dependencies and packages that are to be installed on the production server.
# ga-django-python/runtime.txt

python-3.6.9
# ga-django-python/requirements.txt

asgiref==3.2.3
certifi==2019.11.28
chardet==3.0.4
defusedxml==0.6.0
dj-database-url==0.5.0
Django==3.0.3
django-heroku==0.3.1
django-taggit==1.2.0
ecdsa==0.14.1
gunicorn==20.0.4
idna==2.8
oauthlib==3.1.0
psycopg2==2.7.4
psycopg2-binary==2.8.4
pyasn1==0.4.8
PyJWT==1.7.1
python-dotenv==0.10.3
python-jose==3.1.0
python3-openid==3.1.0
pytz==2019.3
requests==2.22.0
requests-oauthlib==1.3.0
rsa==4.0
six==1.13.0
social-auth-app-django==3.1.0
social-auth-core==3.2.0
sqlparse==0.3.0
urllib3==1.25.7
whitenoise==5.0.1
Great! Now that all our configuration is complete, we'll configure Heroku on our command line and push the code to production.
Heroku on the command line
Since we installed django-heroku, we can directly access the heroku commands from the command prompt or terminal.
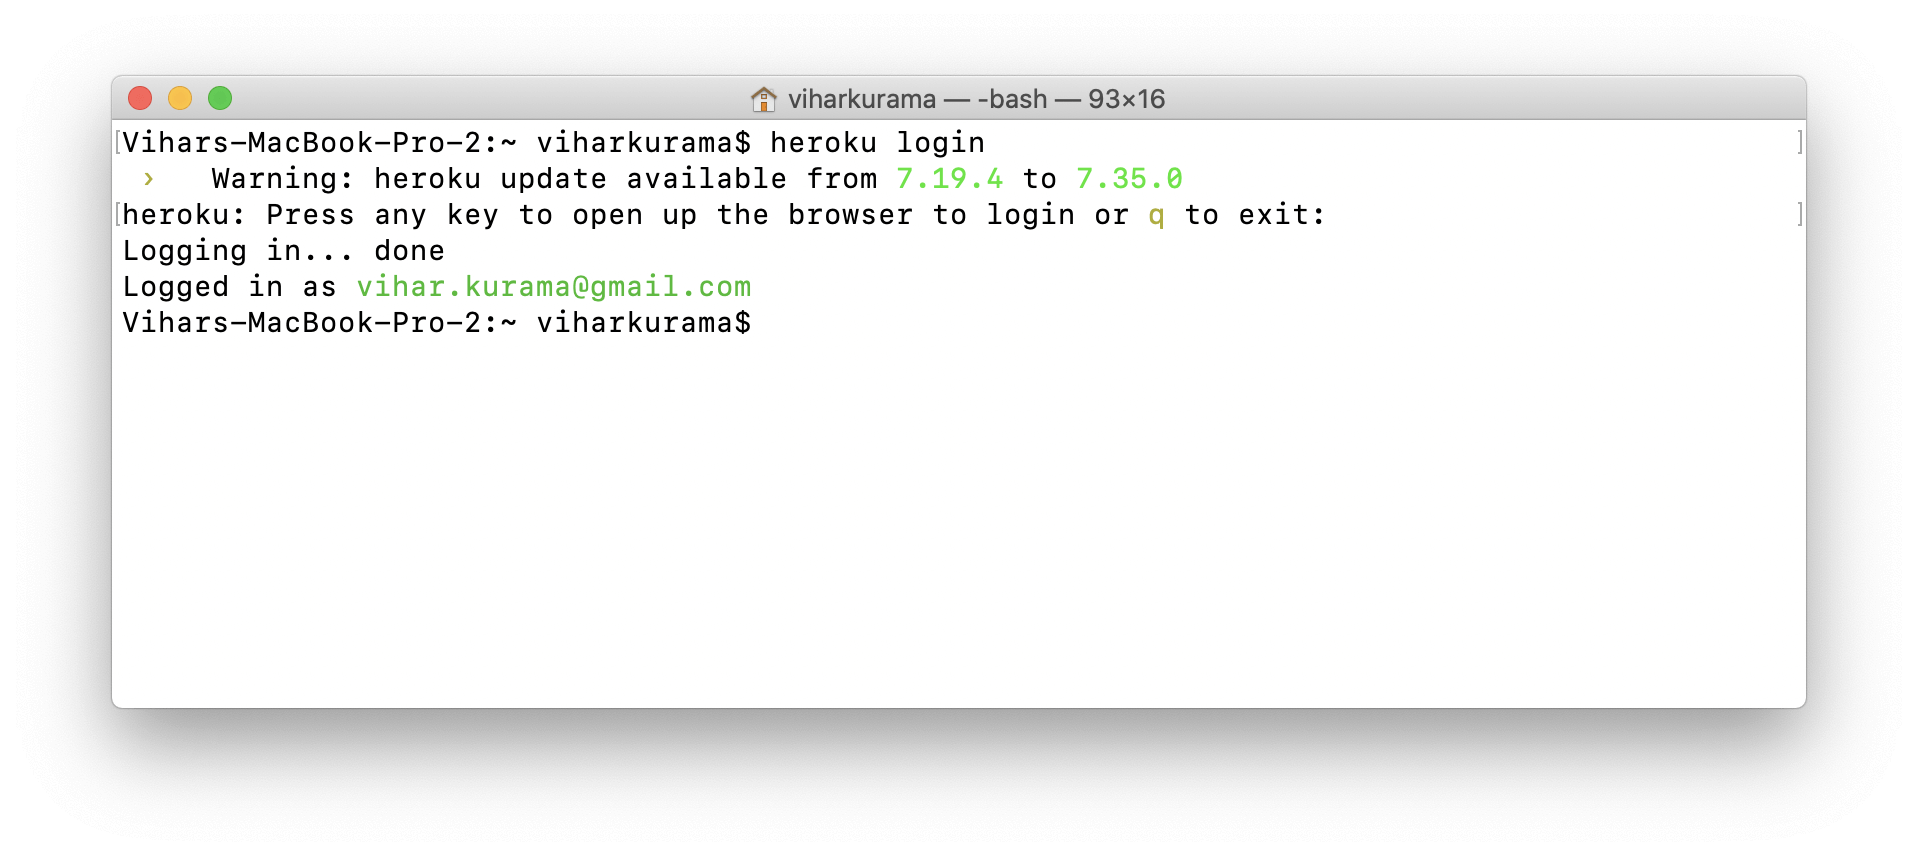
Previously, we’ve created a Heroku app and configured our application with the new Heroku settings. Now we've got to push the source code to the Heroku application. Hence we need to log in to the Heroku account from the command line. To do this, we use the command:
heroku login
Note: Make sure your heroku cli is up-to-date. To do so, run the command
npm i -g heroku.
This command opens the default web browser where we are to login using our previously set credentials. These are the messages displayed after a successful login:
Pushing source code to Heroku
Now that we’ve logged in, the next step is to push the code to the Heroku application via Git.
As a preliminary step, we initialize git inside the root of the project. This can be done by running the following command:
git init
Next, we add Heroku remote to the folder. This can be found on the Heroku dashboard in the created application.
Modify the command to be the name of your Heroku app
heroku git:remote -a codeshare-auth0
We also need to run the command for an additional configuration that handles the static files.
heroku config:set DISABLE_COLLECTSTATIC=1
Finally, using the git commands, we push the code using the Heroku remote to the origin branch directly.
git add .
git commit -m "You can add your own commit message here!"
git push heroku master
There we go! The code-sharing application is now in production. We can go to the Heroku dashboard and check if our push worked. We will see, under "Latest Activity", our most recent push. However, we’re yet to run the migrations and setup Postgres to link the database to the code that is in production. Let’s wrap this real quick.
Our first step is to create a Postgres DB in production. We can set this up by running the following command:
heroku addons:create heroku-postgresql:hobby-dev
This command creates a new empty Postgres database that gets directly linked to the application; there’s no additional configuration required in the settings.py file.
In the next step, we run migrations to the code that is deployed on Heroku. Hence we add a prefix heroku run to run all the necessary commands in production.
Below is the command to run migrations and create tables:
heroku run python manage.py migrate
Let's check and debug if there are any errors. The following command can be used:
heroku logs
One last thing: Setting up the production call-back URLs
Remember in our first section, we've added the authentication callback URLs? If you see the website that's deployed, it'll be working but will fail as soon as you try authentication with Auth0. This is because we did not update the production call back URLs. Let's do it now.
First, we need to change the callback URLs in our settings.py file, as the name of Heroku app is created as codeshare-auth0 below is how it looks,
Be sure to update your Heroku app name in the following link
# ga-django-python/codeshare/settings.py

LOGIN_URL = "https://codeshare-auth0.herokuapp.com/login/auth0/"
LOGIN_REDIRECT_URL = "https://codeshare-auth0.herokuapp.com/"
Finally, we need to change the callback URLs in the Auth0 Dashboard under settings. Because we named the app codeshare-auth0 in Heroku, below are the updated callback urls in the Auth0 dashboard:
- Application Login URI: https://codeshare-auth0.herokuapp.com/login/auth0/
- Allowed Callback URLs: https://codeshare-auth0.herokuapp.com/complete/auth0/
- Allowed Logout URLs: https://part2-test-auth0.herokuapp.com
Once these are updated in the Auth0 app, be sure to hit "Save Changes" at the bottom of the "Settings" tab.
Checking the Website 🚀
Everything is now ready, and we can open the hosted URL and check if the website is correctly hosted or not. In the case of our Heroku app, our URL will be https://codeshare-auth0.herokuapp.com/.
To check if the databases are correctly migrated or not, we can create a superuser by using the below command and add some data for the final checks!
python manage.py createsuperuser
Admin home page is now accessible at localhost:8000/admin/, and it looks like the following:
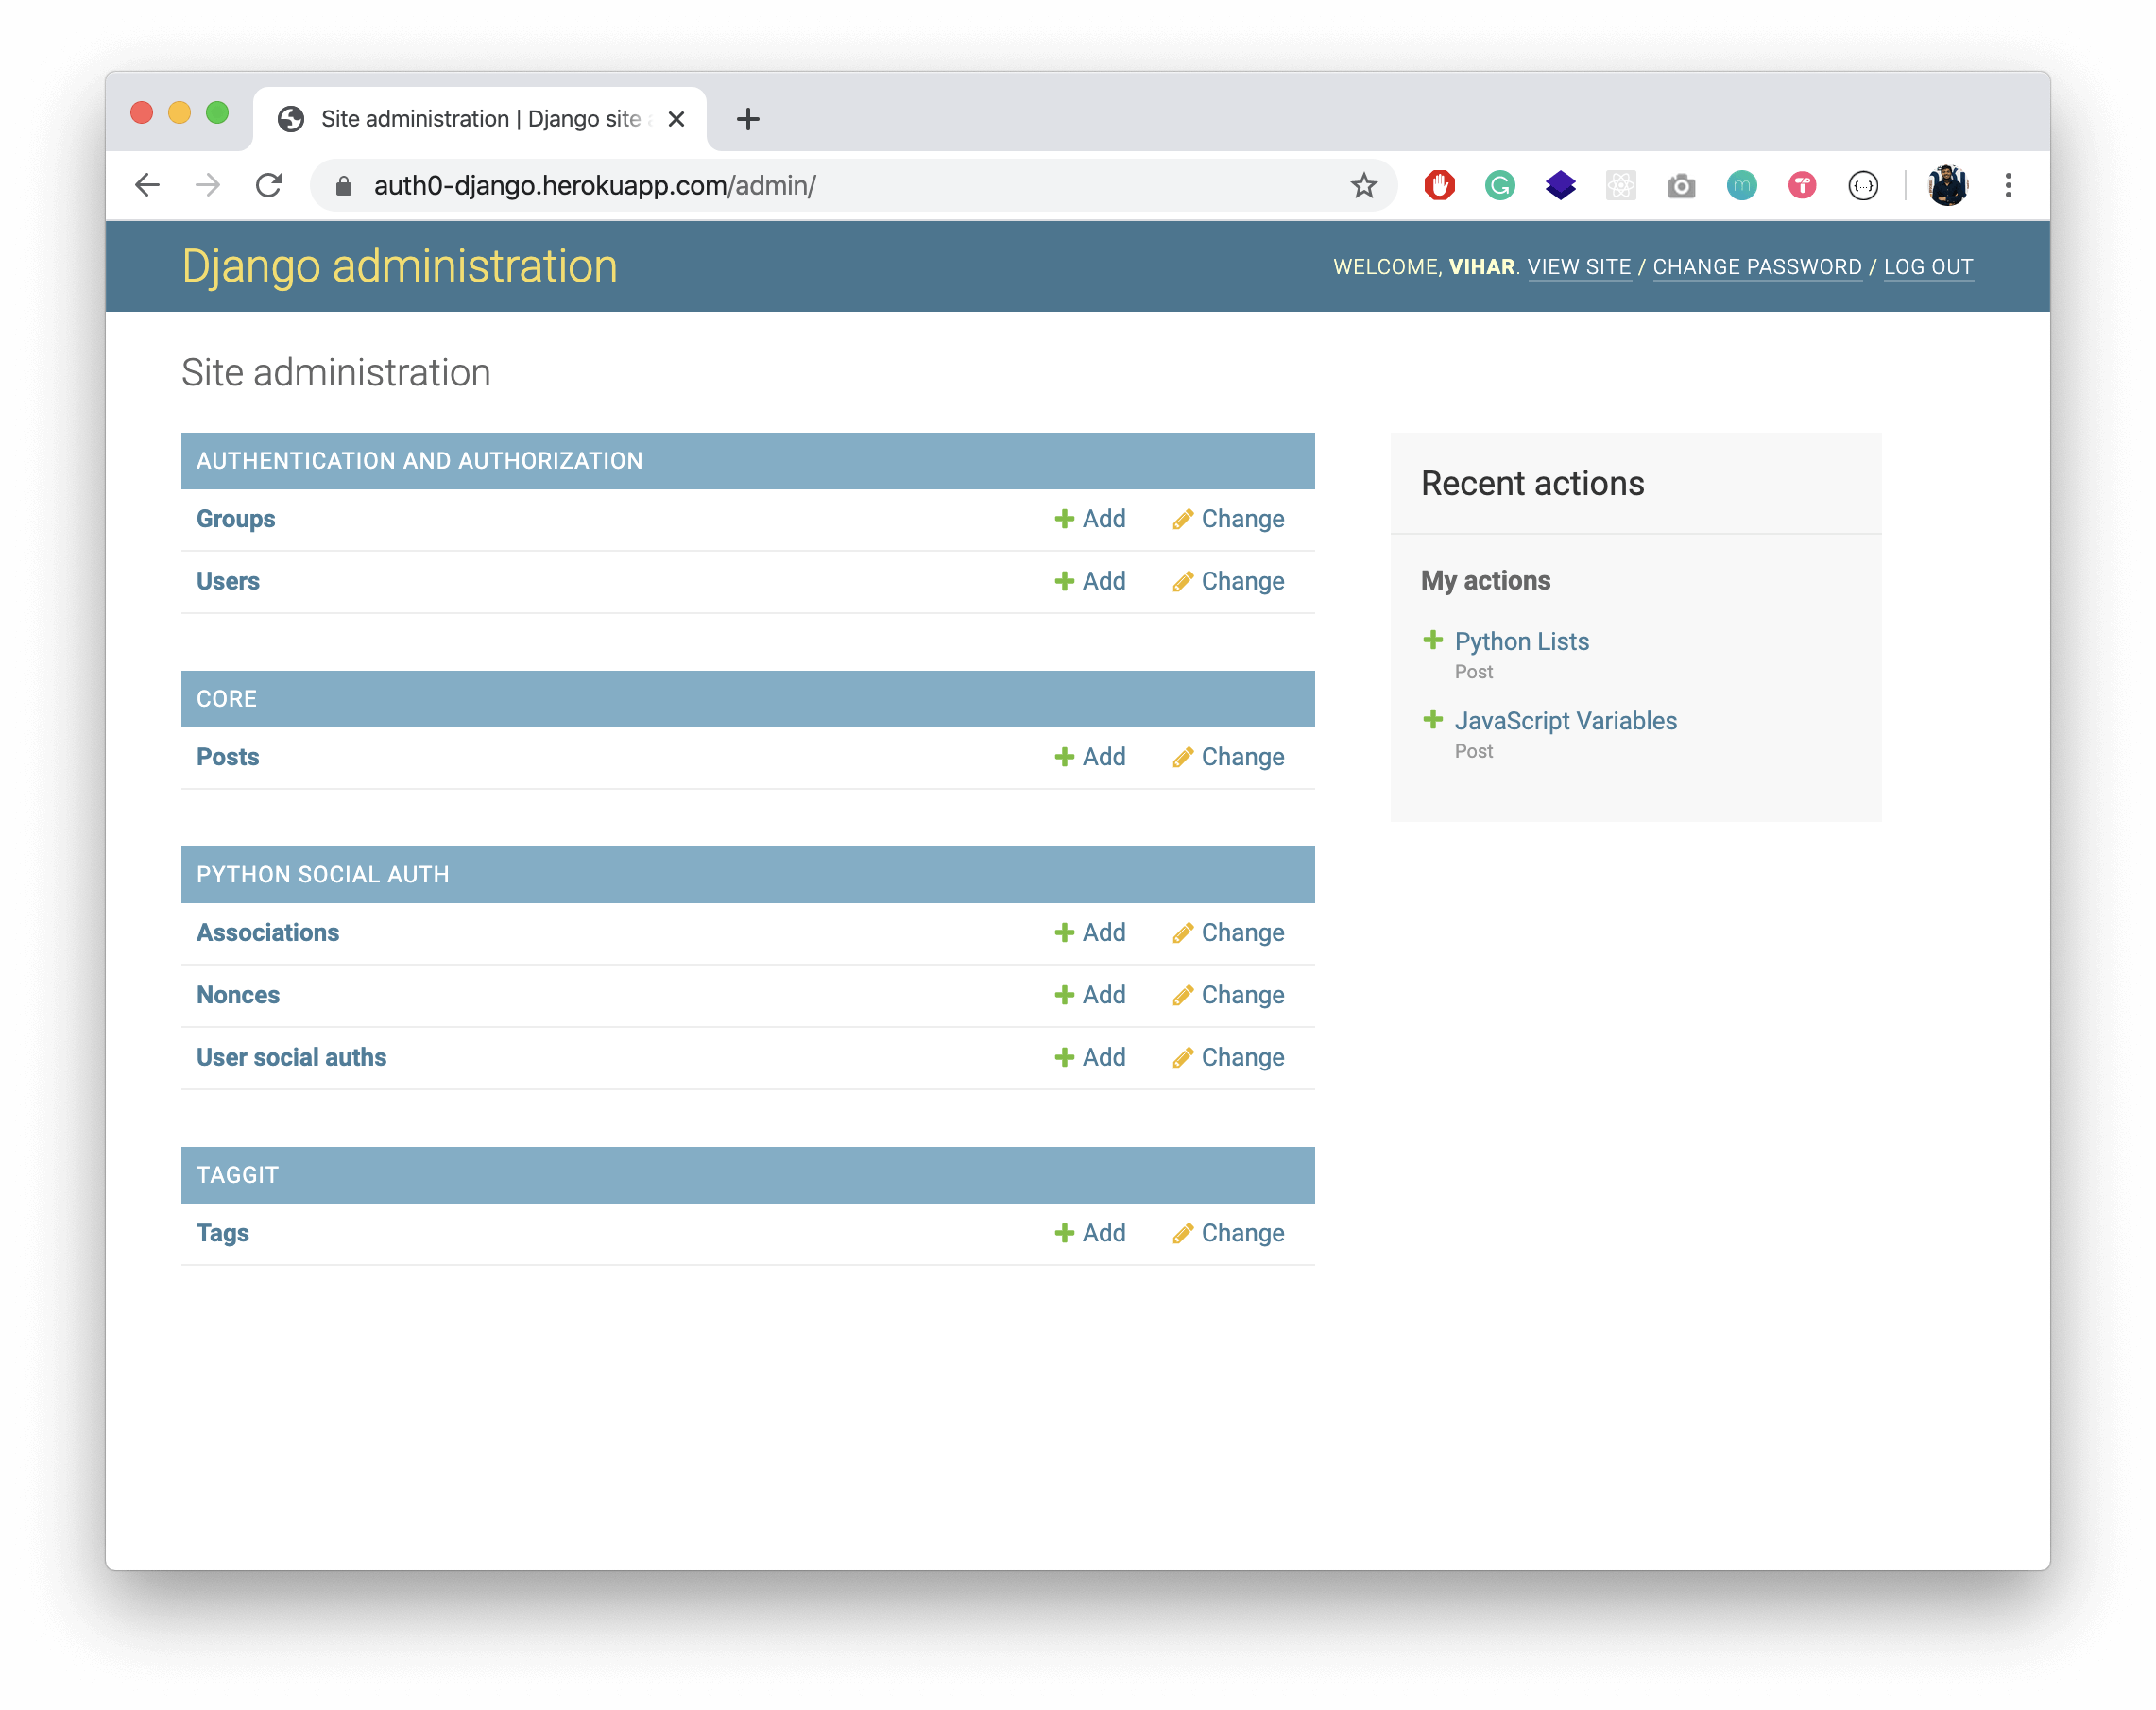
Our website is now live and can be accessed from anywhere.
Wrap Up!
In this article, we’ve learned to add authentication and deploy Django applications to production. We started by using Auth0, an Authentication providing service, and configured it in our code-sharing application. Furthermore, we used Heroku, a cloud hosting platform, to deploy the site to production.
About the author

Vihar Kurama
Co-Founder, Core Developer at Caravel.AI