
Secrets and other sensitive information should be managed with care in your applications. This is true not only when you release them but also while you are developing them. Let's see what the best practices to manage secrets in your .NET applications are.
What is Secrets Management?
Secrets Management is the set of tools and techniques that grant confidentiality for your sensitive information, i.e., your secrets. In the application development context, typical secrets include application credentials, API keys, SSH keys, database passwords, encryption keys, and so on.
You must take care of this data since their being breached puts your application at risk. Imagine that an unauthorized user catches the database connection string used by your application. They can directly access the database without any filter that your application could apply. The same would happen if the API key you use to access a cloud service got into the wrong hands.
Improper management of these secrets exposes your application to vulnerabilities similar to the ones due to bad programming practices or bugs.
In this article, you'll explore the options you have to manage application secrets in the .NET development environment. You will start from the most common approach based on the built-in configuration file and learn better alternatives for development and production environments. The good news is that in the basic case, your code remains basically the same.
The Sample Application
To see how to apply the different options to manage secrets, you will use a basic ASP.NET application that supports authentication via Auth0. The application needs to provide some secrets to use Auth0 authentication services. The management of these specific secrets is the subject of our exploration.
Get the sample application
Let's start by cloning the ASP.NET application from this GitHub repository. You can use the following command:
git clone https://github.com/auth0-blog/dotnet-secrets-management
The sample application is pretty simple: it is a web app that requires authentication to let the user access their own profile page. Please check out this article explaining how to integrate an ASP.NET application with Auth0 using C# extension methods if you want to know the implementation details.
Register the app with Auth0
Once you get the application on your machine, you need to register it with Auth0. For this purpose, access your Auth0 Dashboard and move to the Applications section. If you don't have an Auth0 account yet, you can sign up for a free one right now.
In the Applications section, follow these steps to register your application with Auth0:
- Click the Create Application button.
- Provide a friendly name for your application (for example, Sample ASP.NET MVC App) and select Regular Web Application as the application type.
- Finally, click the Create button.
After you create the application, move to the Settings tab and take note of your Auth0 Domain, Client ID, and Client Secret. You will need these values to configure your application and allow it to communicate with Auth0. These data will be the secrets that you'll need to protect.
Actually, the Domain is not a secret. It is the DNS name of the authorization server assigned to your Auth0 tenant. So, it is a public name.
As the next step, assign the value https://localhost:5001/callback to the Allowed Callback URLs field and the value https://localhost:5001/ to the Allowed Logout URLs field. The first value tells Auth0 which URL to call back after users authenticate. The second value tells Auth0 which URL users should be redirected to after they log out.
Finally, click the Save Changes button to apply them.
Secrets and Source Code
At this point, you should have the secrets that allow your application to interact with the Auth0 services: the Domain, the Client ID, and the Client Secret. These data are very important because they identify your application in the context of the Auth0 authentication and authorization services. If an attacker gets hold of these secrets, they can impersonate your application against Auth0 with unpleasant consequences. So, you must take care of them in order to ensure their confidentiality.
Putting these secrets in the application's code, such as defining a few constants, is a very bad idea. The code could be accessible to several developers, especially if it is published on a public source control repository. In addition, the secret values are still visible in the compiled code. So, an attacker can get them by inspecting your application's assemblies.
Putting secrets in the code is a bad idea also for practical reasons. You may have different environments where your application runs: development, staging, production, etc. Usually, different environments should have different secrets. But if you include your secrets in your code, you need to create different compiled versions of the application for each environment. Not to mention the need to recompile if one of your secrets changes.
In a nutshell, storing your secrets into your application's source code has no benefits from a practical standpoint and is a high-security risk.
Use the Settings File
The typical approach to keep your secrets out of your source code is to use a configuration file.
Store secrets in the settings file
.NET provides you with a powerful infrastructure to manage settings for your application. Its basic use relies on the appsettings.json configuration file. If you take a look at this file in your sample application's root folder, you see the following content:
{
  "Logging": {
    "LogLevel": {
      "Default": "Information",
      "Microsoft": "Warning",
      "Microsoft.Hosting.Lifetime": "Information"
    }
  },
  "AllowedHosts": "*",
  "Auth0": {
    "Domain": "{DOMAIN}",
    "ClientId": "{CLIENT_ID}",
    "ClientSecret": "{CLIENT_SECRET}"
  }
}
The Auth0 section is the relevant part of the settings file above for this article's discussion. This section stores the secrets to interact with Auth0 into the Domain, ClientId, and ClientSecret keys. To be effective, replace the {DOMAIN}, {CLIENT_ID}, and {CLIENT_SECRET} placeholders with the corresponding values from the Auth0 Dashboard and save the file.
Read secrets from the settings file
When you create an ASP.NET web application with the dotnet new command or through Visual Studio, you get the default code that manages the data from the appsettings.json file. Take a look at the content of the Program.cs file in the root of the sample project:
// Program.cs
using Microsoft.AspNetCore.Hosting;
using Microsoft.Extensions.Hosting;

namespace Auth0.NET
{
    public class Program
    {
        public static void Main(string[] args)
        {
            CreateHostBuilder(args).Build().Run();
        }

        public static IHostBuilder CreateHostBuilder(string[] args) =>
            Host.CreateDefaultBuilder(args)
                .ConfigureWebHostDefaults(webBuilder =>
                {
                    webBuilder.UseStartup<Startup>();
                });
    }
}
The CreateDefaultBuilder() method is responsible for loading the configuration options from the appsettings.json file. Actually, that method does even more than this, as you will learn later on.
The settings loaded by the CreateDefaultBuilder() method are available through a configuration object. To clarify, consider the Startup.cs file:
// Startup.cs

// ...existing using section...

namespace Auth0.NET
{
    public class Startup
    {
        public Startup(IConfiguration configuration)
        {
            Configuration = configuration;
        }

        public IConfiguration Configuration { get; }

        public void ConfigureServices(IServiceCollection services)
        {
            services.AddAuthentication(options =>
            {
                options.DefaultAuthenticateScheme = CookieAuthenticationDefaults.AuthenticationScheme;
                options.DefaultSignInScheme = CookieAuthenticationDefaults.AuthenticationScheme;
                options.DefaultChallengeScheme = CookieAuthenticationDefaults.AuthenticationScheme;
            }).AddCookie()
            .AddAuth0(options => {
                options.Domain = Configuration["Auth0:Domain"];
                options.ClientId = Configuration["Auth0:ClientId"];
                options.ClientSecret = Configuration["Auth0:ClientSecret"];
            });

            services.AddControllersWithViews();
        }

        // ...existing code...
    }
}
The Startup() constructor has a configuration parameter that implements the IConfiguration interface. This parameter is provided by the .NET dependency injection system and contains the settings from the appsettings.json file. The Startup() constructor assigns this object to the Configuration property. This property is then used in the ConfigureServices() method to access the specific configuration keys.
In the sample application, the ConfigureServices() method uses the secrets stored in the Auth0 section of the configuration to set up the integration with Auth0. For more details about the actual Auth0 integration, please read the article about the AddAuth0() extension method.
Notice that you are using the Configuration object as a set of key/value properties. Each key is the flattened representation of the JSON property hierarchy, using the colon (:) as the separator. You also have other options to represent the settings loaded from the appsettings.json file, but this is beyond the scope of this article.
Run your application
Once you configure your secrets in the appsettings.json configuration file of the sample project, it's time to run it. Move to the root folder of the project and type the following command in a terminal window:
dotnet run
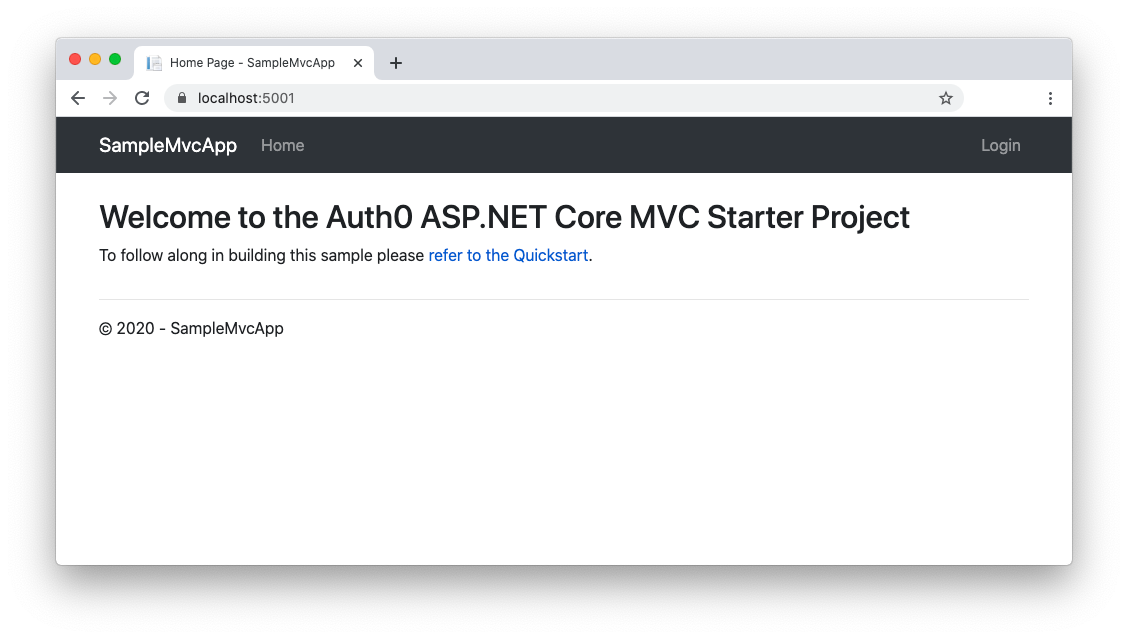
After a few seconds, your application will be ready. So, point your browser to https://localhost:5001, and you should see the following page:
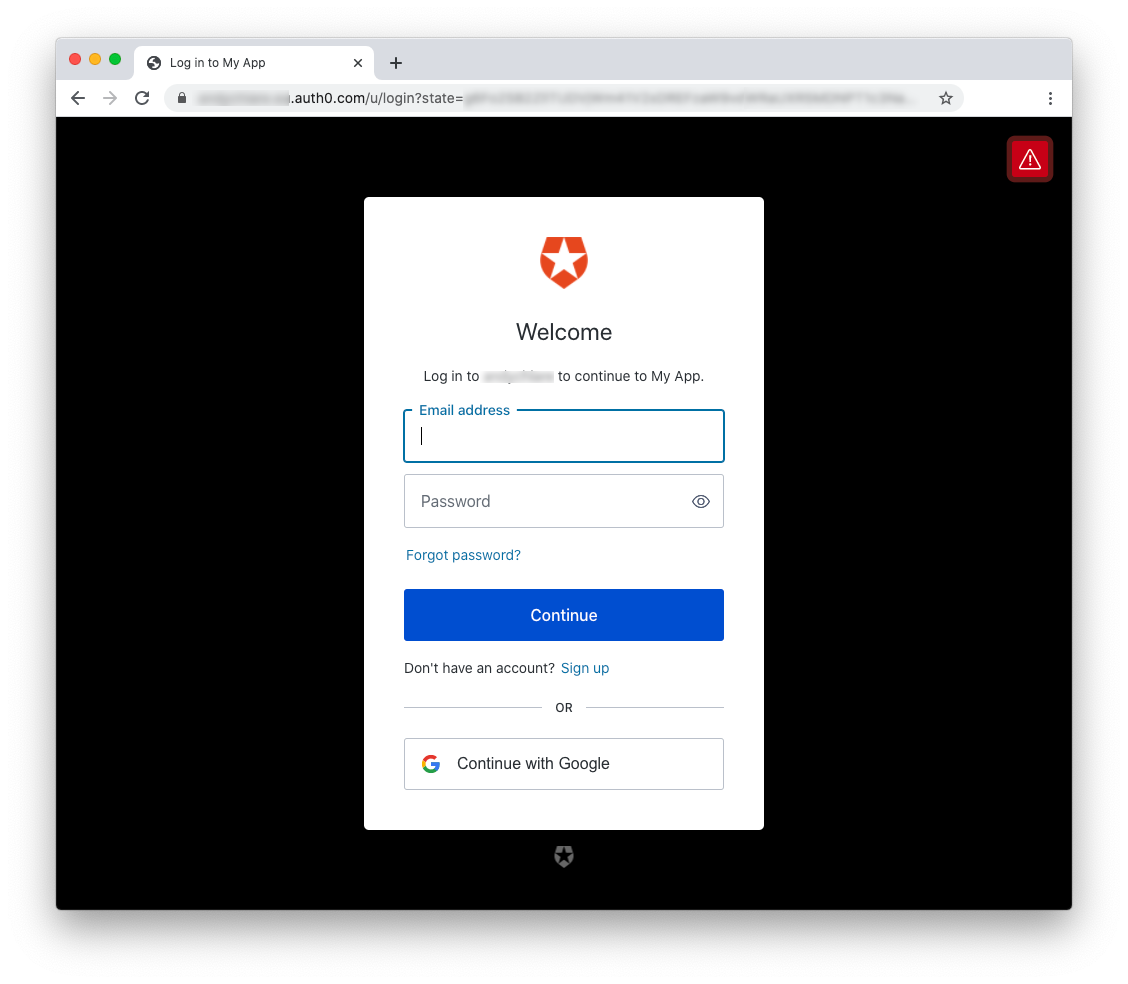
If you click the Login link on the upper right corner of the page, you will be redirected to the Auth0 Universal Login page to authenticate:
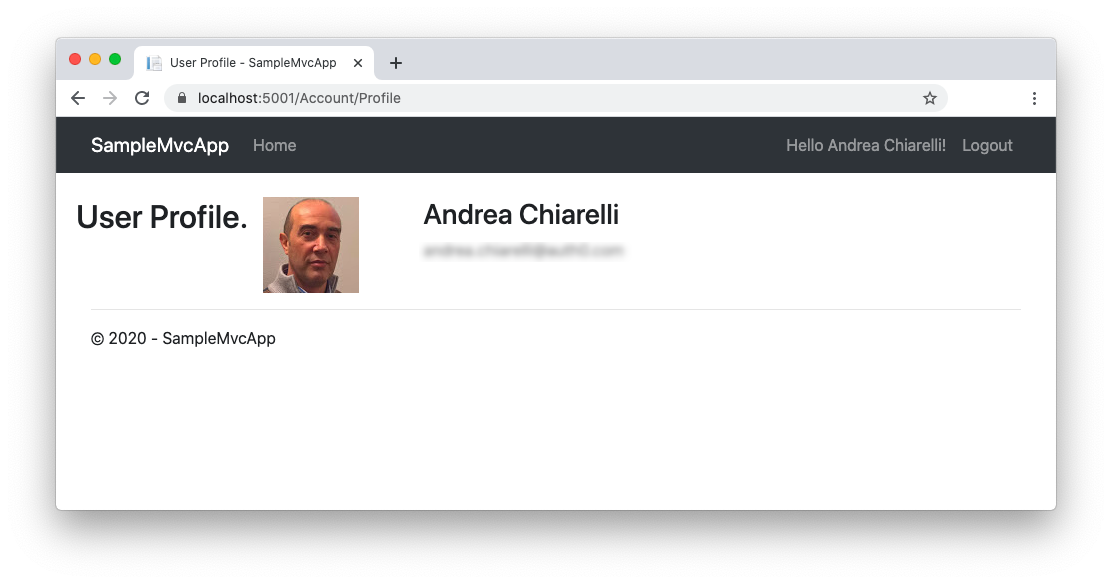
Once you authenticate, you will see a new link in the header that allows you to see your own profile:
Thoughts on using the settings file
So, at this point, your application's secrets are stored in an external configuration file, and you read it when it starts up. You've solved the practical problem of embedding secrets in the application's source code! However, a few concerns still remain.
The main advantage of using the appsettings.json configuration file is its simplicity. In the basic case, you don't need to write any custom code to load the configuration options. You add your sections and keys in that file and access them in your application's code by accessing the same keys in the Configuration dictionary.
You can change the value of your secrets without the need to recompile your application. But the default configuration manager set up by the CreateDefaultBuilder() method provides you with even more: you can create environment-specific configurations. In other words, you can create an appsettings.Development.json and an appsettings.Production.json file to store configuration options for the development and production environments. The configuration loader will merge the generic appsettings.json with the specific configuration file based on the current environment. Read the official documentation to learn more about this feature.
So, what's wrong with using this approach for storing secrets?
The main concern is about the risk of committing your configuration file to your source control system. This would expose your secrets to anyone who is able to access it.
You may think that using a private source control repository is not that risky. But if your company has multiple developers, you cannot have control over who will access those secrets now and at some point in the future.
Even if you committed your secrets to a public repository by mistake and deleted it, you don't know how many people have already read them. In addition, the commit history still stores your deleted secrets.
You could think about excluding the configuration file from the source control system, for example, by including its name into the .gitignore file if you are using git. But maybe not all the settings in the configuration file are secrets and you may want to commit some of them to your source control system.
Anyway, using the appsettings.json file to store secrets is not an issue just for the development environment. Using it for production is not a good idea either. Anyone with access to your server disk and the proper rights can read your secrets, since they are stored without encryption.
The Secret Manager
A more secure approach to store secrets in your development environment is to use the Secret Manager. This tool is available as a CLI command. It is also integrated into Visual Studio: you can right-click the project in the Solution Explorer and select the Manage User Secrets item from the context menu. Unfortunately, the tool is not integrated into Visual Studio for Mac. So, in this article, you will use the universal approach based on the CLI command.
The Secret Manager's goal is to store your application secrets in a separate location from the project folder tree. This saves your secrets from being inadvertently committed to your source control system.
Let's see how you can use this tool with the sample app you got in the previous section.
Initialize the Secret Manager
The first step you need to do is to enable your project to use the Secret Manager. For this purpose, run the following command in the root folder of your project:
dotnet user-secrets init
This command adds the UserSecretsId property to your project file. If you open the Auth0.NET.csproj file in the root of your sample project, its content should look like the following:
<!-- Auth0.NET.csproj -->

<Project Sdk="Microsoft.NET.Sdk.Web">
  <PropertyGroup>
    <TargetFramework>net5.0</TargetFramework>
    <UserSecretsId>b9eef65e-f4cc-425c-8278-c04f63801fd7</UserSecretsId>
  </PropertyGroup>

  <ItemGroup>
    <PackageReference Include="Microsoft.AspNetCore.Authentication.OpenIdConnect" Version="3.1.0" />
  </ItemGroup>
</Project>
You can see the UserSecretsId property in the code above with an assigned GUID value. This value identifies the secret store associated with that project.
Store your secrets
After the initialization, you can store your application secrets by using the dotnet user-secrets set command. For example, to store the three secrets for the sample application, you can run the following commands:
dotnet user-secrets set "Auth0:Domain" "<YOUR-DOMAIN>"
dotnet user-secrets set "Auth0:ClientId" "<YOUR-CLIENTID>"
dotnet user-secrets set "Auth0:ClientSecret" "<YOUR-CLIENT-SECRET>"
Replace the placeholders with the actual secrets you used in the section above. The set command takes two string parameters: the secret key and the secret value. In the example above, the structure of the secret key follows the same syntax you used to map the JSON properties hierarchy of the appsettings.json configuration file. Although the Secret Manager does not require this, it is pretty useful to avoid code changes to your application, as you will see in a minute.
Where are your secrets stored?
Your secrets are stored in a JSON file under your user profile.
In a Windows machine, they are stored in the %APPDATA%\Microsoft\UserSecrets<user_secrets_id>\secrets.json file.
In a Linux/macOS machine, they are stored in the ~/.microsoft/usersecrets/<user_secrets_id>/secrets.json file.
The <user_secrets_id> value is the value of the UserSecretsId property the Secret Manager stored into your project file.
Keep in mind that secrets are not encrypted.
Now, since your secrets are stored in a location outside your project tree, you can remove them from the appsettings.json file. So, the content of your appsettings.json file will be as follows:
{
  "Logging": {
    "LogLevel": {
      "Default": "Information",
      "Microsoft": "Warning",
      "Microsoft.Hosting.Lifetime": "Information"
    }
  },
  "AllowedHosts": "*"
}
Manage your secrets
In addition to creating a new secret, the set command of the Secret Manager tool allows you to update an existing secret. You just need to specify the key for the existing secret and the new value, as in the following example:
dotnet user-secrets set "Auth0:ClientId" "<NEW-CLIENTID>"
The Secret Manager tool provides you with other commands to manage your stored secrets. For example, you can list all your stored secrets with the following command:
dotnet user-secrets list
This command shows the list of keys associated with your secrets and the respective values.
If you want to remove one of your secrets from the store, you can use the following command:
dotnet user-secrets remove "<KEY-TO-REMOVE>"
To remove all your secrets from the store, use the following command:
dotnet user-secrets clear
Access your secrets
How can your application access the secrets stored with the Secret Manager tool? If you use the CreateDefaultBuilder() method, your application is already configured to load your secrets from the secrets store associated with the project as it happens in the sample project. So, in this case, you don't need to apply any changes to your code!
To verify it, run your application right now.
Keep in mind that by relying on the
CreateDefaultBuilder()method, your secrets will be loaded from the secrets store only in your development environment. They will not be loaded in the production environment.
If your application uses a custom configuration approach, you need to load the secrets by explicitly invoking the AddUserSecrets() method, as shown in the following example:
// Program.cs

//...existing code...

public class Program
{
    public static void Main(string[] args)
    {
        var host = new HostBuilder()
            .ConfigureAppConfiguration((hostContext, builder) =>
            {
                // Other providers

                if (hostContext.HostingEnvironment.IsDevelopment())
                {
                    builder.AddUserSecrets<Program>();
                }
            })
            .Build();

        host.Run();
    }
}

//...existing code...
Benefits and drawbacks
Using the Secret Manager improves the security of your secrets. Since the secrets are physically stored in a separate location from the project folder, you don't risk committing them to your source control system by mistake.
Also, unlike the settings file approach, you can split the configuration settings that can be committed to your source control system from the actual secrets.
In addition, in the standard case, you don't need to change any line of code in your application. The default settings loader will automatically merge the settings from the appsettings.json file with the secrets managed vis the Secret Manager.
However, this approach is suggested only for the development environment. Even if you can call the AddUserSecrets() method in your code to use this approach also in production, it is not a good idea. As in the appsettings.json case, your secrets are stored in a plain JSON file. Since they are not encrypted, anyone with access to your server disk and the proper rights can read your secrets.
Use Environment Variables
In the previous section, you found a valid solution for storing your secrets in the development environment. However, this solution is not suitable for your production environment. Storing secrets in a volatile store like the environment variables is a better approach.
Why you should use environment variables
The main concern with storing secrets into configuration files is the possibility that unauthorized users could access those files. Storing secrets in a file on your development machine is acceptable as long as you take every measure to prevent that file from ending up in a public repository. Also, hopefully, you are the only user that can access your own machine.
In a production environment, things work differently. You may not be the only user to access the production server: think of system administrators, for example. Also, if your server is compromised, files are probably the first and easiest resources to be accessible by the attackers.
Storing secrets in environment variables makes them a bit harder to be caught by unauthorized users. Environment variables are local to the process in which they are set, so the attacker would have to get the same rights of that process or root.
Be aware that using environment variables is not the definitive solution to keep your secrets secure. They can mitigate the risk of exposing them. However, consider that they are stored unencrypted, so their values can still be accessed if your system is seriously compromised.
Using environment variables to store your secrets also helps your application to scale well when multiple deployment environments are involved.
Define your environment variables
Using environment variables for managing secrets is pretty straightforward with the sample project you are working on. Once again, the configuration loader created by the CreateDefaultBuilder() method helps you. In fact, with the default configurator, your application will load its settings in the following order:
- Settings from the
appsettings.jsonfile. - Settings from the
appsettings.<Environment>.jsonfile, where<Environment>can be Development, Production, or any other custom environment. - Secrets from the Secret Manager, if the application runs in the development environment.
- Values from the environment variables.
- Values from the command-line arguments.
Each settings source adds its own settings or replaces the existing ones if they use the same key.
This feature makes your code ready to leverage environment variables. The only aspect you have to take care of is the naming of those variables. In fact, your code expects keys in the form of Auth0:<secret-key>. However, the : separator is not allowed as a valid character on all operating systems or shells. On the contrary, the underscore character (_) is allowed by the standard specifications. So, instead of using the colon (:) as the separator needed to describe the hierarchical structure of the settings, you will use the double underscore (__). The default configuration loader will automatically replace the double underscore with the colon.
So, with this in mind, define the environment variables that will store your secrets for interacting with Auth0 services. The syntax to define an environment variable depends on the operating system, and more specifically, on the shell used. This document offers a high-level overview of environment variable management. Please check out your shell documentation to learn how to define them in your system.
As an example, in a macOS terminal, you can define the environment variables for the Auth0 secrets as follows:
export Auth0__Domain="<YOUR-DOMAIN>"
export Auth0__ClientId="<YOUR-CLIENTID>"
export Auth0__ClientSecret="<YOUR-CLIENT-SECRET>"
In the example above, replace the placeholders with the actual Auth0 secrets.
In PowerShell, you can define them as in the following example:
$Env:Auth0__Domain = "<YOUR-DOMAIN>"
$Env:Auth0__ClientId = "<YOUR-CLIENTID>"
$Env:Auth0__ClientSecret = "<YOUR-CLIENT-SECRET>"
Once you define the variables, you have to launch your application in the same terminal window. For example:
export Auth0__Domain="<YOUR-DOMAIN>"
export Auth0__ClientId="<YOUR-CLIENTID>"
export Auth0__ClientSecret="<YOUR-CLIENT-SECRET>"
dotnet run
Variables defined as above are only accessible in the terminal window they were set in. This guarantees they are not directly accessible server-wide, but consider that a root user could still dump the process memory to get access to these secrets.
Best Practices to Protect Your Secrets
So far, you have learned that you should use different policies to protect your secrets. You can store your secrets into a file in your development environment, but you should avoid committing them to your source control system. The Secret Manager helps you with this purpose. In your production environment, you should avoid storing your secrets in a file. Storing them in environment variables is a better choice.
While those principles are good guidelines for protecting your secrets, there are other best practices that you should apply to make secrets protection even more effective. Let's mention a few of them.
Do not share secrets across environments
As a best practice, you should never share the same secrets across your environments. Your development environment must use different secrets from your testing or production environments. This avoids spreading secrets among several users and makes access to resources more controllable.
Use secrets management services
You learned that environment variables are a method to store your secrets in your production environment. Of course, you shouldn't use a script to define your environment variables and launch your application. If you store your secrets into a script, you have the same flaw as the settings file approach.
Ideally, you should run commands to create environment variables and launch your application by hand. However, you know it is not a practical approach. It is error-prone and can be used in very simple cases. An alternative approach is to use a script and then delete it after running it.
Even better, you can use an online secrets store to protect your secrets, such as Azure Key Vault, AWS Systems Manager Parameter Store, Google Cloud Key Management Service, HashiCorp Vault. These services hold your secrets and provide you with methods to manage them.
By using an online secret store, your startup script will not contain your secrets, but it will dynamically get them from the store and inject them into environment variables or memory.
Rotate secrets
Another common practice to improve your secrets' security is secret rotation. Simply put, you need to periodically change the secrets that allow your application to access a service. This measure reduces the risk of discovering the secrets since if they are rotated often, the likelihood they are still valid decreases.
Most online services allow you to enable secret rotation. For example, with Auth0, you can enable secret rotation via the dashboard and via the management API.
Conclusion
In this article, you have learned that using the default appsettings.json configuration file to store your .NET application's secrets is not a good idea. You should store those secrets in a location that doesn't risk being committed to your source control system. For this purpose, the Secret Manager tool can help you.
However, you shouldn't think to use the Secret Manager tool to store secrets in production, too. In general, you should avoid storing unencrypted secrets in a file in your production environment. Storing your application's secrets in environment variables is a better approach.
By the way, if you have no particular configuration needs, the same code is able to manage your configuration file, your secrets stored with the Secret Manager, and your environment variables.
Now you have the basics to manage your .NET application's secrets better. However, remember that by following a few best practices, you can improve the security level of your secrets.
About the author

Andrea Chiarelli
Principal Developer Advocate
I have over 20 years of experience as a software engineer and technical author. Throughout my career, I've used several programming languages and technologies for the projects I was involved in, ranging from C# to JavaScript, ASP.NET to Node.js, Angular to React, SOAP to REST APIs, etc.
In the last few years, I've been focusing on simplifying the developer experience with Identity and related topics, especially in the .NET ecosystem.