Prerequisites
Before beginning:-
Register your Application with Auth0.
- Select an appropriate Application Type.
- Add an Allowed Callback URL of
{https://yourApp/callback}. - Make sure your Application’s Grant Types include the appropriate flows.
Steps
As long as your server is configured in the standard way, to connect your PingFederate server to Auth0 you must:- Get the signing certificate from the IdP and convert it to Base64.
- Create an enterprise connection in Auth0.
- Enable the enterprise connection for your Auth0 Application.
- Test the connection.
Get the signing certificate from the IdP
With PingFederate Server, Auth0 acts as the service provider, so you will need to retrieve an X.509 signing certificate from the (in PEM or CER format); later, you will upload this to Auth0. The methods for retrieving this certificate vary, so please see the PingFederate documentation for instructions on managing your server’s certificates.Convert signing certificate to Base64
Before you upload the X.509 signing certificate to Auth0, you must convert the file to Base64. To do this, either use a simple online tool or run the following command in Bash:cat signing-cert.crt | base64.
Assertion encryption
If your SAML assertions are encrypted, you must set additional values for your connection to tell Auth0 how to handle decryption.Create an enterprise connection in Auth0
Next, if your server is configured in the standard way, you will need to create and configure a PingFederate Enterprise Connection in Auth0 and upload your X.509 signing certificate. This task can be performed using Auth0’s Dashboard.-
Navigate to Auth0 Dashboard > Authentication > Enterprise, locate Ping Federate, and select its
+.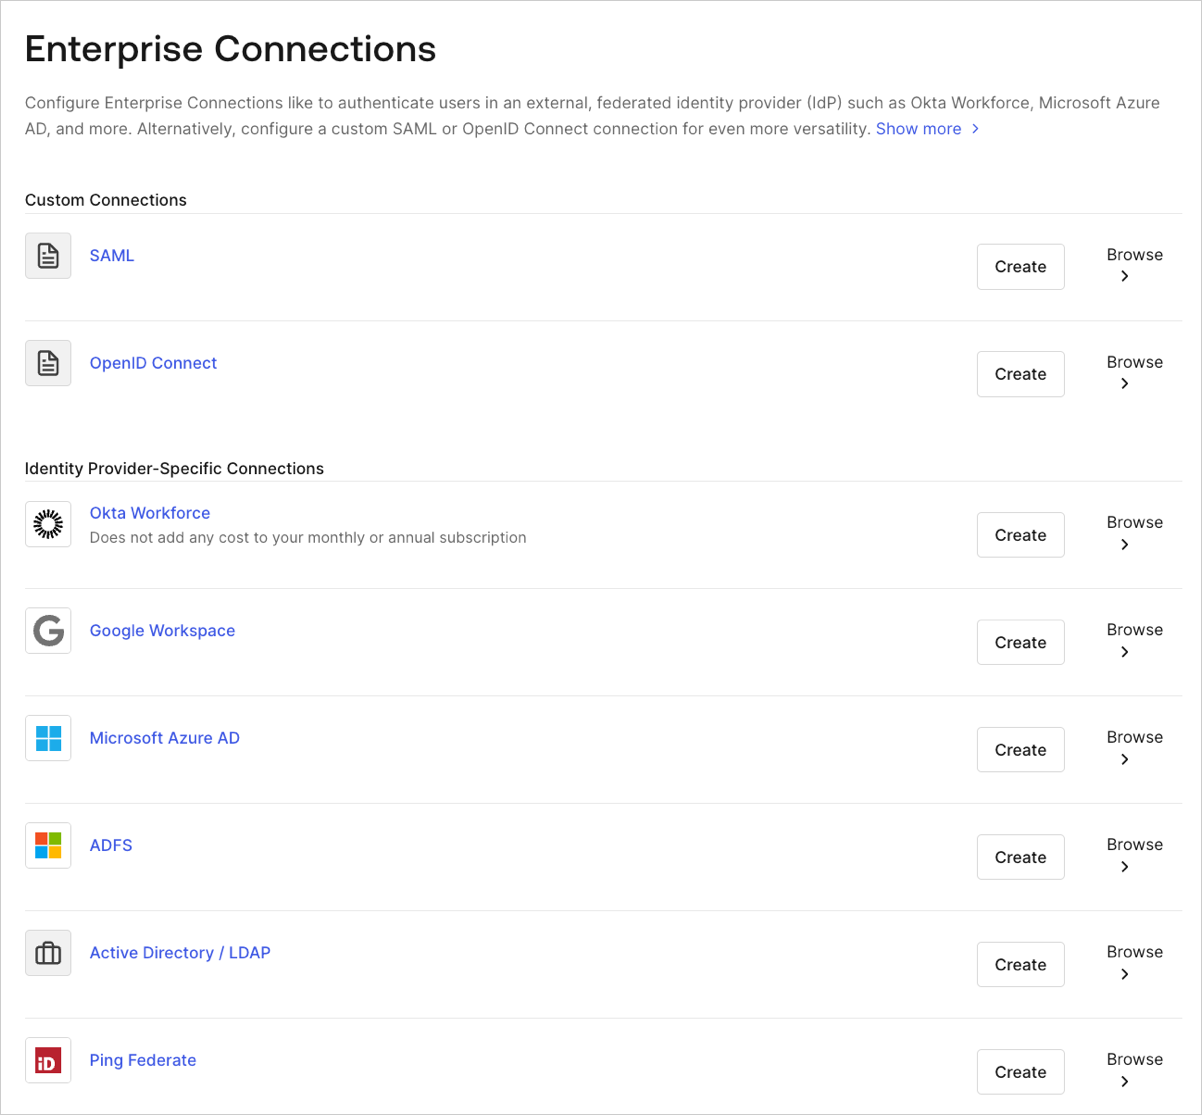
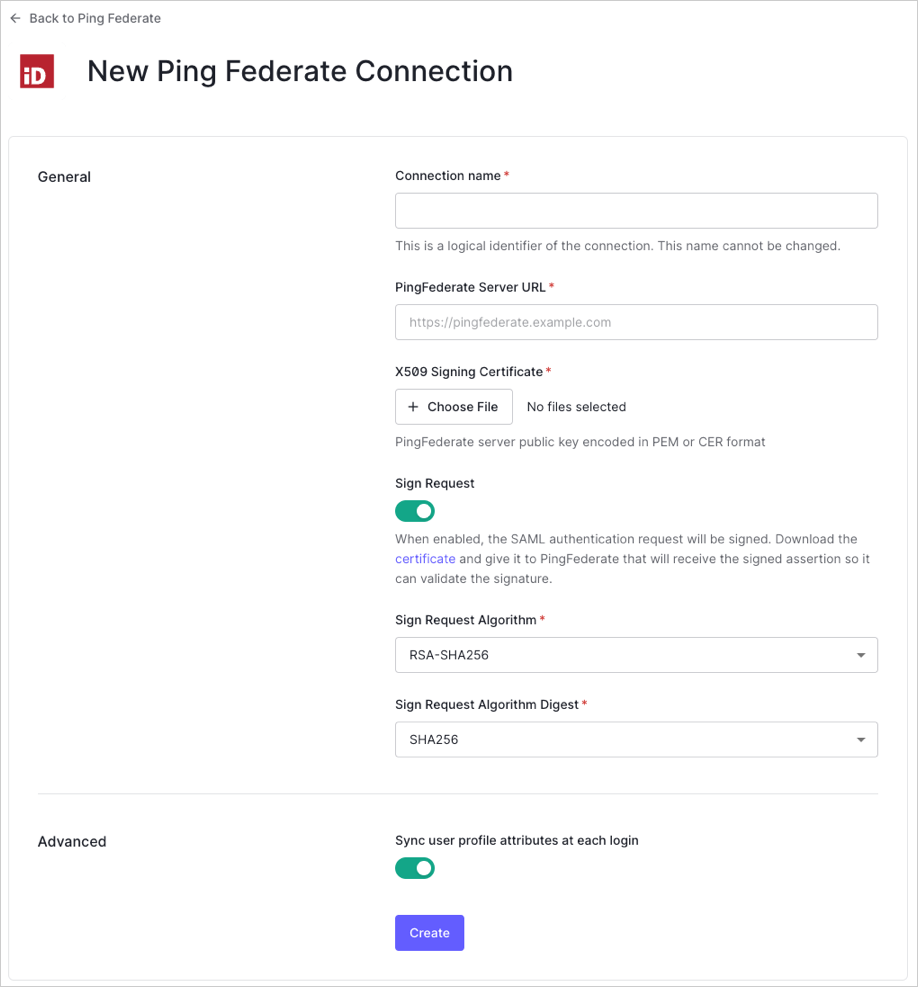
- Enter details for your connection, and select Create:
| Field | Description |
|---|---|
| Connection name | Logical identifier for your connection; it must be unique for your tenant. Once set, this name can’t be changed. |
| PingFederate Server URL | URL for your PingFederate Server. |
| X.509 Signing Certificate | PingFederate Server public key (encoded in PEM or CER) you retrieved from the IdP earlier in this process. |
| Sign Request | When enabled, the SAML authentication request will be signed. (Be sure to download and provide the PingFederate server with your tenant’s certificate.) If your SAML assertions are encrypted, you must set additional values for your connection to tell Auth0 how to handle decryption. |
| Sign Request Algorithm | Algorithm Auth0 will use to sign the SAML assertions. Ensure this matches your PingFederate Server’s configuration. |
| Sign Request Digest Algorithm | Algorithm Auth0 will use for the sign request digest. Ensure this matches your PingFederate Server’s configuration. |
| Sync user profile attributes at each login | When enabled, Auth0 automatically syncs user profile data with each user login, thereby ensuring that changes made in the connection source are automatically updated in Auth0. |
| Field | Description |
|---|---|
| Home Realm Discovery | Compares a user’s email domain with the provided identity provider domains. For more information, read Configure Identifier First Authentication |
| Display connection button | This option displays the following choices to customize your application’s connection button. |
| Button display name (Optional) | Text used to customize the login button for Universal Login. When set the button reads: “Continue with {Button display name}”. |
| Button logo URL (Optional) | URL of image used to customize the login button for Universal Login. When set, the Universal Login login button displays the image as a 20px by 20px square. |
Optional fields are available with Universal Login only. Customers using Classic Login will not see the Add button, Button display name, or Button logo URL.