Overview
Key Concepts
- Follow the steps to register your application with Azure AD and connect to your Auth0 instance.
- Test the connection before taking your configuration to production.
- Review the troubleshooting tips.
- From within your company use your application from an Azure AD controlled by you or your organization.
- From other companies’ Azure ADs use your application. (We recommend that you configure external directories as different connections.)
Claims returned from the Azure AD enterprise connection are static; custom or optional claims will not appear in user profiles. If you need to include custom or optional claims in user profiles, use a SAML or OIDC connection instead.
Steps
To connect your application to Azure AD, you must:- Register your app with Azure AD
- Create an enterprise connection in Auth0
- Enable the enterprise connection for your Auth0 Application
- Test the connection
Register your app with Azure AD
To register your app with Azure AD, read Microsoft’s Quickstart: Register an application with the Microsoft identity platform. During registration, configure the following settings:| Option | Setting |
|---|---|
| Supported account types | To enable SCIM-based user provisioning from this directory, select Accounts in this organizational directory only (Single tenant). To allow users from external organizations (like other Azure AD directories) choose the appropriate multitenant option. Multitenant options include the following: Accounts in any organizational directory (Any Azure AD directory - Multitenant). |
| Redirect URI | Select a Redirect URI type of Web, and enter your callback URL: https://{yourDomain}/login/callback. |
Find your Auth0 domain name for redirects
If your Auth0 domain name is not shown above and you are not using our custom domains feature, your domain name is a concatenation of your tenant name, your regional subdomain, and
auth0.com, separated by the dot (.) symbol.For example, if your tenant name is exampleco-enterprises, and your tenant is in the US region, your Auth0 domain name would be exampleco-enterprises.us.auth0.com and your Redirect URI would be https://exampleco-enterprises.us.auth0.com/login/callback.However, if your tenant is in the US region and was created before June 2020, then your Auth0 domain name would be exampleco-enterprises.auth0.com and your Redirect URI would be https://exampleco-enterprises.auth0.com/login/callback.If you are using custom domains, your Redirect URI would be https://<YOUR CUSTOM DOMAIN>/login/callback.Create a client secret
To create a , read Microsoft’s Microsoft’s Add and manage application credentials in Microsoft Entra ID - Add a Client Secret. Once generated, make note of this value.If you configure an expiring secret, make sure to record the expiration date; you will need to renew the key before that day to avoid a service interruption.
Add permissions
To add permissions, read Microsoft’s Quickstart: Configure a client application to access web APIs - Add permissions to access web APIs. While configuring permissions, consider the following: If you want to enable extended attributes (such as Extended Profile or Security Groups), then you will need to configure the following permissions for the Microsoft Graph API.| Delegated Permissions | Description |
|---|---|
| Users > User.Read | So your app can sign in users and read the signed-in users’ profiles. |
| Directory > Directory.Read.All | So your app can read directory data on the signed-in user’s behalf. |
Create an enterprise connection in Auth0
Create and configure an Azure AD Enterprise Connection in Auth0. Make sure you have the Application (client) ID and the Client secret generated when you set up your app in the Microsoft Azure portal.-
Navigate to Auth0 Dashboard > Authentication > Enterprise, locate Microsoft Azure AD, and select its
+.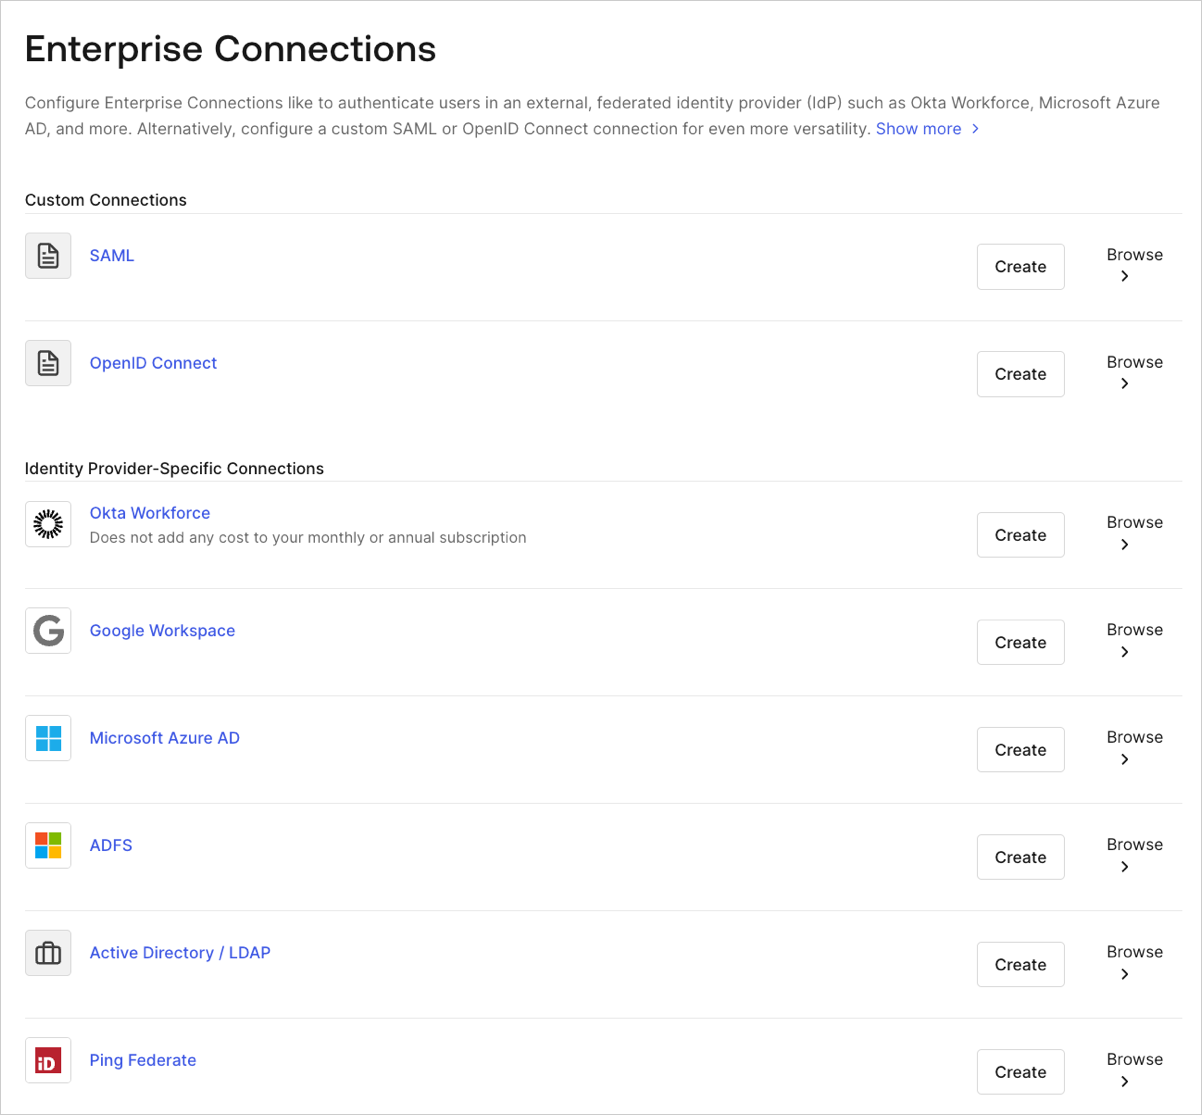
- Enter details for your connection, and select Create:
| Field | Description |
|---|---|
| Connection name | Logical identifier for your connection; it must be unique for your tenant. Once set, this name can’t be changed. |
| Microsoft Azure AD Domain | Your Azure AD domain name. You can find this on your Azure AD directory’s overview page in the Microsoft Azure portal. |
| Client ID | Unique identifier for your registered Azure AD application. Enter the saved value of the Application (client) ID for the app you just registered in Azure AD. |
| Client Secret | String used to gain access to your registered Azure AD application. Enter the saved value of the Client secret for the app you just registered in Azure AD. |
| User ID Attribute Type | Attribute in the ID token that will be mapped to the user_id property in Auth0. The options correspond to the two supported ID types described in Microsoft’s documentation: ID token claims reference - Microsoft identity platform. |
| Use common endpoint | (Optional) When enabled, your application will dynamically accept users from new directories. Typically enabled if you selected a multi-tenant option for supported account types for the application you just registered in Azure AD. Auth0 redirects users to Azure’s common login endpoint and Azure performs Home Realm Discovery based on the domain of the user’s email address. |
| Identity API | API used by Auth0 to interact with Azure AD endpoints. Learn about the differences in behavior in Microsoft’s Why update to Microsoft identity platform (v2.0) doc. |
| Attributes | Basic attributes for the signed-in user that your app can access. Indicates how much information you want stored in the Auth0 User Profile. |
| Extended Attributes (optional) | Extended attributes for the signed-in user that your app can access. |
| Auth0 APIs (optional) | When selected, indicates that we require the ability to make calls to the Azure AD API, which allows us to search for users in the Azure AD Graph even if they never logged in to Auth0. |
| Email Verification | Choose how Auth0 sets the email_verified field in the user profile. To learn more, read Email Verification for Azure AD and ADFS. |
| Purpose | Enable the connection for Authentication, Connected Accounts for Token Vault, or both. To learn more, read User authentication vs Connected Accounts. |
- In the Provisioning view, you can configure how user profiles get created and updated in Auth0.
| Field | Description |
|---|---|
| Sync user profile attributes at each login | When enabled, Auth0 automatically syncs user profile data with each user login, thereby ensuring that changes made in the connection source are automatically updated in Auth0. |
| Sync user profiles using SCIM | When enabled, Auth0 allows user profile data to be synced using SCIM. For more information, read Configure Inbound SCIM. |
- In the Login Experience view, you can configure how users log in with this connection.
| Field | Description |
|---|---|
| Home Realm Discovery | Compares a user’s email domain with the provided identity provider domains. For more information, read Configure Identifier First Authentication |
| Display connection button | This option displays the following choices to customize your application’s connection button. |
| Button display name (Optional) | Text used to customize the login button for Universal Login. When set the button reads: “Continue with {Button display name}”. |
| Button logo URL (Optional) | URL of image used to customize the login button for Universal Login. When set, the Universal Login login button displays the image as a 20px by 20px square. |
Optional fields are available with Universal Login only. Customers using Classic Login will not see the Add button, Button display name, or Button logo URL.
- If you have appropriate Azure AD administrative permissions to give consent to the application so users can log in, then click Continue. You will be asked to log in to your Azure AD account and give consent. Otherwise, provide the given URL to your administrator so that they can give consent.
Enable the enterprise connection for your Auth0 application
To use your new Azure AD enterprise connection, you must first enable the connection for your Auth0 Applications.Test the connection
Now you’re ready to test your connection.Troubleshooting
Here are some troubleshooting tips: I registered my application with Azure AD, but when I go back to my Azure Active Directory App registrations, I can’t see my application. You may have accidentally registered your app in the wrong Azure AD directory (or not have created an Azure AD directory at all before registering your app). It’s likely easiest to re-register your app in Azure AD. Make sure you are in the correct directory when you register the app. If you need to create an Azure AD directory, follow Microsoft’s Quickstart: Create a new tenant in Azure Active Directory - Create a new tenant for your organization. I receive the following error message: “Access cannot be granted to this service because the service listing is not properly configured by the publisher”. To resolve this, try changing the Supported account types for your registered Azure AD app. Make sure you have chosen an appropriate multitenant option in the Azure AD app’s Authentication settings. Multitenant options include the following: Accounts in any organizational directory (Any Azure AD directory - Multitenant). When users try to log in, we receive the following error message: “invalid_request; failed to obtain ”. The most likely reason for this error is an invalid or expired Azure AD Client secret. To resolve this, generate a new Client secret for your app in Azure AD, then update the Client Secret in the enterprise connection configured with Auth0.Signing Key Rollover in Azure AD
Signing keys are used by the to sign the authentication token it issues, and by the consumer application (Auth0 in this case) to validate the authenticity of the generated token. For security purposes, Azure AD’s signing key rolls on a periodic basis. If this happens, you do not need to take any action. Auth0 will use the new key automatically.Remove unverified label
If you’re using a , the application consent prompt for Azure AD login may label your domain as “unverified”. To remove the unverified label:- Verify the domain for the Auth0 application: Add your custom domain name using the Azure Active Directory portal.
- Assign the verified domain to the Auth0 application: How to: Configure an application’s publisher domain.