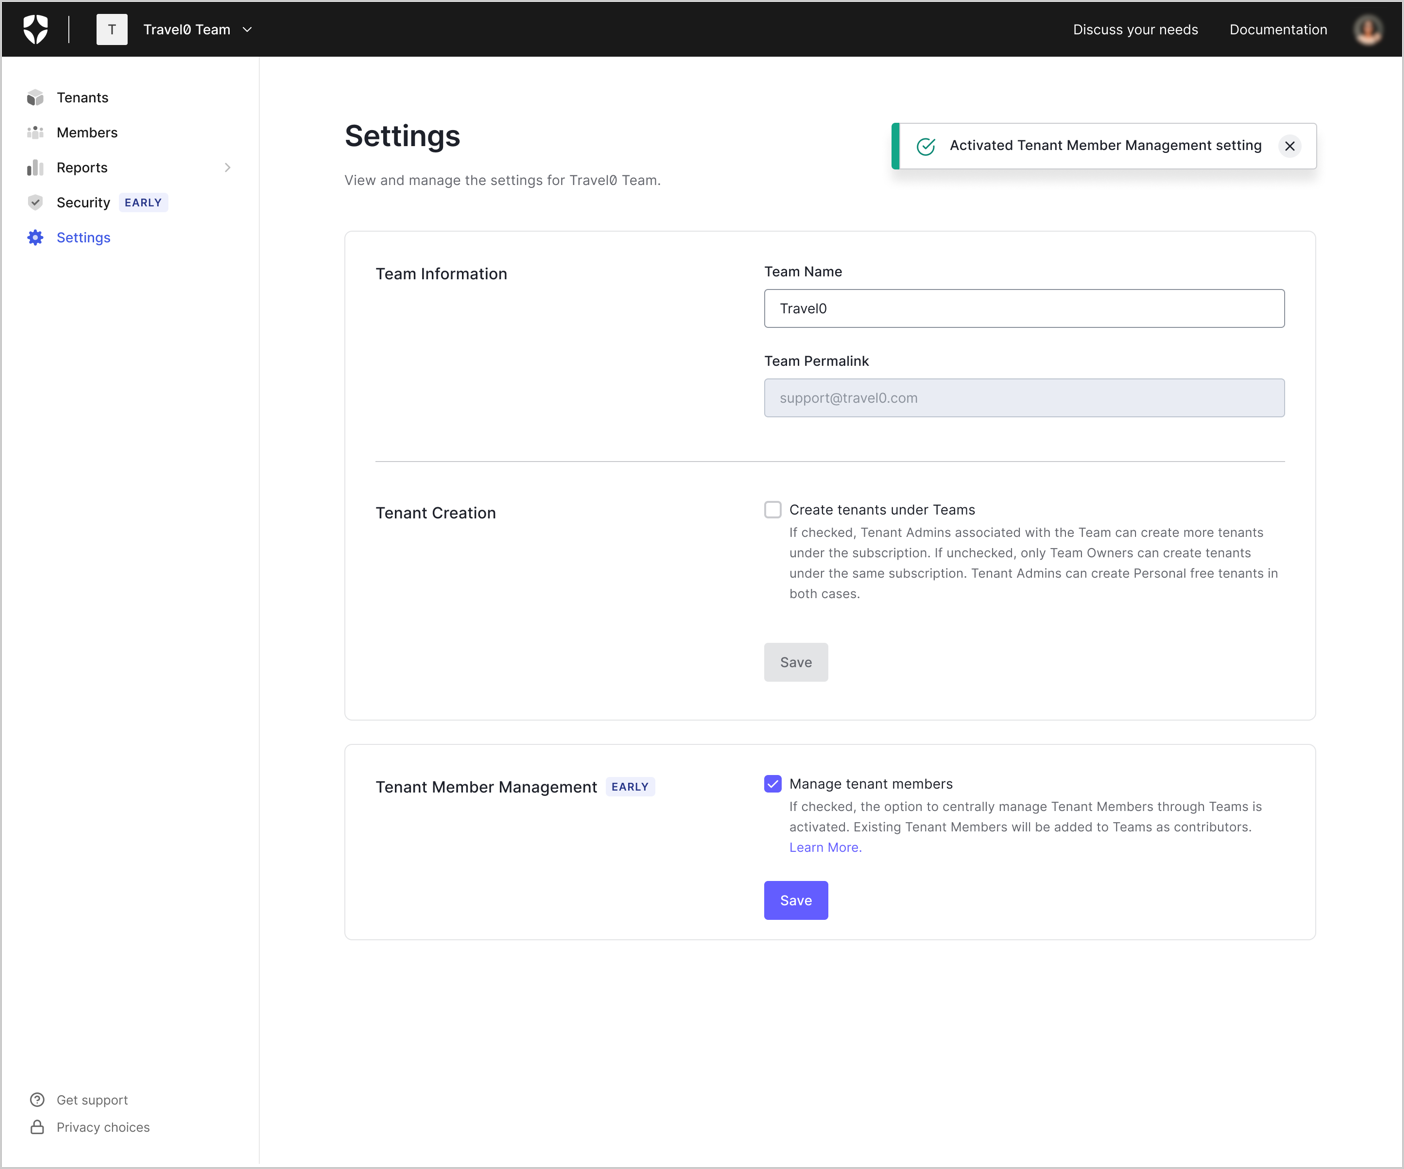
Enable Tenant Member Management
Tenant Member Management is enabled by default for all Self-service customers and most Public Cloud Enterprise customers.
- Go to Settings.
- Locate the Tenant Member Management section.
- Enable the Manage tenant members checkbox.
- Select Save.
Add tenant access for a Team member
To add tenant access for a Team member through the Teams dashboard:- Go to Members.
- Select the Team member to open their Member details page.
- Select Add Tenant Access.
-
Type the tenant name into the search window or select a tenant from the dropdown menu. You can select up to five tenants.
Specific Apps option is not presented if more than one tenant is selected. Select individual Tenant to assign Editor -Specific Apps role.
- Select the desired role(s) you want to assign to the Team member for all selected tenants.
- Select Assign.
Edit tenant access for a Team member
To edit tenant access for a Team member through the Teams dashboard:- Go to Members.
- Select the Team member to open their Member details page, or select Manage Tenant Access from the ellipsis menu (…) next to their name.
- Locate the desired tenant and select Edit Roles from the ellipsis menu (…).
- Select Assign.
If a Team member is currently logged in and you edit their role, Auth0 forcibly logs them out and terminates their session. This may result in loss of unsaved work.
Remove tenant access for a Team member
To remove tenant access for a Team member through the Teams dashboard:- Go to Members.
- Select the Team member to open their Member details page.
- Locate the desired tenant and select Remove Access from the ellipsis menu (…).
- Select Assign.