Last Thursday, we took a look at Sign In with Apple, the new identity provider features Apple released at WWDC 2019. In that post, we included simple steps to add support for Sign In with Apple in a Node.js application. Today, we're going to show you how you can support Sign in with Apple without adding any special code to your app — thanks to Auth0's Custom Social Connections, Apple is just one of the many identity providers you can leverage when connecting to Auth0.
Extending Auth0’s Core Functionality
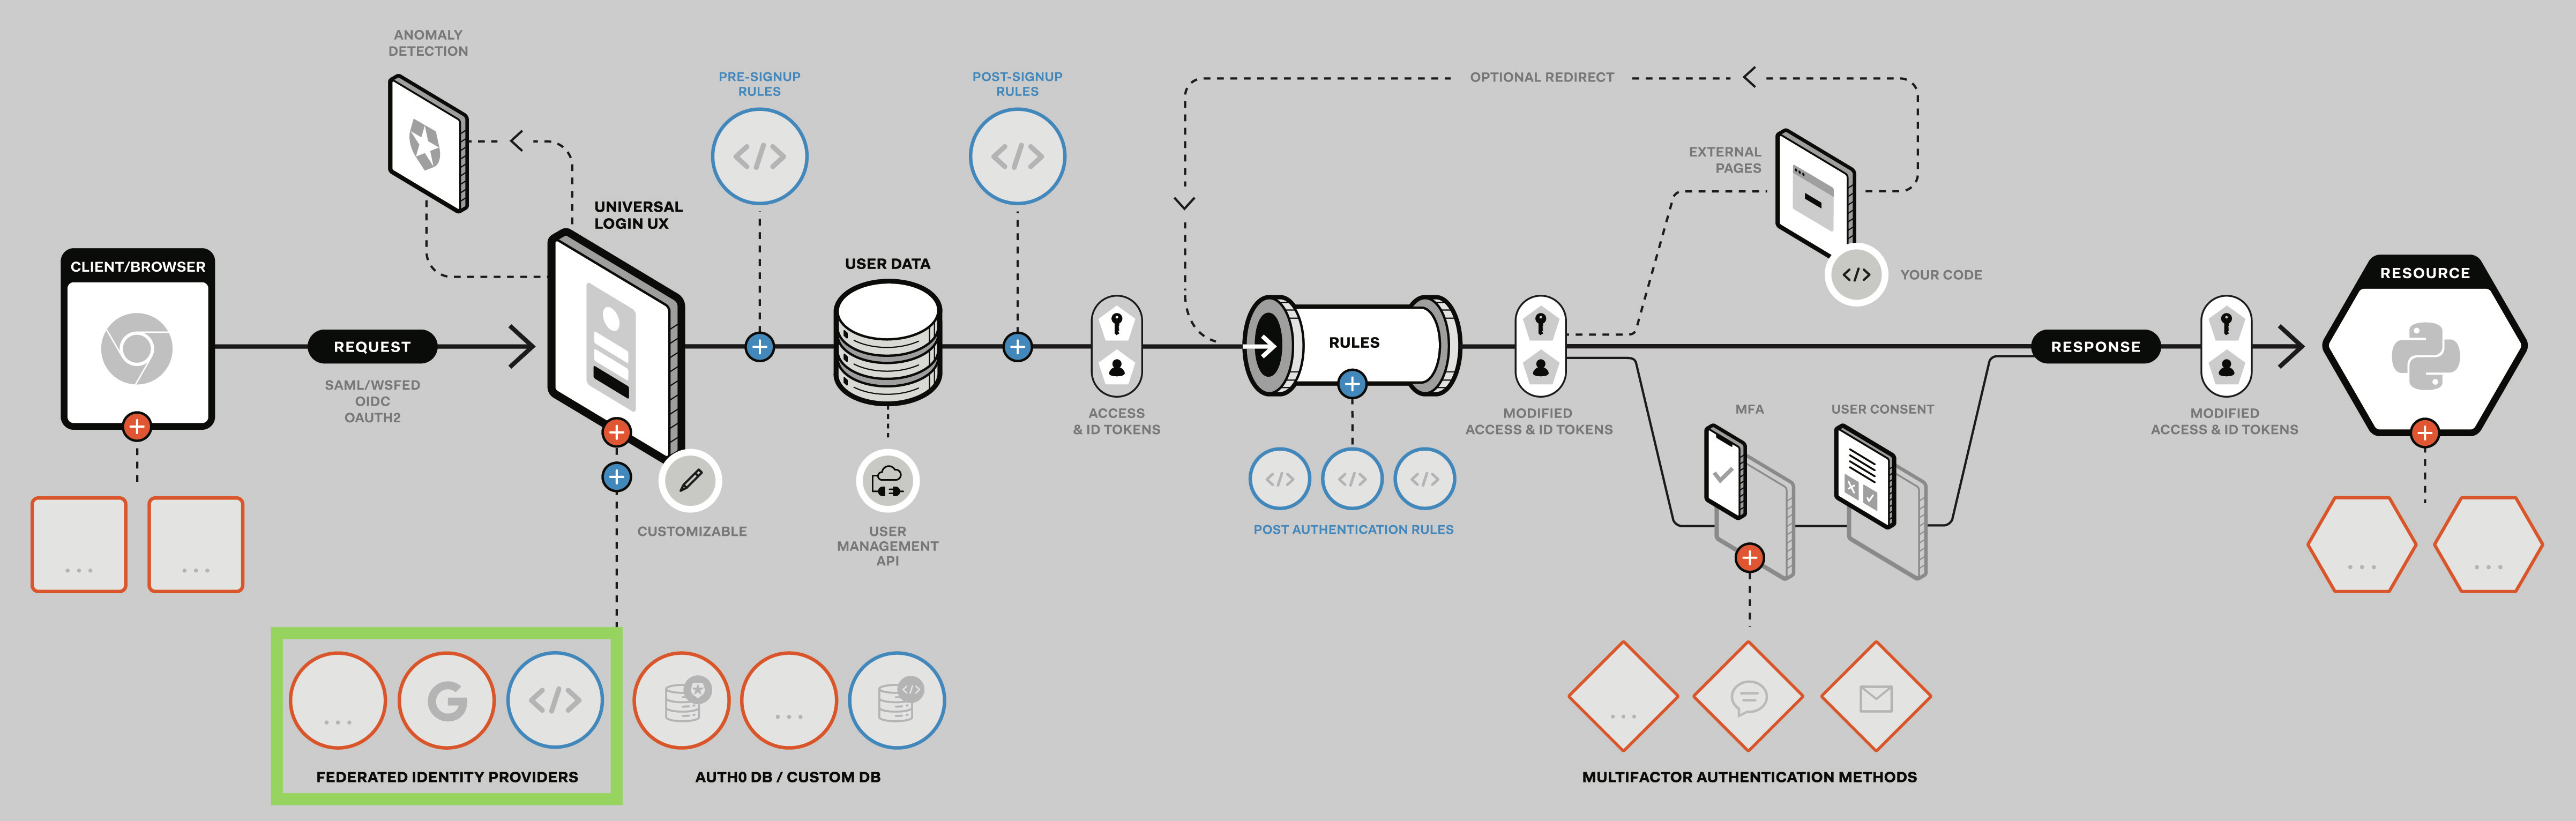
We recently wrote about our vision and guiding principles. Developers don’t want to feel like they are constrained by their tools and libraries, especially with an infrastructure component like authentication. Extensibility within our product is a first class citizen, and this is reflected by the fact that 87% of our customers extend the platform. One of the extensibility points we provide allows for adding a new federated authentication method, as highlighted below. This is what we will use to add support for Sign In with Apple:
Prerequisites
To add support for Sign In with Apple, you'll need to have an Auth0 Tenant set up with a custom domain, as well as a web application configured to use Auth0 for authentication at that domain. You can get an application up and running in a few simple steps by using any of our quick starts. Note that for the purpose of this post, your application can use any development stack: Node.js, ASP.NET, Java, and so on.
Register with Apple
Once you have your application set up, you'll need to create an Apple App ID and a Services ID. We covered these steps in detail in our previous post, but in summary the steps are:
- Create an Apple Developer Account
- Go to "Certificates, IDs, & Profiles" -> "Identifiers" -> "Register an App ID"
- Choose "App IDs" as the identifier type and hit "Continue"
- Provide a description and a Bundle ID (reverse-domain name style, i.e.,
com.mycustomdomain) - Scroll down and check "Sign In with Apple", then "Continue" followed by "Register"
- Back at the "Certificates, IDs, & Profiles" section, click the blue icon next to "Identifiers"
- Choose "Services IDs" and click "Continue". Fill in the description and identifier (
com.mycustomdomain.webapp) - After checking "Sign In with Apple", click on "Configure"
- Define your "Web Domain" (
mycustomdomain.com) and "Return URL" (mycustomdomain.com/callback) - Click "Save", and then "Continue" followed by "Register"
Once you have your Services ID, you'll need to verify your domain with Apple:
- On the "Certificates, IDs, & Profiles" page, click your newly created Services ID
- Hit the "Configure" button next to the "Sign In with Apple" feature, then click "Download"
- Copy the
apple-developer-domain-association.txtfile to your application server and make it accessible athttps://mycustomdomain.com/.well-known/apple-developer-domain-association.txt(see our previous post for a detailed example) - When this is ready, click "Verify" on your Services ID configuration page. If no error is raised, you are good to go
Create a Custom Social Connection
In the next step, you’ll add Apple to the collection of identity providers you can integrate with via Auth0.
After you've registered your application with Apple, visit the Auth0 Dashboard and go to Connections > Social, scroll to the bottom, and click Create Custom.
Most of the information you'll need to create this custom connection has been established in previous steps. To generate the client secret, do the following:
- Head to "Keys" under the "Certificates, Identifiers, & Profiles" section of your Apple developer dashboard
- Click on the round, blue icon to add a new key
- Enter a "Key Name" and check the "Sign In with Apple" option
- Click on "Configure" to make sure the "Choose a Primary App ID" field is filled with your App ID
- Hit "Save", "Continue", and then "Register"
- Download the key, move to its own directory, and rename to
authkey.p8. Make a note of the Key ID - Use a JWT library with support for the ES256 algorithm to generate the client secret from the key — the example below uses Node.js, but libraries for other languages can be used in a similar fashion
To use this script, create a new file called generate-secret.js in the same directory as the key and add the following code:
const jwt = require("jsonwebtoken");
const fs = require("fs");

const privateKey = fs.readFileSync("./authkey.p8");
const token = jwt.sign({}, privateKey, {
 algorithm: "ES256",
 expiresIn: "60 days",
 audience: "https://appleid.apple.com",
 issuer: "TEAM_ID",
 subject: "com.mycustomdomain.webapp",
 keyid: "KEY_ID"
});

console.log("The token is:", token);
Note: You will need to replace
com.mycustomdomain.webappwith the identifier for your Services ID and replaceTEAM_IDwith your Team ID, which can be found here. You'll also need to replaceKEY_IDwith the Key ID you noted earlier.
Run this script to generate your client secret:
node generate-secret.js
With this, you have almost everything you need to complete the custom social connection! Returning to your Auth0 dashboard, make sure your custom social connection fields look like this:
- Name:
Apple, or any name you choose - Client ID: your Services ID identifier, e.g.,
com.mycustomdomain.webapp - Client Secret: the string generated in the previous step
Fetch User Profile Script:
function (accessToken, ctx, cb) { const jwt = require('jsonwebtoken@7.1.9'); const jwksClient = require('jwks-rsa@1.1.1'); const client = jwksClient({ jwksUri: 'https://appleid.apple.com/auth/keys', cache: true }); const idToken = ctx.id_token; const decoded = jwt.decode(idToken, {complete: true}); const {kid, alg} = decoded.header; client.getSigningKey(kid, (err, key) => { if (err) { console.log(err); return callback(err); } const signingKey = key.publicKey || key.rsaPublicKey; jwt.verify(idToken, signingKey, { issuer: 'https://appleid.apple.com', audience: 'com.mycustomdomain.webapp', algorithms: [alg] }, (err, profile) => { if (err) return cb(err); profile.id = profile.sub; cb(null, profile); }); }); }- Authorization URL:
https://appleid.apple.com/auth/authorize - Token URL:
https://appleid.apple.com/auth/token - Scope:
email name - Custom Headers:
json
  {
    "UserAgent": "Auth0",
    "Accepts": "application/json"
  }
Once you have everything filled out correctly, click Create and enable this connection for your application.
And that's it for set up!
Using Sign In with Apple
To try it out, make sure your application is running and give it a visit. When you visit your login page, you should now see an option for Sign In with Apple:

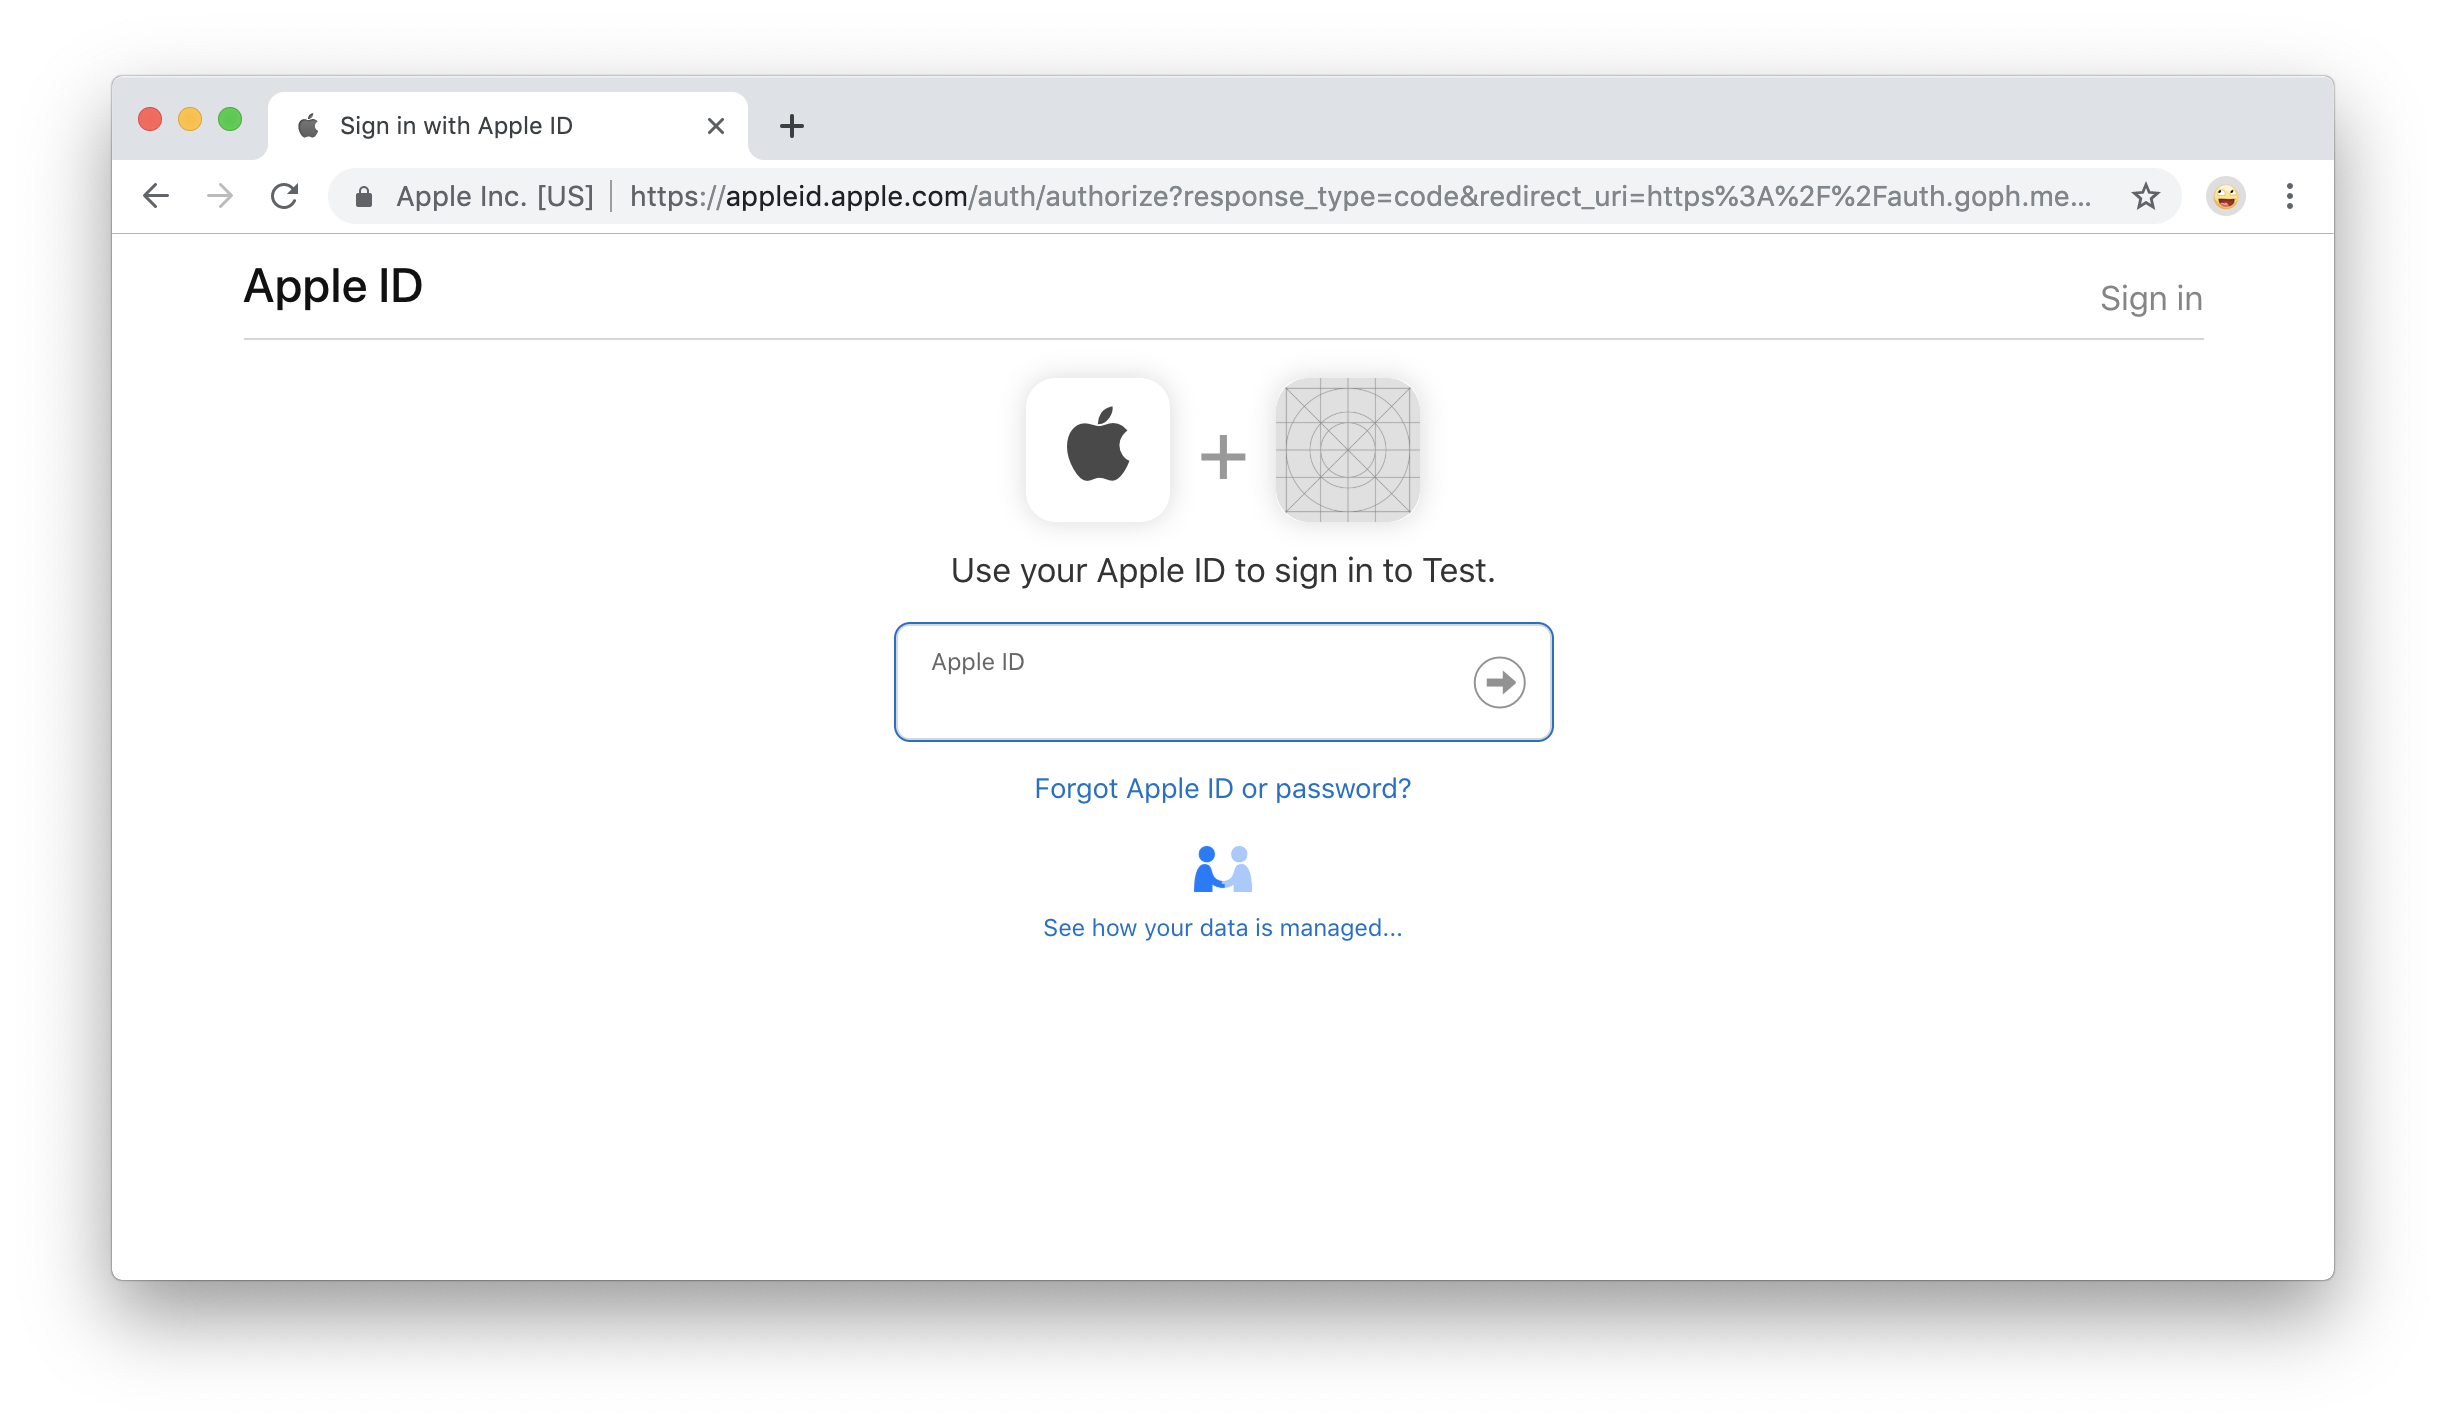
Click "Continue with Apple", then enter your Apple ID and password:
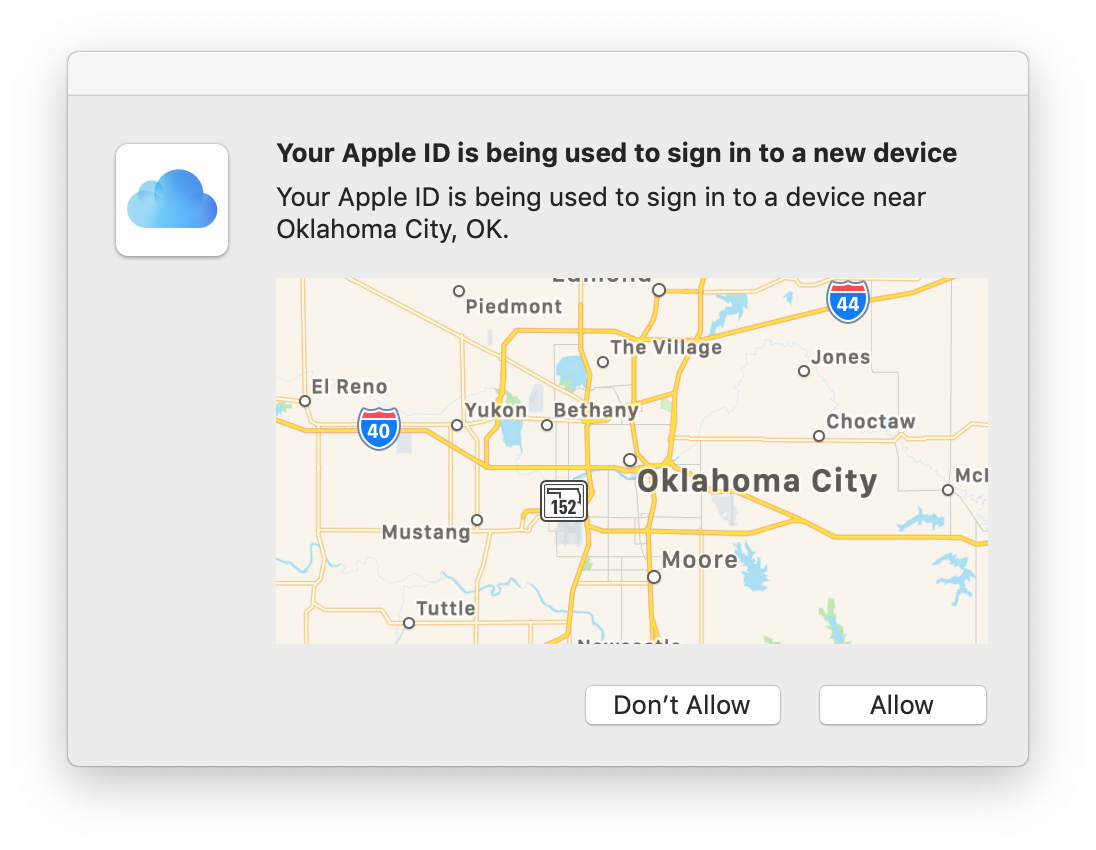
You will be asked to verify a new device. Click "Allow":
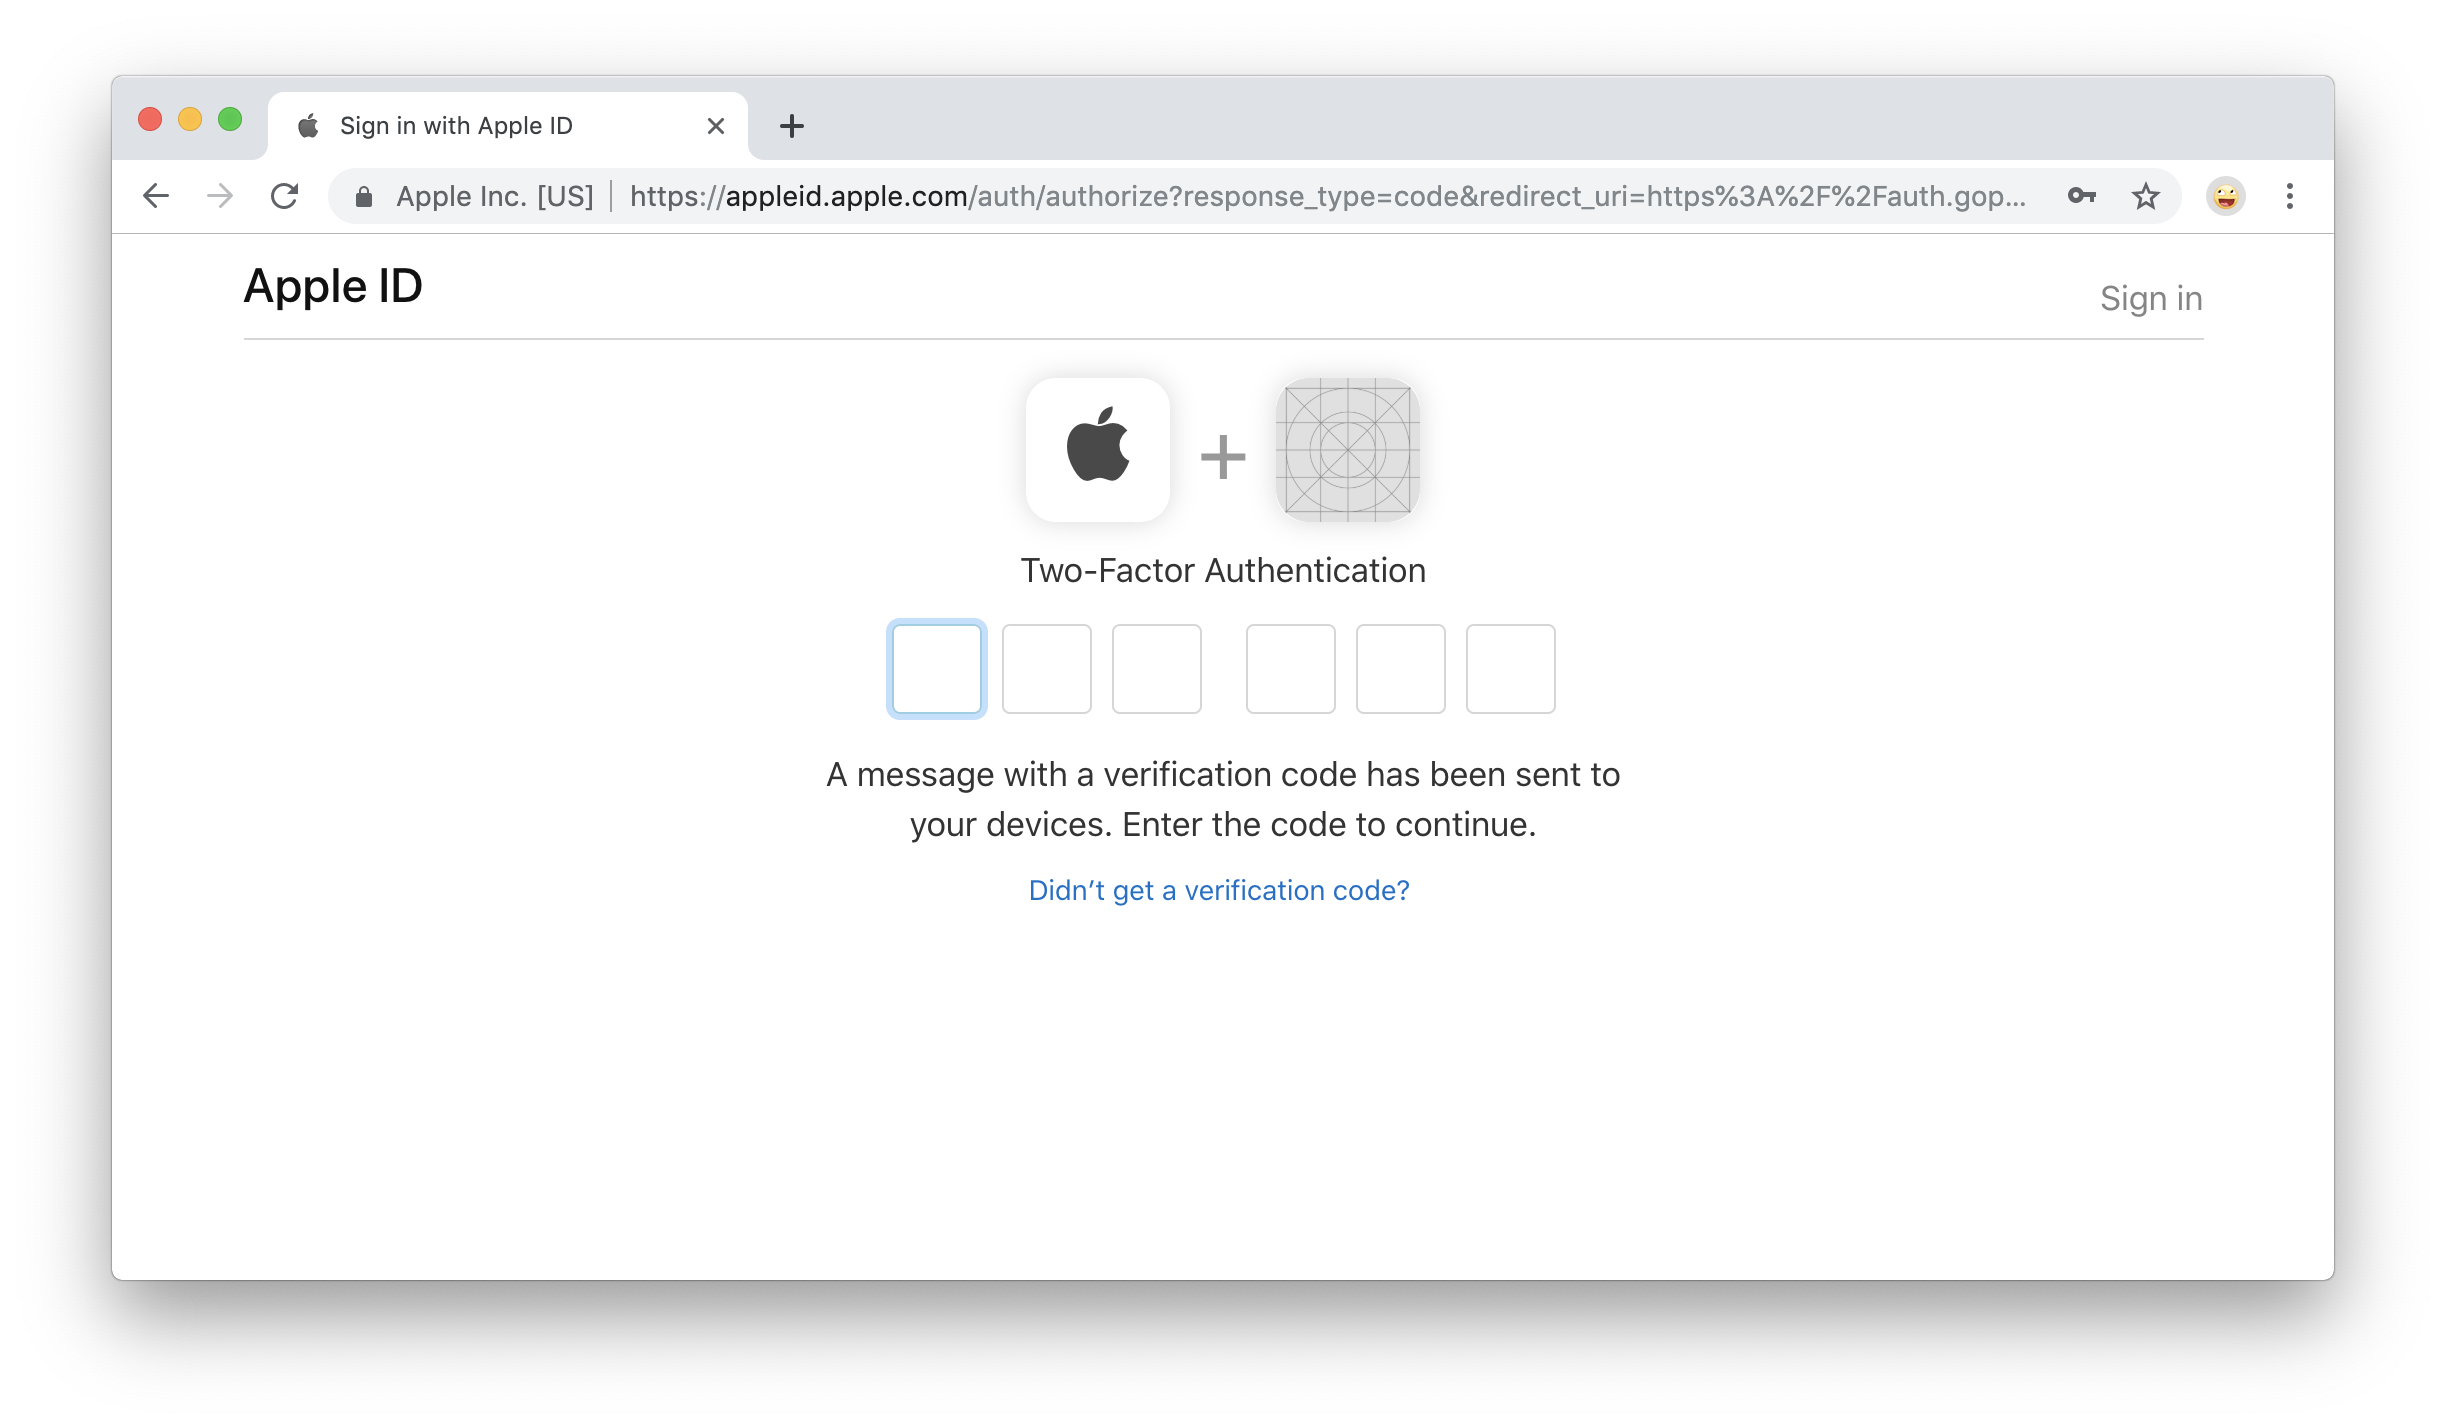
Next you'll be given a verication code. Make a note of this code, click "Done", and then enter the code on the "Two-Factor Authentication" screen:
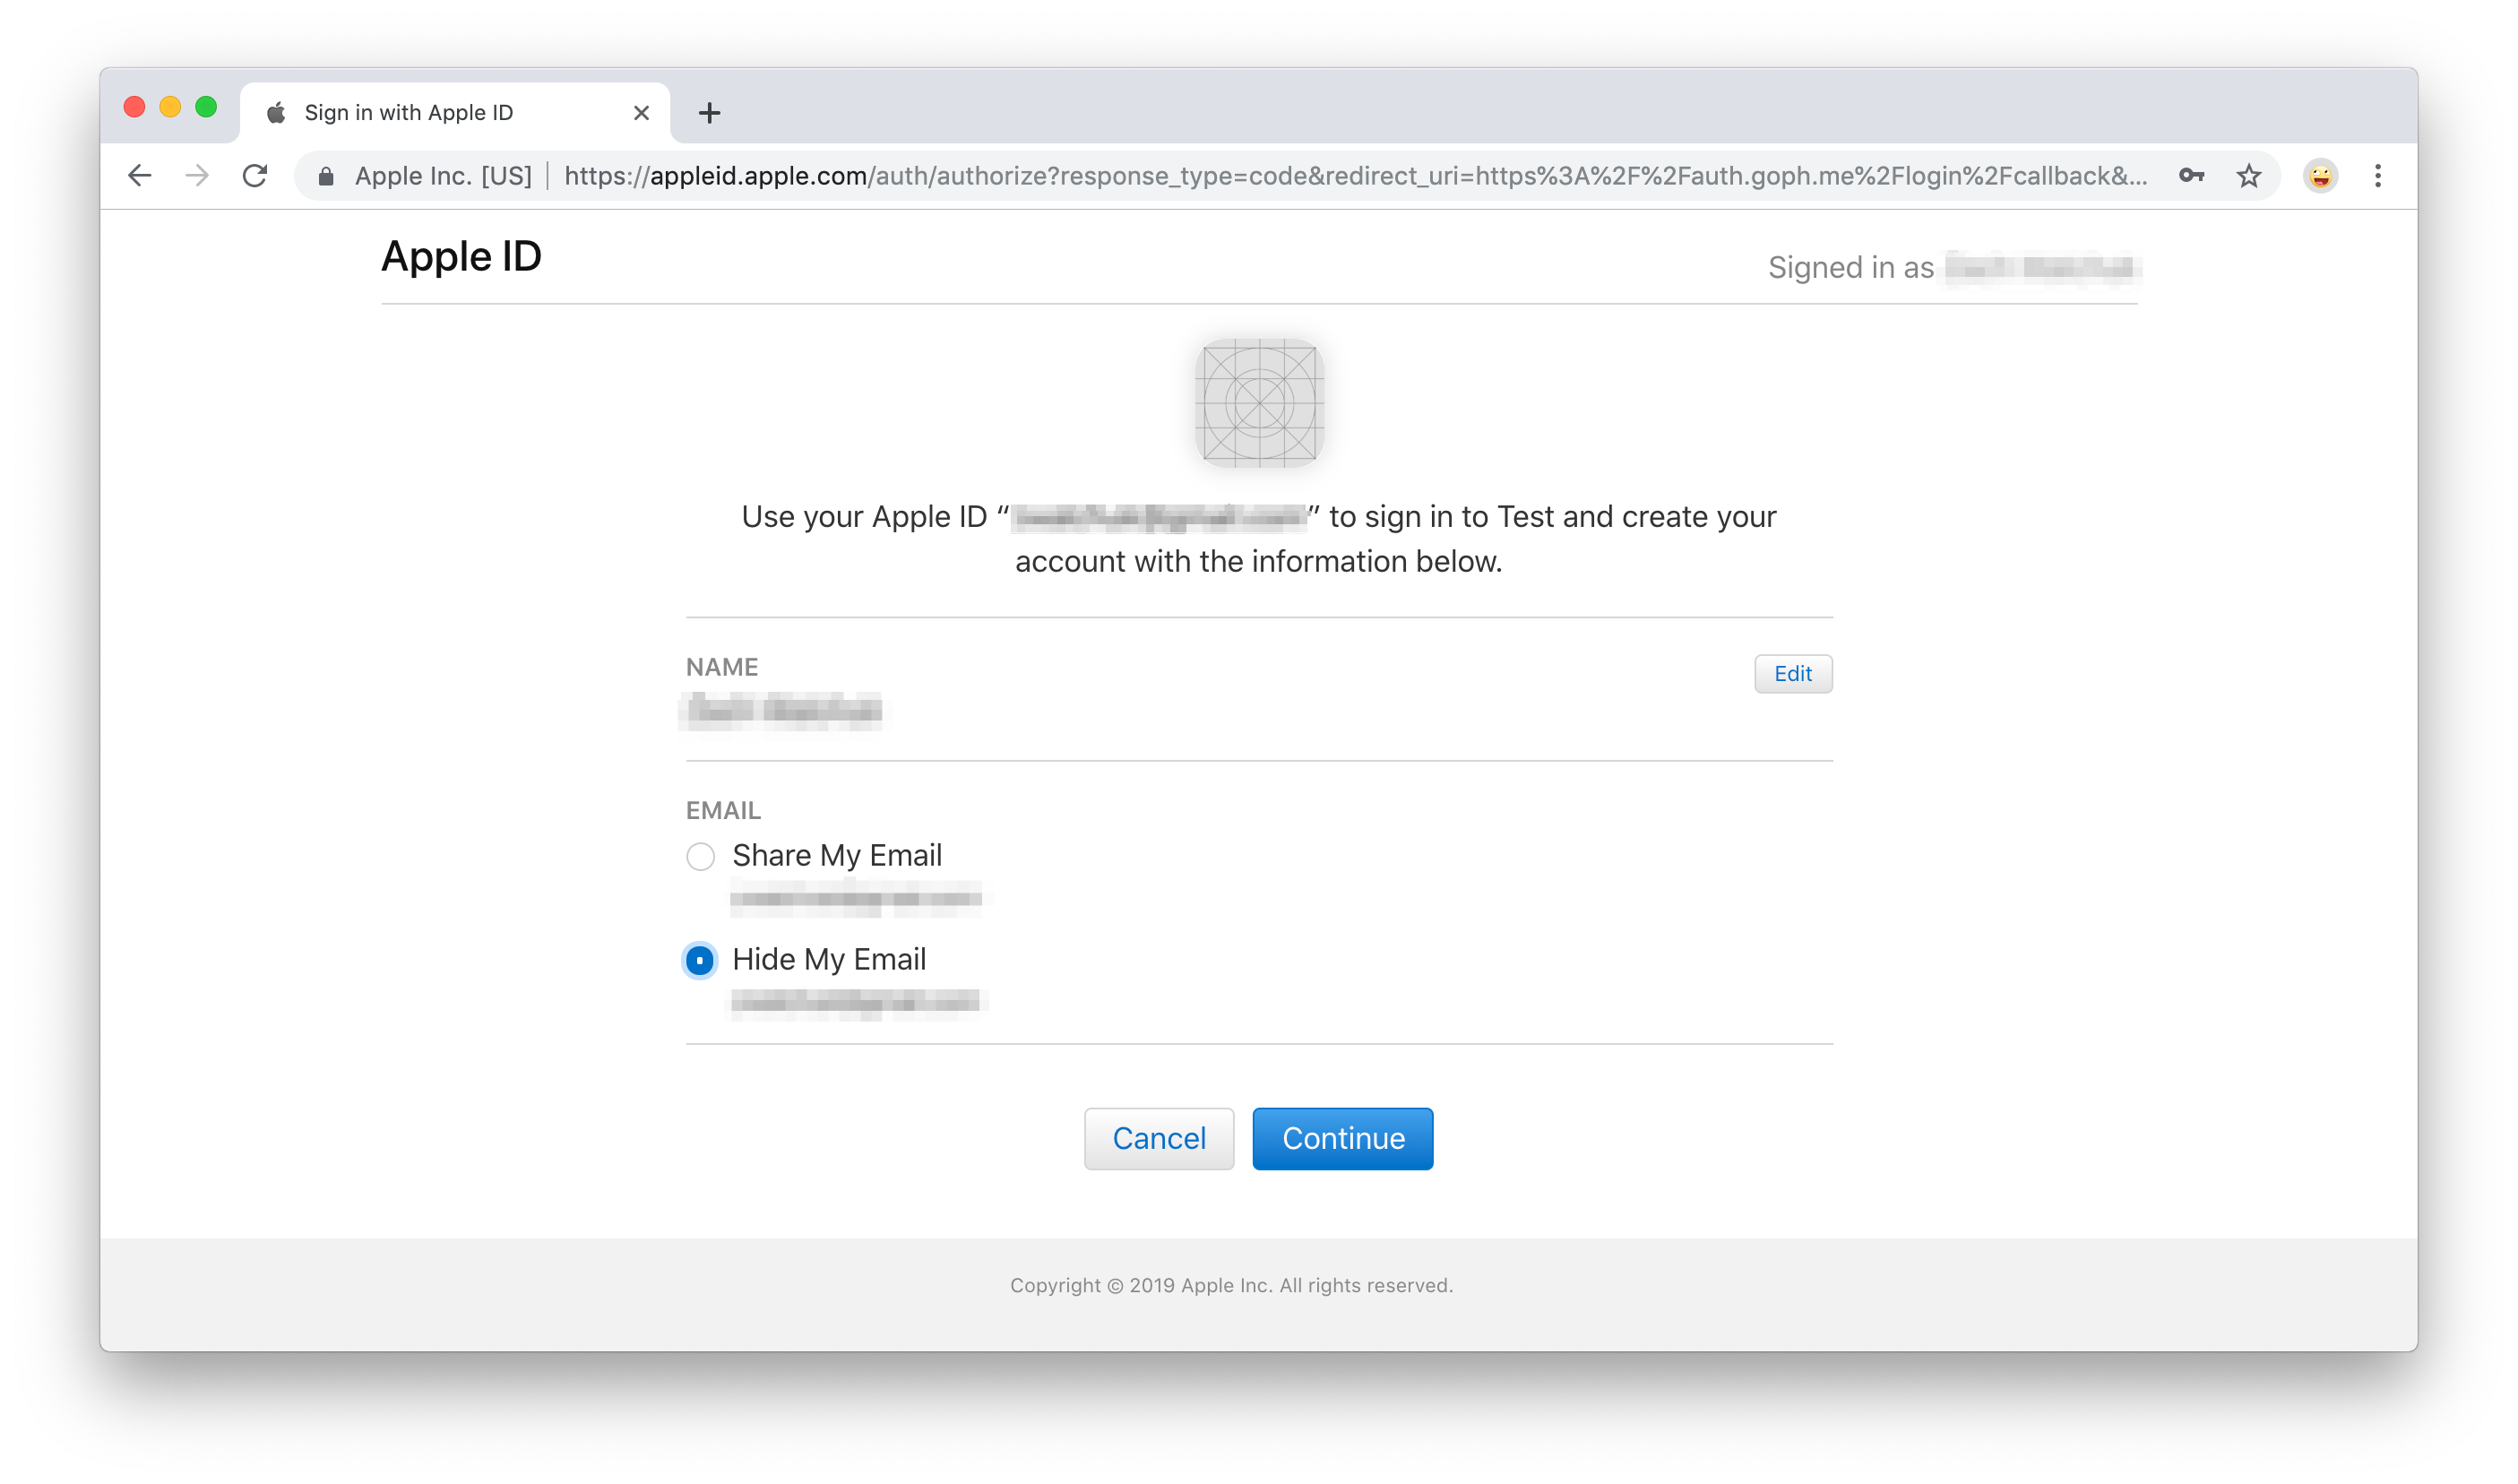
When this is done, you'll have the option to edit your name and choose whether you'd like to share or hide your email. Make your choice, then click "Continue":
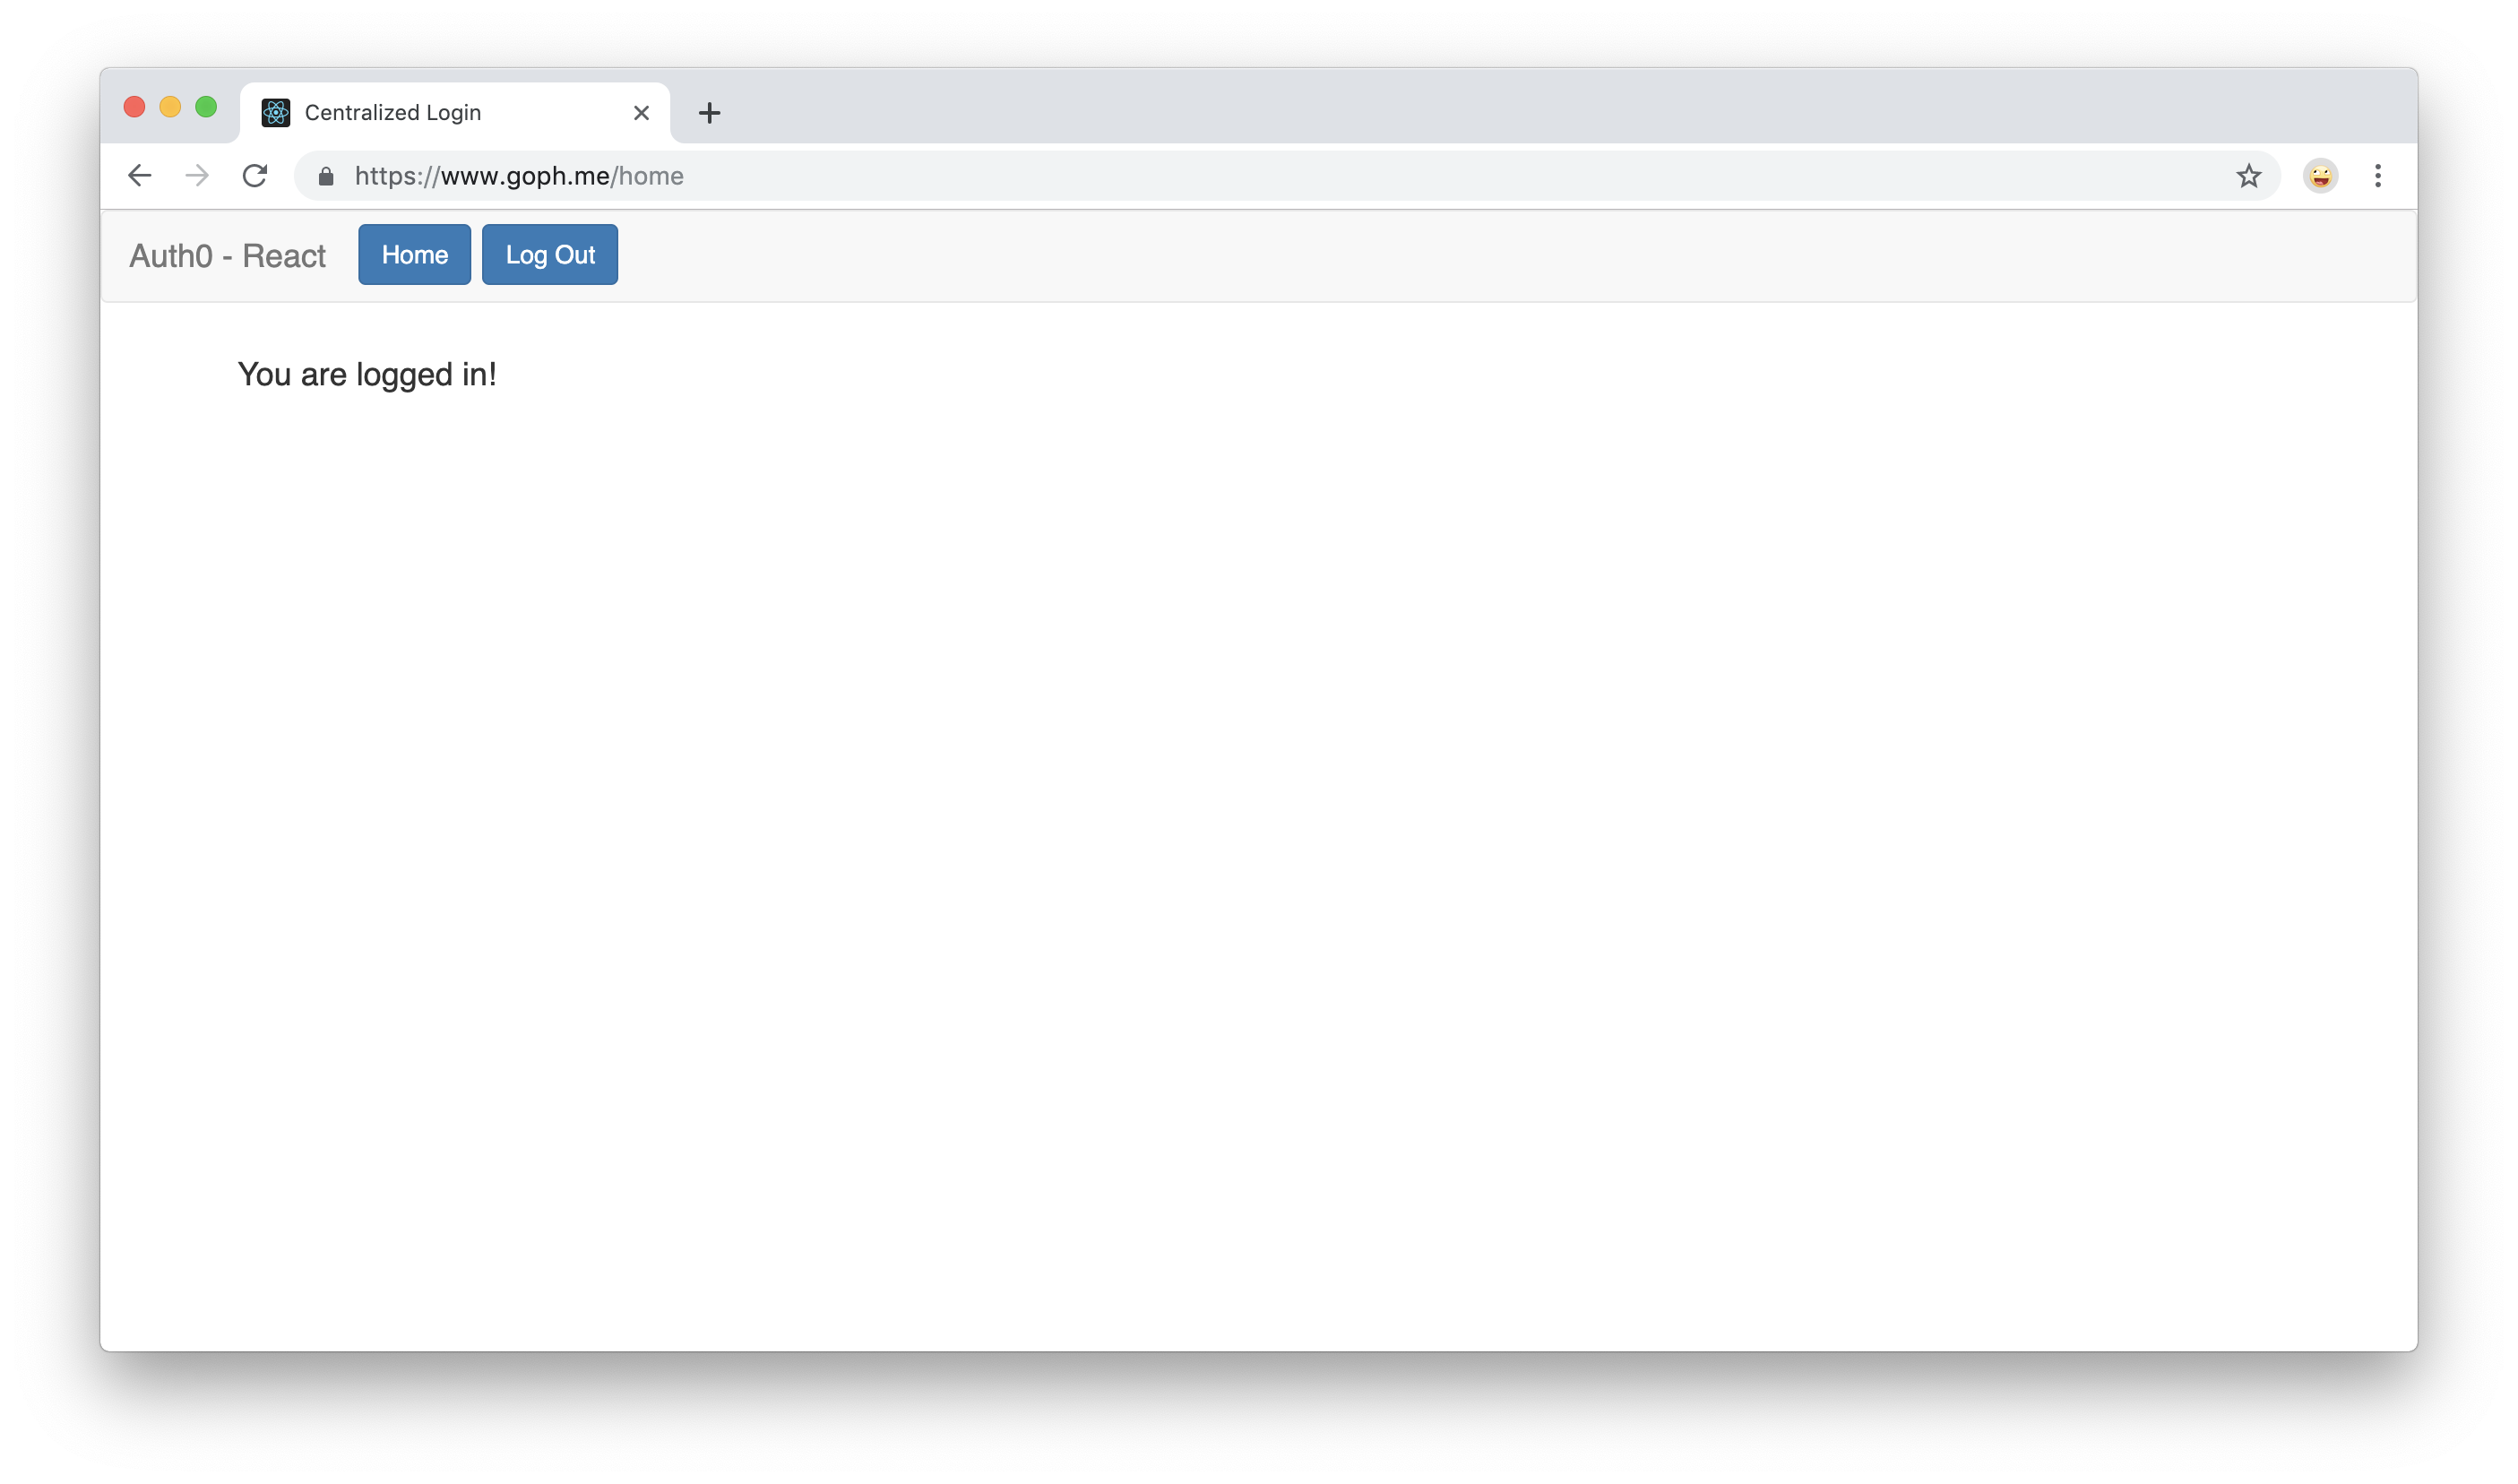
You are now signed in with Apple!
Coming Soon
We’re working hard to add Sign In with Apple as one of our core integrations, which will make supporting this option in your application as easy as turning on a switch. Stay tuned!
About the author

Abhishek Hingnikar
Product Architect