
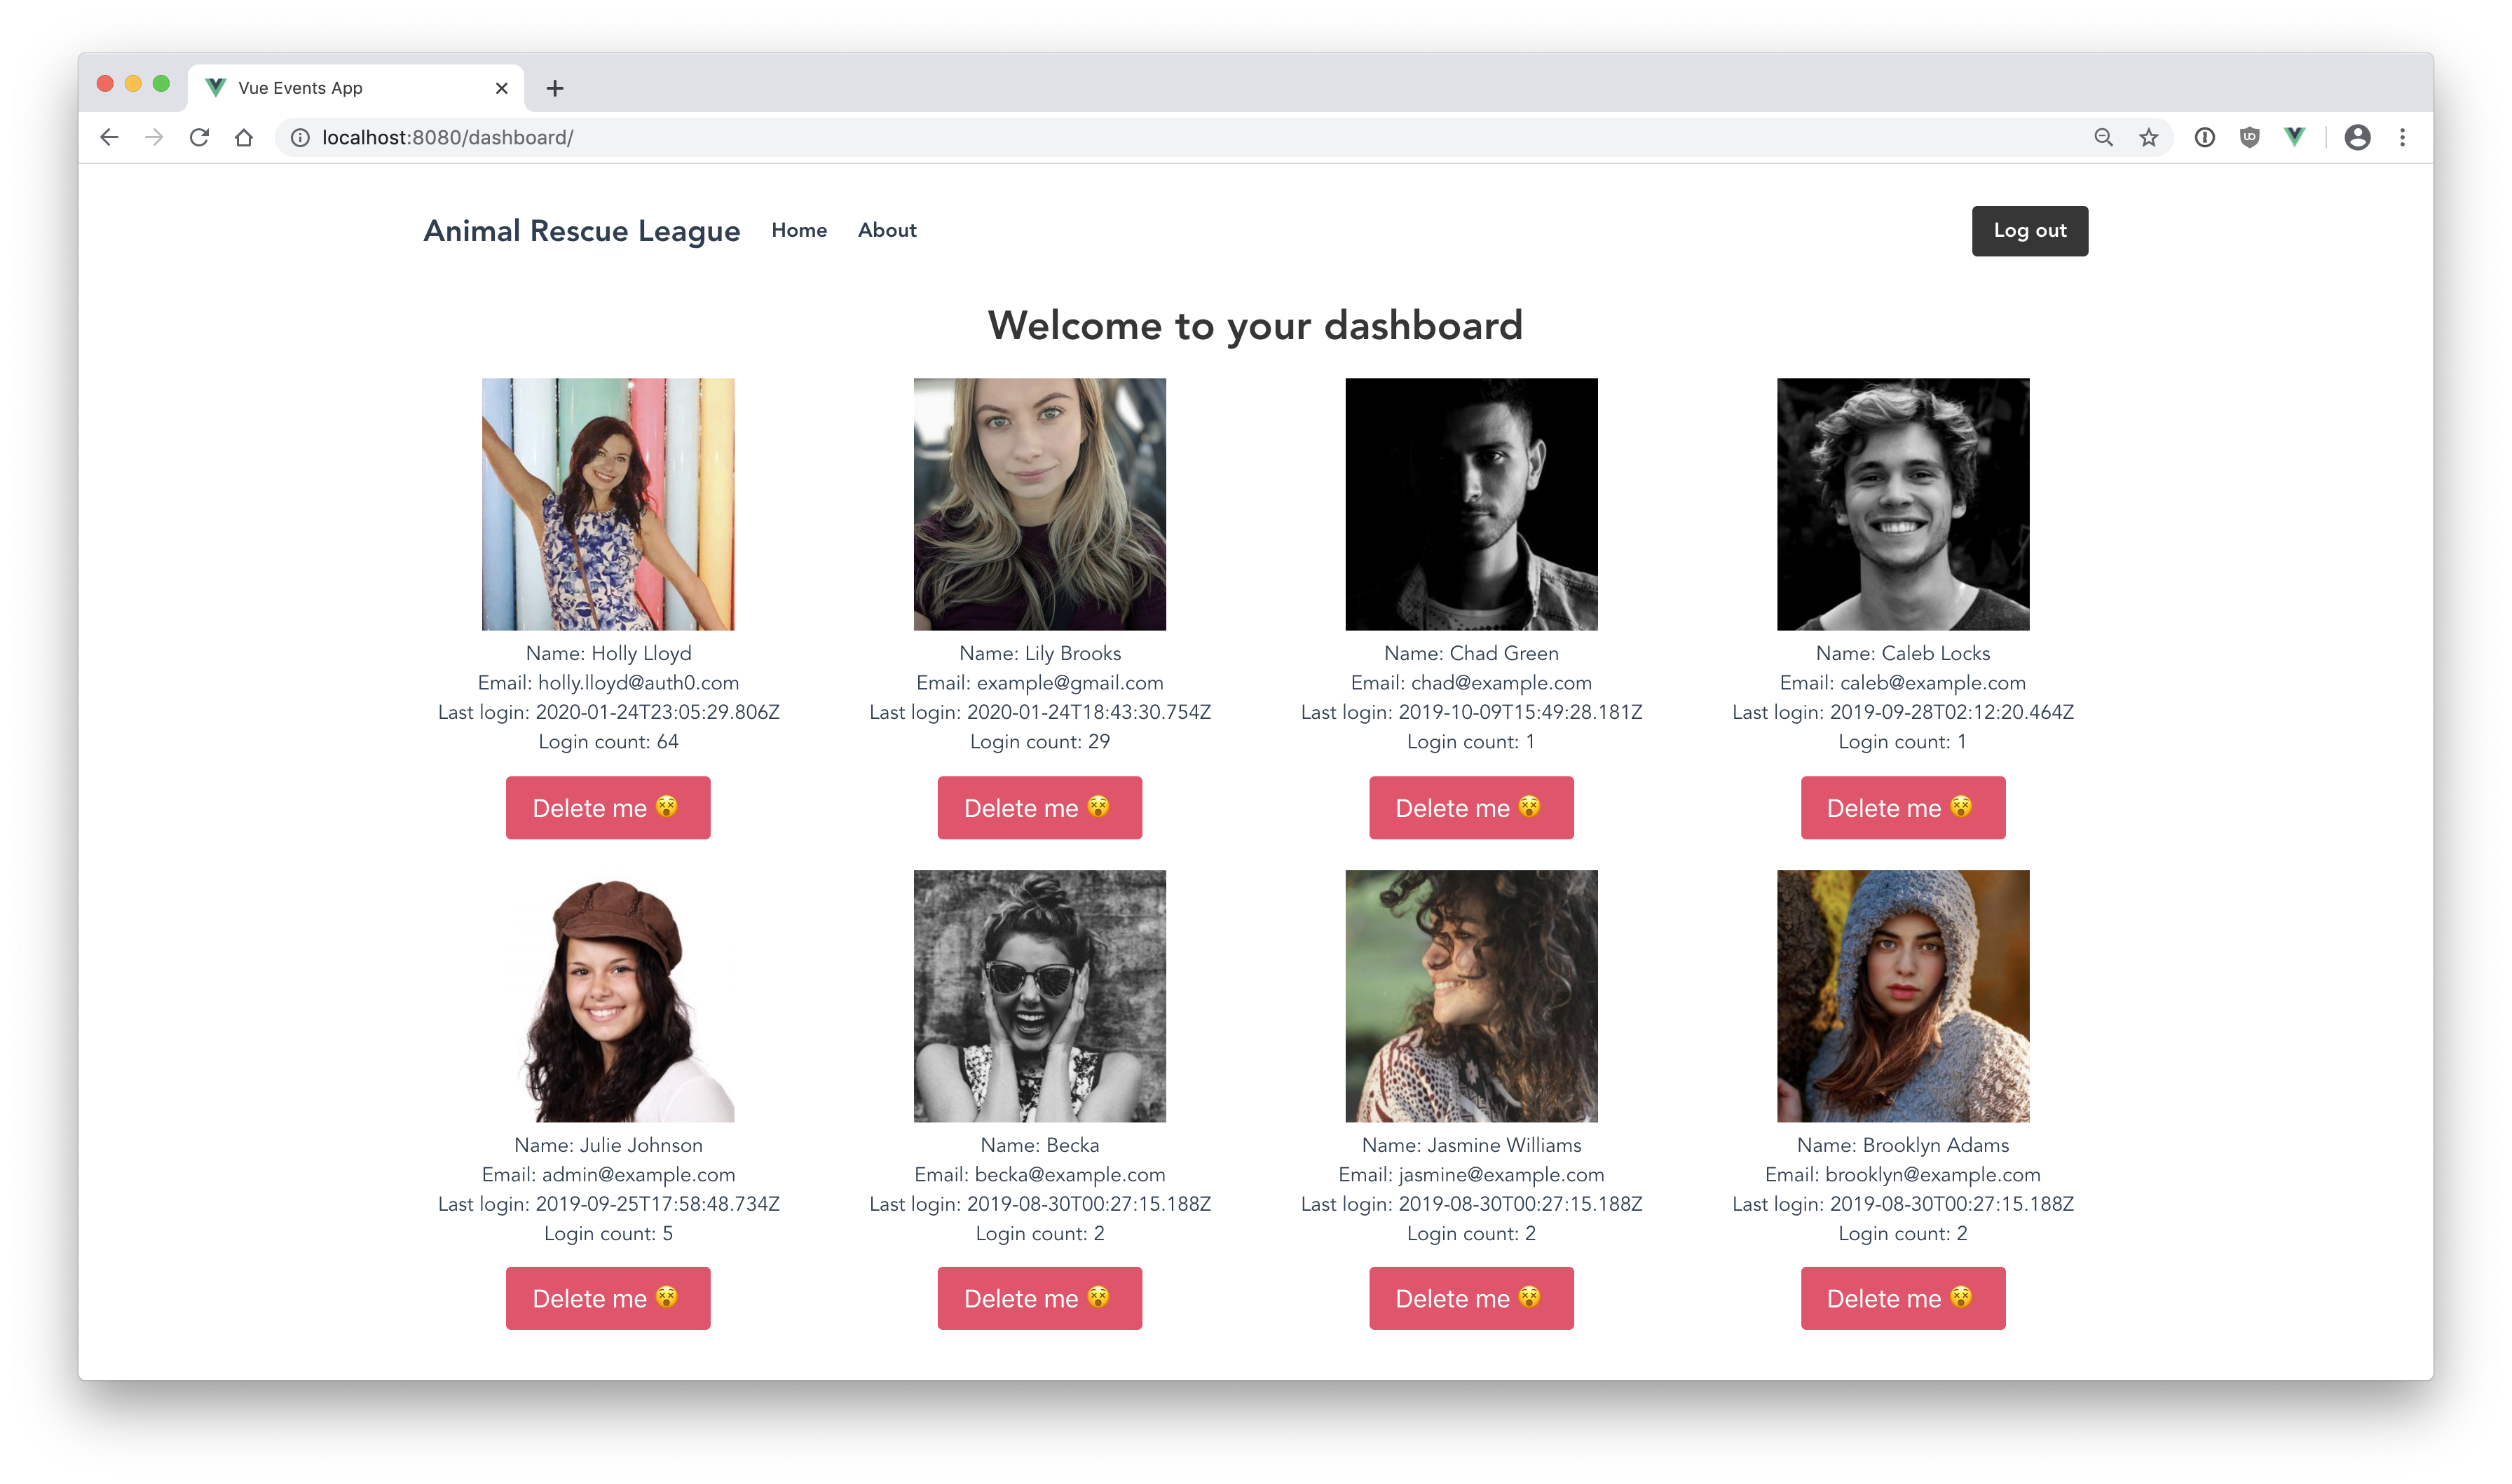
The Auth0 dashboard has extensive tools that you can use to manage your application's authentication and authorization. You can create users, delete users, assign roles to users, ban IPs, and much more. While it's great to have the option to manage users straight from the dashboard, you might sometimes run into a scenario where you need to have that control straight from your own application.
Consider this use case. You're building a blogging platform for a client, and you're using Auth0 as an identity solution. The client has a few employees that will need full admin access to the blog. They'll have the ability to make updates to any users that sign up, ban users, view user data, and more.
Here's the caveat: the client doesn't want her employees to have to sign into another platform to do this. She wants you to build a dashboard on the blogging platform that will give administrators the capability to manage users straight from the blogging application. Lucky for you, you can do all of this using the Auth0 Management API!
In this article, you'll learn how to build a simple user management dashboard using Vue.js, Node.js, and Auth0. You'll be using the Auth0 Management API to pull all of your application's users into your Vue Express application. You'll also add a delete button so that you can delete users straight from your own dashboard. You can check out the final User Management Dashboard code here.
Getting Started
To keep this focused on user management, you're going to be building the dashboard from an existing application that was built in two previous tutorials: Beginner Vue.js Login Tutorial and Making HTTP Requests with Vue and Express.
You don't need to read those to follow along with this tutorial, but you should be familiar with Vue and Express. If not, those two tutorials will be a great starting point, even for a beginner!
To begin, clone the Vue and Express Events app repository and follow the instructions in the README to get everything set up. You'll also need to sign up for a free Auth0 account. The Auth0 configuration details are also in the README.
Without further ado, let's dive into the Management API!
Using the Management API
This will be covered step by step, but here's a quick overview of what you'll need to do to get access to the Auth0 Management API:
- Create a Machine-to-Machine Application in the Auth0 dashboard
- Connect it to your Express API
- Get a short-lived access token for production
In the Auth0 dashboard, click on "APIs" in the left menu and then select "Auth0 Management API". This is a pre-configured Auth0 system API that you can use to connect to the Management API.
To use the Management API, you first need to get an access token called the Auth0 Management API Token. This token is used to authorize your application to access the Management API. As you'll see soon, whenever you make a request to the API, you'll send this token along with it, and the Auth0 server will check that it's valid.
You can get this token straight from the dashboard so that you can immediately experiment with the API. This method is for testing only. Let's play around with the API this way first, and then you'll generate an API access token on the fly from your own application afterward.
Get a Token from the Dashboard
Make sure you're still on the Auth0 Management API page and click on "API Explorer" from there. Next, click the blue button that says "CREATE & AUTHORIZE TEST APPLICATION". A test access token will then be generated for you. Copy this token and head to the Auth0 Management API Explorer. In the top left corner, you should see a button that says "SET API TOKEN." Click on this, paste your token in, and click "Set Token."
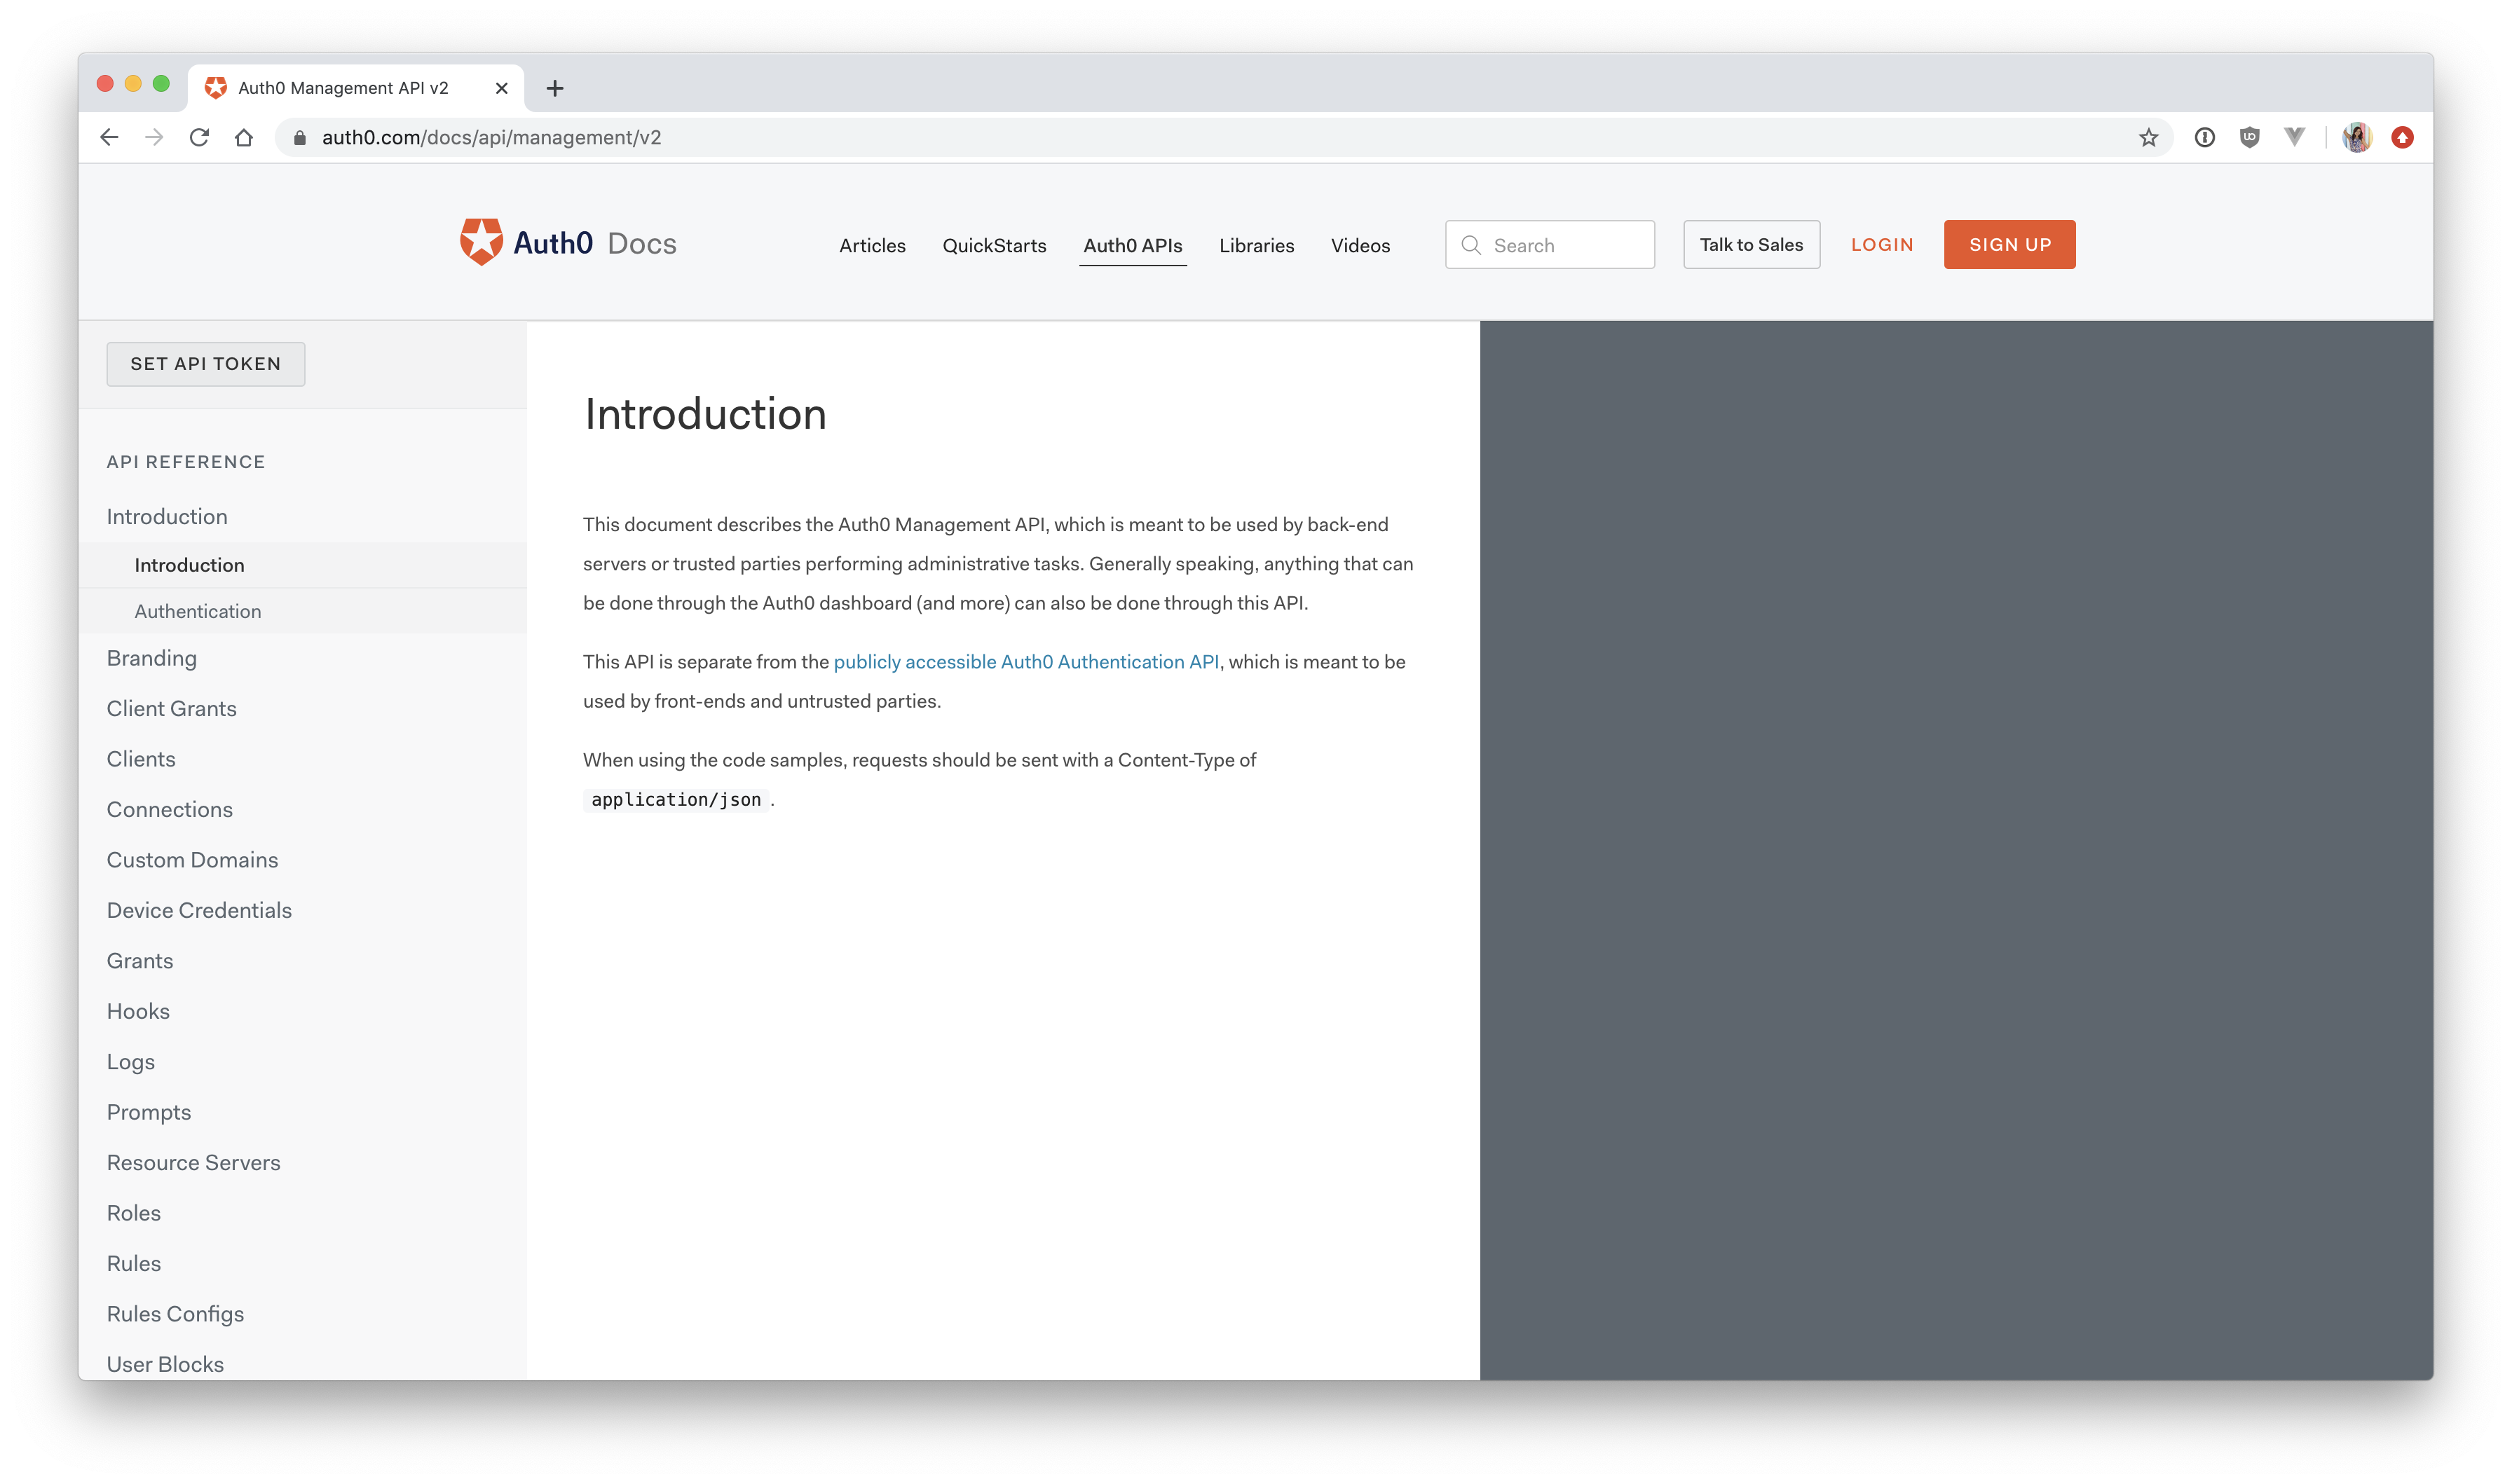
The API explorer provides a convenient way to test out any API calls that you might need to use once you start working on your application. You can scroll through the API Reference in the left menu to see everything you can do with the Management API.
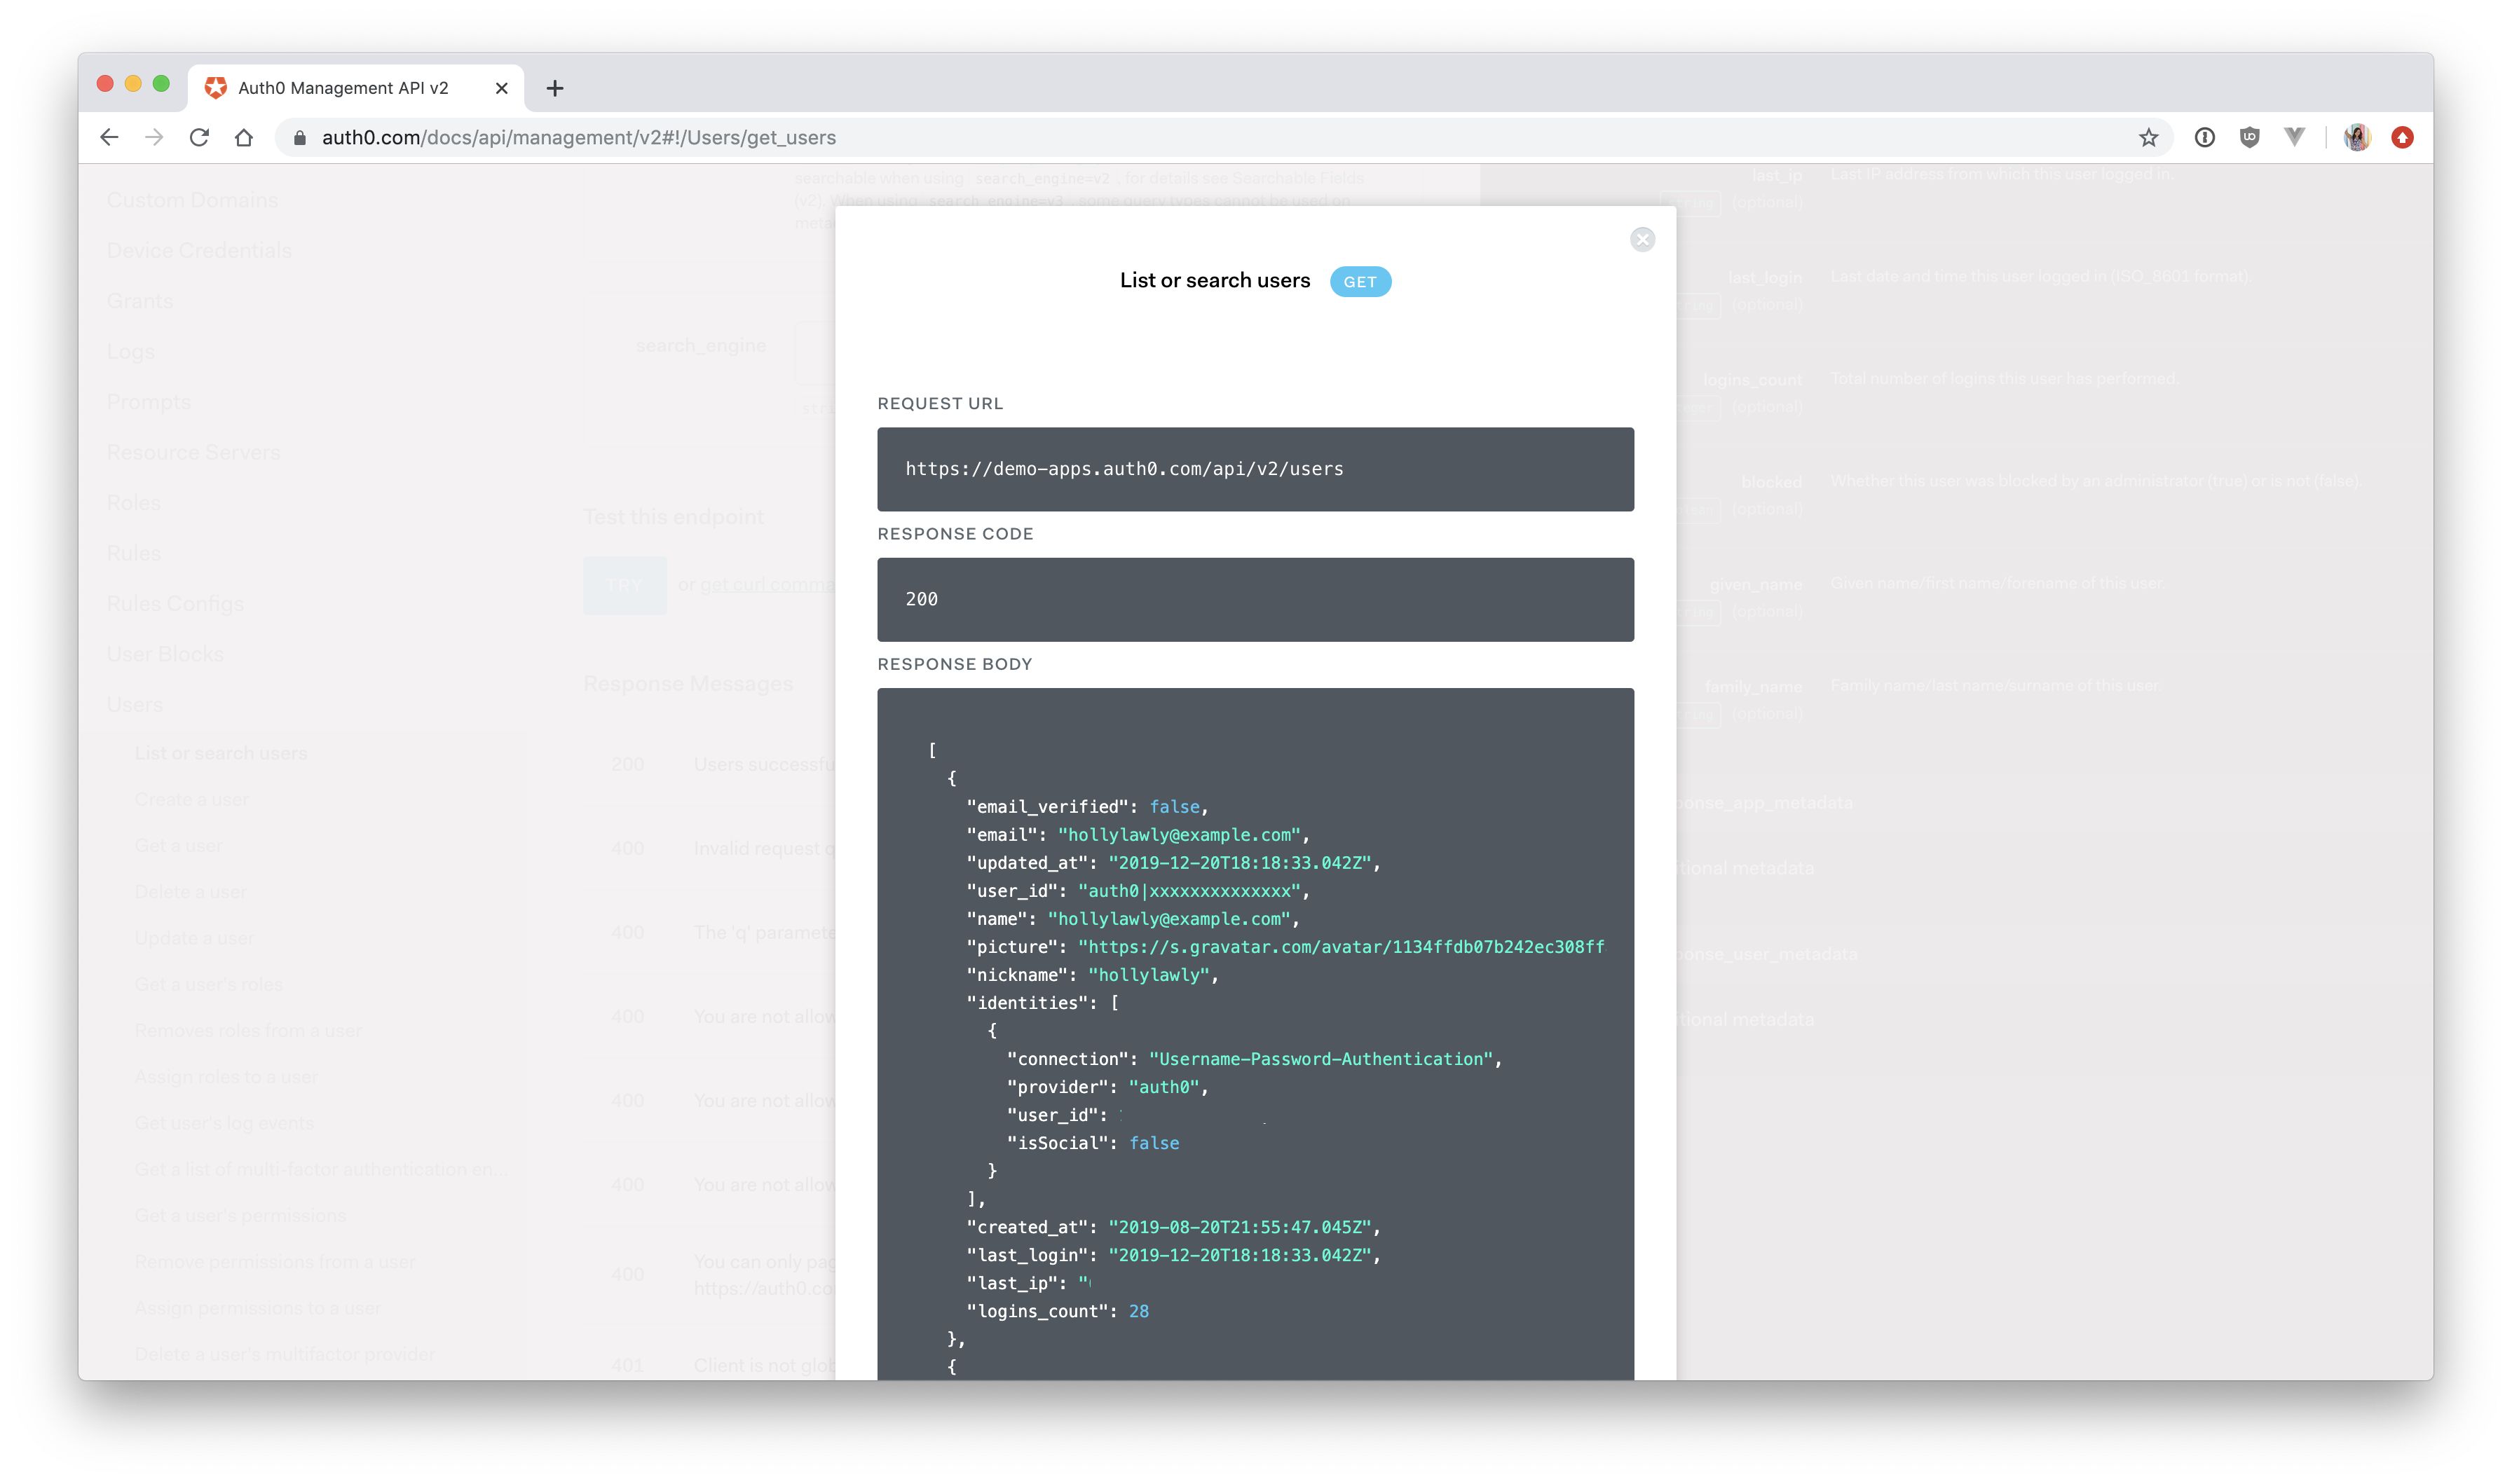
Go ahead and test out one of the requests you'll be making in this tutorial. Scroll down to List or search users. You'll see some documentation and optional parameters that you can use to build your request. Just leave all of these blank for now and press the blue button that says "Try" (you'll have to scroll down a bit).
The response will be an array of objects, where each object contains information about an individual user such as name, email, number of logins, when their account was created, and more.
Feel free to experiment with the Management API here. You can always get a new token from the dashboard whenever yours expires.
Setup to Get a Token Programmatically
Since the point of this tutorial is to streamline some of this user management process, you're going to want to be able to automatically generate a new Auth0 Management API Token straight from your application.
To do this, you need to connect your client application to the Auth0 Management API in the dashboard so that it knows who it's issuing an access token to. In this case, the client application is your Express API.
Note: If you're scratching your head wondering how an Express application is the client, don't worry, you're not alone. It seems strange, but Express is the client in relation to the Auth0 Management API. Your Express application will be the one requesting access to a resource from the Management API.
Make sure you're still on the Auth0 Management API page in the Auth0 dashboard and click on "Machine to Machine Applications". Click on the switch next to "Vue Express API" or whatever you named your Express API when you set it up in Auth0 from the Vue and Express Events app repository README. It should now be green and say "Authorized."
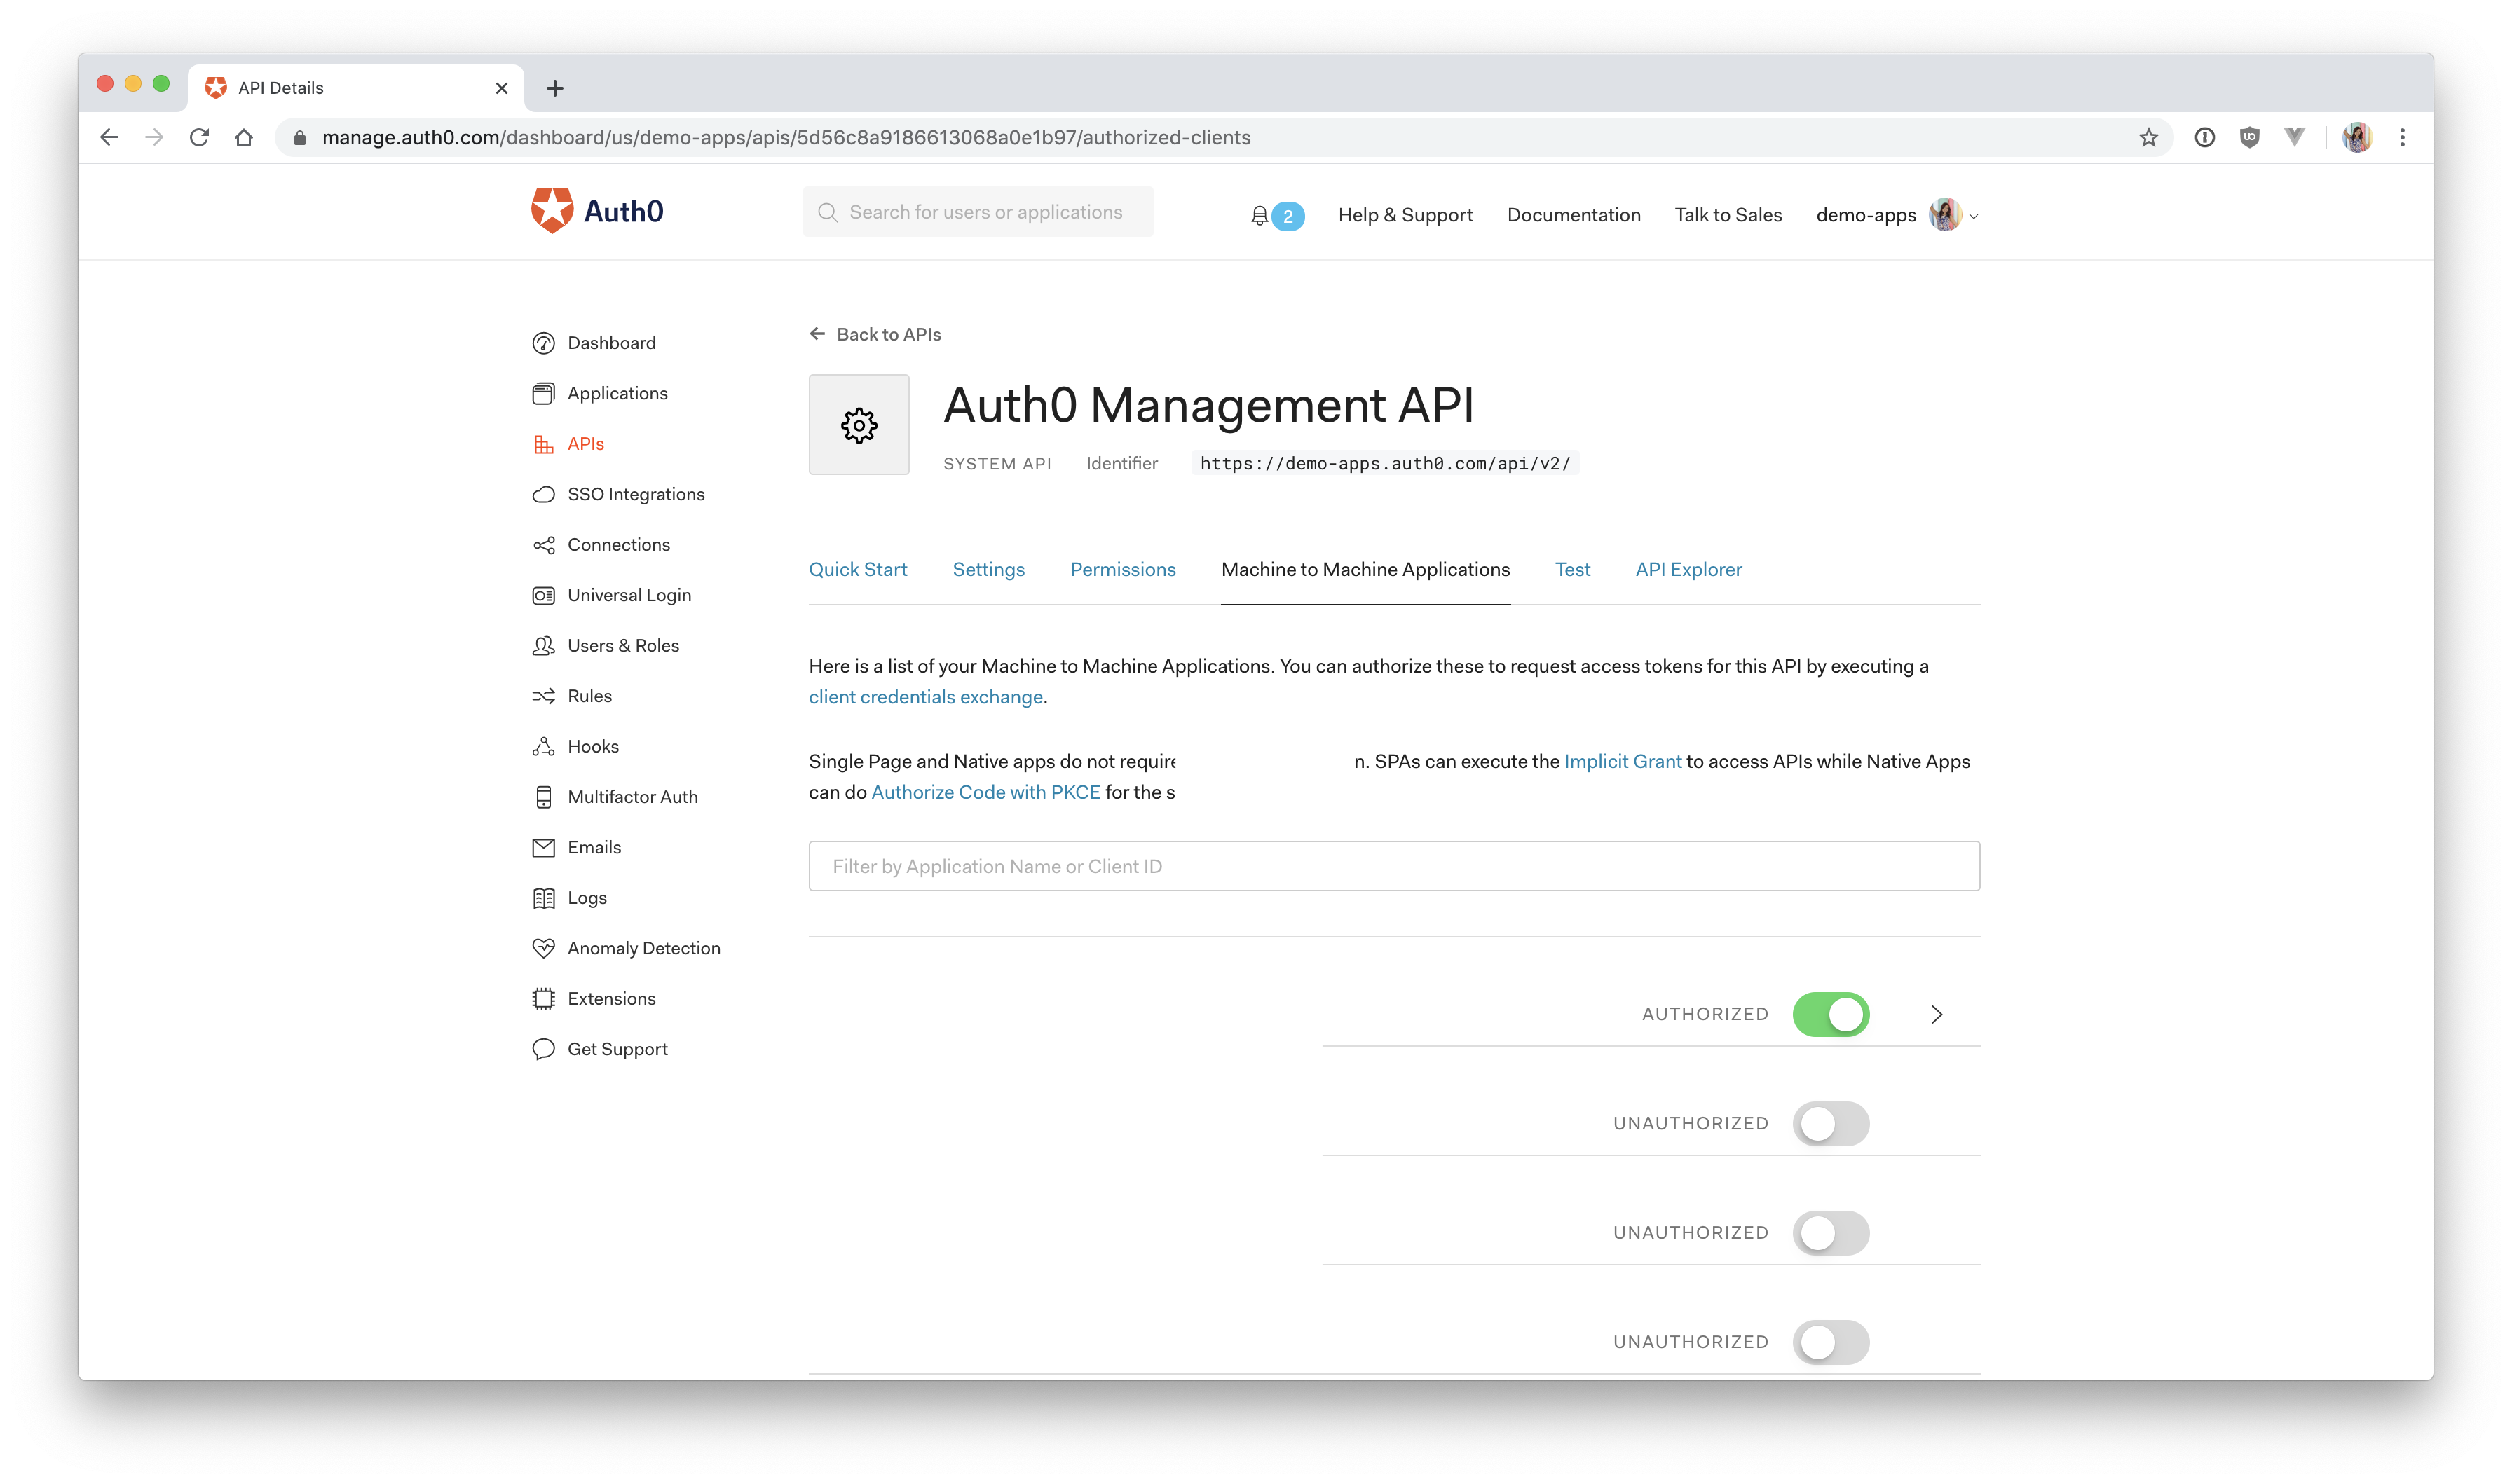
You'll also need to add permissions to this application, so go ahead and handle that now. Click on the down arrow V next to the authorized switch. For the purpose of this application, select read:users, delete:users, and read:user_idp_tokens and then click "Update".
read:users— Read your Auth0 application's usersdelete:users— Delete your Auth0 application's usersread:user_idp_tokens— Read the identity provider access token
If you scroll back up, you'll see a tab titled "Test" next to "Machine to Machine Applications". Click on "Test", and you should see your API in the dropdown right underneath "Asking Auth0 for tokens from my application". Select the "Vue Express API" and then click on "Node.JS" underneath it. This will give you the code for the API call that will allow the Express API to request a token from the Auth0 Management API.
Leave this page open, as you'll be using it in the next section.
Next Step: I've set up my application in the Auth0 dashboardI ran into an issueAbout the author

Holly Guevara
Former Developer Content Manager (Auth0 Alumni)