
TL;DR: The Delegated Administration Dashboard extension exposes the Users section of the Auth0 Dashboard, allowing you to easily and securely grant limited access for privileged user accounts. The extension exposes a number of hooks allowing you to provide a customized and fine-grained experience. Today, we will look at how the Delegated Admin extension can help a growing organization simplify their user management workflow by giving subordinate accounts access to create, edit, and further manage various user accounts throughout the organization.
Building modern applications is only half the battle. As your app grows, the need for excellent management and maintenance tools becomes key. User management is one area where you don't want to get this wrong. If you are using Auth0 for managing modern identity in your applications and are at a point where you need more control over user management, then I would like to introduce you to our Delegated Administration Dashboard extension.
The Delegated Administration Dashboard or Delegated Admin extension allows you to give fine-grained access to user data stored and accessed through Auth0. With this extension, you can give individual users access to view, manage, and edit users in your apps without giving them the proverbial keys to the kingdom, a.k.a. full access to the Auth0 Dashboard.
“The Delegated Admin Dashboard allows companies to build and enforce powerful user management workflows.”
Tweet This
Today, we will look at how you can utilize the Delegated Admin extension to expose only the User dashboard to a set of privileged users. We will be doing this in the context of a fictional company that has grown tremendously and needs a better way to delegate user management access. Our example is a common one, but there are many use cases where this extension can be applied. For example, a SaaS platform may want to give their clients an easy to use Dashboard to manage their tenants. Another example could be an organization wishing to grant specific access to various departments; IT Support would be able to view, edit, and delete all organizational accounts, while Customer Support would only have access to customers. We'll try to address various use cases throughout the post to show the versatility of the extension. Let's get started.
CloudCakes Goes Global
CloudCakes is a fictional company that delivers on-demand cakes. Users simply place an order through the company's web or mobile app and within 30 minutes a cake is delivered. The company has gone global, amassing millions of users and opening many franchises along the way. Each franchise operates independently and serves a designated local market. The company has scaled operations in many ways, but has never really had a solid user management strategy. They recently switched to Auth0 for managing their users, but now need a way to allow individual franchises to have more control over their users.
Delegated Administration Extension
The Delegated Administration extension will allow CloudCakes to better delegate access to their vast pool of users. As it stands only the executives from CloudCakes corporate can access the Auth0 dashboard. Giving access to the dashboard for all franchise owners is not an option. They could use the Auth0 Management API to build an experience for the franchise owners, or they could use the Delegated Administration extension to expose only the Users section of the Dashboard. The latter seems like a much better option. Let's see how CloudCakes and your organization can accomplish this quickly and easily.
To use the Delegated Administration Dashboard you will need to have an active Auth0 account. If you don't already have one, you can sign up for free.
Auth0 offers a generous free tier to get started with modern authentication.
Create a New Client
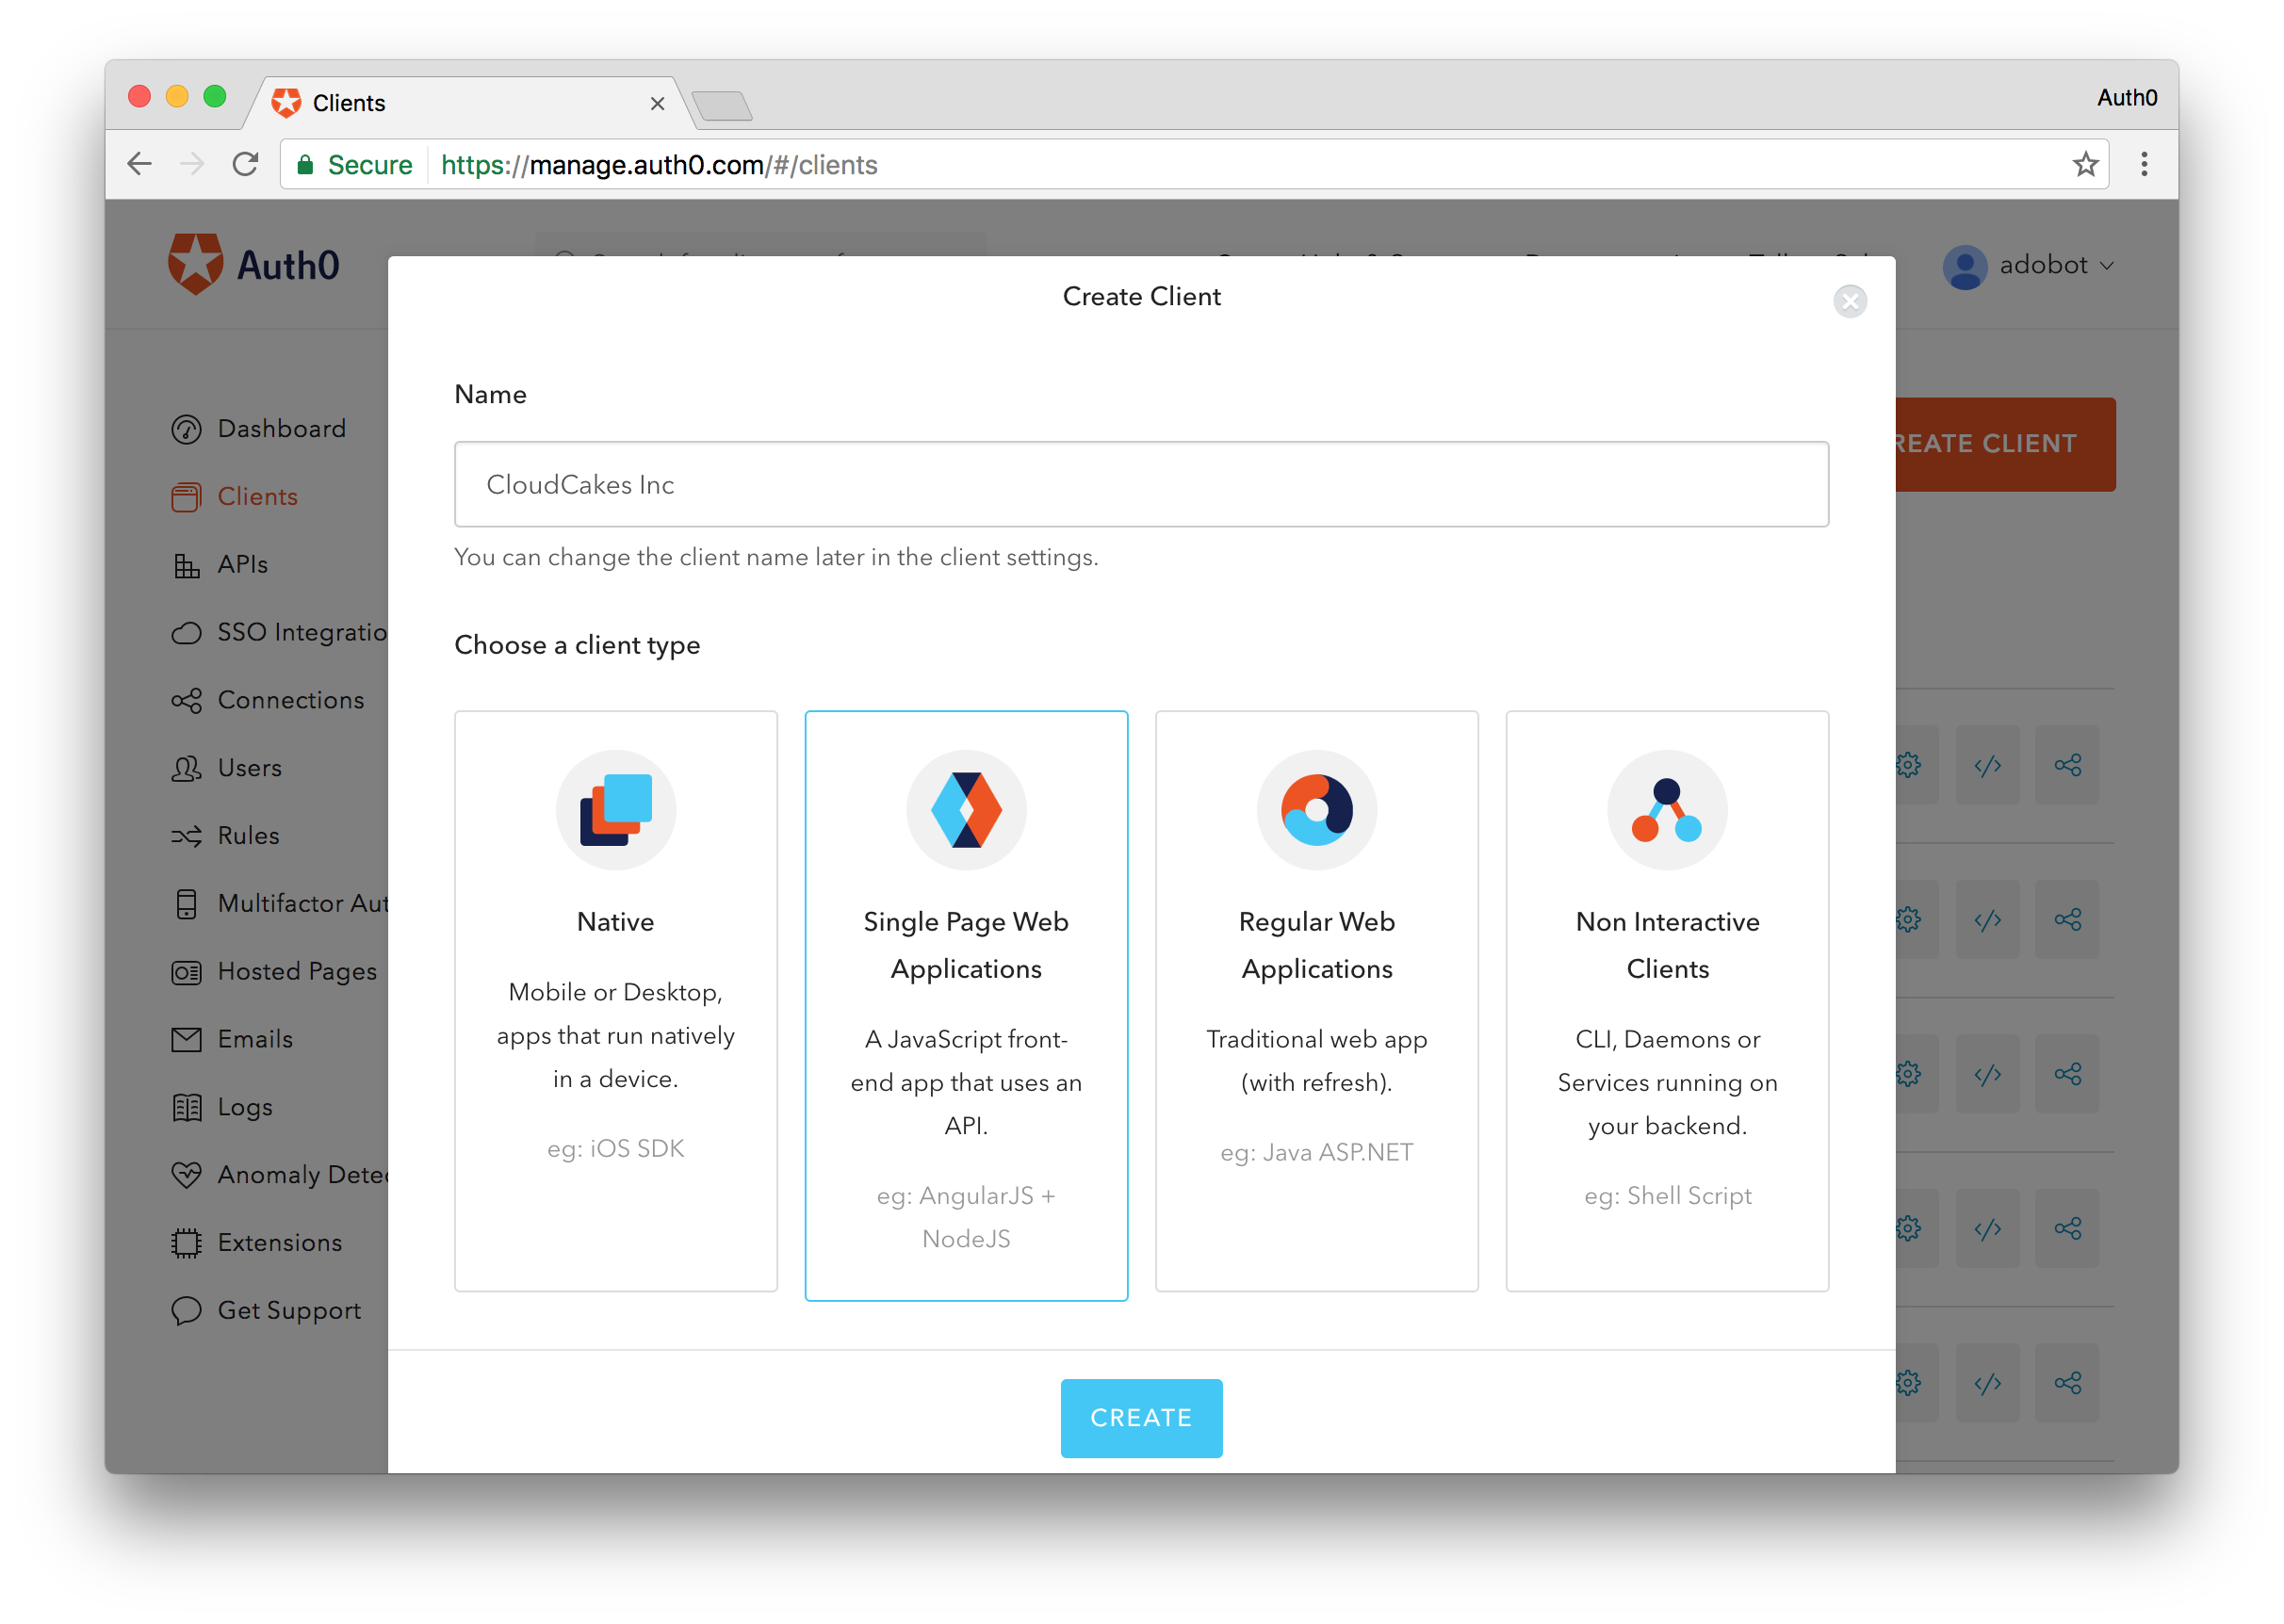
The first thing we are going to do is create a new Auth0 client to house the user accounts that will have access to the users dashboard. This client will essentially act as the command center for the users dashboard.
To create the client, navigate to the Auth0 dashboard and click on the New Client button. You can name the client whatever you want, we'll just name ours CloudCakes Inc. Set the type of app as Single Page App* and click Create**.
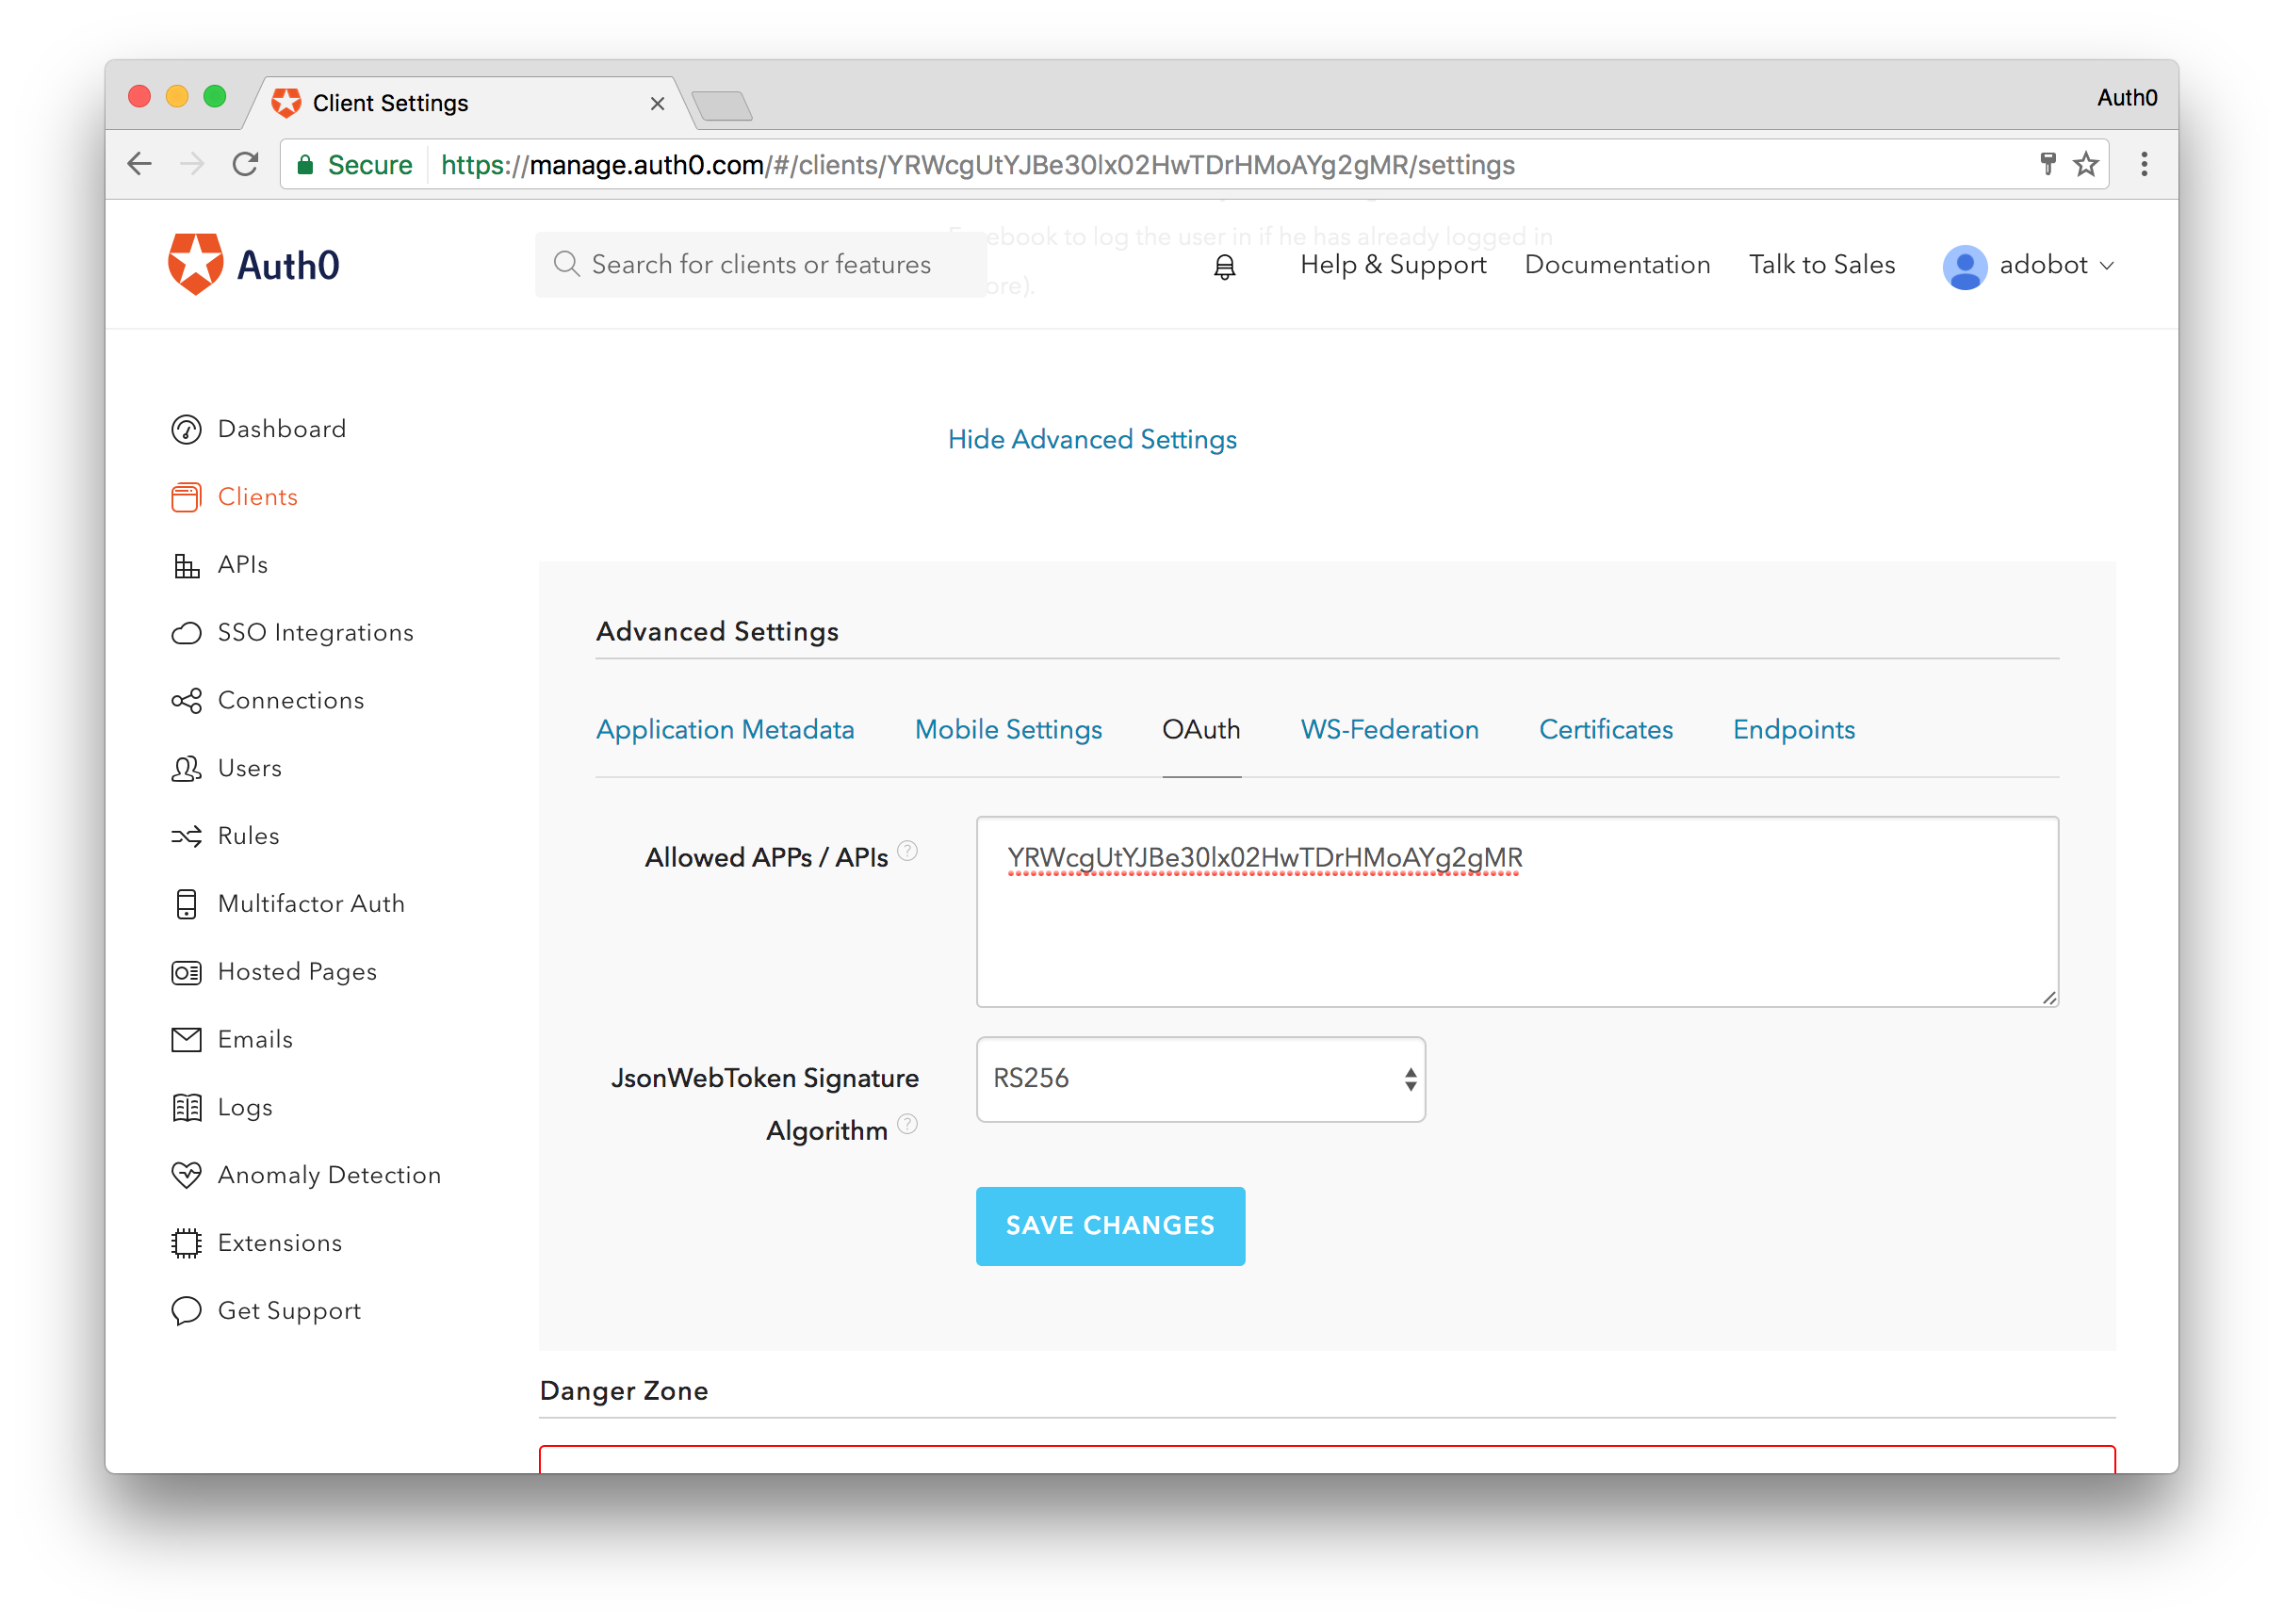
With the new client created, go ahead and copy its Client ID. Navigate to the bottom of the Settings tab in this newly created client and click on the Show Advanced Settings link. From here, navigate to the OAuth tab and in the Allowed APPs/APIs section paste in the Client ID. Additionally in this section, change the JsonWebToken Signature Algorithm to RS256.
Finally, scroll up to the Allowed Callback URLs section and here we will add the url that will be used to access the Users Dashboard. The url will follow this structure https://YOUR-AUTH0-USERNAME.LOCALE.webtask.io/auth0-delegated-admin/login, so since I am in the US and my username is adobot the URL I will add is https://adobot.us.webtask.io/auth0-delegated-admin/login. Save your changes and navigate to the Extensions tab in the main menu.
Setup New Database Connection
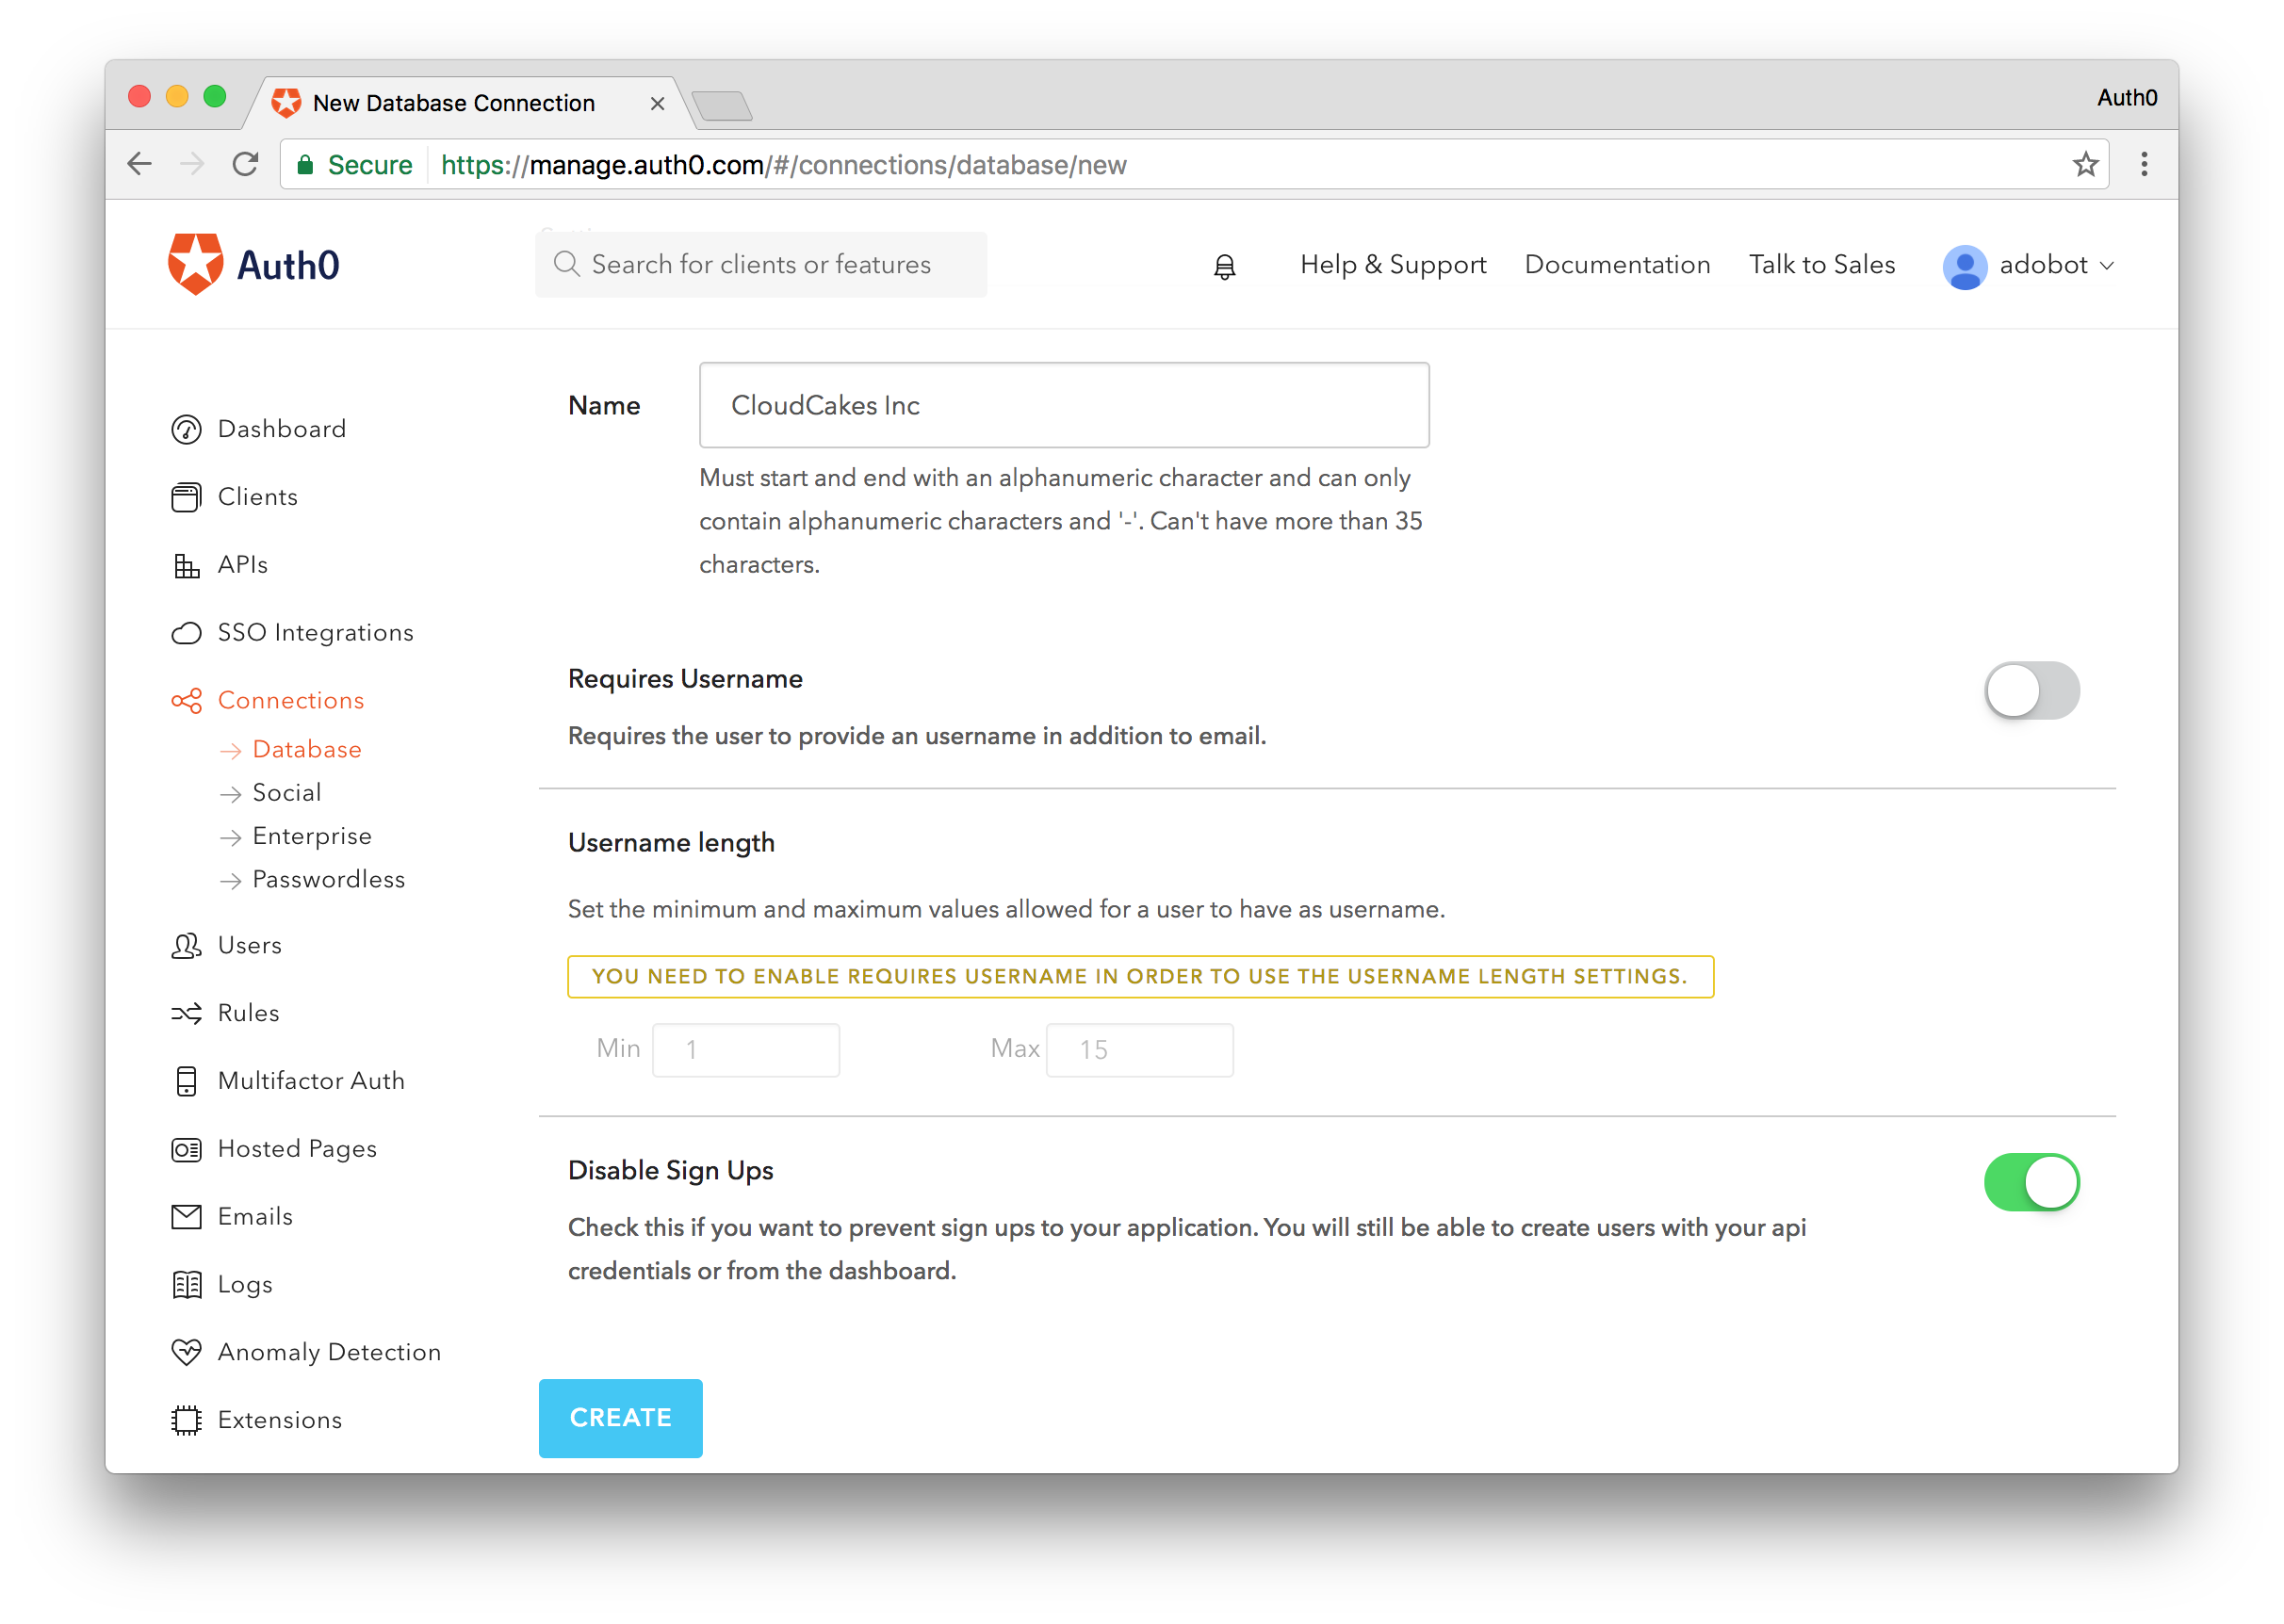
In addition to setting up a new client for our Users Dashboard, we'll also want to setup a new database connection to store our privileged users. We could use an existing data store if we really wanted to, but it's more secure to isolate these users in their own database. As always you can either store the users with Auth0 or connect to any custom datastore.
To create the database connection, head over to the Database Connections in the Auth0 dashboard and select Create DB Connection. Name your connection, select how users will login, and it is recommended you disable sign-ups so that users don't have the option to directly sign up for an account.
Once the connection is created go back to the client you are going to use for the Users Dashboard and enable just this newly created connection for it. This will ensure that only users that are stored in this database can login and access the Users Dashboard.
Enabling the Delegated Admin Extension
To enable the Delegation Admin Dashboard extension, you will just need the Client ID you copied earlier. From the Extensions section, navigate to the very bottom where you will find the the Delegation Admin Dashboard extension, click on it, and a modal dialog will pop up asking you to input some data before enabling the extension.
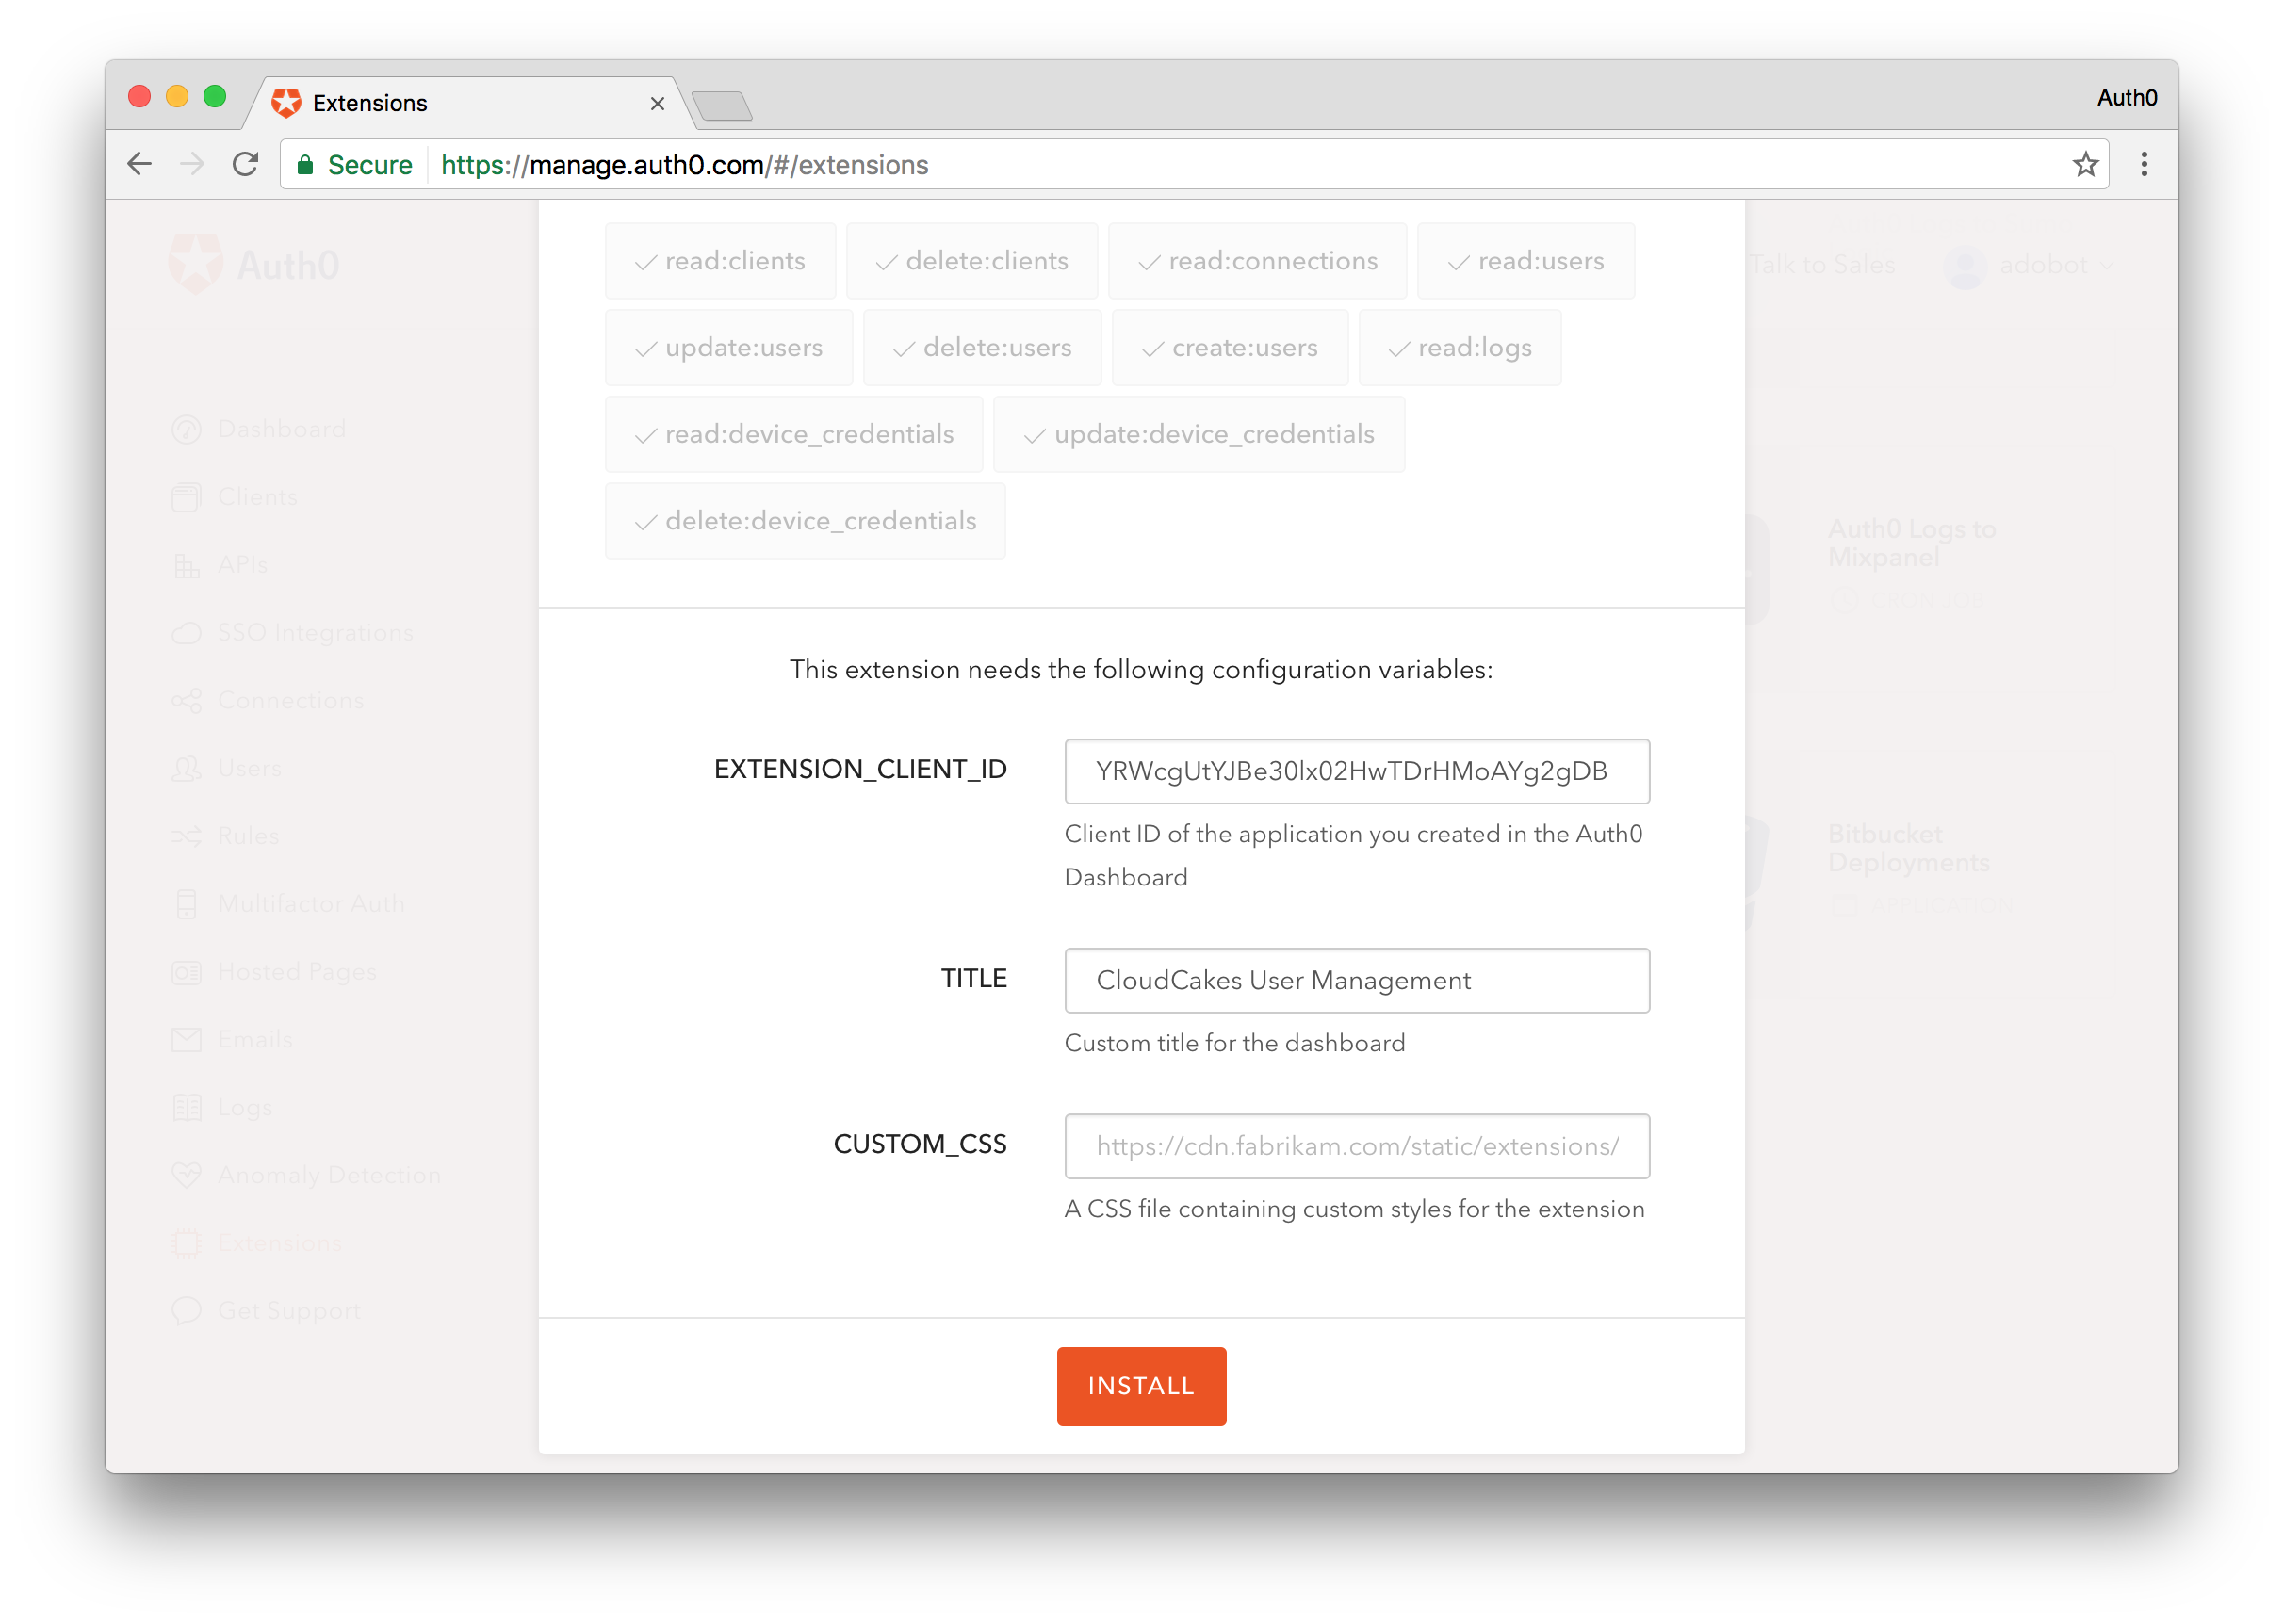
The two fields you will need to provide data for are the EXTENSIONCLIENTID and Title. Extension Client ID will be the Client ID you copied earlier and the title can be anything. You can also optionally add a link to a CSS file to customize the look and feel of the Users Dashboard, but we'll omit that here. Click Install to enable the extension.
Populating the Database
We've enabled the Delegation Admin Dashboard extension but it's of little use to us now since we don't have any users capable of accessing it. Let's change that. Navigate to the Users tab in the Auth0 dashboard and create a new user. Be sure place this user in the correct database.
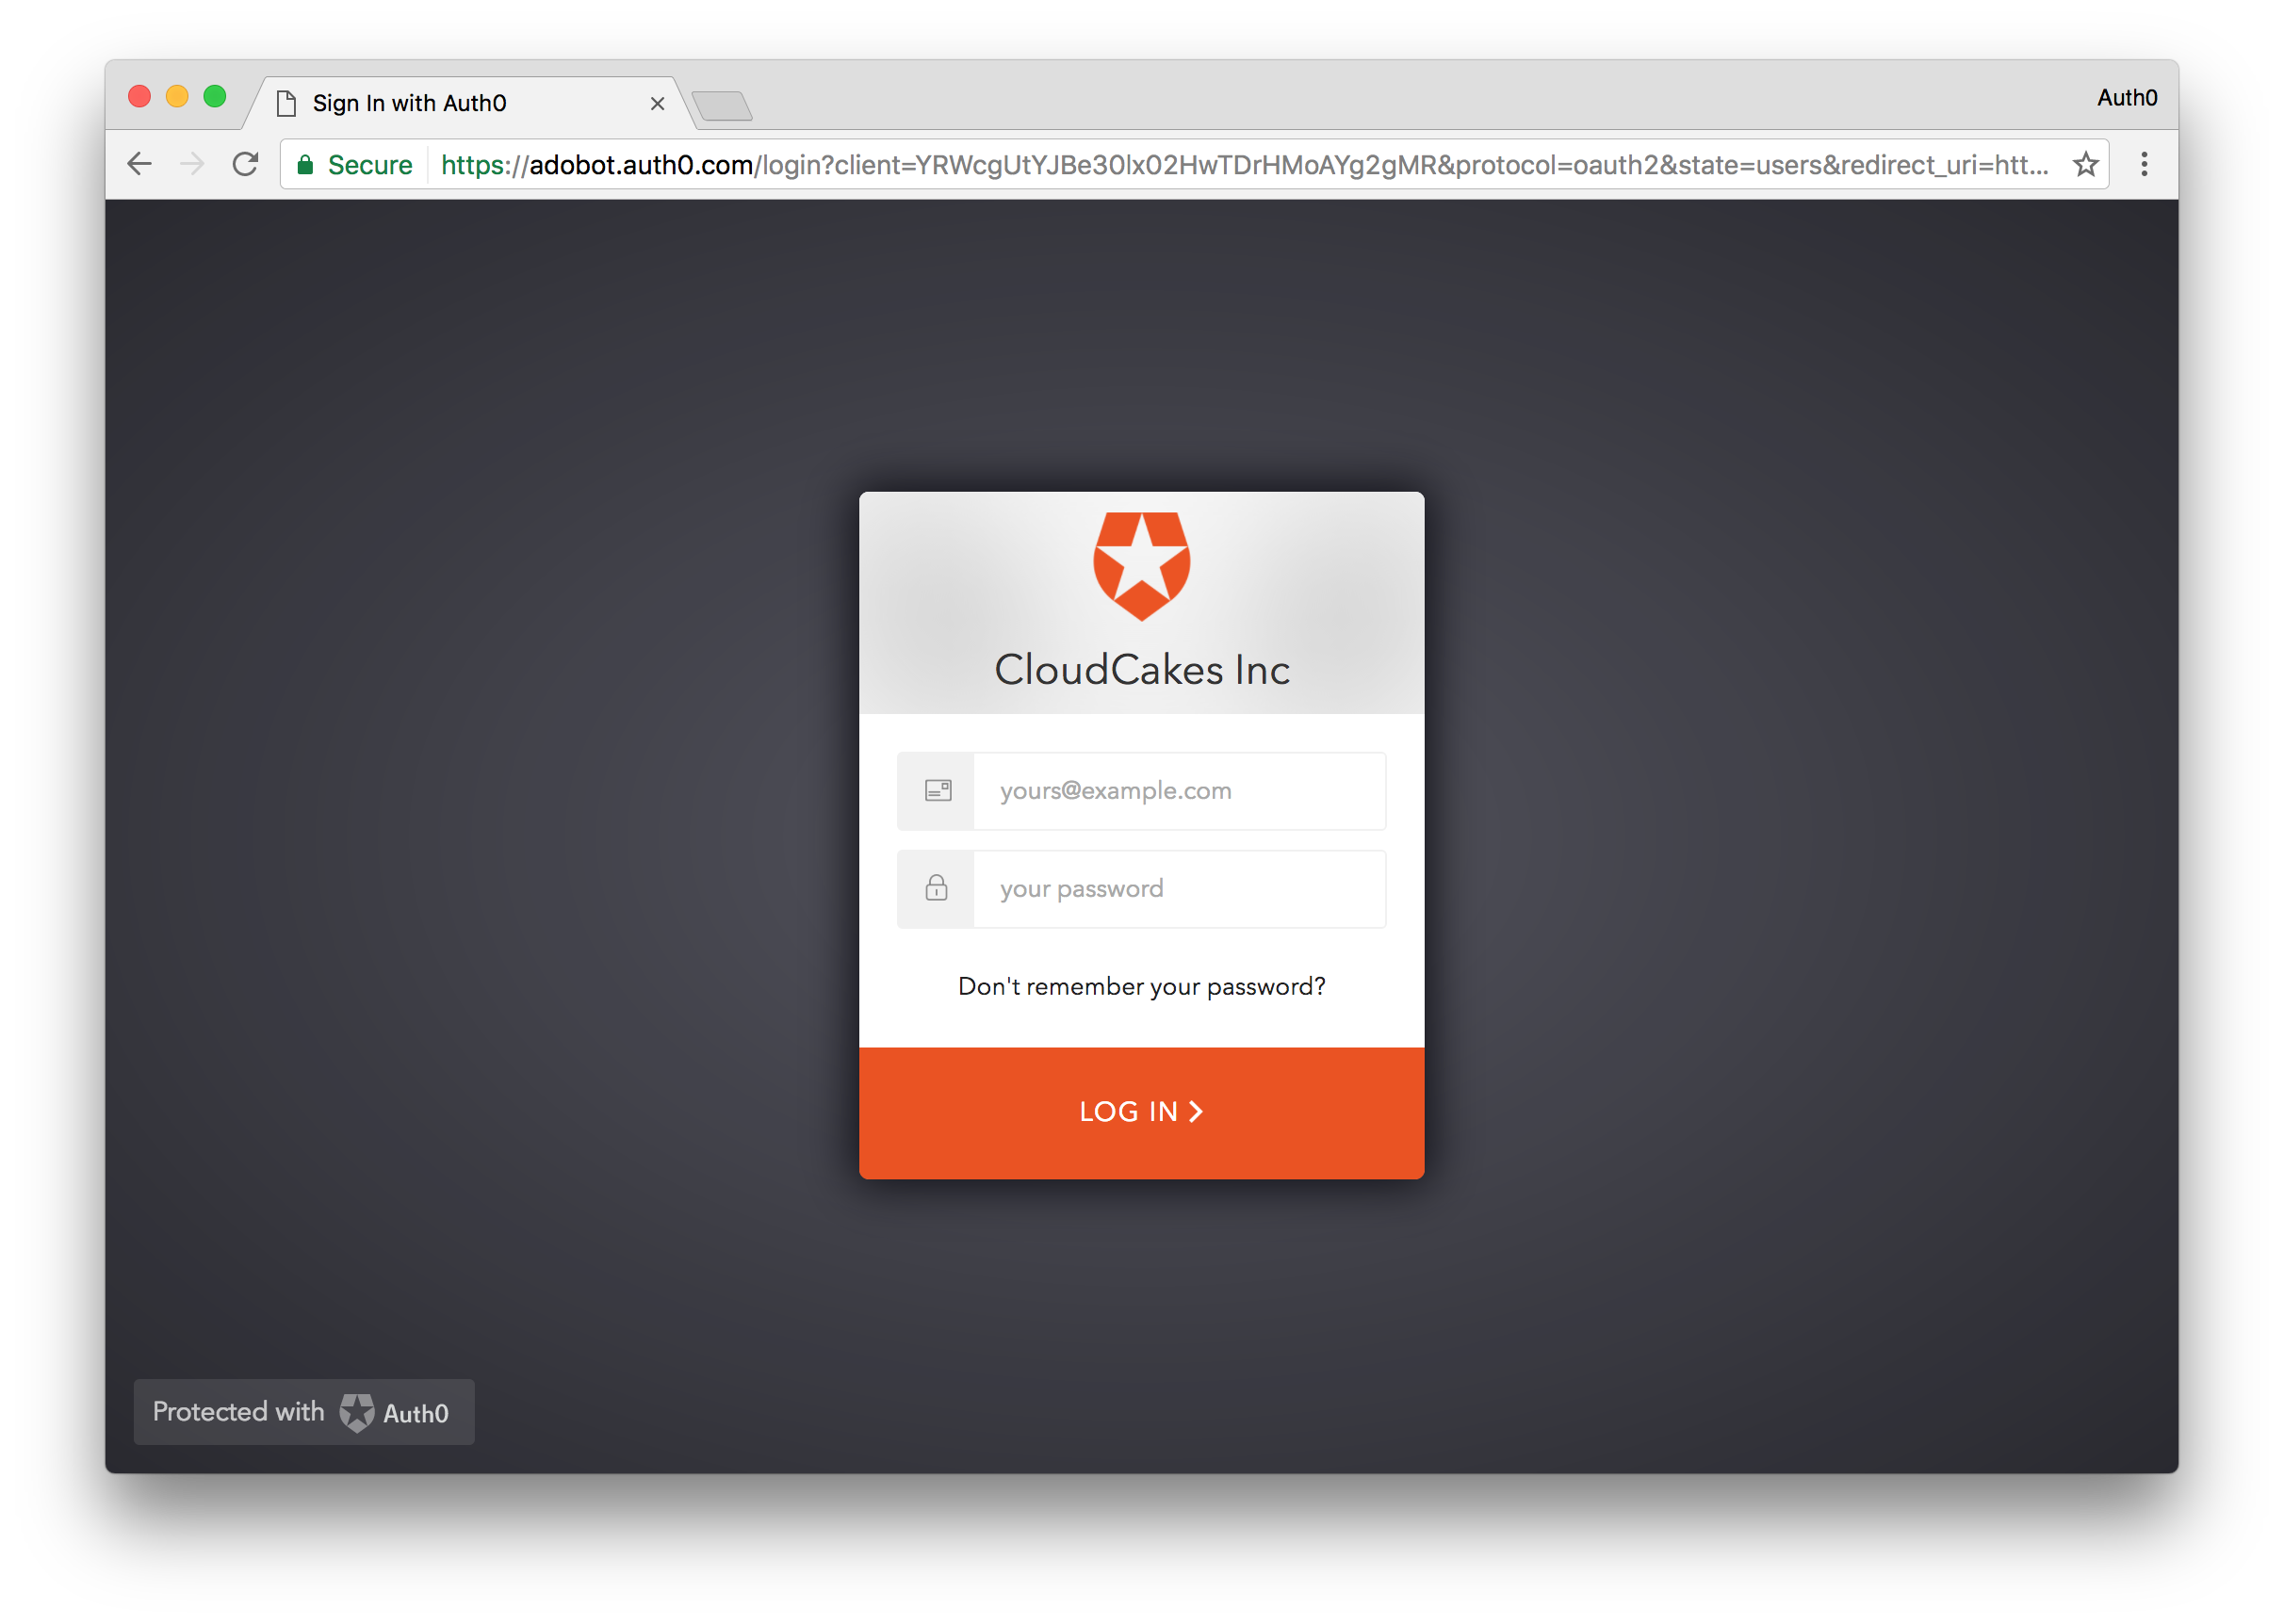
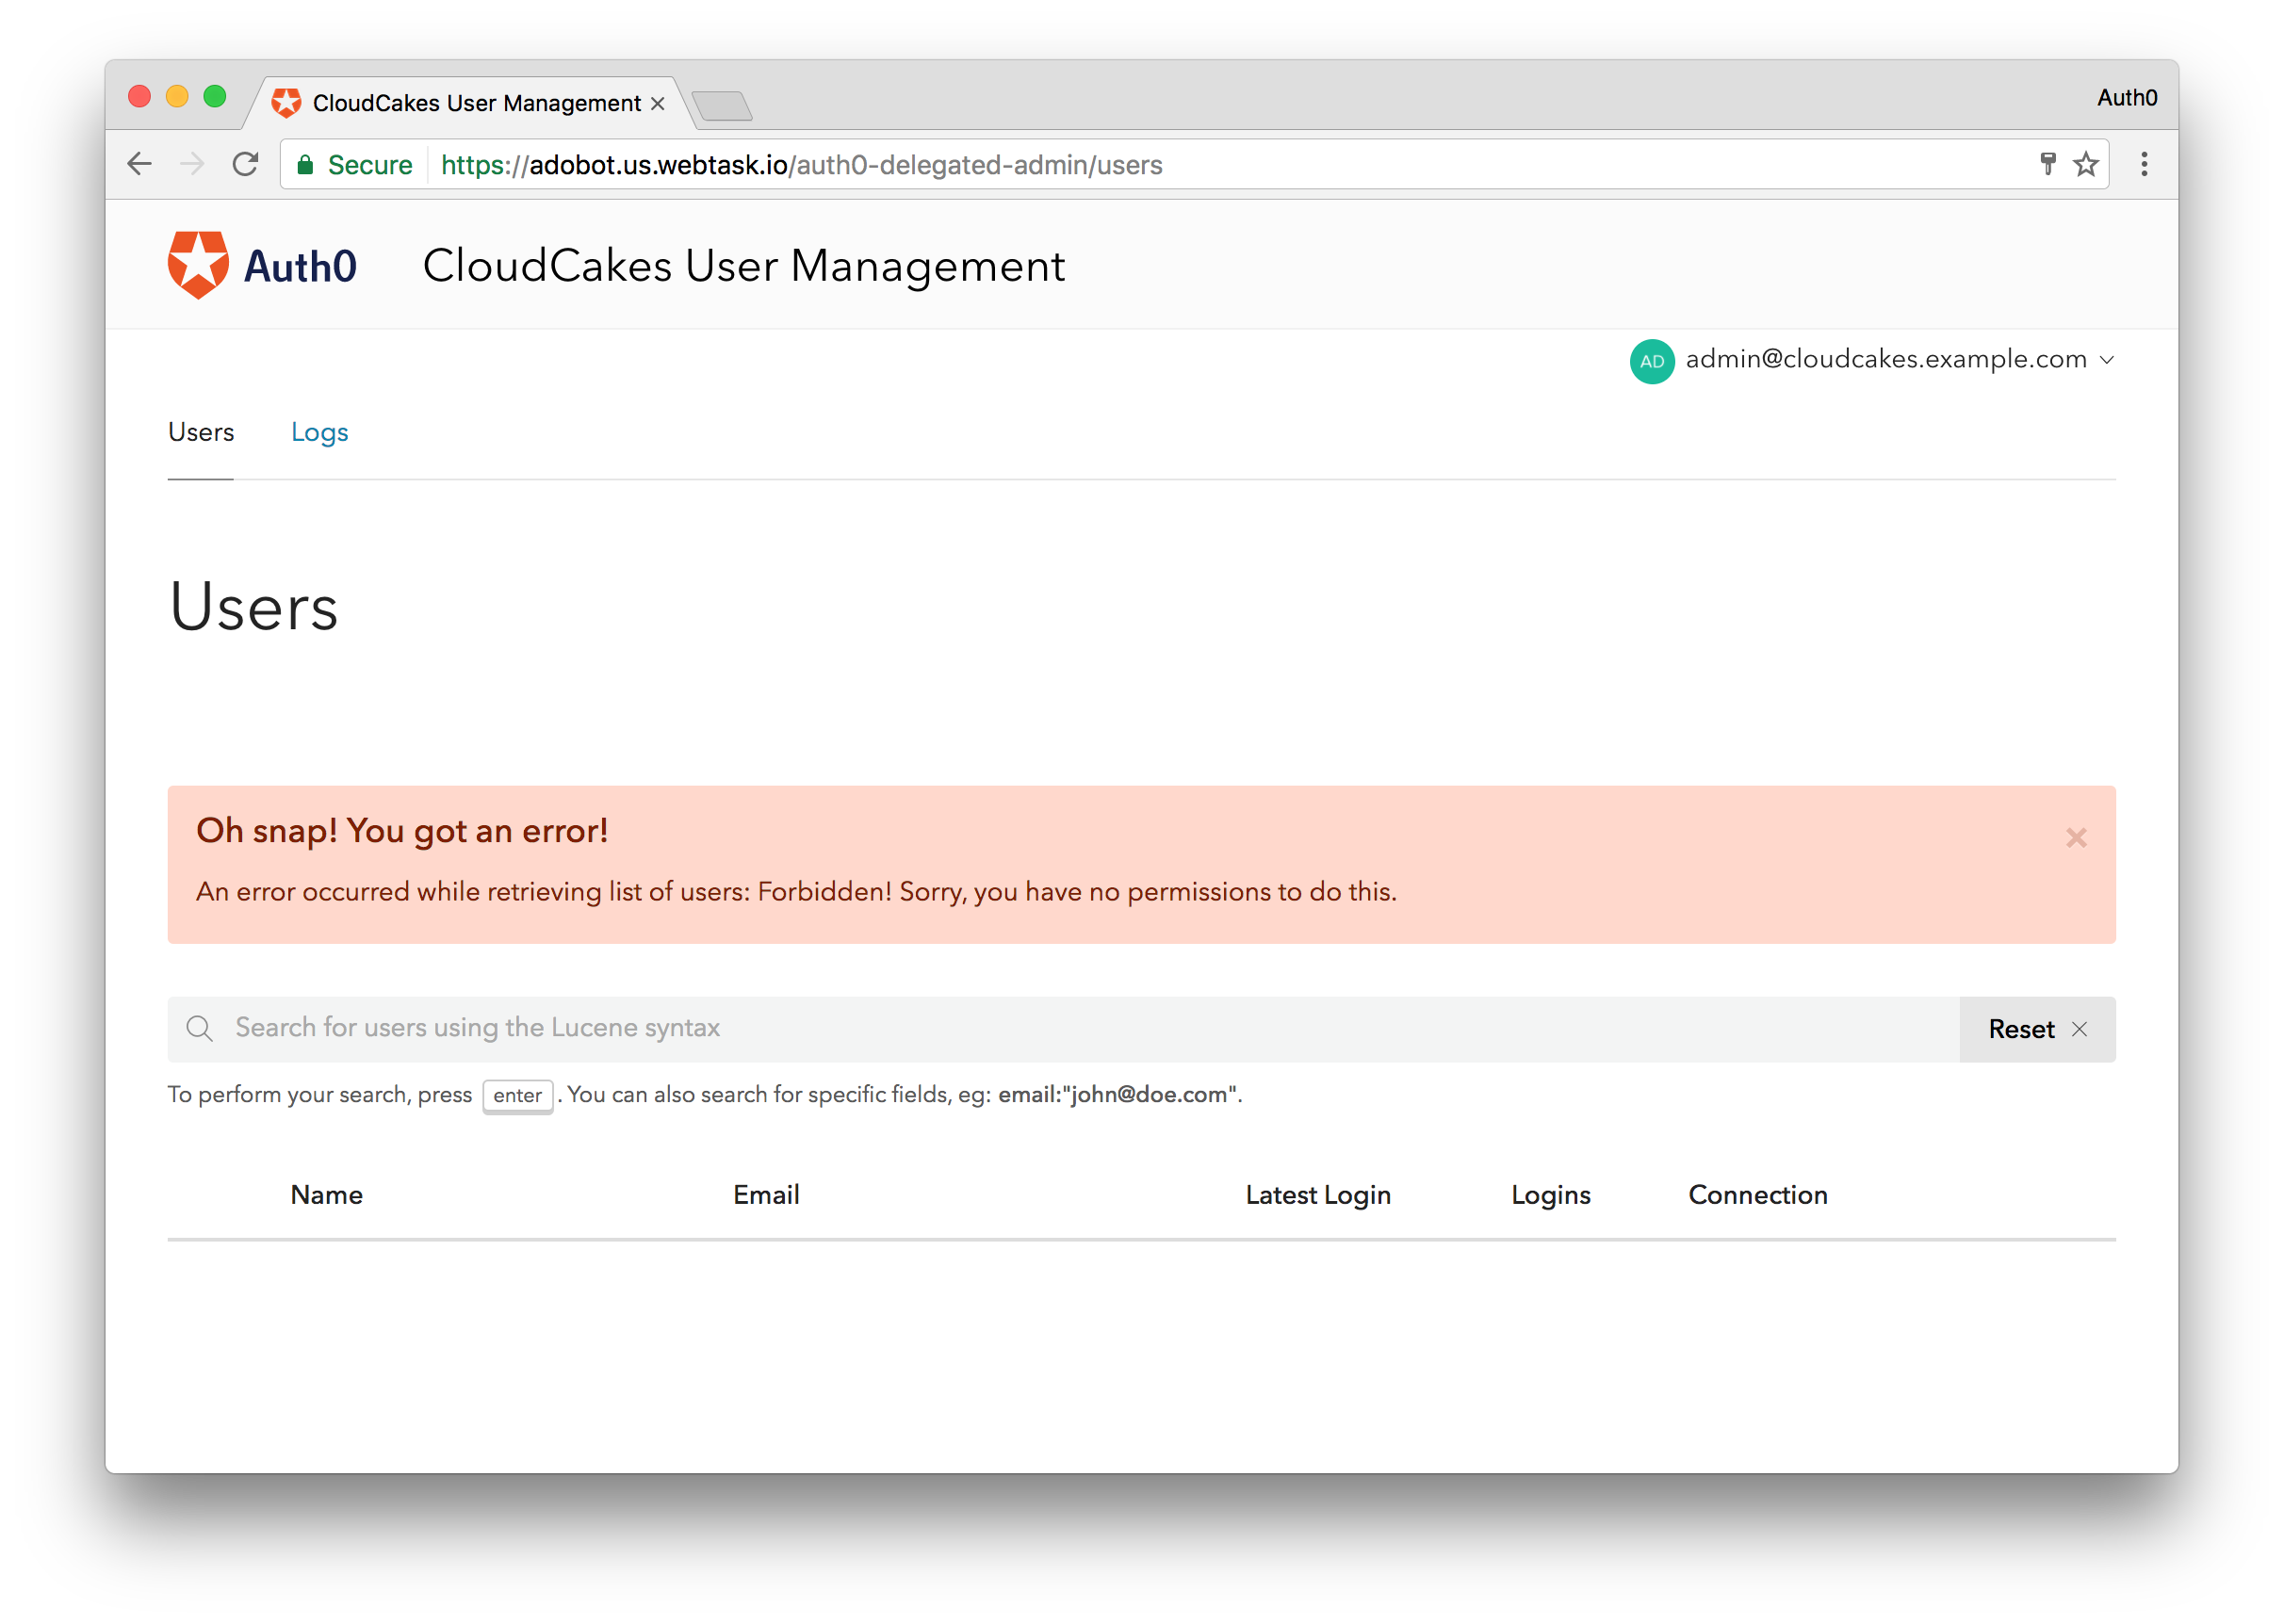
With the user created, let's go ahead and login to see the Users Dashboard. Navigate to your dashboard url, which again follows the https://YOUR-AUTH0-USERNAME.LOCALE.webtask.io/auth0-delegated-admin/login pattern. Attempting to login with the newly created user will give you access to the Users Dashboard but you will not be able to view or do anything as the system does not know what permissions this user has. We'll need to go edit the users metadata and let the system know what type of user is logging in and what they should be able to do. Let's do that now.
Understanding User Roles
The Delegation Administration Dashboard supports two unique user roles: Administrator and User. The User role allows the logged in account to search, create, edit, and execute other management roles on user accounts they have access to, while the Administrator role additionally has access to logs as well as ability to configure hooks and other settings for users of the Users Dashboard.
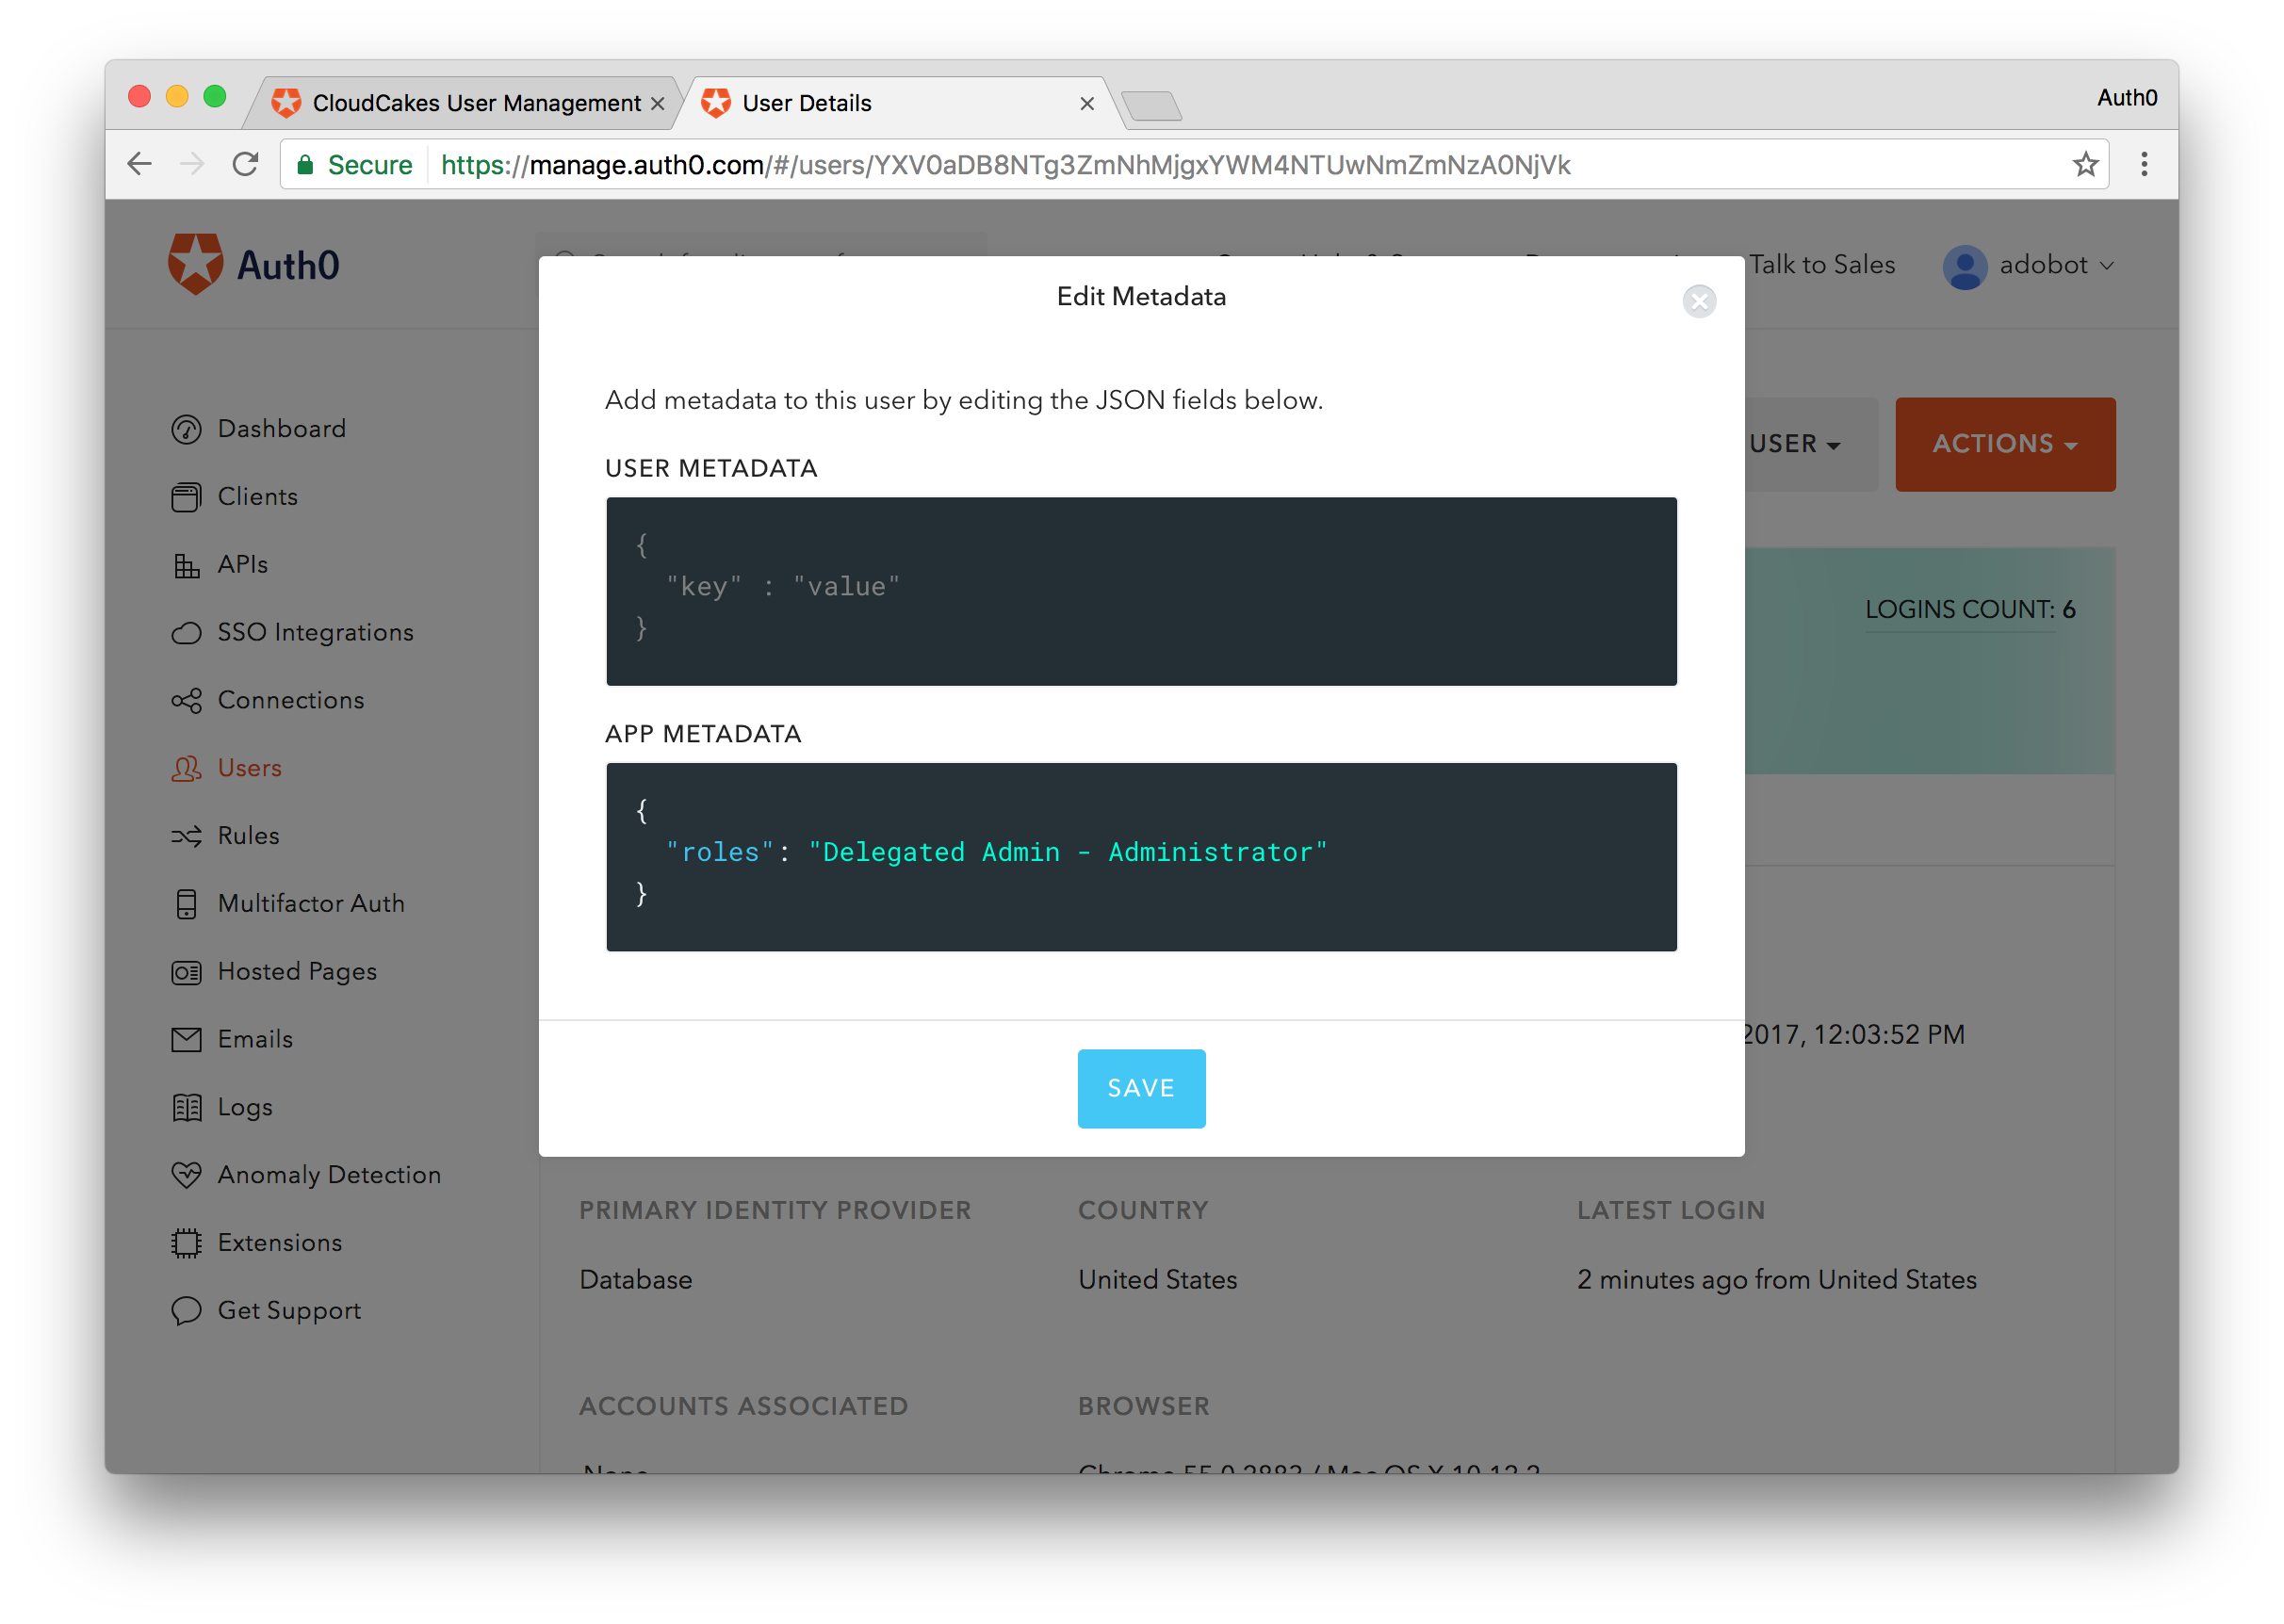
To grant one of these roles to our user, we'll need to edit the app_metadata for the user and add a role attribute. Let's give our newly created user the Administrator role. Go to their account in the Auth0 dashboard, click Edit in the Metadata section, and for App Metadata add the following code:
{
  "roles": "Delegated Admin - Administrator"
}
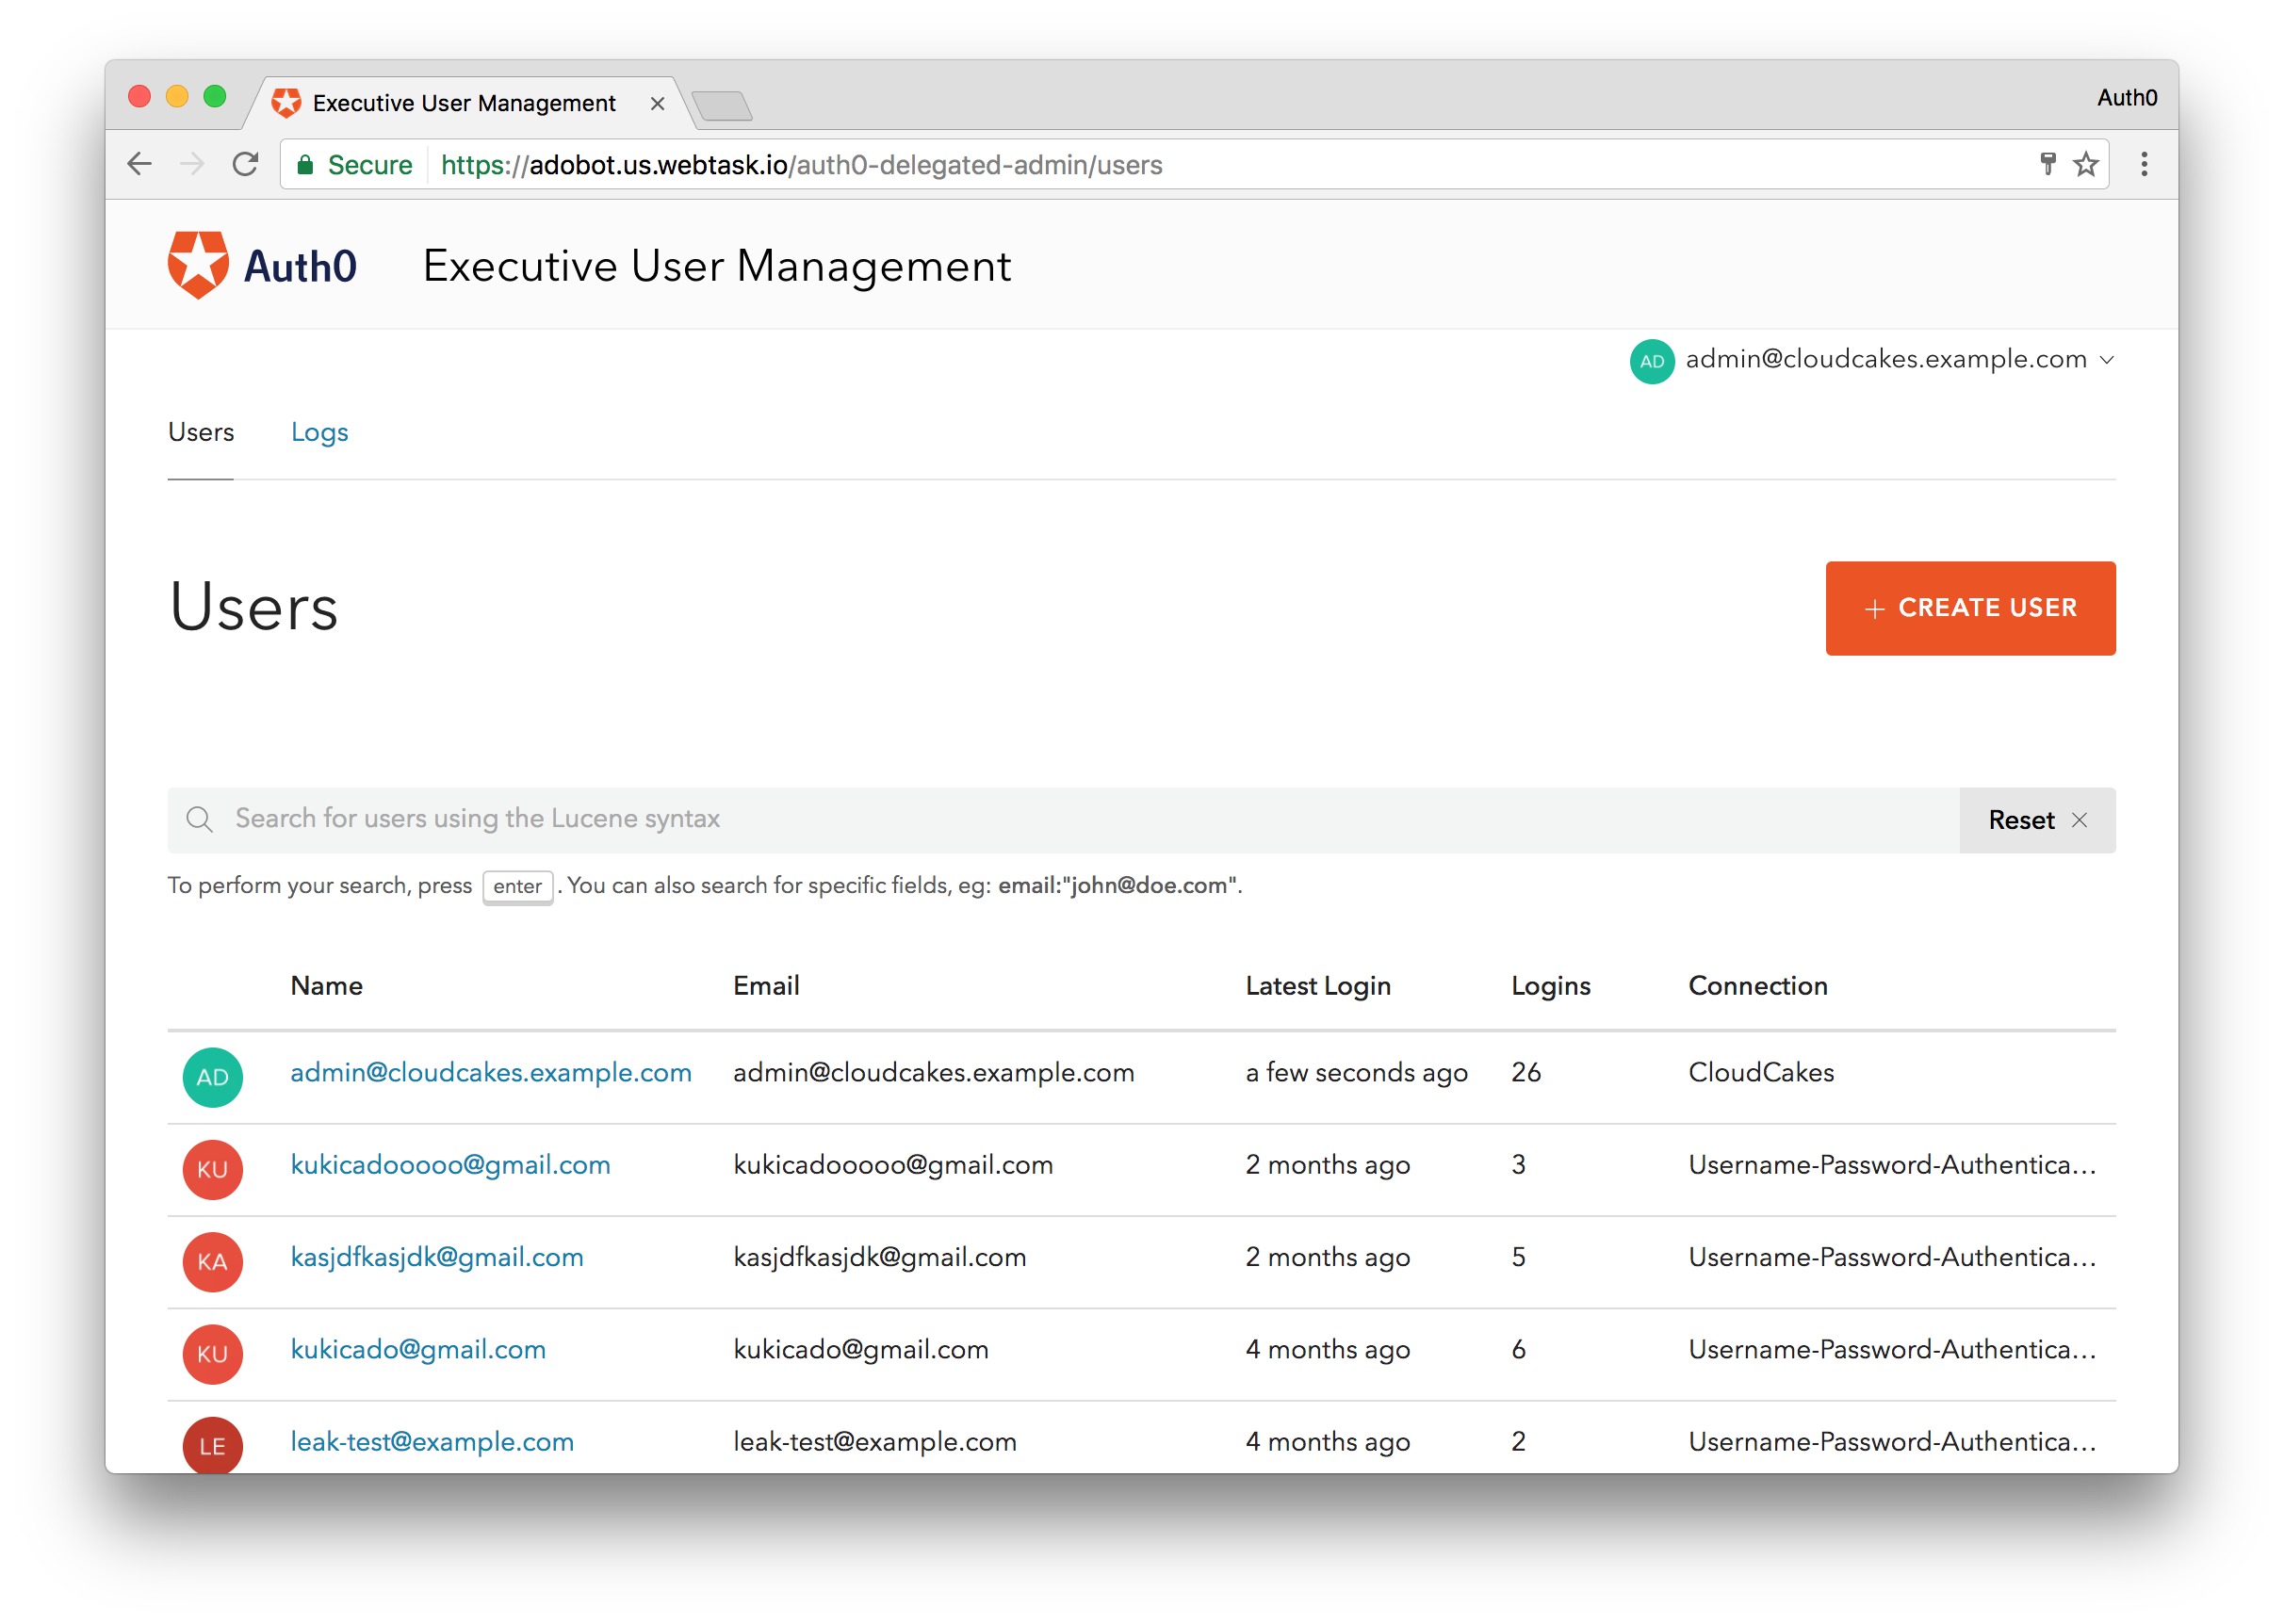
Save this change and go back to the Users Dashboard. Refresh the page and now the user will have full access to the Users Dashboard and will see all of the existing users across all connections, logs, and will have the ablility to configure the Users Dashboard. So far so good. If you go back and change the role to "Delegated Admin - User" and refresh the page, you will just be able to see the list of users, but not logs and you will not have the ability to make configuration changes to the Users Dashboard with the account.
You may have noticed that regardless of the role you gave to your user, they were able to see all of the users across all of your Auth0 connections. In many cases you would not want this to happen, instead you'd want to have fine-grained control over which connections an account has access to. We'll address that in the next section.
Fine-grained Control with Hooks
The user roles in the previous section give us some control, but in many instances we would want further control. We can accomplish this with additional properties stored in the users app_metadata. CloudCakes has separated its operations into various departments. We'll add a department attribute in our app_metadata to store which department a user belongs to. Let's edit our current and only user and make them part of the Executive department. Simply edit their app_metadata data to read:
{
  "roles": "Delegated Admin - Administrator",
  "department": "Executive"
}
The department field can be set to any string value and you can have as many departments as you see fit. Hooks will give us additional functionality and combined with our metadata will allow us to grant fine-grained control over each user account. If you are familiar with how Rules work with the Auth0 platform, you'll feel right at home. Essentially, hooks, like rules, run whenever an action triggers them such as creating a new user account or viewing a page. Hooks are written in the pattern of:
function(ctx, callback) {
  /*
    Perform any type of logic
  */

  return callback(null, {}); // The second paramter adds any data that should be passed with the callback.
}
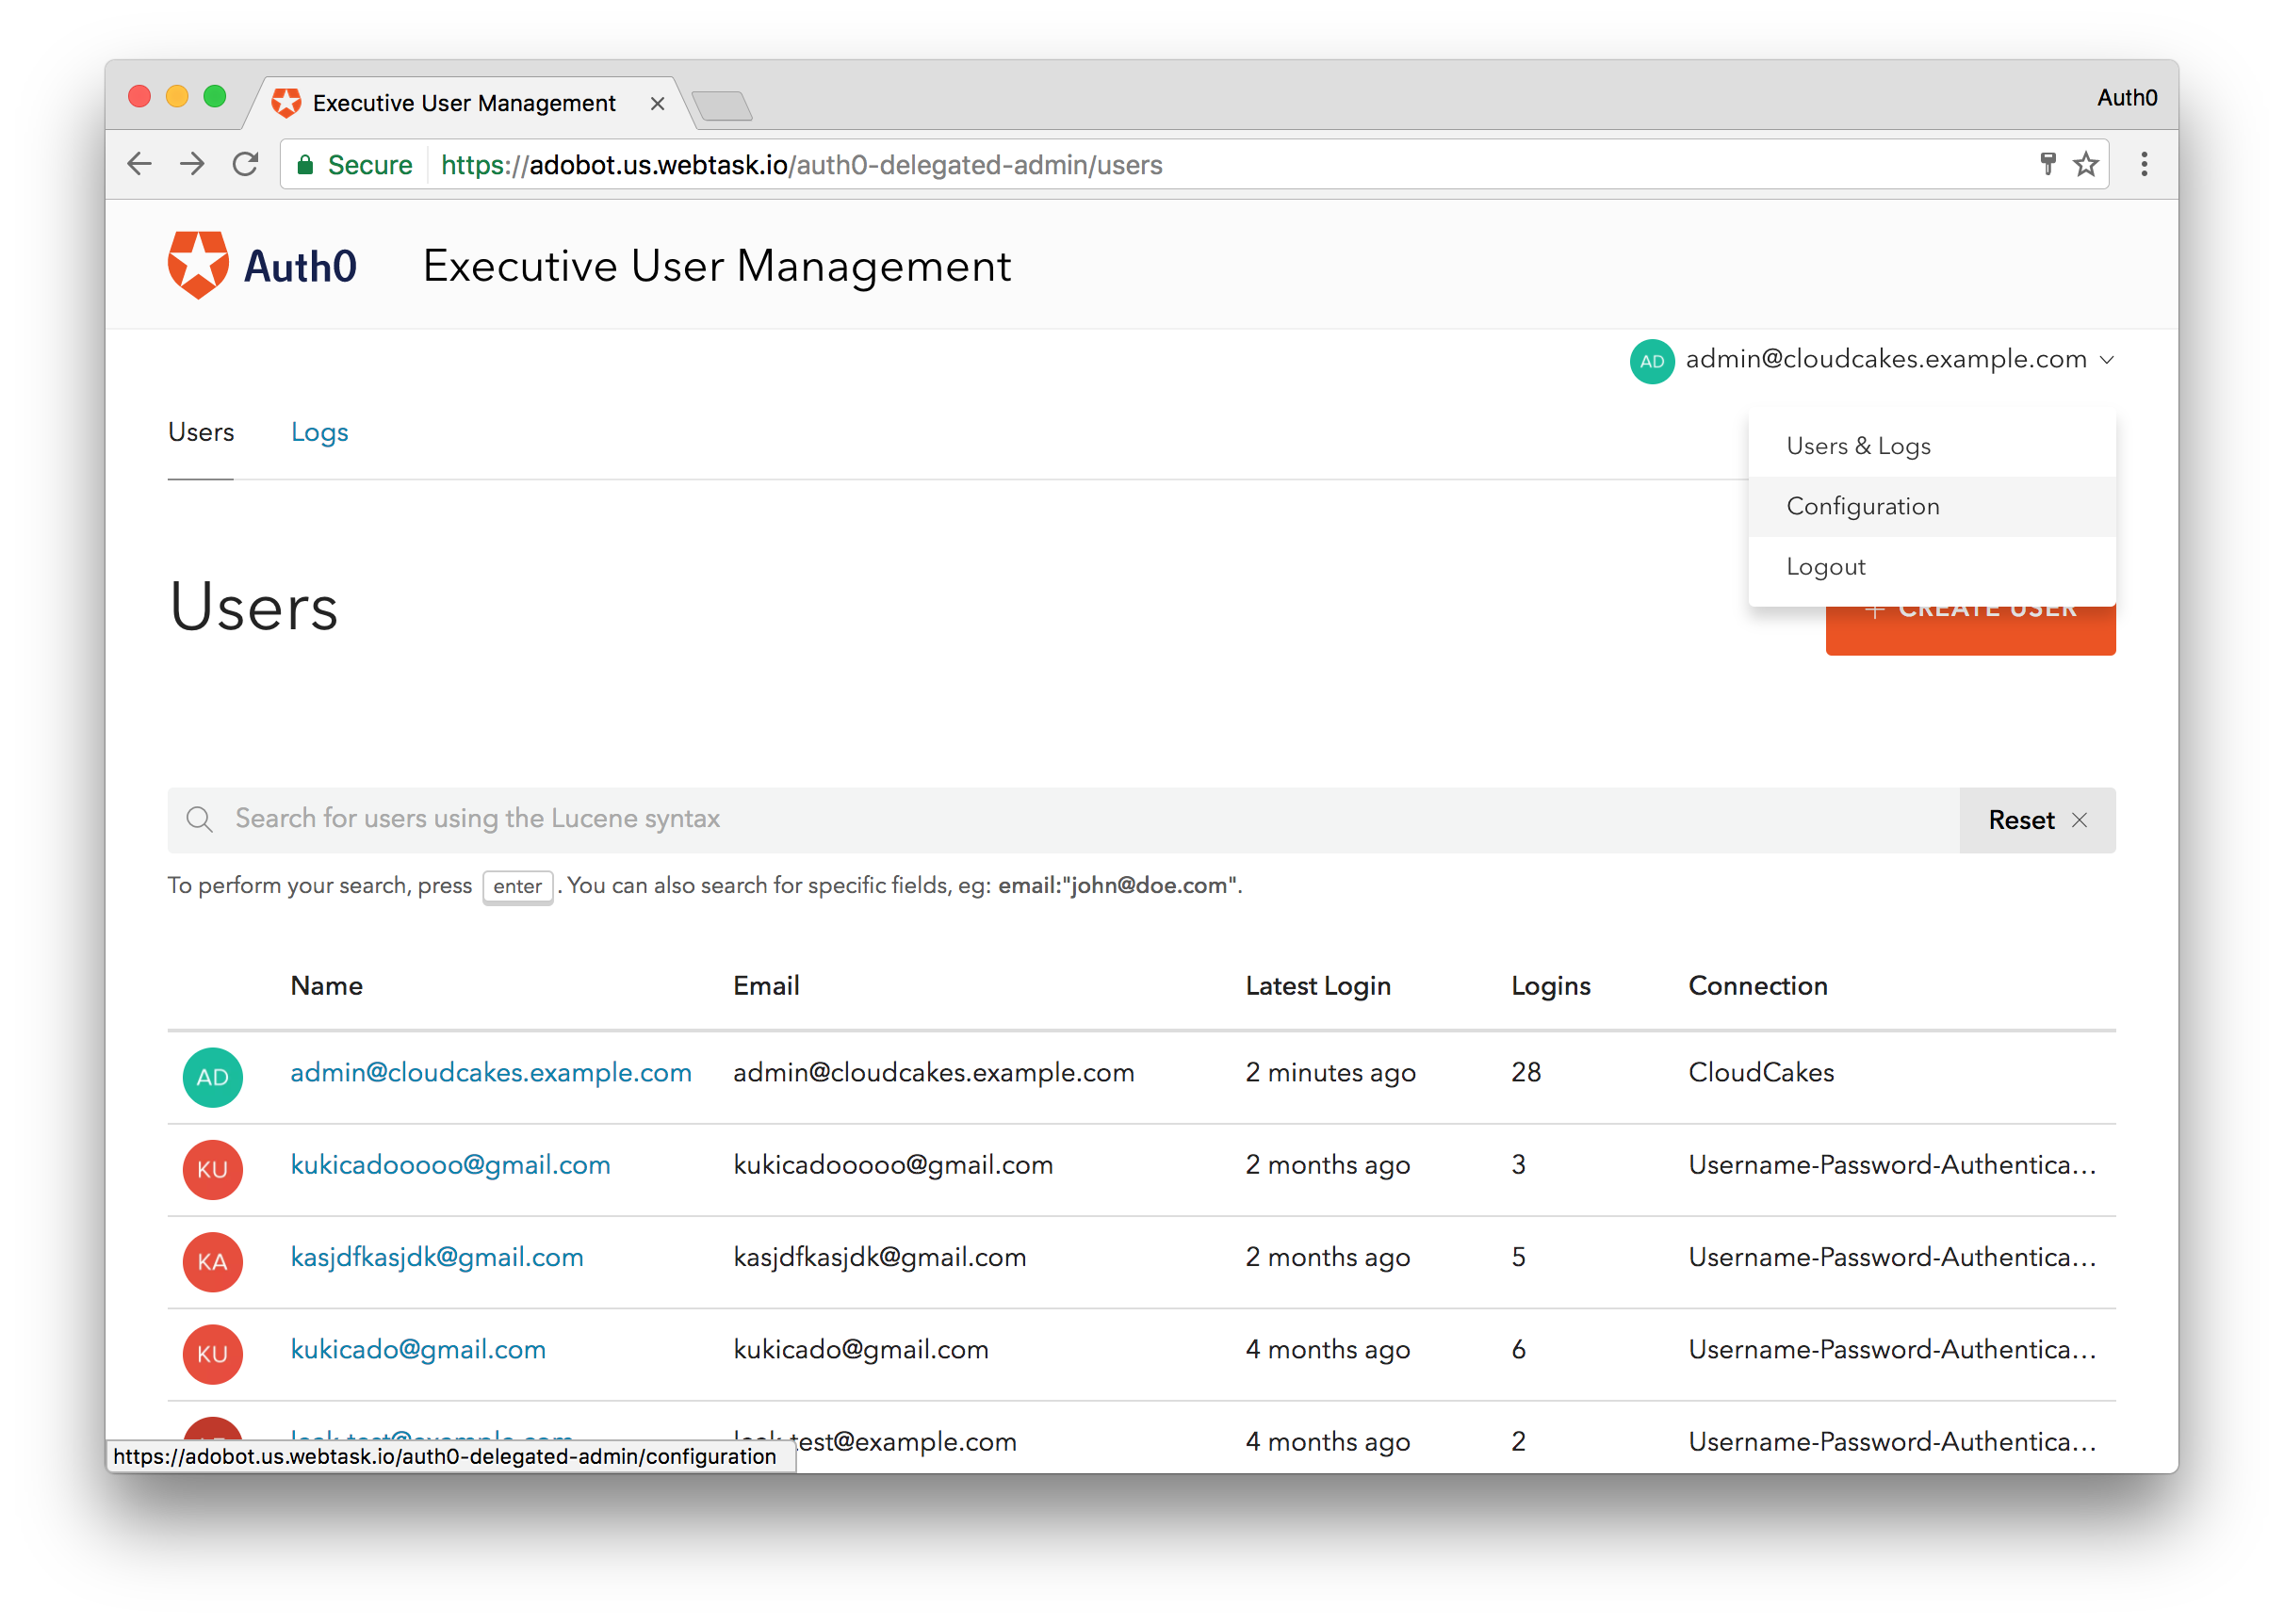
Let's see how we can extend the capabilities of the Users Dashboard with Hooks. To access Hooks, you will need to be logged in with a user with the role of Delegated Admin - Administrator. Head over to the Delegated Admin dashboard and login. Once in, click on your users email in the top right corner and a dropdown menu will open, from here click on the Configuration tab and you will see the configuration page where we will add our hooks.
Filter Hooks
Filter Hooks allow us to control the list of users that can be accessed by the logged in account. This hook is called whenever the user lands on the Users Dashboard. For our CloudCakes example, let's assume that a manager of each CloudCakes franchise can only see the users that have done business with their specific franchise.
In the Auth0 dashboard, each franchise has it's own custom database connection. For example, CloudCakes-Franchise-2479 is a database connection containing the users that signed up with CloudCakes Store 2479. We'll also assume that the department of each manager is Franchise Owner. Finally, we'll assume that each franchise owner has an additional app_metadata value for the franchise that they own, let's say franchise_owned is the field. A sample app_metadata therefore may be:
{
  "roles": "Delegated Admin - User",
  "department": "Franchise Owner",
  "franchise_owned" : "2479"
}
What we want to do is only display users that belong to CloudCakes Store 2479. Let's see how we can accomplish this with a Filter Hook.
function(ctx, callback) {
  // Get the department from the current user's metadata.
  var department = ctx.request.user.app_metadata && ctx.request.user.app_metadata.department;
  var franchise = ctx.request.user.app_metadata && ctx.request.user.app_metadata.franchise_owned;
  // If the user does not belong to a department we'll throw an error.
  if (!department || !department.length) {
    return callback(new Error('The current user is not part of any department.'));
  }

  // The Executive department can see all users.
  if (department === 'Executive') {
    return callback();
  } else if(department === 'Franchise Owner') {
    // More details on syntax of query available here: https://auth0.com/docs/api/management/v2/user-search
    return callback(null, 'identities.connection:"CloudCakes-Franchise-' + franchise + '"');
  }

  return callback();
}
This Filter Hook will display all users for all connections if the department is an Executive, but will only display users belonging to a specific franchise if the logged in account belongs to the Franchise Owner department. For the filter, you can input any filter query in Lucene syntax, so let's say you wanted to enhance the filter results to also return the list of other franchise owners as well. Writing this query:
...
return callback(null, 'identities.connection:"CloudCakes-Franchise-' + franchise + '" OR app_metadata.department:"Franchise Owner"');
...
will return the list of users belonging to a franchise but also all of the other franchise owners in the system. This could be useful if you wanted to, for example, give managers to ability to view contact details of all the other franchise owners.
Access Hook
Access hooks determine what actions a logged in account is allowed to do with the user accounts they can view. For example, certain accounts may only be able to read data, while others may be able to edit or delete user accounts. In the CloudCakes example, we'd want the logged in user to be able to only read the data of other franchise owners, but they should be allowed to do everything with users belonging to their connection. Let's see how we would implement this functionality.
function(ctx, callback) {

  // Get the department from the current user's metadata.
  var department = ctx.request.user.app_metadata && ctx.request.user.app_metadata.department;
  var franchise = ctx.request.user.app_metadata && ctx.request.user.app_metadata.franchise_owned;
  if (!department || !department.length) {
    return callback(new Error('The current user is not part of any department.'));
  }

  if (department === 'Franchise Owner') {
    // Check to see if the user and the account accessed share a franchise store
    if(!ctx.payload.user.app_metadata.franchise_owned || ctx.payload.user.app_metadata.franchise_owned !== franchise){
      // If they do not, only allow the user to read data
      if(ctx.payload.action === 'read:user'){
        return callback();
      } else {
        // Otherwise return an error
        return callback(new Error('You can only read user data'));
      }
    } else {
      // If the franchise store is the same, then we can assume that the account is a customer account of the franchise
      return callback();
    }
  }

  return callback();
}
As you can see with just these two hooks in place, we can create fine-grained access control for our organization. We can query off of any data we have on our users and decide what actions the logged in account can take. The following are supported actions that a logged in Users Dashboard account can take:
read:userdelete:userreset:passwordchange:passwordchange:usernamechange:emailread:devicesread:logsremove:multifactor-providerblock:userunblock:usersend:verification-email
Create Hook
The next hook I want to talk about is the Create Hook. The code here is executed when a new user is created from the Users Dashboard. Using the account app_metadata again, we can further fine-tune the experience. For CloudCakes, we want to enforce that only members of the Executive department can create franchise owners. Let's see how we would accomplish this.
  // Get the department from the current user's metadata.
  var currentDepartment = ctx.request.user.app_metadata && ctx.request.user.app_metadata.department;
  if (!currentDepartment || !currentDepartment.length) {
    return callback(new Error('The current user is not part of any department.'));
  }

  // Check to see if an account being created will belong to the `Franchise Owner` department
  if(!currentDepartment == 'Executive' && ctx.payload.memberships[0] == 'Franchise Owner'){
    // If it will, but the account attempting to create it is not an Executive, then the call will fail
    return callback(new Error('You can only create users within your own department.'));
  } else {
    // Otherwise create the account
    return callback(null, {
      email: ctx.payload.email,
      password: ctx.payload.password,
      connection: ctx.payload.connection,
      app_metadata: {
        department: ctx.payload.memberships[0]
      }
    });
  }

  return callback();
}
You may be asking yourself how do you assign membership roles. If you are planning on using the Users Dashboard to create users that will belong to departments, then you can use the Membership Hook.
Membership Hook
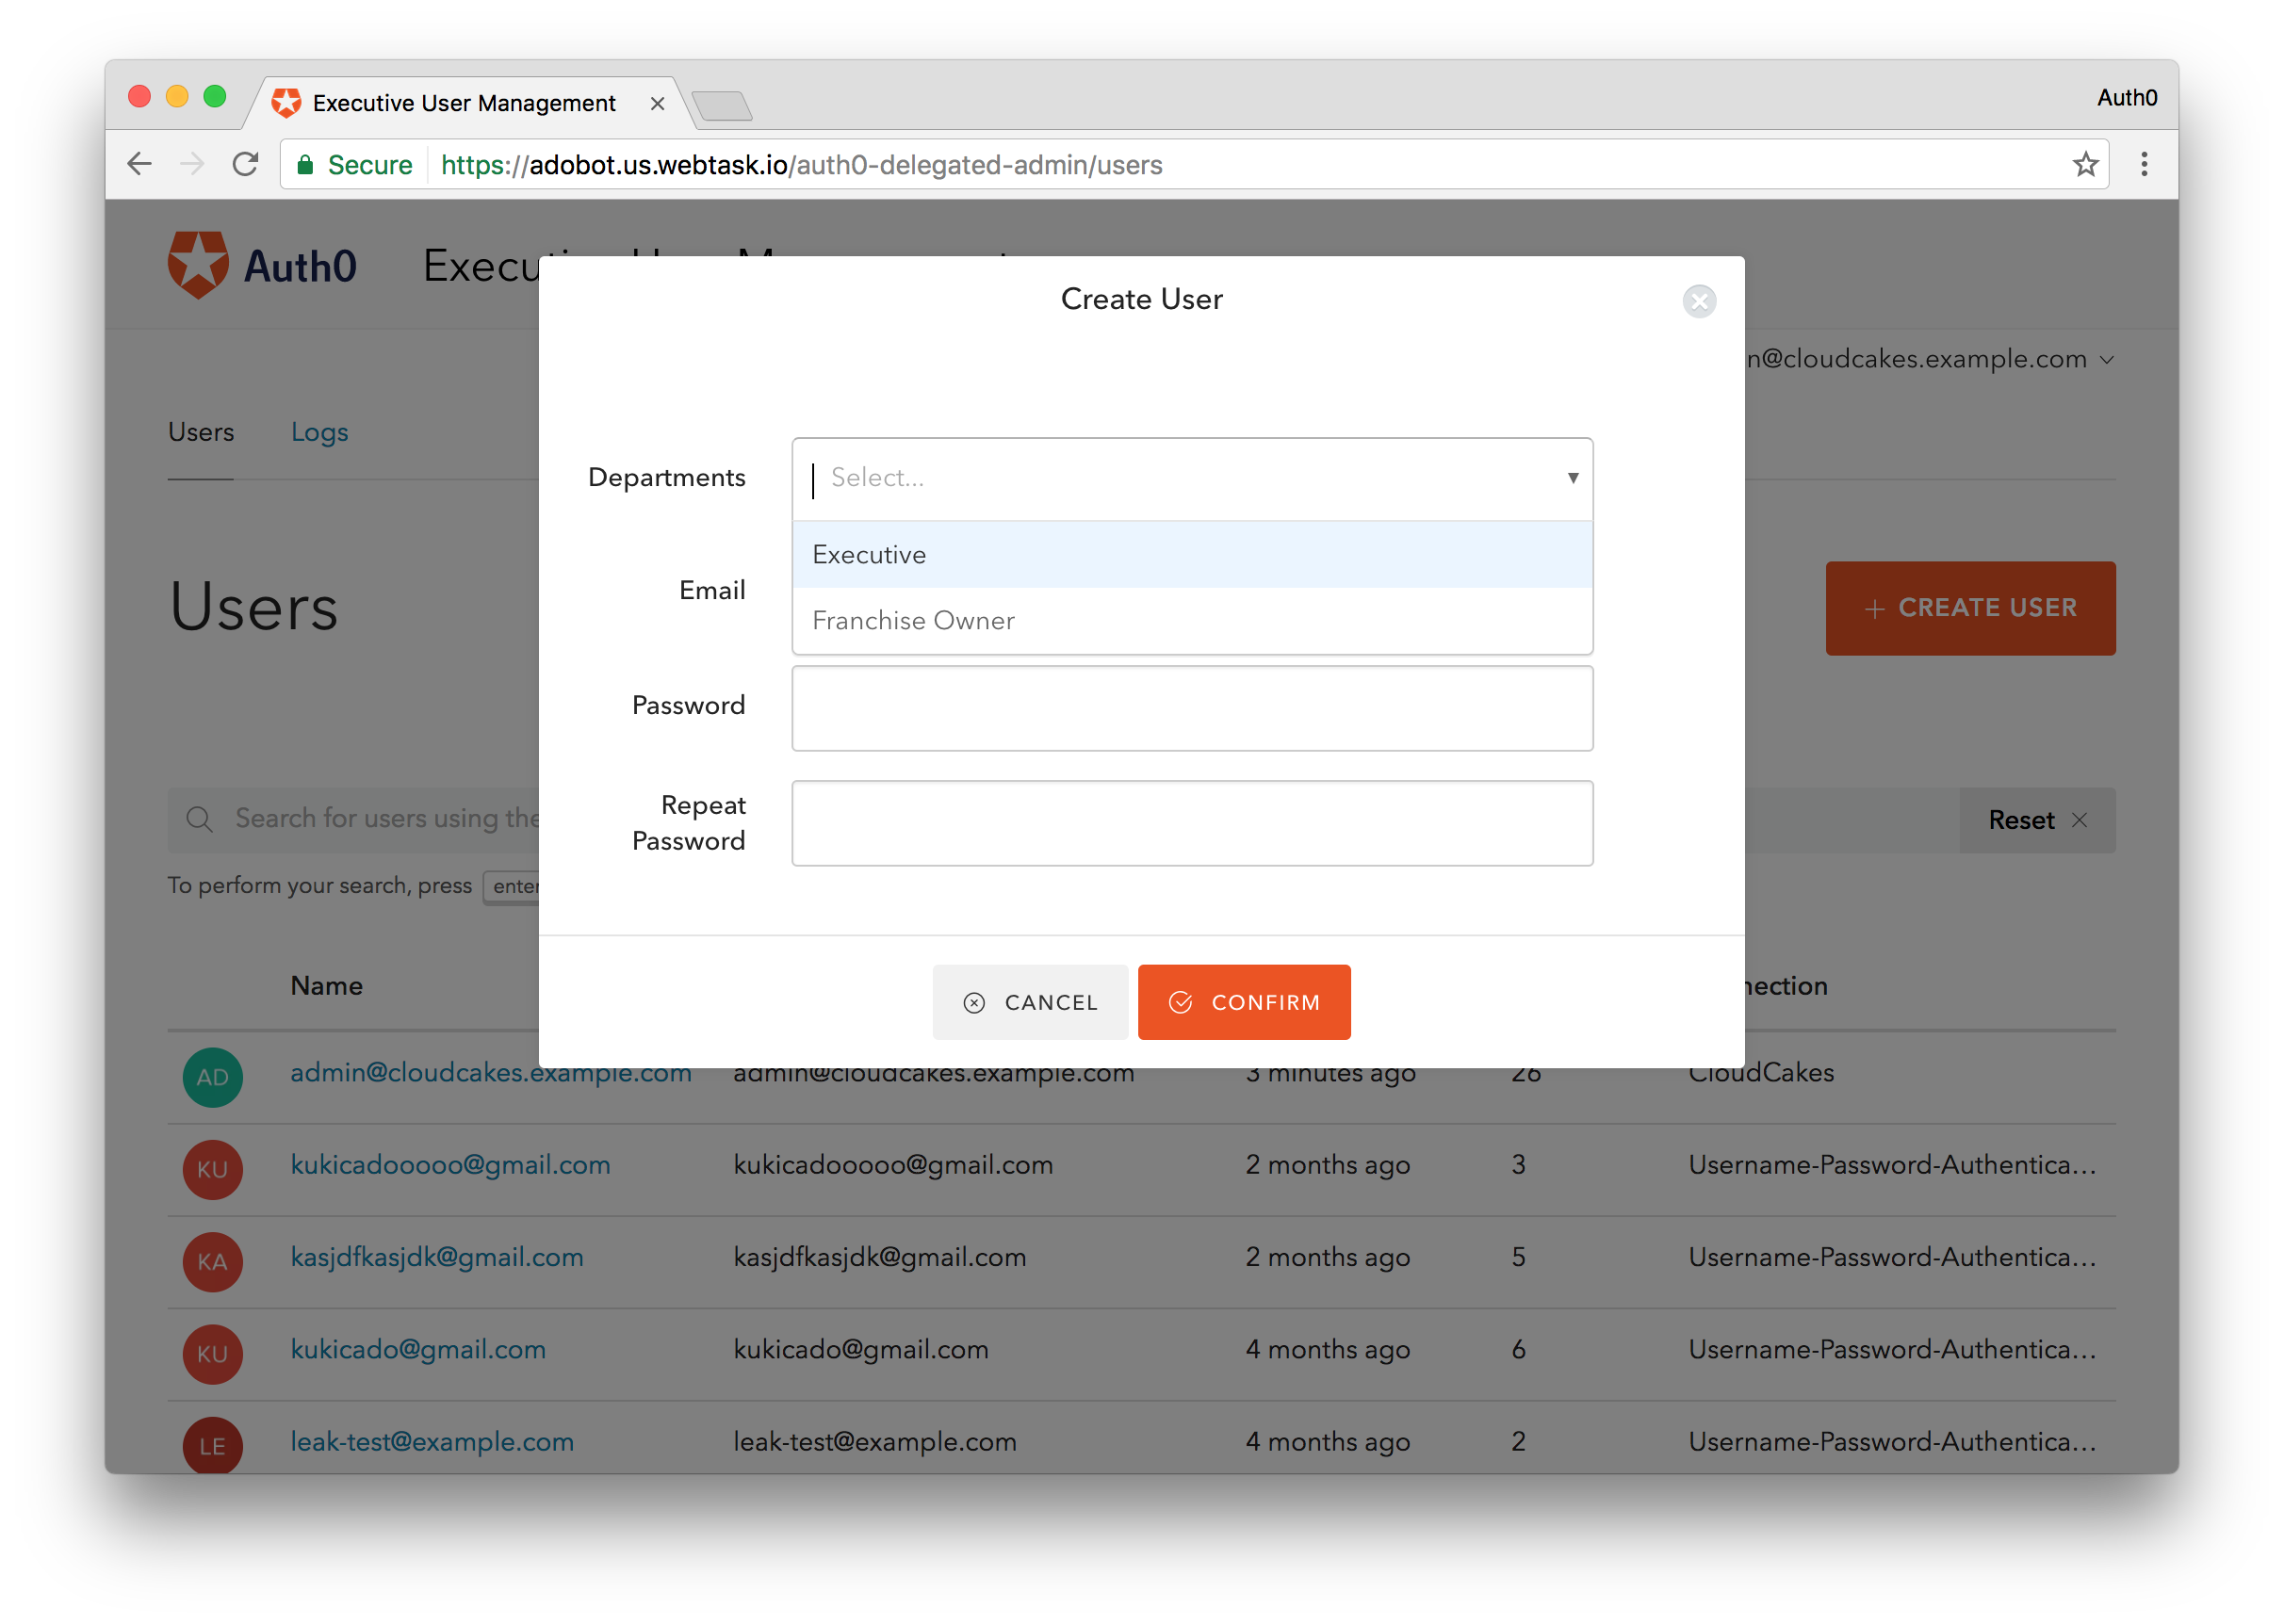
The Membership Hook will allow you to add a field in the Create User UI that will allow an account to assign a membership to the account being created. In CloudCakes case we will assign the membership to the department in our app_metadata. The simplest way to do this is as follows:
function(ctx, callback) {
  return callback(null, {
    memberships: [ "Executive", "IT", "Franchise Owner" ]
  });
}
Now when the logged in account goes to create a new user from the Users Dashboard, they will be able to assign a department immediatley to the new user.
Settings Query
There is one final hook that we can implement in the Users Dashboard, the settings query. This will allow us to customize the look and feel of Users Dashboard experience. We can edit such settings as which connections to display when creating a new user, which CSS stylesheet to load, or even change the wording of the different sections. For CloudCakes, we want to make sure that when a franchise owner goes to create a new user, the user is automatically created in their database connection. We won't even give them the option of seeing all the other connections. Let's see how we would implement this.
function(ctx, callback) {
  var department = ctx.request.user.app_metadata && ctx.request.user.app_metadata.department;

  if(department === "Franchise Owner"){
    return callback(null, {
      // Only these connections should be visible in the connections picker.
      // If only one connection is available, the connections picker will not be shown in the UI.
      connections: [ ctx.request.user.identities.connection ],
    });
  }

  return callback();
}
For more information on fields that you can set via the settings query check out the docs.
Putting It All Together
Combining Auth0 with the Delegated Administration Dashboard allowed CloudCakes to give each one of their franchise owners centralized access to their users in a safe and secure way. Franchise owners could login and manage their userbase while CloudCakes corporate still owned all of the data under a single umbrella. Extensibility through Hooks made Users Dashboard useful for both the owners of CloudCakes and its franchise partners.
Conclusion
The Delegated Administration Dashboard extension is a great tool for giving limited access to only the Users dashboard of Auth0. It allows organizations to enforce fine-grained permissions for users accessing the dashboard and removes the need for giving full-access to the Auth0 dashboard. Hooks allow the Users Dashboard to meet the needs of any user management workflow whether it's limiting access or enforcing specific criteria. If your organization needs a better way to manage your Auth0 users, give the Delegated Admin extension a try today. If you don't already have an Auth0 account, sign up for free to get started.
Give your customers enterprise identity integration, frictionless SSO across your products and adaptive authentication with MFA and Anomaly Detection. All of this with a flip of a switch.
“The Delegated Admin extension makes is a great tool for giving limited access to the Auth0 dashboard.”
Tweet This
About the author

Ado Kukic
Former Auth0 Employee (Auth0 Alumni)