One of the goals every developer has is to automate as many actions and tasks as possible. Some of the reasons why we should try to automate our workflows are:
- We save work time.
- We depend less on human assistance.
- We make things faster.
- We spend less money.
- We get consistent results over iterations.
Besides the benefits that automation brings us, there are some scenarios that couldn't be achieved if we don't execute an automatic process. One example of this is the dynamic generation of files and images. In this article, we will see how to implement automatic workflows interacting with a web browser instance.
Browser Automation
"Browser automation" is the action of automating the usage of a web browser. Its purpose is to achieve efficiency and speed at a certain level that wouldn't be possible if we rely on human interaction.
With a browser automation tool, we can simulate interactions using input devices (keyboard, mouse, etc.), or we can verify that visual elements are working and displayed correctly. We also have different elements inside a web page that we can interact with: dialogs, downloads, authentication forms, videos, etc.
With browser automation, we can do most of the things we do manually with a web browser. Some examples where we could use a browser automation API are:
- Automate form submission.
- Develop and implement a UI testing strategy using the latest version of Google Chrome Browser.
- Automate and validate keyboard input responses.
- Generate screenshot images.
- Generate PDF files.
- Scrape a website.
- Crawl a Single-Page Application (SPA) and generate pre-rendered content.
- Diagnose performance issues.
There are various browser automation tools in the market, implemented for several programming languages and with different features or purposes. One of the first to be released was Puppeteer.
What Is Puppeteer?
According to the official definition, Puppeteer is "A Node library which provides a high-level API to control headless Chrome or Chromium over the DevTools Protocol".
A headless browser is basically a web browser without a graphic user interface. It renders HTML documents and executes JavaScript code, but without displaying it on the screen. We can interact with a headless browser through a command line.
Even though Puppeteer runs mainly as a headless Chromium instance, we have the possibility to set it as "non-headless" and display all the interactions on the screen.
Puppeteer Sharp
Puppeteer Sharp is a .NET port of the official Puppeteer API. It can run on .NET Framework or .NET Core projects. As the library was developed with a C# focus, we can use it with features like dependency injection, Async suffixes, etc.
One cool thing is that Puppeteer Sharp supports Chromium-based browsers (Google Chrome, Microsoft Edge), but also Mozilla Firefox. So, we can automate interactions with those web browsers.
Let's play with Puppeteer Sharp and leverage it to generate content in PDF.
PDF Generation App Using Puppeteer Sharp
Let's see how to generate PDF files with a C# console app using the Puppeteer Sharp NuGet package. The application will receive a URL from the user; it will generate a PDF with the content of the website and will save the generated file in a defined directory.
If you want to see the final code of the application, download it from this GitHub repository.
First of all, we'll create a new Console App.

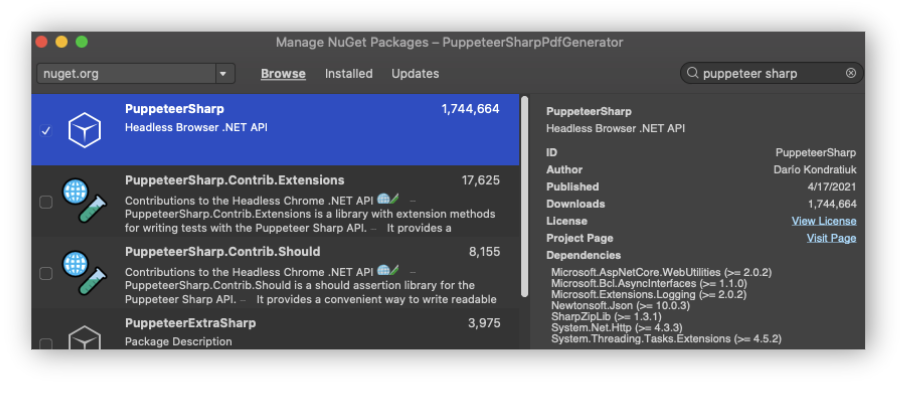
After we named our application and generated the boilerplate code, we will add the "PuppeteerSharp" NuGet package to our solution.
We will add the following code to the Program.cs file:
using System;
using System.Threading.Tasks;
using PuppeteerSharp;

namespace PuppeteerSharpPdfGenerator
{
    class Program
    {
        static async Task Main(string[] args)
        {
            Console.WriteLine("Enter URL to generate PDF file:");

            string url = Console.ReadLine();

            var browserFetcher = new BrowserFetcher();
            await browserFetcher.DownloadAsync();

            await using var browser = await Puppeteer.LaunchAsync(new LaunchOptions { Headless = true });

            await using var page = await browser.NewPageAsync();
            await page.GoToAsync(url);
            await page.PdfAsync($"{DateTime.Today.ToShortDateString().Replace("/", "-")}.pdf");

            Console.WriteLine("PDF File generated successfully.");
            Console.ReadLine();
        }
    }
}
Let's detail what this code is doing:
We start requesting the URL that we want to browse and print as a PDF file. We store that in the string variable
url.We create an instance of BrowserFetcher. This class helps us to download the Chromium browser that we will use to automate our tasks.
We call
browserFetcher.DownloadAsyncto download all the files related to the Chromium browser that we will use. You can see that the files are downloaded only the first time that we execute our app. In subsequent executions, we won't download anything.DownloadAsyncmethod can receive a specific version of Chromium and run Puppeteer against it: for example,await browserFetcher.DownloadAsync(533271).We launch the Chromium browser.
LaunchAsyncmethod has several parameters. We sendHeadless = truebecause we don't want to see how the browser operates while generating the PDF file. In case we want to see how it runs, settingHeadless = falsewould be helpful.We open a new page in the browser and go to the URL entered by the user.
We call
page.PdfAsyncto generate the PDF file. The parameter is the filename we will assign to the newly created file.In case we want to change the browser's viewport before we generate the PDF file, we can call the
SetViewportAsyncmethod.
await page.SetViewportAsync(new ViewPortOptions
{
    Width = 500,
    Height = 500
});
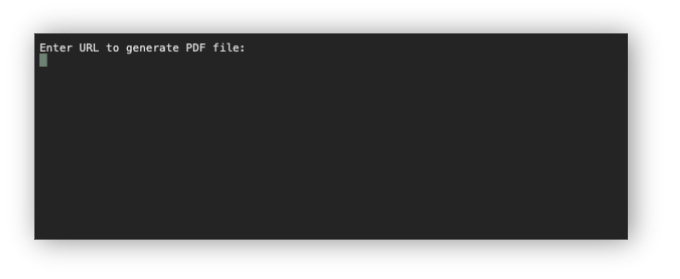
So, if we run our application, we will get this message in the Terminal:
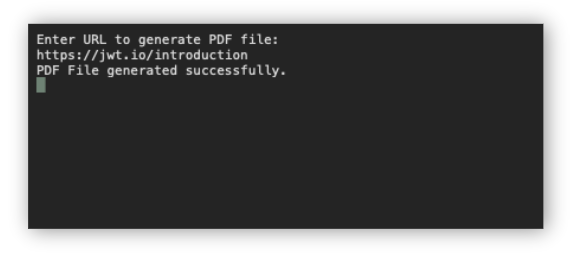
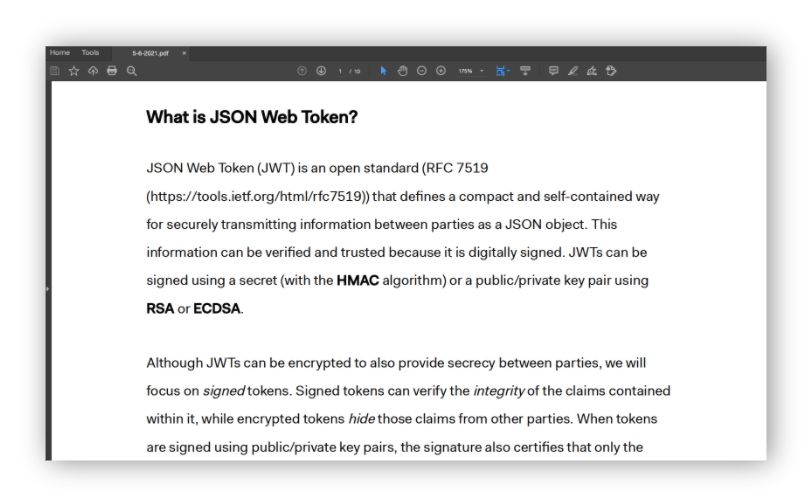
We will type a URL like "https://jwt.io/introduction" and press Enter. We should wait until the PDF File generated successfully. message appears on the screen and press Enter to exit from our app.
After that, let's go to the directory where our app is located (if you are running or debugging it from Visual Studio, take a look at the bin directory inside the solution folder). We will see the generated PDF file, and if we open it, we will see the JWT tutorial page.
Summary
In this article, we talked about browser automation and how to implement it using Puppeteer Sharp, a .NET port of the Node.js library Puppeteer. We talked about different scenarios where we could automate browser tasks. We also talked about the "headless browser" concept. Finally, we created a sample application to show how to generate PDF files using Puppeteer Sharp from a C# console application.
If you want to learn more, explore other features and methods of Puppeteer Sharp, or see example code for other scenarios and usages, you can visit the official GitHub repository.
Aside: Securing ASP.NET Core with Auth0
Securing ASP.NET Core applications with Auth0 is easy and brings a lot of great features to the table. With Auth0, you only have to write a few lines of code to get a solid identity management solution, single sign-on, support for social identity providers (like Facebook, GitHub, Twitter, etc.), and support for enterprise identity providers (like Active Directory, LDAP, SAML, custom, etc.).
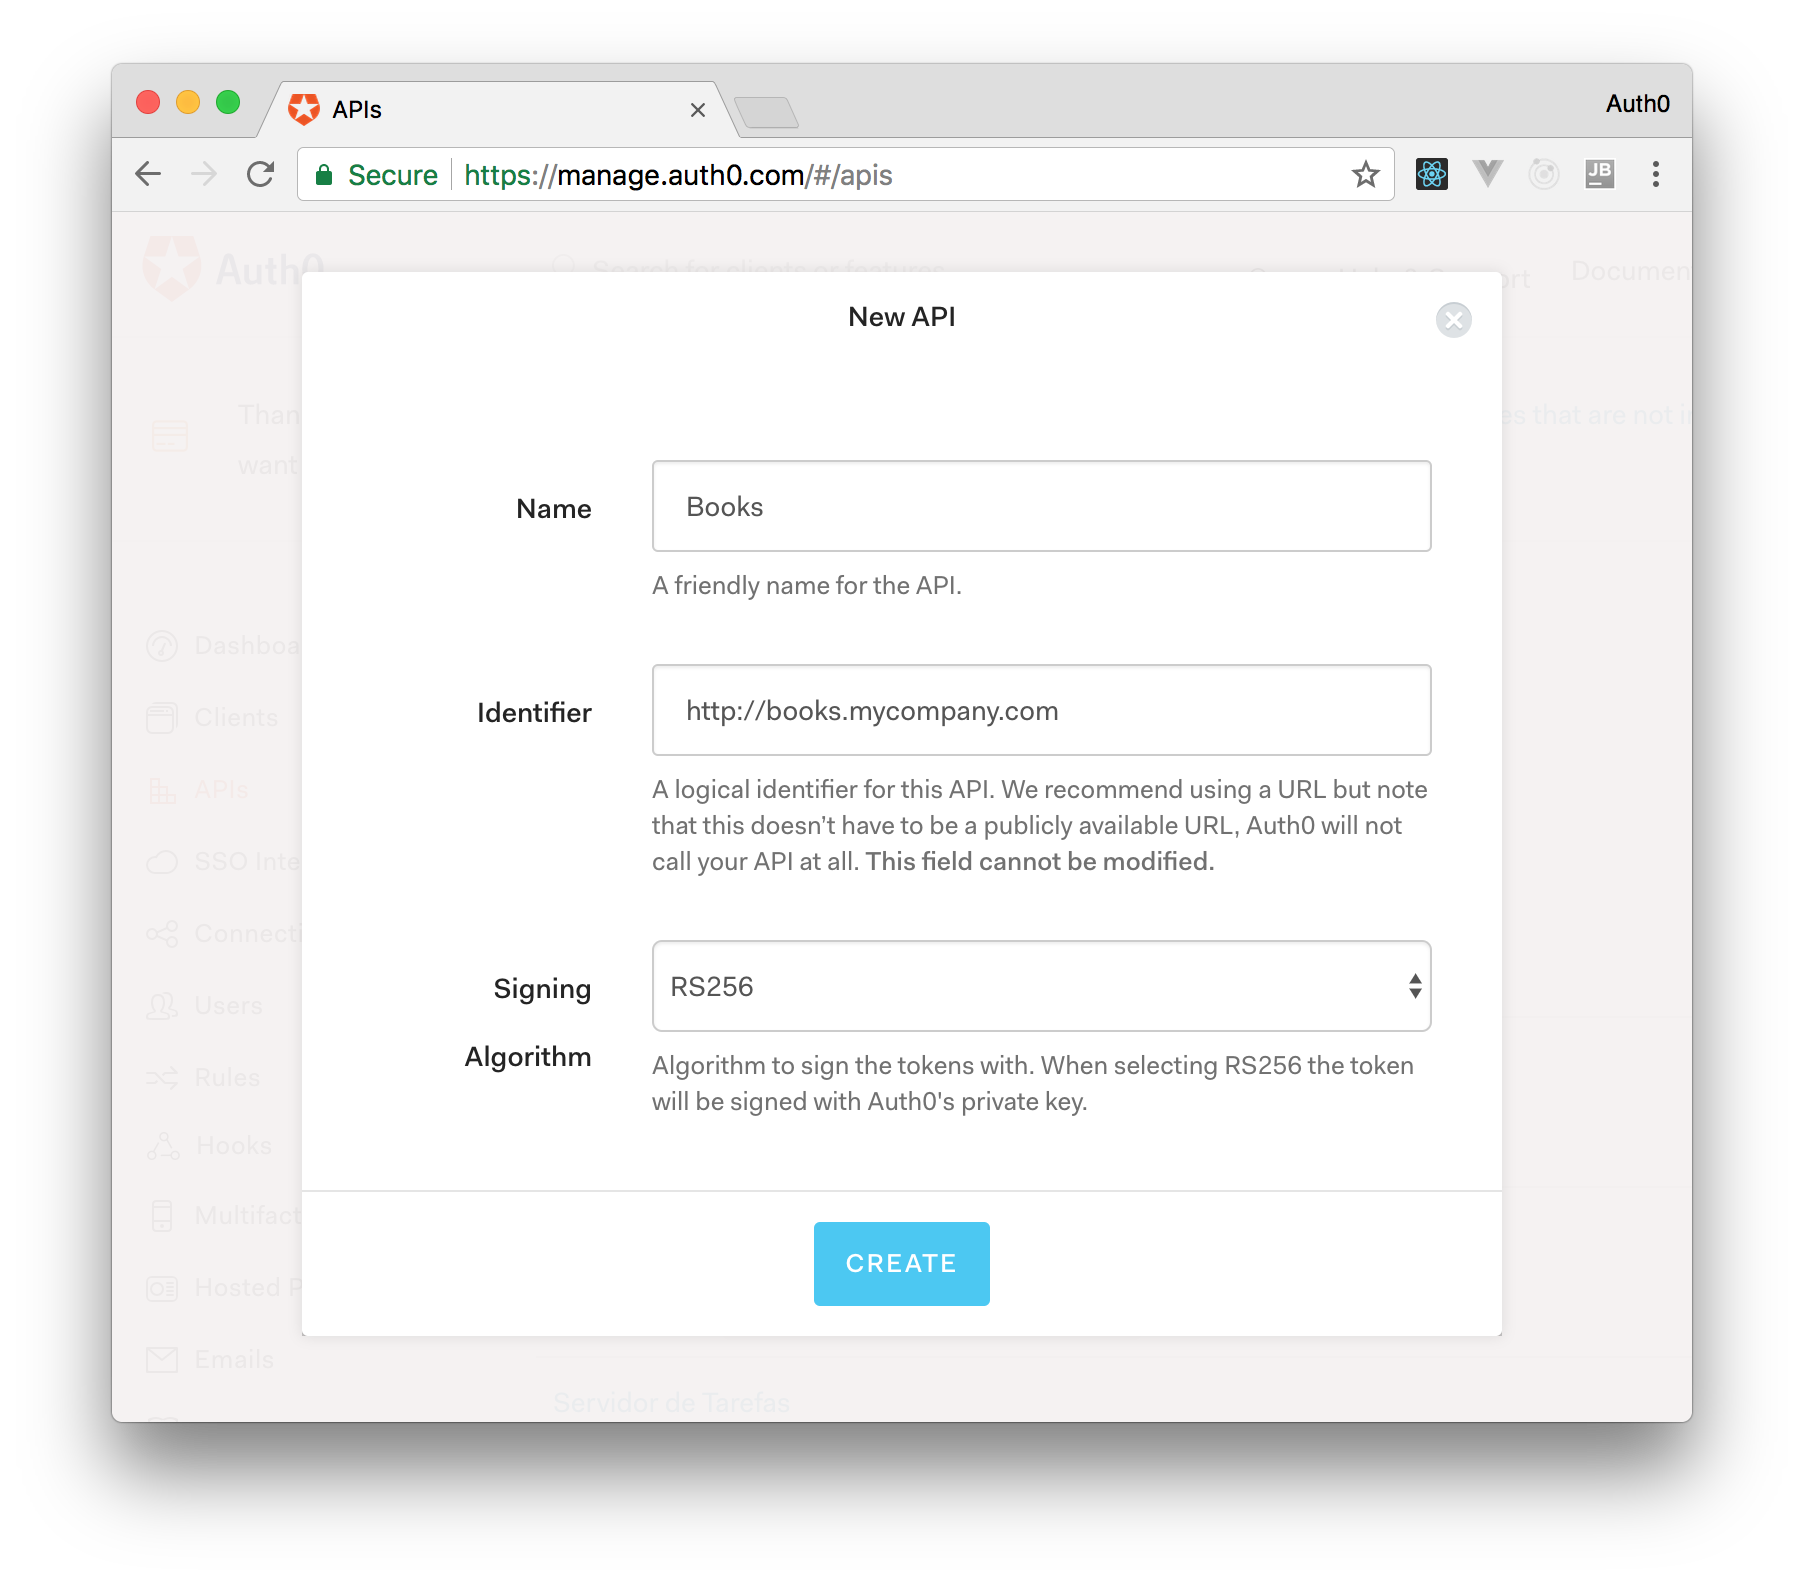
On ASP.NET Core, you need to create an API in your Auth0 Management Dashboard and change a few things on your code. To create an API, you need to sign up for a free Auth0 account. After that, you need to go to the API section of the dashboard and click on "Create API". On the dialog shown, you can set the Name of your API as "Books", the Identifier as "http://books.mycompany.com", and leave the Signing Algorithm as "RS256".
After that, you have to add the call to services.AddAuthentication() in the ConfigureServices() method of the Startup class as follows:
string authority = $"https://{Configuration["Auth0:Domain"]}/";
string audience = Configuration["Auth0:Audience"];

services.AddAuthentication(options =>
{
  options.DefaultAuthenticateScheme = JwtBearerDefaults.AuthenticationScheme;
  options.DefaultChallengeScheme = JwtBearerDefaults.AuthenticationScheme;
}).AddJwtBearer(options =>
{
  options.Authority = authority;
  options.Audience = audience;
});
In the body of the Configure() method of the Startup class, you also need to add an invocation to app.UseAuthentication() and app.UseAuthorization() as shown below:
app.UseRouting();
app.UseAuthentication();
app.UseAuthorization();
app.UseEndpoints(endpoints =>
{
    endpoints.MapControllers();
});
Make sure you invoke these methods in the order shown above. It is essential so that everything works properly.
Finally, add the following element to the appsettings.json configuration file:
{
  "Logging": {
    // ...
  },
  "Auth0": {
    "Domain": "YOUR_DOMAIN",
    "Audience": "YOUR_AUDIENCE"
  }
}
Note: Replace the placeholders
YOUR_DOMAINandYOUR_AUDIENCEwith the actual values for the domain that you specified when creating your Auth0 account and the Identifier you assigned to your API.
About the author

Facundo Giuliani
Systems Engineer, Full Stack Developer